

R2Chris
-
Posts
29 -
Joined
-
Last visited
Content Type
Profiles
Forums
Gallery
Articles
Media Demo
Posts posted by R2Chris
-
-
Much appreciated if we can fix my pending status:
Detachment Affiliation(s): First Imperial Stormtrooper Detachment (Pending)
-
-
Thank you Tony.
I have already been working on getting the alignment of the ab and kidney pieces better but I will also take care of the paint over spray and look for those proper screws for the helmet.
The thighs have actually not been an issue for comfort. I completed a 48-story stair climb fundraiser in the armour last month with no problems with the leg pieces at all. I do have a bit of foam in there which seems to be working out well.
And thank you everyone else for your comments and suggestions as well.
Chris
-
Here is a new picture of the rivets at the ab and kidney connection after painting them again last night:

I also noticed that my close up photo on the helmet was not very clear so here is a new photo so you can actually see that I replaced the Anovos mesh in the hovi-mic tips with a coarser mesh (this change was done after the full body photos were taken):

-
Thanks for the comments and suggestions.
The paint on those rivets at the ab and kidney connection has been difficult to keep on there. I have started to use old t-shirts to wrap up the ab and kidney pieces when I put them in my bin - hopefully that will help protect from scratching and keep the paint on there a bit longer.
-
Here is my EIB application for your consideration.
Thank you
Chris
Name: Chris Ballance (R2Chris)
Legion ID: TK-82997
Garrison: Outer Rim Garrison
Armour: Anovos
Helmet: Anovos
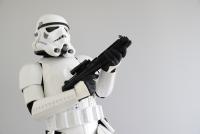
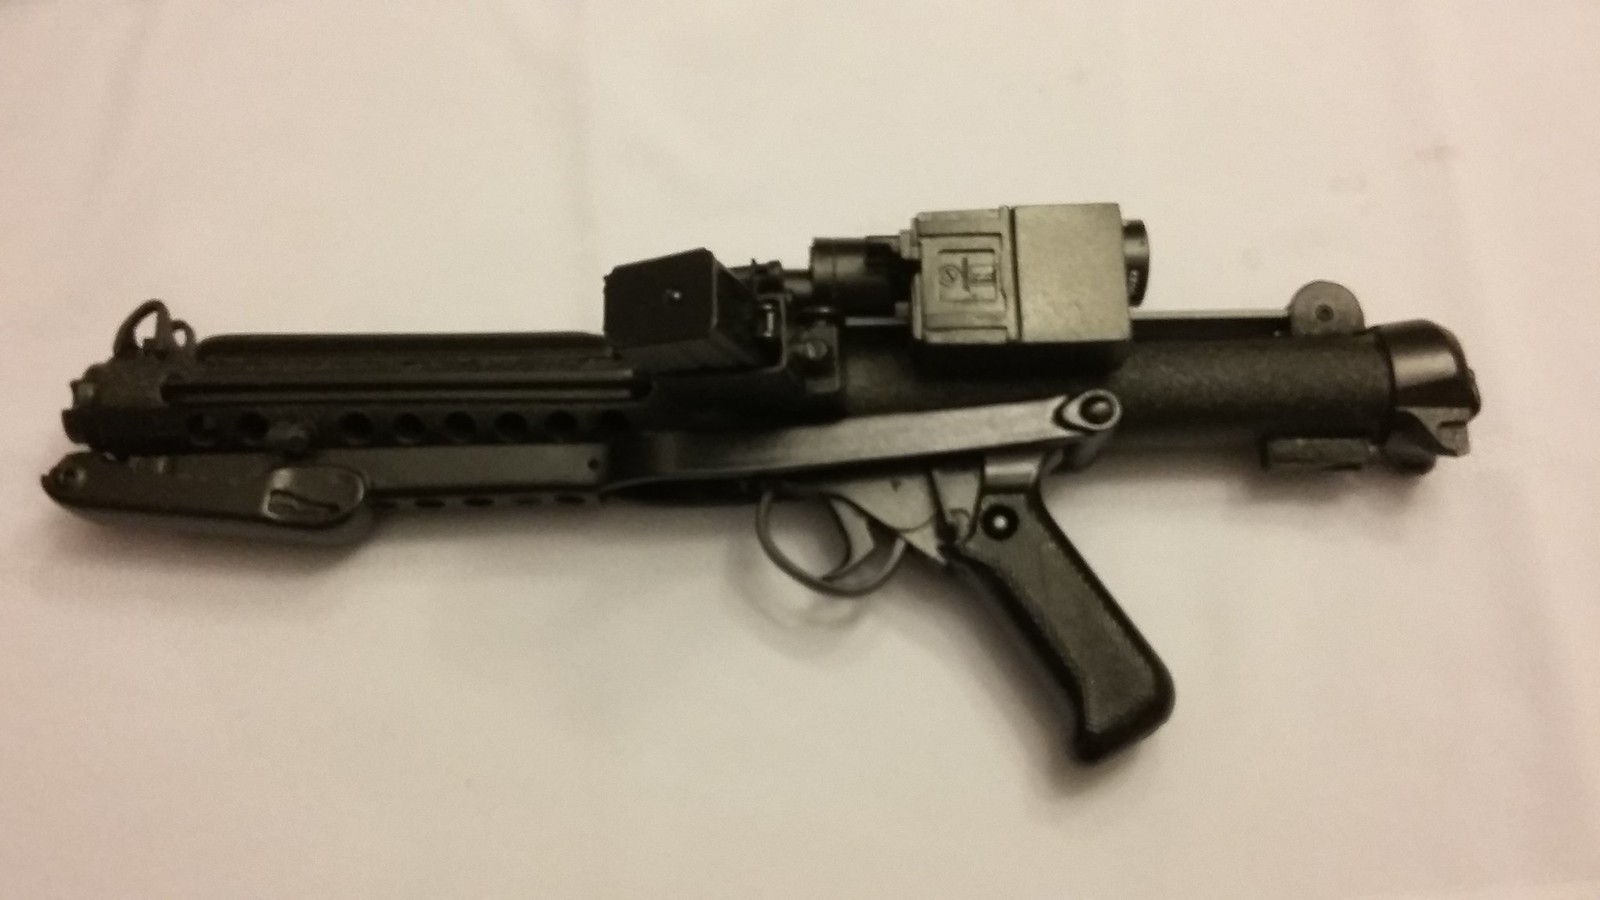
Blaster: Doopydoos resin kit with 3D printed power cylinders and front sight (from themaninthesuitcase design) plus a gazmosis magazine
Boots: Imperial Boots
Canvas Belt: Imperial Issue
Hand Plates: Trooperbay
Electronics: Aker/ICOMM
Neck Seal: Anovos
Holster: Anovos
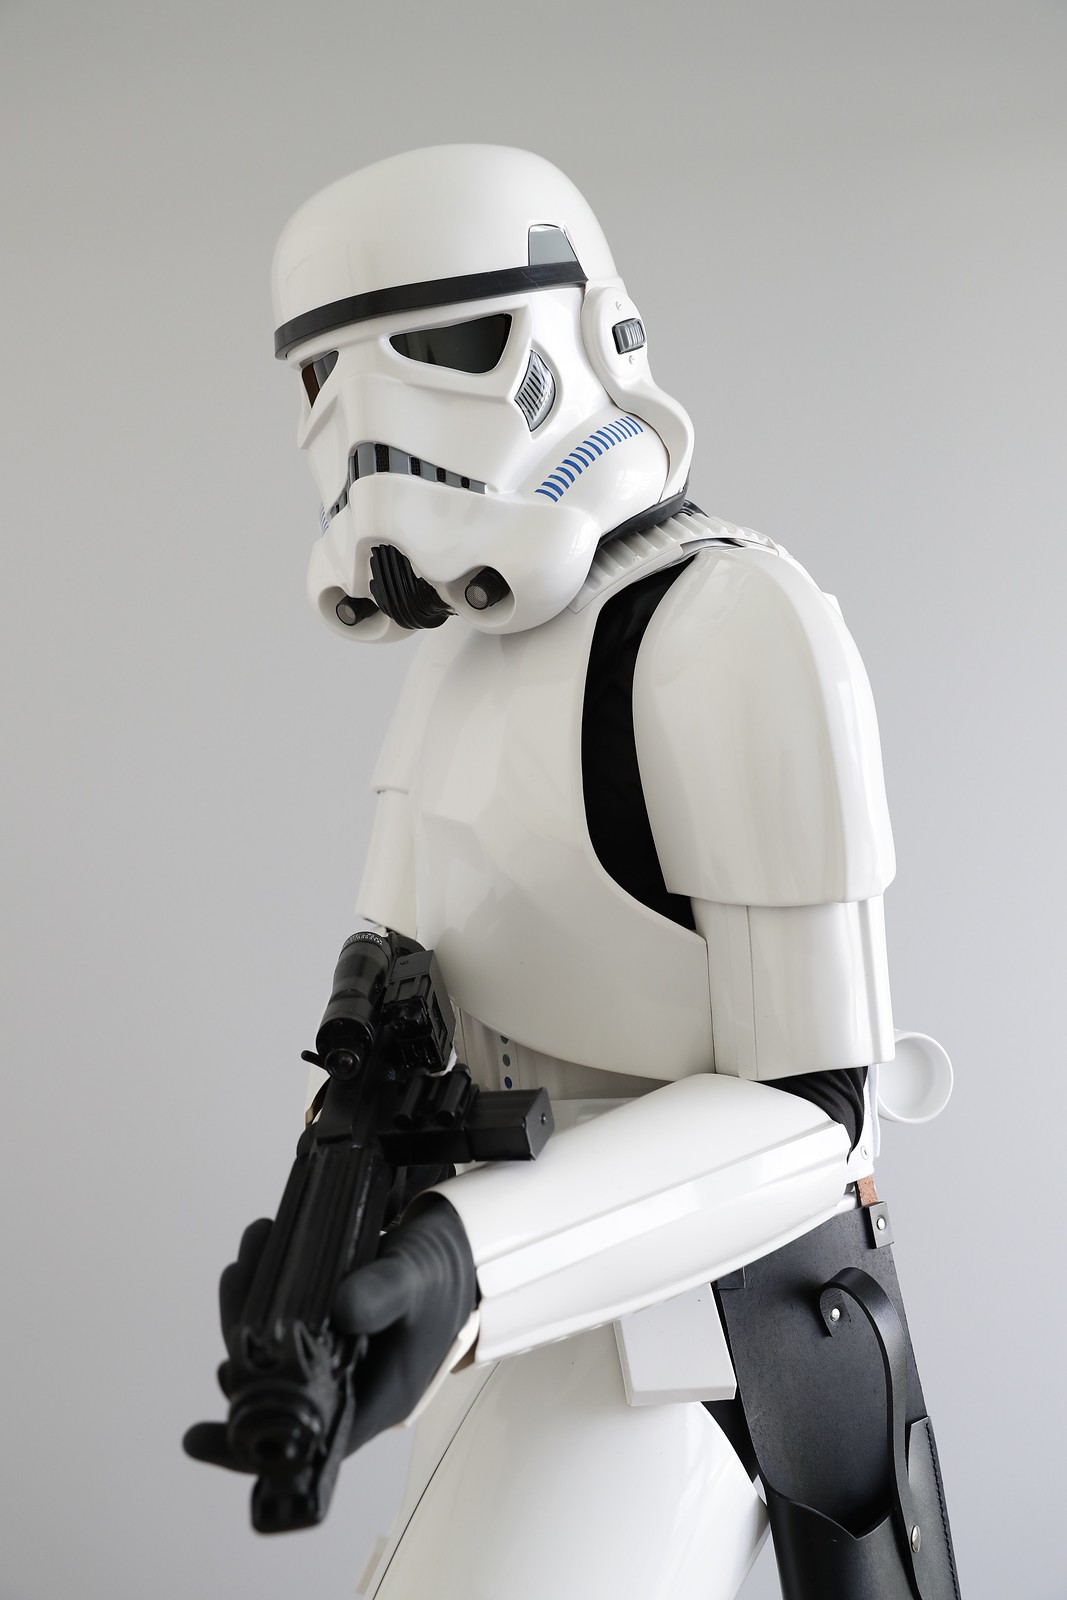
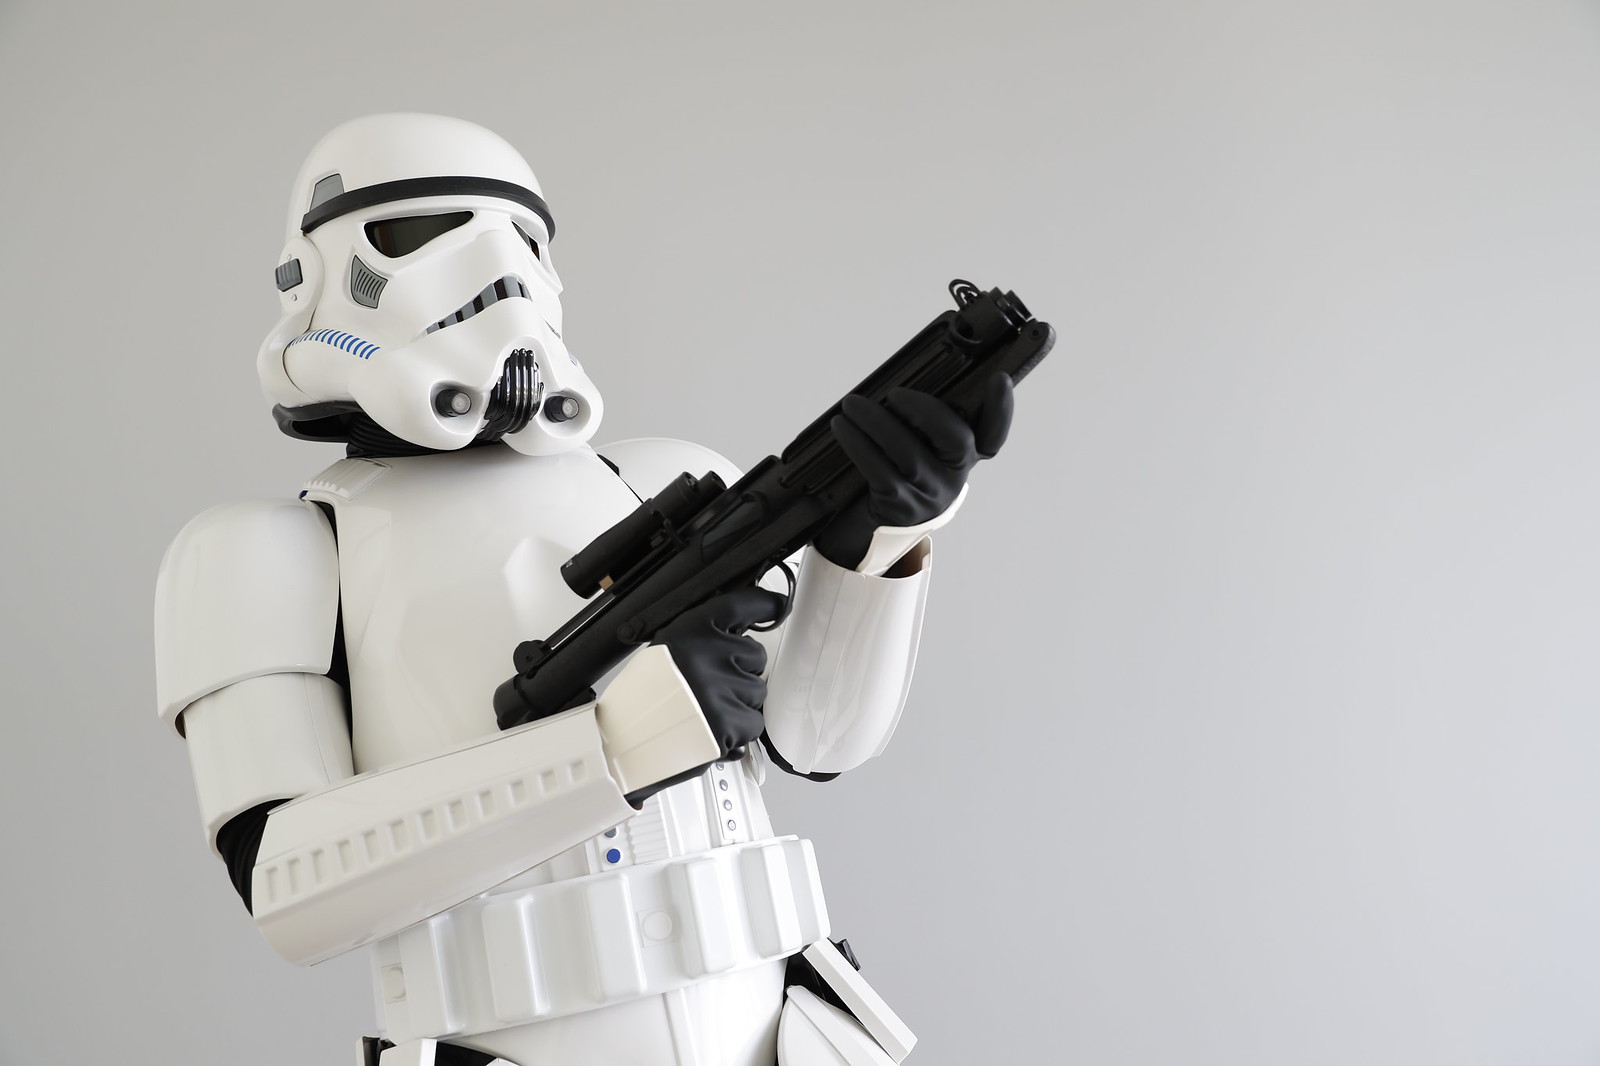
Full Body Photos


Helmet Details Photos


Blaster Details Photos
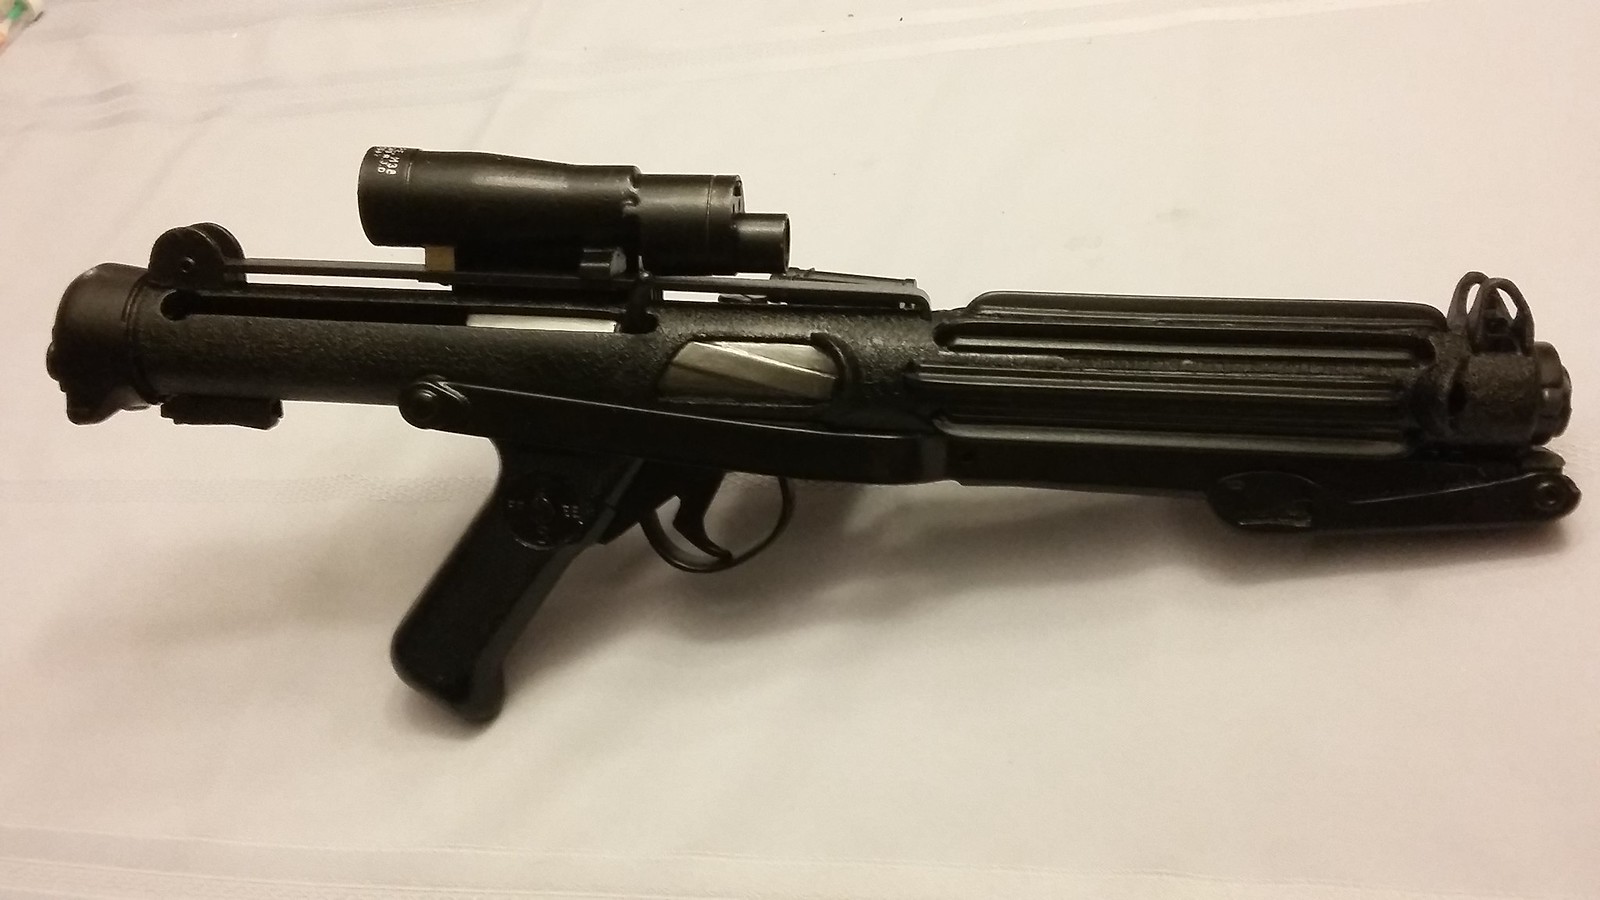

Accessory Details Photos


Armour Details Photos


-
 2
2
-
-
Too bad about the thigh ammo Jon. Have you been able to get a replacement? If you are not able to get another AM piece then Mark at AP may still have some of his available: http://www.whitearmor.net/forum/topic/36140-ap-replacement-parts/
Other than this it looks like your build has been going well. And you have been doing quite good with updating the thread here too. I gave up very quickly on trying to photograph and document my own build last year. Always impressed now by people like you who manage to document the build as well as actually complete it.
-
1
-
-
Probably made a bit more confusing because they used a slightly different version of the blaster for ESB promotional photos than what they actually used for filming. The "promo" version has stuff added to it - the greeblies that you refer to.
If you do the ESB film version I think you have the right idea to just not include the counter and power cylinders (and wires) - otherwise it is basically the same as the ANH version.
You will need the scope rail to mount your scope. The scope itself can be the M38 (same as ANH) or M19, although M19 is preferred.
You can find some of the details in the costume reference library here: http://databank.501st.com/databank/Costuming:TK_esb
-
1
-
-
Return edge on forearms at the elbows is fine. It is just at the wrists you need to have no return edge for Centurion.
For Centurion I think they will ask to have the return edge removed right up into that "raised part" at the wrist end of the forearm. Have a look through the Centurion applications as I recall seeing some asked to take that part out.
Looks better the way you have it now in my opinion, but that is the way to go for accuracy I guess. You can find a good forearm picture in the photo reference galleries here: http://www.whitearmor.net/forum/gallery/image/2906-dsc02592jpg/
-
1
-
-
Thank you for the update Brian. You have certainly put a lot into this project. Keep up the good work!
-
1
-
-
TK-82997 requesting update for 501st access.
http://501st.com/members/displaymemberdetails.php?userID=22629
Thank you
-
Hey everyone,
Alex here. Pretty new to the community. I just recently bought my first ever armor kit from ANOVOS, and I'm super excited to start building once it arrives. I've been perusing ukswrath's guide here, which I think we can all agree is pretty spectacular. While I'm waiting for my kit to show up, I decided to copy and paste all of ukswrath's posts into a Word document in order to create a single, comprehensive guide. I also did some formatting (including a table of contents) to try to make it look nice. I attached a first draft for you all to check out (both as a PDF and a Word document). Any feedback would be much appreciated! Maybe it's just me, but I think it'll be super handy to have a PDF on my iPad while I'm building so I don't have to browse through forum posts.And thanks again to ukswrath for all of his hard work!Here's the link to the PDF: https://drive.google.com/open?id=0B-d8yBFyd0CgWGtmSWx6ZHRjbFEHere's the link to the Word document (the formatting will inevitably get a little messed up, but the raw material is there): https://drive.google.com/open?id=0B-d8yBFyd0CgY25VY25SNk1xZFEExcellent addition to a fantastic build thread. Thank you Alex and thank you Tony.
My only suggestion is that we should get a copy of the PDF link on the first page if we can for anyone just starting to read through this.
-
4
-
-
My build is going well and between all the information here, Tony's Anovos build, the Anovos Facebook group and The Atlantic Star Wars facebook group I've been able to find information on every question I've had. I am going to be starting strapping soon. I was wondering if anyone had a link to a good strapping guide. Also for the chest snaps for the belt. How do people get them on there using the setting tool? ( Hammer and anvil )???
Any help would be greatly appreciated.Thanks!!!
For my Anovos build I have been using the diagrams in this thread:
http://www.whitearmor.net/forum/topic/24487-diagram-of-snap-placement/
-
1
-
-
Hello everyone,
I am in the Vancouver, BC area and got interested in the possibility of trooping when I went to my first Star Wars Celebration in Anaheim earlier this year. Since then I have put in my order for one of the ANOVOS kits and currently I am looking at how to put together an E-11 blaster.
Thanks to all who have shared so much information that makes it so easy for us newer recruits.
-
Thanks to everyone who has shared so much info here. I am looking at building my first E-11 blaster and really appreciate the templates, pictures, etc.
I am a bit surprised by some having difficulty finding the proper size pipe. Those of us in North America who are near a Home Depot should be able to get 1-1/4 inch EMT there: http://www.homedepot.com/p/Allied-Tube-Conduit-1-1-4-in-EMT-Conduit-101576/100400410
Also, regarding 3d printer files, have many of you tried these ones on Thingiverse: http://www.thingiverse.com/thing:868160
What is detachment affiliation, and why is my info not correct?
in 501st and Detachment Access Requests
Posted
Thank you