-
Posts
48 -
Joined
-
Last visited
Content Type
Profiles
Forums
Gallery
Articles
Media Demo
Posts posted by kawnr
-
-
Yes I did, did I do some thing wrong??
A Tk Stunt only has 8 teeth cut out. 4 on each side. You're going to have to get some ABS paste and fill in the two smallest teeth. Not a hard fix at all though!
-
Would it be possible to get approved with a Rubies E-11? From what I understand as long as it fits the CRL it can be approved. The rubies pretty much has everything required on it and just need a few basic mods to fit the other requirements. Here's my build. Those aren't all the final photos. I'm at work and cant take more pictures of everything. Would this be possible?
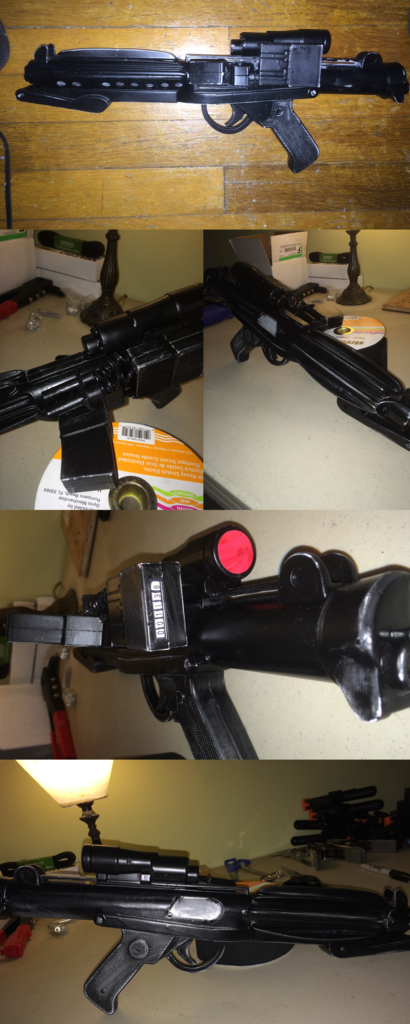
-
This is a killer build. Nice work.
-
Great build! Makes me want to go back and make some changes to my own!
-
So since my first troop I've made a good number of alterations. I've added velcro to my boots to hold the calves. I trimmed the thighs EVEN MORE. I've trimmed them probably 4 times now. I think they're finally right. I made some cuts the the back of the legs to make walking a little easier. Added the correct rivets and snaps where they need to be on the chest, back and abdomen. Tightened up my internal strapping system. And cleaned up my boots by laying down another coat of leather paint. I don't think I'll ever finish working on my armor. I don't think I want to!
Purchases made since first troop:
1. Icomm and Aker voice amp (I want to be heard!)
2. Balaclava (My hair was in my eyes basically the entire troop)
3. Parts for fan system (Assembling tonight. Should I post my own build thread? I got some advice from EvilBoy on the build so I don't want to step on any toes since he sells pretty much the same thing I'm building.)
4. White Rubber hand guards from Sonnenschein
I'm thinking about buying some gloves that breathe a little more than the black rubber ones. It gets pretty sweaty in those things! Not sure what I should go for. Free free to post your suggestions
-
kawnr,
Mind if I ask why the white and silver primer before black? J/w because this all new to me and I'm about to start the same process with a rubies.
Thanks!
I always want to do a nice white prime before painting any other color. Paint looks better when there are multiple coats on top of each other. The more layers the better to an extent. Silver was so I can sand some of the black and weather it to look like real metal under a black painted gun.
Another random question....what about glue? What's used on rubies or any other gun when piecing it all back together?
I actually never took it apart as the screws were already stripped when I got the gun. But I used E6000 to glue on the power cylinders.
-
-
TK-66937 reporting for duty! Just got my acceptance email! Couldn't be more excited!
-
 1
1
-
-
Hey guys. Sorry for the looooong absence. I started a new job and moved to a new house. So my armor sat in a box for a good two months before I was finally able to make time for it. I finished up almost everything. Here are the pictures from my first submission to my GML. Since then I've trimmed the thighs a bit more as well as the shoulder bells. Right out of the box the AM2 shoulders are pretty big for a guy my size. Anyway, I know not everything is perfect. The thighs have that ridge and I don't see how I can fix that. I trimmed way too much and they are already pretty tight. Maybe Ill be able to tackle that sometime in the future. Anyway. Its been so much fun. Here's to getting approved!
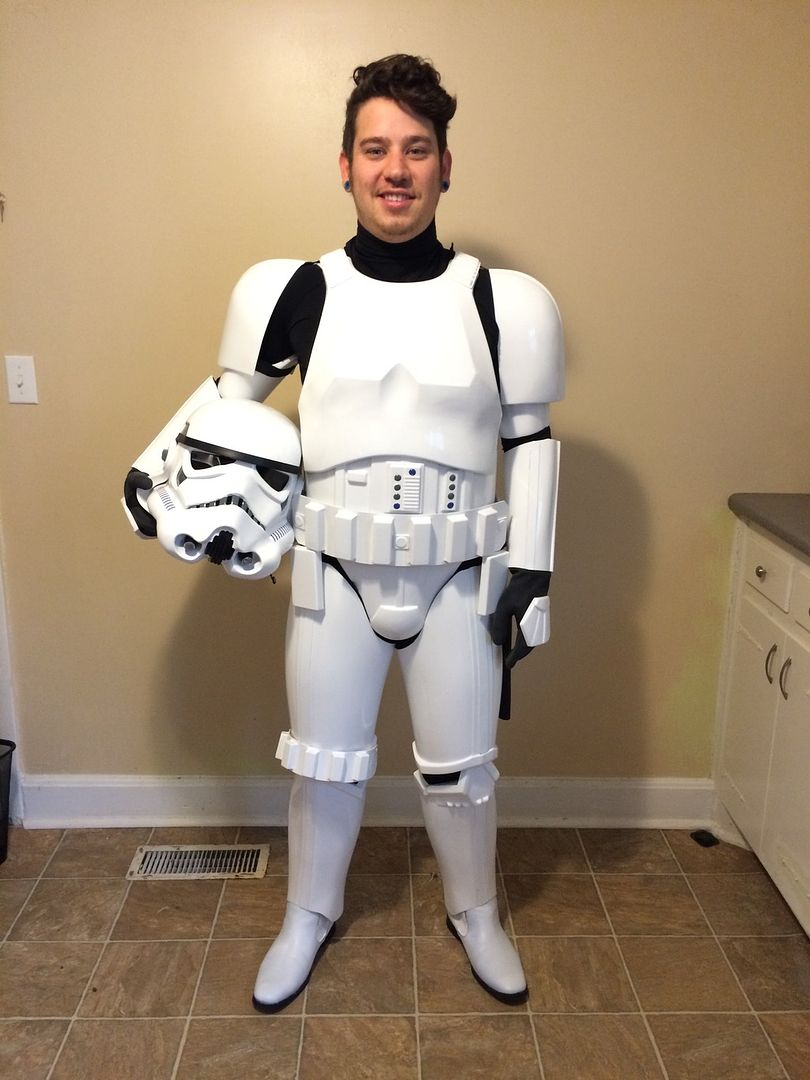
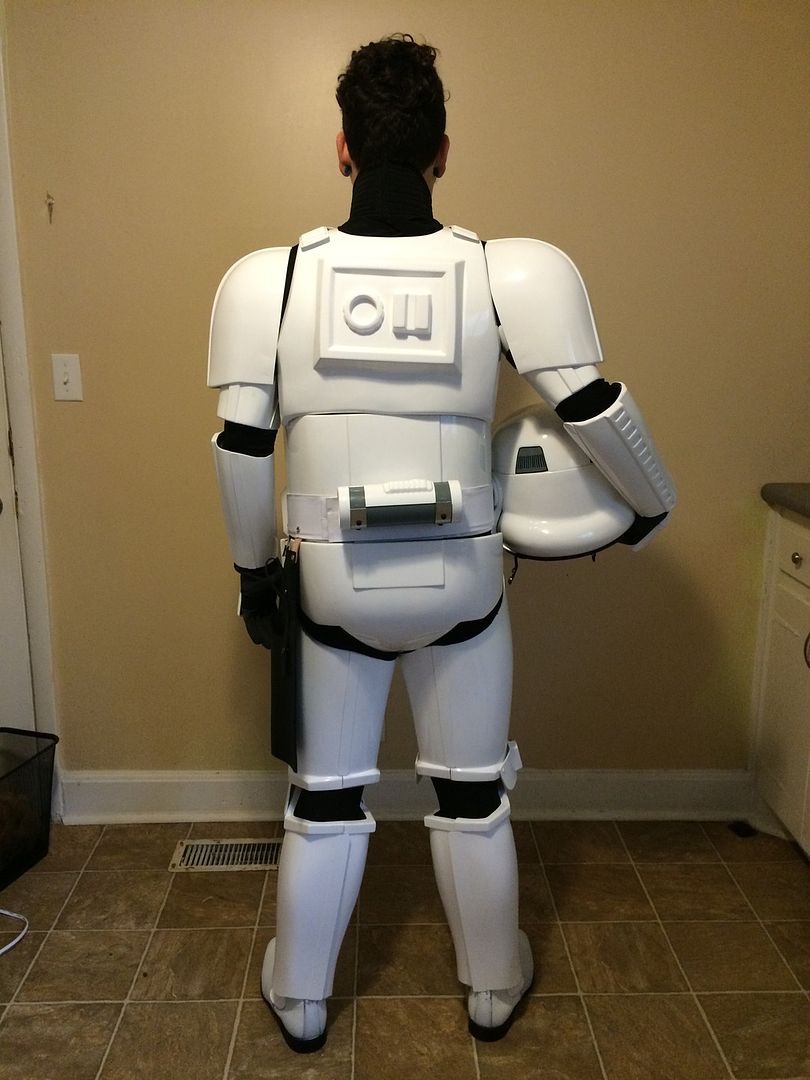
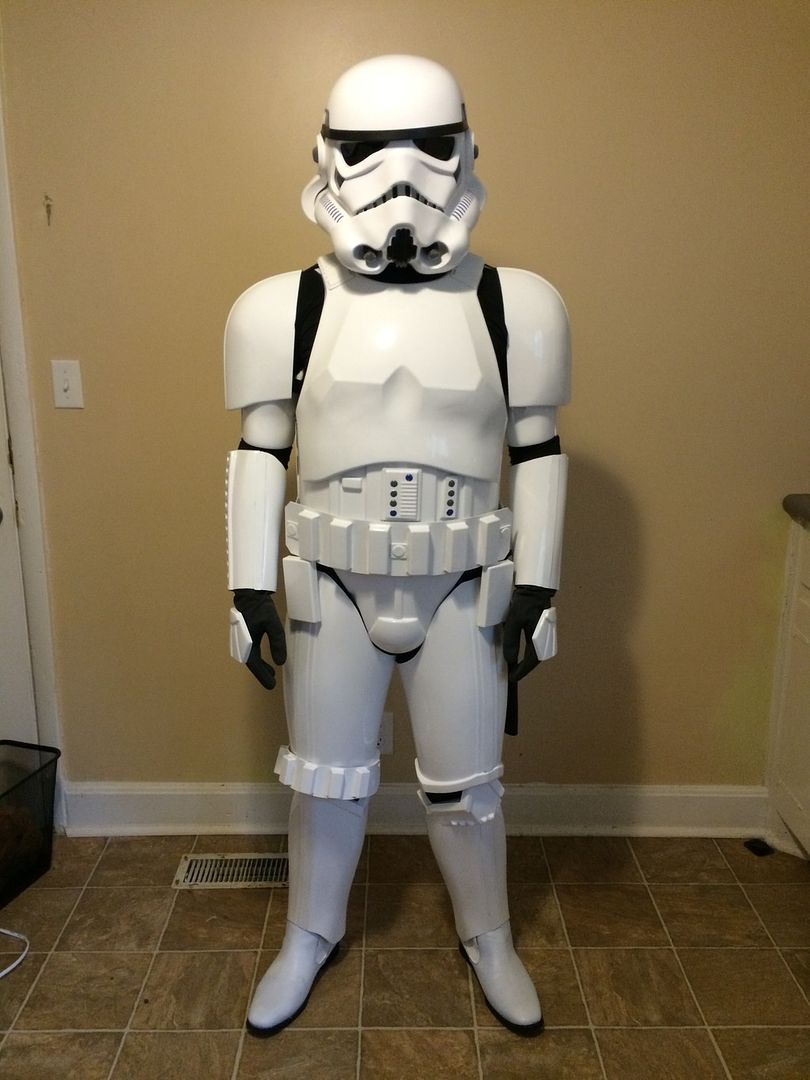
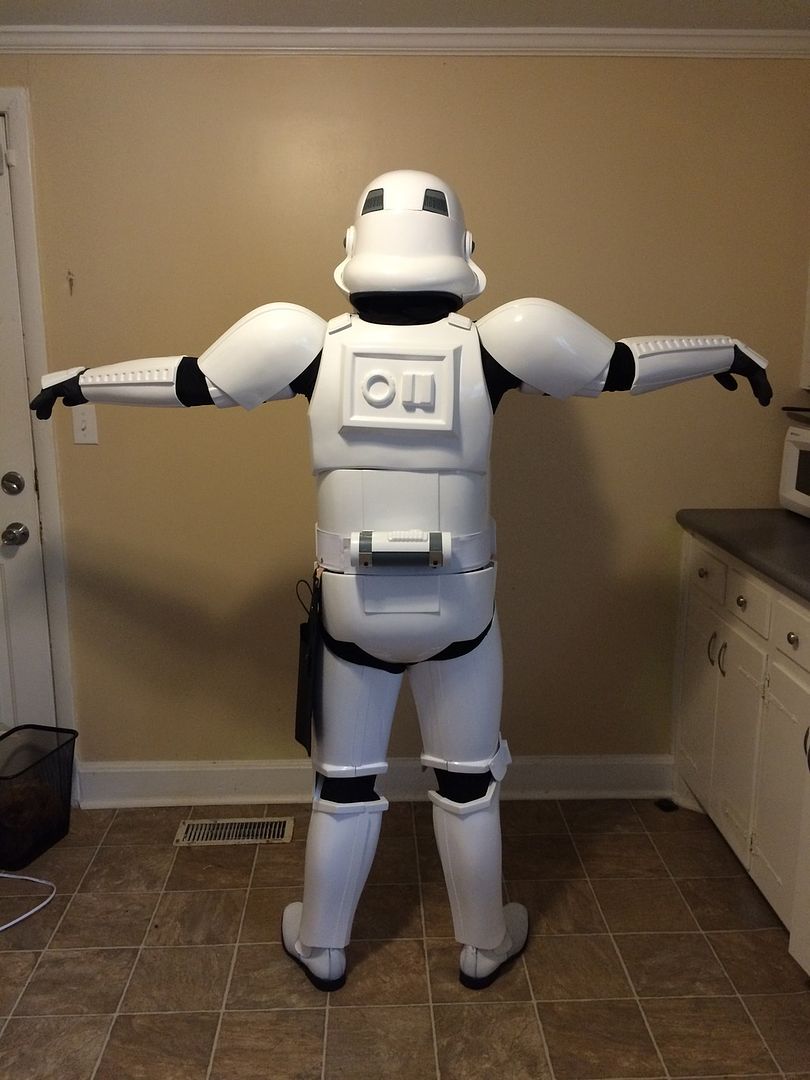
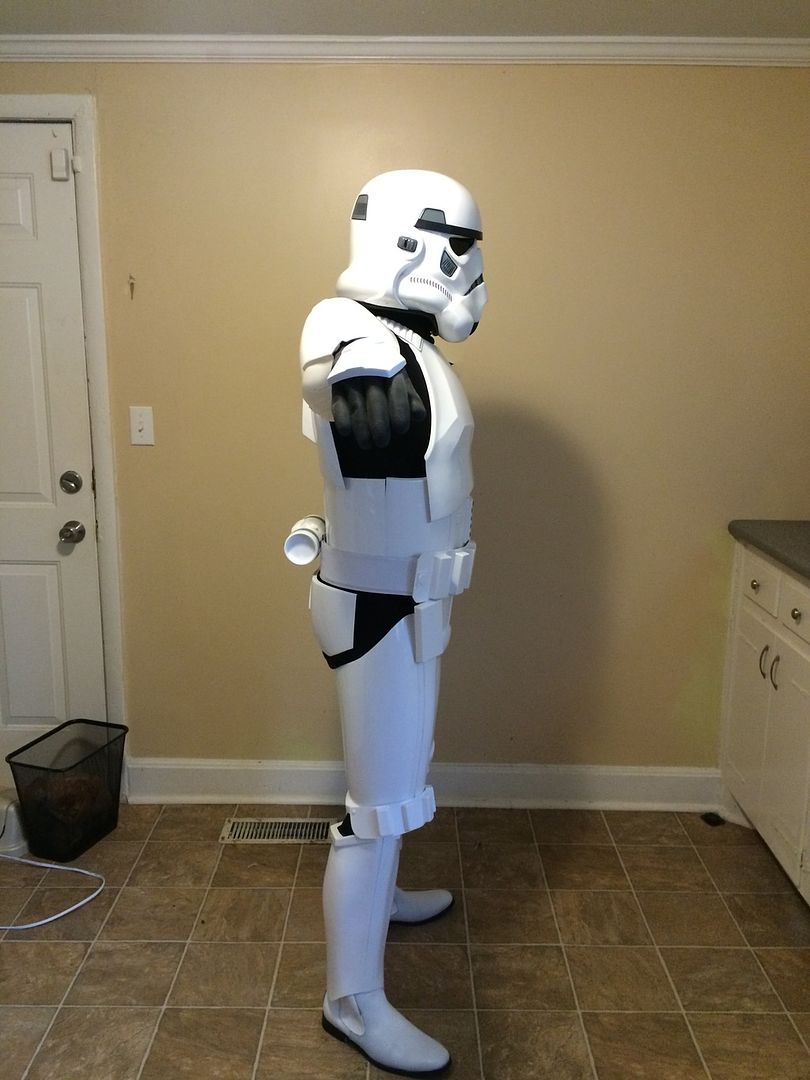
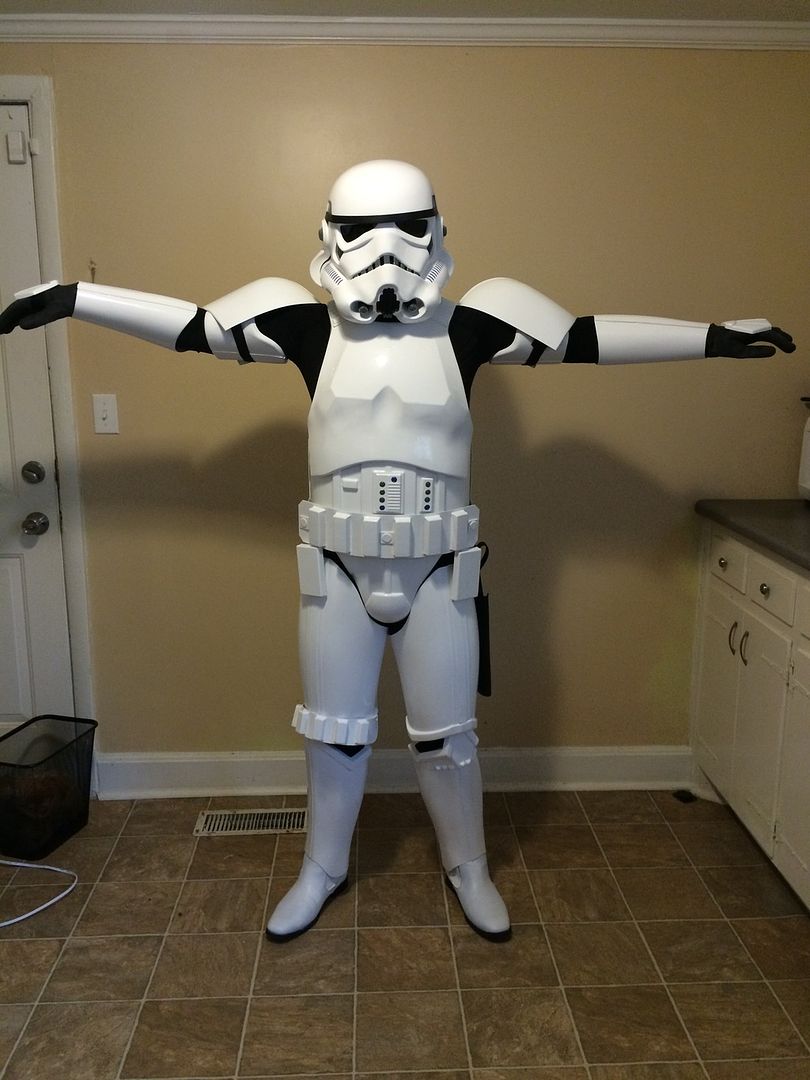
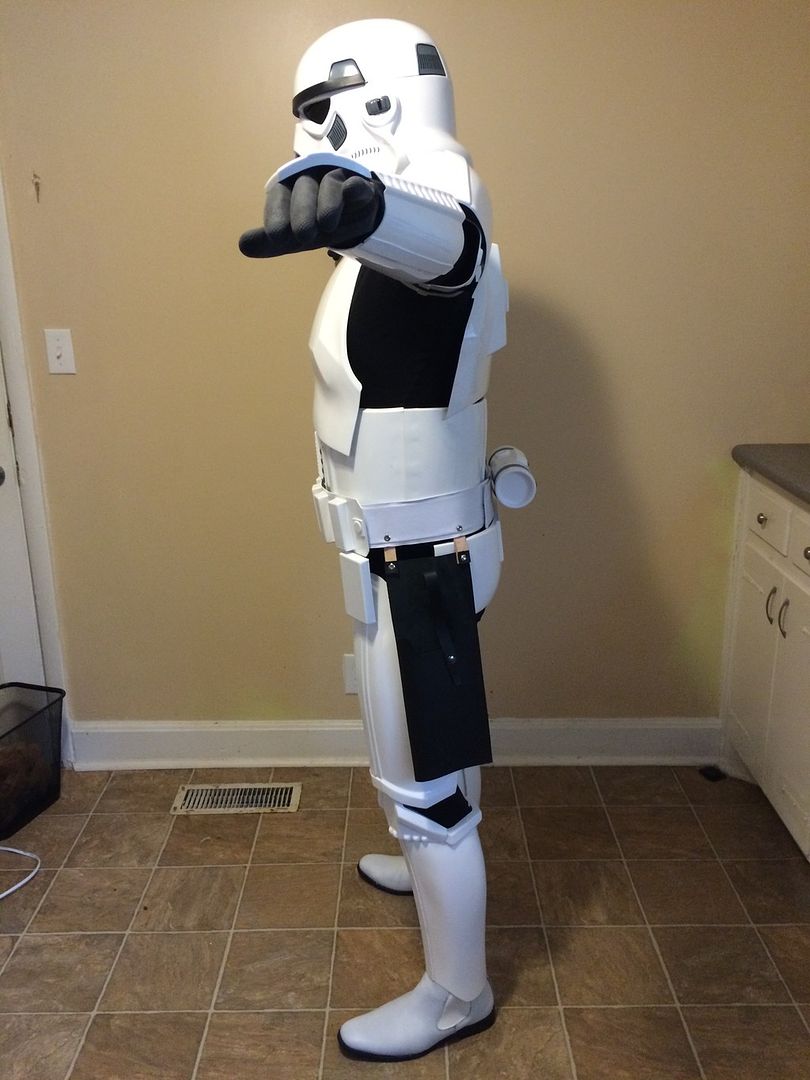
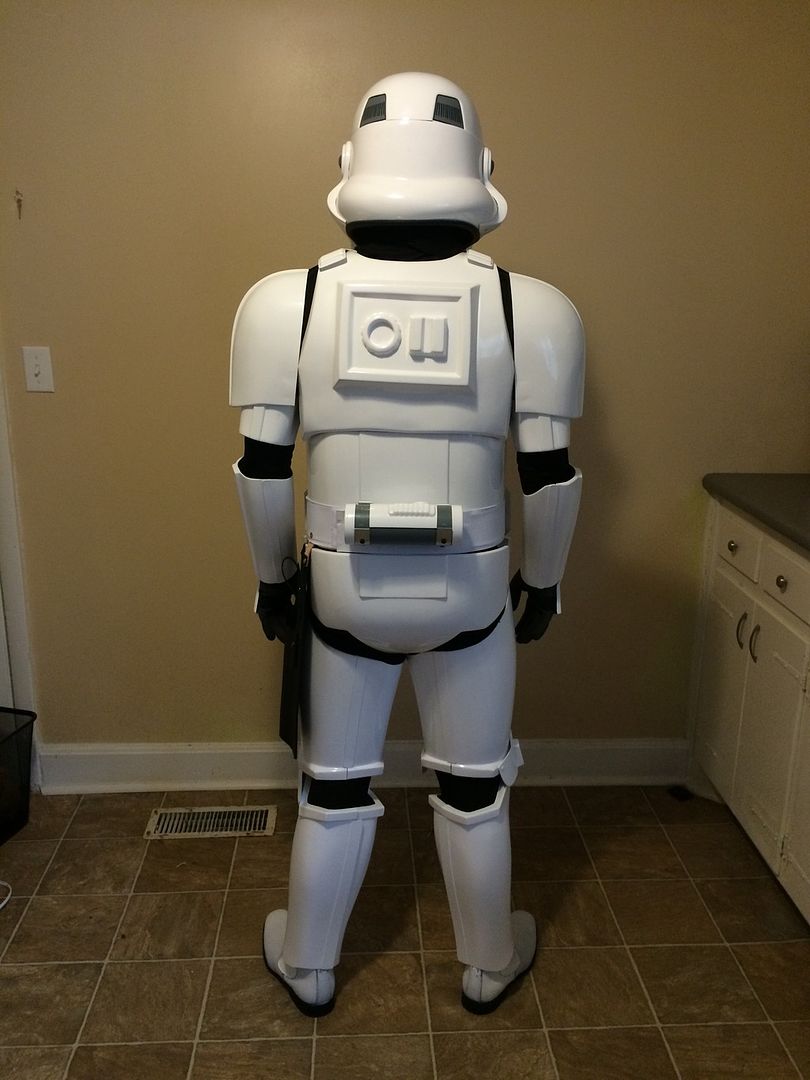
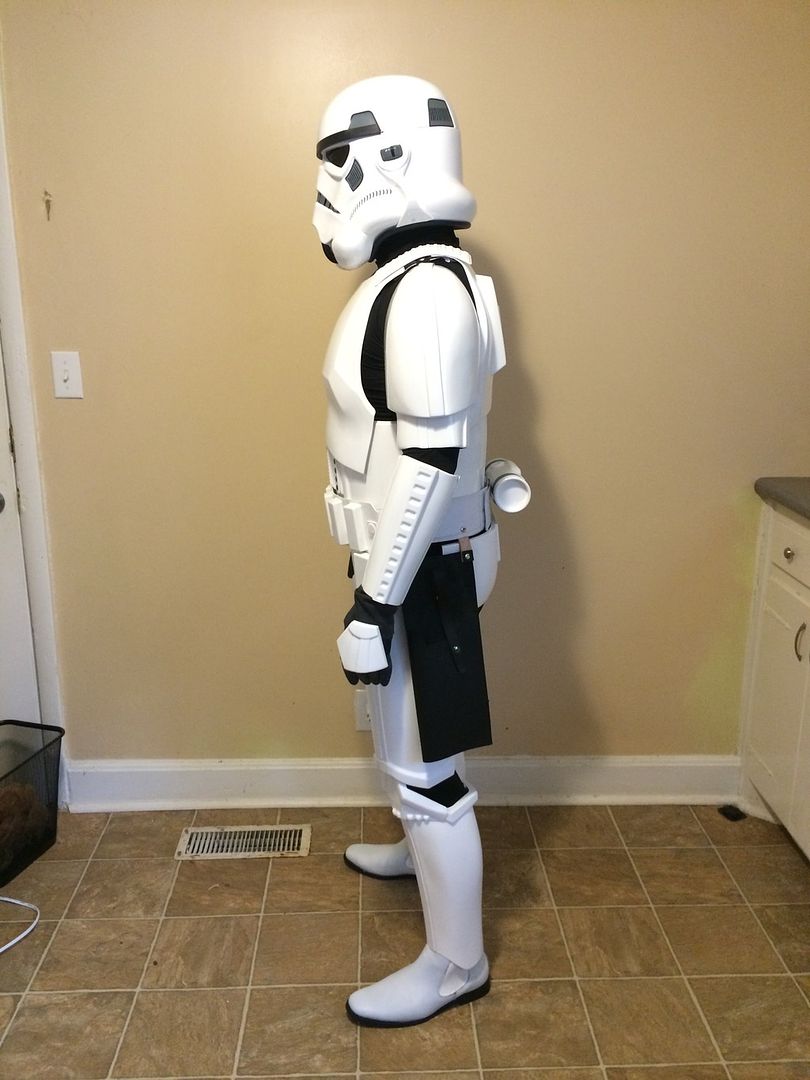
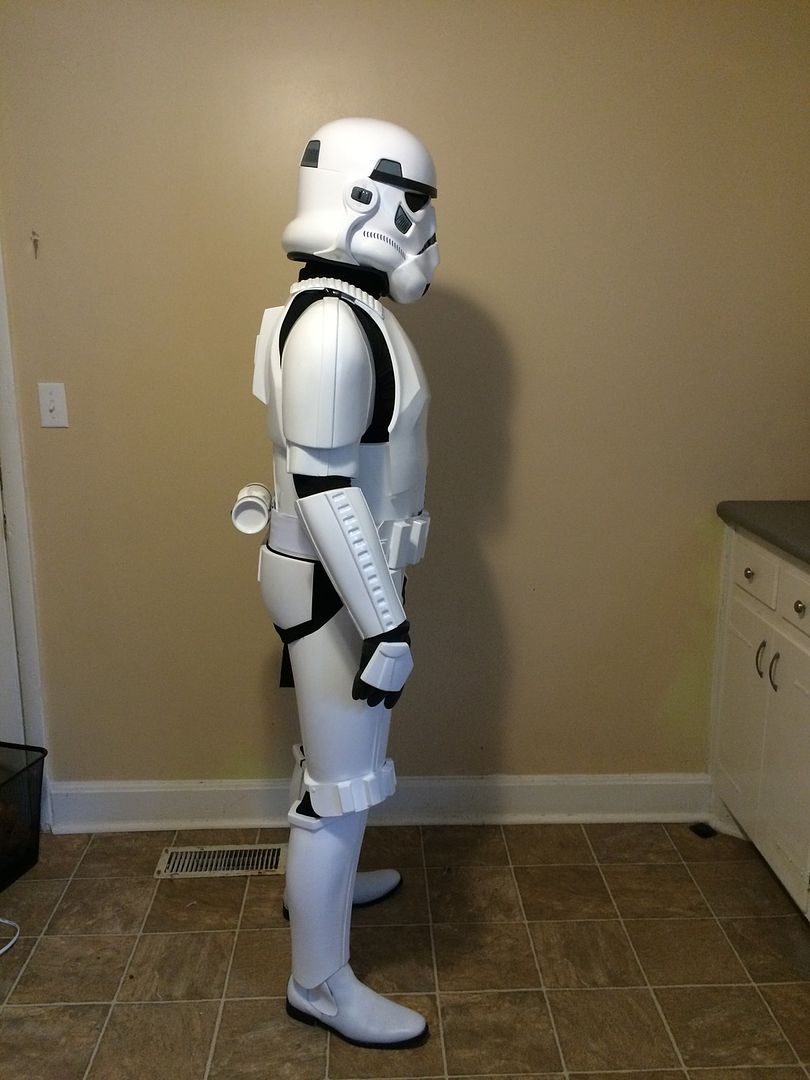
-
Oh gotchya. Didn't even notice that when I was putting them together. I don't need the extra room, I just took more off the back. I kinda like the way it looks. I mean, theres no standard for how much ridge line is exposed is there?
-
I'm not sure if it's the kit or if you needed the extra room but you have a lot of ridge line exposed on the thighs.
Can you explain? I'm not sure what you are referring to.
-
Going to be updated again soon! Currently busy moving. Everythings pretty much done except snaps and strapping.
-
Oh and another heads up to you AM 2.0 people out there. The decals that come with the kit are labeled LEFT and RIGHT. These are referring to the sides when you are LOOKING AT THE BUCKET. Pretty confusing if you ask me. My traps on the sides are on the wrong side. But you can't really notice unless you really look closely.
-
 1
1
-
-
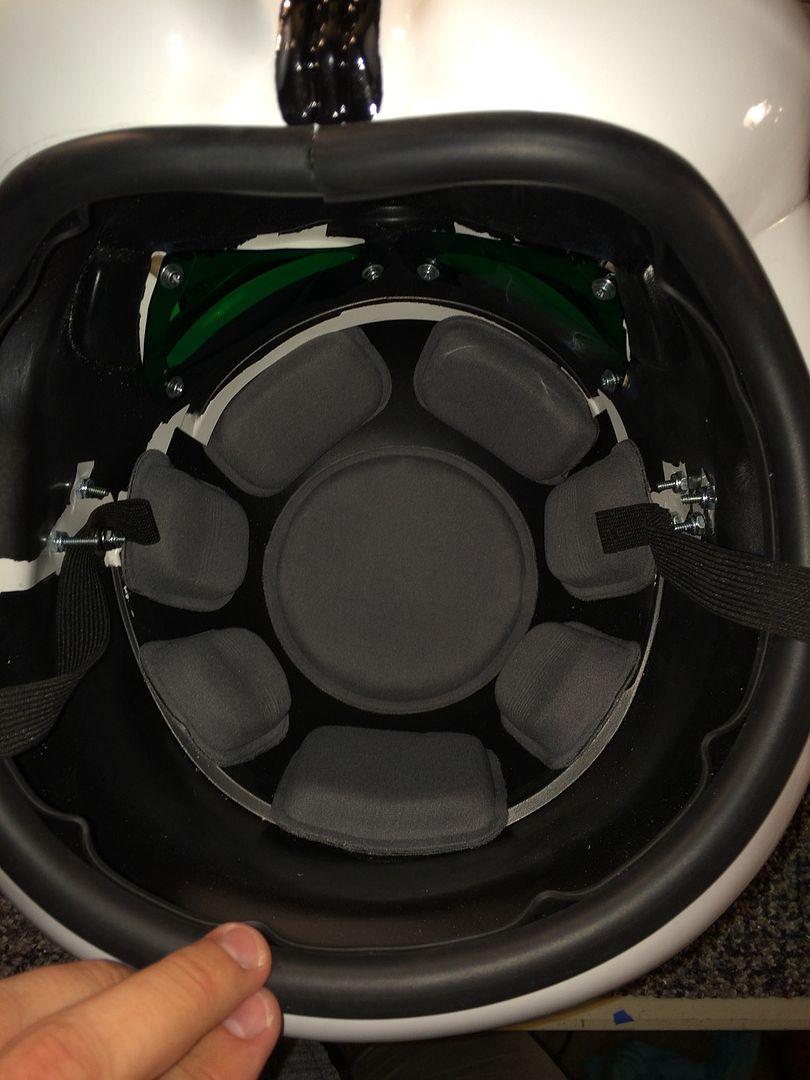
Finished my helmet last night! Also made my first mistake
 The area to install the mic tips is SO thin. I've been drilling all my holes with an exacto knife and when I placed the blade on the spot I wanted to drill the knife slipped right through! Be careful on those mic tip areas everyone!
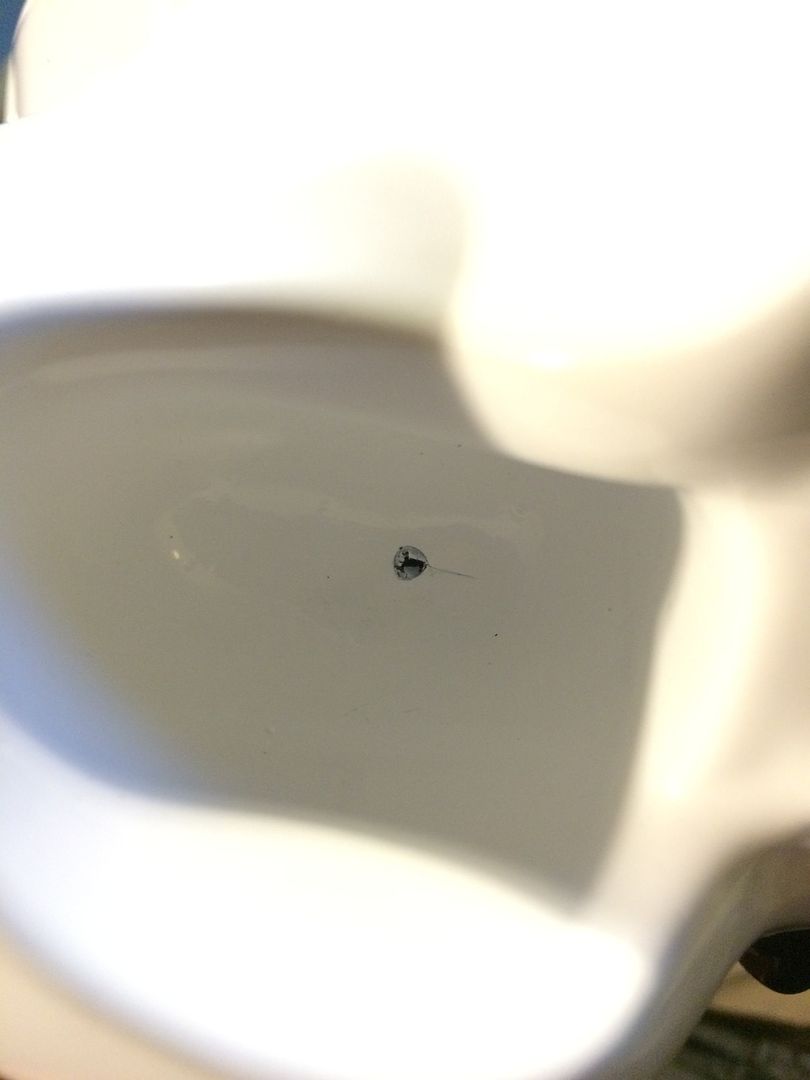
Anyway, here are the final pics of my bucket! Also I know the tube stripes aren't even, I fixed it after I took these pictures and forgot to take more.
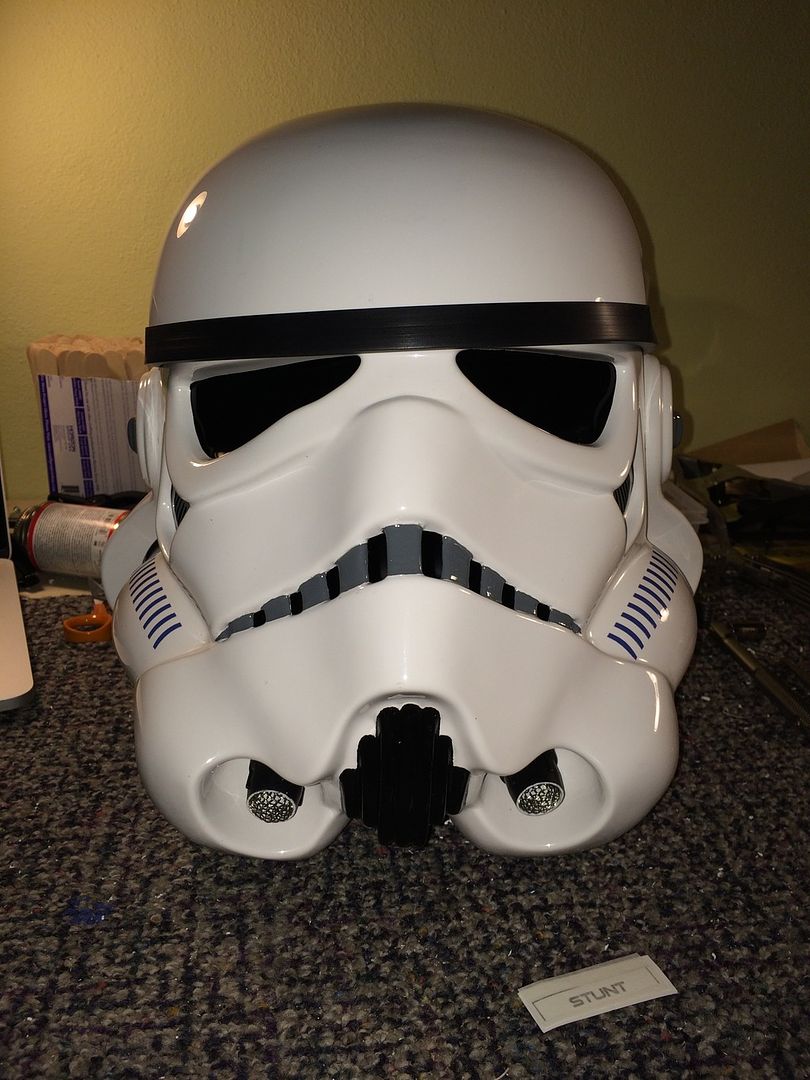
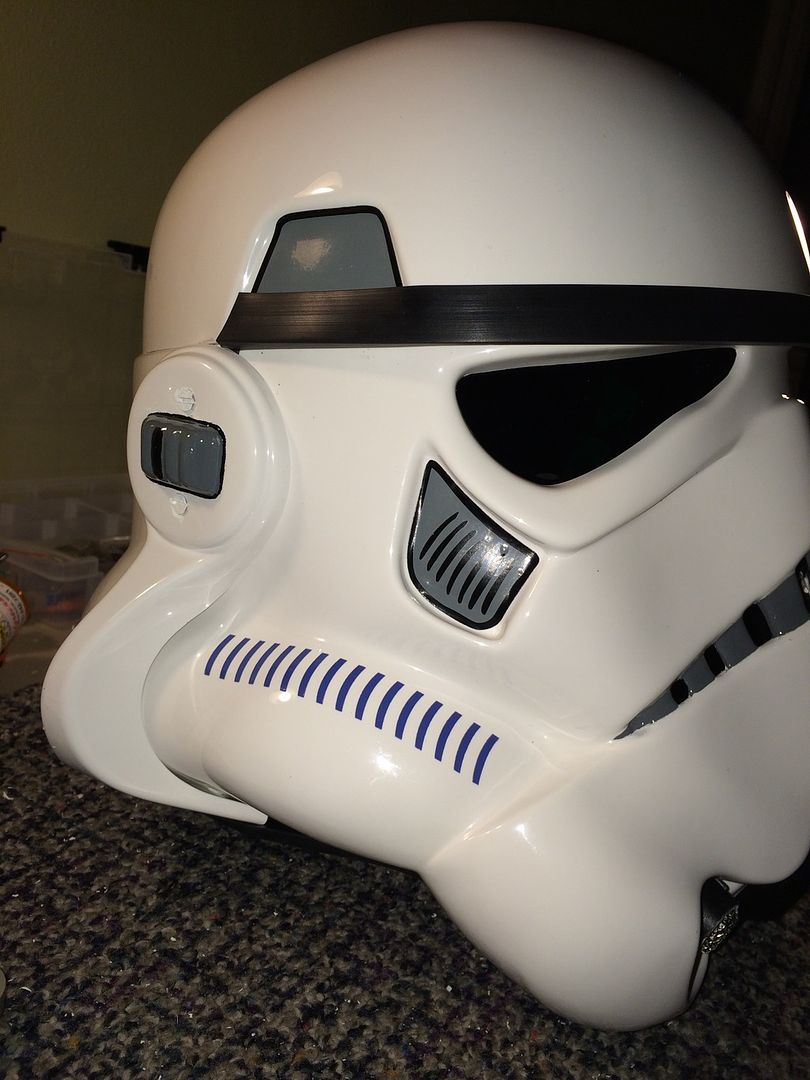
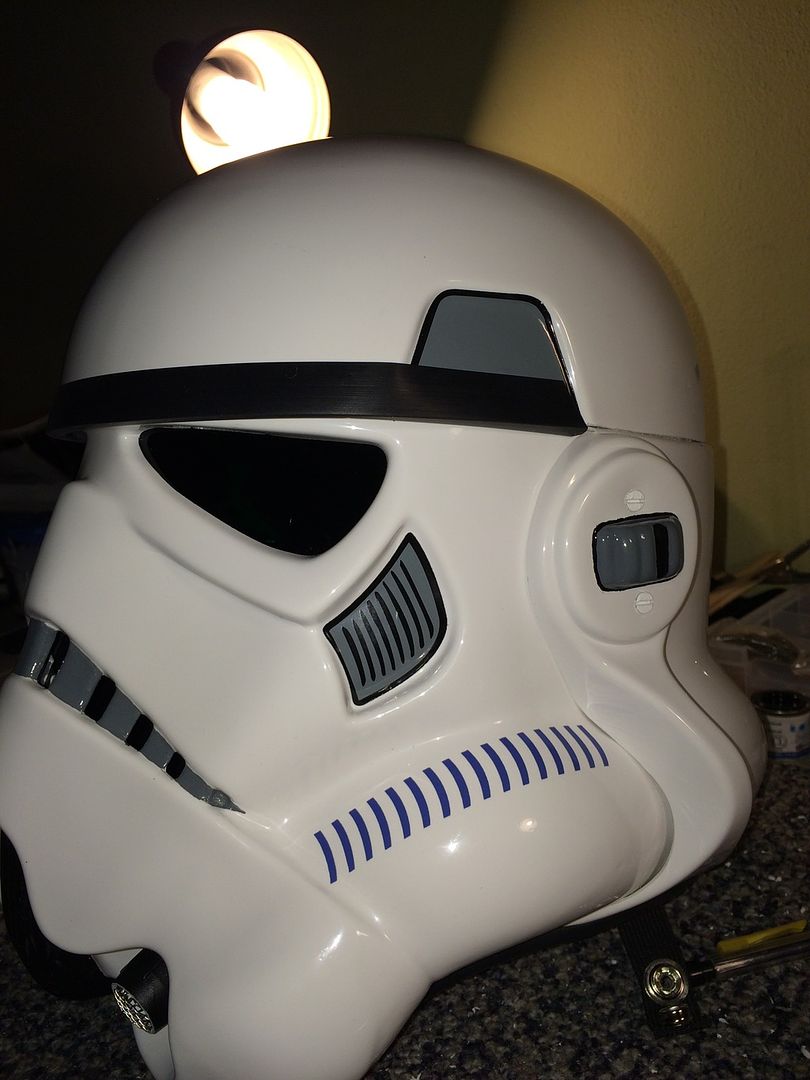
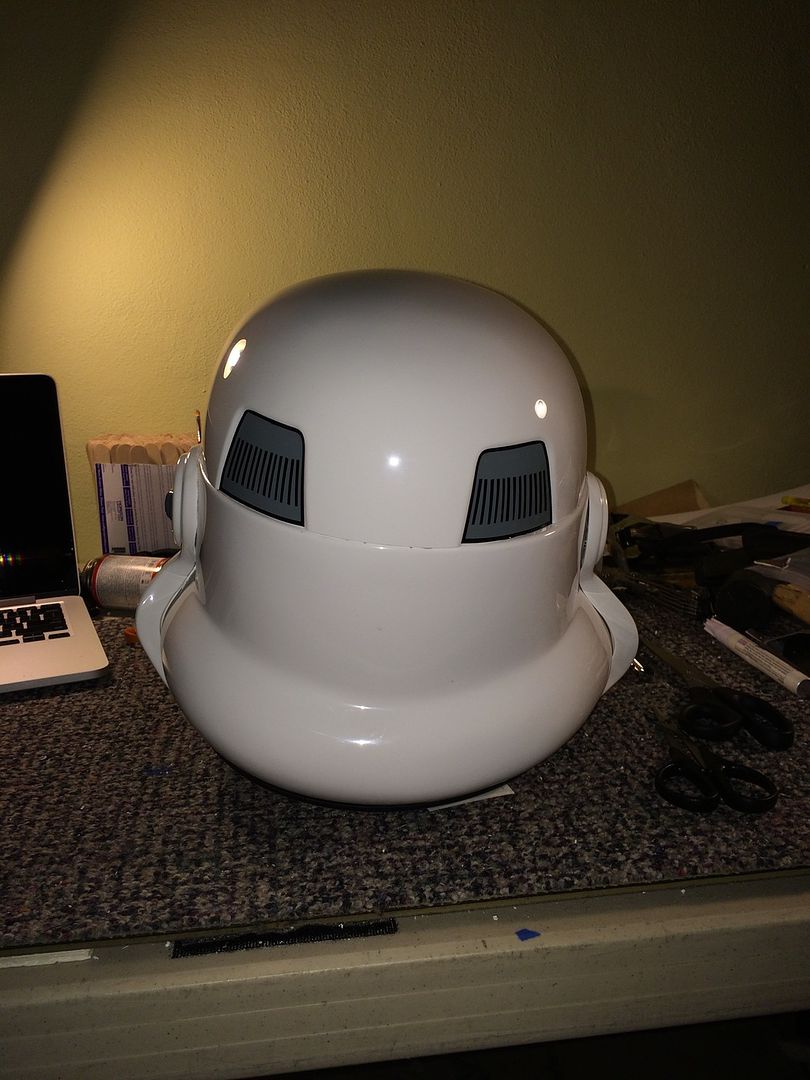
-
Hmmm. Did you fill in the old holes?
Sent from my SAMSUNG-SGH-I257 using Tapatalk
Nope! They don't show so I didn't really see any reason to. Btw I only drilled new holes on the faceplate, not the back.
-
Yep, I painted the insides white...
http://www.whitearmor.net/forum/topic/19910-correct-hovi-mic-aerator-tips/?p=309707
I just made them all gloss black rather than going for matte or satin, since that's what I have, and I think it looks good.
I've been searching everywhere for this! And I just painted them with some old matte spraypaint I had. But I did paint them black. Inside and all. Looks like I have some more painting to do!
-
Man I'm having a hell of a time with my ears. Are yours to permanently fixed that you couldn't take the left ear off and show where you drilled new holes?
The new holes are below the original ones ~2mm and to the right ~1mm. Just far enough so the holes don't overlap. I'd take it off and show you but getting that bottom hole was quite the struggle. Really makes the helmet tight though.
-
I was actually thinking about gluing the screw to the mic tips. Also did you paint the inside of your mic tips white?
-
More painting updates! Got the frown done and ears almost done today. Just have to touch up the ears and add a bar. Then Ill add the decals, S trim and mesh and BOOM I'll be done. My speed rivets also finally came in so I installed the thigh ammo pack as well.
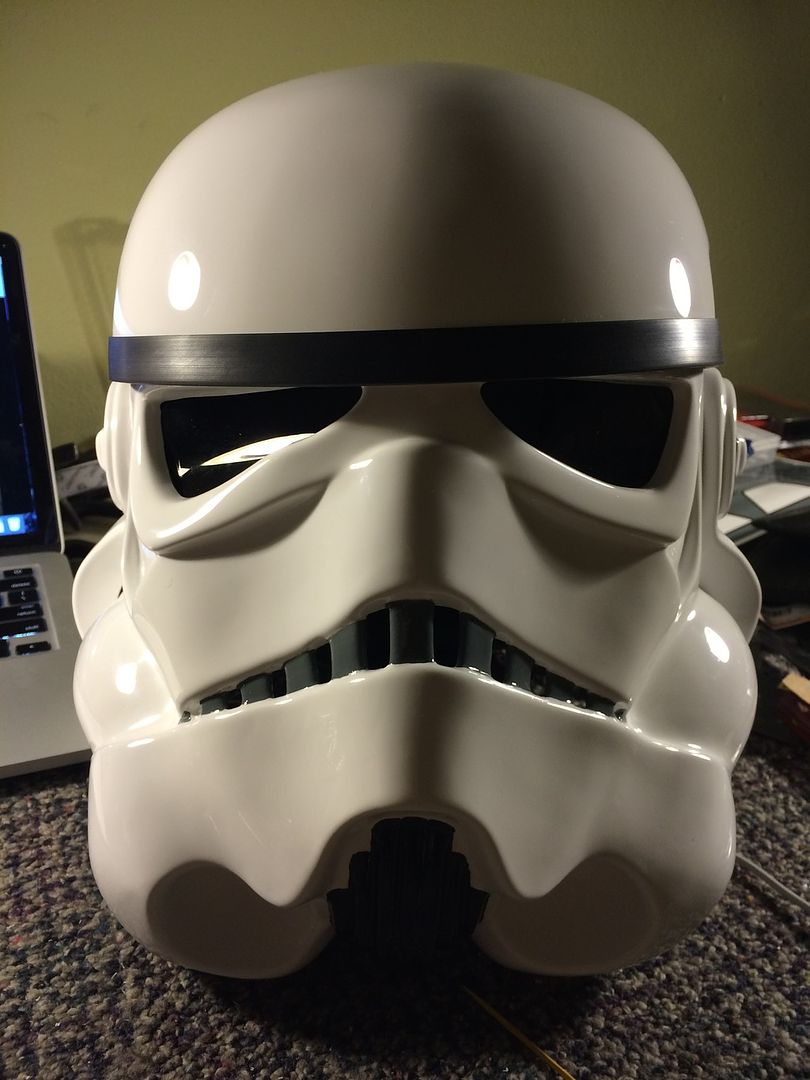
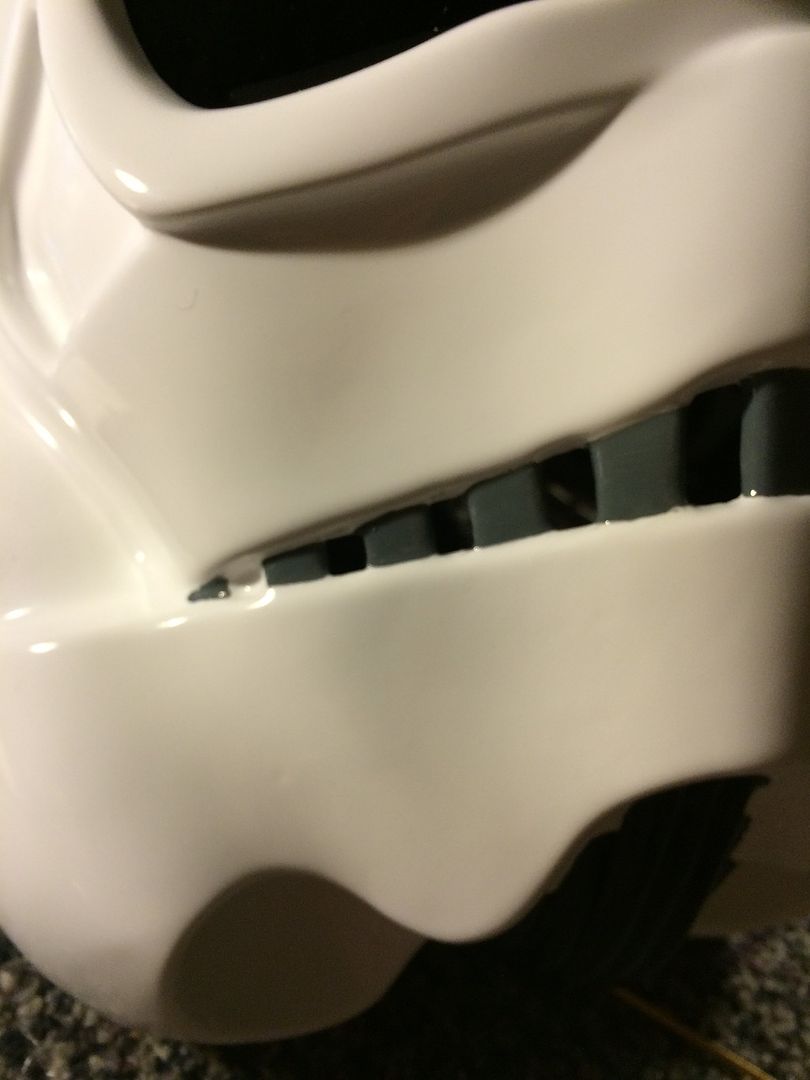
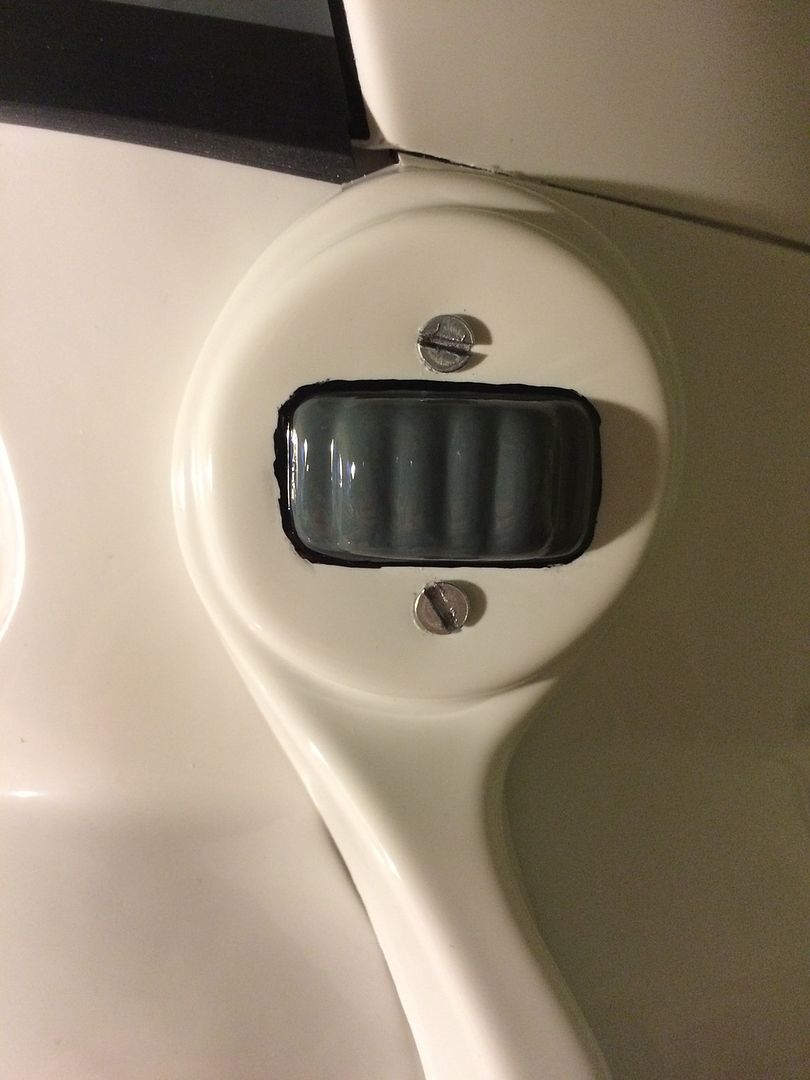
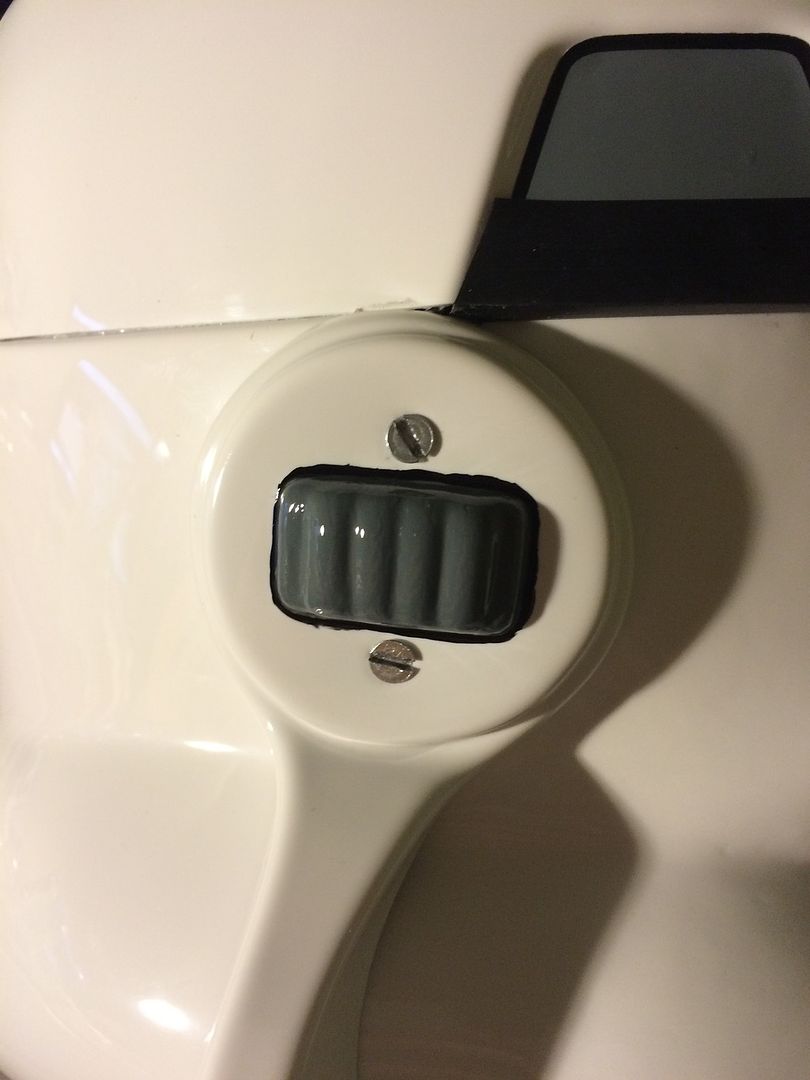
-
I put in the bubble lenses that came with the AM2 kit (for Hero purposes)... they radically alter what things look like outside the helmet. It's no wonder stormtroopers can't hit anything! I'll try taking a picture through the lenses to show what the world looks like from the inside. It would probably help if I had padding in the helmet so my head didn't wobble around so much. I'll get to that. (:
Yours looks good so far! How are you planning on doing the painting? templates or decals? or just freehanding everything?
*edit* ha, you posted the actual painting while I was typing this! Whoops. (:
I just realized how much smaller the ATA ears are than the AM2, as well... I might end up with a full ATA bucket at some point.
I'm going to freehand the teeth and ears. I'll just use the decals for the tears and traps provided. They are modeled after hand painted ones so I'm pretty sure they're up to Centurion standards.
About the ears: I've seen a couple of builds where they'll sand down all 4 bumps and add 3 bumps using modeling materials. It always ends up looking good after all the painting is finished. But to each their own. I've seen your build and your ears don't seem disproportional or anything.
-
Almost forgot! I also painted my ab buttons and trimmed up the shoulder straps. Just some easy stuff I could do while I was taking small breaks from the helmet.
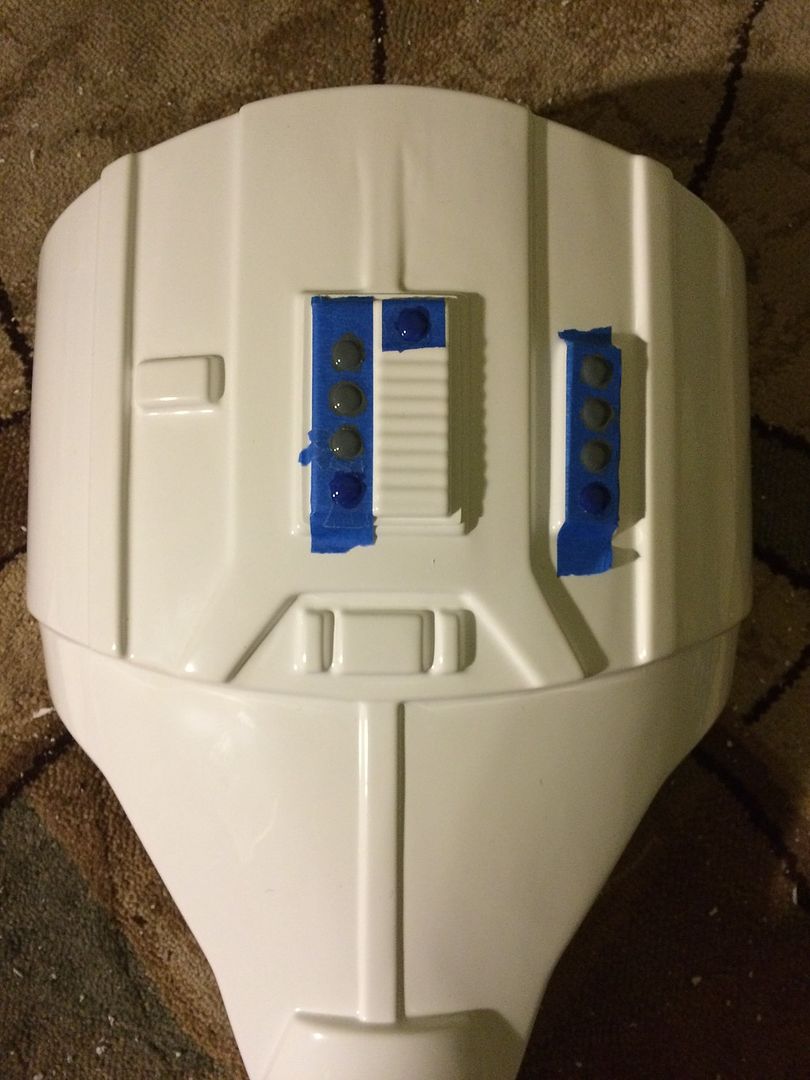
Partially trimmed:
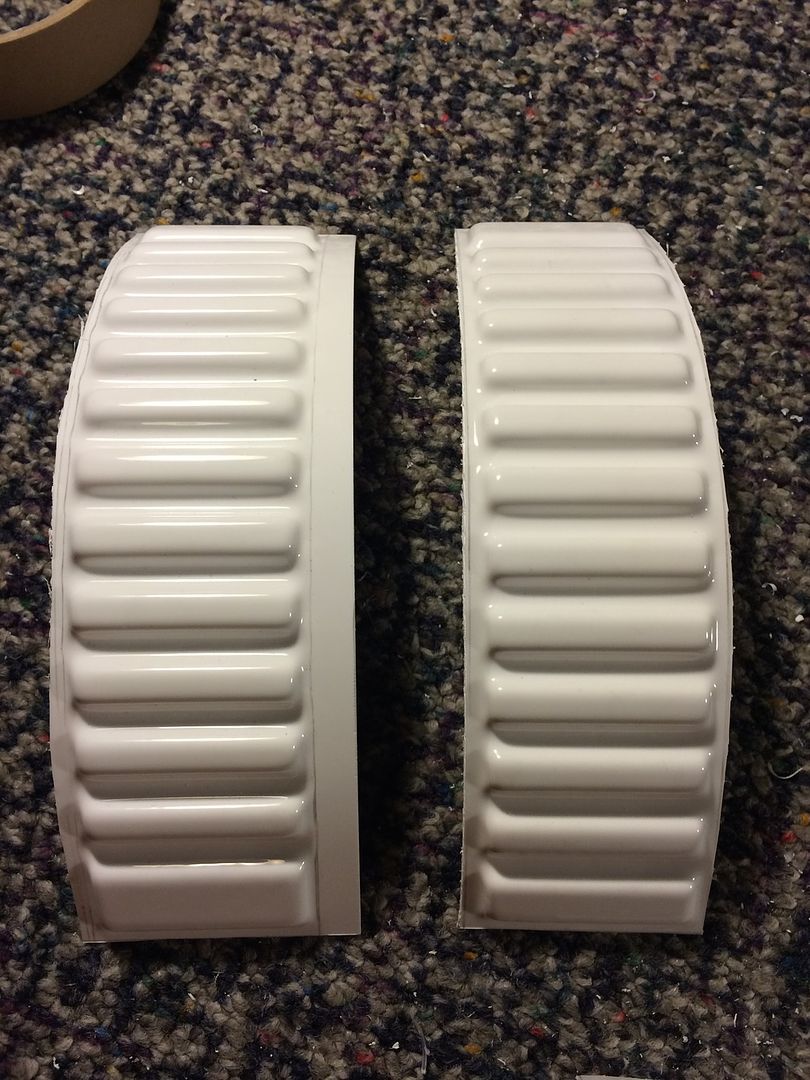
Measuring made easy!
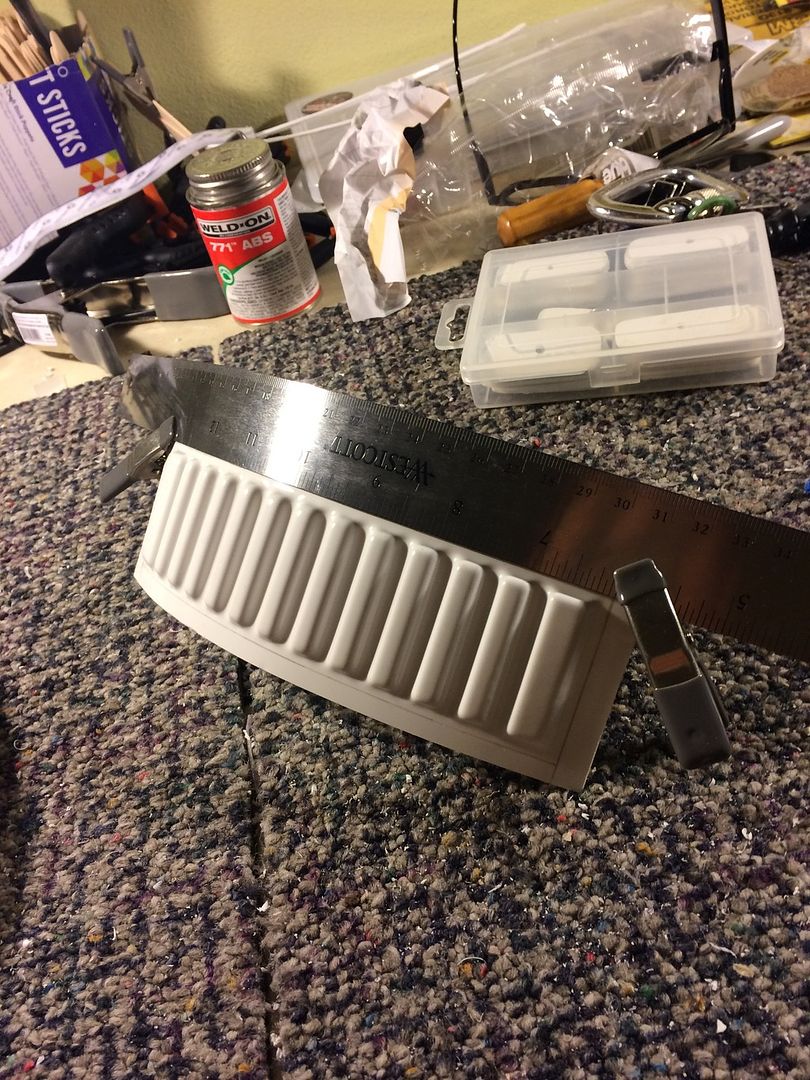
All done! Just need a bit of sanding.
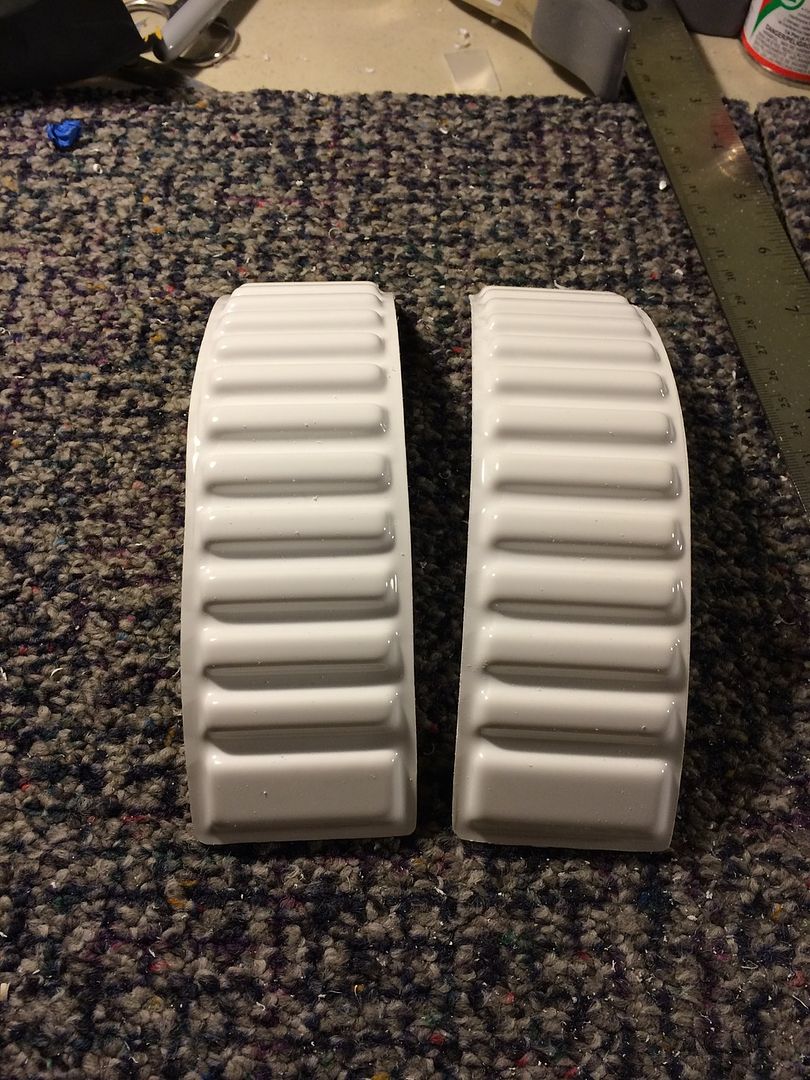
-
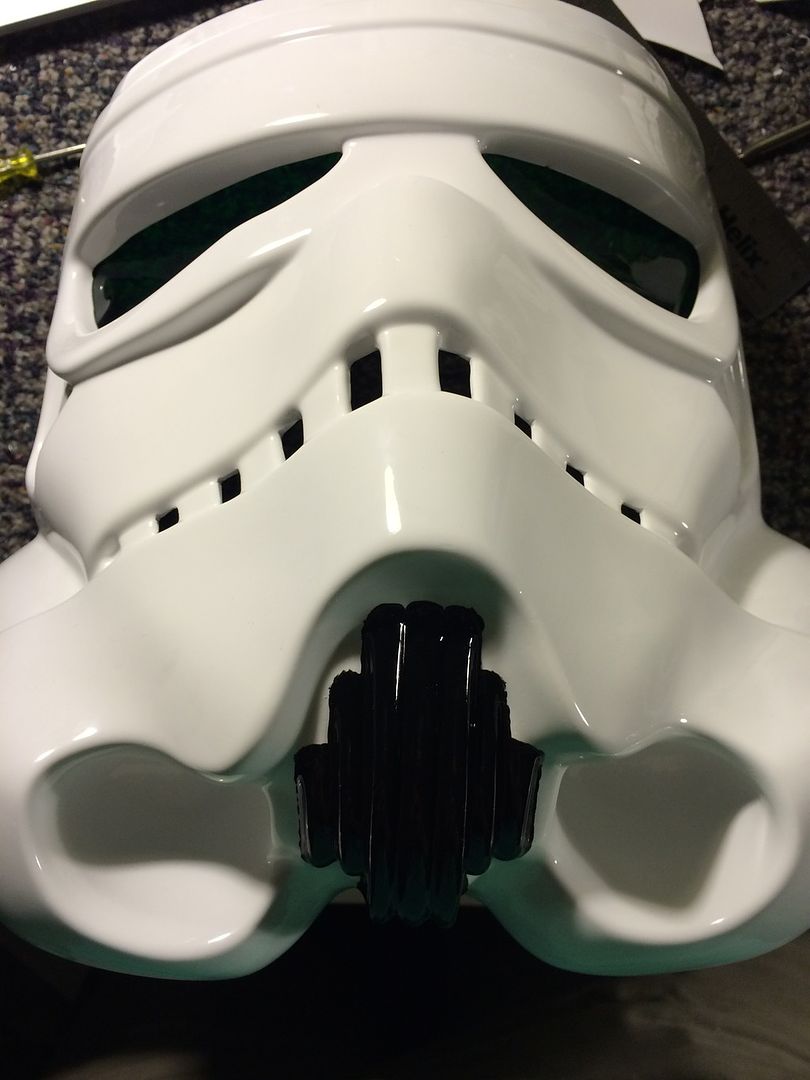
Then I started painting! This was probably my favorite part of the helmet so far. I just really liked painting it. I did this freehand with no tape. So I'll probably go back and touch it up with a toothpick.
And now the ears! The right was so easy. The left ear was a pain. I also had to re-drill holes in the left side to straighten the brow. The pre-marked holes gave it a slightly crooked brow. Anyway I have a little bit more trimming on the right ear, but it's basically finished.
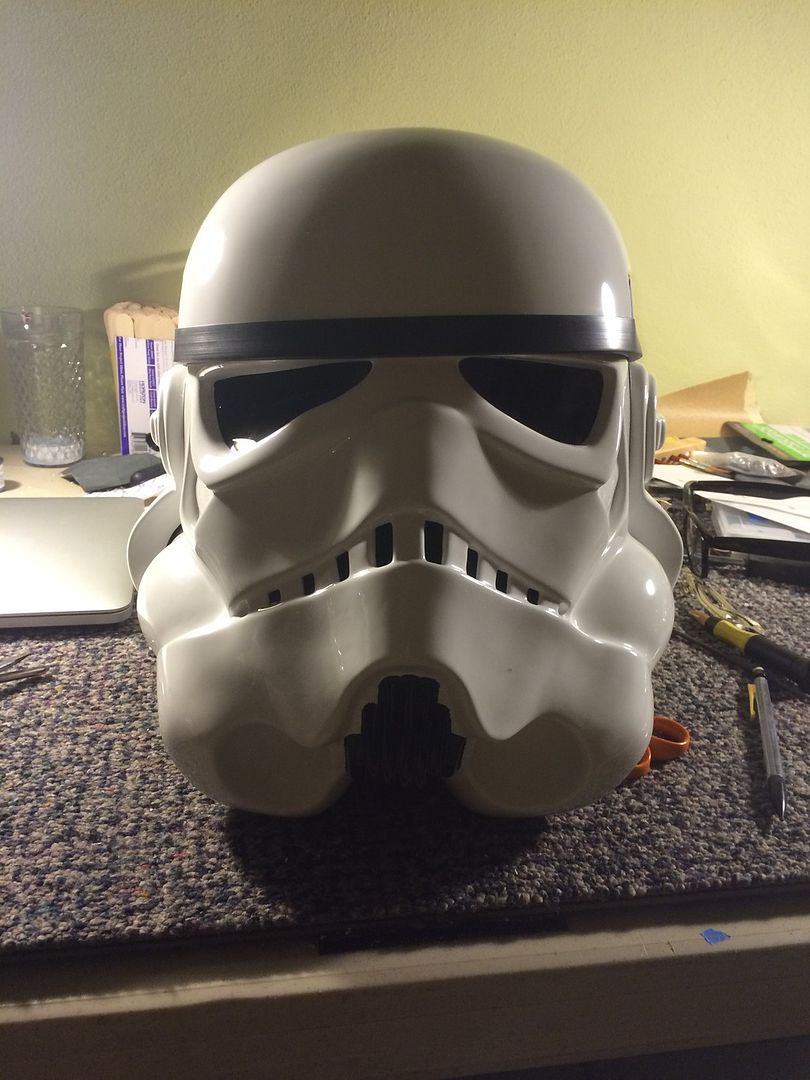
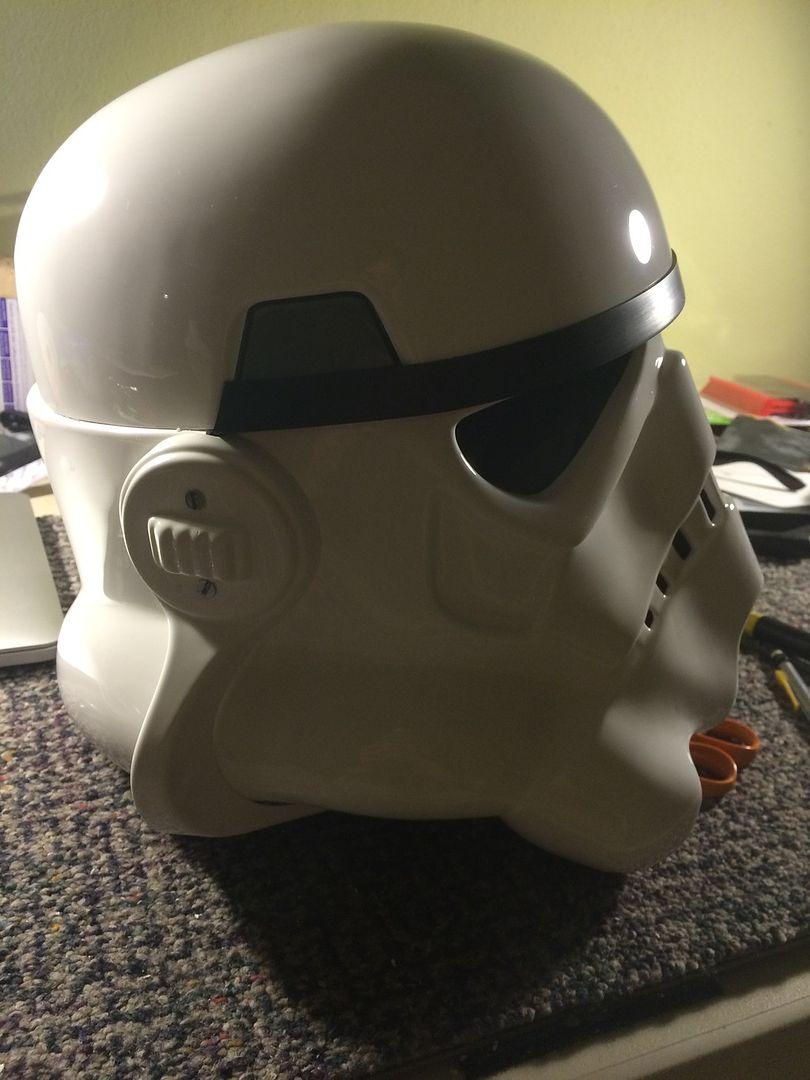
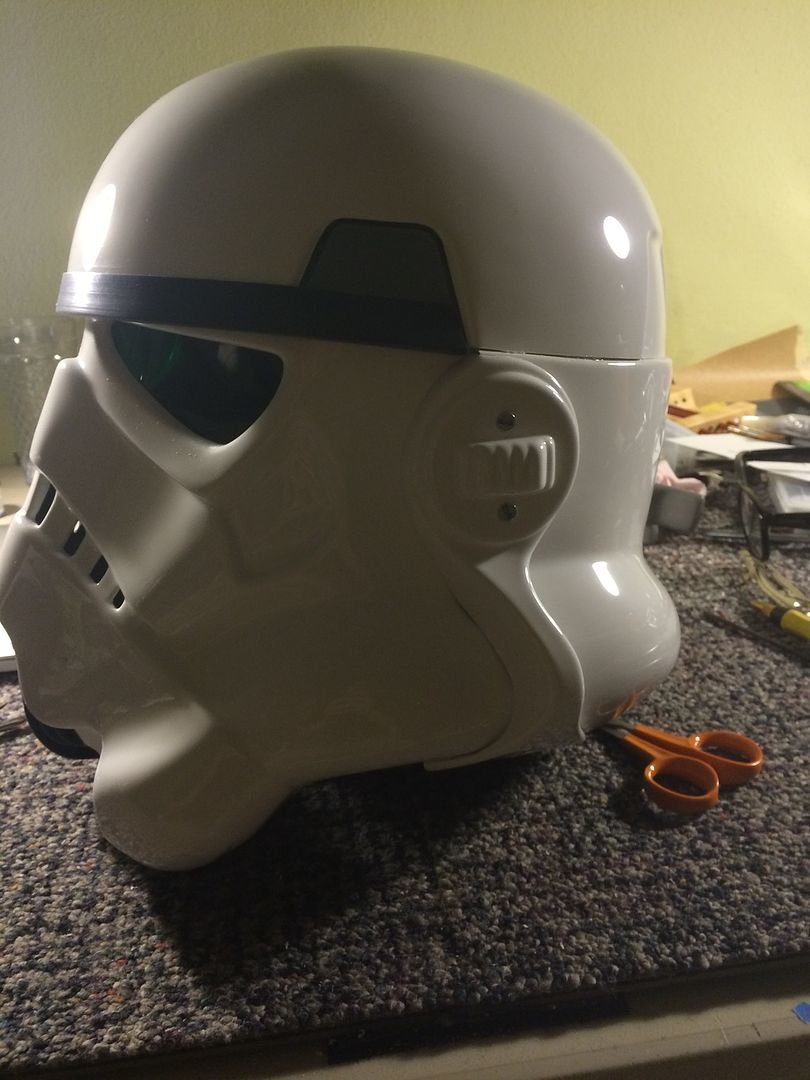
-
 1
1
-
-
Helmet time! Got my Plastidip and sprayed it up nicely.
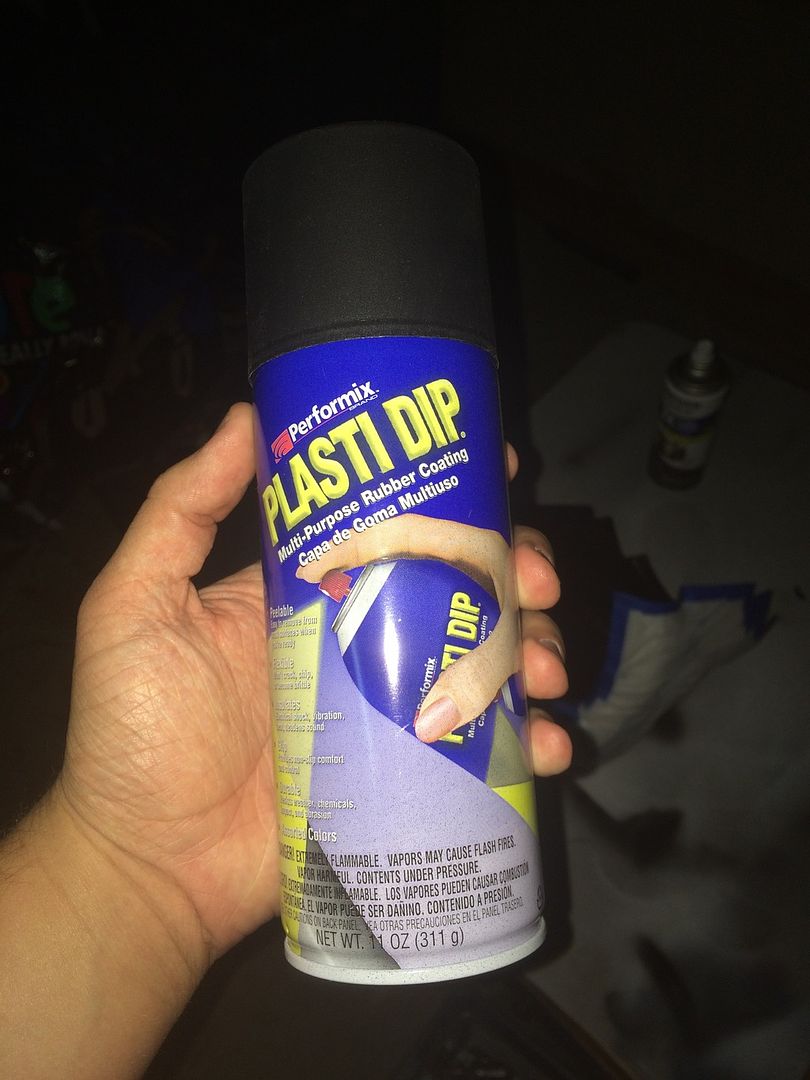
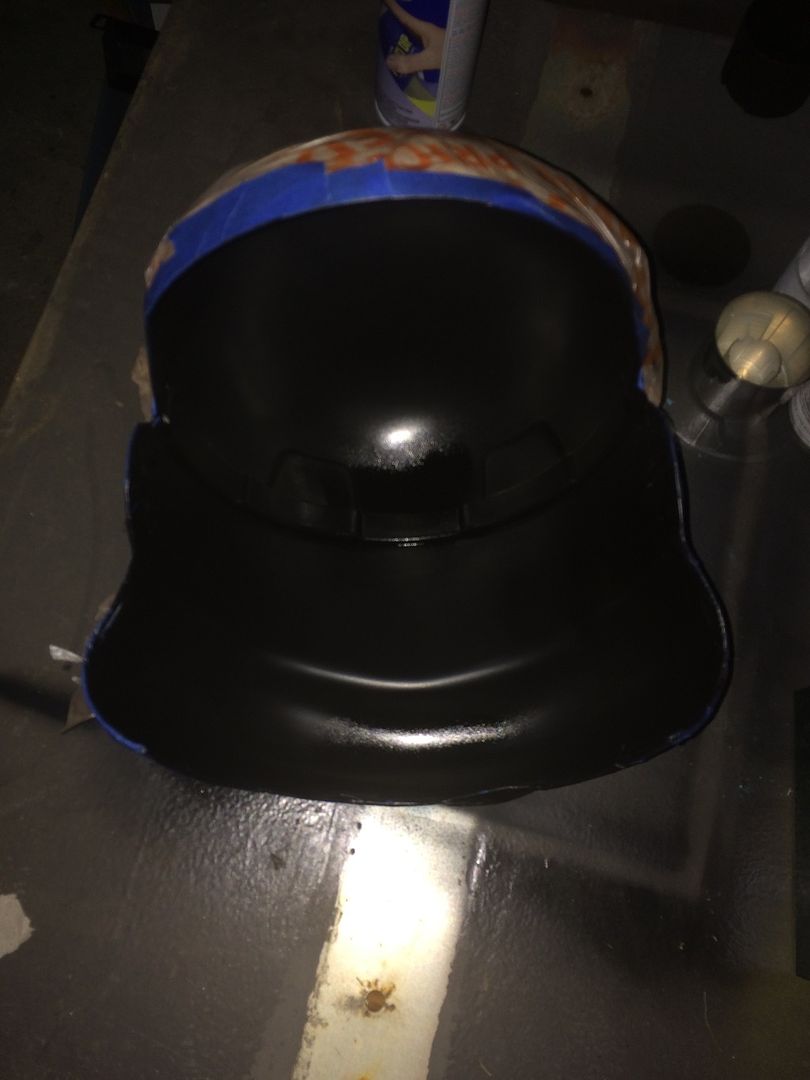
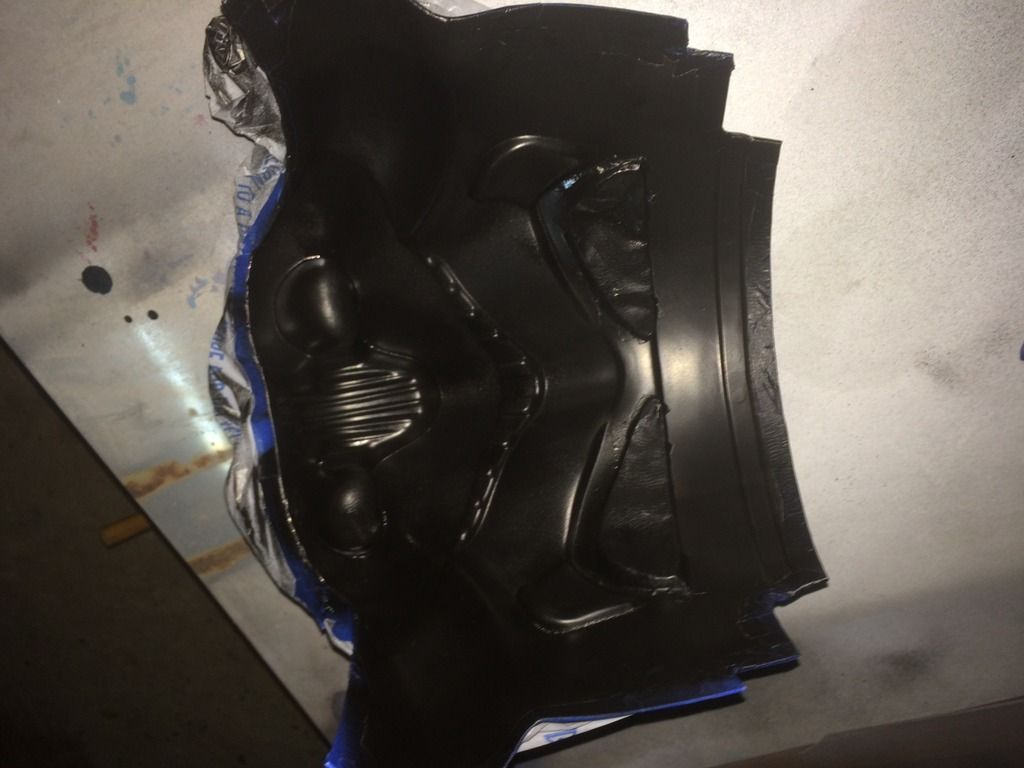
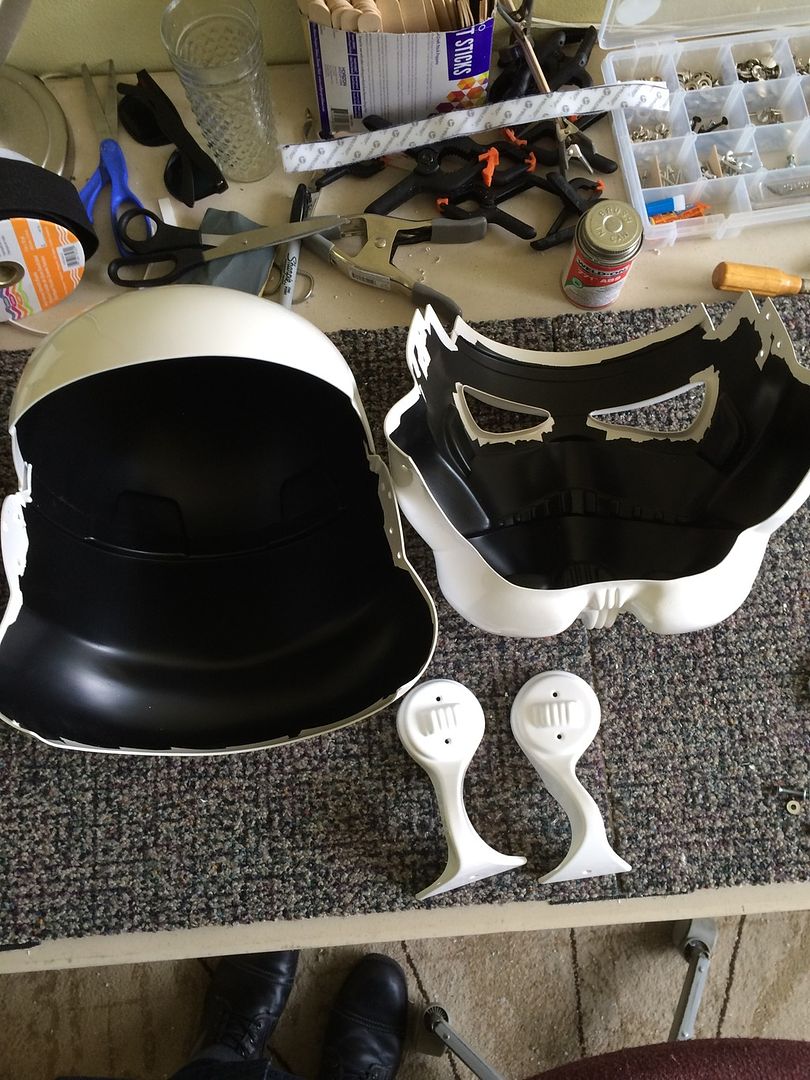
Word to the wise: Cut and sand your helmet before you spray with this stuff. It's a rubbery finished so any shavings you cut or sand off just stick straight to it. I made this mistake and now there's little pieces of plastic stuck everywhere! Nothing a dry T-shirt wont wipe away though.
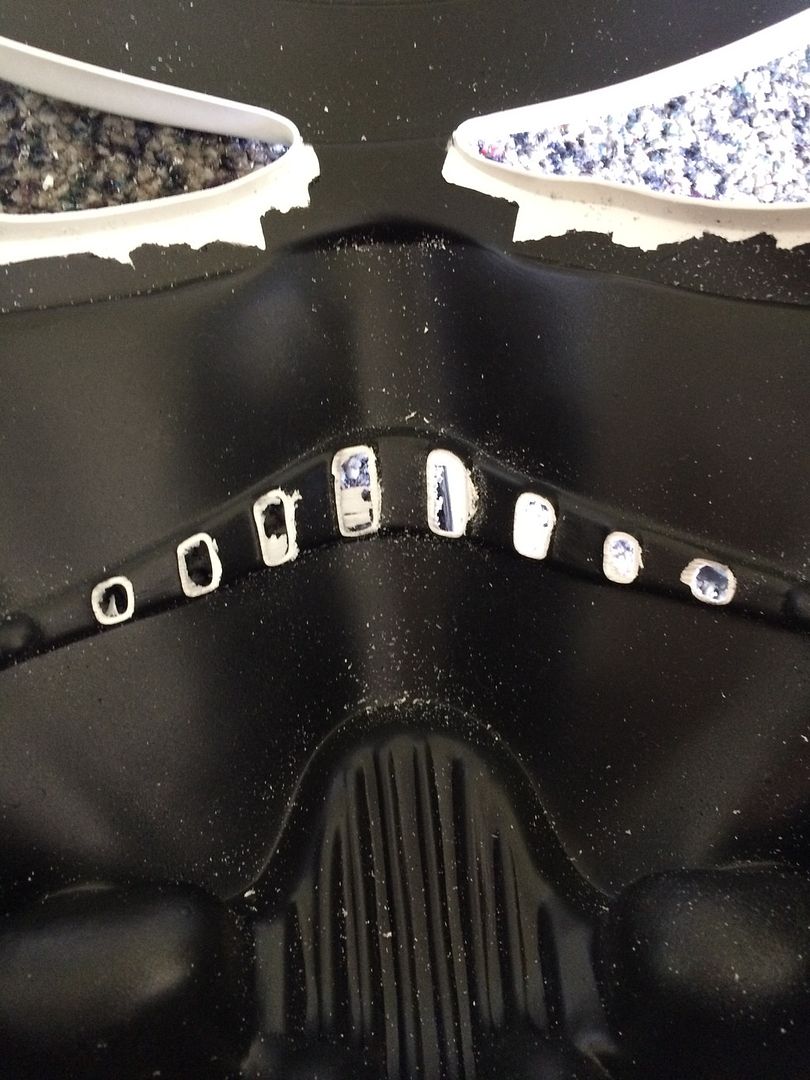
I was happy how my teeth came out. That right tiny tooth scared me. Almost cut too far and made it too big. Be careful with those dremels!
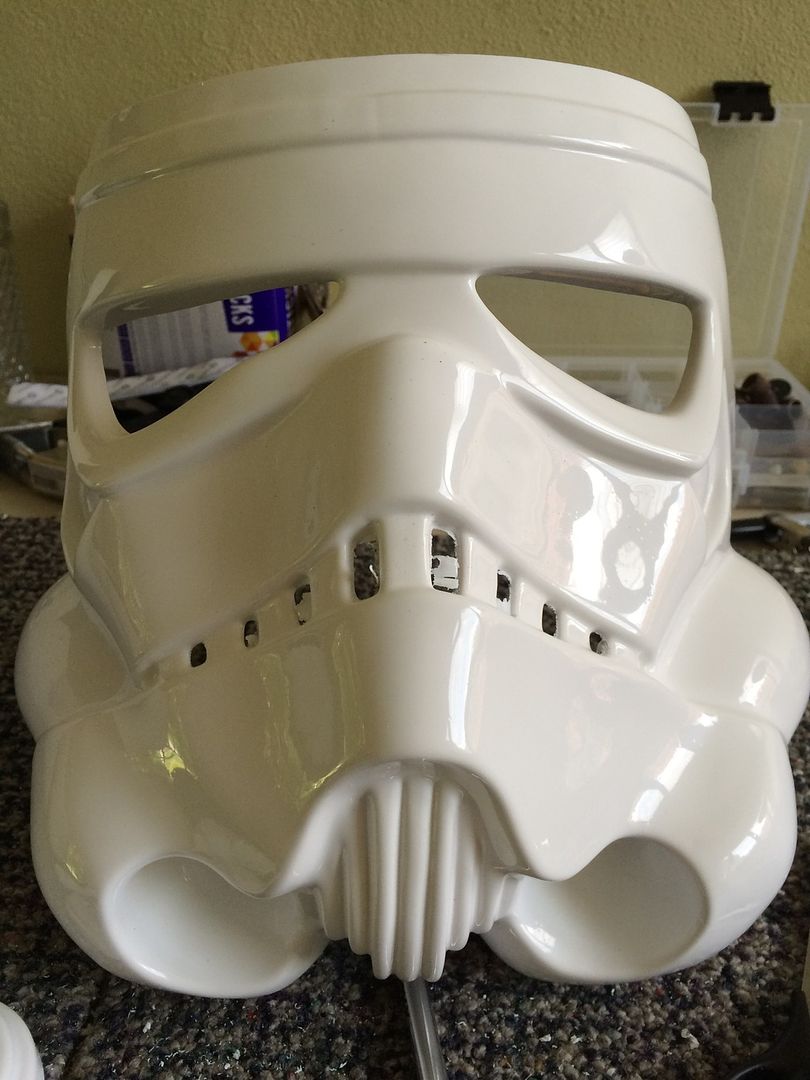
I installed my lenses using this method. I wanted to go ahead and install some lenses. Ill definitely get some thicker ones in the near future. Thats the main reason I decided to use this install.
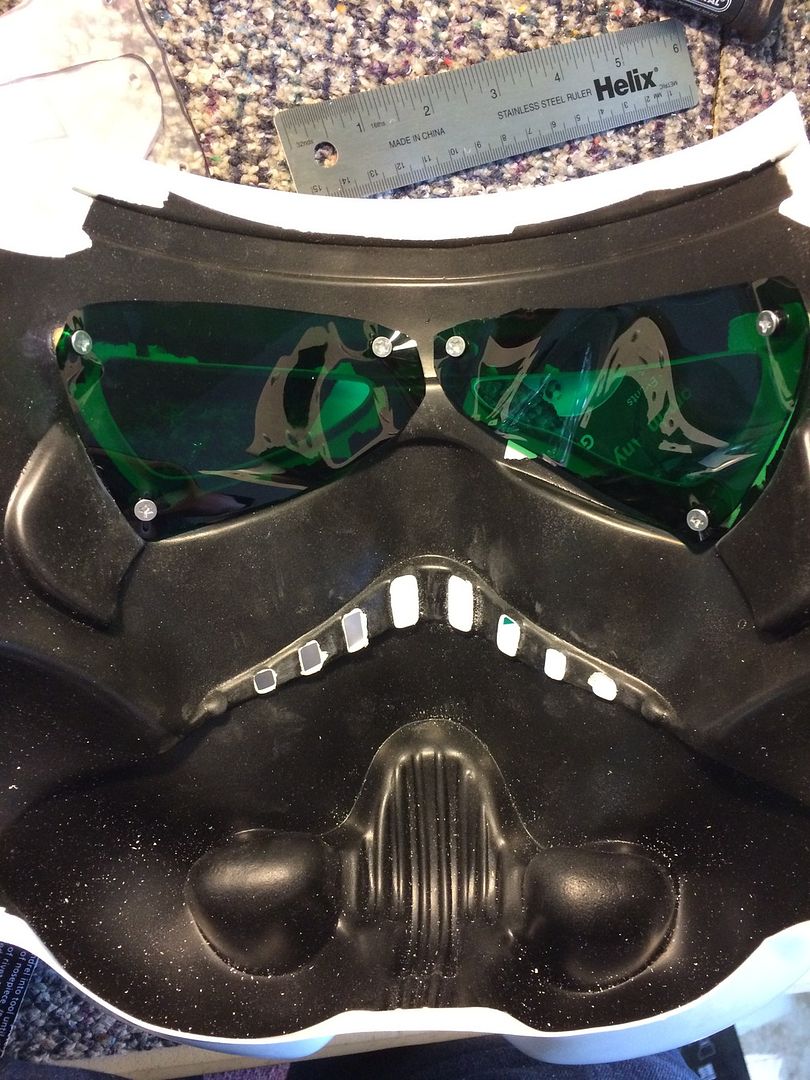
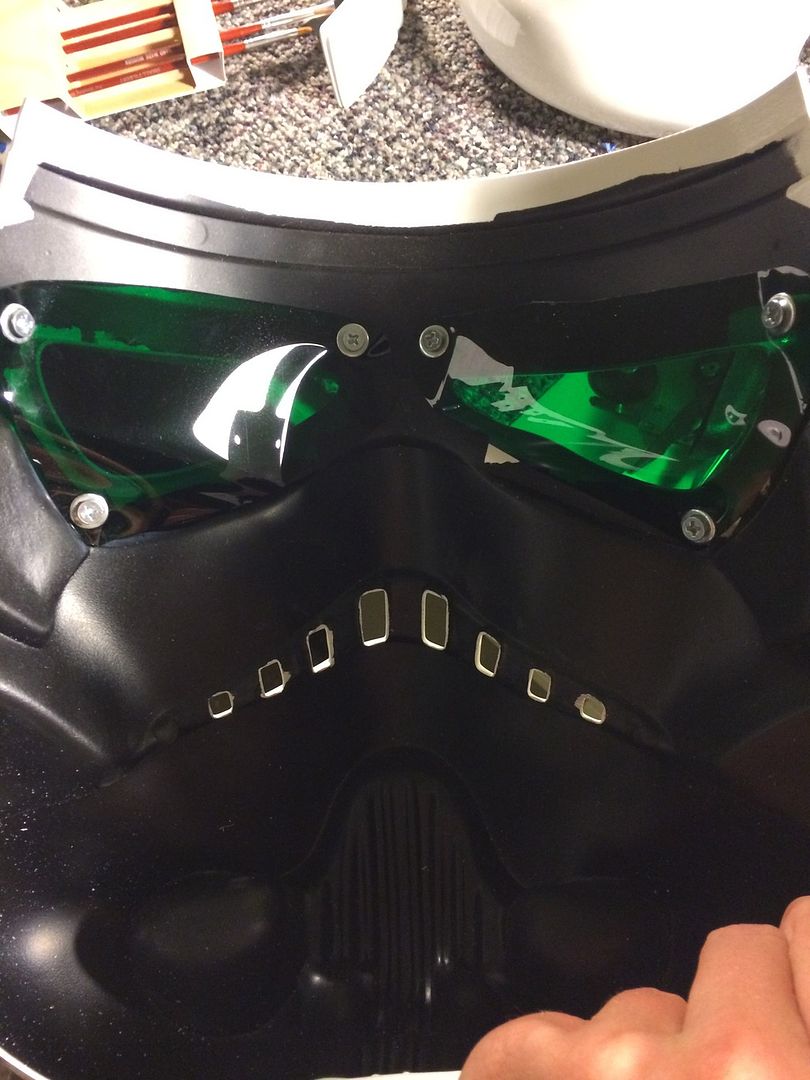
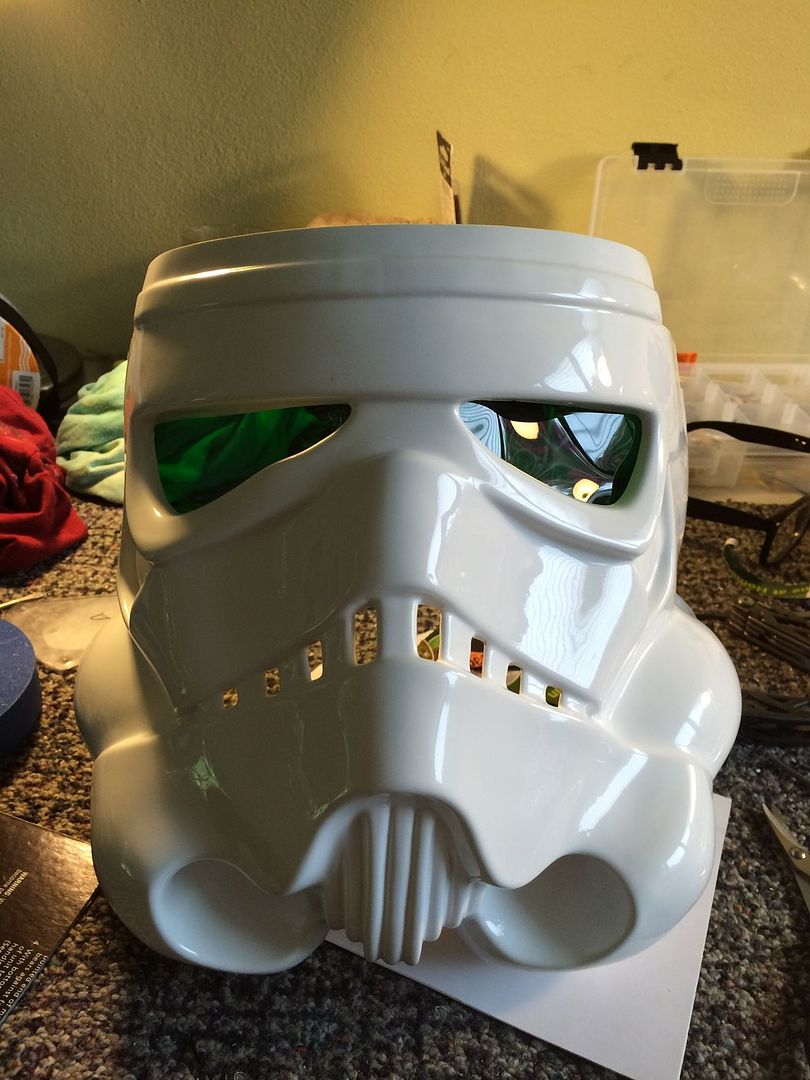
-
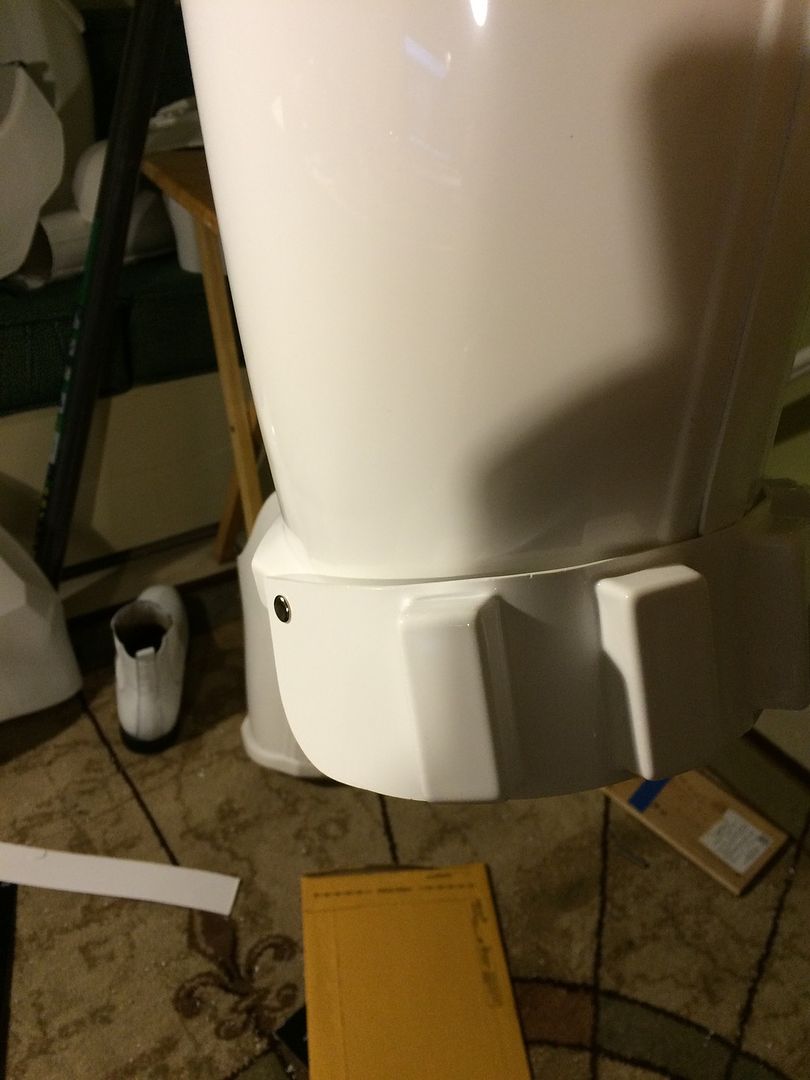
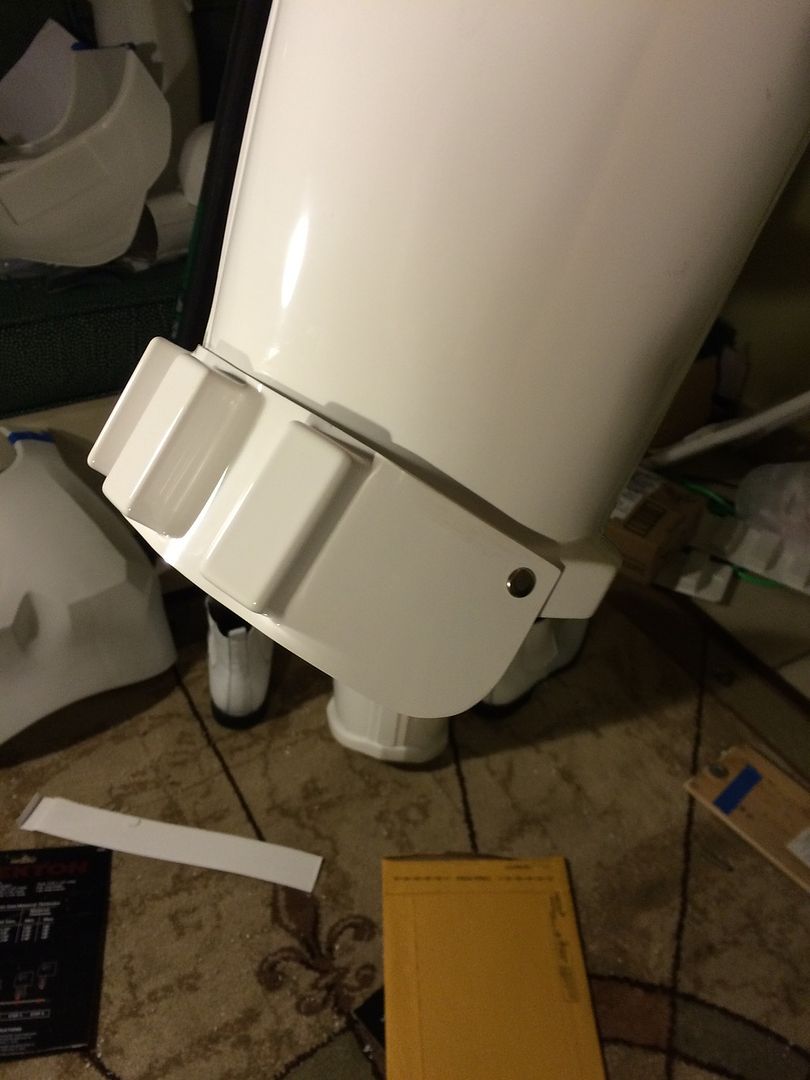
What you have done so far looks really good. I'm about to put the sniper knee on, and noticed a big gap under the middle of it. I guess that gap is OK? I always thought it was flat to the armor on all three sides.
You rounded off the snap plates a lot more than I did! I just trimmed off the corners with my curved lexan scissors, but left the rest of the edges straight.
Not sure about the gap. But I think it looks good. The only requirement is that it lines up with the other lines on the calf. And yeah I did sand a lot. I really don't want anything snagging my undersuit. So i sanded the corners and the top so their all smooth.


Rubies E-11 Conversion for EIB?
in FISD Expert Infantry Badge (EIB) Requirements
Posted
bump for an answer!