-
Posts
15 -
Joined
-
Last visited
Content Type
Profiles
Forums
Gallery
Articles
Media Demo
Posts posted by kafer1964
-
-
That was an issue, I did 12 hours not 24. Here are some of the gaps, one side I took apart to try again.
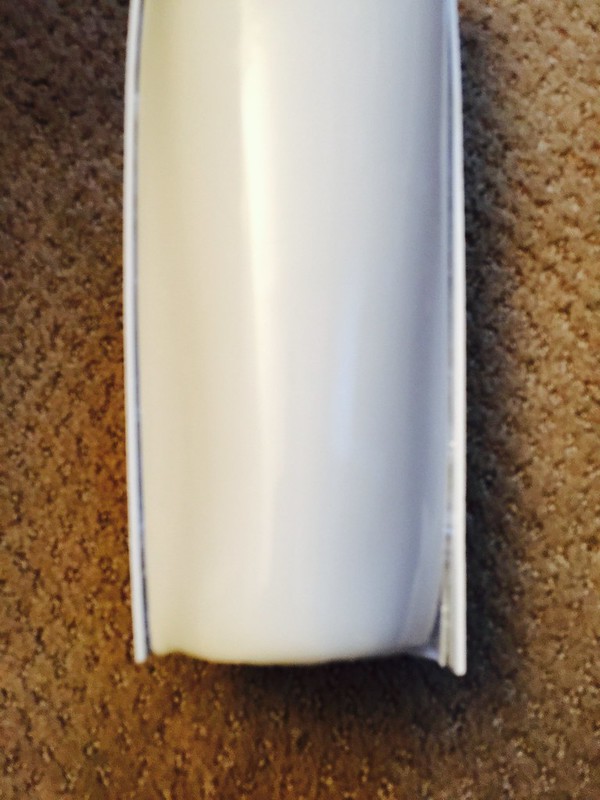 Forearm Gap by Lee Bryant, on Flickr
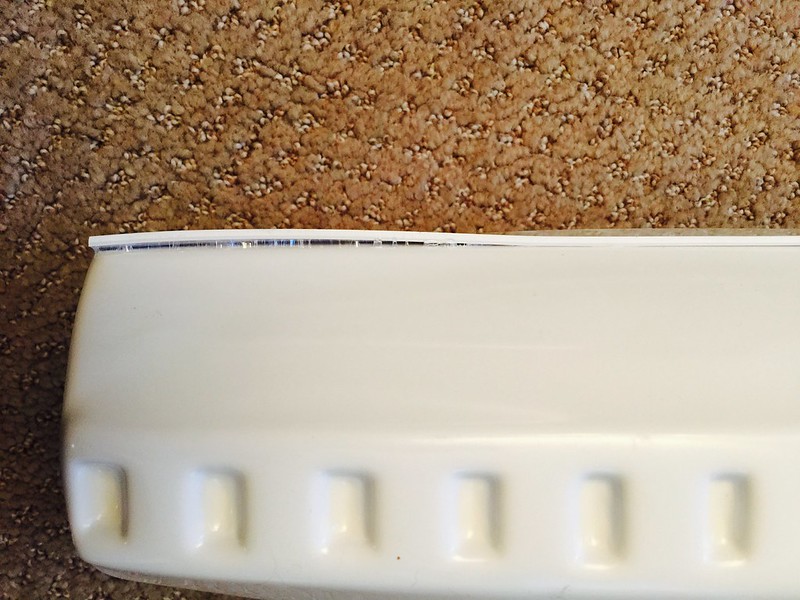 Forearm Gap 2 by Lee Bryant, on Flickr
 -
I am going to hit this with super glue and some C clamps and see if I can get it to lay down.
-
How are you gluing them together? Are you doing butt joins and using an inner strip? While an inner strip isn't necessary, it makes it a lot easier to line parts up.
No inner strips, I was following TrooperBay's video and didn't add them. I am using E6000 until my Zap a Gap gets in.
-
I started my forearms yesterday and came across difficulty when I was trying to finish glueing the forearms together. Pushing the forearms together was practically pulling the other side apart. I used lots of clamps and painters tape to hold it together but it may have some gaps. Question is, is this due to the lack of trimming on the ends that adds stiffness to the parts?
-
I think I will paint the rest of it by hand, the cheek stripes and everything else. One thing I noticed was there is a certain way the tube stripes dip in the front. Did it vary much on helmets that were made for the sets? Any warnings on painting before I start?
-
Overkill. If you are concerned with minute detail like that you've started with the wrong maker and material of helmet.
I wondered if it was overkill. The good thing about FISD is there is a wealth of information posted and discussed. The bad thing is the volume of it. Sometimes searches are like sifting through chaff for the wheat.
-
Here is a question I have grappled with a little. If I am building a ANH Stunt helmet, really shouldn't I paint it white to make it authentic? Meaning, Stunts were painted, Hero's were ABS and not painted.
-
This is a great website to see original ANH helmets for the style and painting. Wish I had one!
http://starwarshelmets.com/original-ANH-Stunt-Stormtrooper-armor-helmets.htm
-
Don't cut the bottom of your helmet! Every TK has to screw their bucket on. Just the way it is. By trimming the bottom off your helmet you will lose the overall esthetic of the bucket. You also lose prime real estate for your electronics.

Roger that, I will just trim to allow the neck seal to run.
-
Looks like you're off to a good start. I have AP and love it.
I would trim some of the hanging edges you have off the eyes and open the teeth up more. You can trim off a little bit around the neck to keep from scratching you face up but yeah, the screw on and off method is the way to put the helmet.
If you haven't seen it yet, think about painting the inside a flat black. It will help keep sum light out and make it more mysterious when the little ones try looking up your helmet

Best of luck with your build!
Thanks, this is how I received it and haven't really trimmed it yet. I plan on paining the inside with Plasti dip, and plan on hand painting the outside gray areas myself. The blue stripes I have the decal for.
Ah well, if I have to screw it on that is OK. I just hope I can get a few electronics in there.
-
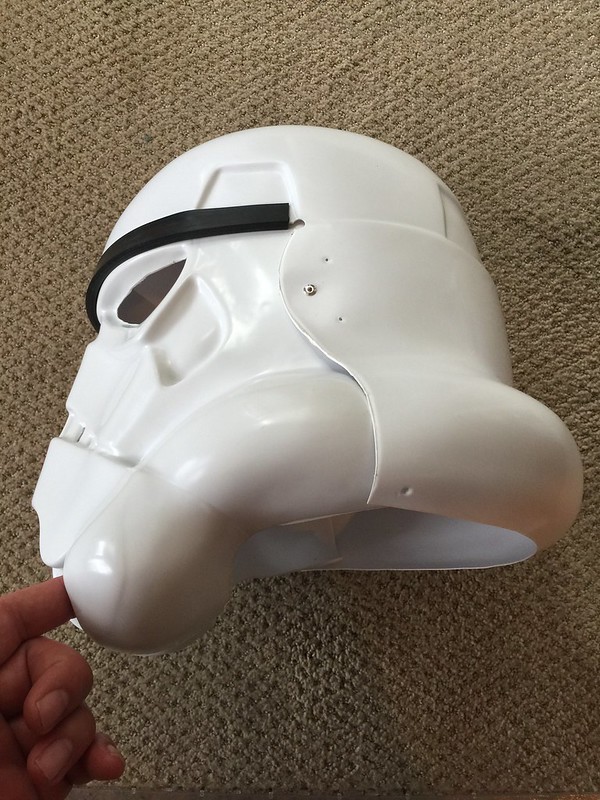
Hello all, I have been on this website quite a few times in preparation for my NH AP Stunt build. I purchased the box of armor from a fellow 501st member near me that is moving onto the Imperial Guard. The helmet already has holes drilled and rivets on the top part of the helmet. I did have a question about this on the top of this forum but will continue my build here. The rest of the armor is as it was delivered a few years ago from AP. I have already noted the helmet is small and I will be trimming off the bottom to get my head in there. Really I don't want to have to put it on sideways and screw it on if I can help it. I really wanted a helmet with fans, hearing amplification and hovi speakers in it, so I hope this has the room.
If I can get EIB with this setup that would be great. If not that is OK, I just want to look pretty good.
I have already received a E-11 kit from Derek in Germany, ready to be assembled and with an aluminum barrel to boot. I am ordering boots from LiquidSoftChewie and already have the neck stock, and under garments.
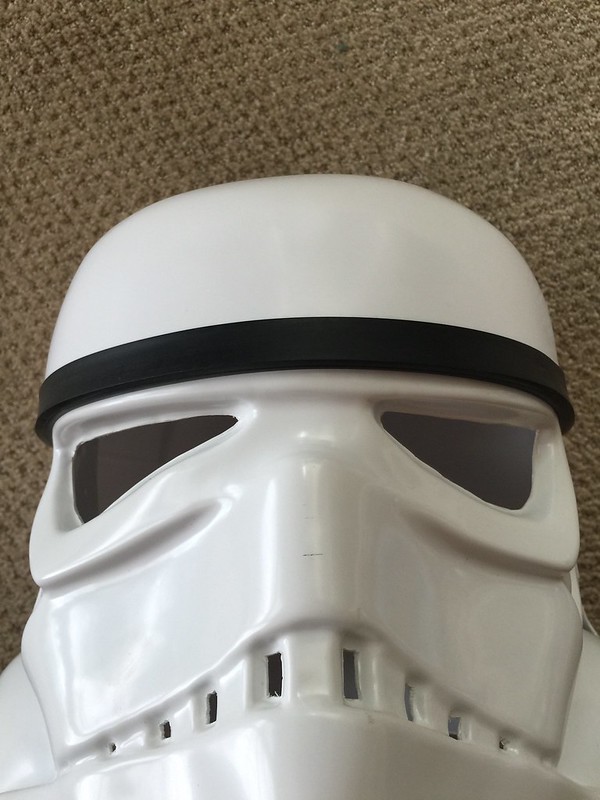
I will send a picture of the box-o-armor, here is the helmet. Lee
-
Helmets having small openings is common. That is why you have to "screw" them on.
But still: pics would be great ...

The Brow is where I want it to be.
The holes have been drilled to connect the helmet and the top rivet is in place. The bottom rivet is not.
The bottom holes have been drilled for the rivet, but rivet is not in. This is pretty snug getting on my head, I have to turn it sideways and spin it on. I was asking if this can be expanded by removing the top rivets and drilling a new hole for the top and then bottom, but I think how the helmet back sets with the front, this isn't possible. Thoughts? Thanks, I will be resuming with my build thread in the sub topic.
-
Greetings all, I have been reading this website and planning my TK build. Locally, I found someone who had bought AP armor but stopped on the helmet and planned to go another route in the Imperial Guard. I purchased his AP armor and bought a E-11 from Derrek. My first question is on the AP helmet. The previous owner put the first two rivets on the top and drilled the holes for the lower rivets. If I were to use the lower holes drilled for the lower rivets, this halt would certainly not go on my head once trimmed and with the rubber neck trim, maybe sideways. I know I will be trimming off some around the bottom, but is this the case for AP helmets being small, and is there any tricks to make it bigger?
Lee



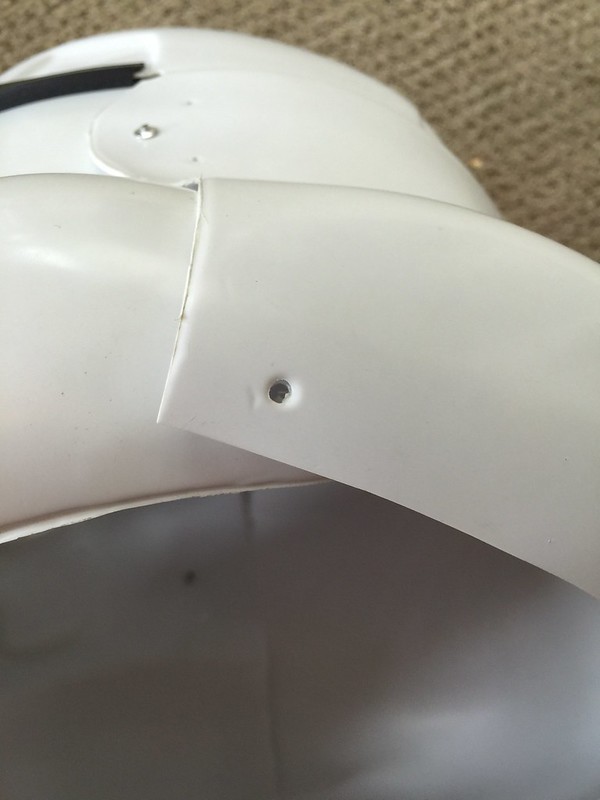
Kafer1964's AP Stunt Build
in ANH Build Threads
Posted
I am over clamping now if that is a term. I am also going to use Zap a Gap and the kicker from here on out. I am careful to check alignment now, and also fit. I did the forearms and biceps without checking them for fit first, they are a bit snug for sure.