


lucent262
-
Posts
29 -
Joined
-
Last visited
Content Type
Profiles
Forums
Gallery
Articles
Media Demo
Posts posted by lucent262
-
-
Yeah i was looking at the same actually last night, probably along the lines of what i was thinking...would that mean having to go with a Finn specific build ? or suitable as normal TK? I guess also its up to our local GML on what is acceptable / preferred ?
") I'm happy with either finish really , clean or slightly dirty, but think the dirty look does bring out some of the detail nicer on the armor.
I'm happy with either finish really , clean or slightly dirty, but think the dirty look does bring out some of the detail nicer on the armor.
-
I'll keep it clean then :-)
-
 2
2
-
-
There may be something about this already but was wondering if there is anything that says an FOTK must look clean glossy white or is it going to be fine and still pass ok if its more of a dirty look ? eg as they are on Jakku, a little dusty and sandy. Someone did a build recently of a more dirty looking trooper and i quite like the look as opposed to the usual super crisp clean white glossy look. thanks
-
8 minutes ago, Krisko720 said:
Started shaping the thighs. Got it pretty close to where I want it for the moment. These upper leg pieces have been the most tedious.
The fronts have somewhat of an acceptable shape. The rear pieces, however, are an odd sculpt. They also have no suggested points of alignment like all of the other pieces.
You really do have to cut away a lot of material in order to get the correct shape. I’m going to leave them for now and circle back around to them once I get suited up for a full test fit.
Just have to shape the overlapped parts on the sides now.


Sent from my iPhone using The Force
Just about to start doing mine also :-) luckily i have another kit to use as a template
-
1
-
-
Please enable 501st access
tk24812
https://www.501st.com/members/displaymemberdetails.php?userID=17837
thanks !
-
-
sent in request for approval so we'll see how it goes !
-
Yeah especially as i am quite tall, which is why i unded up making my own to make sure i had plenty on length.
-
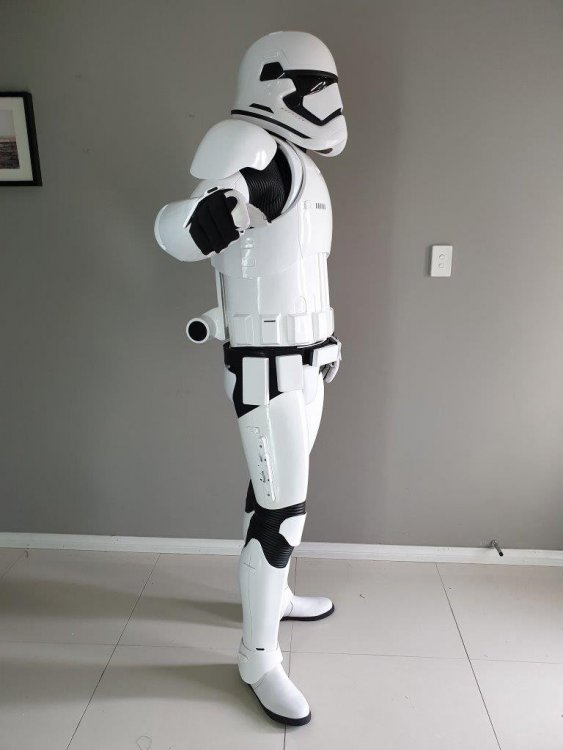
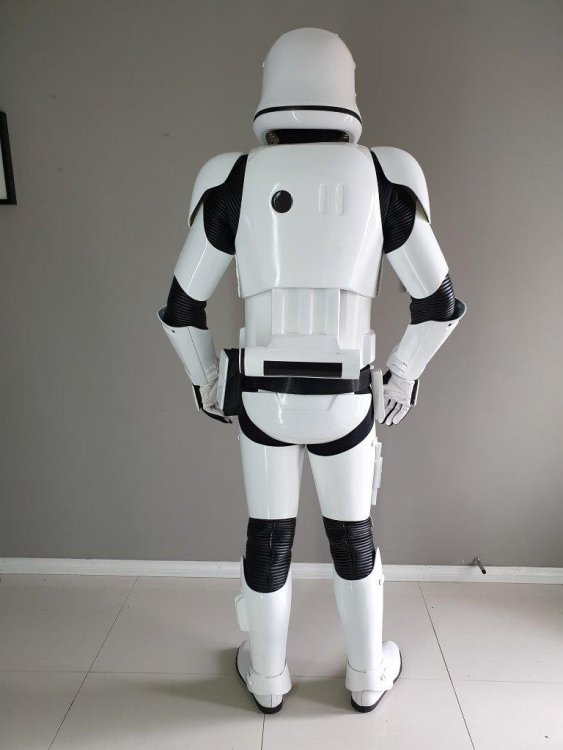
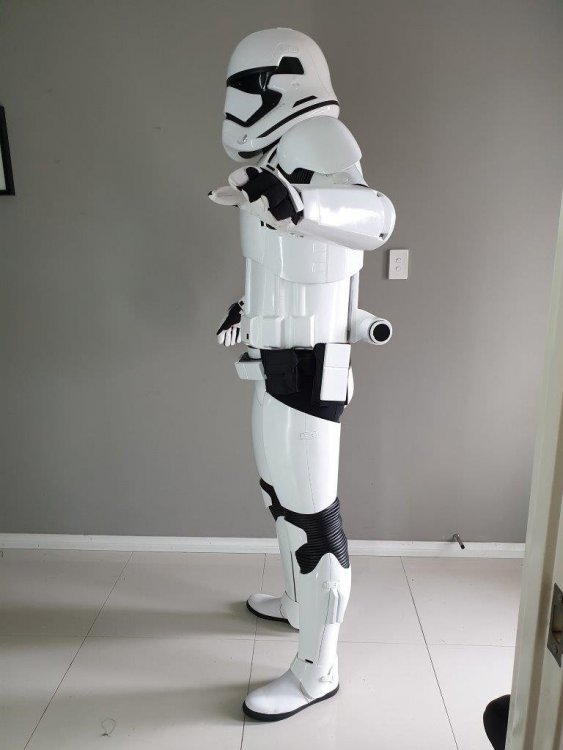
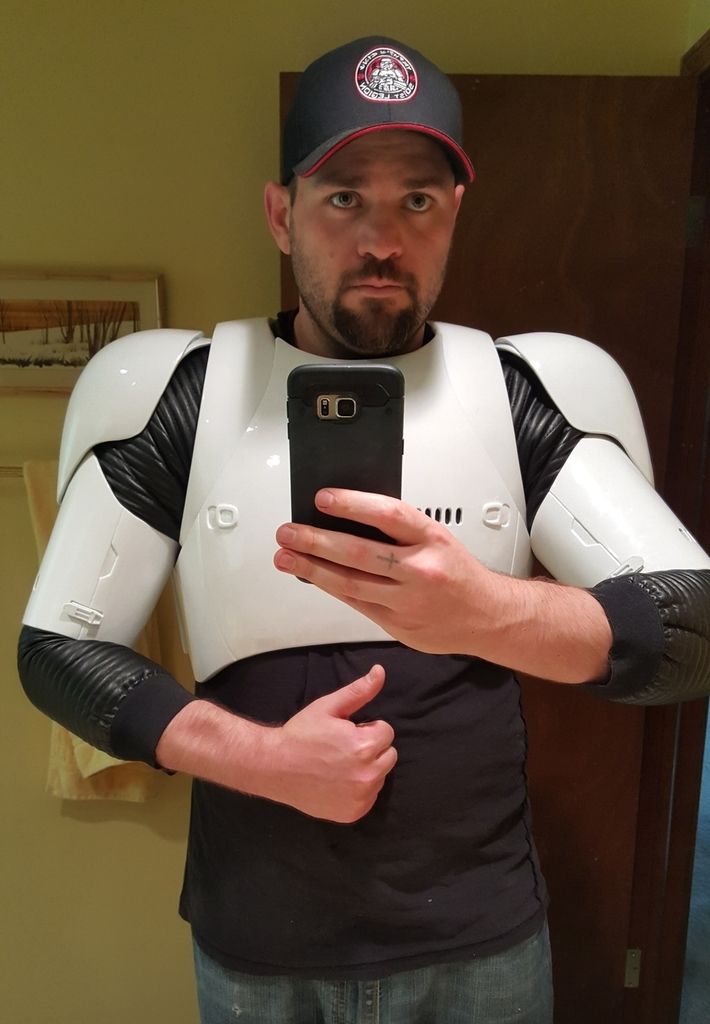
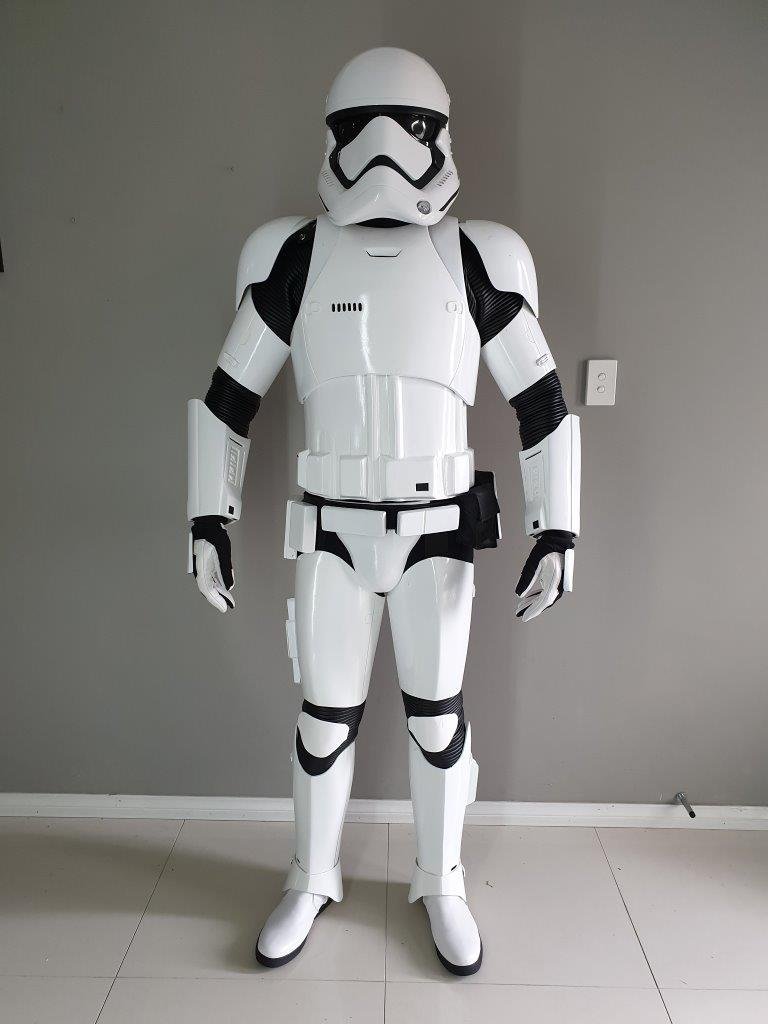
cheers guys, hopefully suit up again and redo pics at weekend with forearms the correct way around :-) and slightly adjust some other bits.
-
shakes head..stupid kitting up error !!! obviously the wife didnt notice while taking the pics !! lol cheer Glen
-
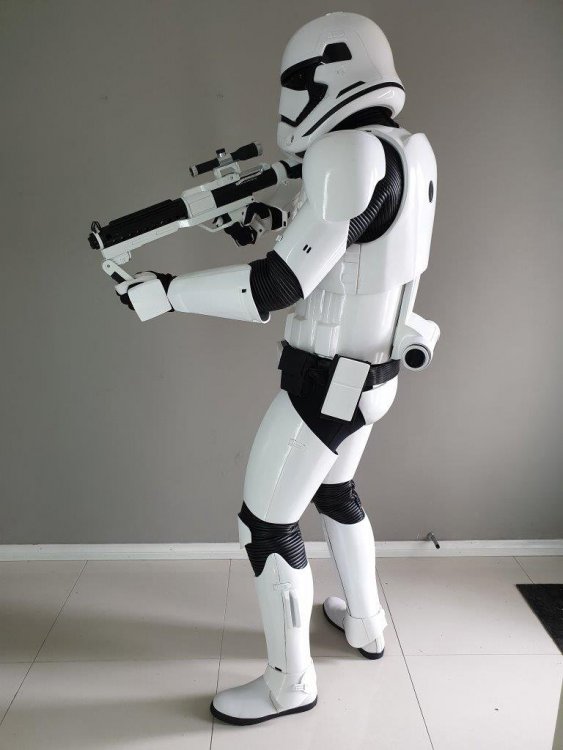
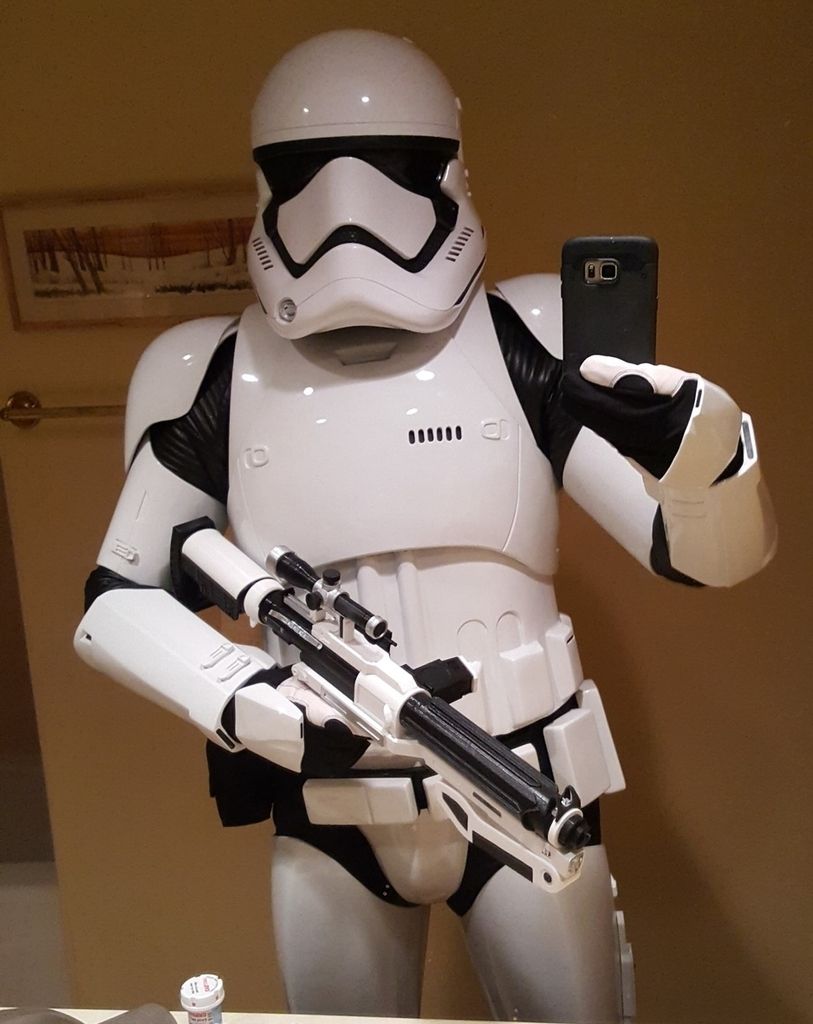
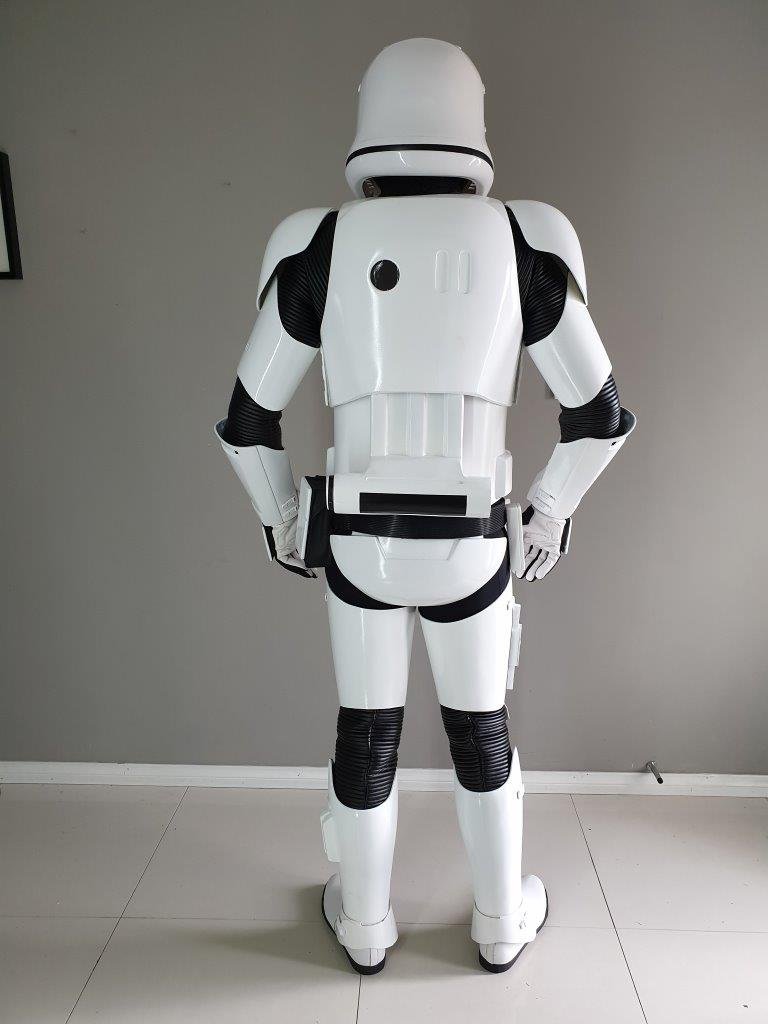
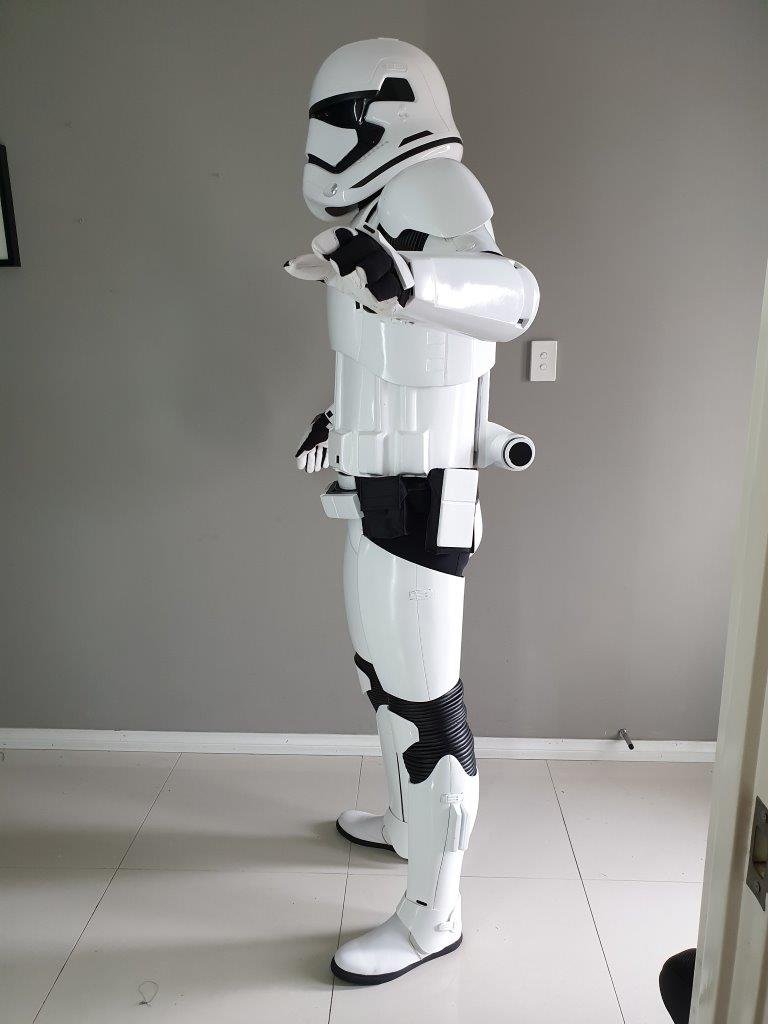
First/Last Name: Trevor Sandford
Future Garrison: Desert Scorpion Garrison
Armor Maker: 95% Jimmi + some custom parts
Helmet: Anovos
Height: 6'2"
Weight: 95kg
TK Type: TFA
Gasket Maker: Self Made
Neck Seal: Self Made
Blaster: Self made from downloaded 3d Print
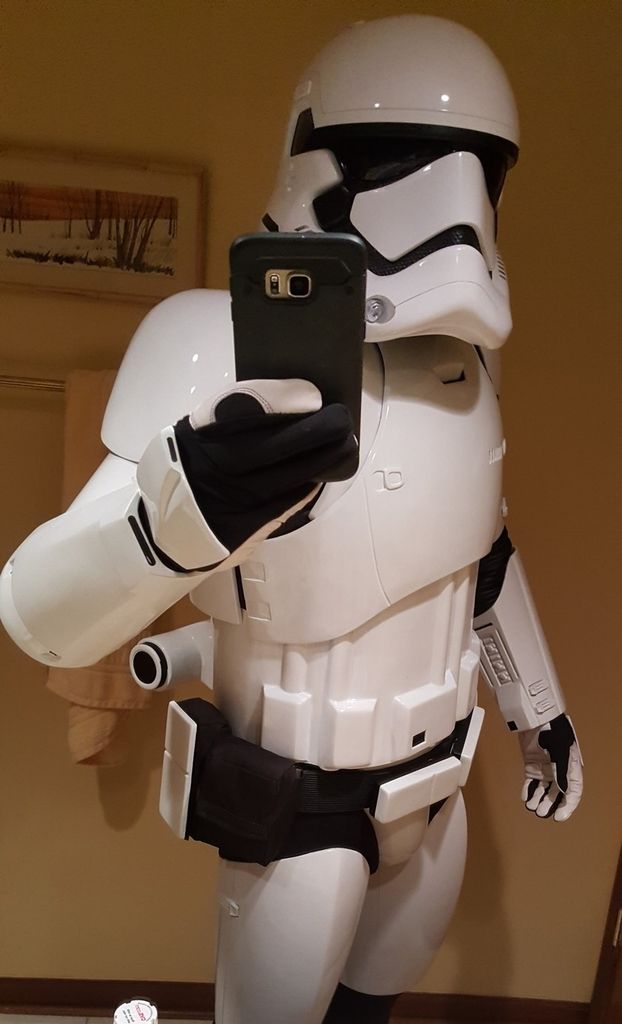
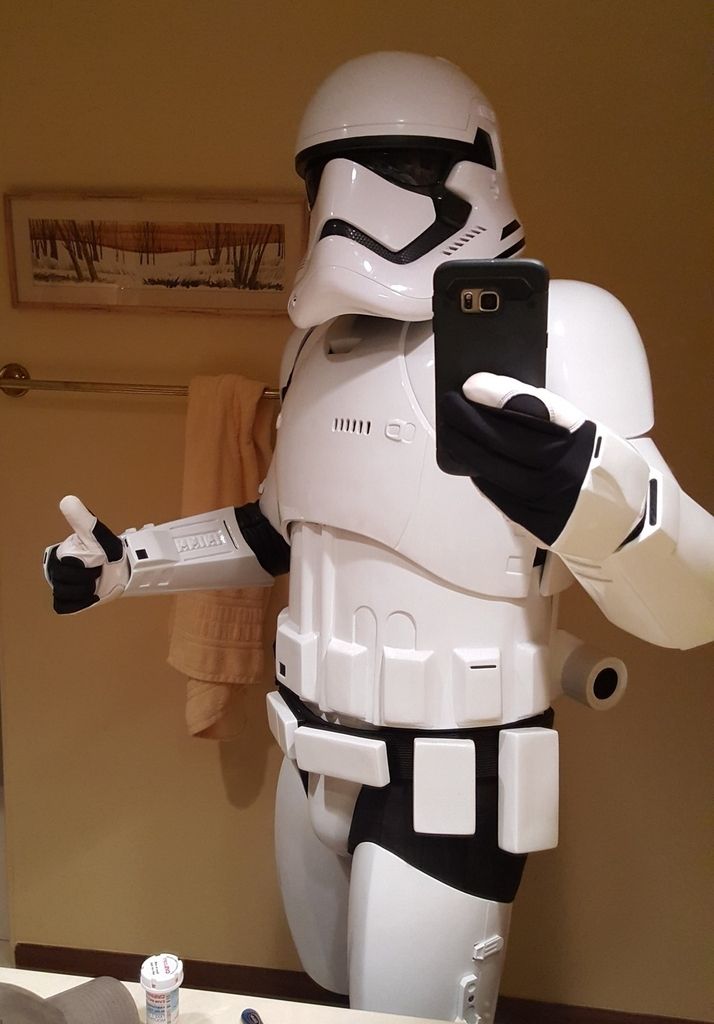
Unfortunately the snap on right shoulder popped during photos!! so you can ignore that one !
I've actually just printed off new belt boxes also so will be add them once I've sanded and painted them. Not a fan of these fiberglass ones.


-
These look very nice, I'd be interest for sure :-)
-
Hi All, i dont suppose anyone has STL files available that i could use to get some new handplates printed for my FO TK kit ?? I have a earlier Jimmi Kit which has less accurate handplates than his later versions. I did enquire about getting some updated ones but postage to Australia was 3 x more expensive then the hand plates !! so was thinking 3d printed might be an option.
thanks all !!
-
Q ... we have a member of First Order Troopers Australia in WA with a Jimmi kit. Perhaps we could work something out and get the kit in front of you.
Yeah I've got the Jimmi kit in WA :-) FO TK
the rate i'm going it will always be a kit lol
Nice comparison though and good to see the actual FN Armour in more detail. I must say i was tempted by it for a very short while until i investigated it. i do have a set of the gaskets though which seem pretty good. just need some altering.
-
2
-
-
I've heard flex agent can cause a yellowing in whites....im spraying mine but was advised against using a flex agent. was also told it'll still loose its 'flex' in time.....You are absolutely right. In fact, the chest plate and abs on my armor flexe the most out of every other piece. Mostly when suiting up and down. This stuff is super flexible and I will for sure be using a spray gun instead of a rattle can and automotive paint and clear coat with a flex agent. This is locked in. Now if I can just get all the other little annoying details fixed and get it ready for the paint process, I'll be a happy camper. Right now I'm just a little overwhelmed and slightly annoyed. So...I'm channeling my inner Little Engine that Could....I think I can, I think I can...
-
Isn't Melbourne always wet and cold ☺! Mind you Perth is just as bad this week!Thanks!
Kit arrived last week and have prepped the inside with sanding and some bondo in the gaps. Given it a wash and the first coat of primer to see what other bits I have to fill.
Winter kicked in hard this morning in Melbourne and its cold & wet outside. Looks like its gonna be like that for the next week. Planning on working out my strapping and joining all the bits while I'm stuck inside. Waiting on my last item to arrive which are the gaskets.
Been following your build from the start and its very impressive and also very helpful. So thank you!
Sent from my GT-N7105 using Tapatalk
-
Looks like you've done a great job. I'll be taking on board a lot of what uv done when i start mine. Certainly makes building a bit easier for us people about to get our kit with people like you sharing their build.After completing the belt, I was pretty much done with all of the armor (minus the shins and knee plates)
I was able to try on all the armor that i had done, and i gotta tell you, I geeked out pretty hard when i looked in the mirror

Jim's armor is a work of art. The ability to sculpt something like this by hand is truly incredible. I believe that this armor will stand the test of time longer than flimsy ABS will.
I know i'm forgetting some stuff in this build thread... I still need to show you guys how i attached the chest plate on and some other random stuff.
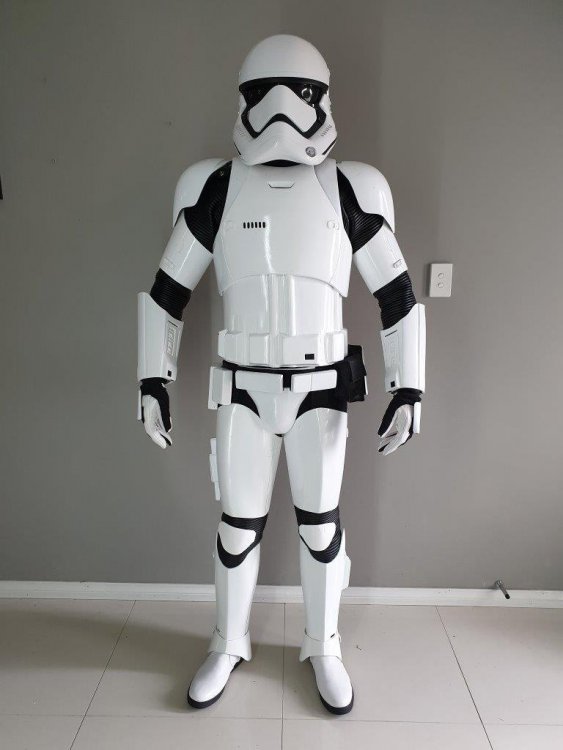
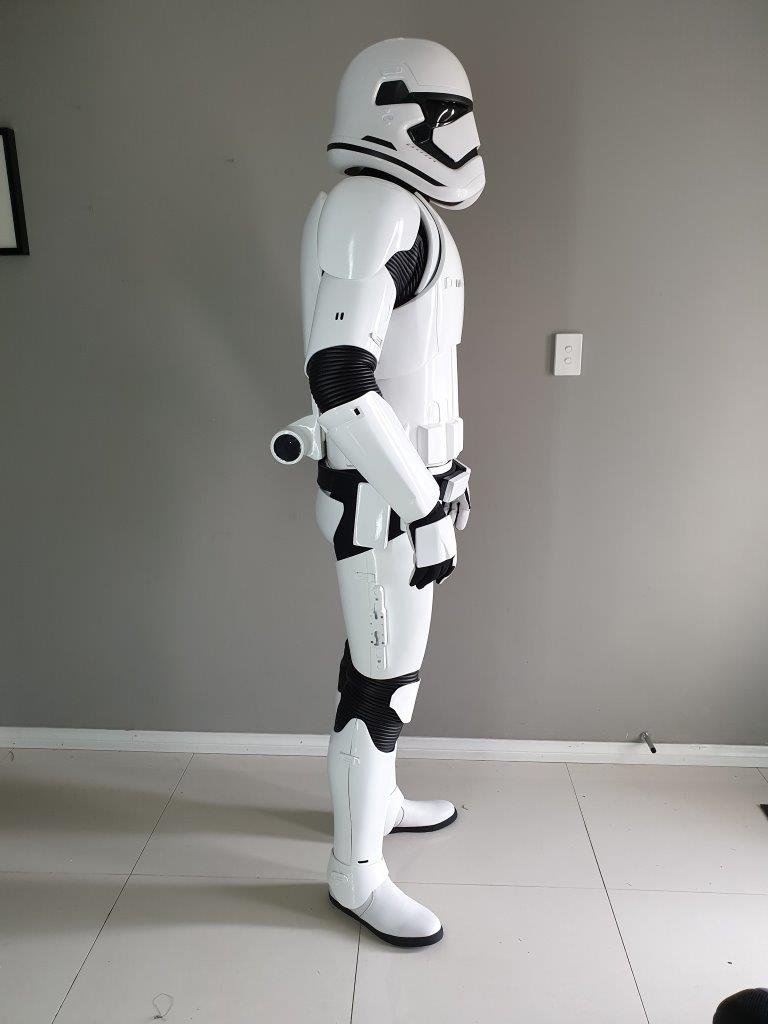
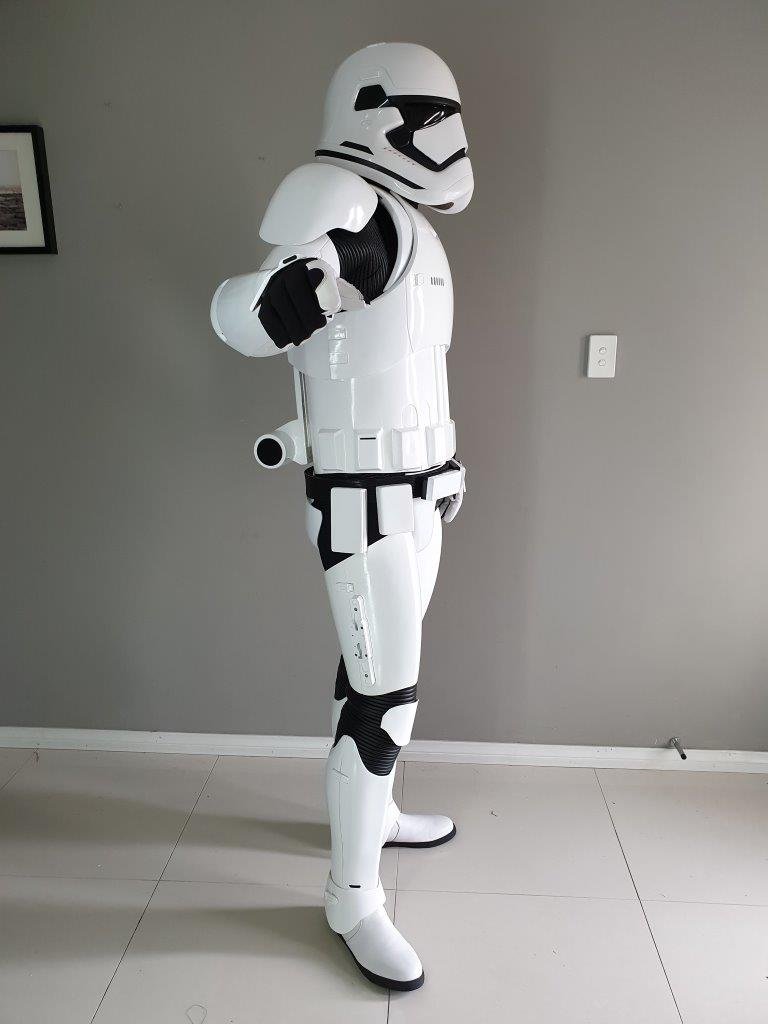
So here you go: a 90% done Jimmiraquois First Order Stormtrooper V3
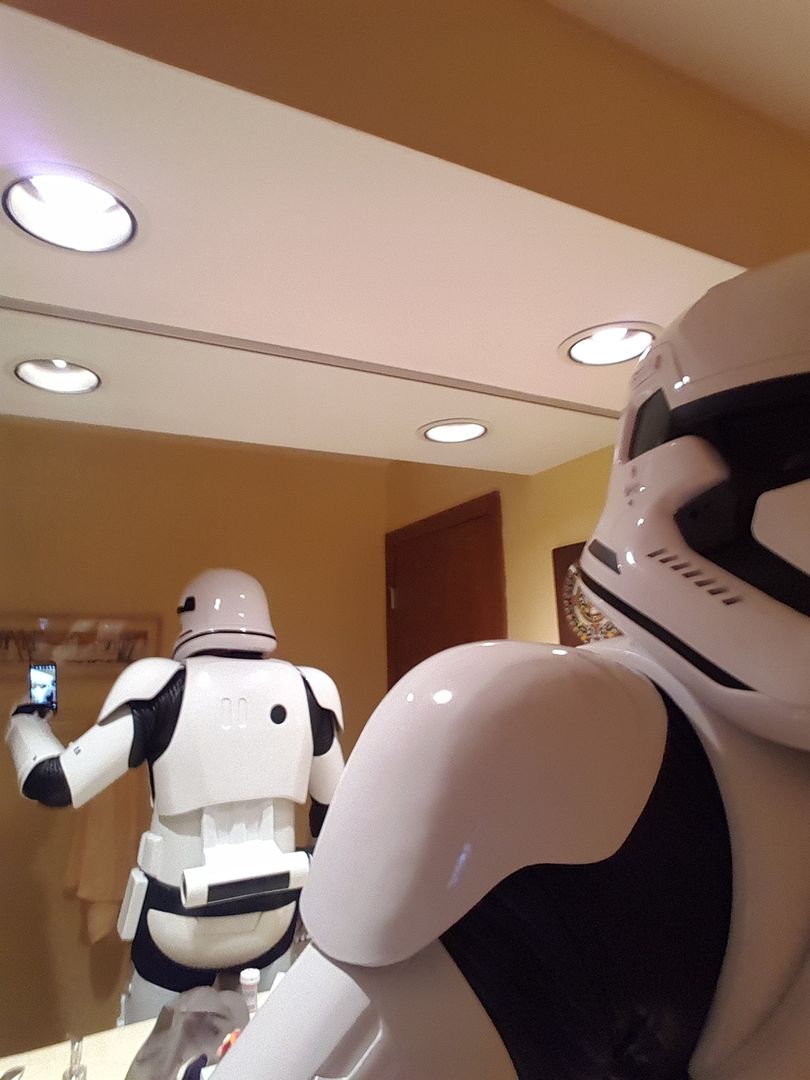
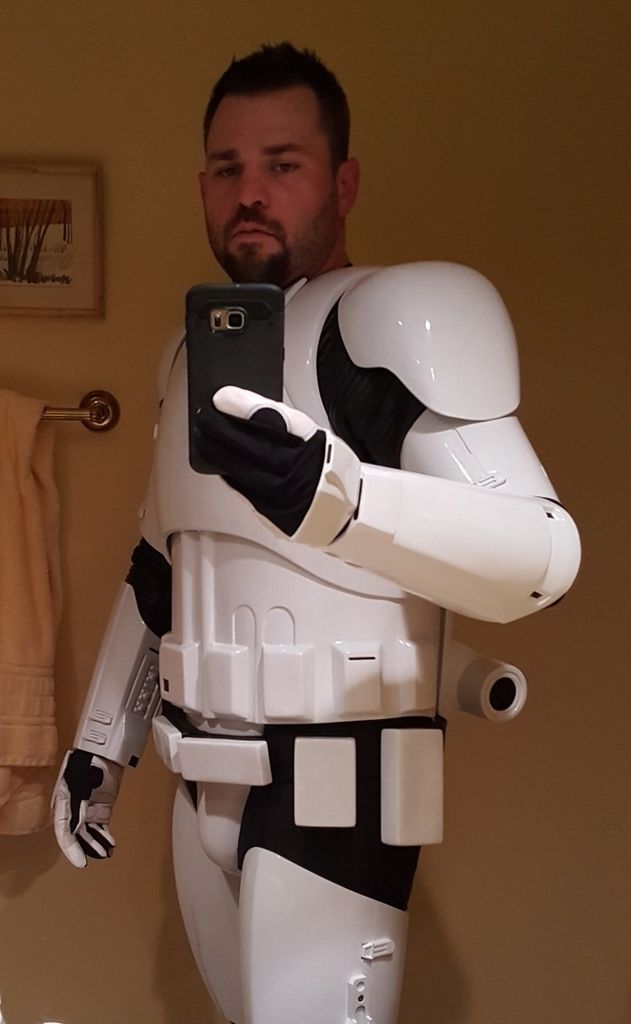
I got dressed on my own and didn't have anyone to take my picture at the time... better, full body, outdoor pics to come once i'm 100% done
I definitely put my TD on crooked in these pics and i need to still add a snap or velcro to the cod piece to keep my belt in place.
I also wont have that gap between the chest and back piece once i have a helper giving me a hand. putting the TD on crooked probably had something to do with that too
All and all, I think i look pretty badass!

Sent from my GT-N7105 using Tapatalk
-
4
-
-
i also ordered some of these after seeing your pics. They look pretty good and well priced.
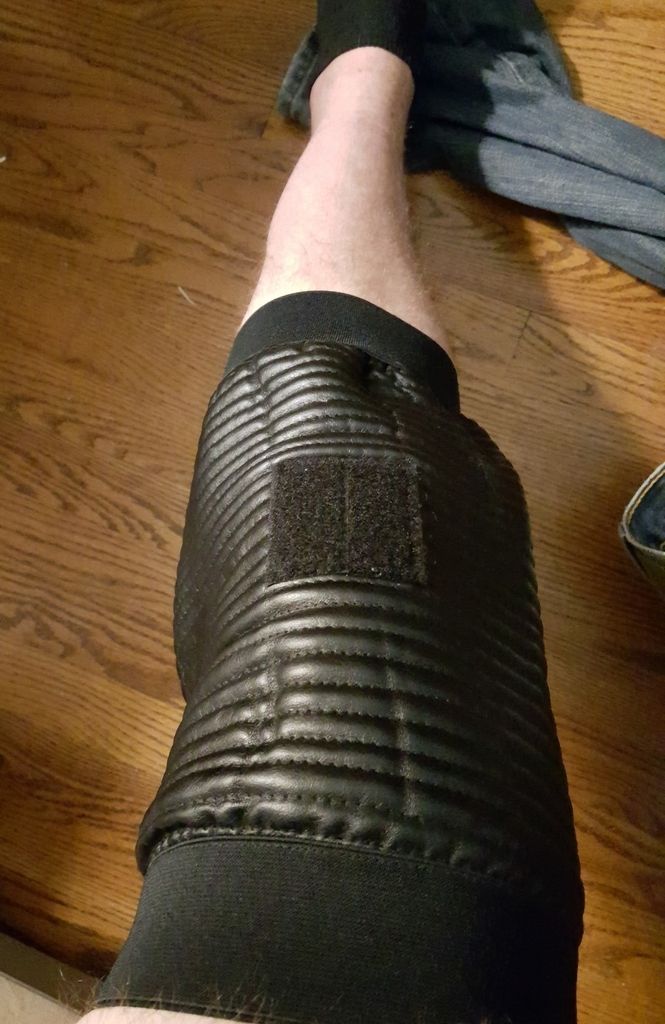
Fabric gaskets showed up today!!! I'm impressed. these things fit me perfectly, and it only took 7 days to get here from Ireland.
The back two straps are sewn into the gaskets, the front strap velcros in place. I may add more straps to get it tighter on me.
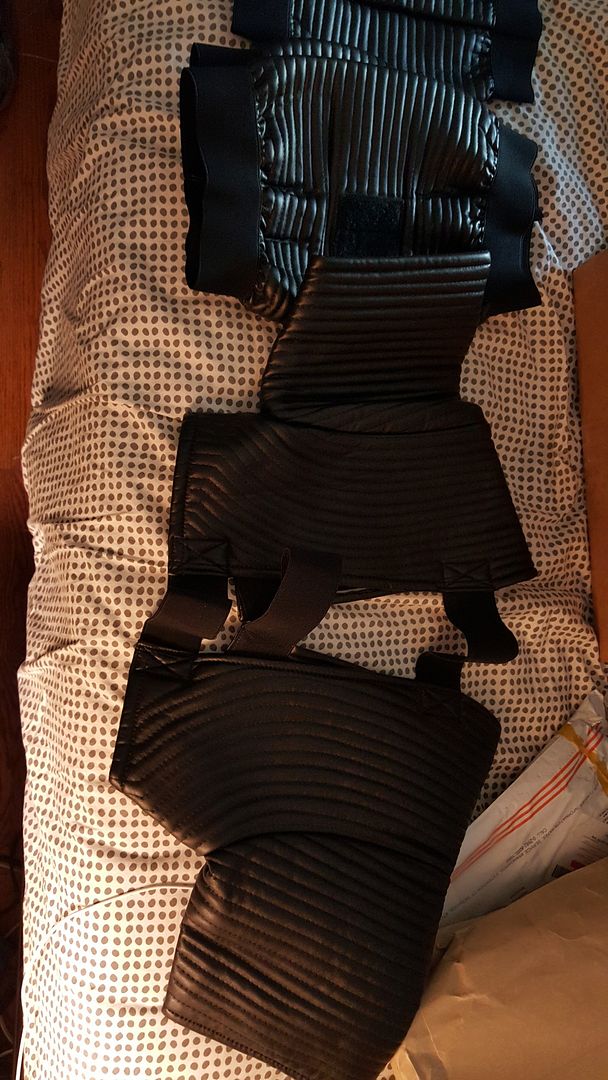
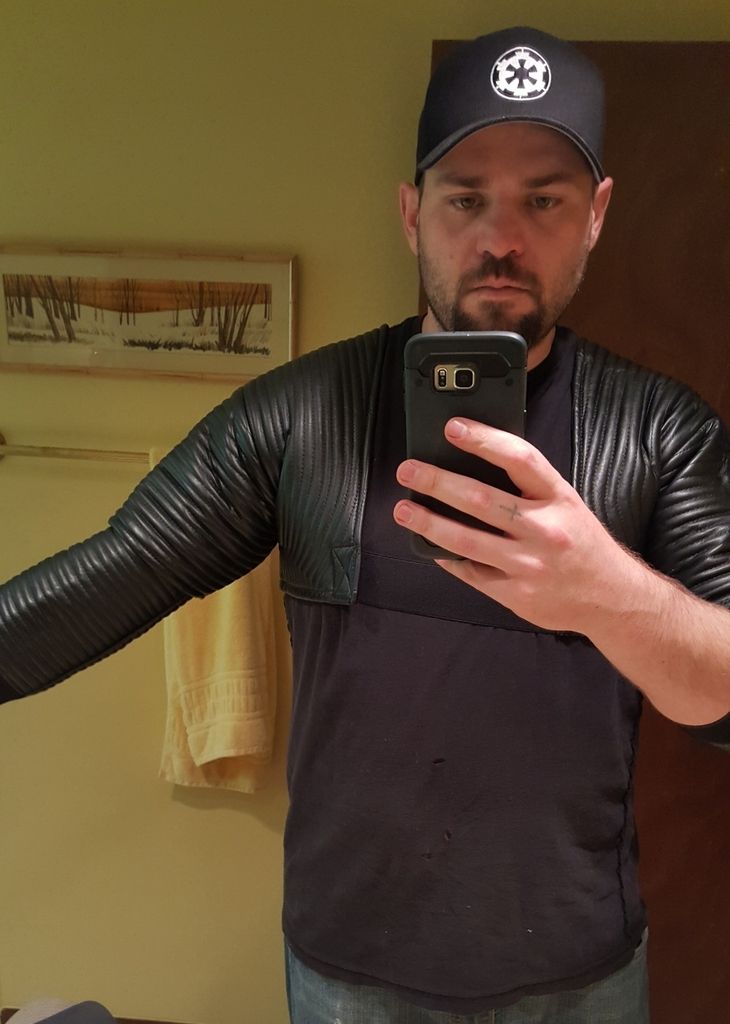
The leg gaskets are a little baggy in the middle. i will probably have them sewn tighter later on.
-
I also signed up for armour + gaskets and have the anovos helmet. Be interested in what paint you use and how well it matches up with the helmet.
-
This is an amazing guide for builders like me. Provides so much detail for those of us who might not be 'expert' builders. Really appreciate the effort and details put into this and I'll be referencing quite a few bits during my build in a few months.
-
If Anovos are unable to keep up with customer demand maybe they should not have the license for producing TFA kit. Doesn't seem like their operation is substantial enough to cope with the demand.
-
Build looking good so far :-)
Curious as to the dimensions and weight of the 2 boxes it all came in? Might be looking at getting a kits shipped over to Australia when it eventually gets released. Doubt it will be available to us directly for a while...:-(


'Dirty Look' TFA FOTK
in Assembly, Mods, and Painting
Posted
yeah the boots were what i was thinking if it needed to be a Finn specific build. Also might have to go to the gym and bulk up a bit !! easier to stick with the clean trooper i think then.