

SandmanAU
-
Posts
30 -
Joined
-
Last visited
Content Type
Profiles
Forums
Gallery
Articles
Media Demo
Posts posted by SandmanAU
-
-
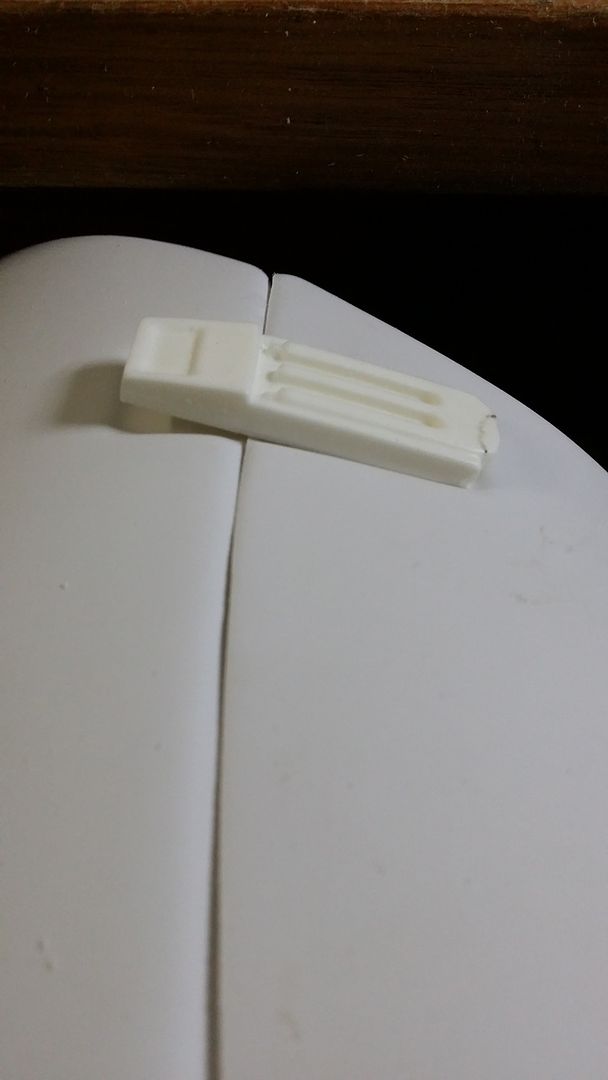
what size types of magnets would you all recommend? N52 but there are so many types out there?!
-
Hey all,
i wanna attach my TFA TK pauldron on using magnets using the powerful n52 types, but i heard glueing the magnets can weaken the magnetism, so just wondering how does one attach and or glue them to the armour? what do you use and how have you attached?
if you got pics that would help a lot tooo.
thanks
-
 1
1
-
-
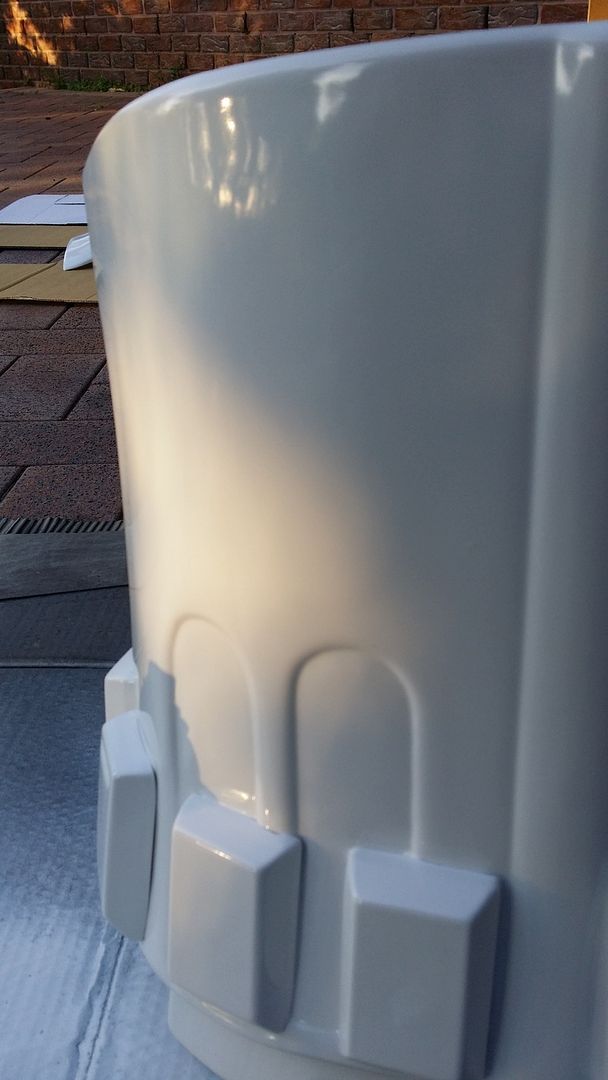
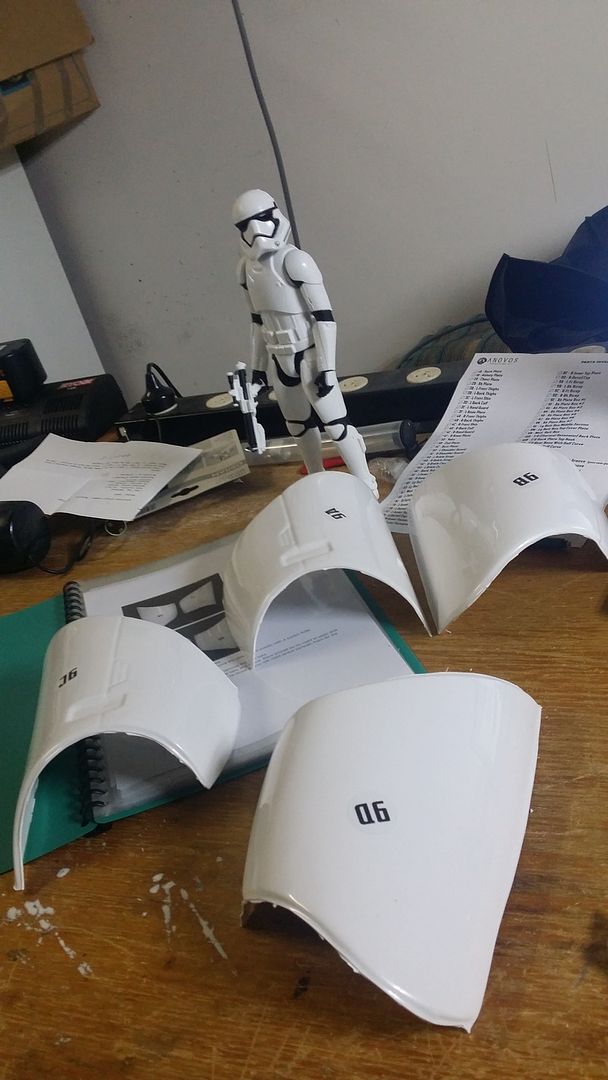
last few pieces of armour painted, and after re doing a few pieces, they have turned out better then i thought, shinny and glossy reflective
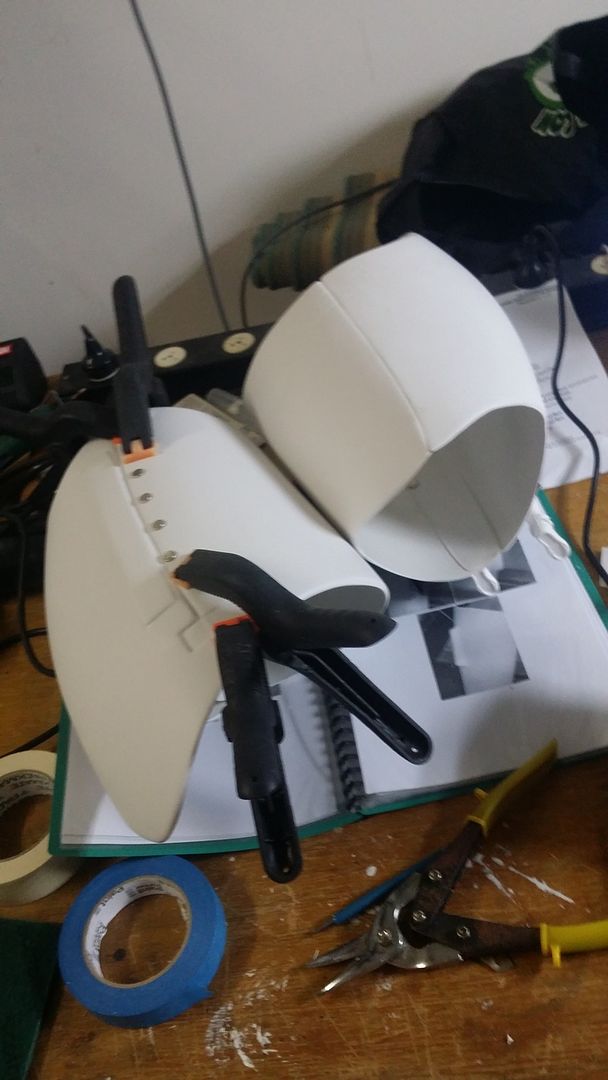
 and with Dredds help we trimmed and glued the shoulder gaskets together
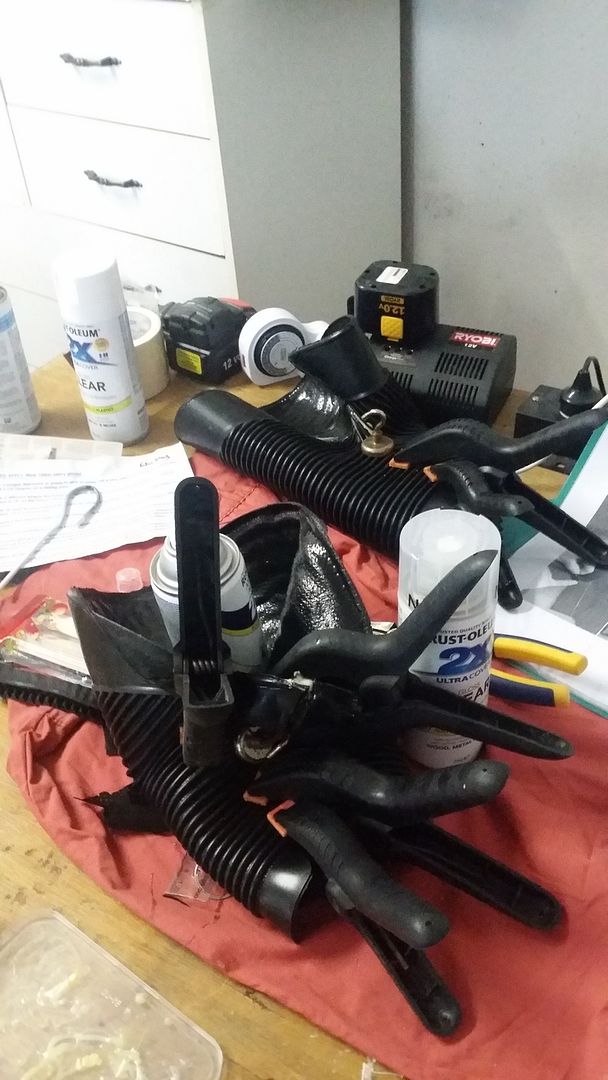 so tonight the decals and the velcro start to get placed and hopefully some help tomorrow with a sewing machine the webbing will be done.
-
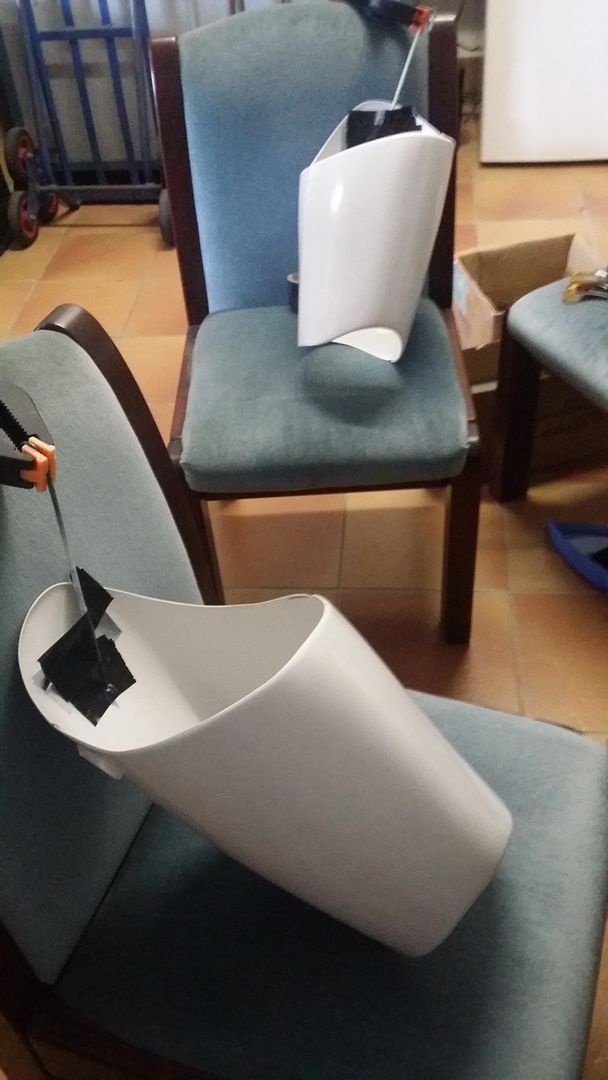
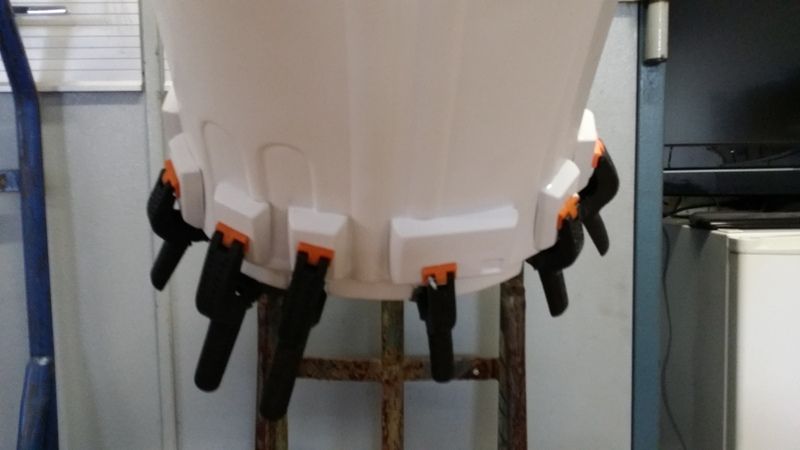
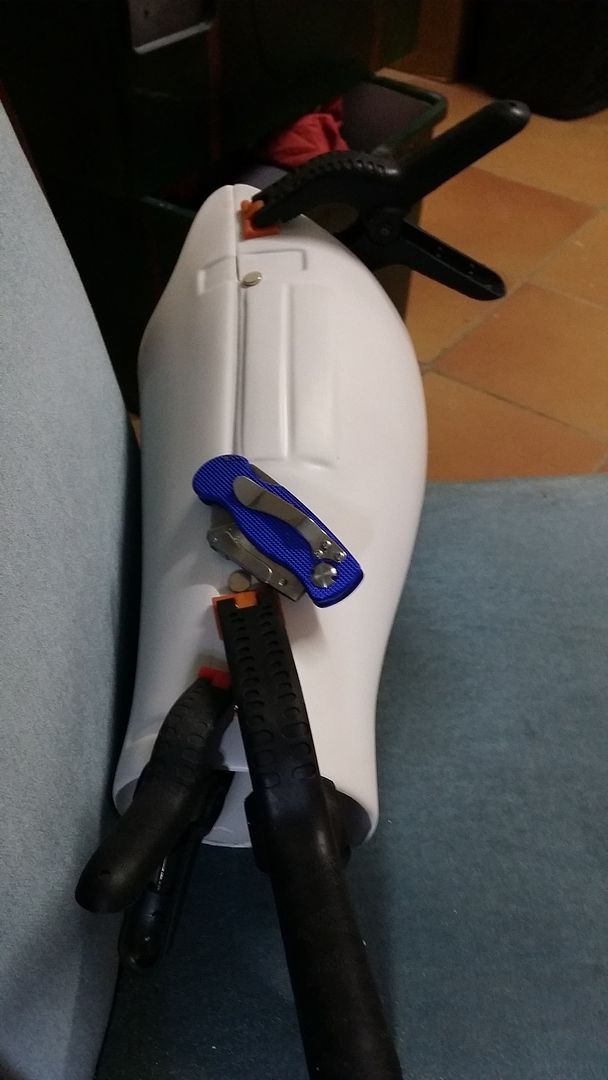
the gaskets are a pain...tape wasnt any better but the plastic clamps seem to be doing the job... will check them tonight.
-
its now time for the holsters and boxes to be attached.im going to upgrade this to the metal more detailed kit from a fellow FISD maker but for the time being ill just screw this on.
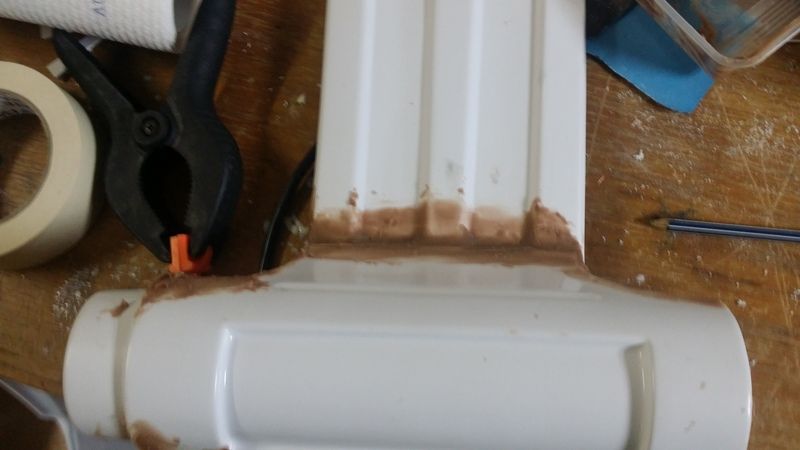
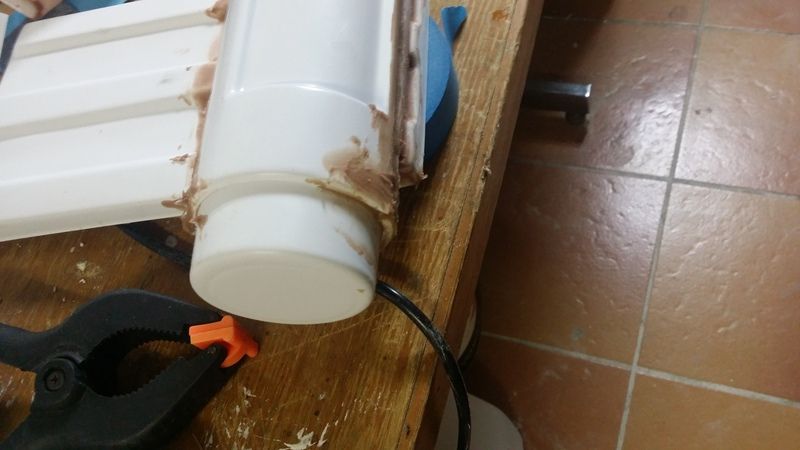
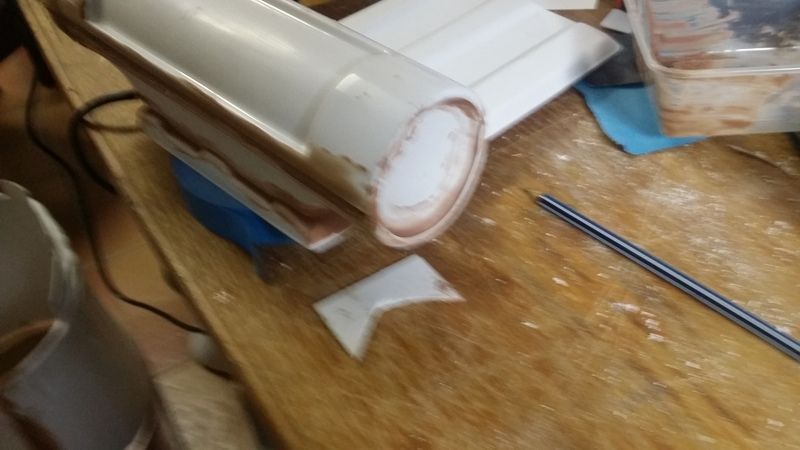
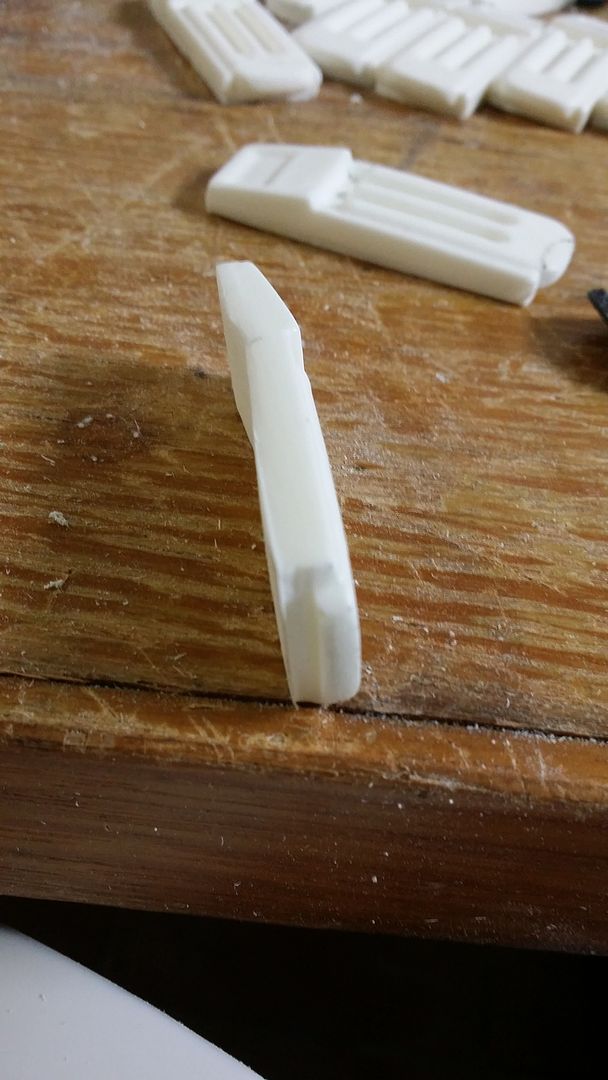
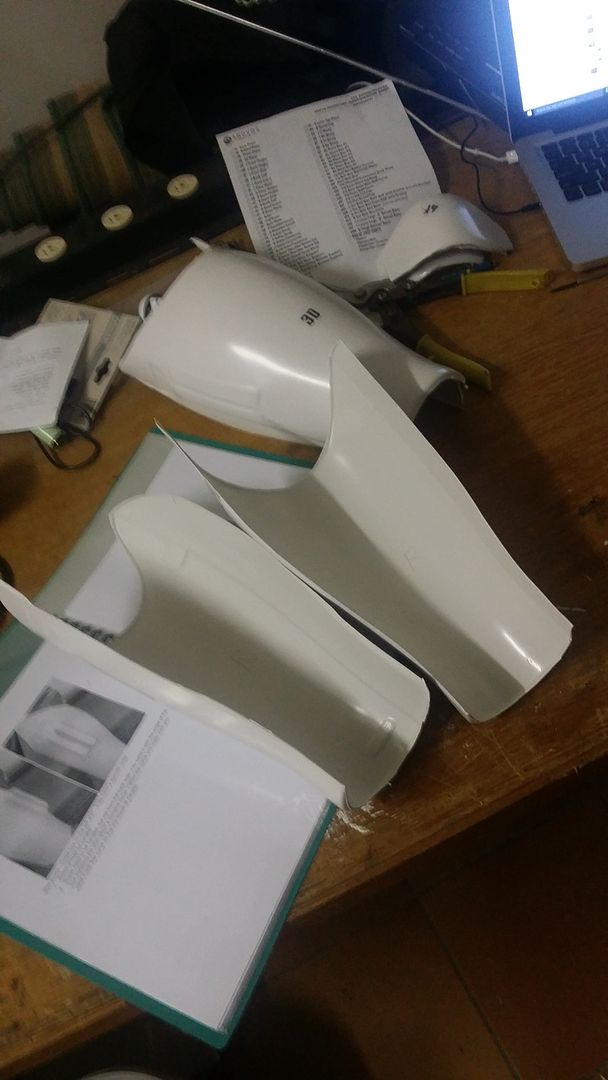
 the arm gauntlets have been a very annoying build, with 4 abs parts to glue together this will be one of the first parts ill be sourcing a replacement for.
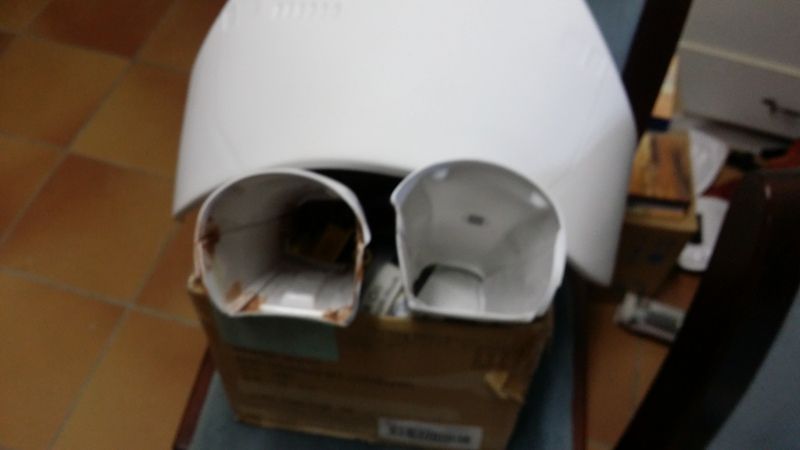 the also annoying mod for the chest details
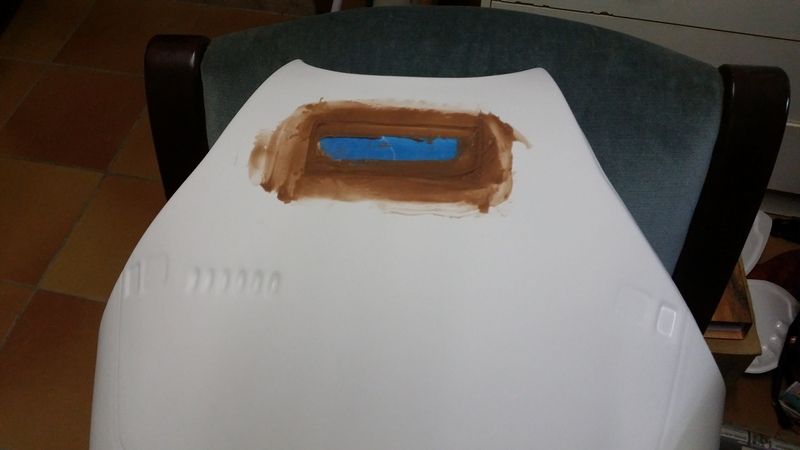 then painting it with the spray cans, i think when i get the helmet im going to have to re do the entire thing, im not impressed with the quality
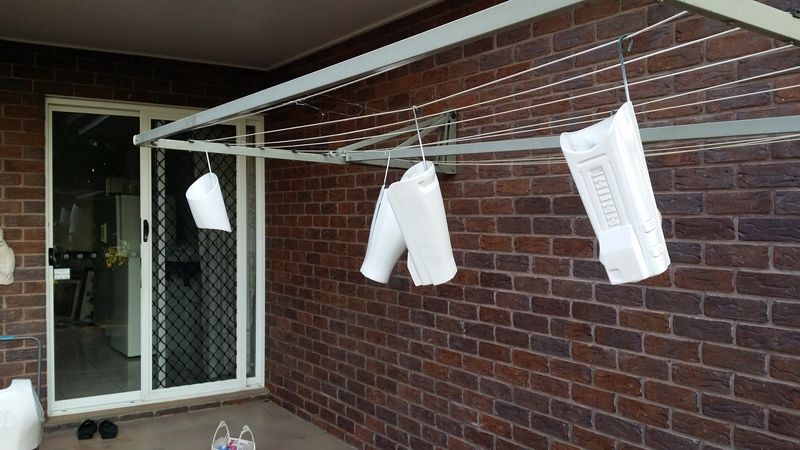
 some parts have turned out awesomely, but others not so....
 and then it was time for the gaskets, the elbows was the easiest to size up.mixing the 2 parts and trying to hold them all in place, this is where i really need another pair of hands!!!!!!!!!!
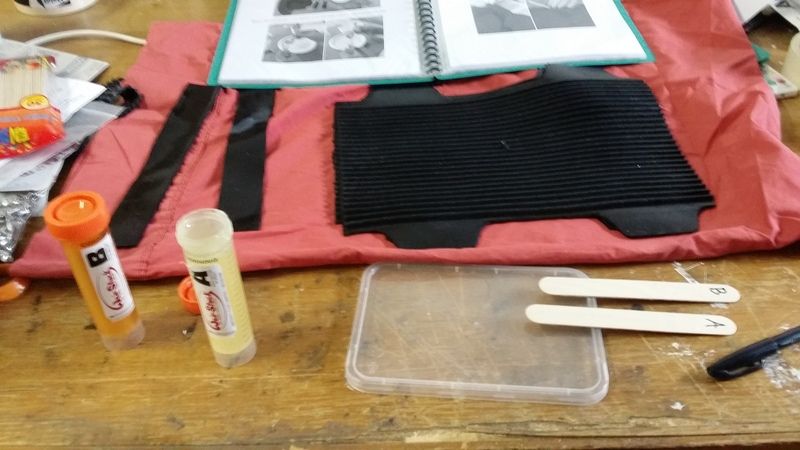
-
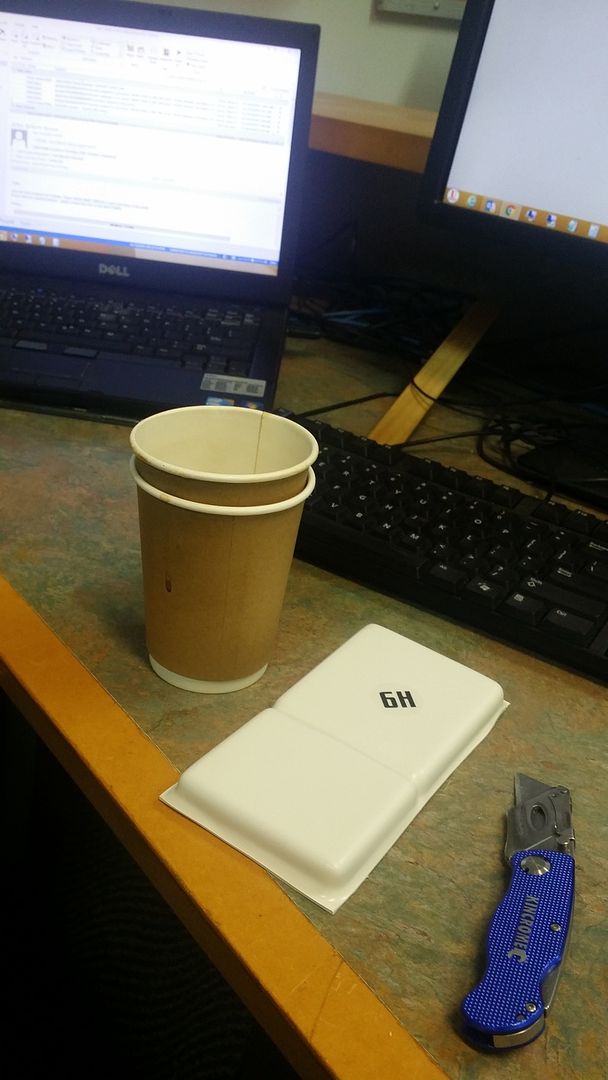
the binder folder has the pdf instructions from Anovos so im not sure if im allowed to share them or not....
-
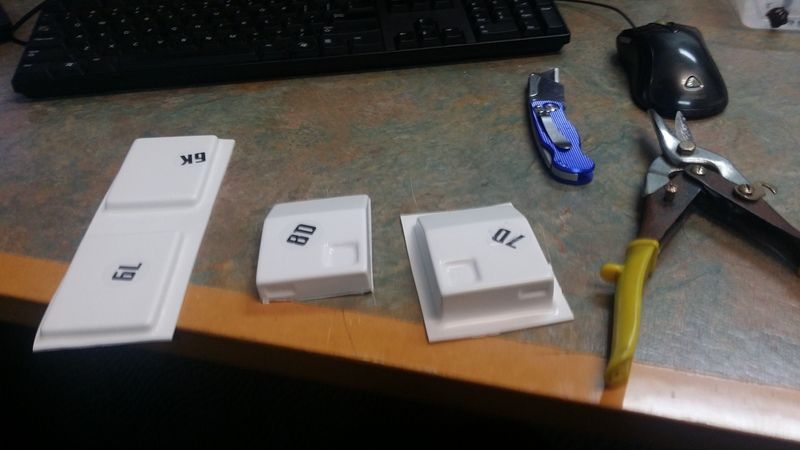
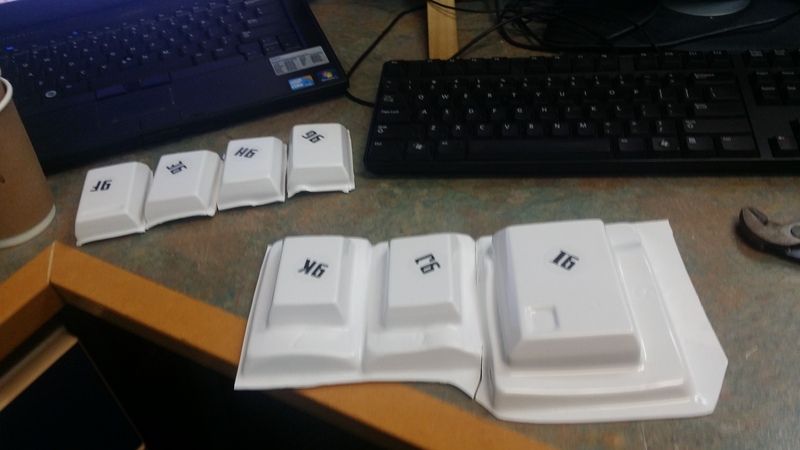
ive done a casting of all the clips because i learnt from Ph2 Rex, these fall off, so now before i every stick them on i cast a complete set in rubber incase the day comes. did the same for my greebs on Veers too
-
2
-
-
i have no idea... 3 boxes all arrived at my USA forwarding mail center within a week, hate to say it but luck? my helmet should be here in mid november too.
-
i have been working away since the weekend but really you dont need to see pics of the sanding progress, but last night i took more as i started with attaching the greebshad to work out a way to join the boxes for the belt together, so with the help of Mark on sunday he used his WELD glue to attach these little abs stripes to the inside so i can glue the top box on when the belts ready.
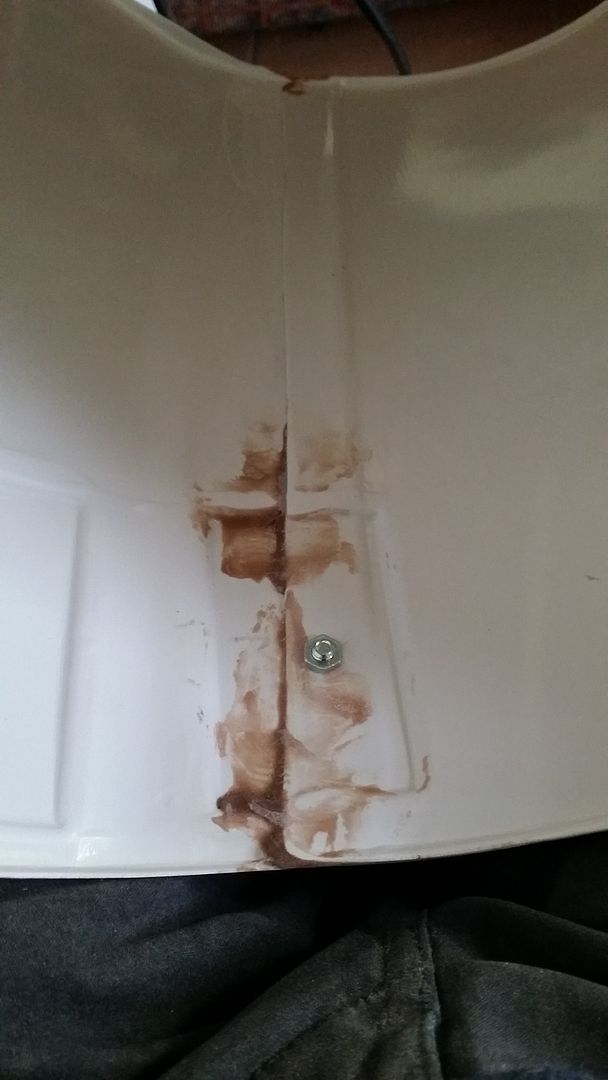
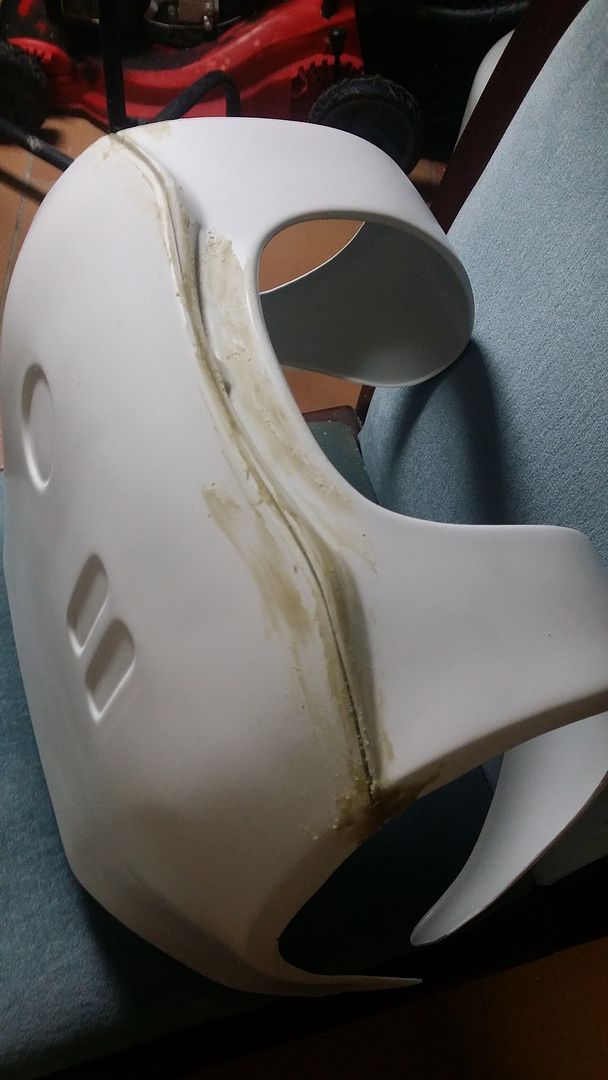
 Bondo/Bogging the TD piece together, i needed to use a fair amount as the back of the TD was way out of shape
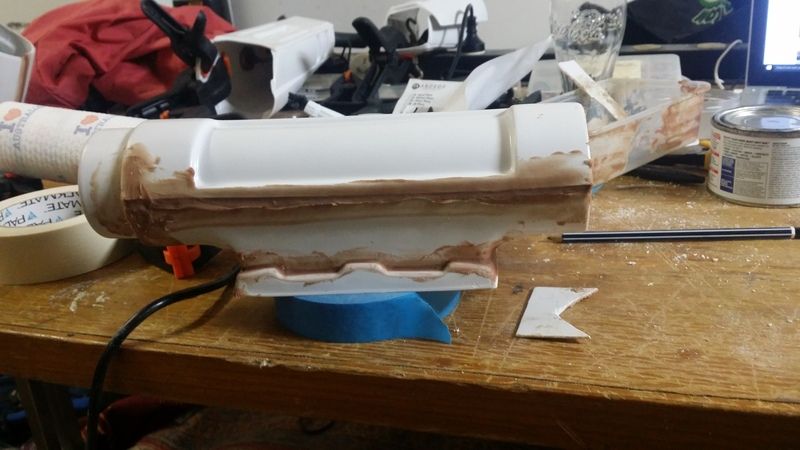
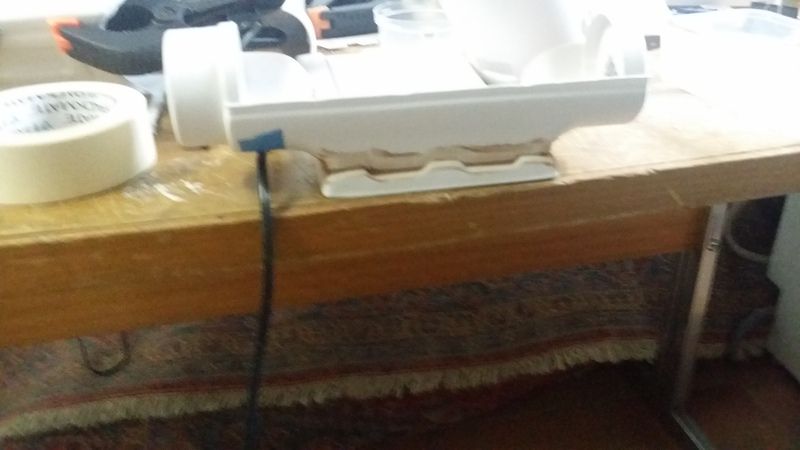
 i also decided to make a ABS paste to use for the inside joints of my arm gauntlets due to the fact there is such a small piece of ABS as the joiner...
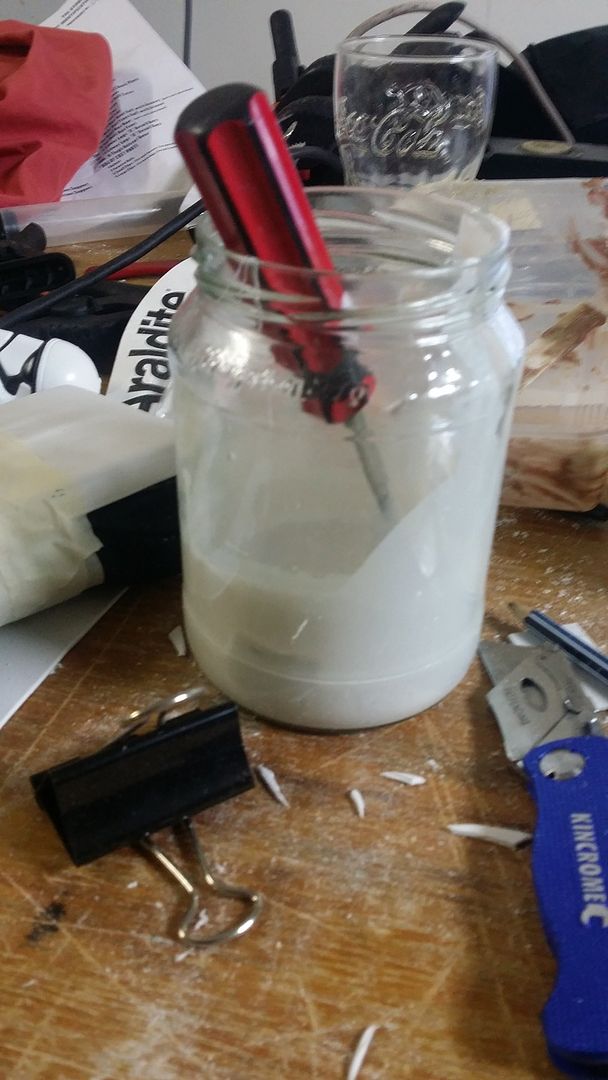 next it was time to attach the ab waist boxes onto the armour, i wanted to make sure these dont drop off so i attached and glues a screw to the inside of the box and drilled a hole into the ab plate and secure with glue and nuts.
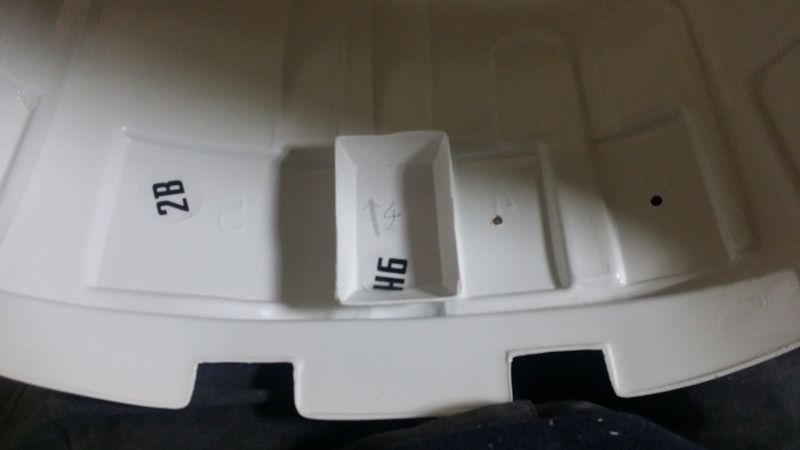 which i also added ABS paste to hold as well.
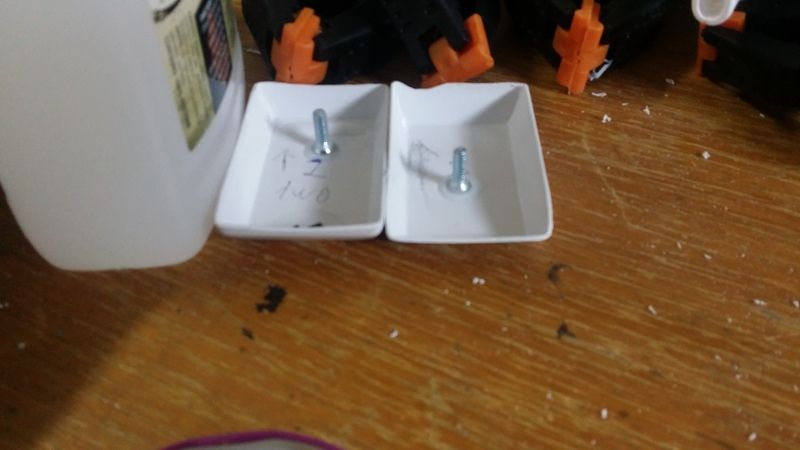
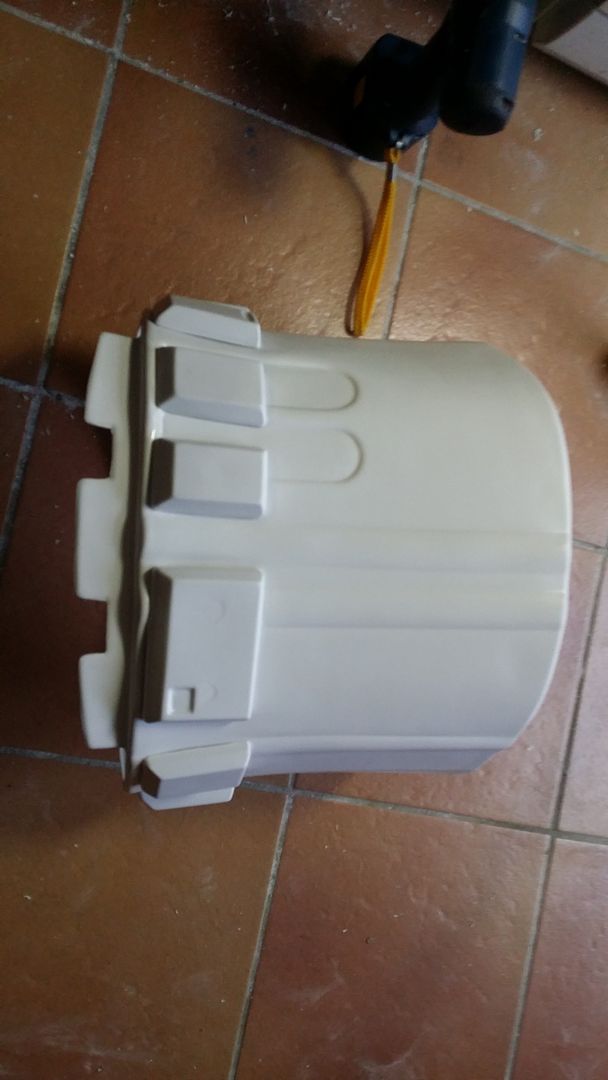
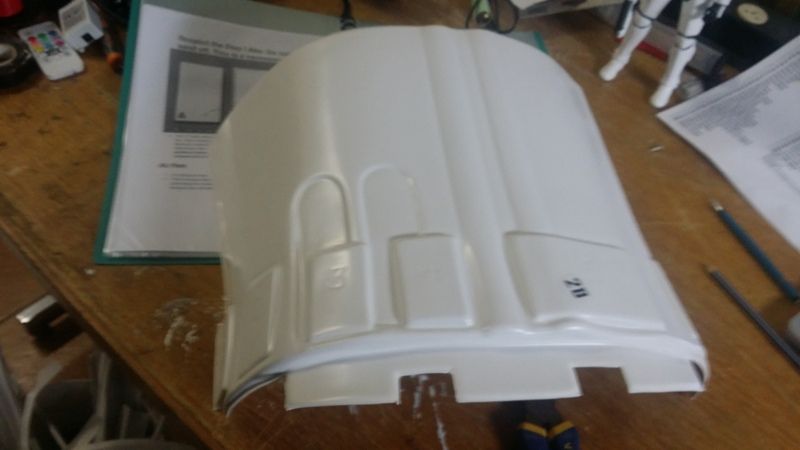
 Ab piece all finely sanded and all boxes attached
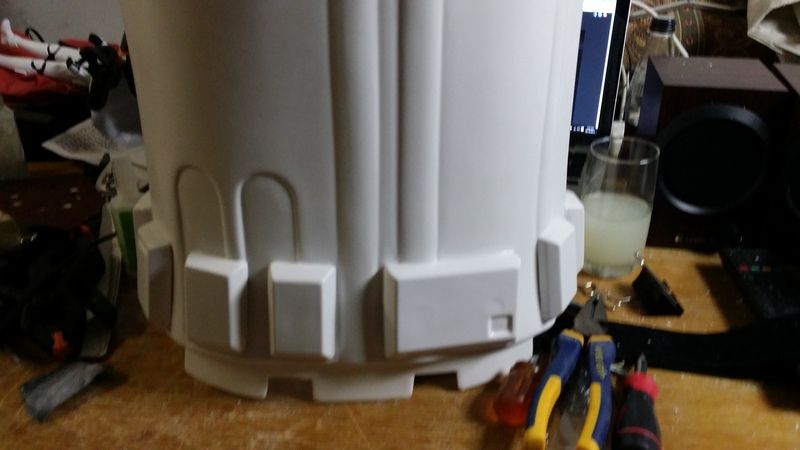
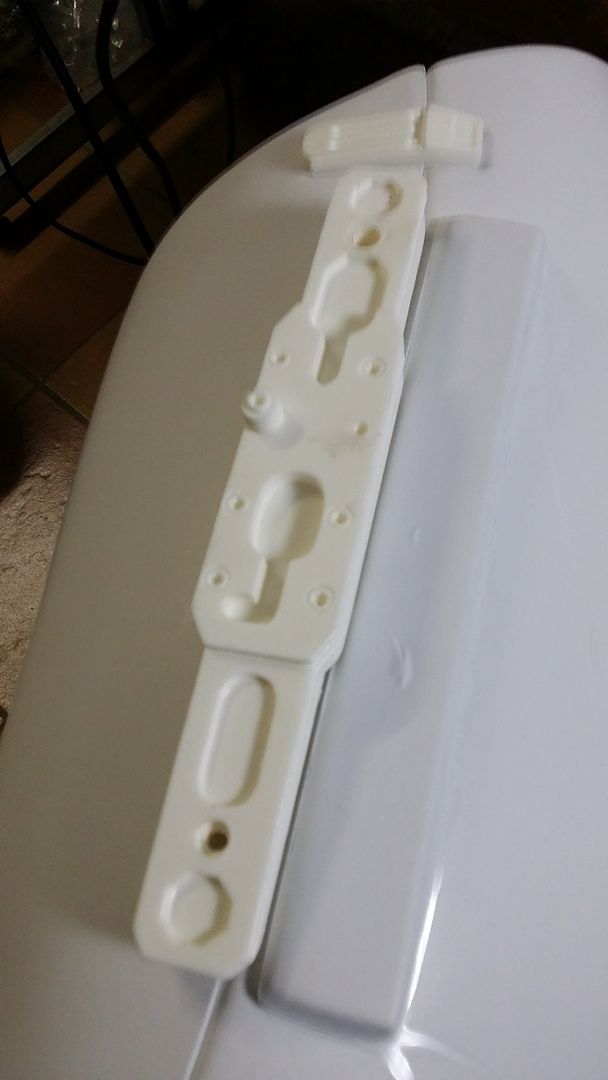
 now i opened the greeb bag to find that theres a chest piece that needs to be swapped out, i knew this was the case after Celebration but i was hoping my armour would have been updated to inc this.... well it wasnt, so i had to cut the chest and insert the correct detail.incorrect:
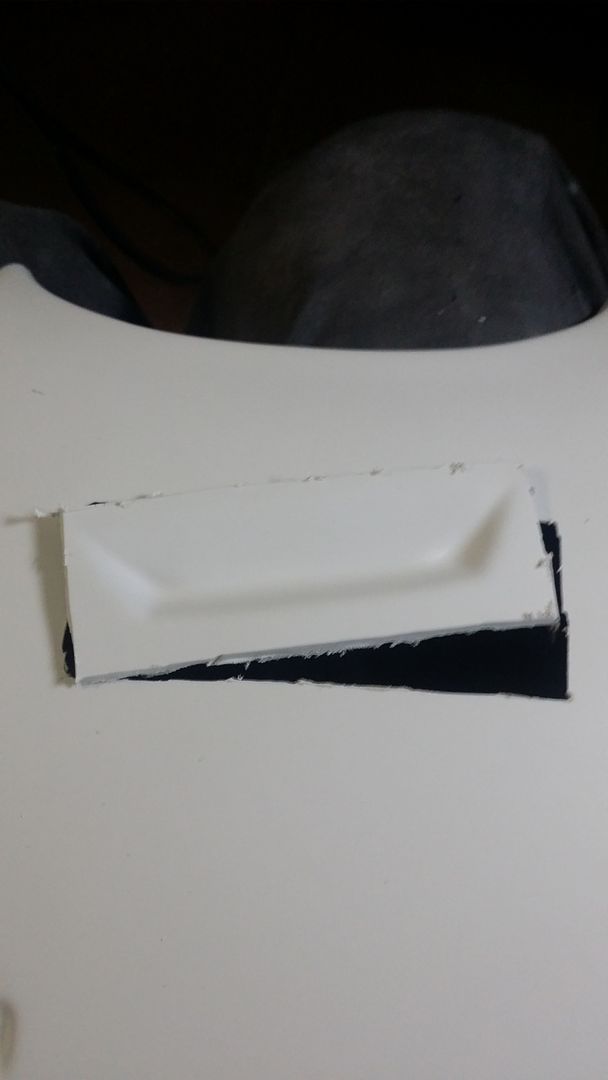 Correct detail:
 used some off cuts of ABS to make a holder for it
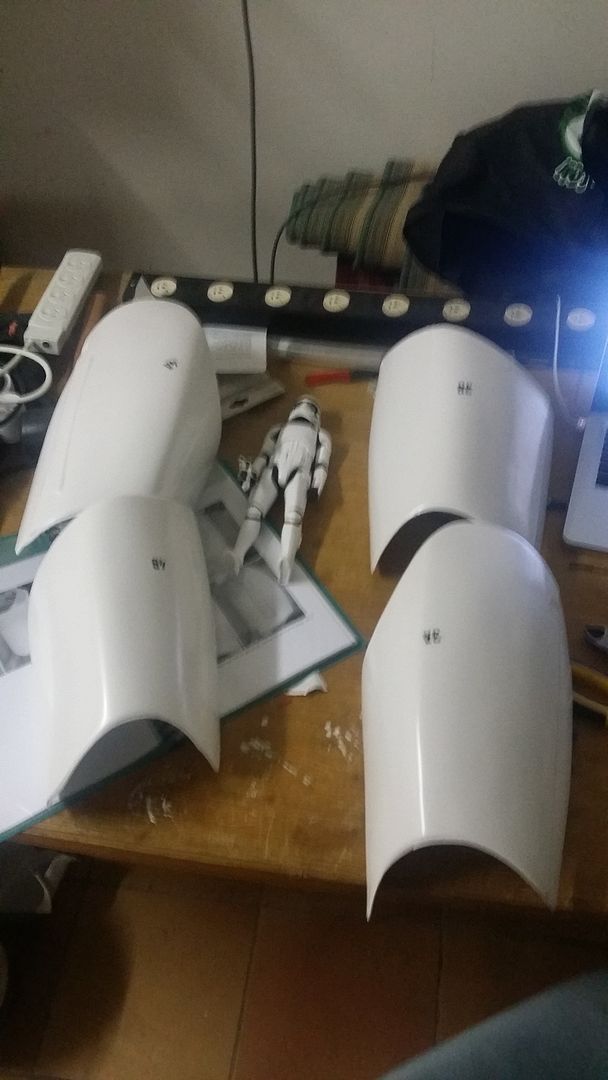
 Thigh greebs and holders attached, this is wear the holster will be attached
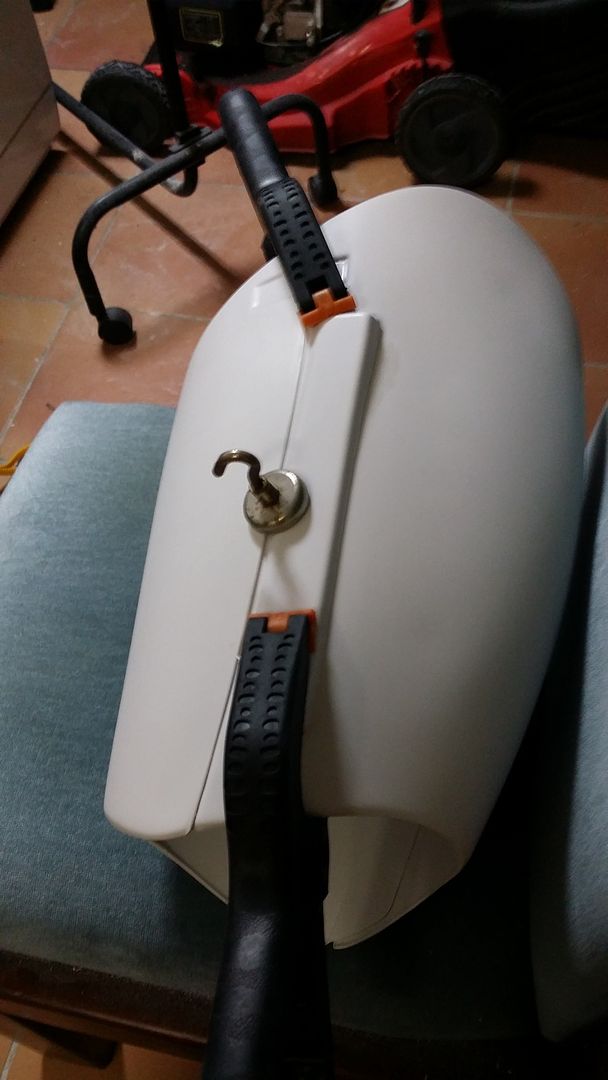 Next was the clip greebs, i trimmed the abs down a little
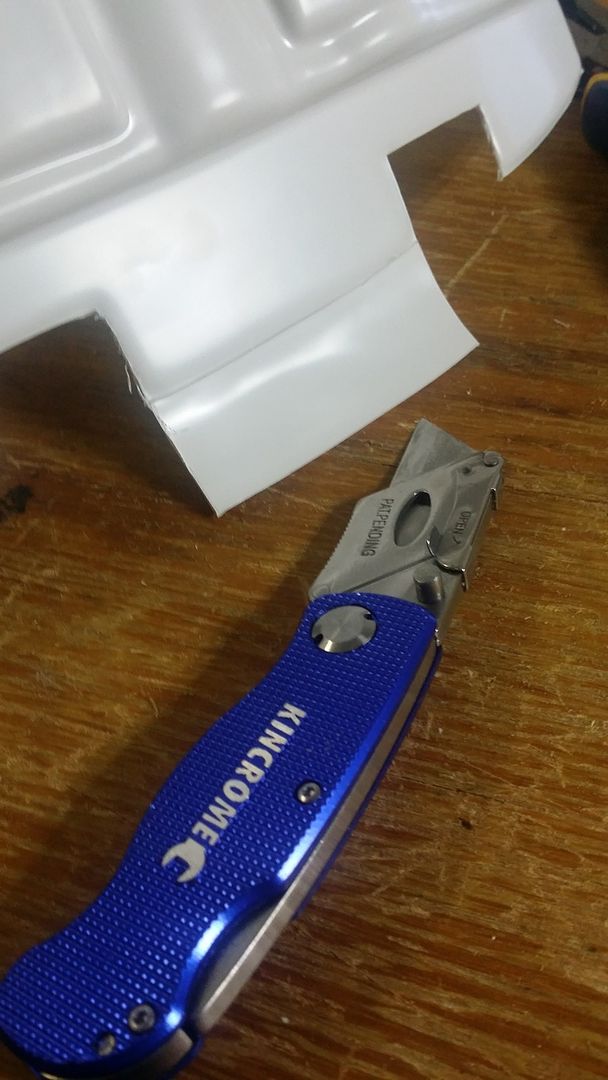
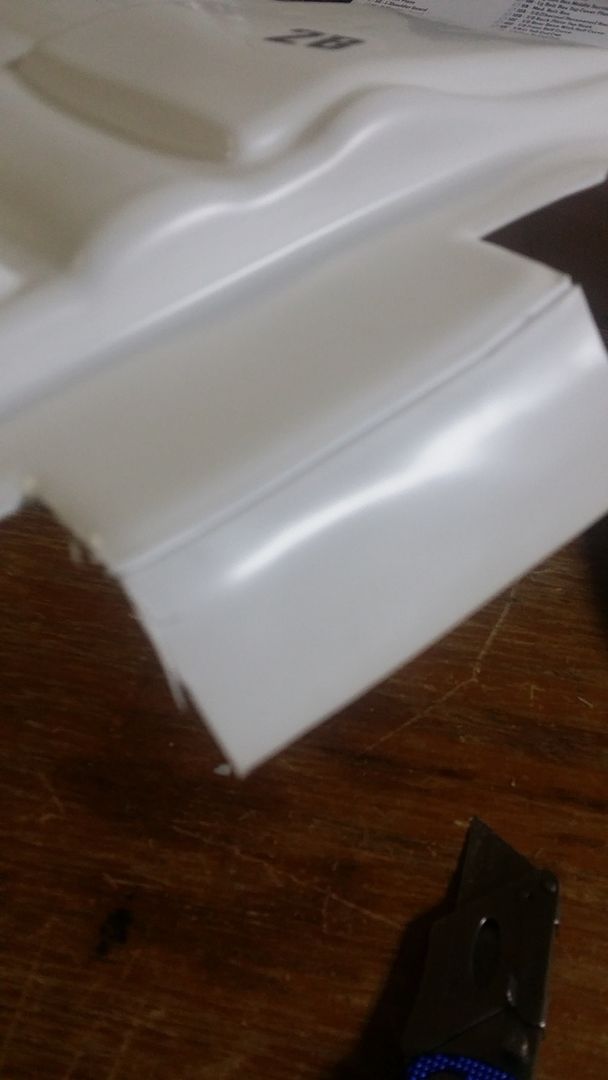
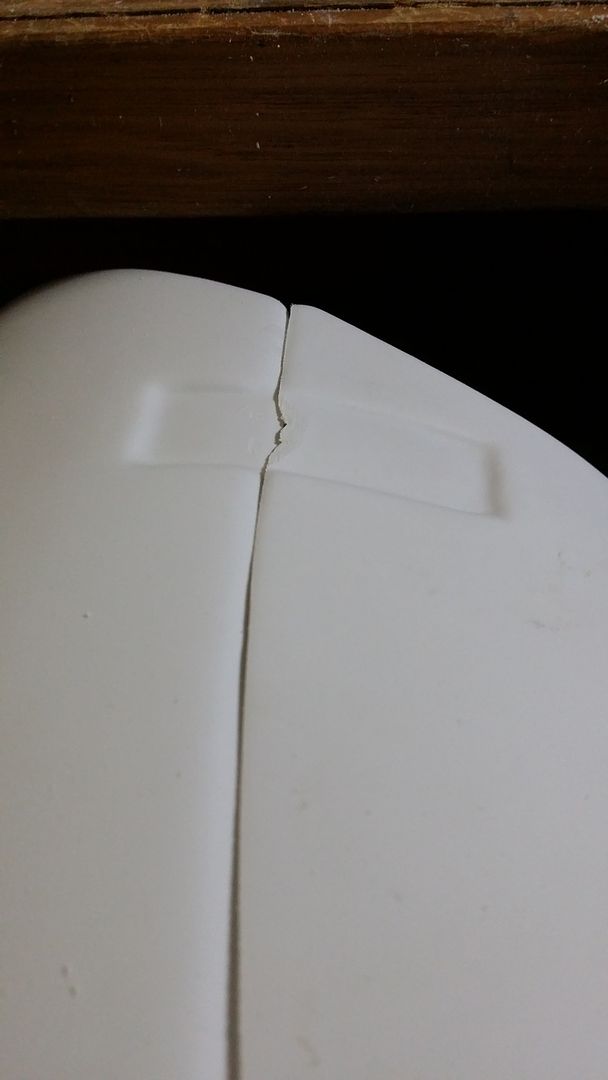
 and sanded the greeb clip so that it sat as close to the curve in the armour as best it could.
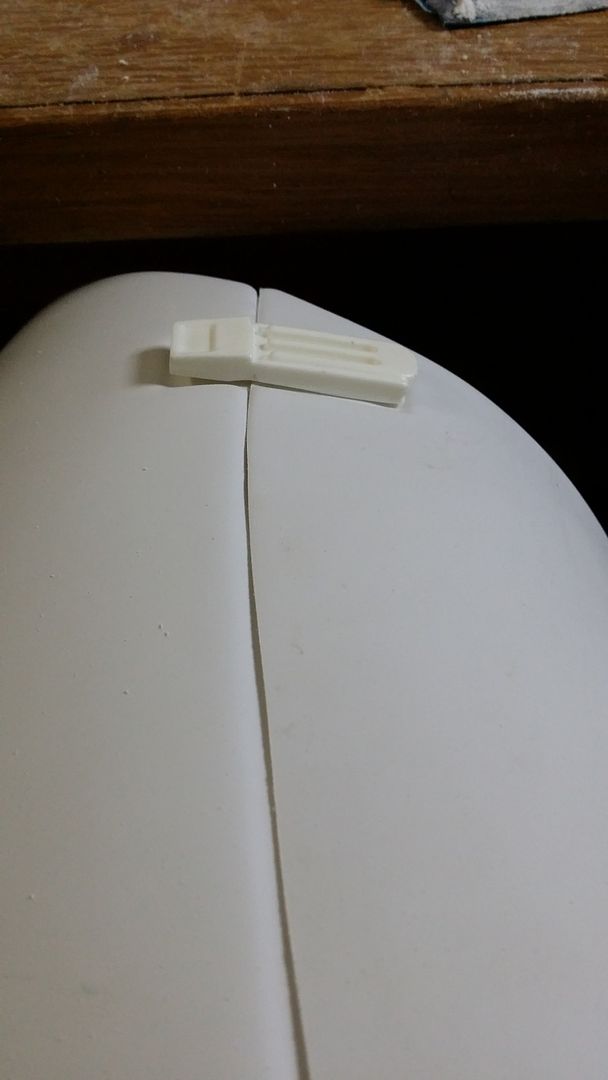
 more greebs to be attached tonight and then on sunday ill begin the painting part. so im about 60% completed now.
 -
Hi Beanie,
I'm new to the forum, but was referred to follow your progress by some fellow Knightfall Squad members here in Melbourne.
You're making great progress and can't wait to see the finished product, which I presume you're aiming to have completed in time for December 17, if not before.
I'm looking to order a kit of my own to build once the next wave of TFA kits are made available from ANOVOS. I've already ordered my helmet in anticipation

Your build experience, notes and tips are going to come in very handy. So keep up the great work.
Cheers,
Steve.
thanks dude, ive been busy sanding, so no real need for progress pics of that, but yeah im actually planning to have this done for Supanova Brisbane 27th Nov, that will be my test event since its a con.... and tonight more sanding, and i have a freind popping over to help glue the boxes to the ab plate and the greebs to the armour so ill have updates tomorrow.
at this stage, it looks like ill be up to the webbing and fitting next weekend the 7th/8th Nov and the following weekend afterwards will have it all done.
-
1
-
-
one with all the armour was about 7 kgs the other was about 4kgs with the gaskets
armour box about 50cm tall and wide and long. the gaskets was in a small large pizza box style box.
-
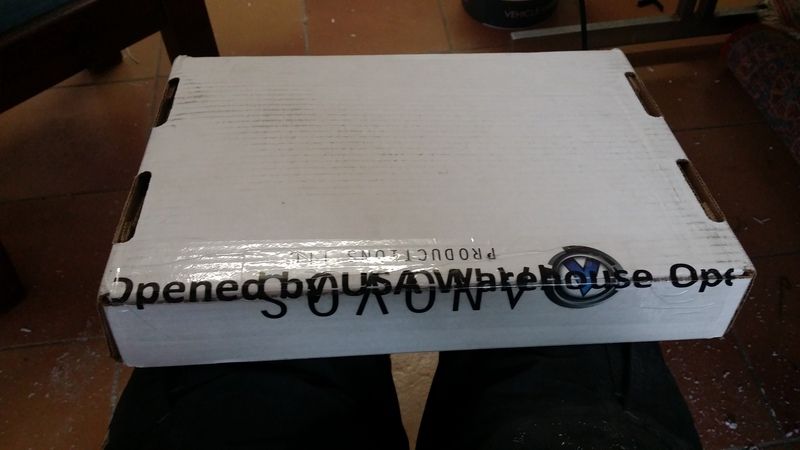
recieved on thursday a nice small box from ANOVOS, number 3 of 4!Soft parts inc the belt, gloves the black pouches and neck seal
 more glueing of the shins and biceps
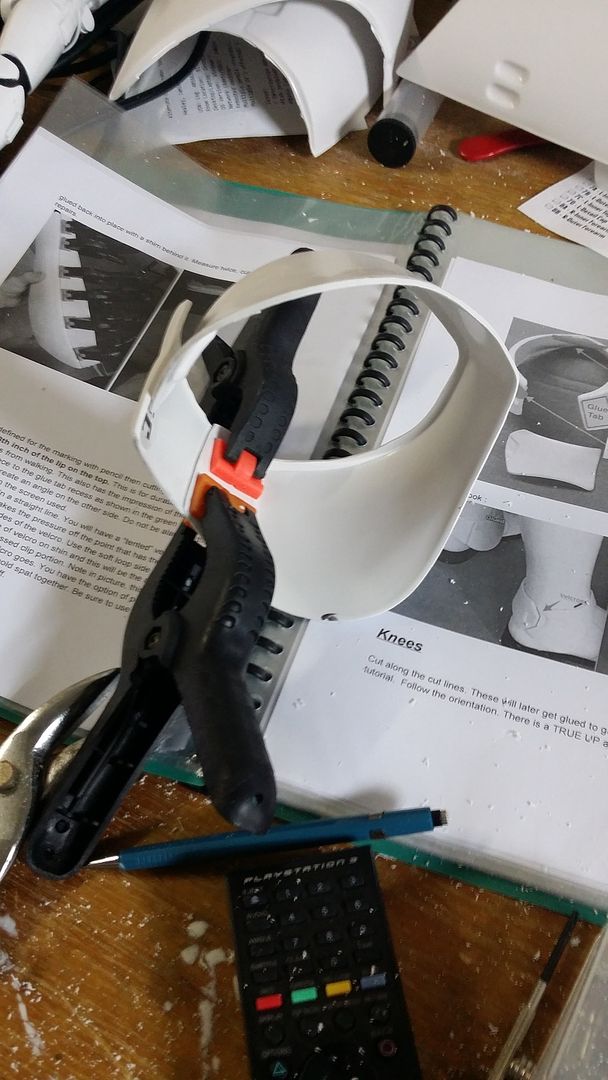 Spats
Spats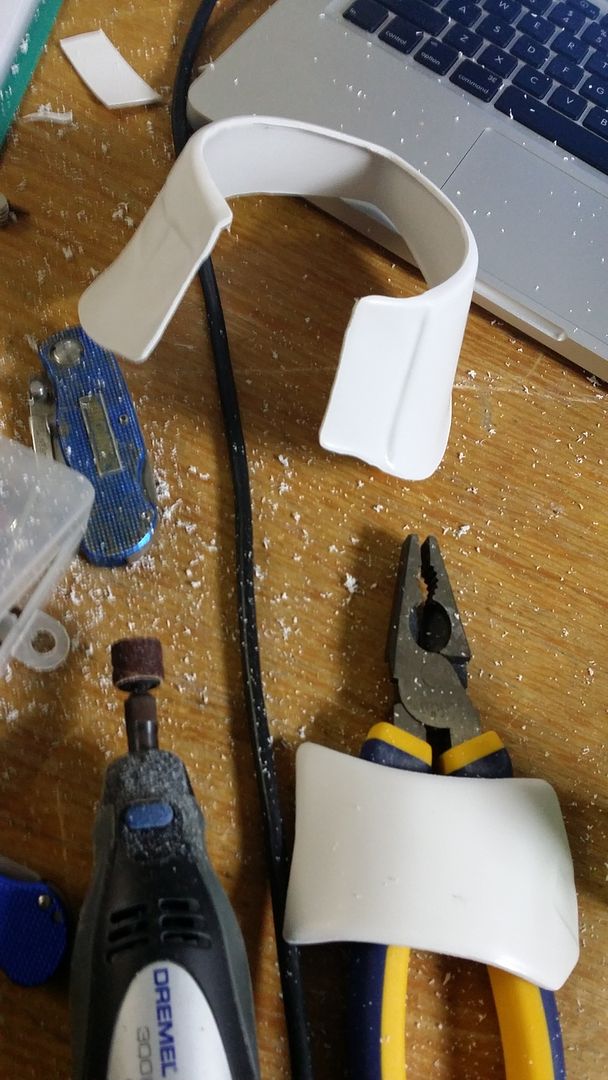 Butt trimming
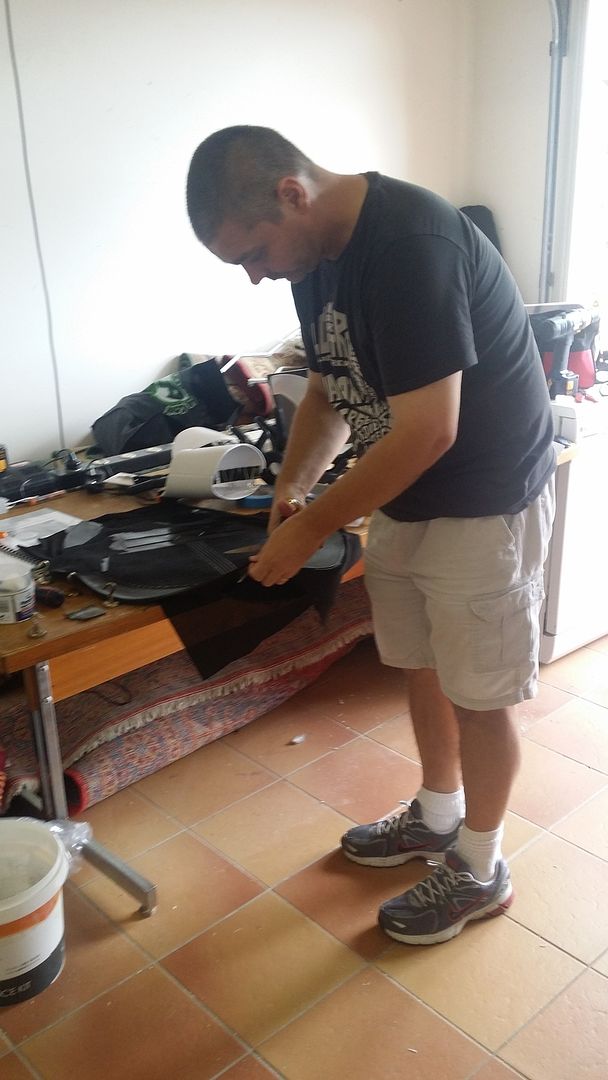
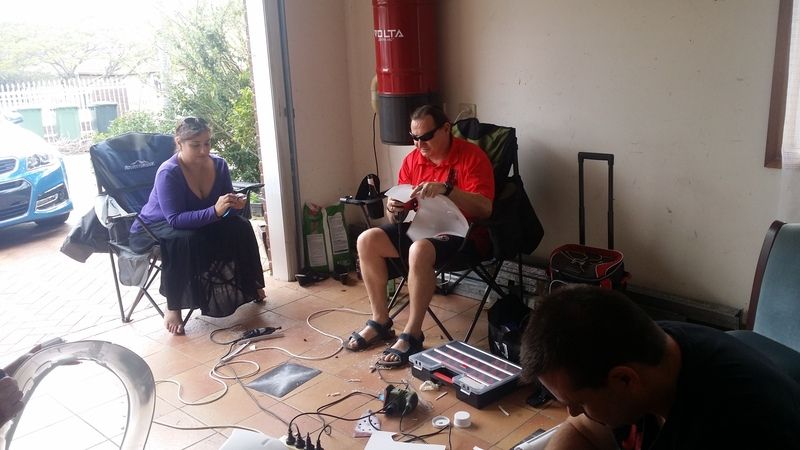
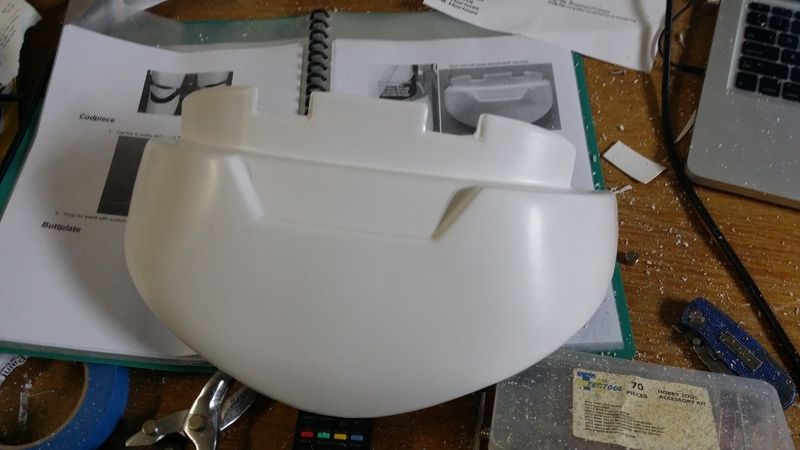 and yesterday got some really great helpers that come around to help trim and glue parts.Kit, Dave, Sam and Mark and Chopper!THANK YOU ALL FOR THE HELP!!!!
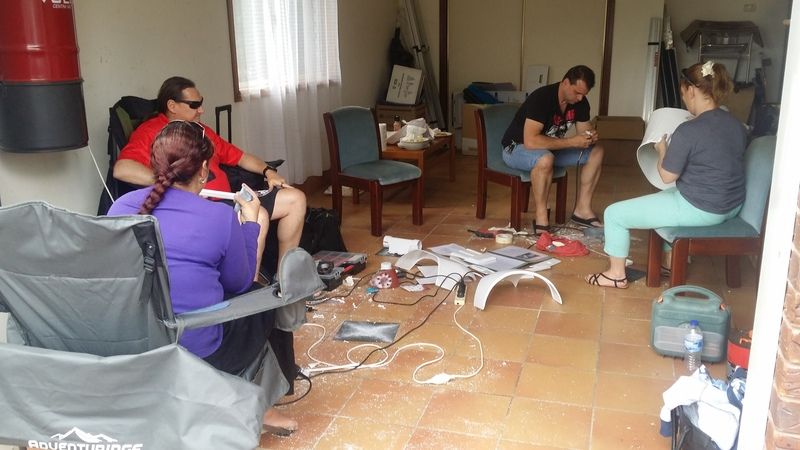
 Its bogging time!had to work out the way to glue the thermal det and the end caps that are glued to the inside, not like the old school type!
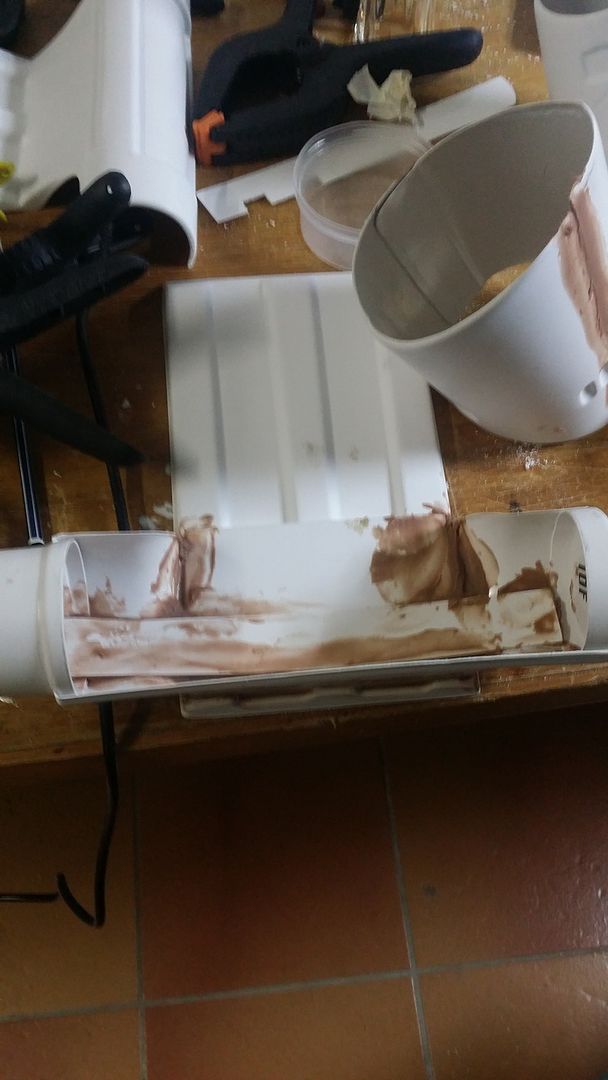
 seamless biceps
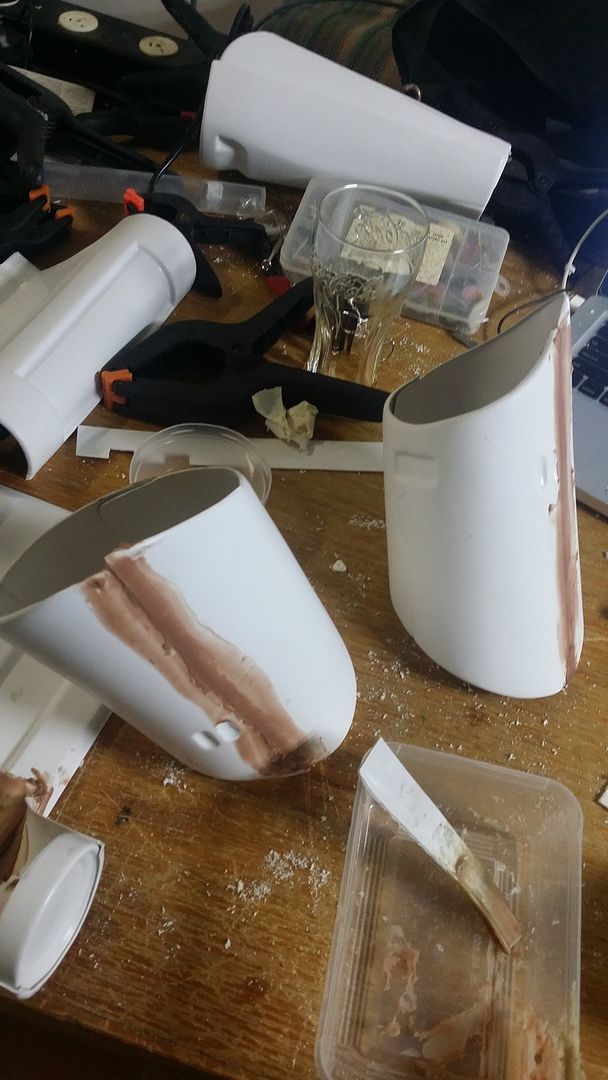 seamless back and yoke
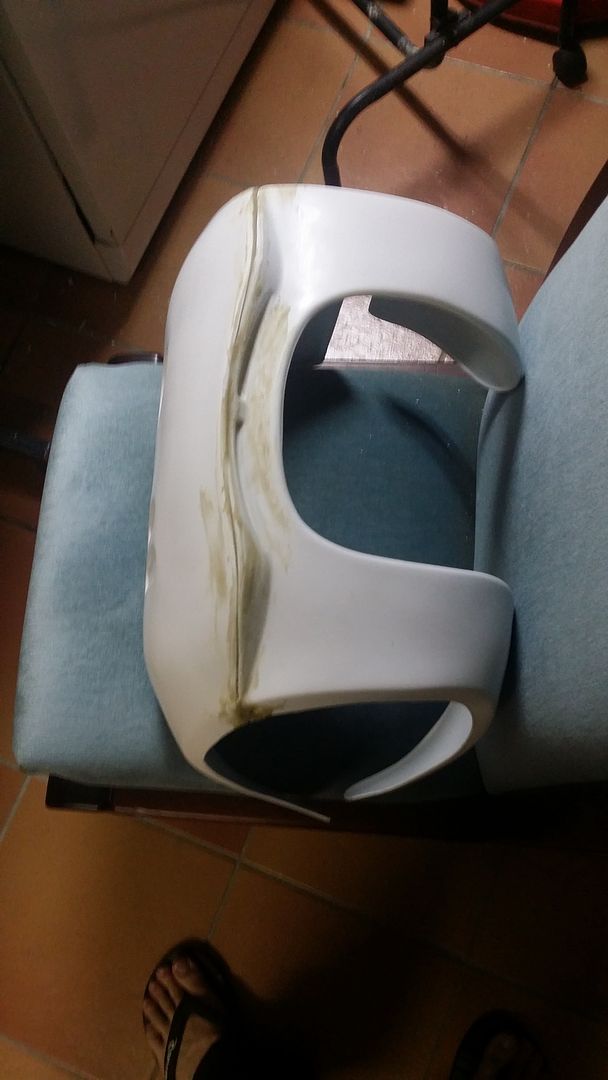
 and all this in just 7 days, so im guessing im about half way, and on friday i had email confirmation from FedEx that helmets should arrive in my USA shopmate warehouse this week.
-
1
-
-
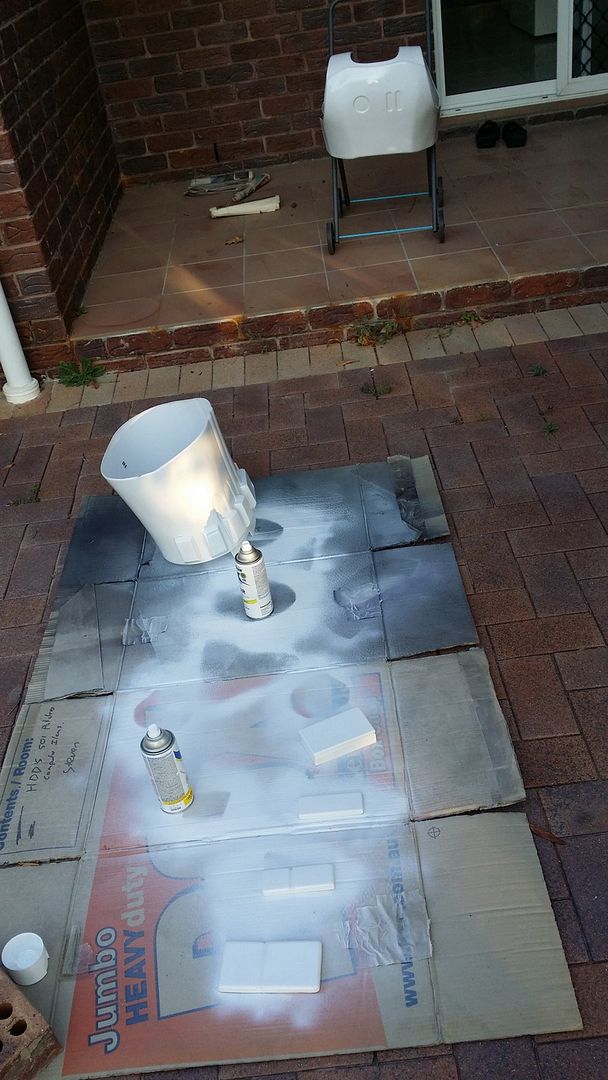
yeah remove gloss so it can all be painted since most parts will be bogged (bondo) and then sanding it.
-
1
-
-
last night with help from Deltorn, we managed to sand all the gloss off the armour and start glueing pieces together
 all sanded, thanks Del! massive help!
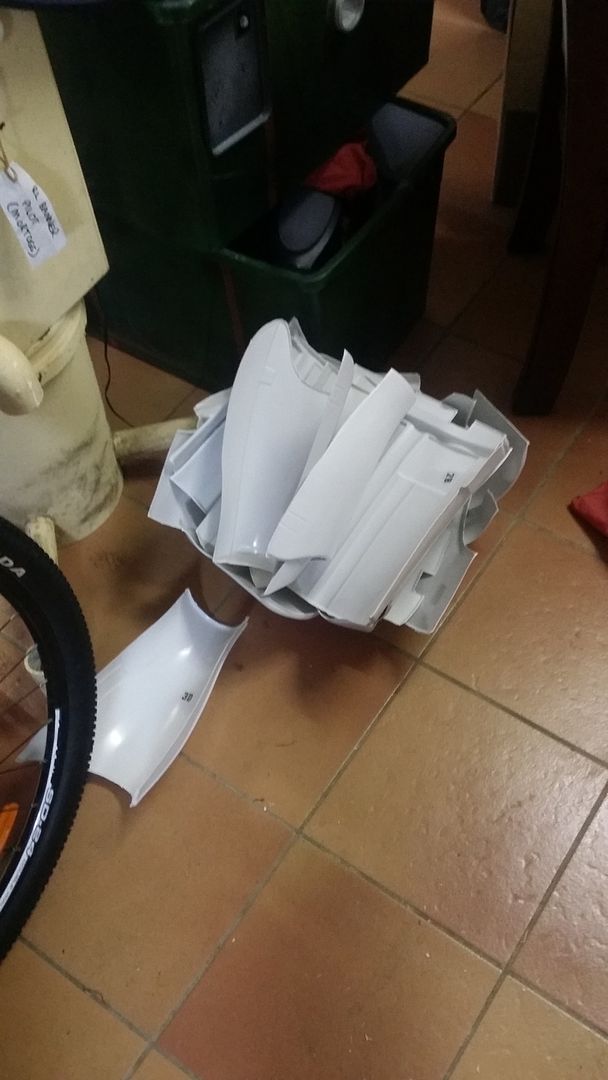
 with Back to the Future Part 2 on.... and Pizzas
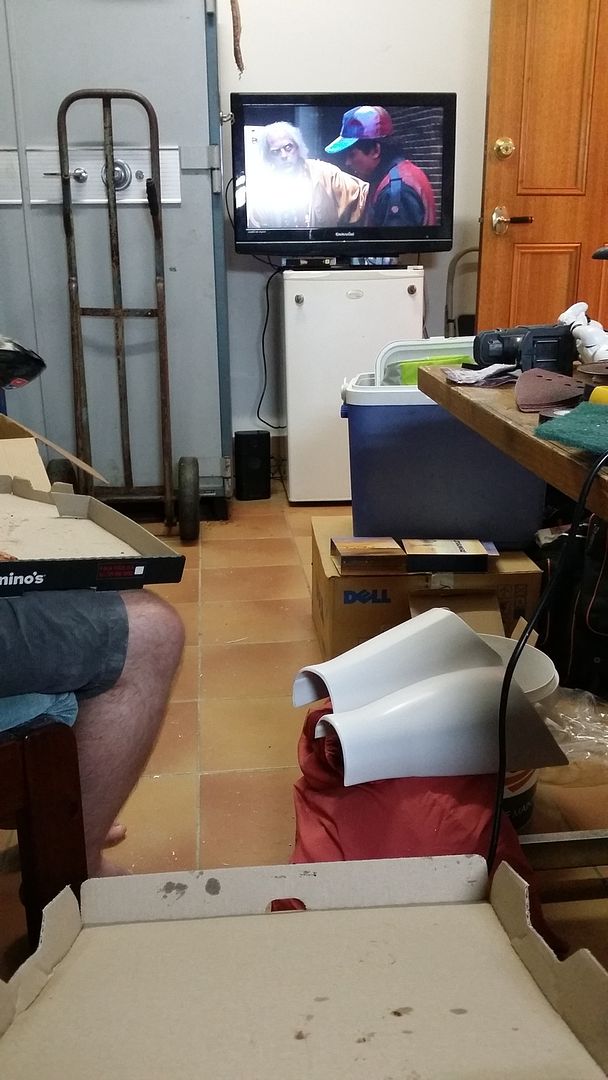 Shins glueing
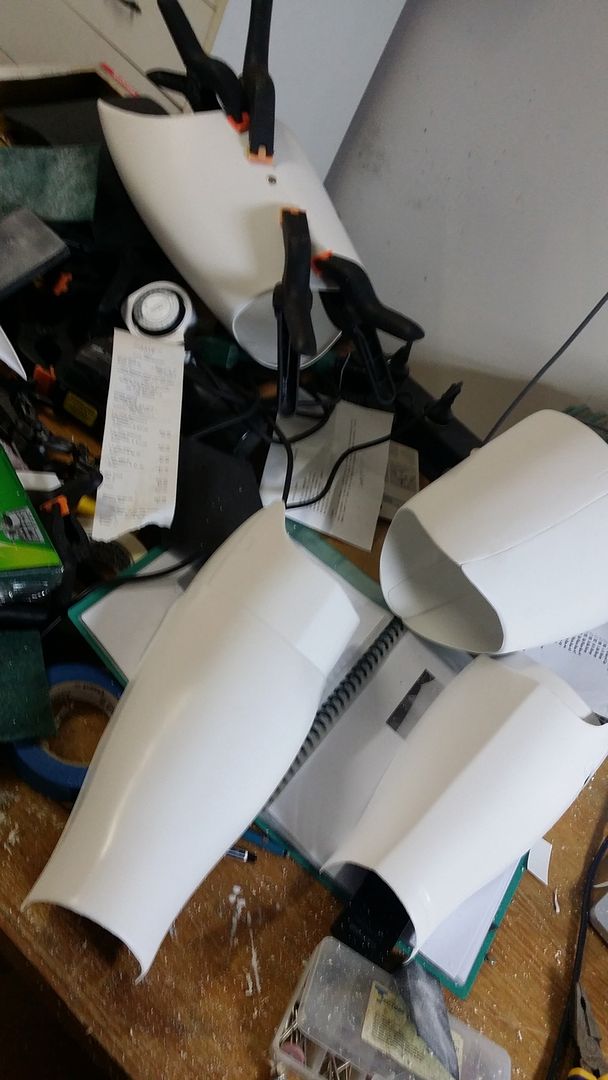 CLAMPS!!!
 glueing
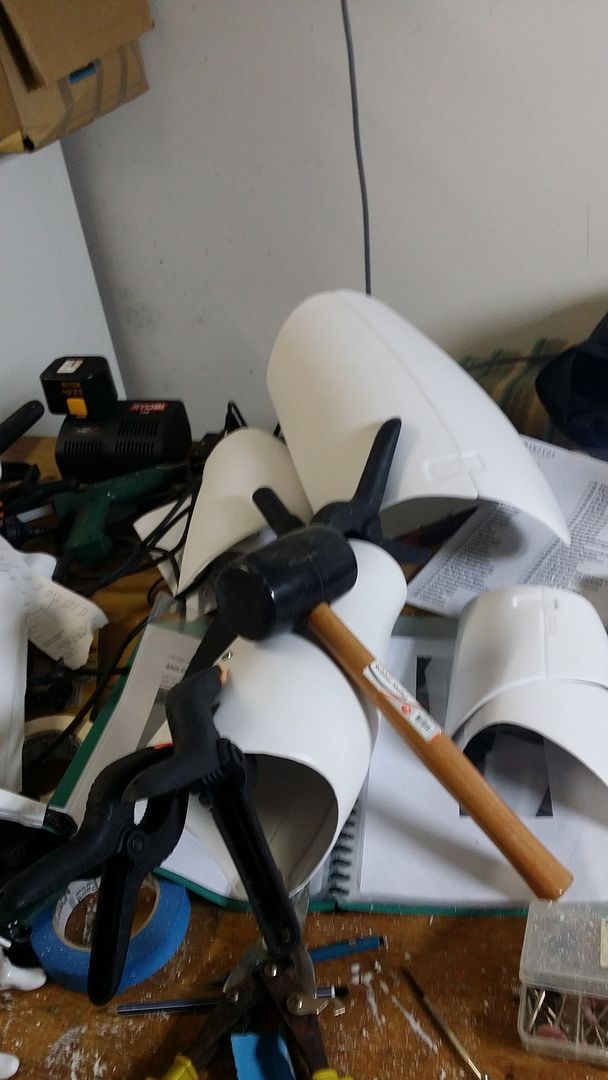

-
trimming even at work.i did all the belt boxes at work
 all cut and trimmed
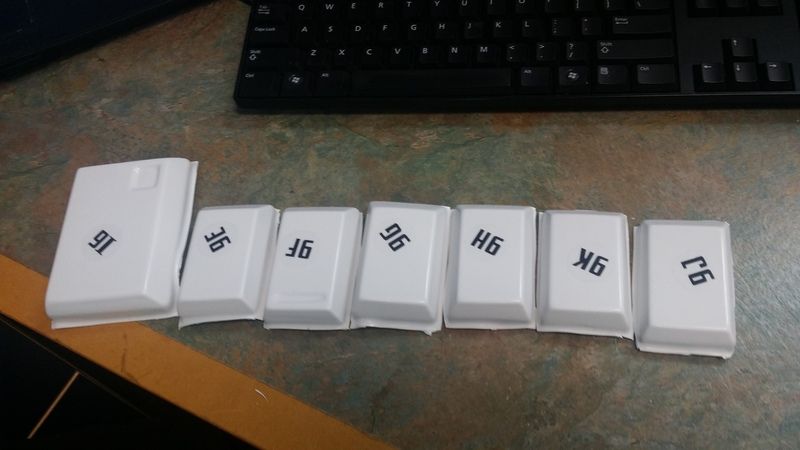 cutting whilst watching the Trailer
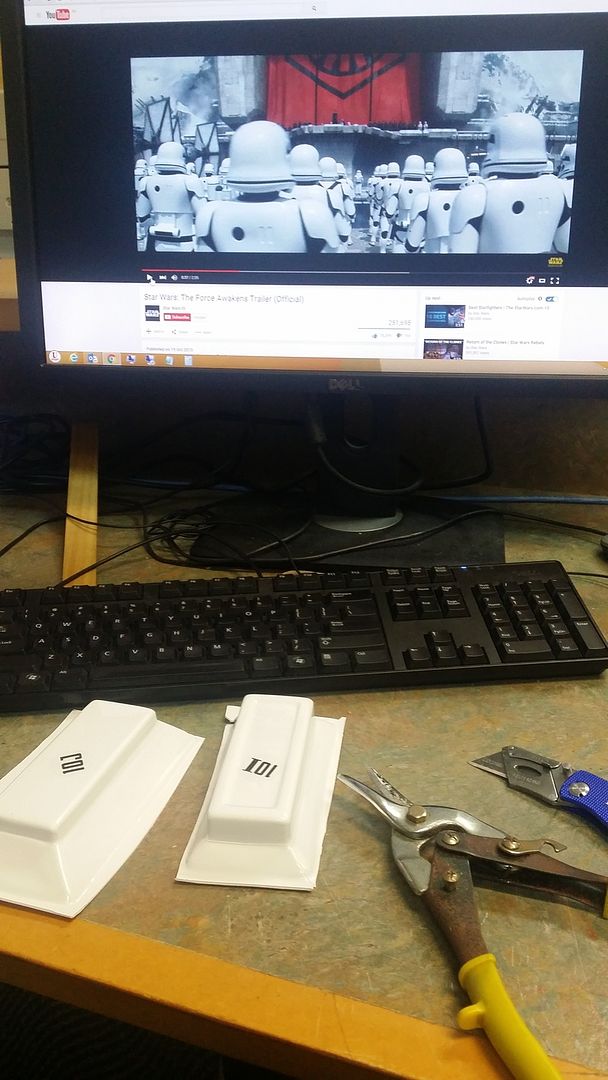 a good days work
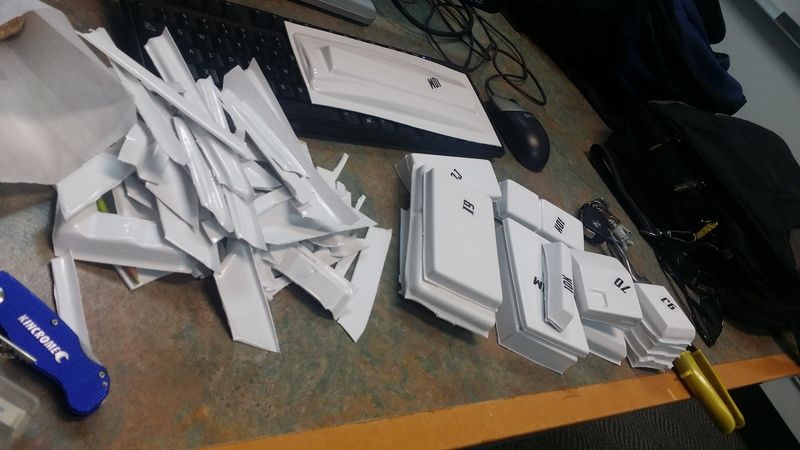 then it was home to continue with Starwars in the background and Arm trimming
 Shoulder Bells
 Det trimming, this will be a difficult build
 then it was Back to the Future trimming the arm plates.
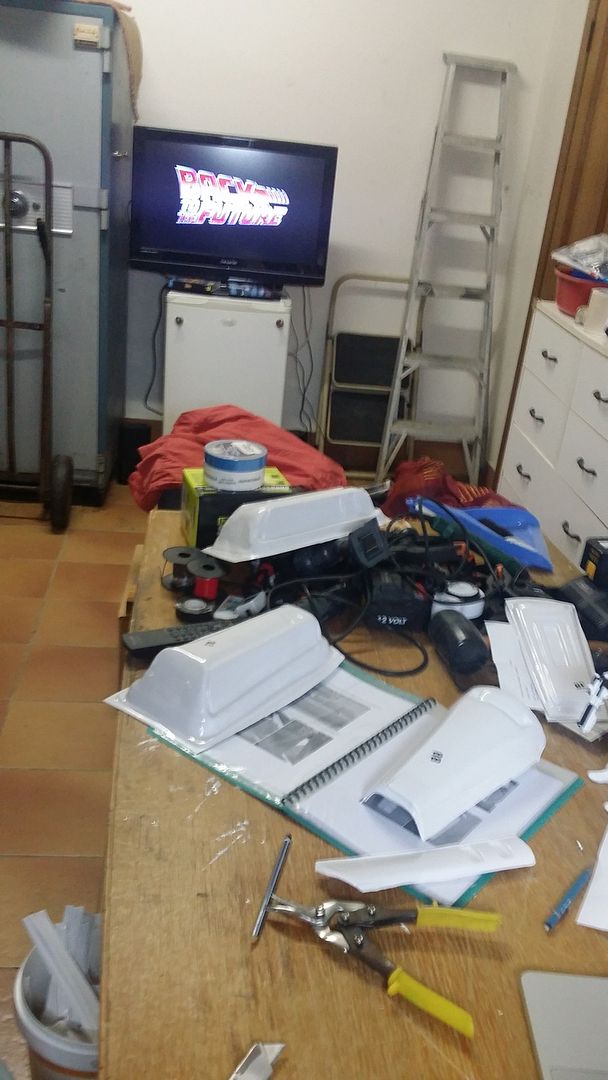 then.... it was all trimmedtime to get the scotch brite and sanding
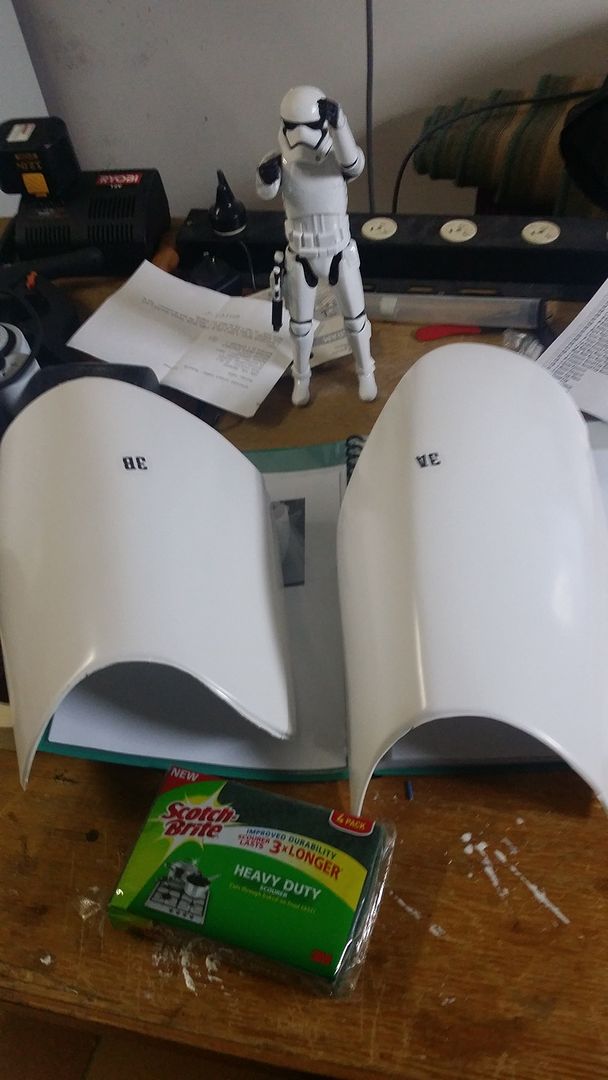 started on the Thighs
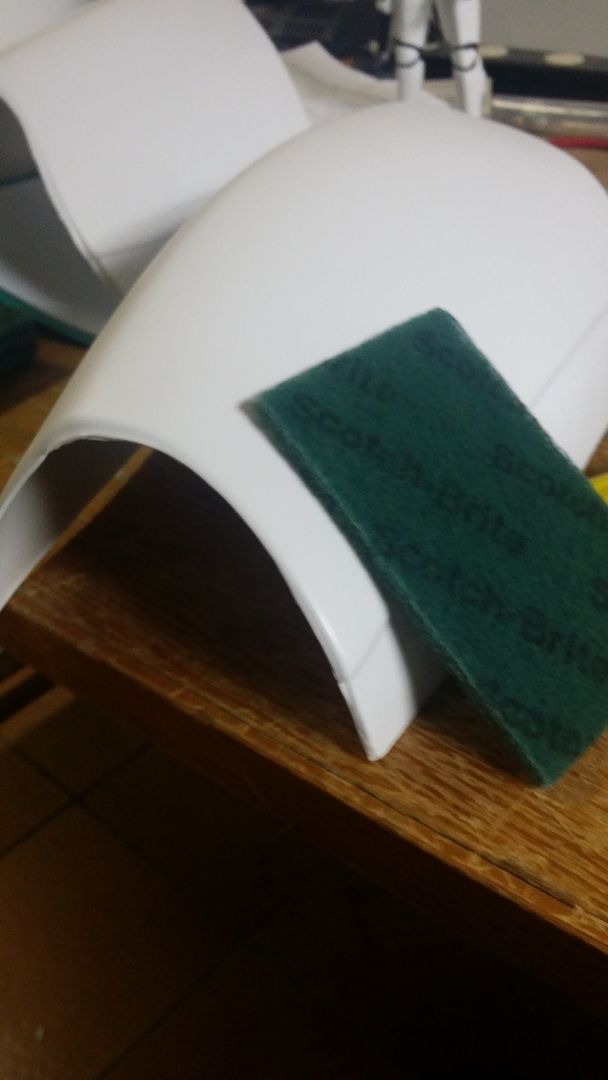 no dremmel and little flying bits, this time its all mouse sander
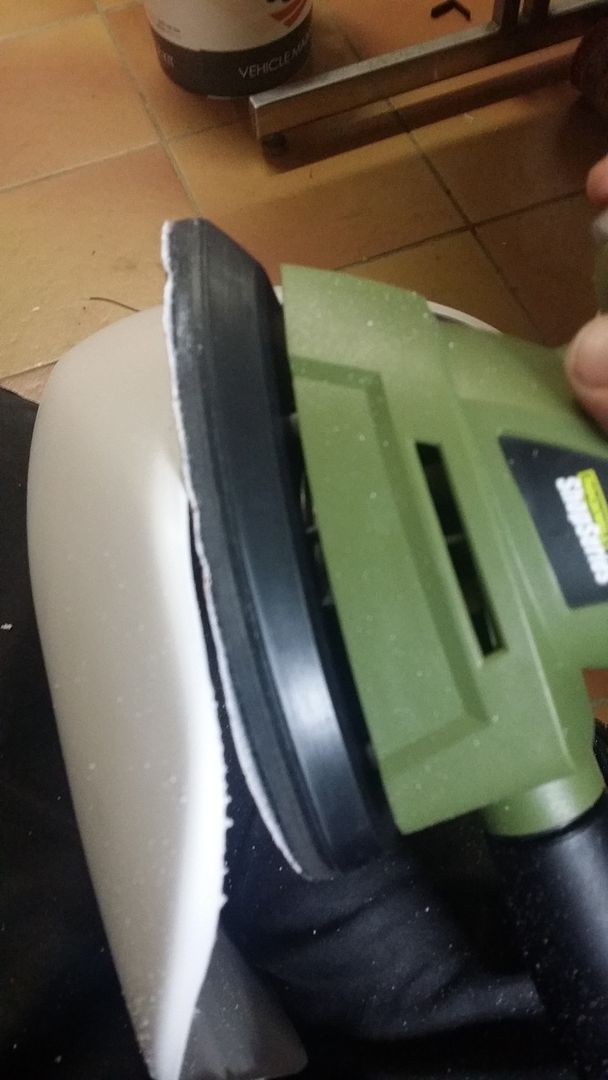 and even had time to glue the first part together, the left thigh piece.
-
1
-
-
its the marketing kit from Anovos.
-
and so the first 2 boxes of 4 arrived, its the armour and the gaskets, so the most important stuff is here.
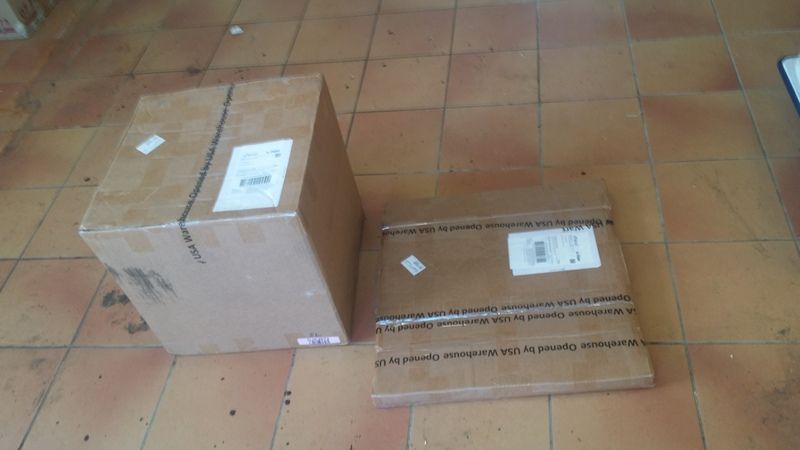 parts part... parts everywhere
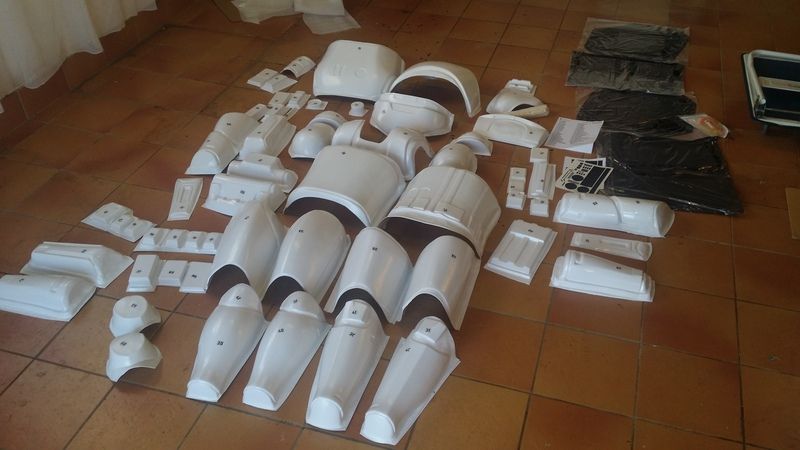
 and the gaskets.... argh
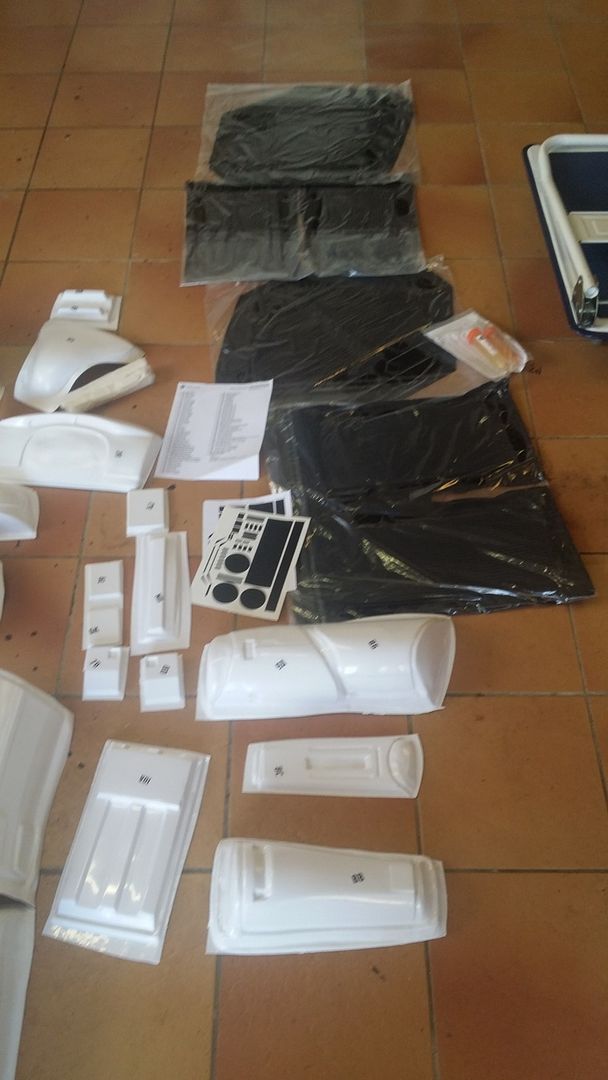 so i been doing the score and snap on the armour instead of the dremmel and tin snips which i discovered towards the end of the Rex build 3 years ago.
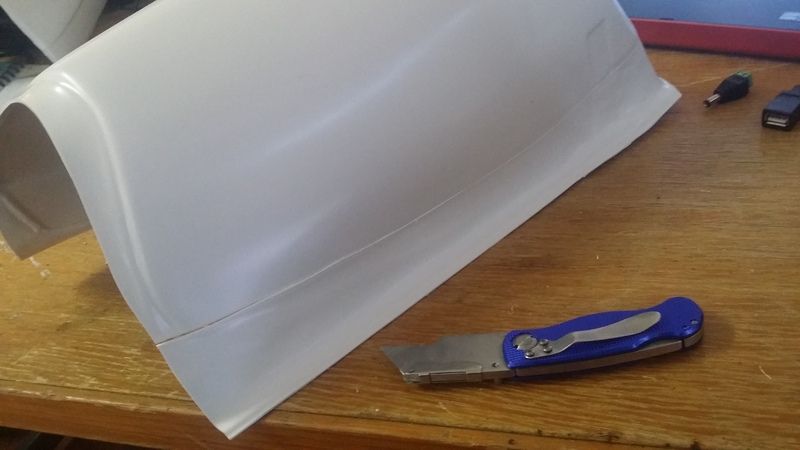 thigh parts score and snap.
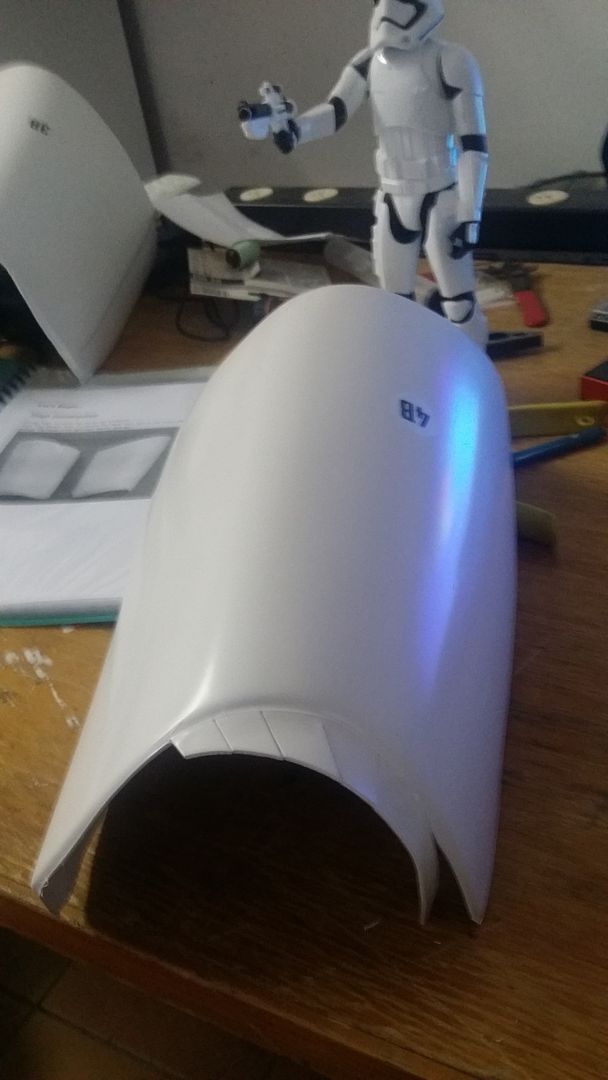
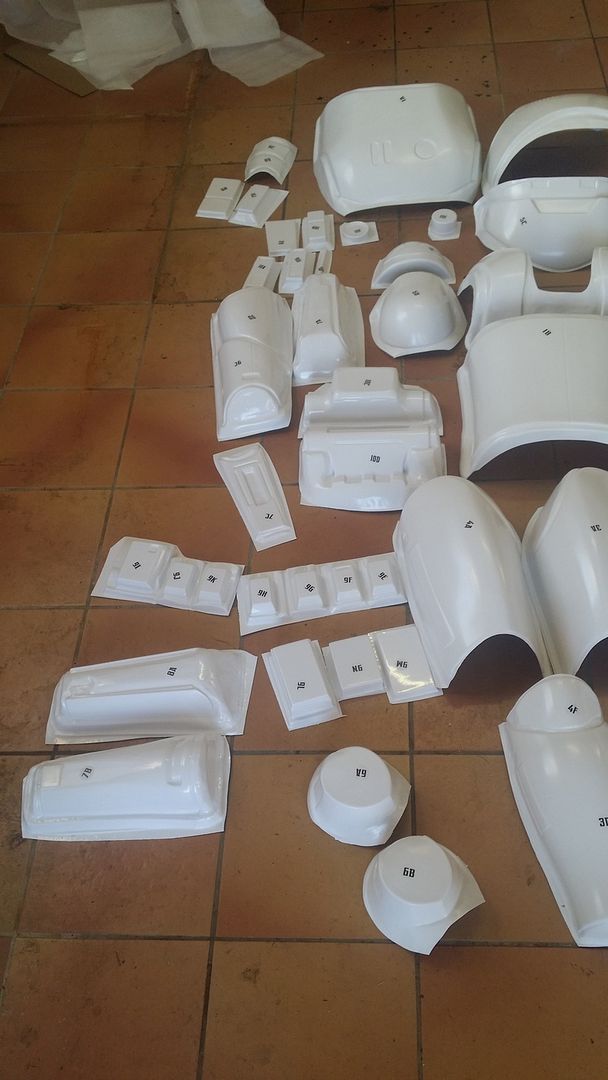
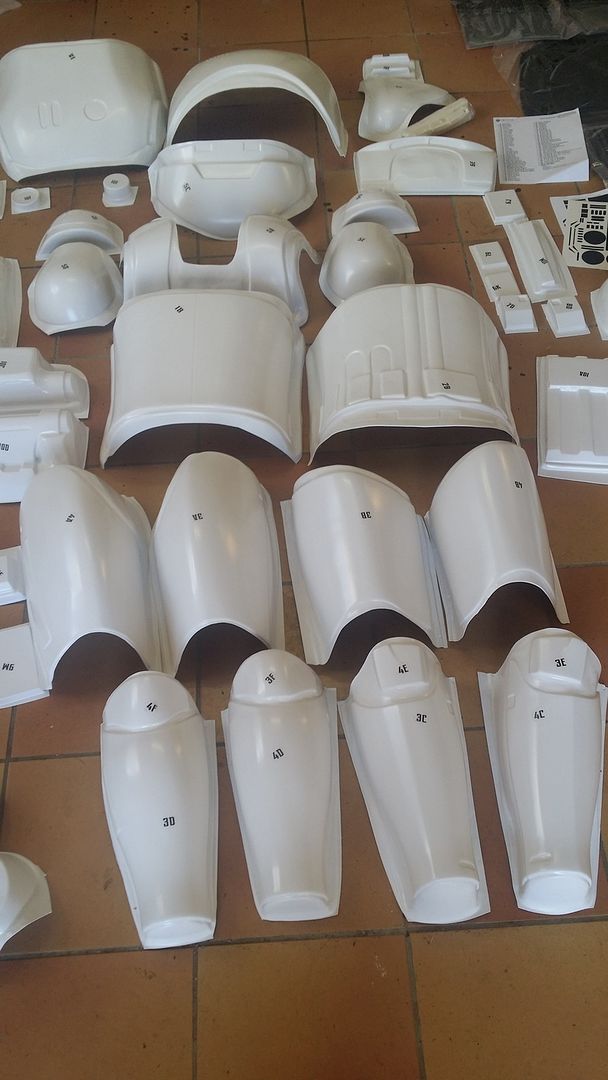
 then it was the shins
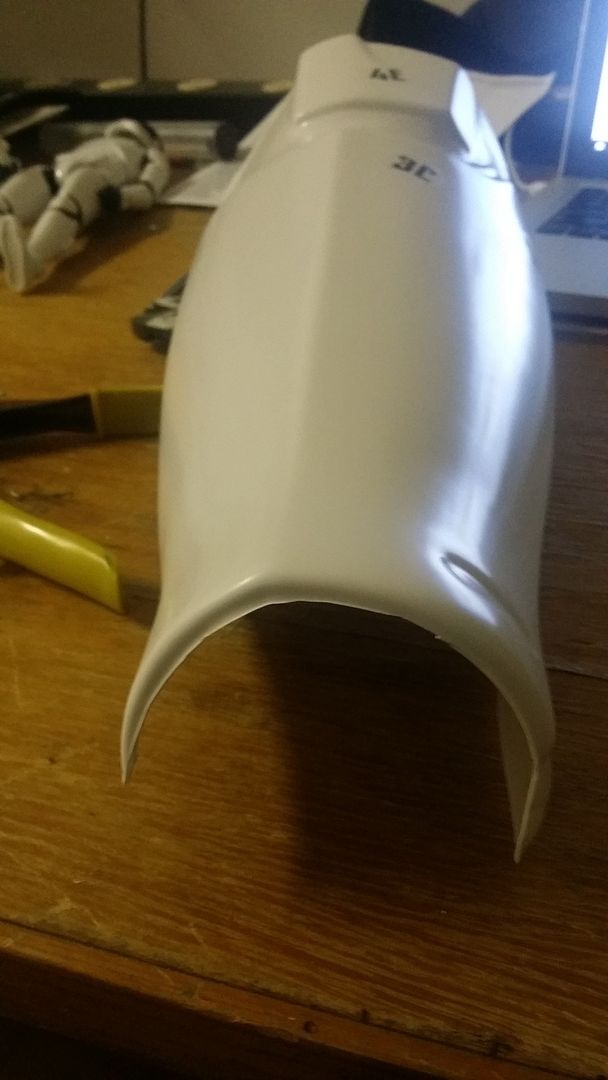
 all trimmed
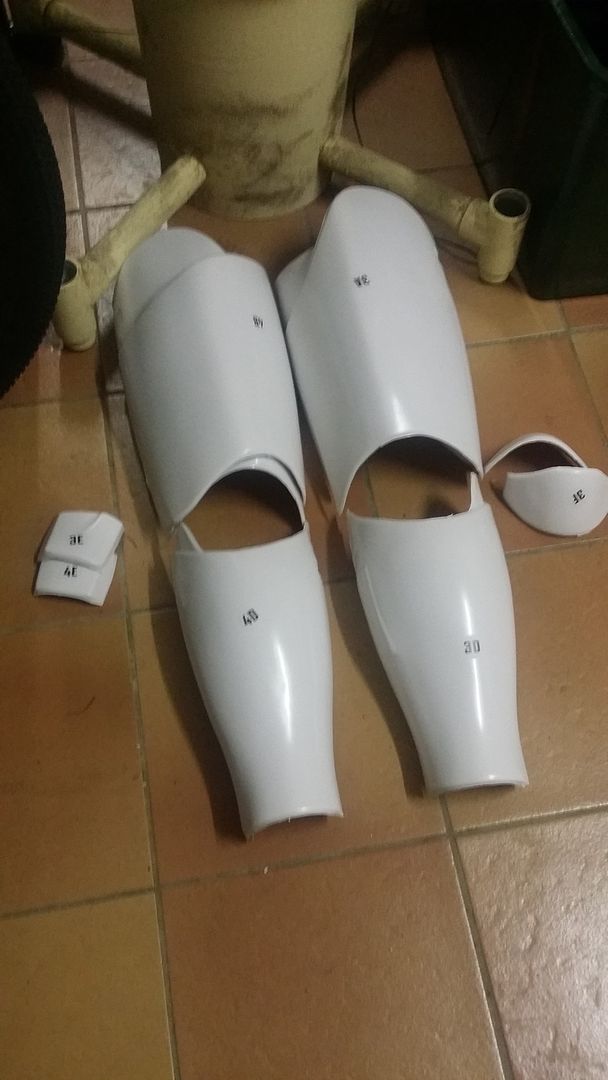 the spats, this was actually the hardest to score and snap due to it having to be cut on the top and inside and have an edge to it... so annoying
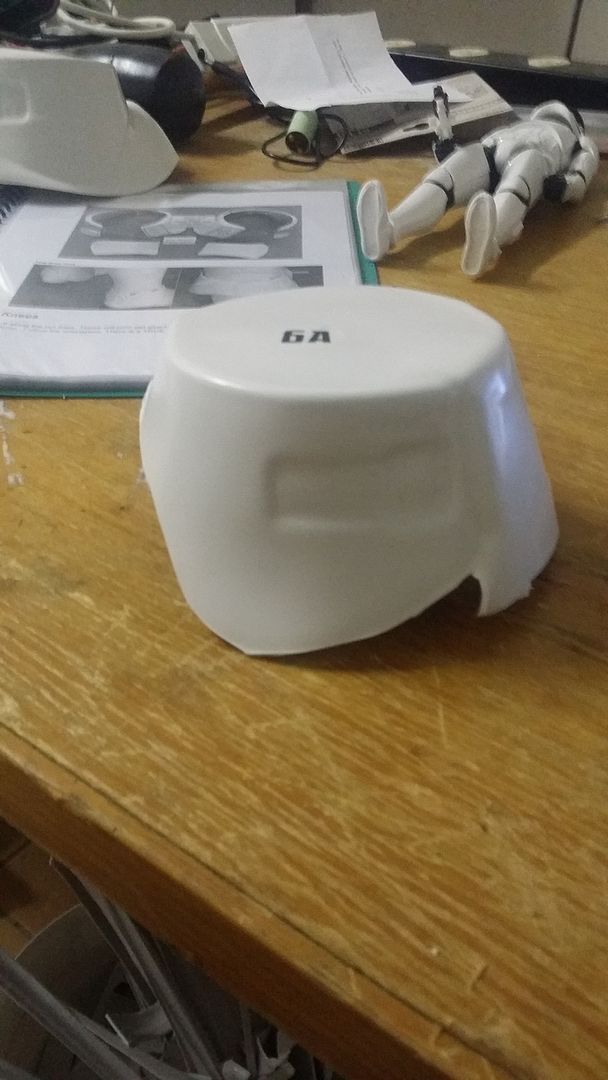 my little TK helped out, but was useless!
 then onto the butt and cod pieces
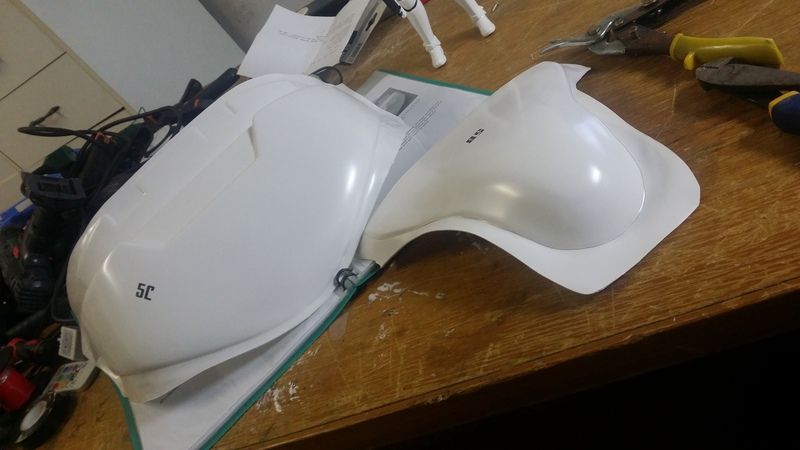 as you can see from TK how annoyed he was getting by now with scoring and cutting, so i had to take over.
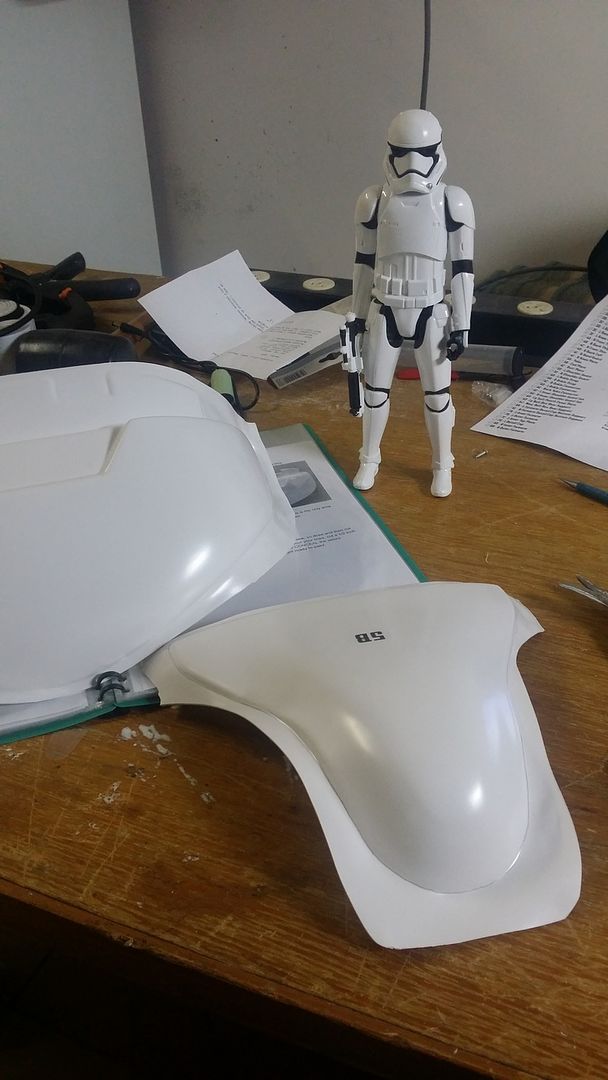 Chest and back plates trimming
 nice clean line, just needs to be sanded
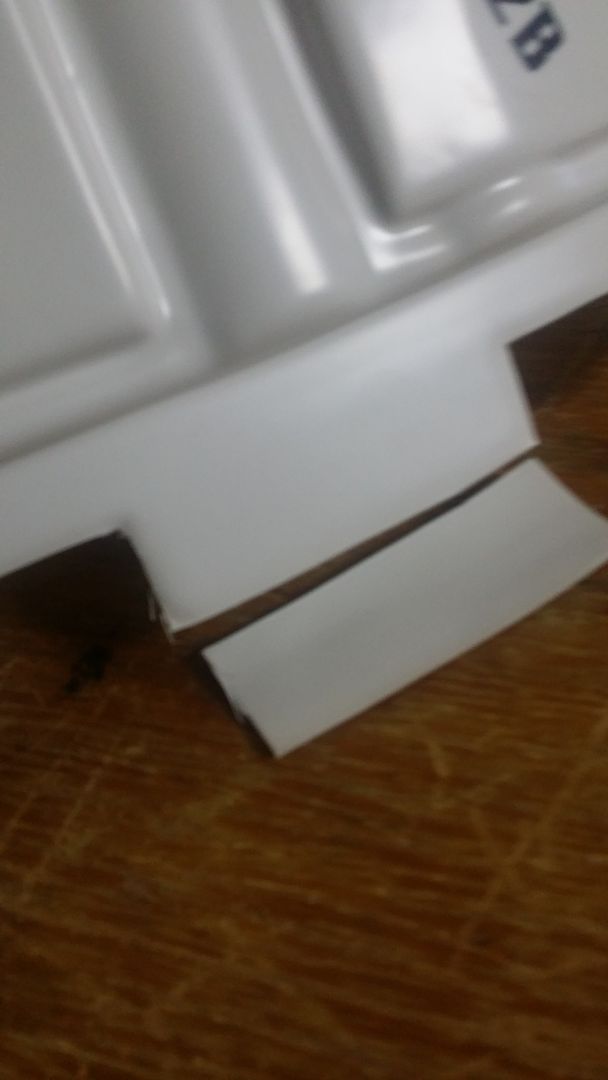
 chest and yokes trimmed
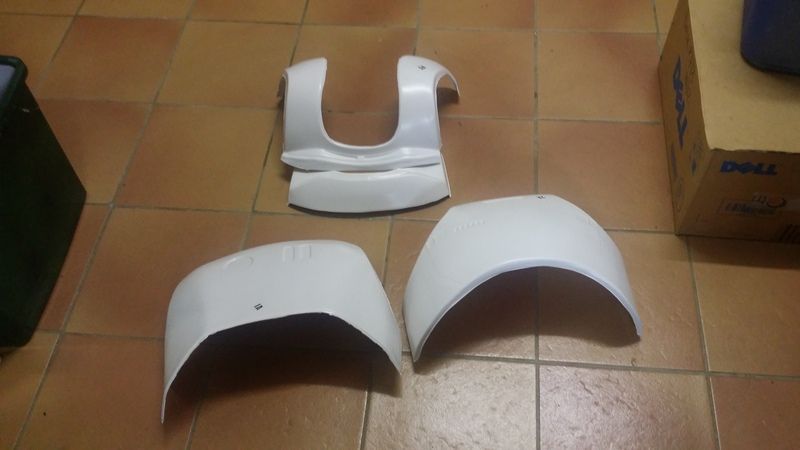 and then the bucket of trimmed pieces, much easier then the dust and fine dremmel pieces.now today more trimming on the belt pieces and arms and the left over pieces, so i think by the weekend it will be sanding time.
-
2
-
-
question is this a seemless build like the clone troopers were, or are the joints visible???
nice work and will soon be starting my build.
-
For clarification, the stuff you saw at Celebration (I'm assuming that you mean the ANOVOS kits, and not the screen used suits) is no longer what is supplied with the kits. They are now supplying thinner gaskets that appear to allow for greatly increased mobility and - theoretically - better durability as well.
ohh sweet yes thats what i was referring to, good to hear they have updated the kits.
-
1
-
-
bugger, ok so what if i used the stuff used for the ribbed on the neck seals and use them on my shoulders and legs? just trying to work out a way that will be comfy and easy to walk and move then the thick rubber i saw at celebration?
-
so will it be optional here or staggered level requirement
-
not sure if this has been asked or not but why is it that the new TFA TKs require the gaskets as part of the CRLs and the costume but the Clones dont...
the clones had them and do recall seeing them on a few troopers but their CRL doesnt even mention it as optional.... so why needed here?
-
Approved Steven.
you approved me, but on the 501st main boards it still says im PENDING for FISD... can someone APPROVE me on the legion side please.
-
Hello,
im SandmanAU (sandman was taken by someone else) but im the one and only Sandman from the 501st legion and Redback Garrison in Queensland Australia
i am Sandman 4159 from the legion. can i please be granted access to this here detachment.
thanks folks!


n52 magnet attaching
in Assembly, Mods, and Painting
Posted
this is for my already built TFA TK, im just wanting to attach the new pauldron on it. ill check your build thread kman. thanks mate.