


TK50166
-
Posts
52 -
Joined
-
Last visited
Content Type
Profiles
Forums
Gallery
Articles
Media Demo
Posts posted by TK50166
-
-
We are down to single digits, 9 days left and soo much left to do!
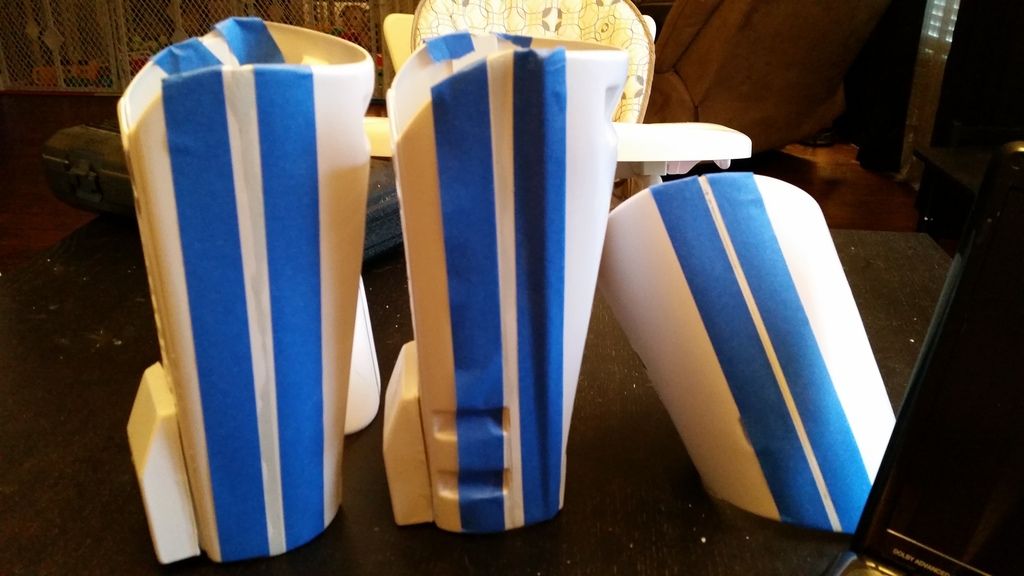
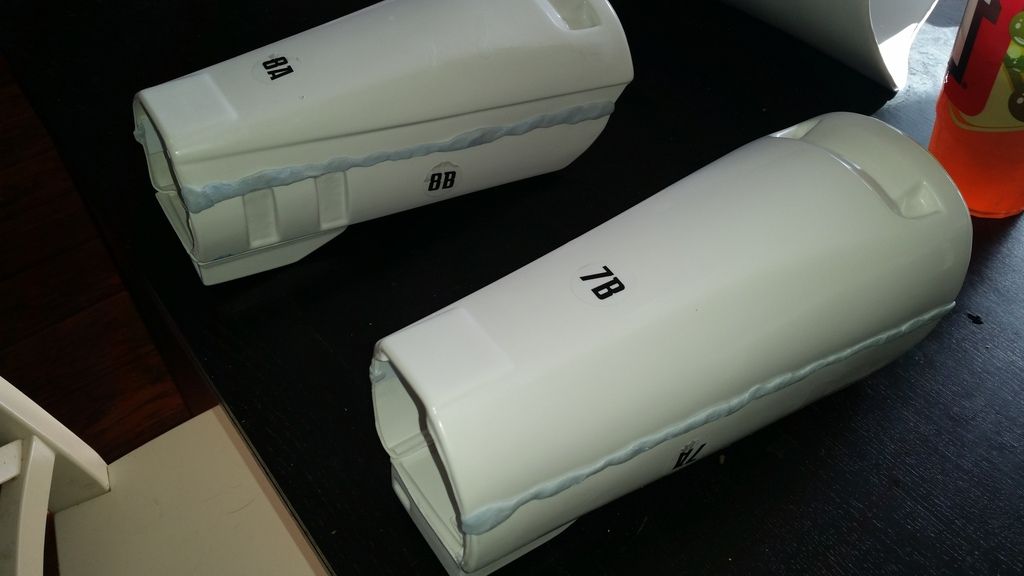
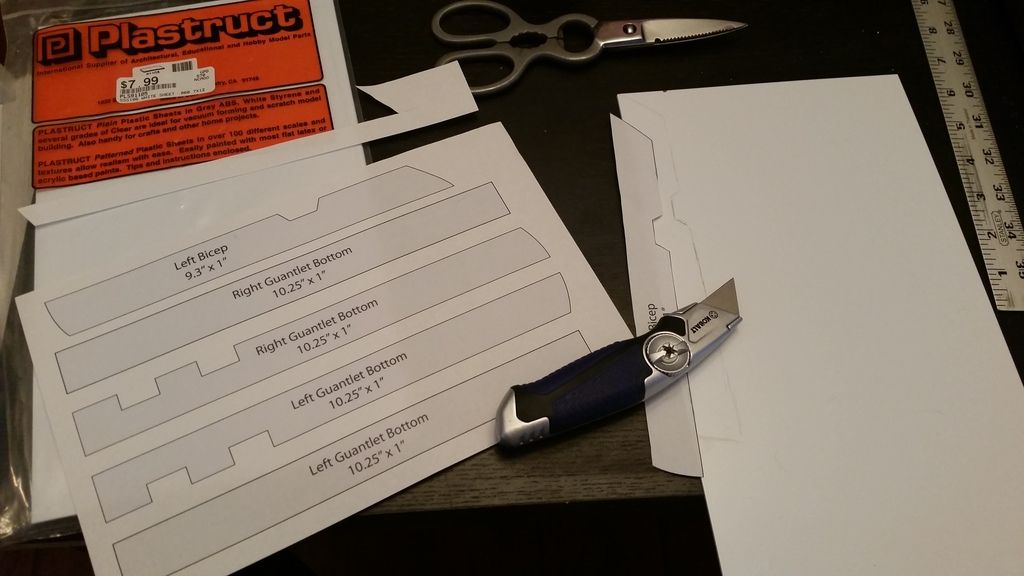
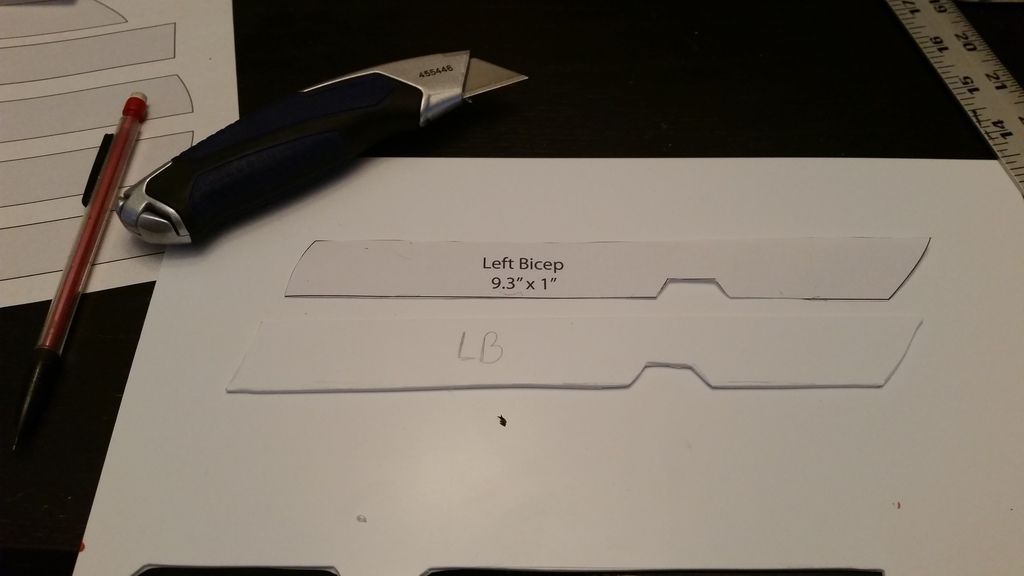
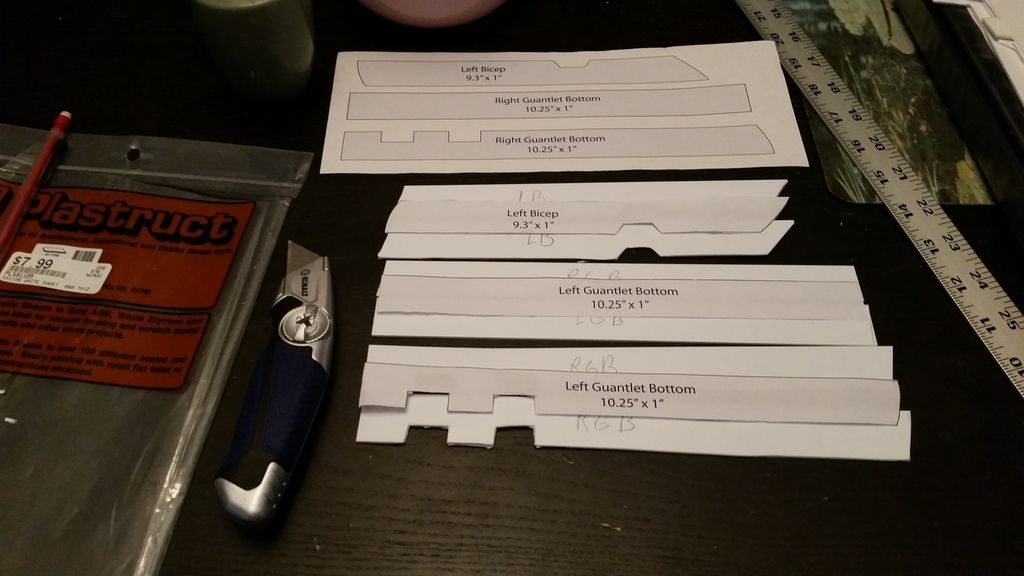
I started work on the dreaded rubber gaskets, first by cutting them out...
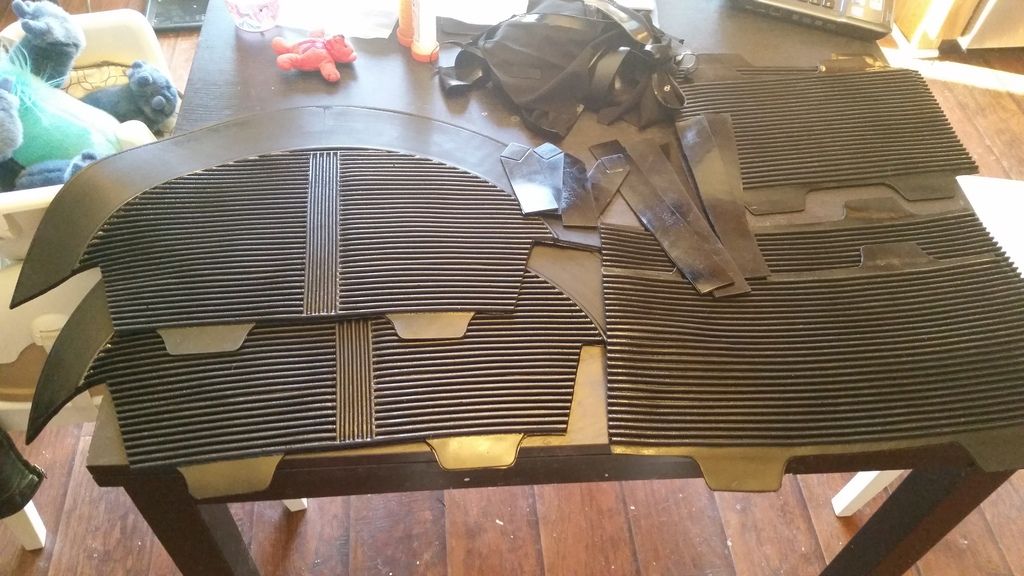
Then I glued the shim pieces, the elbows and knees came together easily
once they dried, i then glued the other side to form the gasket
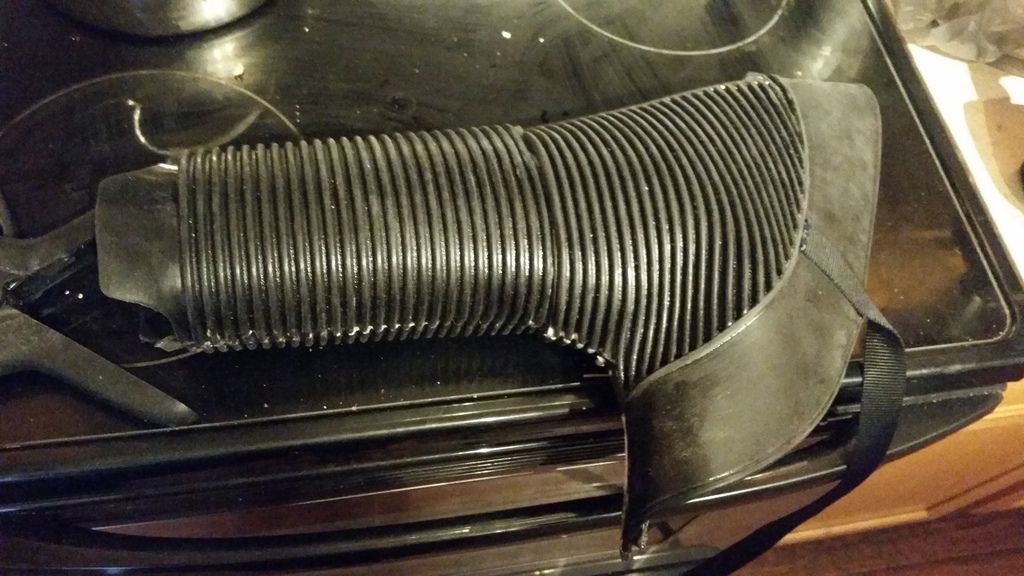
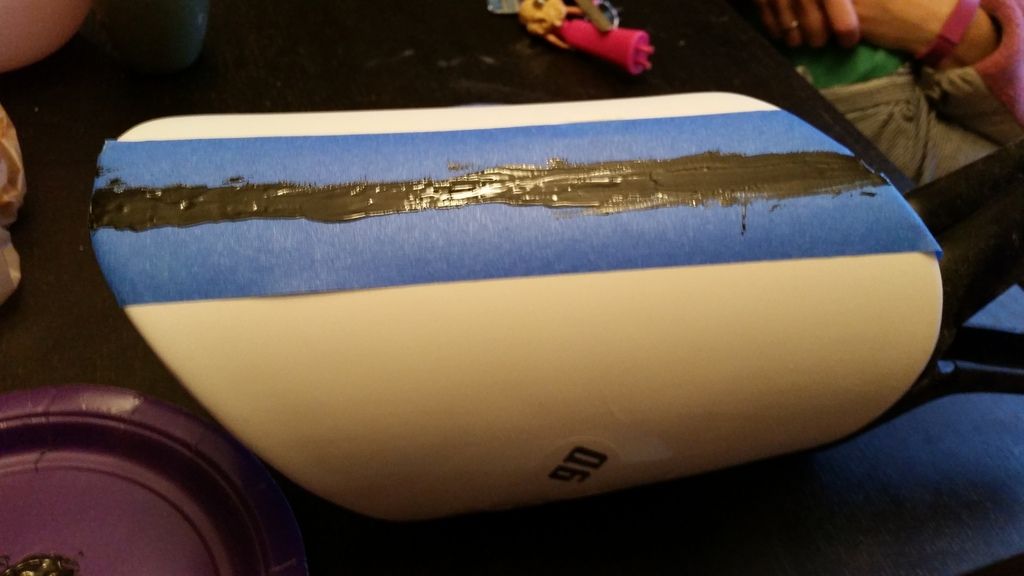
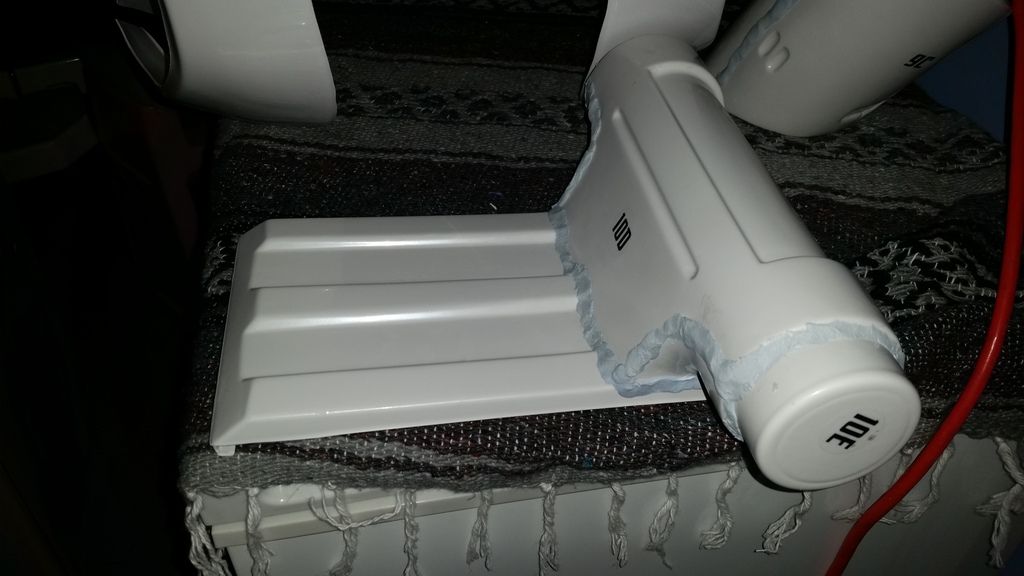
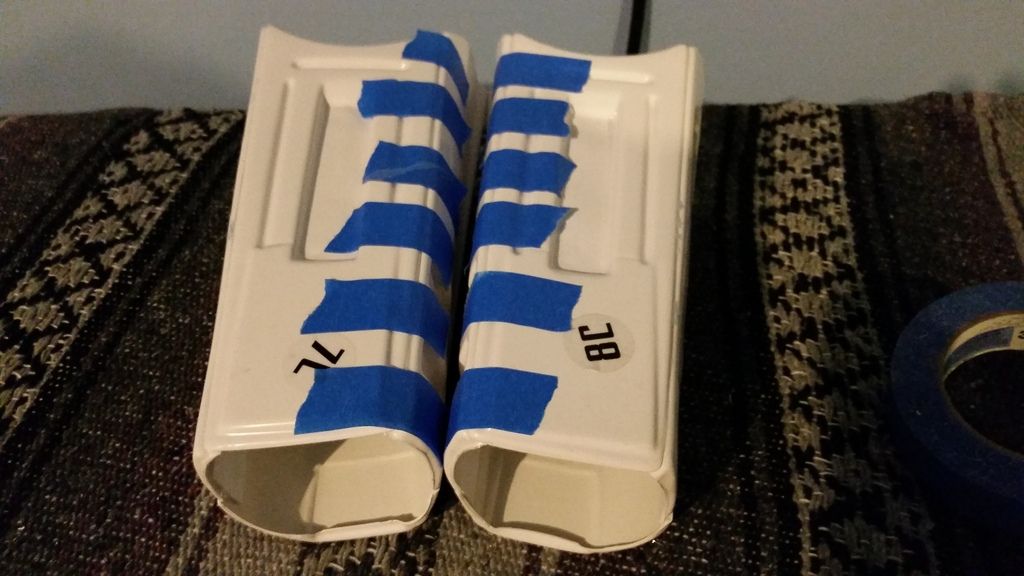
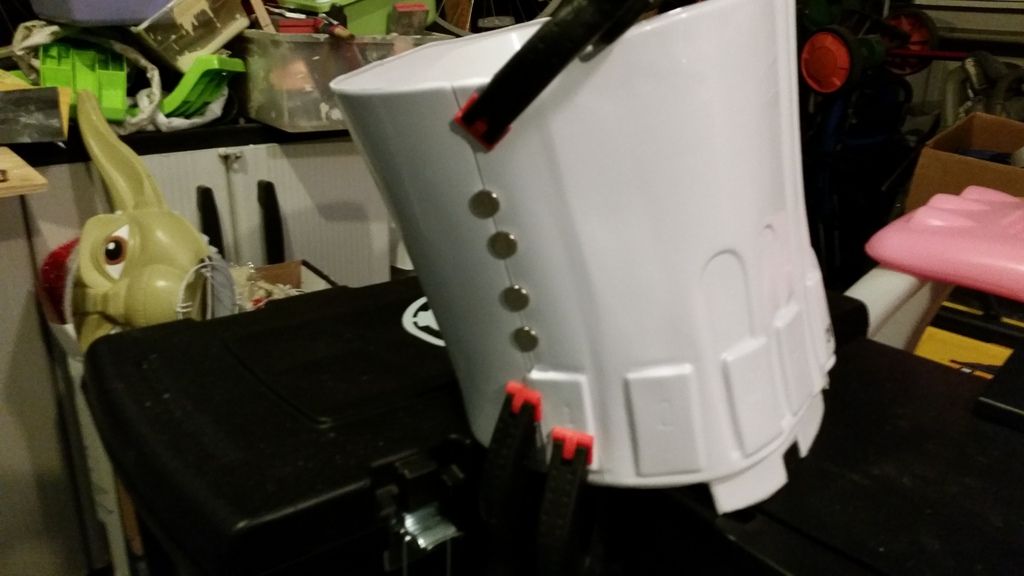
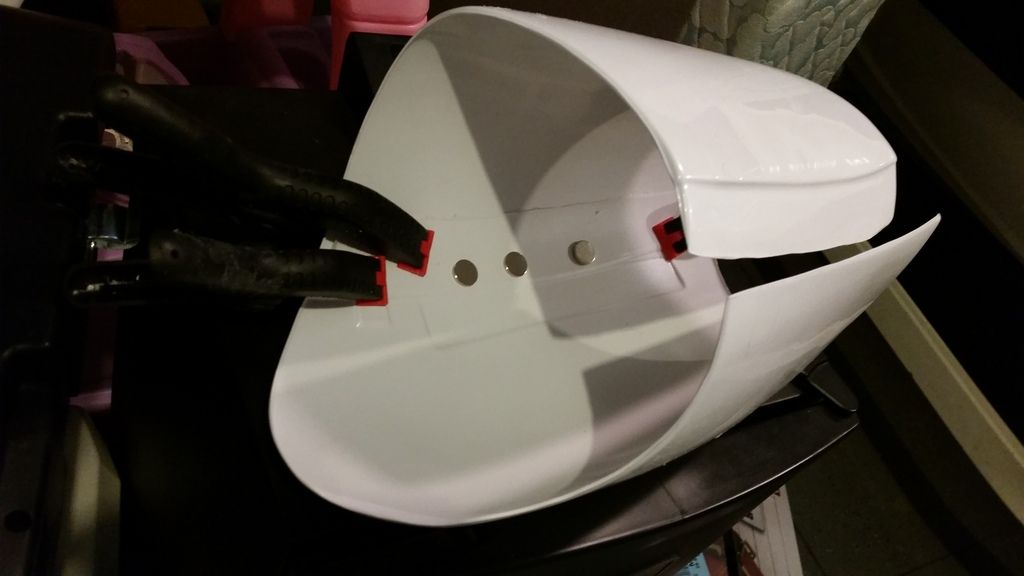
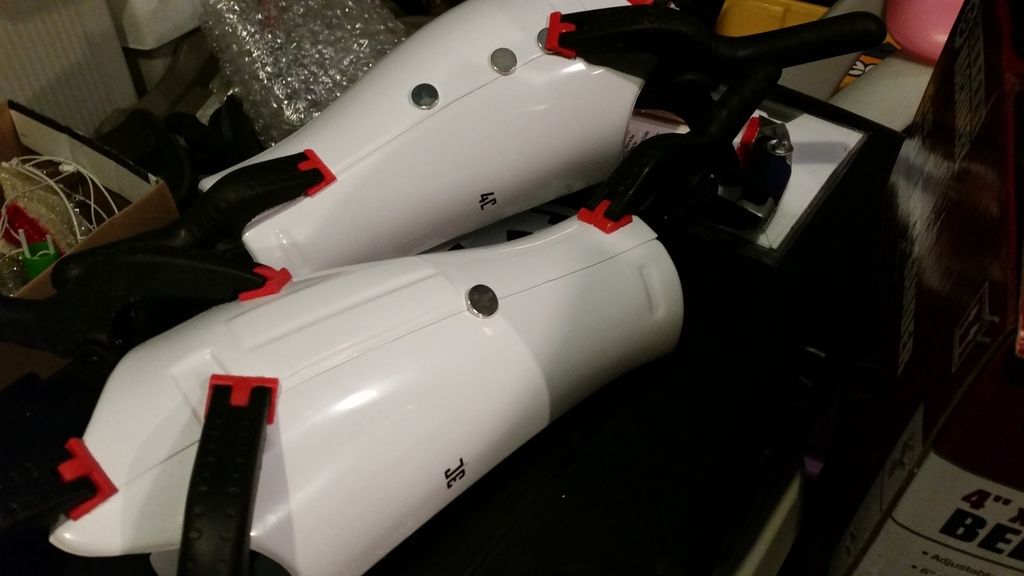
Now for the miserable shoulder gaskets...I started by glueing the shims in the sleeve portion of the shoulder gasket
Once dried, i then began forming the shoulder gaskets
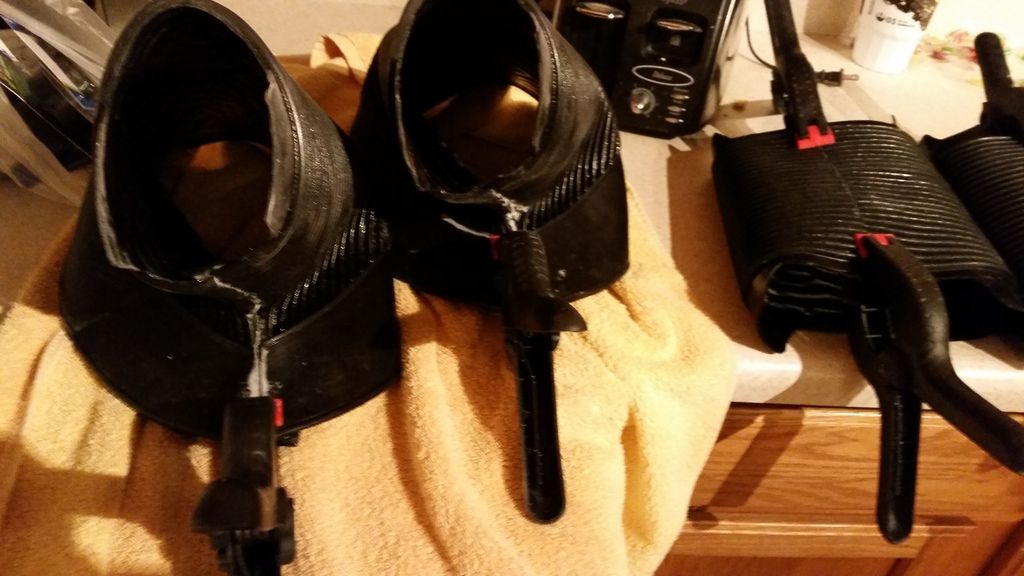
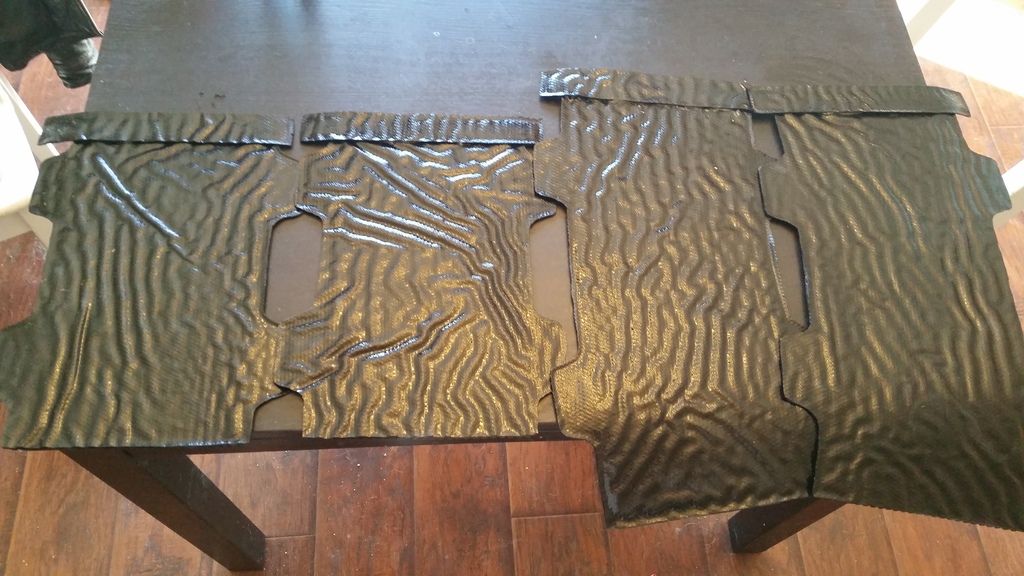
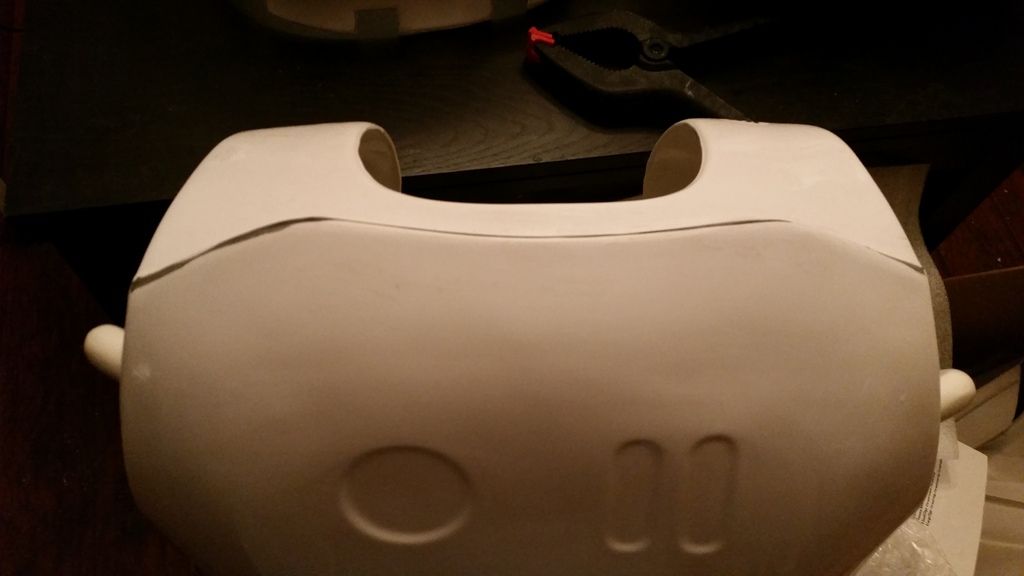
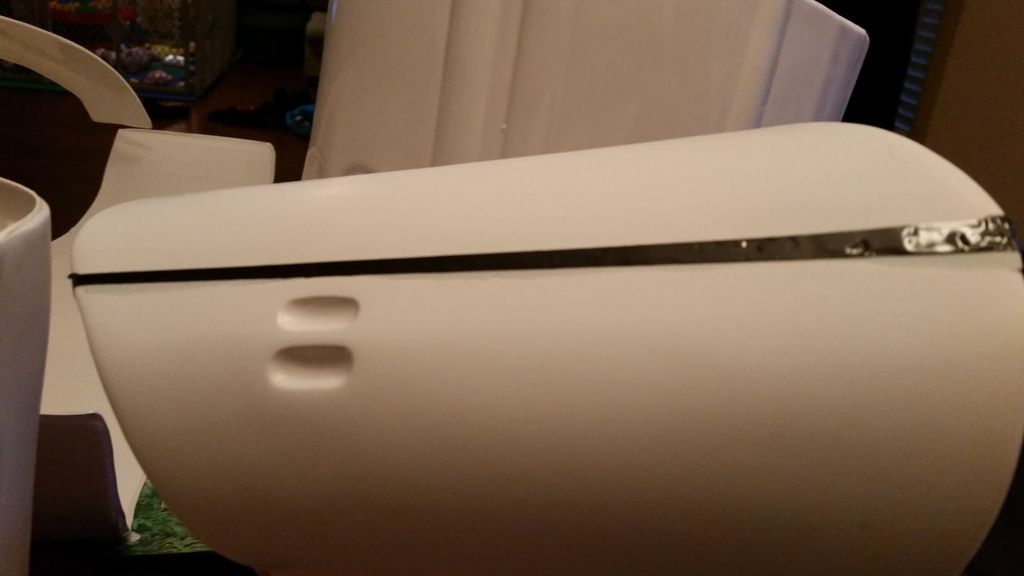
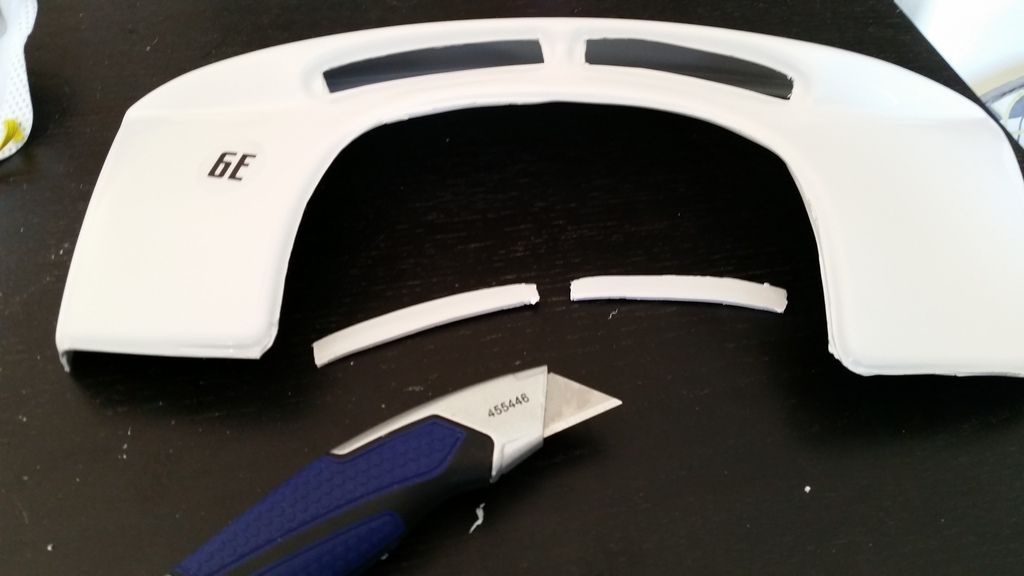
Once I thought I was done, I realized that the shoulder was too big to fit the bicep, so I trimmed out alot of the upper middle portion, used a ton of glue and basically reshaped the whole piece, i put in another strip to hold the newly trimmed parts together, and will have to do a fair bit of cleanup on the glue, but a sharpie should fix most of it!
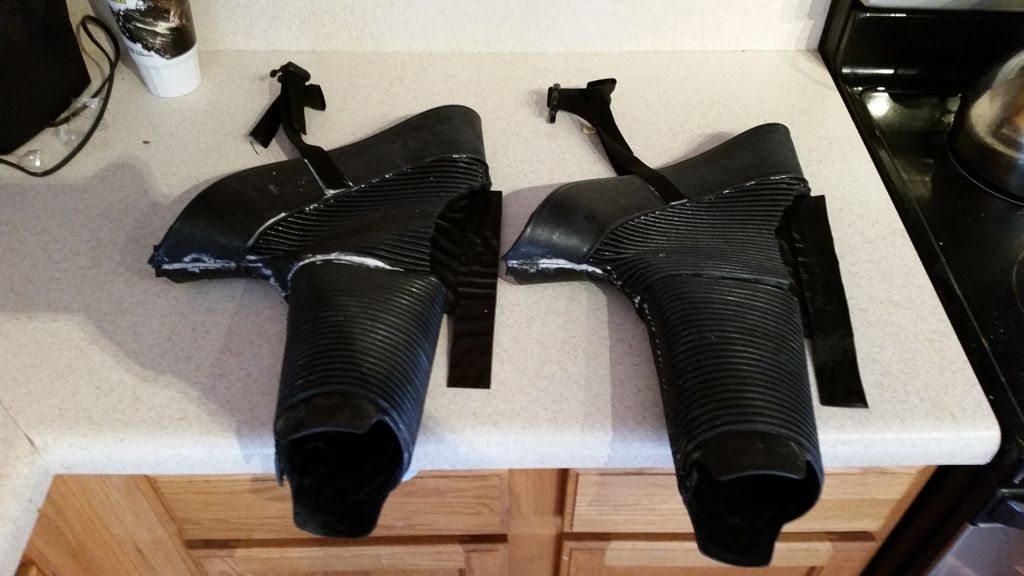
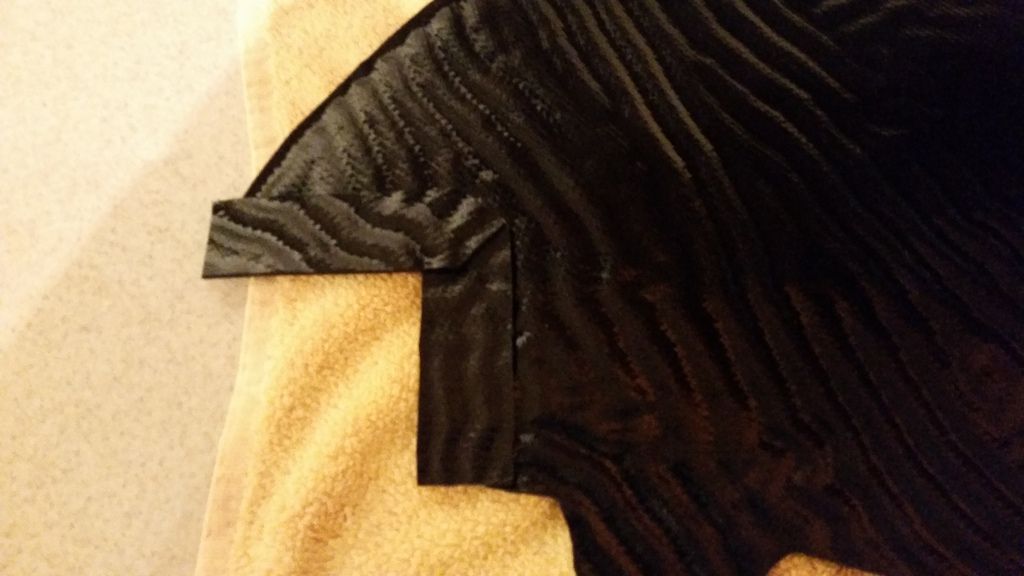
You will also notice in the picture that I combined the shoulder and elbow gaskets into 1 sleeve piece similar to the screen used suits...I trimmed the shoulder and made sure the seam where they are glued together will be completely hidden by the bicep.
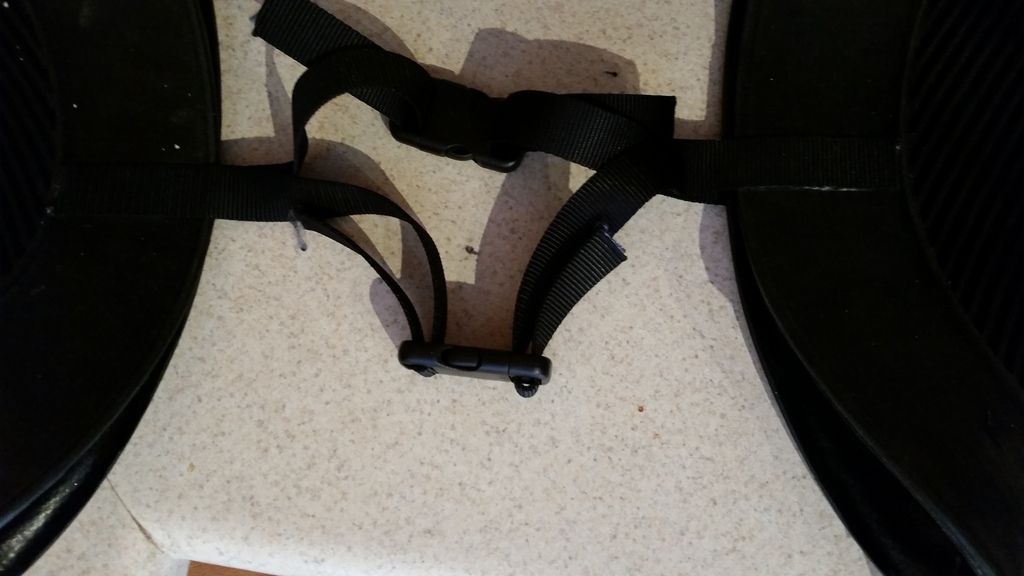
I then glued in some straps with CA glue directly onto the rubber to pull the two gaskets together when they are being worn
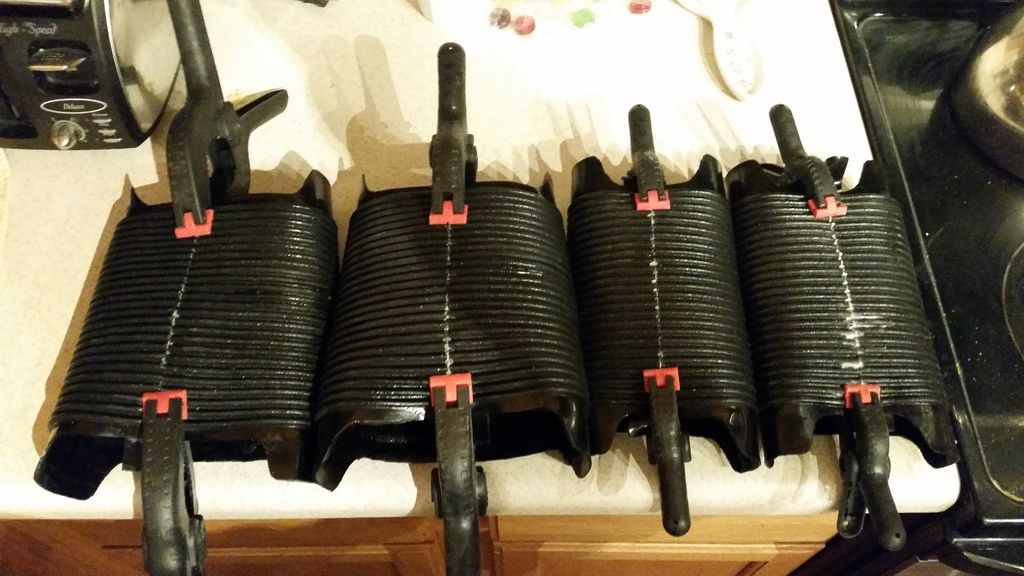
WIth the shoulder gasket chewing up a massive amount of time, they will do for now...
Now back to the armor...
I still wasn't happy with my seams, so i hit them all again with the sander and filled in some more...
I also finally split my ab piece down the back now that i am happy with the side seams
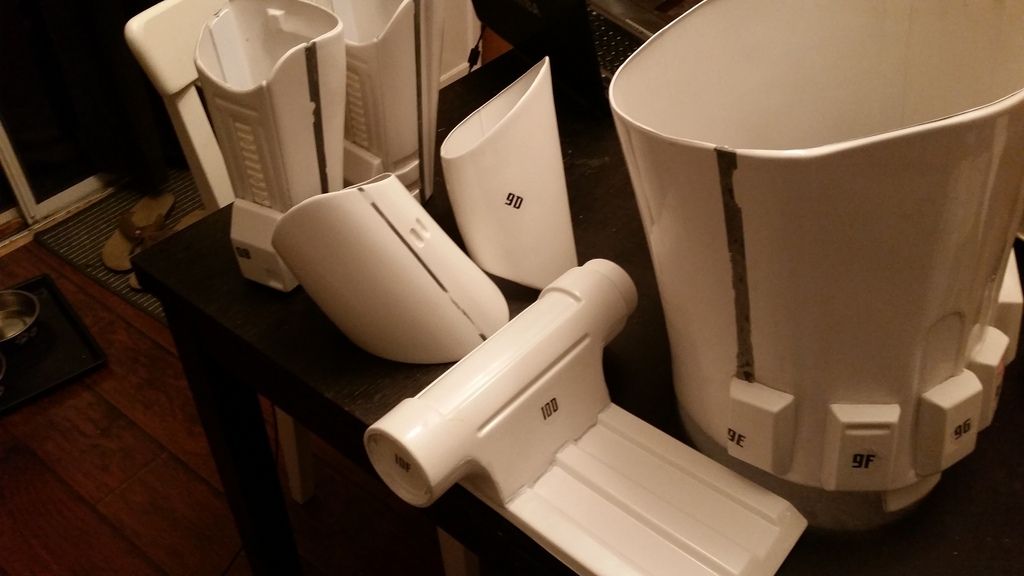
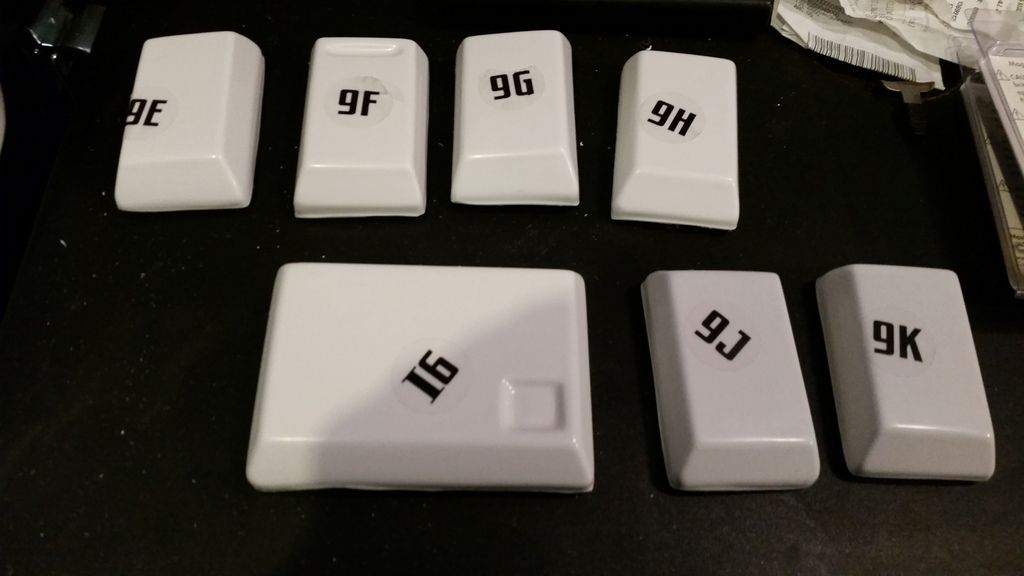
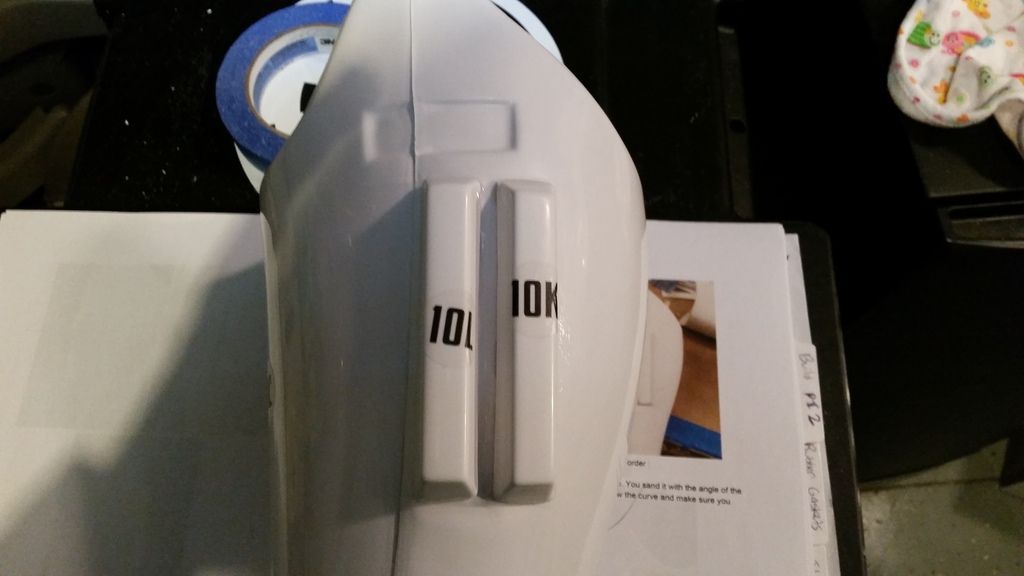
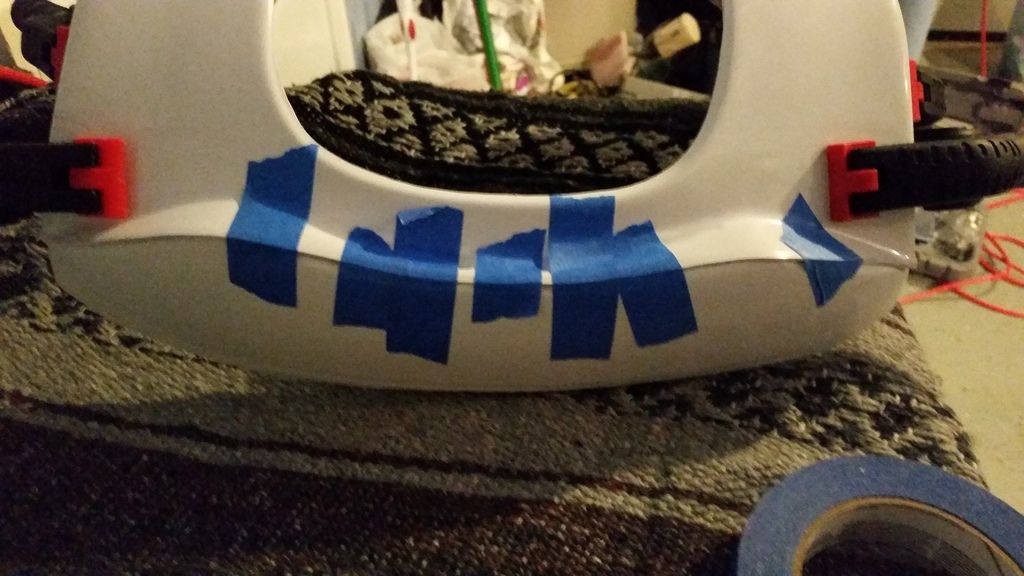
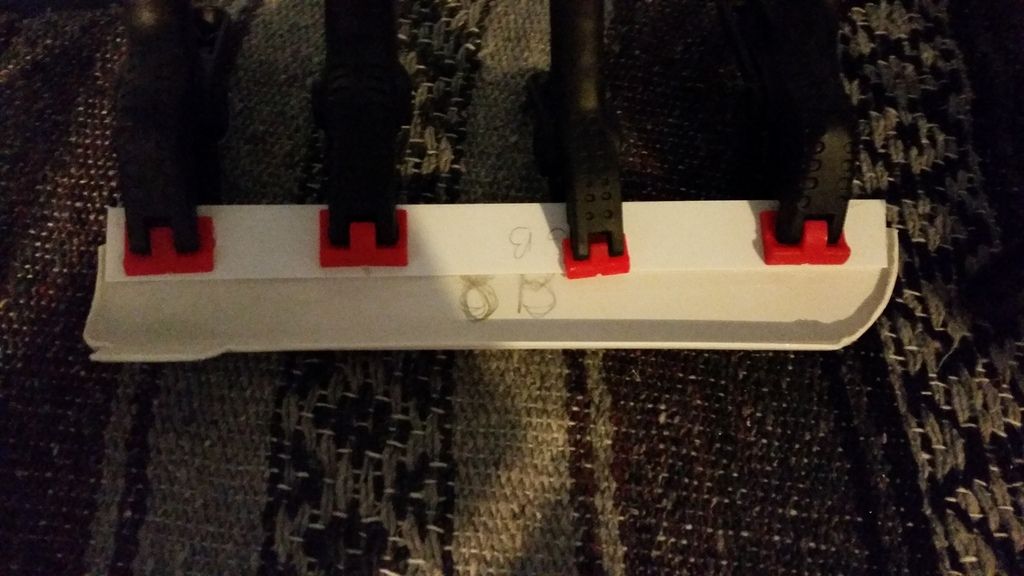
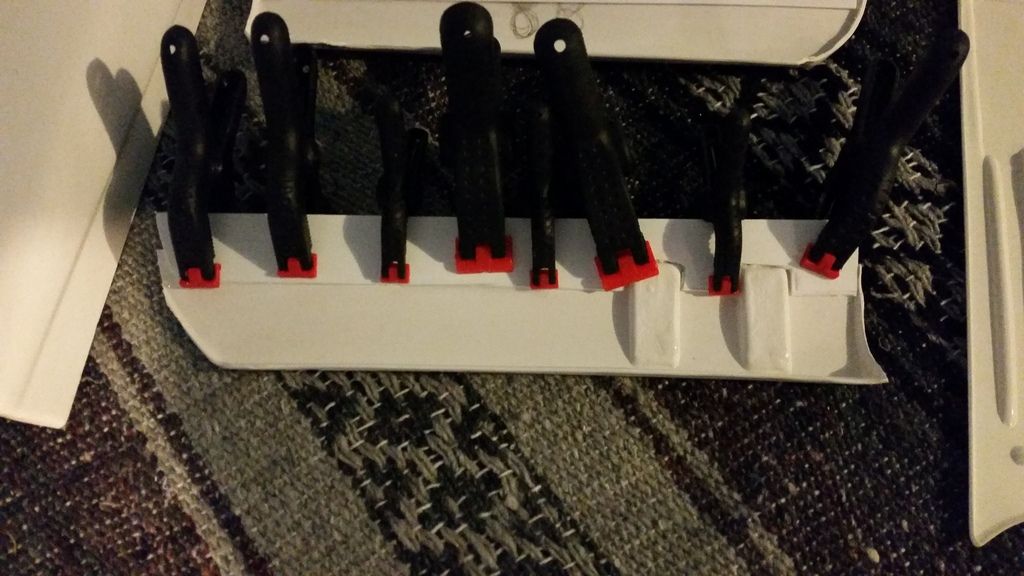
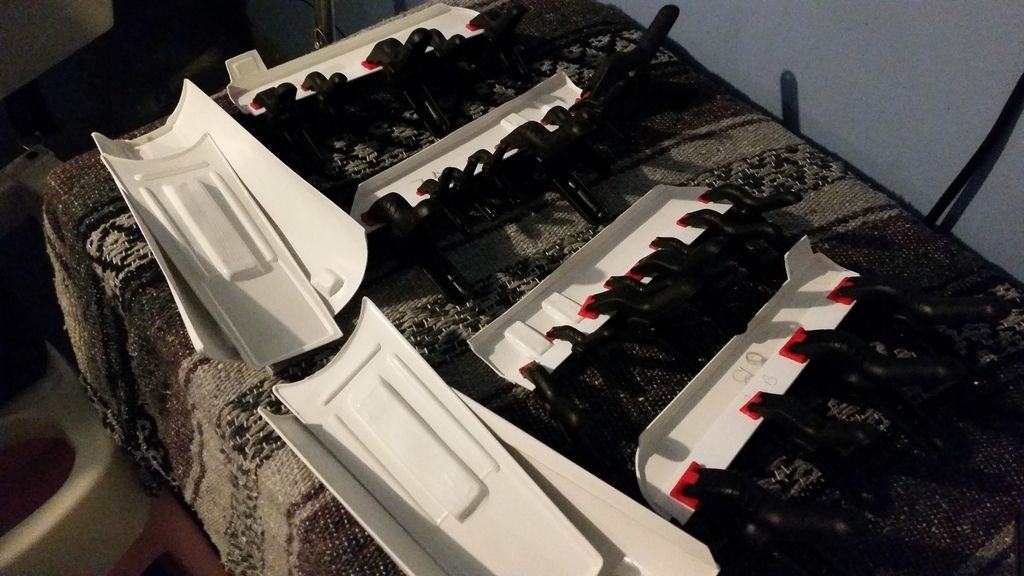
I created a bunch of 1" snap plates using some leftover styrene, and starting adding in snaps using e-6000 so they can be removed/repaired more easily down the road
Here are the shoulder snaps
Im 9 snaps in so far, was able to add snaps for cod, cod connection in ab, and both shoulder bells
-
Day 15. I tackled sanding down the thermal detonator, calf greeblies, and also the seams that I epoxied to make them more even. Sanding from sun up to sun down...
hit all the seamless areas with this epoxy to even them out and then sanding to make them smooth. They are much smoother than they appear..
Tomorrow means 2 weeks left! The clock is ticking!!!
-
Day 16...
Picked up a 2 part kwik epoxy to fill in the seams and try to make them more even...
then peeled off the tape before it fully dried...
-
17 days till premiere night!
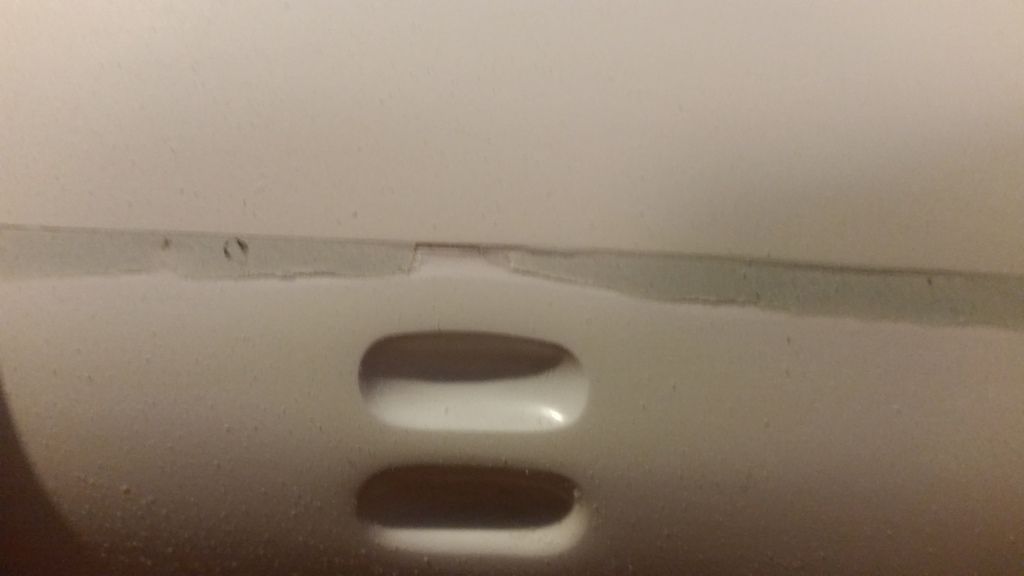
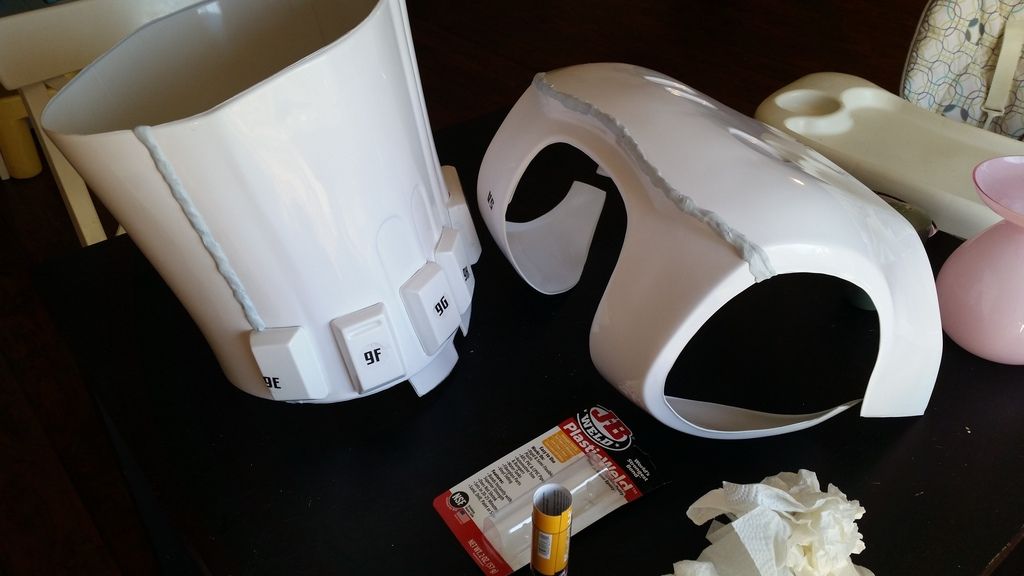
used way too much plasticweld and had to spend a ton of time sanding...
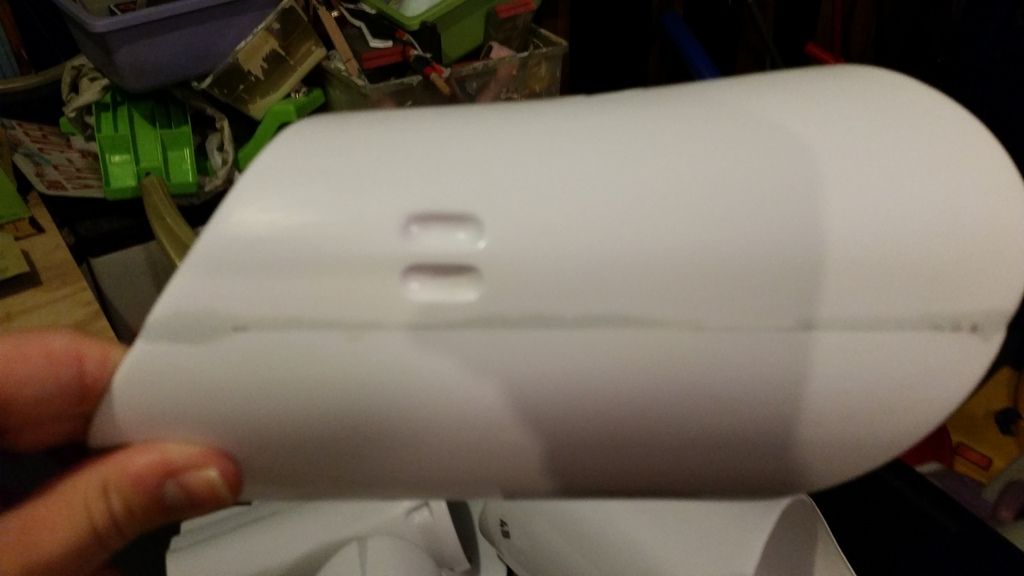
wasn't happy with some of the peaks and valleys in the bond...
-
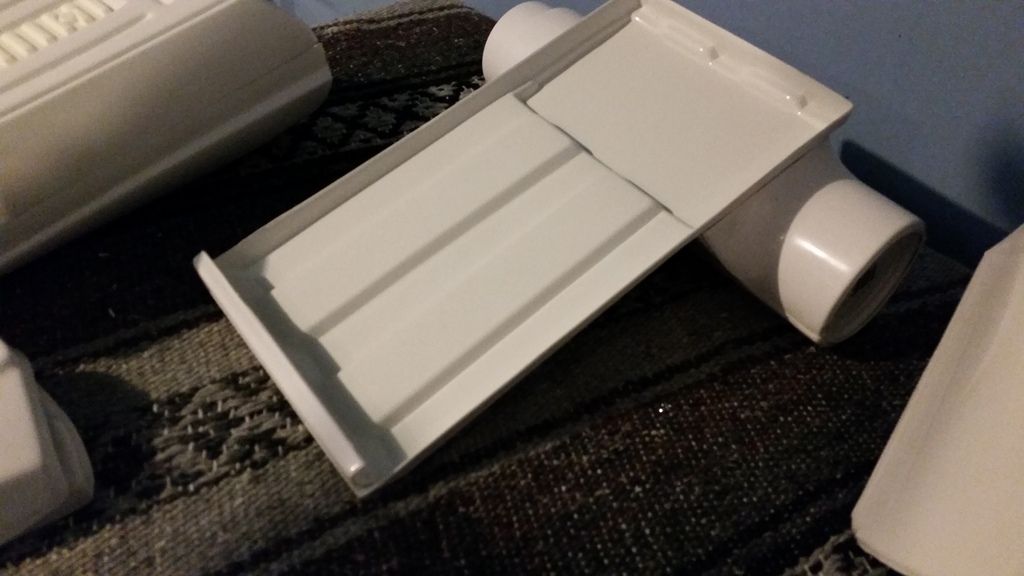
20 days till the awakening, starting to feel the pressure. Working retail the week of thanksgiving has severely cut into my time this week but hoping to bounce back after the weekend. Here's the latest progress..
seamless work, ab/kidney, yolk/back
sides of forearms...
thermal detonator
shin/thigh detail pieces...
also did the outer seam on each bicep, will have to find those pics later! Lots of sanding to do now...
-
 1
1
-
-
You can count me in!
-
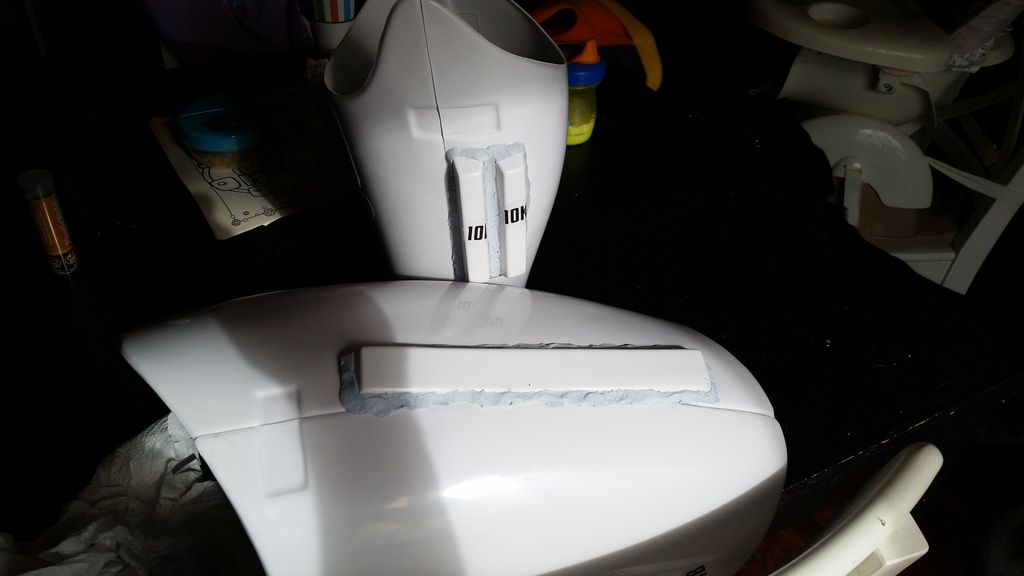
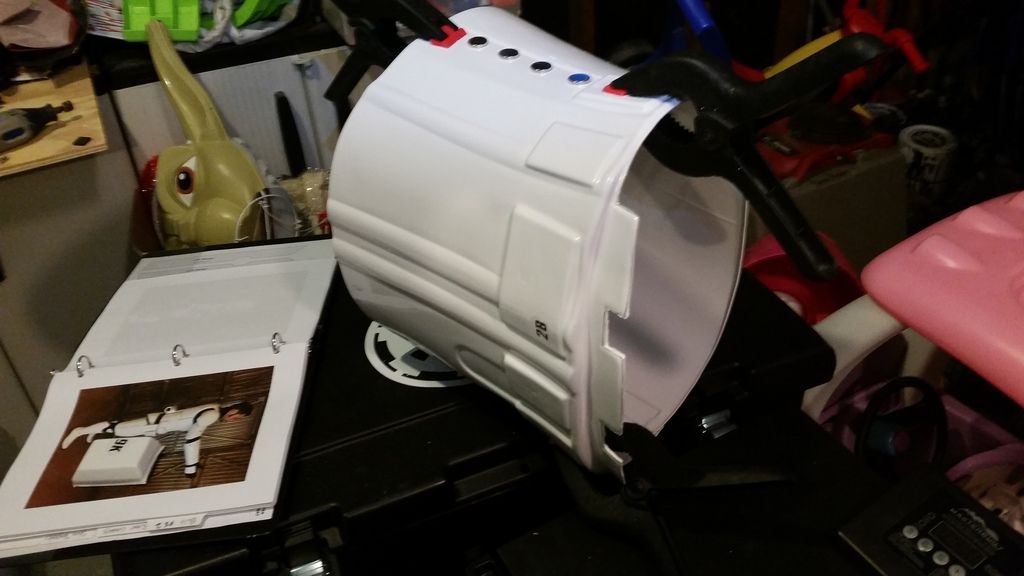
24 days till awakening, and starting to do some of the details and boxes now...first i trimmed out some extra "meat" i had inside my yoke
glued in the hook on the back of the thermal detonator
sanded down all the ab boxes, they do remind me of TK ears...
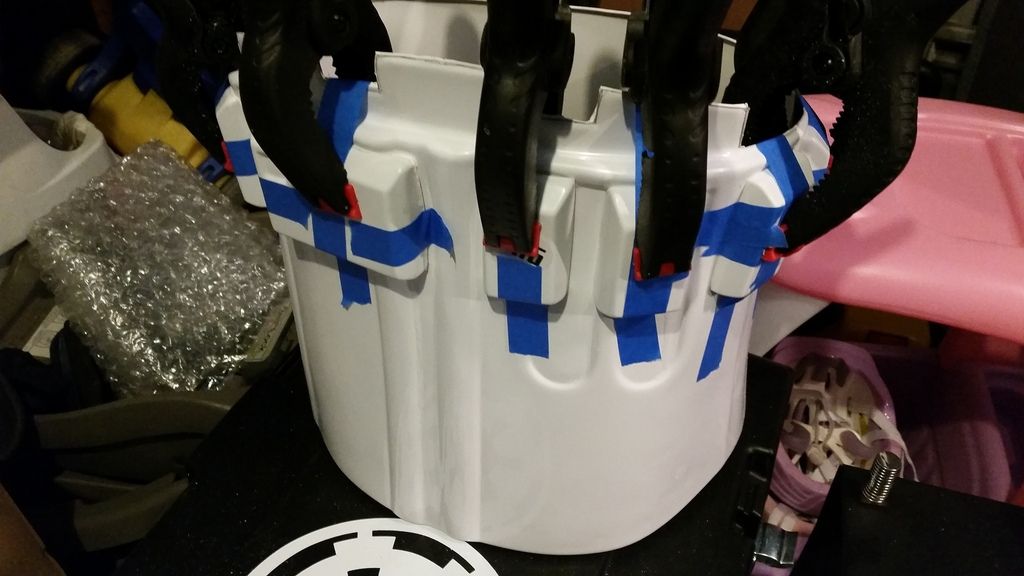
7 boxes all glued and clamped onto the ab
holster mount attached
shin details also glued on...took me awhile to get this fitted just right...
tomorrow i plan on getting very familiar with jb plastic weld and hitting the seams on the various parts....
-
another night of work, 26 days until the awakening...here's the latest..
hand plates sanded and ready for velcro
Back plate glued onto the yolk
other side of ab plate glued
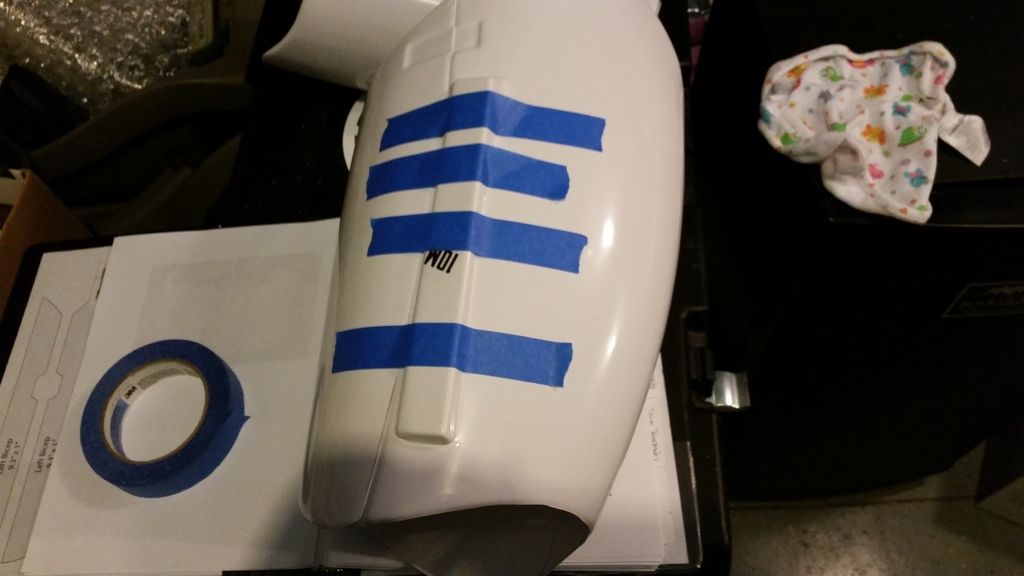
put the greeblies on the forearms...and built the forearm boxes

attached the forearm boxes once they were dry...
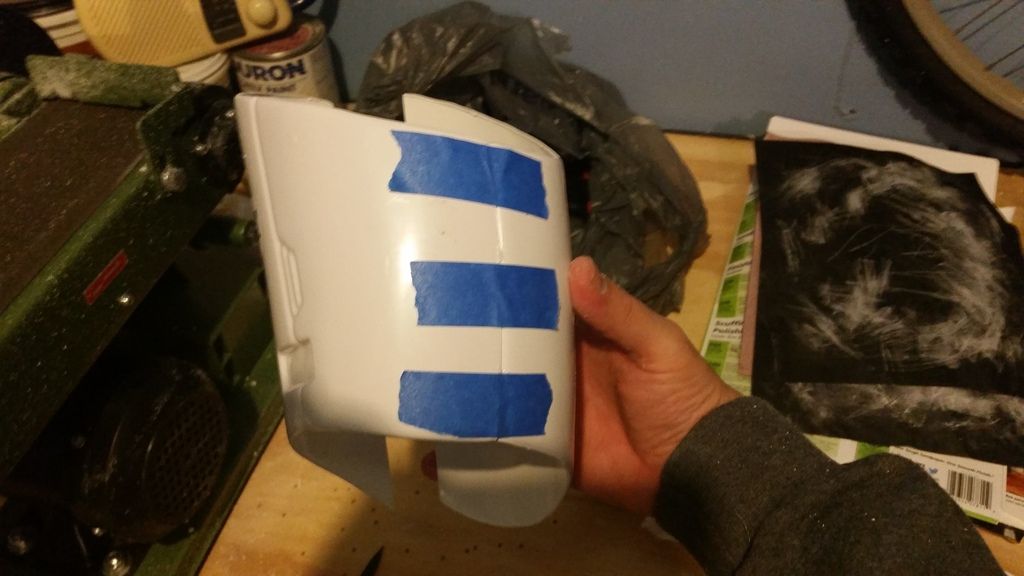
and lastly, and most painfully is my 3+ hours i spent with my little friend the thermal detonator....

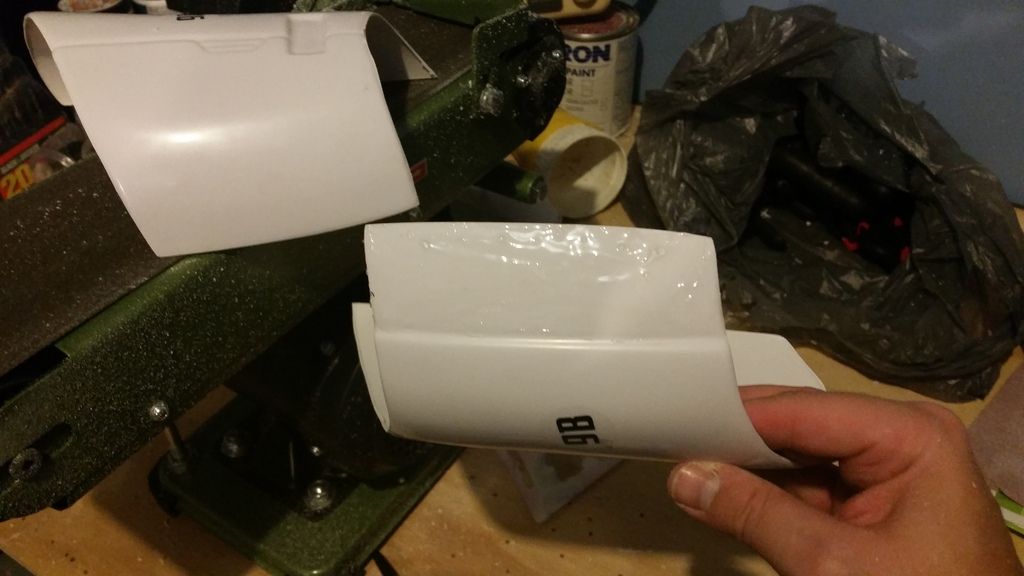
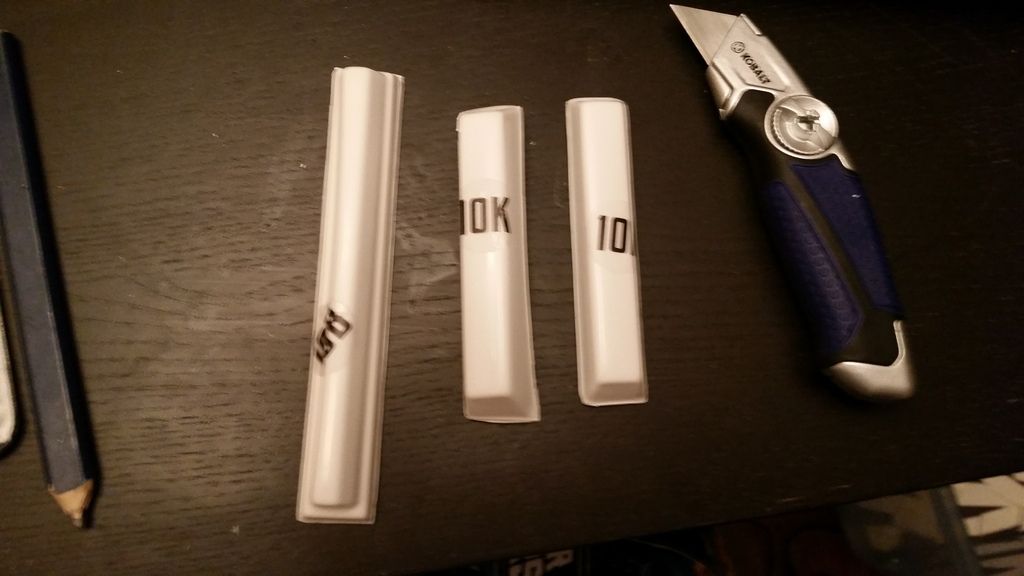
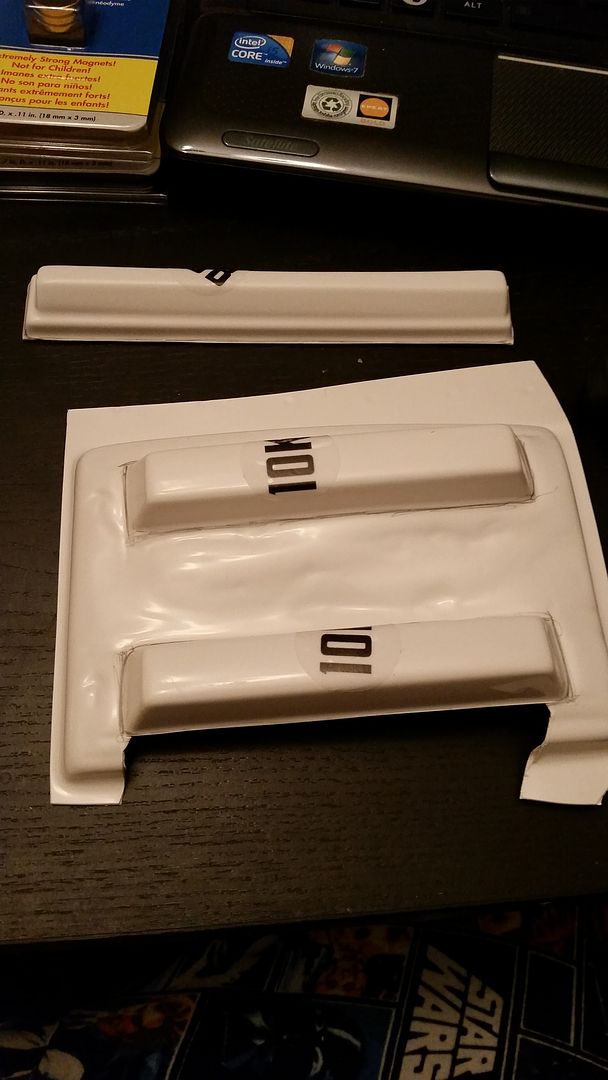
She may not be perfect, but im okay with it. What a nightmare that was to assemble! Still have to add the little hook thing, but i kept staring at what I trimmed of the hook part 10B and guess i need to trim out a whole lot more on it before i install it?
-
27 days till awakening...
working those thighs...
glueing down one side of the spats...

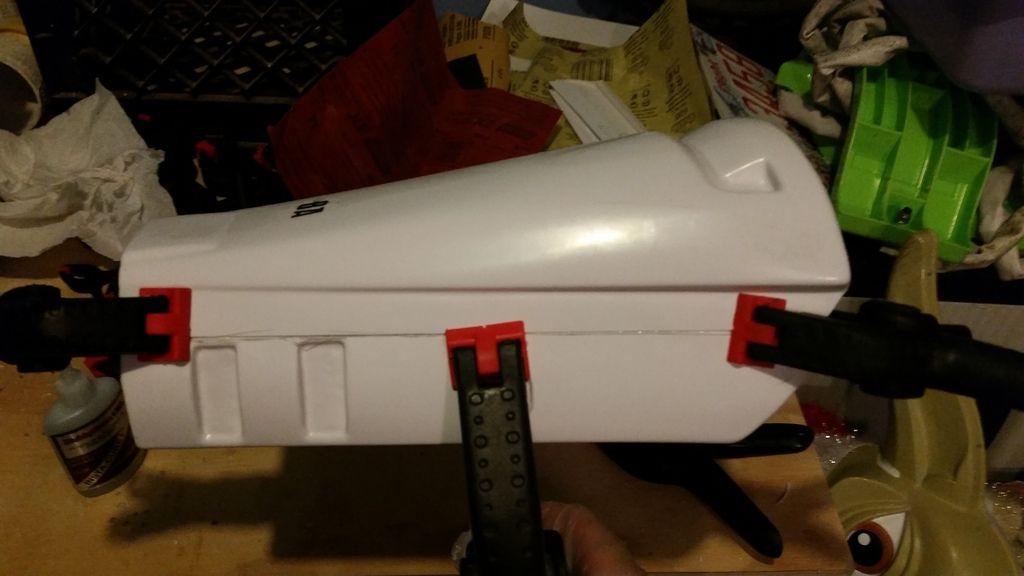
final side of biceps and forearms glueing
forearms starting to take shape..
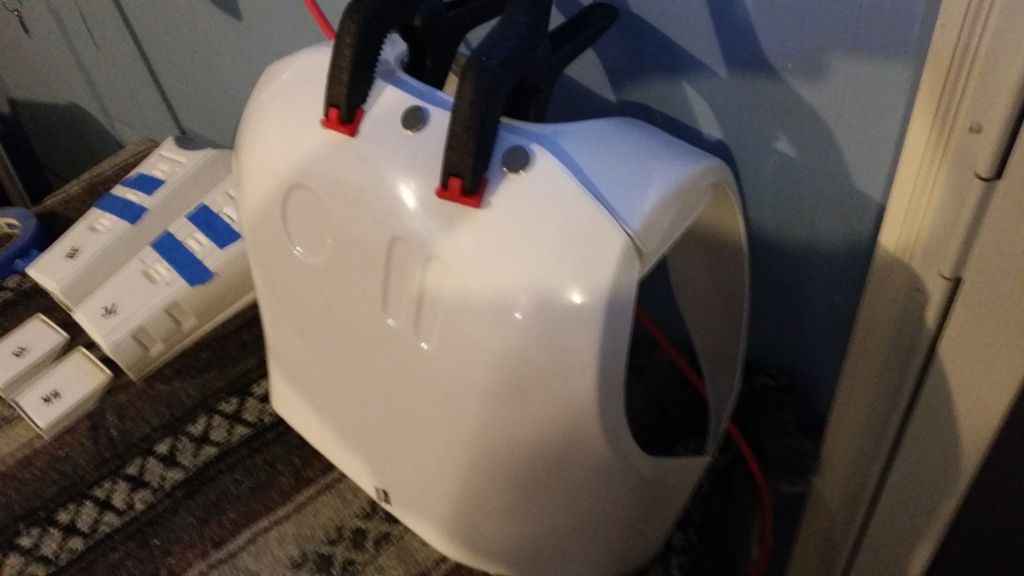
my shotgun building approach continues, time to get going on that yoke!
and lots of glue on this part!
and clamps underneath also...
while that is taking shape, moving over to the ab/kidney pieces, santa yoda helping me with the build, not ready to go out in the yard just yet.....breathing too much glue fumes I have been ...
-
started working on the thighs
and building those tricky forearms!
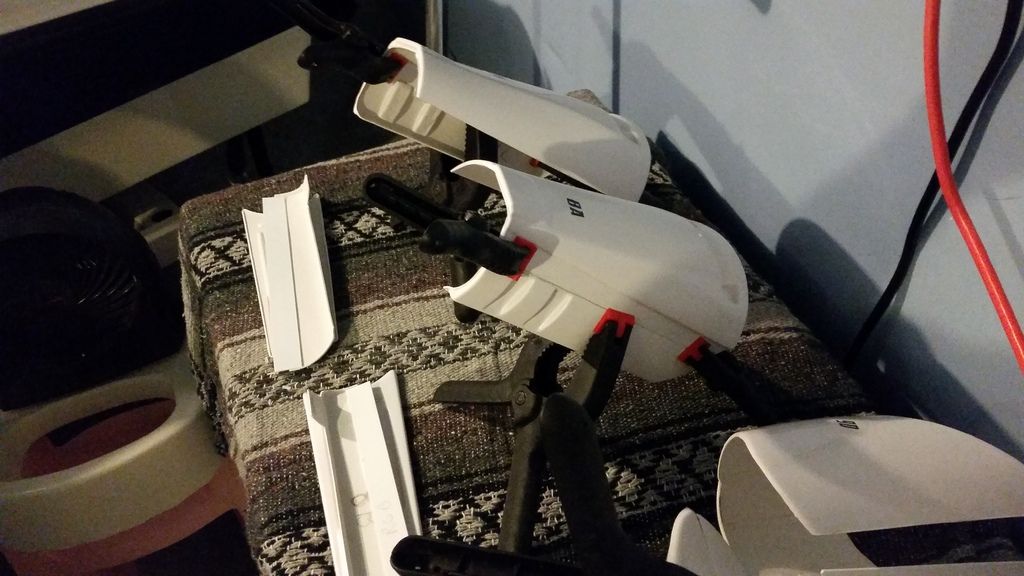
more to come...gonna need more earth magnets!
-
so after realizing today that there is only 1 month till the awakening, i tossed the e6000 to the side and got real familiar with CA glue. So far i really dig the stuff, but you have to be precise!

getting those forearms built...
if you got clips, then use em!
I don't have a ton of earth magnets, but i went ahead and got a jump on the shins
both shins all cleaned up and glued....starting to feel the ball rolling now...
-
found some abs at a hobby shop and starting making the strips for the forearms and biceps
cut them out and trace
got all 6 of them knocked out, it was really just 3 repeated twice...
-
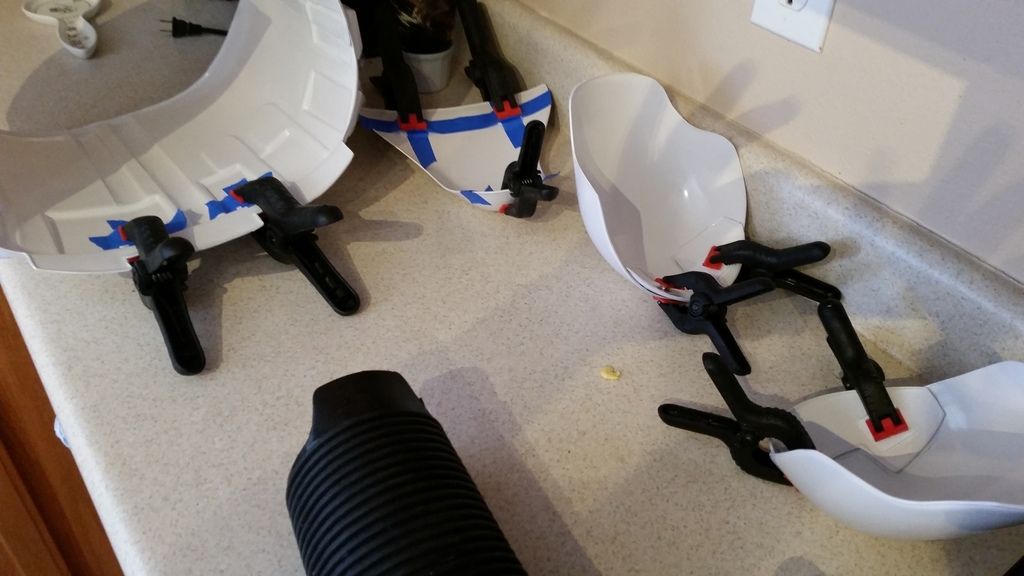
and starting on the bicep
it may not be much, but hey, it's a start!
-
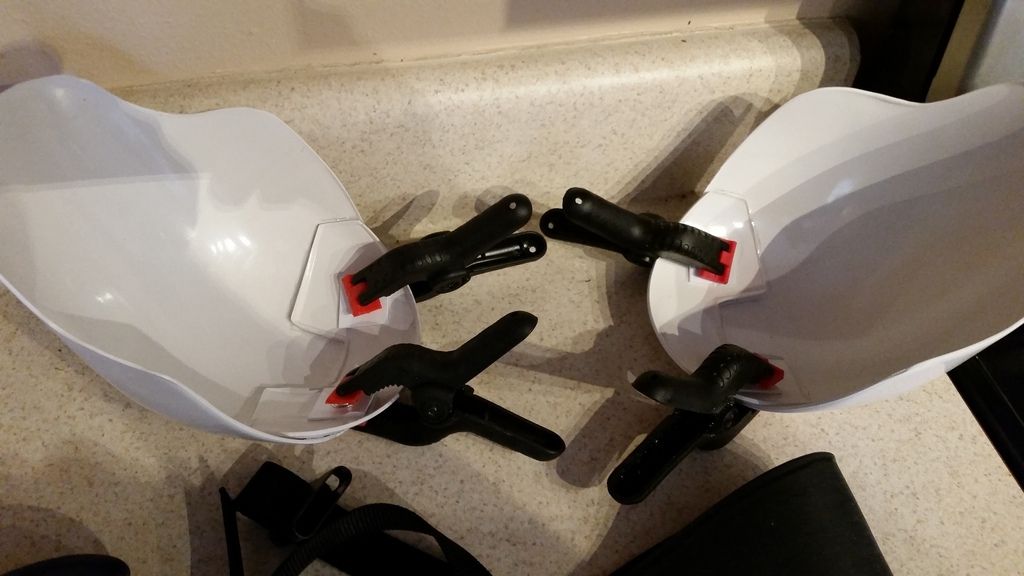
finally some real work getting done, still taking babysteps...starting with shoulders and biceps here we go!
after figuring out where to put it, time for the clamps!
and more clamps here is the overlap look...
-
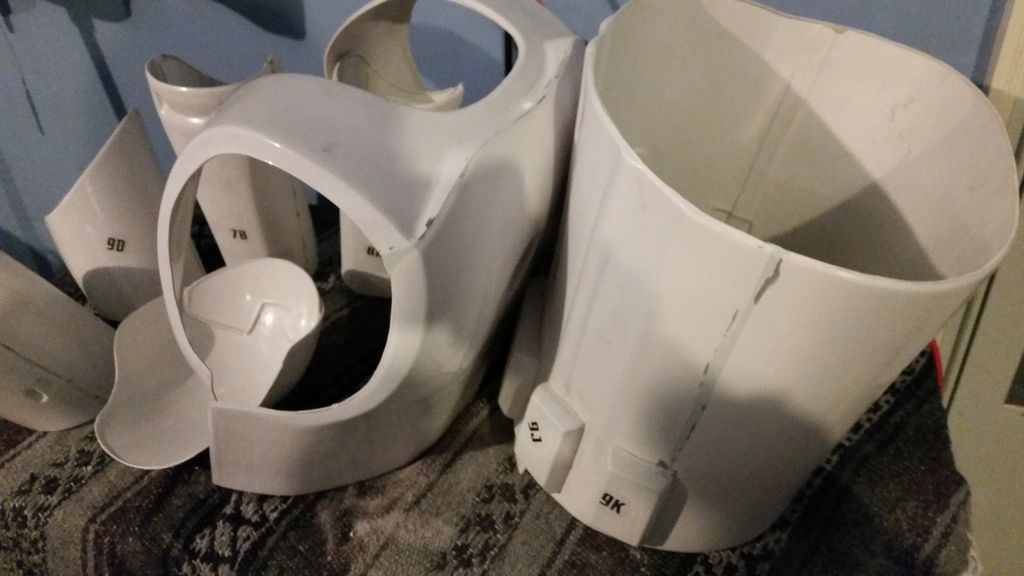
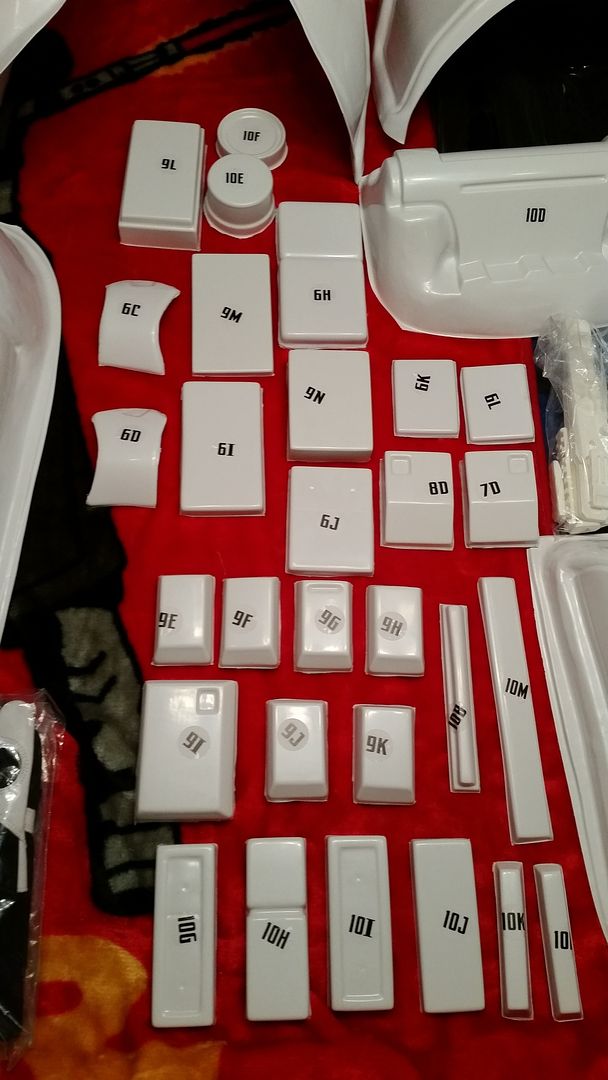
got all the rough trimming done
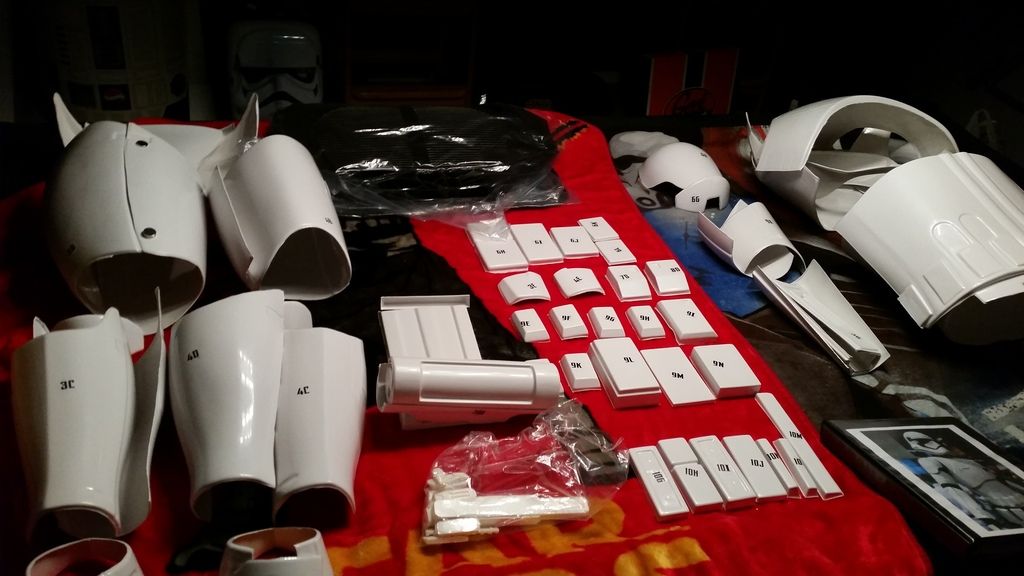
Lots and lots of ABS leftover
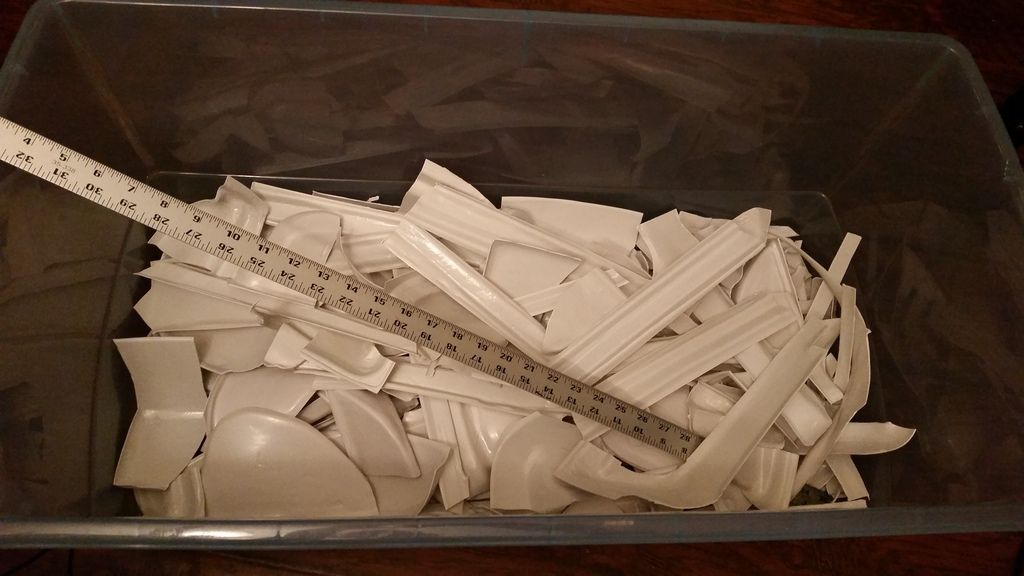
now I am working on sanding/smoothing the pieces, using a 120 grit belt sander, then hitting it with a 320 grit and finally a 600 grit for a smooth finish..
-
1
-
-
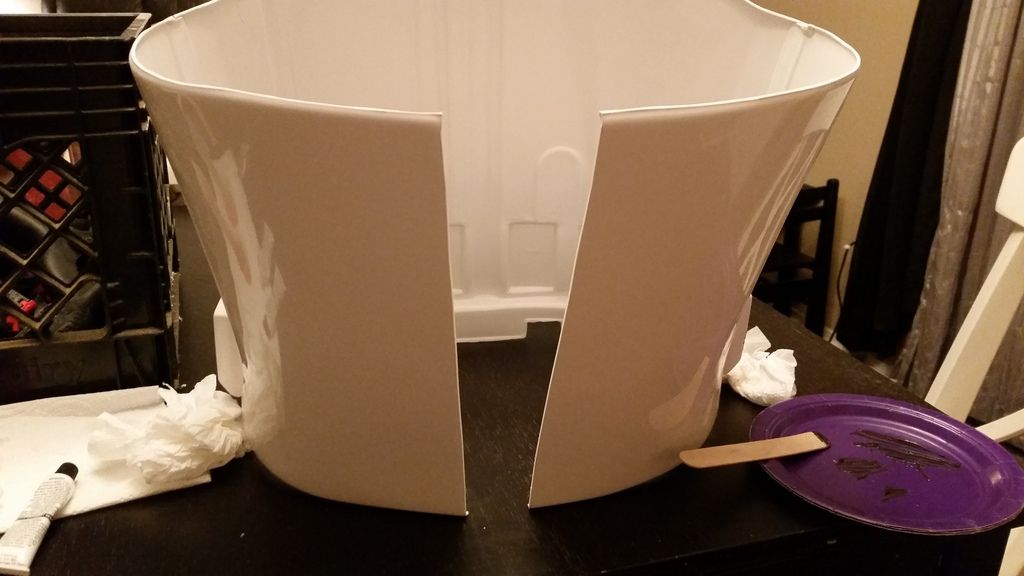
after 3 hours of sweat and nerves, i have some progress made..and I definitely think a table top belt sander is in my future...
-
I left some meat on the bones, would rather have more to sand than not enough to sand...
-
I copied all my cut lines from awesome reference picture gallery!
-
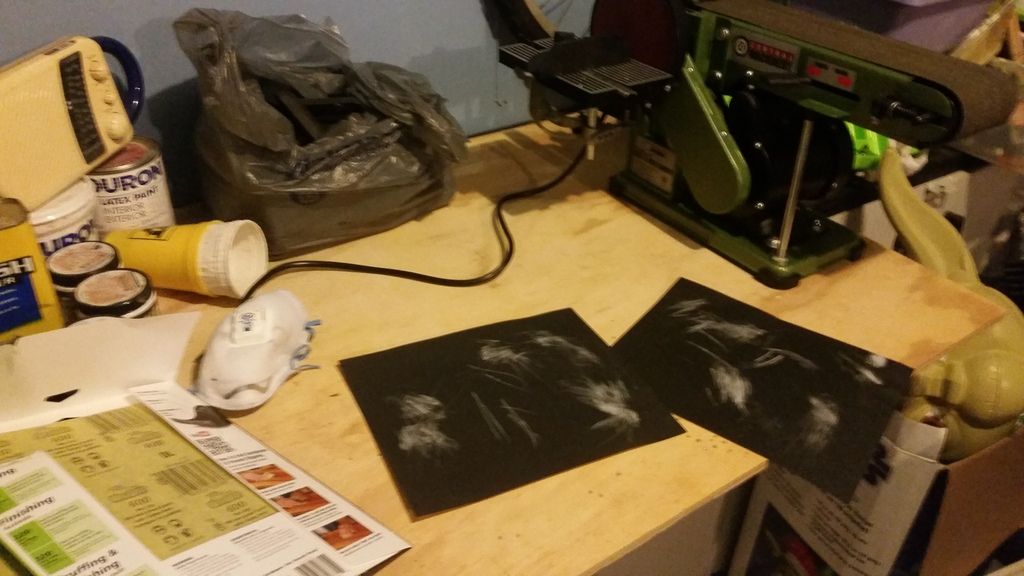
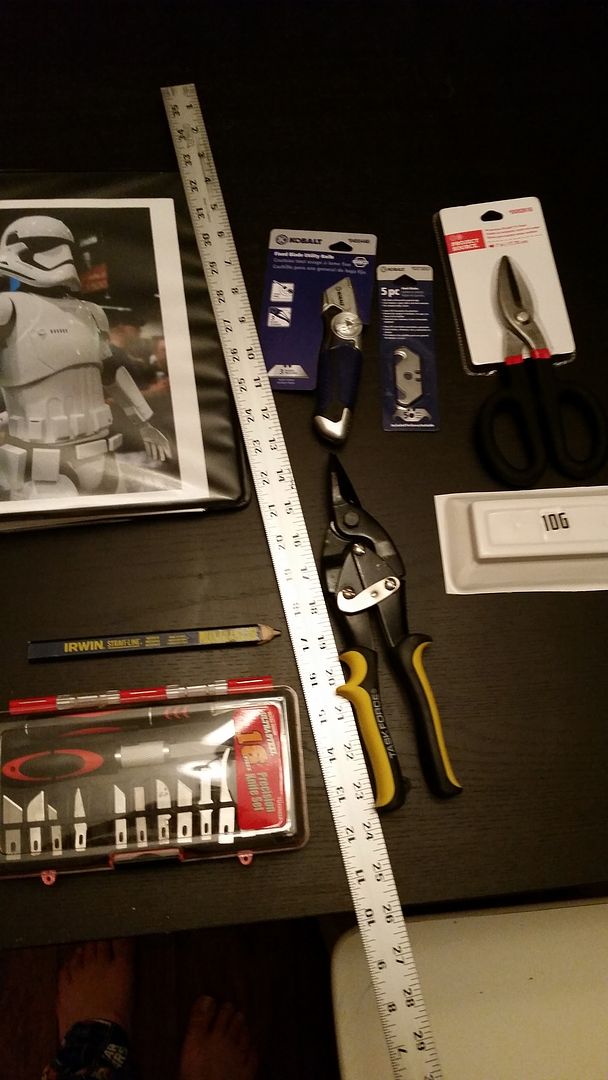
Here are some of the tools of the trade. After putting in some serious thought and discussion, I am going to go with scoring and snapping as much as possible. (The tin snips are only for relief cuts and will go nowhere near the suit!) I have a dremel on stand-by!
-
1
-
-
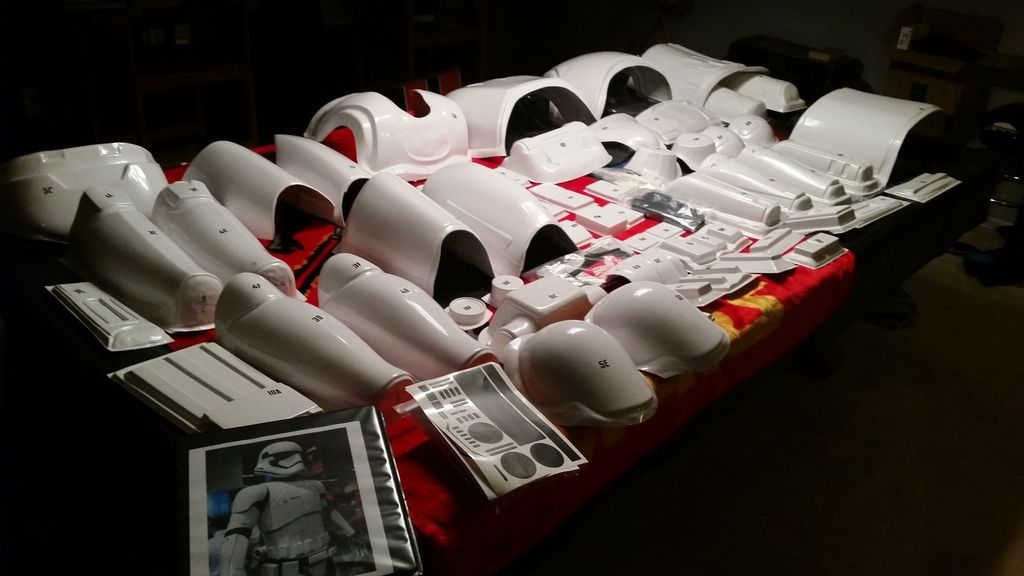
A couple of starter pics. Here is an alpha in all its glory...
-
1
-
-
Greets, I have started work on an Anovos Alpha kit. I am just beginning the project, but am determined to have it done by the time the force awakens, which as of today is 43 days from now. Tonight I started rough trimming, I will post pics as I make some progress. This is only my second costume build, so I consider myself to be a novice at best. If I can pull this off, then anyone can! Feel free to leave me any tips or advice!
-
1
-
-
Can someone send me a pdf or a scan of the anovos parts checklist included with the ep7 armor kit. Thanks in advance.
-
-
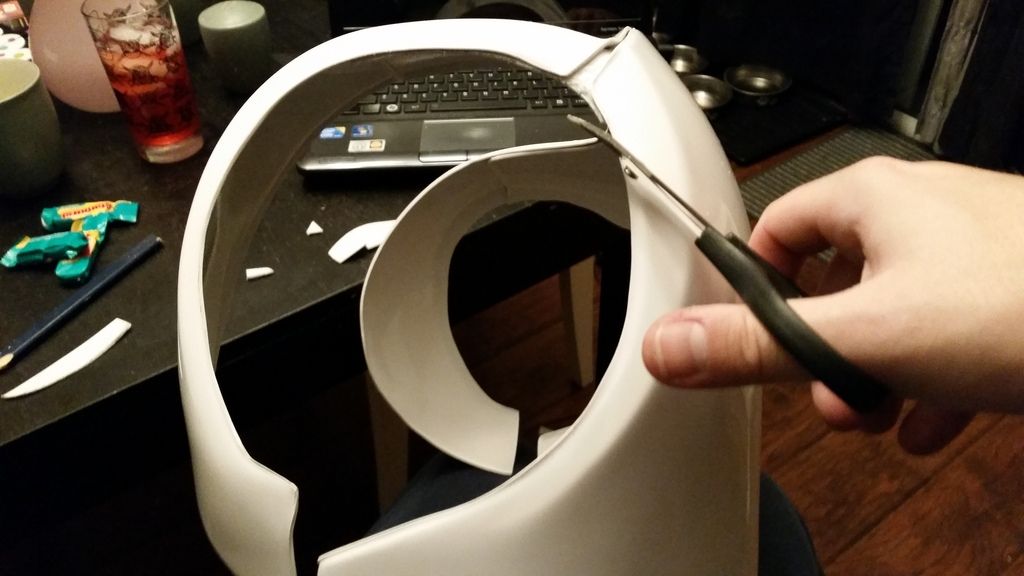
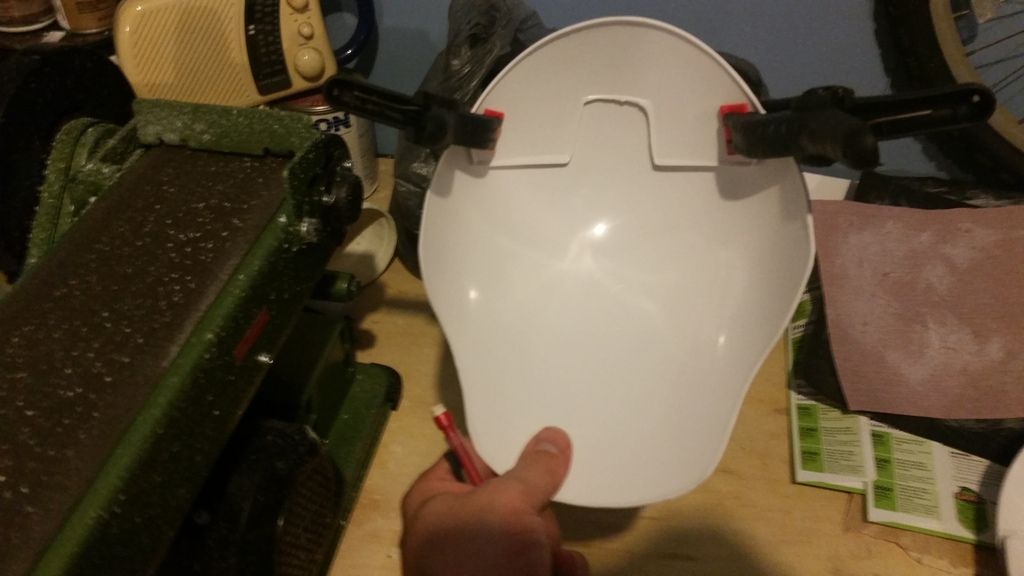
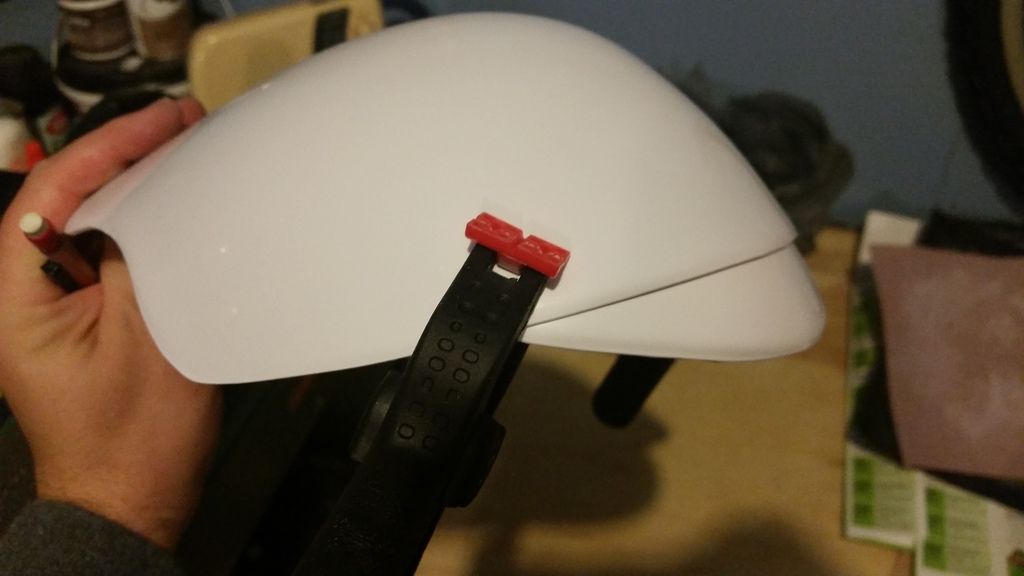
while all the armor is drying, lets switch gears and continue on the helmet
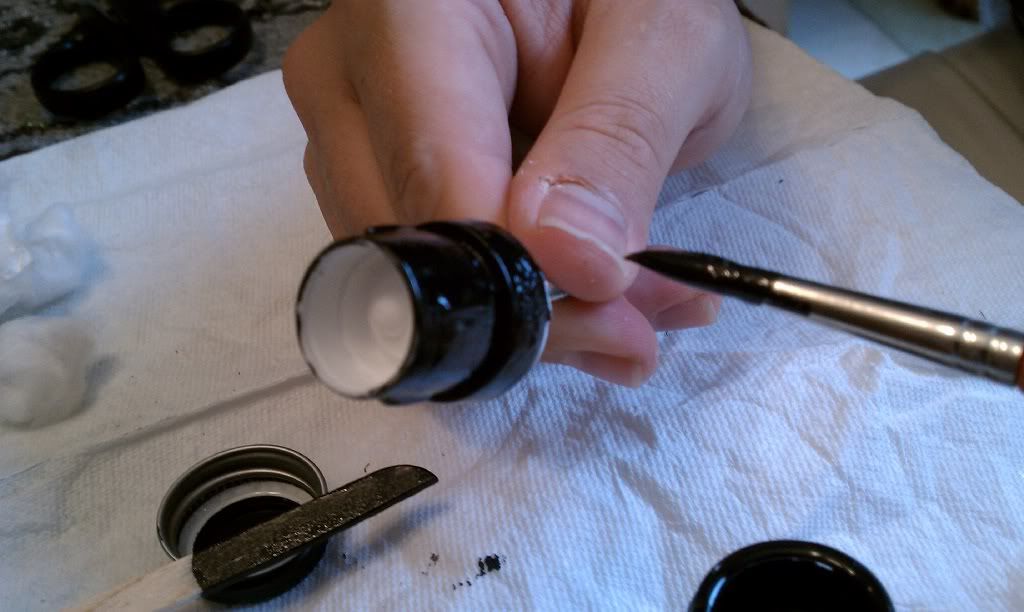
model masters glossy black paint to paint the ATA kit mic tips! Go slow and be precise
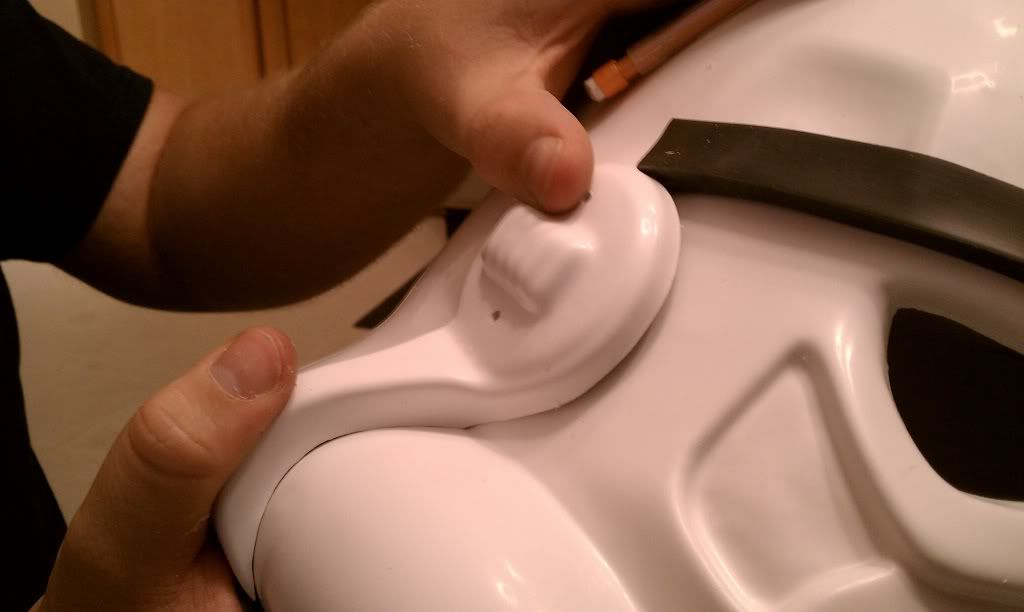
the ears, getting these to fit was about a 4 hour adventure. Best advice is to trim them, fit them, draw where to trim more, then trim more, then fit them to helmet, and repeat and repeat, until you are happy with them
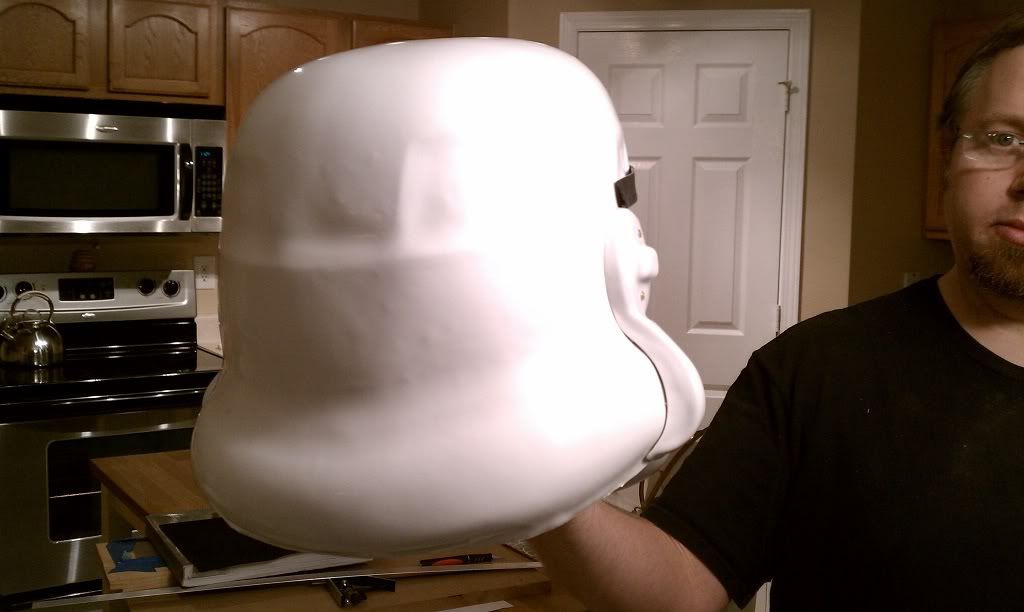
make sure the front and the back have the same amount of gap, whatever your preference is...
thats it for now, more pics after this weekend, so far we have logged about 24 hours of build time...
TK-50166 Alpha Build in 50 days!
in Build Threads Requireing Maintenance
Posted
Force awakens in 5 days, its getting real, working on strapping now, will paint very soon..
more snaps in yolk to attach the chest plate to
also adding the greeblies finally, these ones required no cooking...
more snap plates added to the butt plate
also added snap plates to the ab/kidney girtle...
nipple greeblies also added
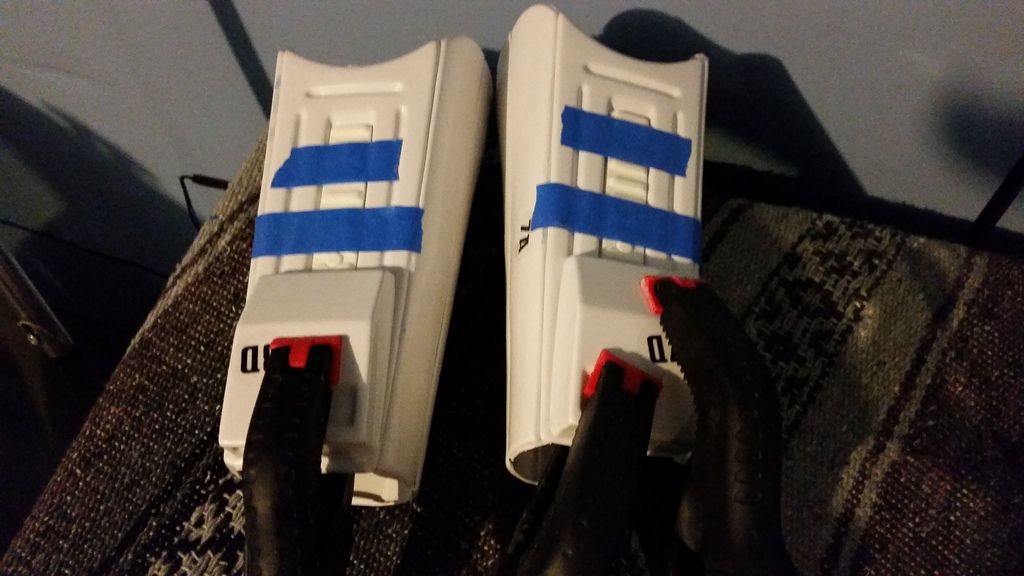
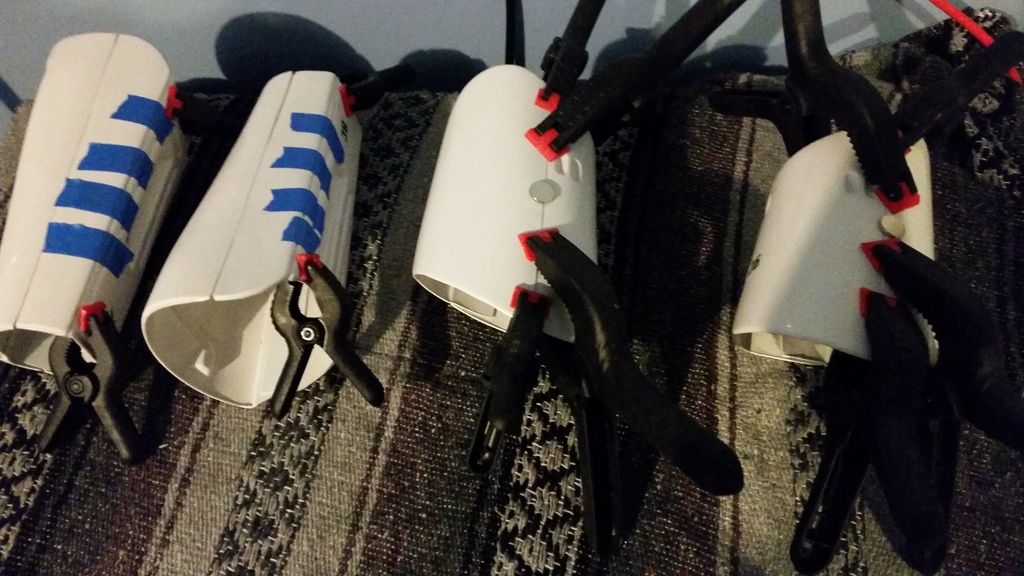
added velcro to the knee gaskets
it didn't stick very well so i added CA glue and clamps to the velcro
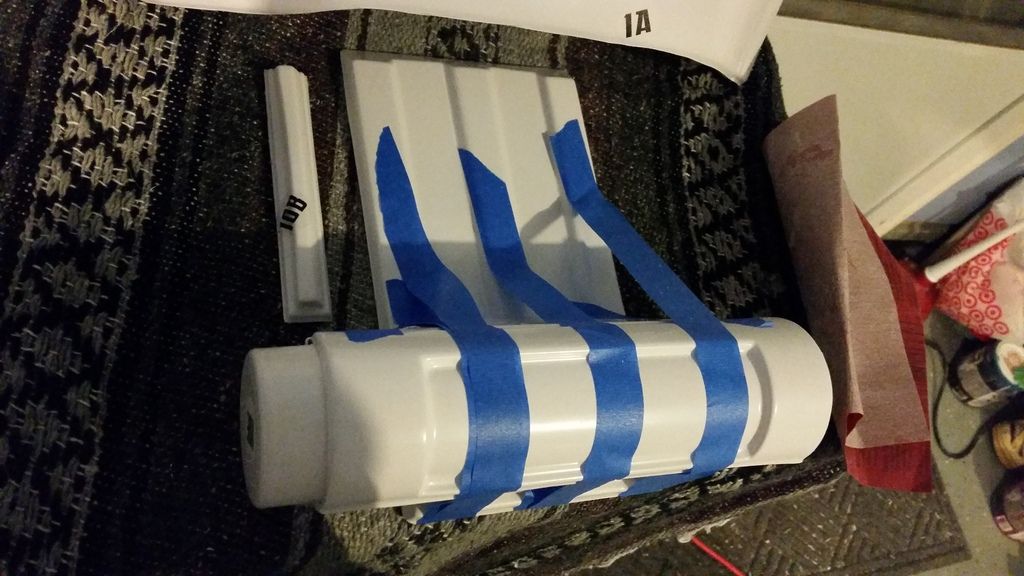
thigh and spat greeblies require 60 seconds in boiling water and some bending....greeblie soup!
and they are glued afterwards
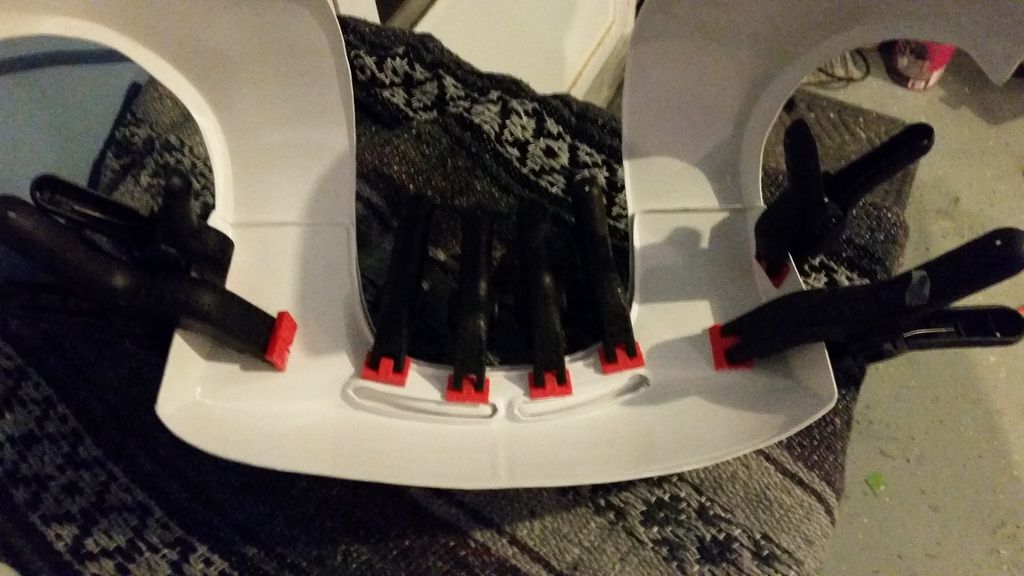
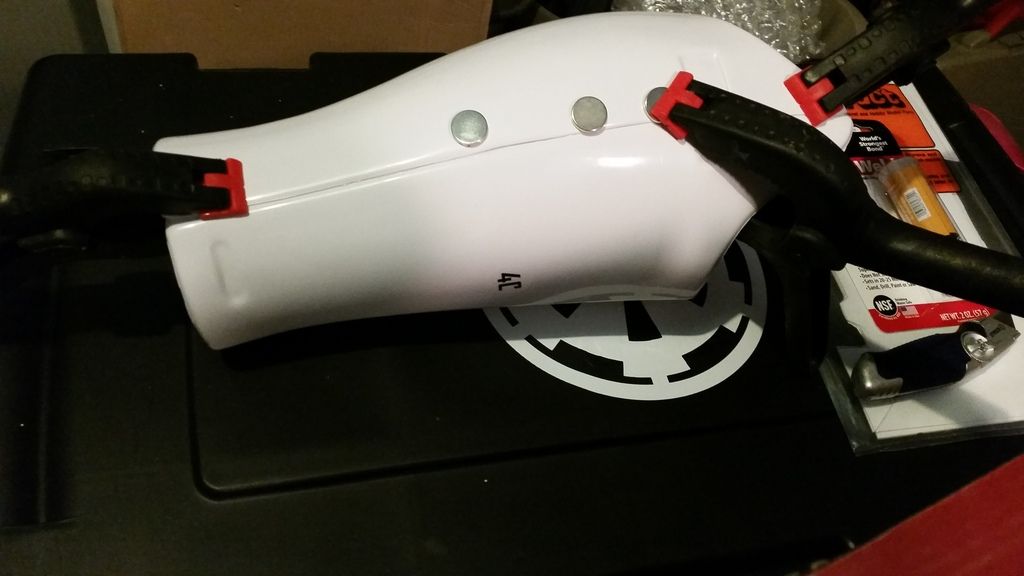
added some snaps into the yolk to attach the shoulder bells
and here is the yolk and shoulders together....alas we have our first pieces actually strapped and connected together!
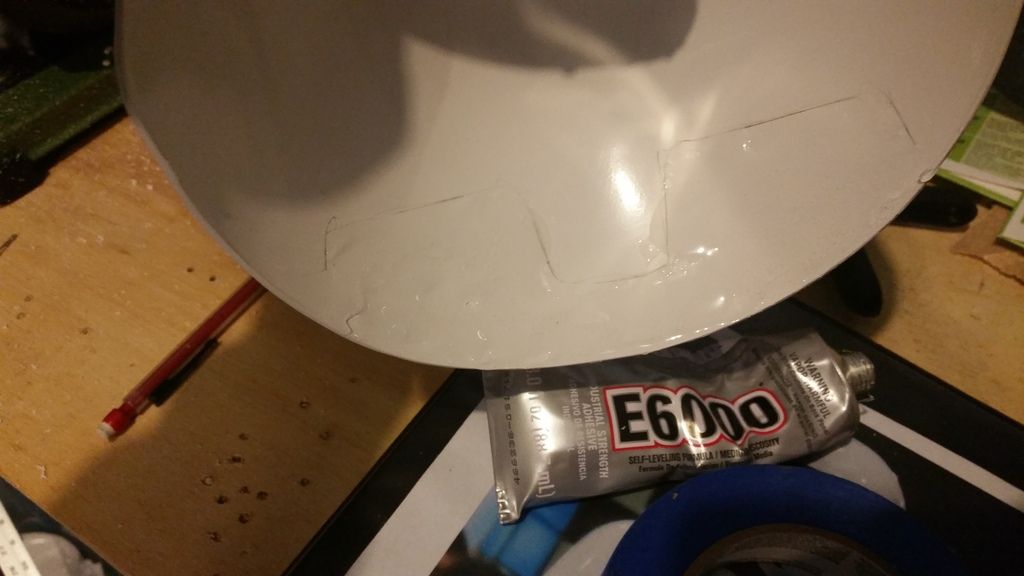
got a little creative with some leftover ABS on the thermal detonator and extended the hook on the back so it would be more stable...
glued down the resin thigh holster, hope to upgrade this down the road but for now, this will do...
more strapping, the ab/kidney pulls together nicely kind of like a corset, added in some more snap plates for the butt plate to attach to..
added in a snap to attach the chest plate to a strap running across the yolk piece..
added in strapping for the cod piece...
spats are built, just gonna add some velcro...
5 days left ....hopefully will start to paint today!