KindofaBigDeal
-
Posts
44 -
Joined
-
Last visited
Content Type
Profiles
Forums
Gallery
Articles
Media Demo
Everything posted by KindofaBigDeal
-
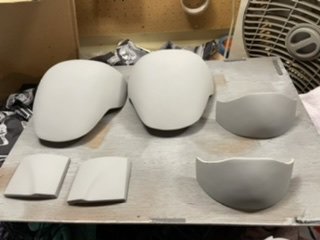
All of these are ready for primer then 1000 grit sanding!
-
First test fit today!


-
 I built a galactic marine clone kit and learned how to shim - the process sounds similar to what you have to do with your fotk kit. Please read my build doc and scroll down to the part “Shimming Armor” Link: https://docs.google.com/document/d/1MLWhXs6wegJA4m5T4m2ShO0Ms0ElCLwDRUtEjTAe4eE/edit I am also stuck on my build so don’t get discourage. Take a deep breath and you will get through it. Don’t give up.
 -
Alright since my gaskets arrived I wanted to try and size the shins to fit but the results didn’t make enough change and so I’m asking for help here. I’ve taken off one inch of the left thigh to try and make room for the knee. Then I remembered the holster is on the right thigh and that’s a point I can’t trim past limiting how much I can take off the bottom of both pieces. I am wearing tight under suit and can’t pull them up any higher on my legs. I would love for suggestions for what to do next to adjust the pieces to fit. I am not going to get discouraged I will continue making progress on the pieces that do fit in the mean time. Is the square on the inside of the thighs needed? I’m not seeing it on the the crl. Thanks in advance.
-
Pinholes closed
-
I received my geeky pink gaskets yesterday which look amazing!!! [emoji2956] thank you Teresa for your hard work and effort to make my first order gaskets and neck seal a reality! I am really looking forward to test fitting 90% of the costume soon!! [emoji2962] Last night I made progress with more pieces primed and some pin holes filled! Thus far I’m really impressed with Jim’s kit for several reasons: 1 - it’s a very clean kit, with very few pinholes and scratches to fill, s as I rotated the piece I was surprised how few imperfections there were. which means it’s faster to get it painted and onto strapping. 2 - crisp detailed pulls with sharp edges. I’ve seen other builds where details are soft and need to be cut out and replaced but not having to deal with that is awesome. 3 - It comes with no pieces needing to be shimmed . Compared to my galactic marine build this is much easier and I’m excited to keep making progress and I’ll keep you updated! Before filling
-
Got together with Scott to work on our kits!
-
More progress today! Lots of pieces primed and a few sanded! I need to catch up to Scott TK16390! We both are in WI and building Jim’s kits. Totally not a competition [emoji12] call it “motivation”! Sanded
-
I still feel pumped up from the armor party yesterday so I got some greeblies attached! Sent from my iPhone using Tapatalk
-
Right? I decided I’m going to prime, sand, and fill the parts I know fit. I will wait to tackle the thigh issue later. I have motivation back and I want to put it to good use as there’s are a lot of work to be done. I ordered my gaskets from the amazing geeky pink last month. The only other piece I need to order is my belt and I’m working on getting in better shape so that I can fit into all my costumes more comfortably.
-
1 years, 2 months, 7 days later I hosted an armor party and made some progress! Shout out to #DevastatorSquad!
-
Thanks that's perfect. Do you have the right as well or should I just base it off of the left? Sent from my Pixel 3 using Tapatalk
-
If it does not. I had it custom sized by Jim to my measurements so I wouldn't have to worry about shimming. The piece is able to be pulled up high enough on my leg. I believe that modifying the bottom front and back will allow it to fit properly. I have marked up areas I think would be accurate with pencil around the knee area, but would like to know your thoughts before making any cuts. If anyone is able to help and thinks the cuts need to be adjusted, I would love to see an edit in photo shop with proper lines. Please ignore the lines on the top as I don't think I need to trim that area any more. Thank you. Sent from my Pixel 3 using Tapatalk
-
Thanks for the suggestion, however the issue I'm currently having is knowing what to take off of the piece, and it's hard to show where my knee is with all black on. I hope this makes sense. Sent from my Pixel 3 using Tapatalk
-
I fixed up the top inside of the thigh and also took 1/4 inch off the bottom. As you can see, the armor extends bellow my knee. Sent from my Pixel 3 using Tapatalk
-
Hey Tony thanks for checking in! I'm still working on sizing the thighs right now, You can see I've done a little trimming here off the inside of the thigh, which allows it to slightly higher up my leg and a slightly better fit - but the bottom of the thigh piece is still below my knee. I don't want to lose any of the recessed detail so I'm hesitant to take any more off the top. Looking at the gallery and screen caps, I understand some material is taken off of the front and back bottom of the thigh, so that is definitely going to help, but if I could move it up my leg a little more, I could obviously take less off the bottom.
-
Thanks, I sent you their email via PM. Sent from my Pixel 3 using Tapatalk
-
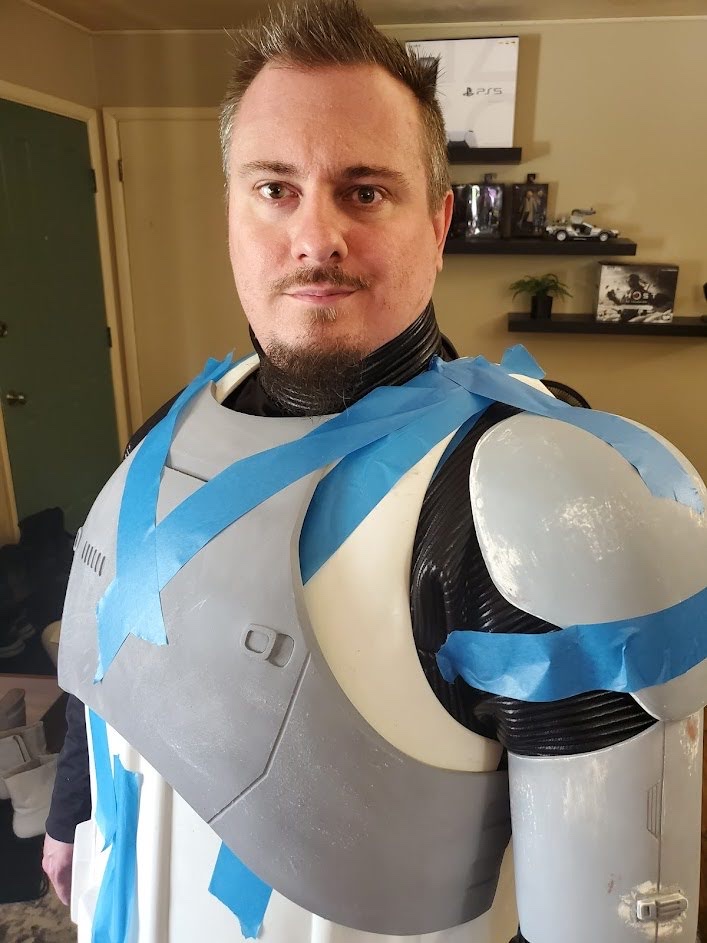
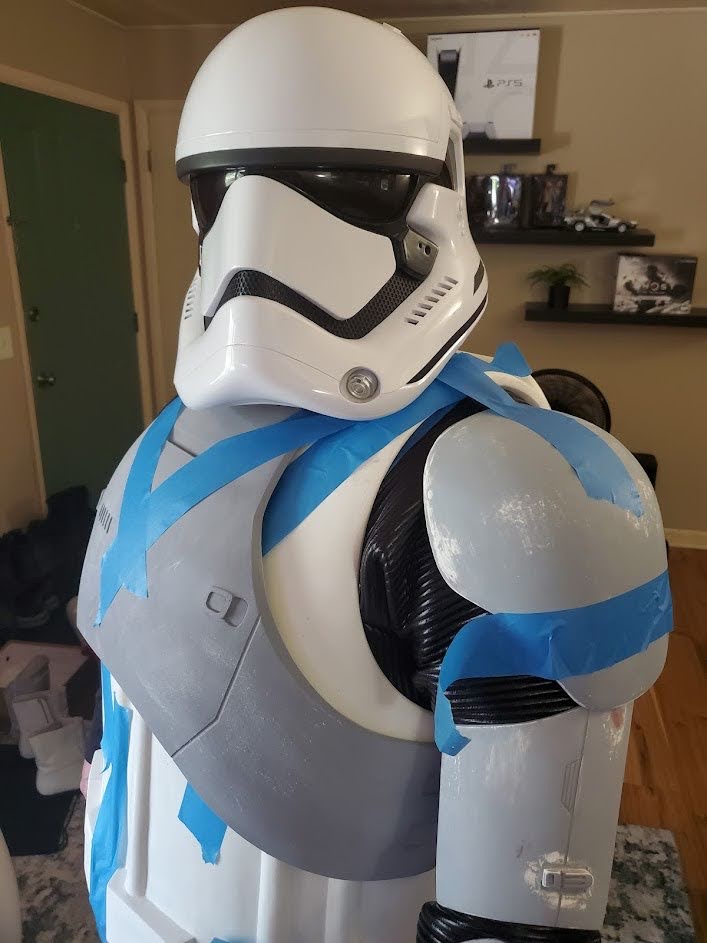
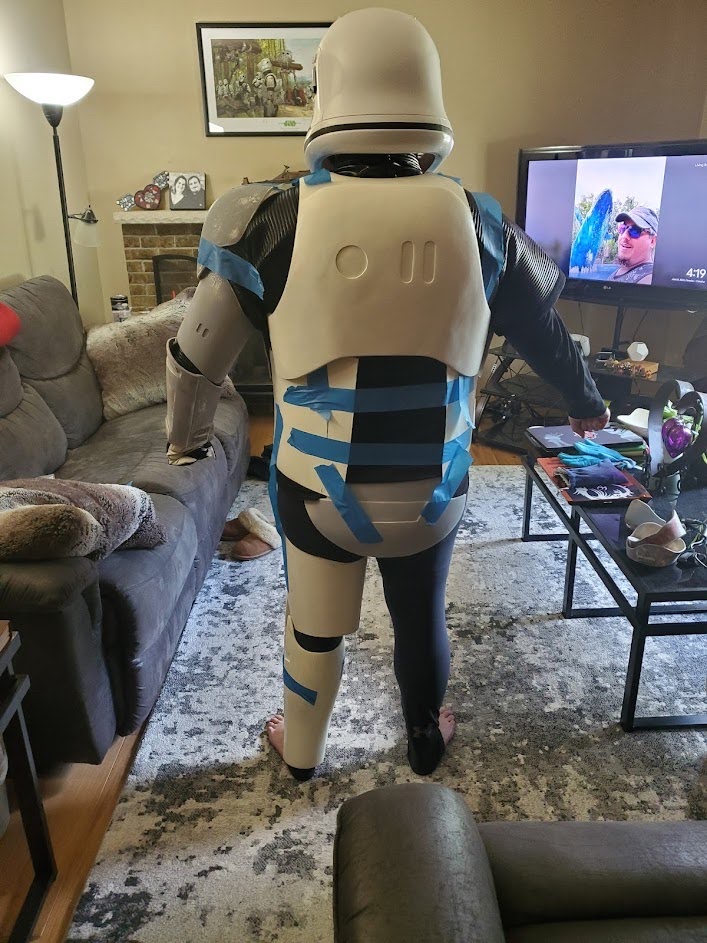
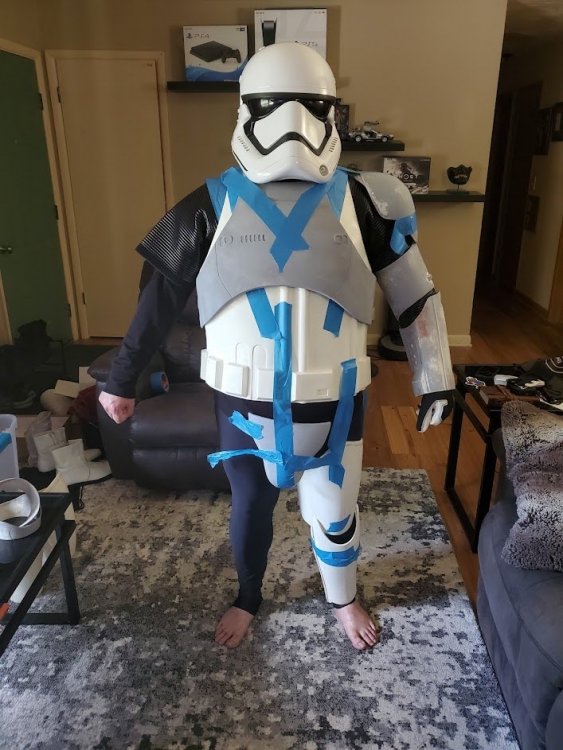
I really appreciate the support Andrew. I usually feel drained coming home from work these days but knowing there is an end in sight keeps me going. I also remind myself that if I am too tired I don't have to work on my costume, it will be waiting for me when I have more energy. Yes, I was able to try some of the armor on for the first test fit! Pics below: Spacing on the arm armor looks good to me. I'm thinking these areas will need to be trimmed a little bit at a time to ensure a better fit. Let me know your thoughts:
-
Received my pauldron from IG! As Devastator Squad Leader I feel like this is a necessary addition! I hope to make more progress on the armor this weekend!
.jpg.8afb2720fa17304defdd5b299b41f072.jpg)
-
Yes - my pauldron shipping finally updated and it's in Chicago. I will keep you all posted once it's here! Thanks!
-
I finally had a chance to get together with my squadmate Scott who also ordered Jim's FOTK. We are super exited to be working on them together! After 2 hours of sanding inside the pieces with 220 grit sandpaper we were impressed by the amount of progress we made! Nearly all the pieces were sanded, just a few more left! I also ordered a FOTK Squad Leader Pauldron from IG - hoping it shows up soon. Sent from my Pixel 3 using Tapatalk
-
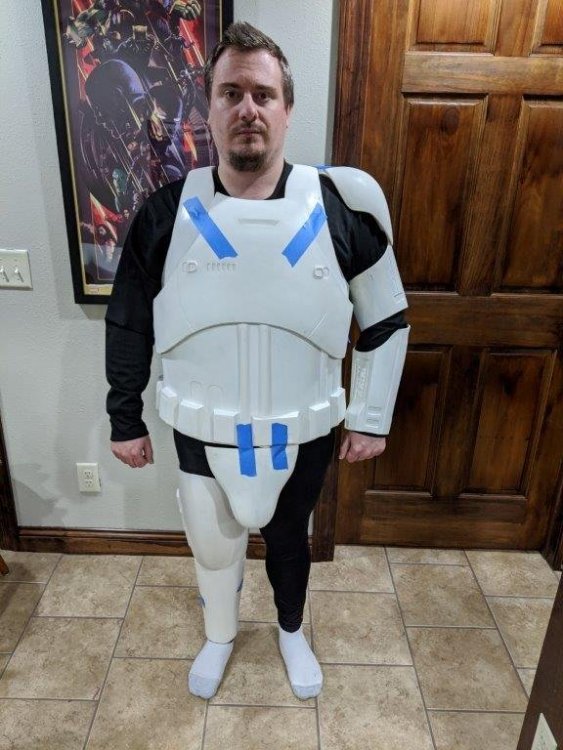
Thanks man, I love that the whole kit is basically assembled. Our squad is a tight group - we just hit 29 members! Our life day celebration (Squad Holiday Party) was a great success. Sanded a few pieces by hand this weekend. Before and after pics are attached. Before Sanding After Sanding Has anyone tried using a mouse sander to speed up the process? I think you would have to be careful and use a low setting. Might be helpful on some of the larger pieces. Not sure it's worth the risk but can't hurt to ask if it's been done before. My friend in the squad ordered Jim's TLJ kit which should be shipping this week if all goes well. I'm excited for him to get it so we can work together! Sent from my Pixel 3 using Tapatalk
-
Everything has been washed. I used rubber dish washing gloves to protect my hands from the fiberglass and washed all pieces in soap and water. I went to local hardware store and picked up some heavy duty work gloves for sanding fiberglass, goggles and a sanding gripper with various sand papers. Sanding Gripper https://www.menards.com/main/paint/sandpaper-abrasives/power-tool-sandpaper-abrasives/masterforce-reg-hook-loop-3-1-2-x-5-1-2-detail-sanding-kit-12-pack/7330-018/p-1444423435229-c-14240.htm I'll be having hosting our squad Life Day themed holiday party tomorrow and everyone is excited to see the kit! More updates to come. Sent from my Pixel 3 using Tapatalk
-
BBB day is here!!! Time to celebrate! I couldn't be happier with the quality from Jim. The details are crisp, and due to the thickness of the pieces they look quite durable. I have a fiberglass scout helmet that's quite heavy so I was concerned about how much the flexible fiberglass pieces would weigh compared to Abs plastic, however having both in hand they're extremely comparable. I am most excited that a lot of the parts come assembled (yoke, forearms, thighs, biceps, spats) and I believe it will save a lot of time compared to some of the other options available. My plan is to sand all pieces interior and exterior to get rid of the fiberglass bits. Then I'll give them a good wash with soap and water to get rid any mold release chemicals. Super excited to start my third build, it's bringing back nostalgia of my last to BBB days Sent from my Pixel 3 using Tapatalk
-
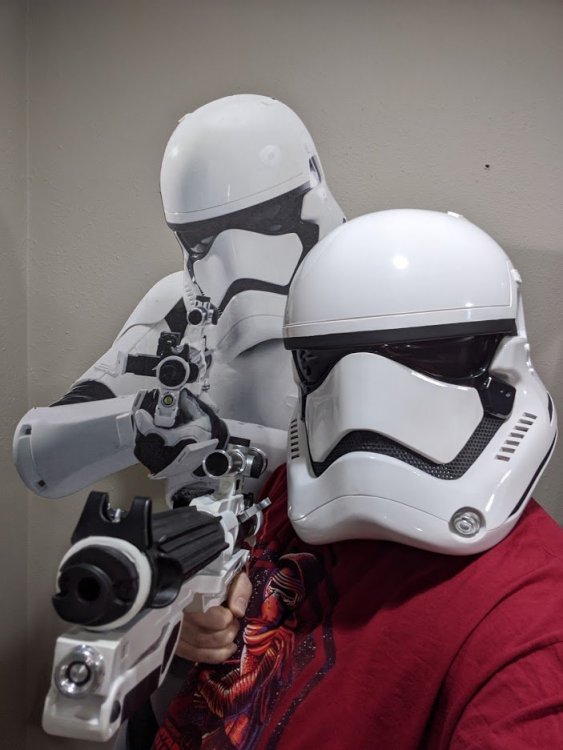
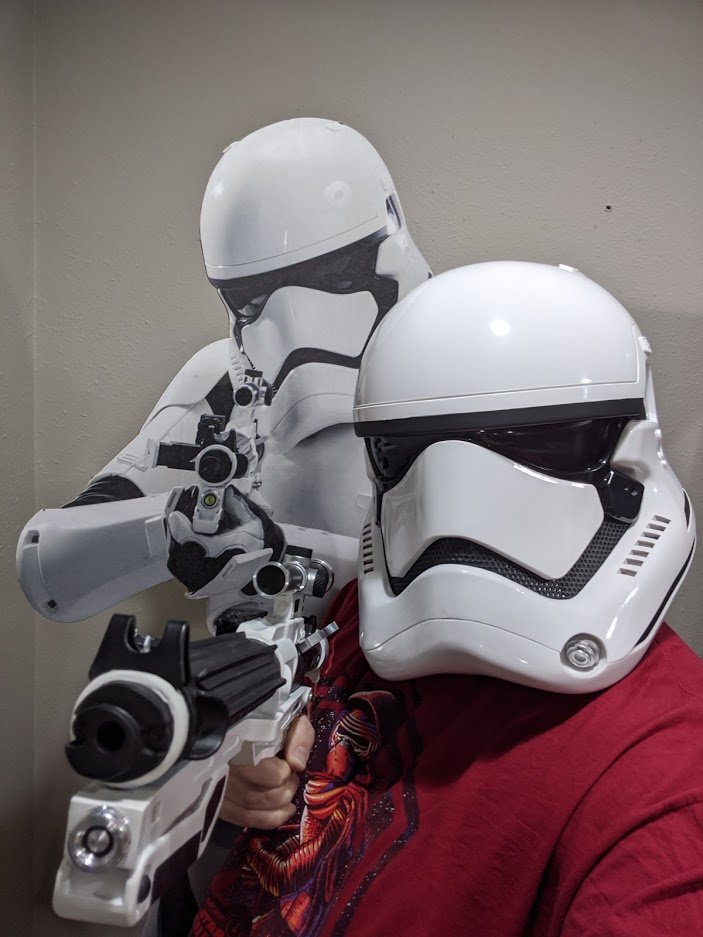
Thanks for the feedback troopers! I received my bucket today! Lightweight, standard TFA variant. Buckets on