


kevin926
-
Posts
266 -
Joined
-
Last visited
Content Type
Profiles
Forums
Gallery
Articles
Media Demo
Posts posted by kevin926
-
-
What a fantastic build log. Great job. If you don't mind, I will be copying your guide on the power cylinders when it comes time to build mine. I have the same counter set up you show on your first page or so but I didn't see you incorporate that into your hengstler. Did you find a better way or just leave it out all together. My plan was to scratch build a counter and use the rolling numbers from the bought counter some how.
-
I foresee a small group of stormtroopers knocking on your door looking for their blasters.
-
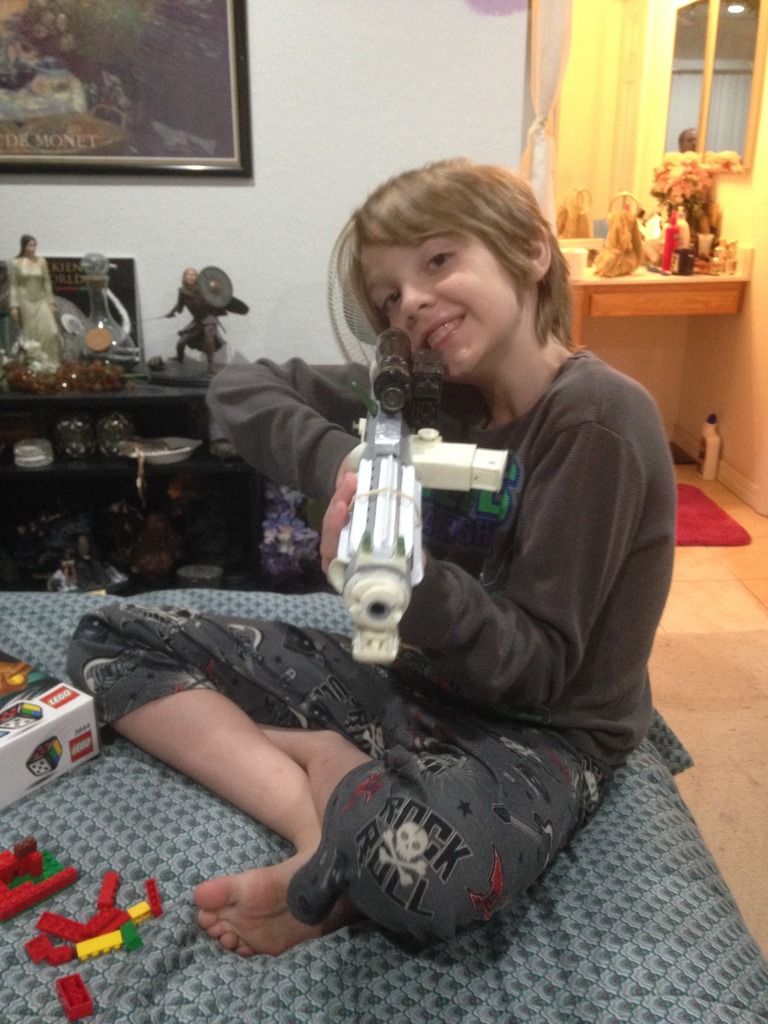
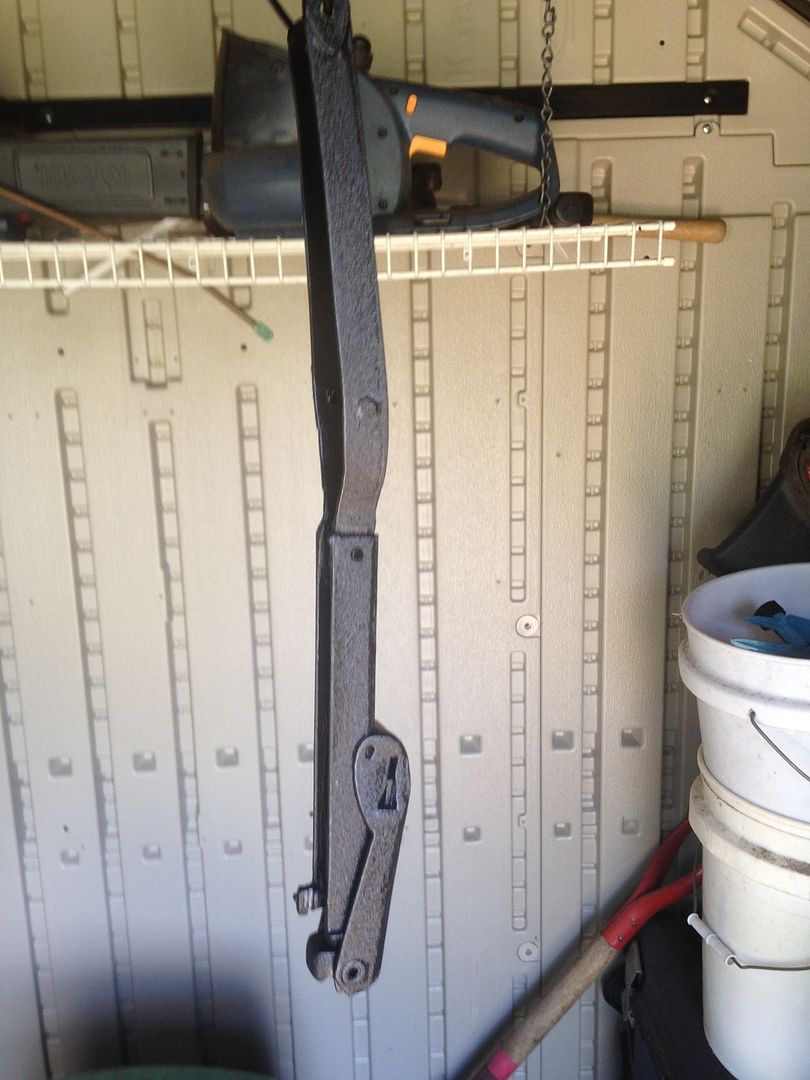
I know this seems like a fast finish, however, if you have read my build from the begining, you will know that I have already made these parts. So once I had the bolt ready, these pieces were ready to go on. I wanted to play and do a test run or dry fit if you will to have a look.
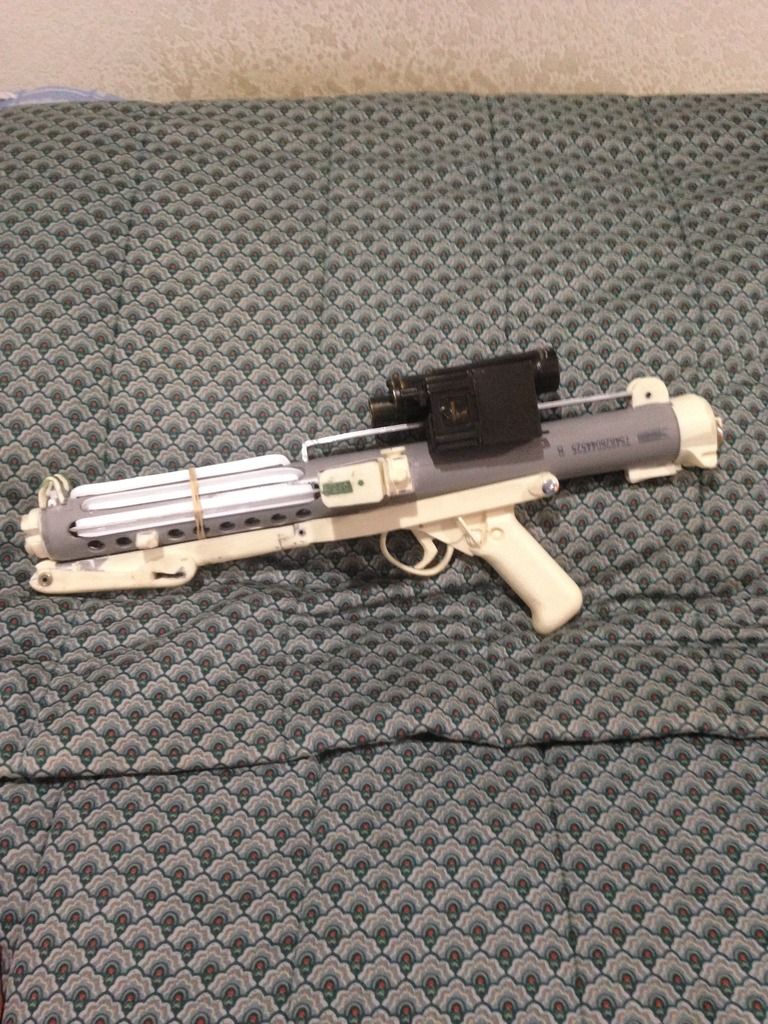

And the part that made it all worth while.
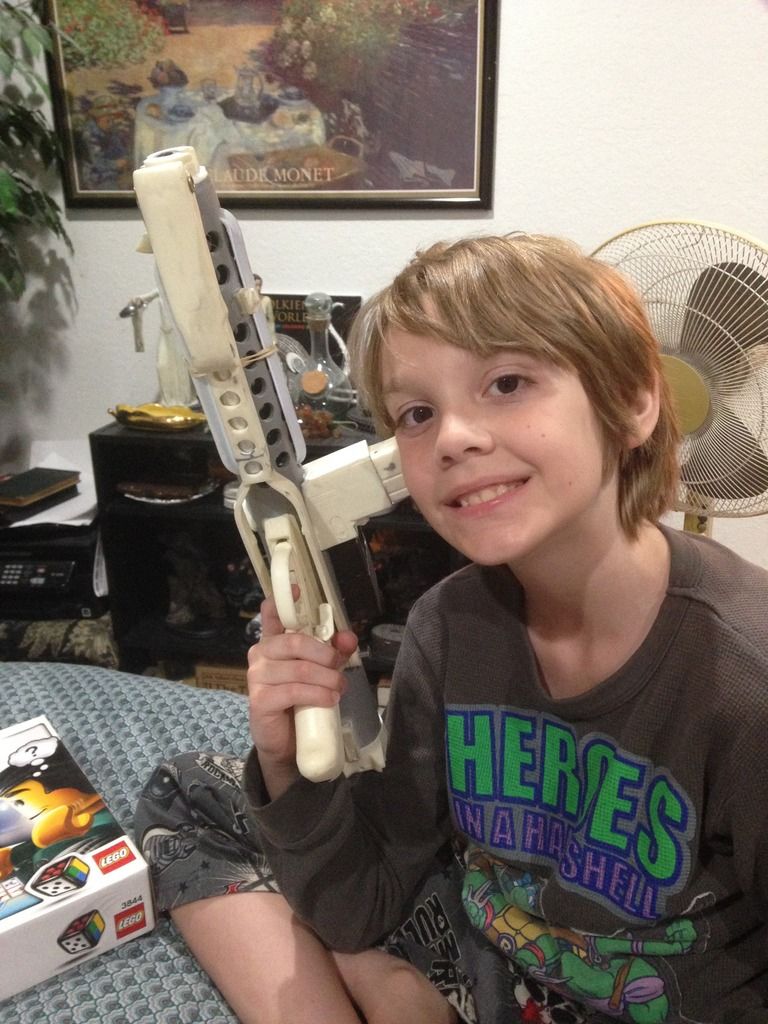
Freeze!
Yes, I know the scope rail should be 1/16 and not 1/8 but I can get past that. I had some 1/16 and it is too thin and bends too much. I will not be using 1/16 for my sons.
Now its time to tear back down and seeing how this blaster will not be weathered, I really need to do a detailed clean up job and begin the final steps. I plan on using the wrinkle paint still and the other parts to be black. nothing different with the paint scheme. Just clean per order of my son.
-
oh yeah, I will be using his scope on my aluminum scratch build. They look fantasticThere's always "the next time".
 However those 3D printed parts from nmcguff look like the way to go! I just received an M38 from Bulldog44 and my handmade, recreated parts feel a little inadequate next to his amazing scope.
 Jim M.
-
 1
1
-
-
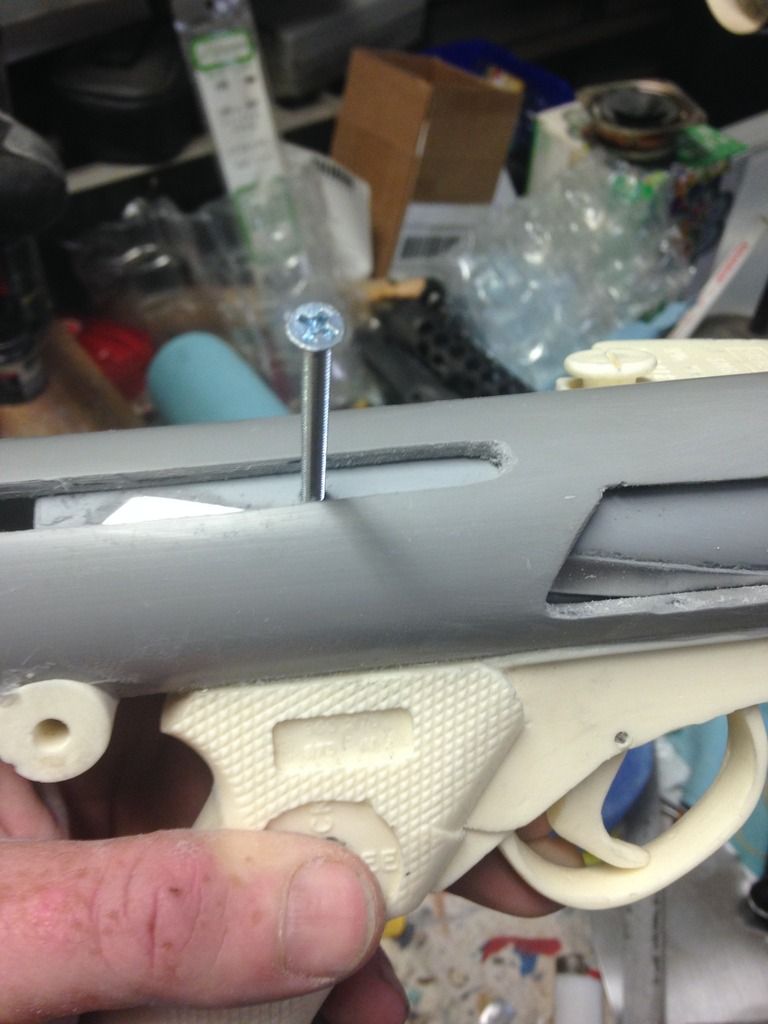
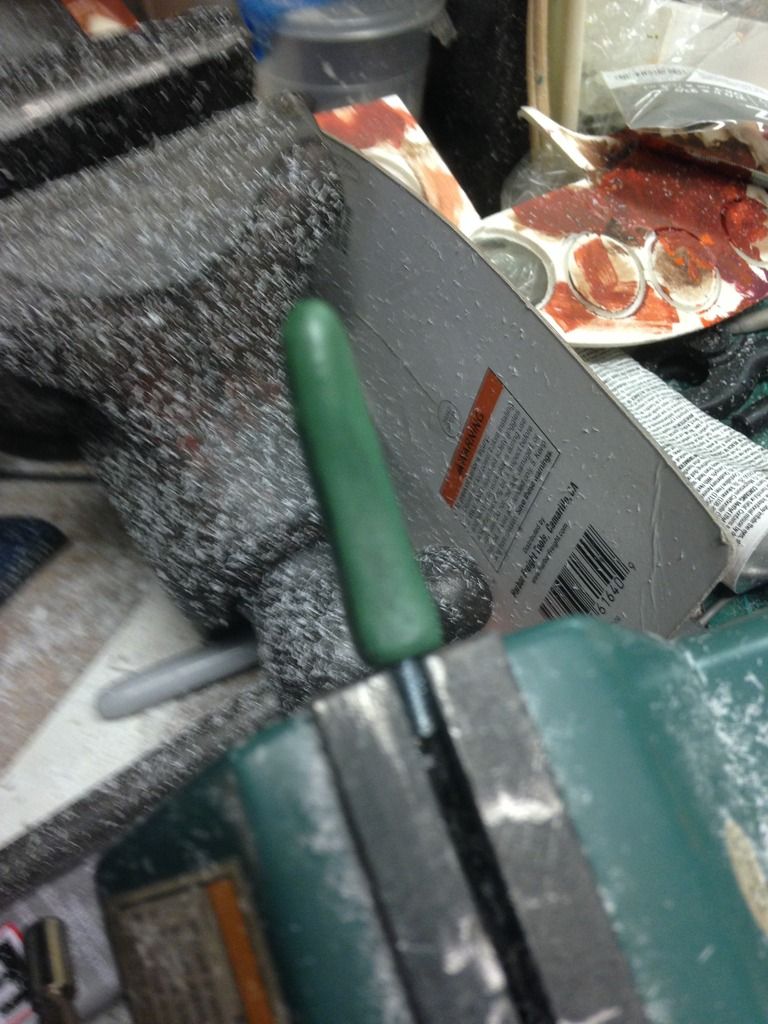
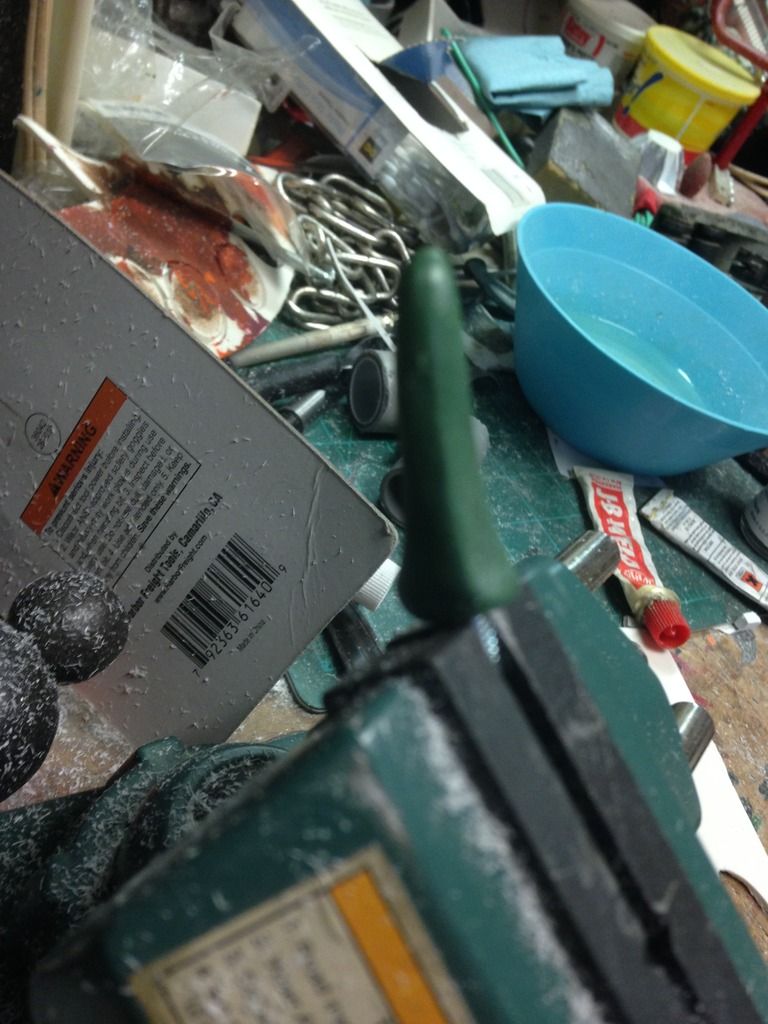
I started working with the doopy bolt but there wasnt much to work with. I had some 1 inch pvc that fit inside the receiver and used some jb weld to mount a metal strip on the bolt. The resin charging handle wouldnt last a day for my son, so I made one with a screw and green stuff. Im using Ddays bolt and handle on my aluminum build and that one will be much more detailed than this set up.
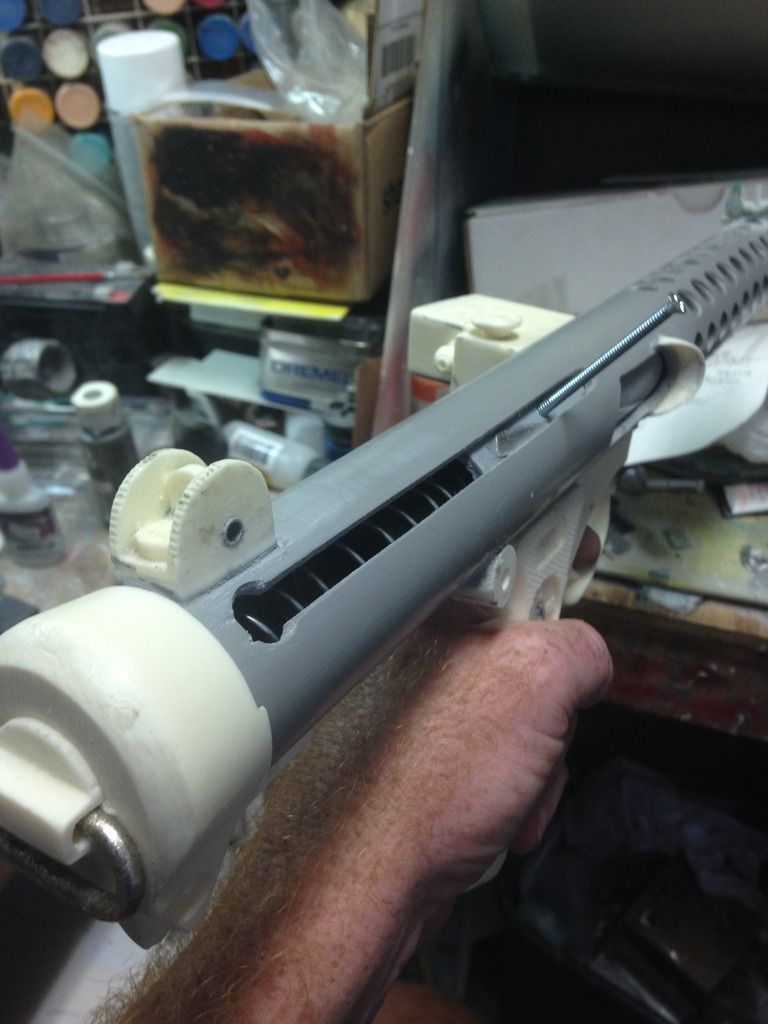
made a spring and used Aarons spring cup. Now I will need to order another one.
-
I have noticed a terrific common theme here and that is you guys a great! Unbelievable support and thank you. A few have even offered parts for free. Troopers helping Troopers. I'm not good at multi quotes so this goes out to everyone. Thank you guys. This really is a group effort. There is a local comic con in Tampa and I hope to meet some of you there in August
-
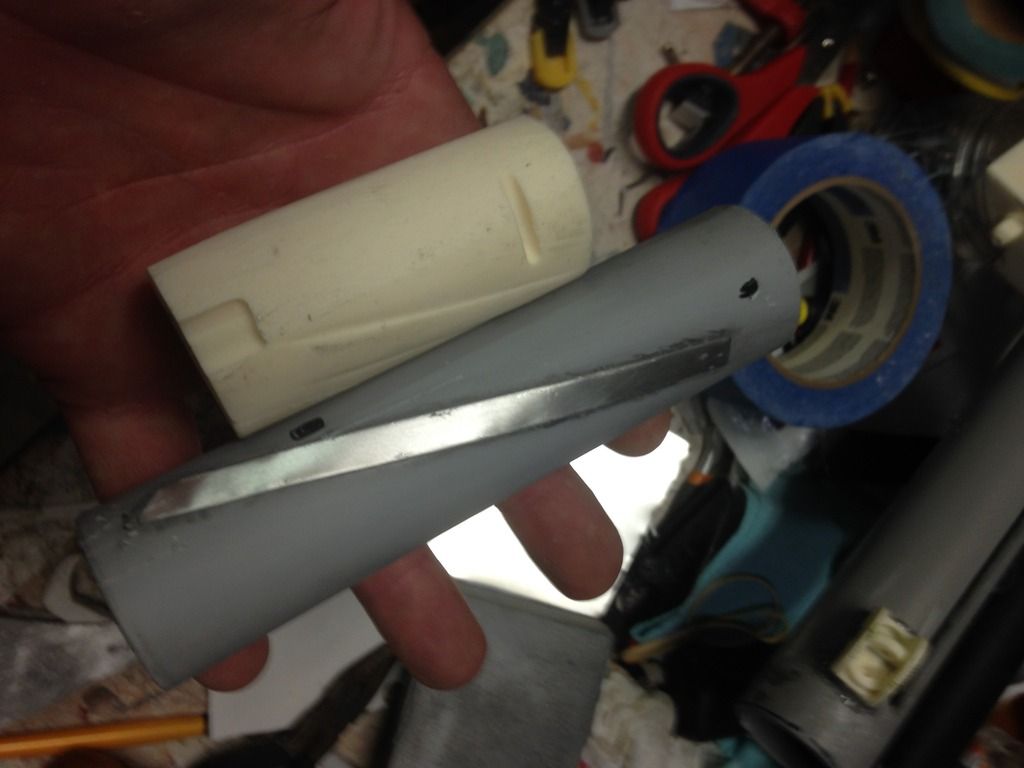
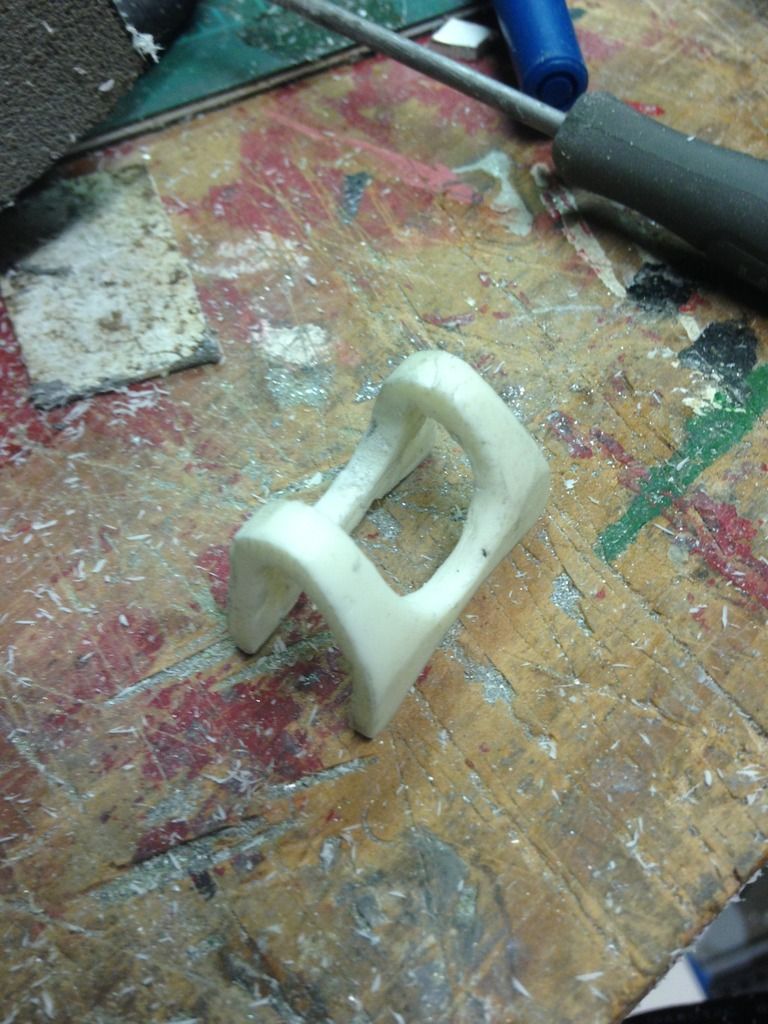
wow, that is very generous offer and thank you. However this muzzle has already been attached and I drilled my barrel through it as well as dove tailed for the site so it this point I have gone too far to break this all apart. But, this muzzle you made is what I had in mind as far as fitting g a 40mm pipe build. The other muzzels just don't look right because they were designed to fit 38mm. From your photos, it looks like you nailed it. I also really like your grip. Maybe you can offer these in runs. Great job and I would have jumped on your offer if I had known just a few days sooner. LolHere is my meager attempt at a sterling muzzle sized to fit my PVC pipe which is just a tad over 40mm.


It's not perfect but it does have the great price of $free.99! I'm sure with your amazing skills you could make it work and clean it up to make it believe able.
Soon I will be cleaning up the master and making it a little more accurate then recasting it. I had to work with what I have as I blew most of my $ on the armor!
If you want me to send one your way shoot me a PM with your address.
Jim
-
1
-
-
I did see that one. Looks like he has some nice stuff. It did state in his listing that all his sterling parts are for 38mm so none of the parts will fit the 40mm receiver. The filler made it look much better but I am trying to see others that faced the same issue. Truth be told, if it wasn't for me using Aarons muzzle on my other build, it probably wouldn't bother me as much. But seeing how nice Aarons was just jaded the doopy.
-
Aarons muzzle is already being used on my scratch build shown above and almost finished. Even his muzzel doesn't match up with pvc. The pvc edges are too thick. I believe this can be an opportunity for the resin suppliers to recreate a muzzel that is rolled and can sit on top of the pvc builds. Hard to explain in words but image a mushroom shaped muzzle if you will.I recommend Aaron's resin cast muzzle cap with rolled edge. <br><br>
<a data-ipb='nomediaparse' href='http://www.whitearmor.net/forum/topic/35572-resin-e-11-barrel-spring-cup-muzzle-runs/?p=466644#entry466644'>http://www.whitearmor.net/forum/topic/35572-resin-e-11-barrel-spring-cup-muzzle-runs/?p=466644#entry466644</a>
-
Is the scratch bolt linked to more information or a builders log to see more. Thanks
-
2
-
-
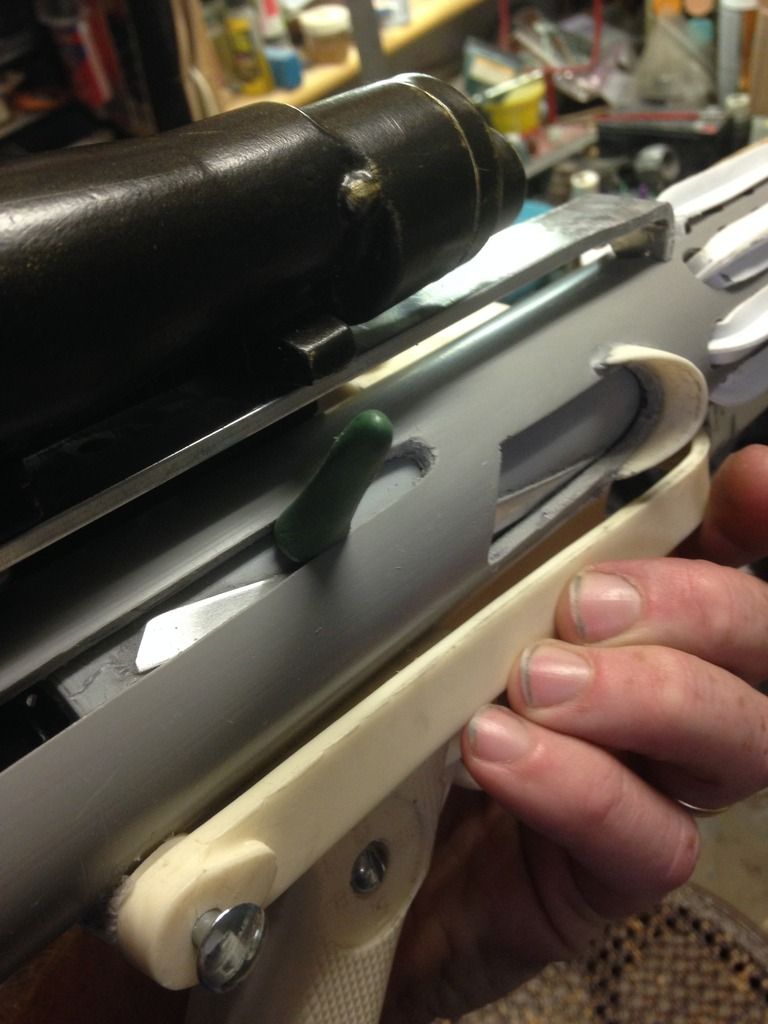
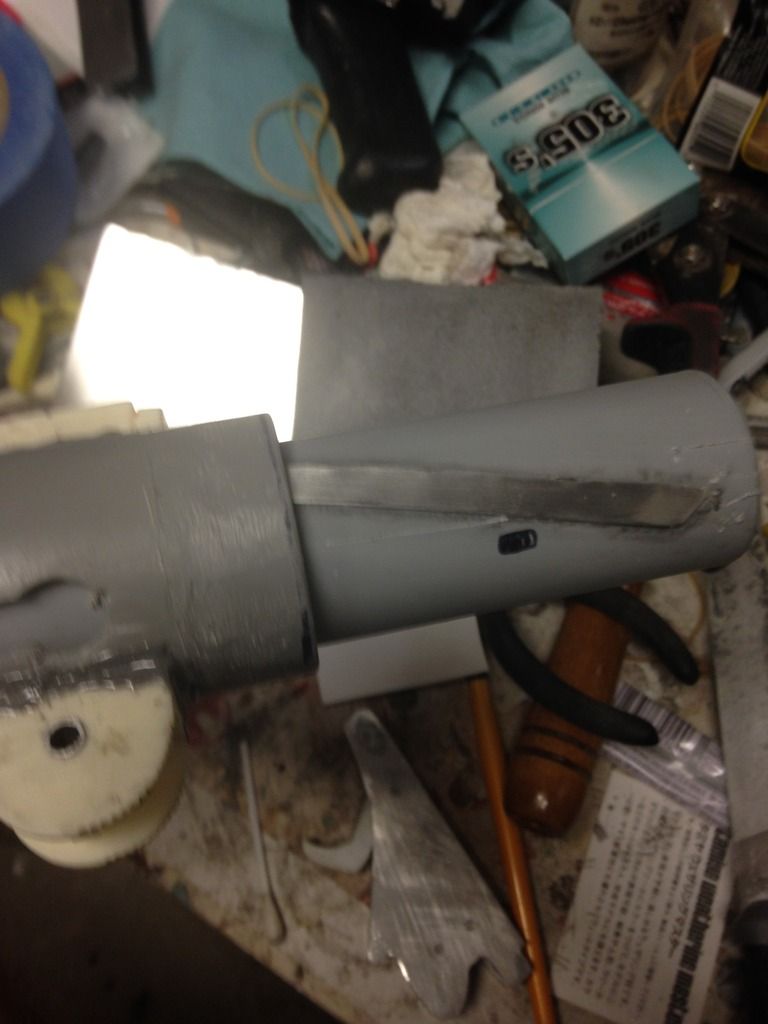
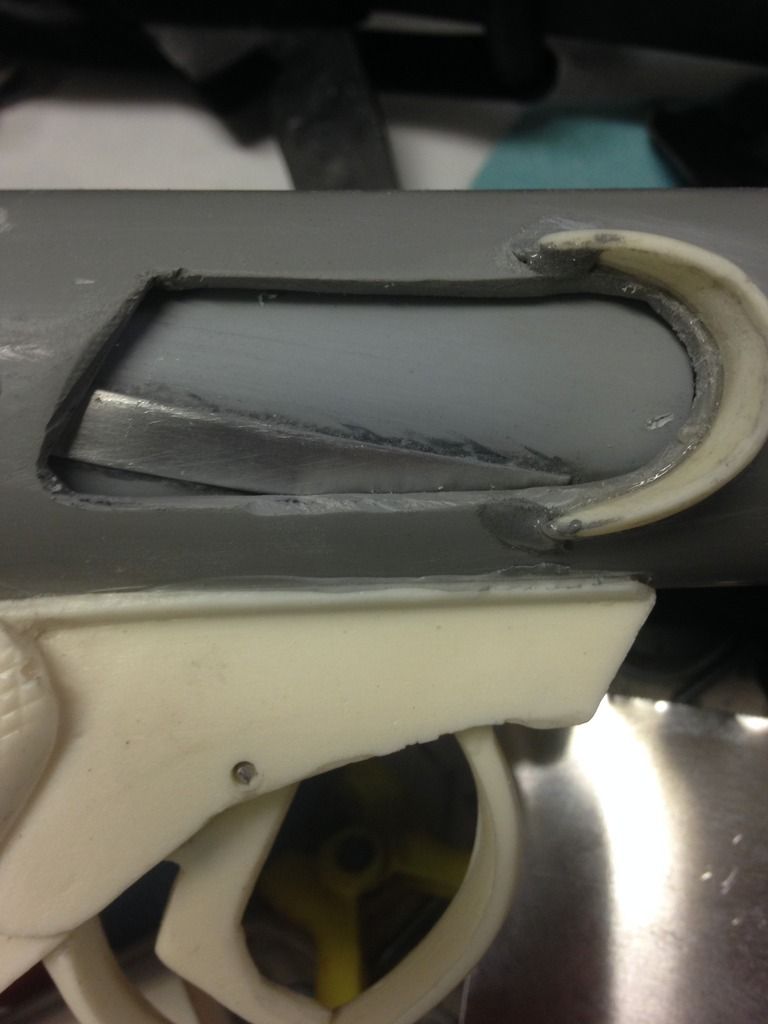
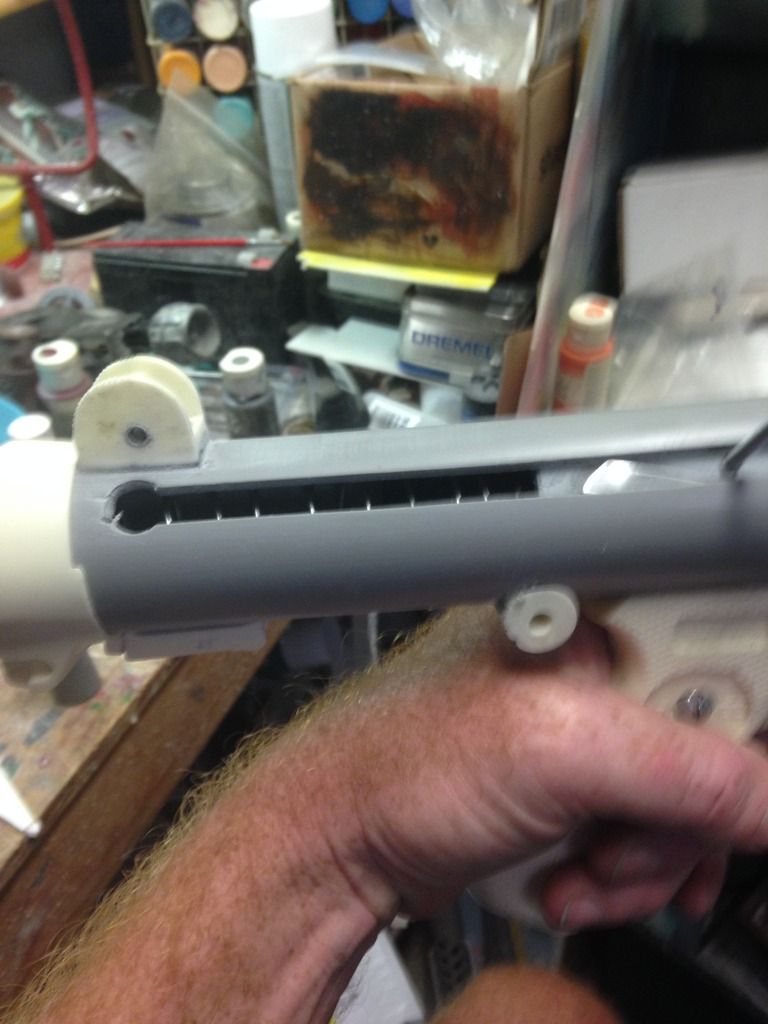
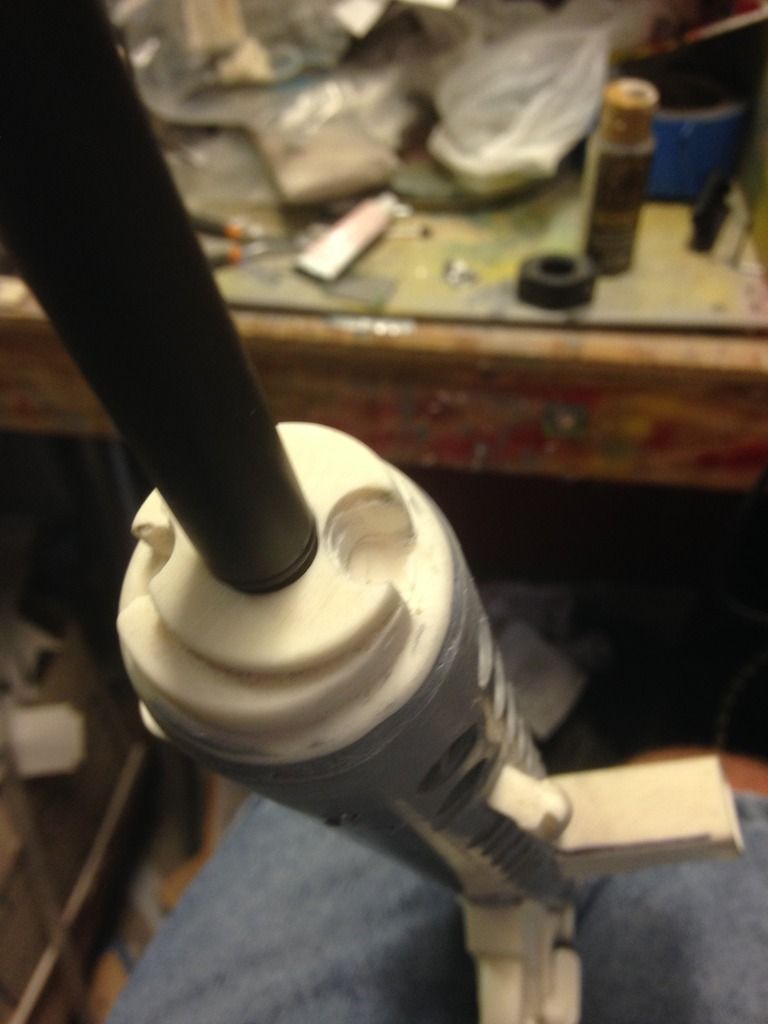
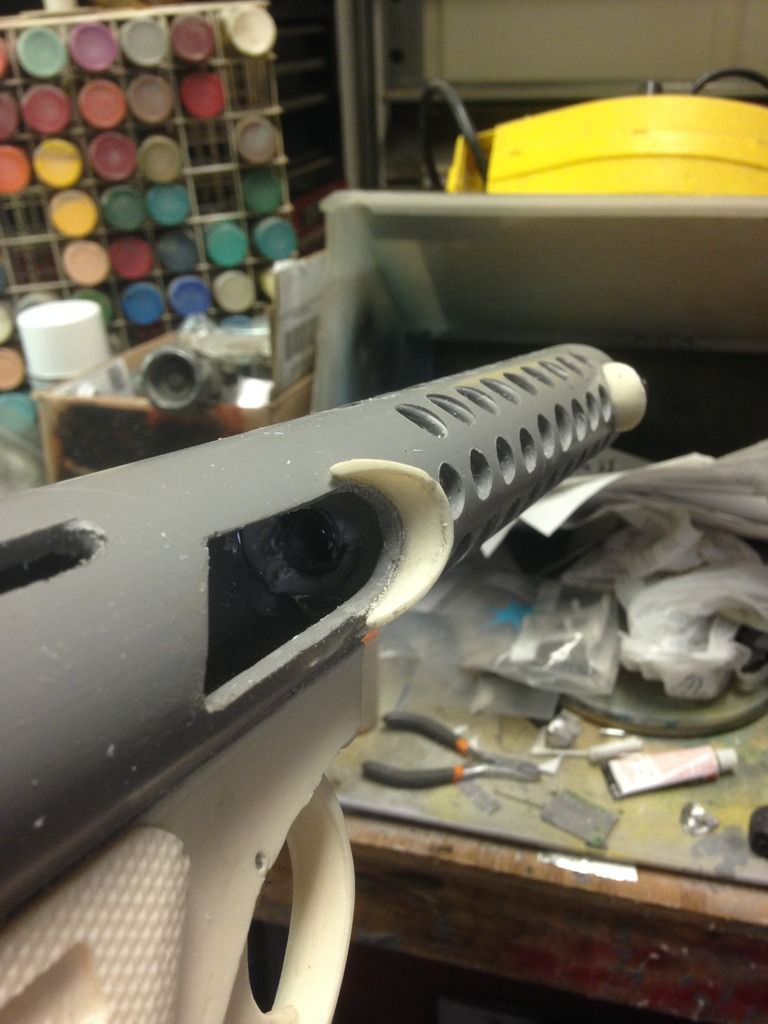
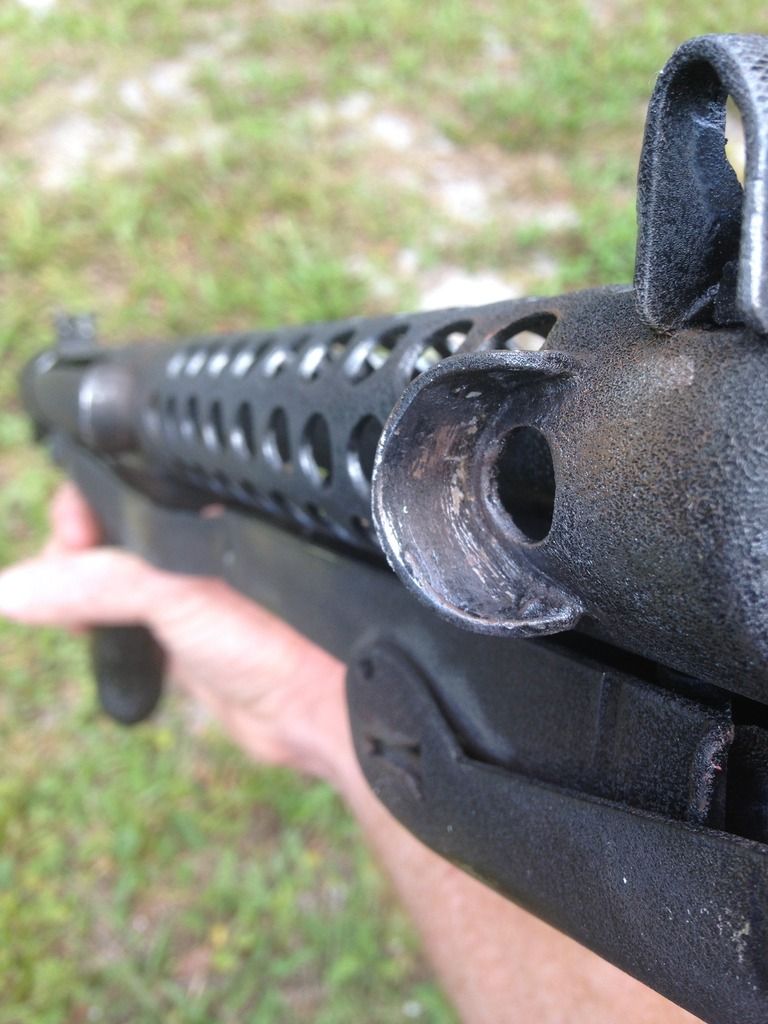
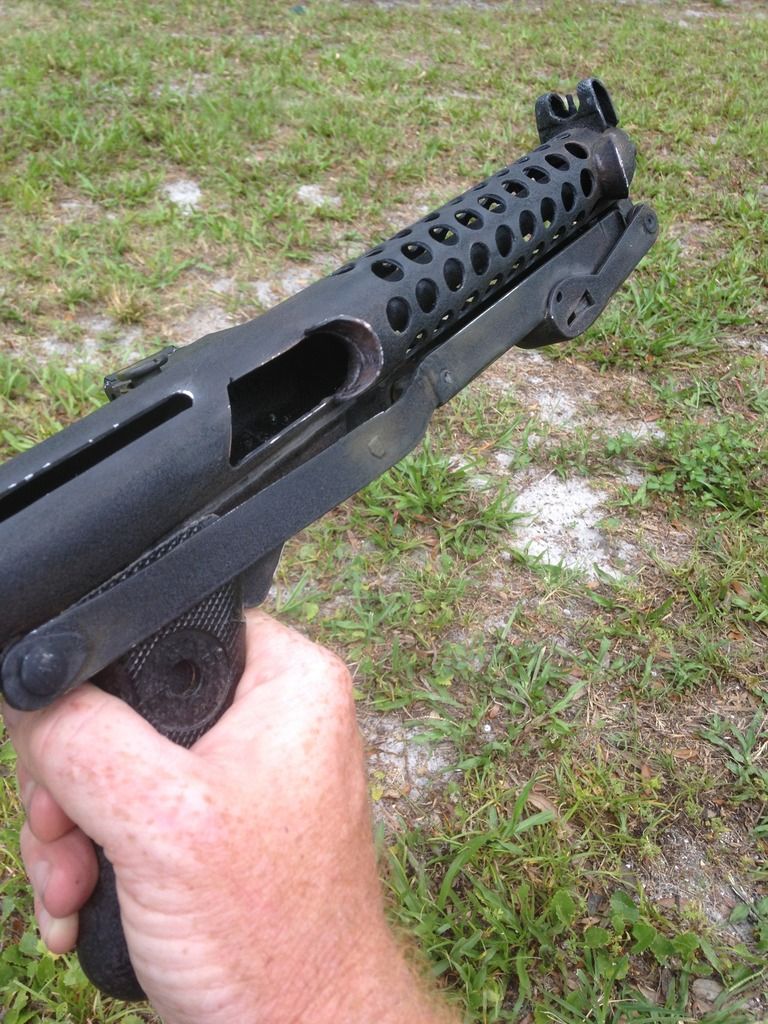
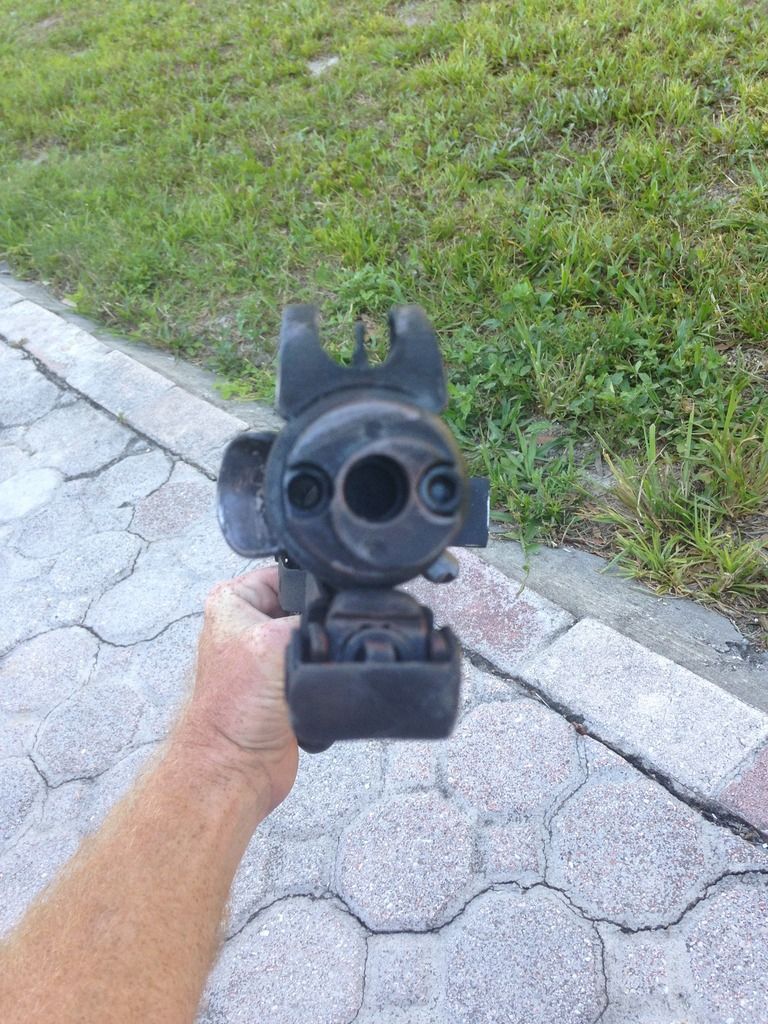
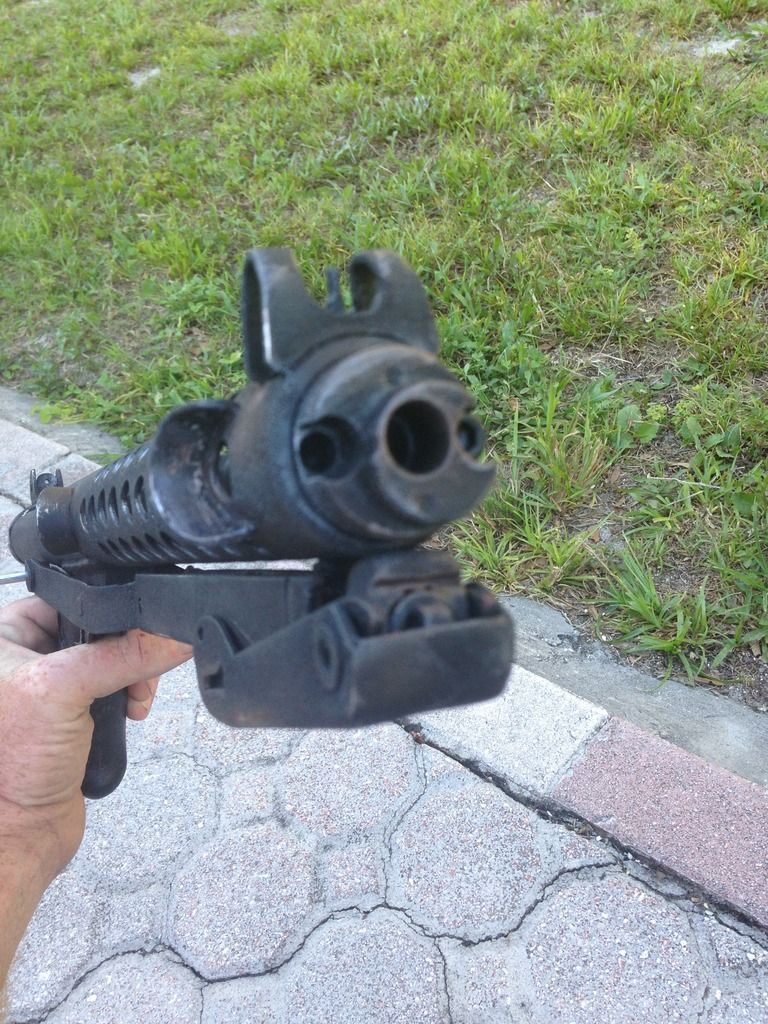
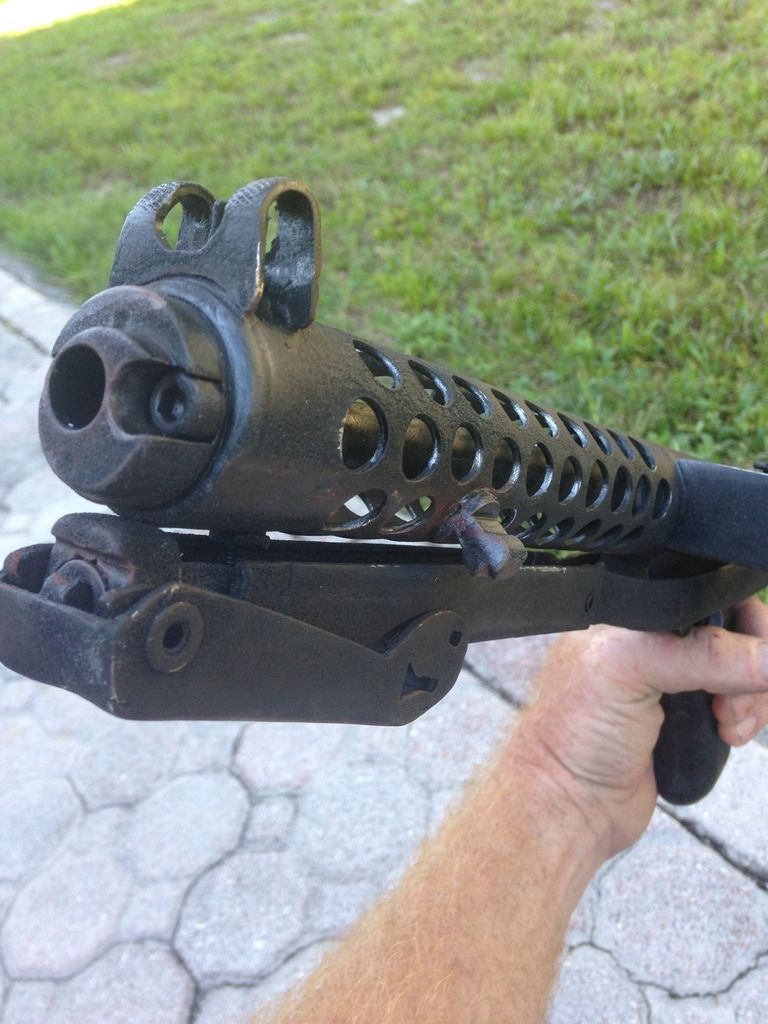
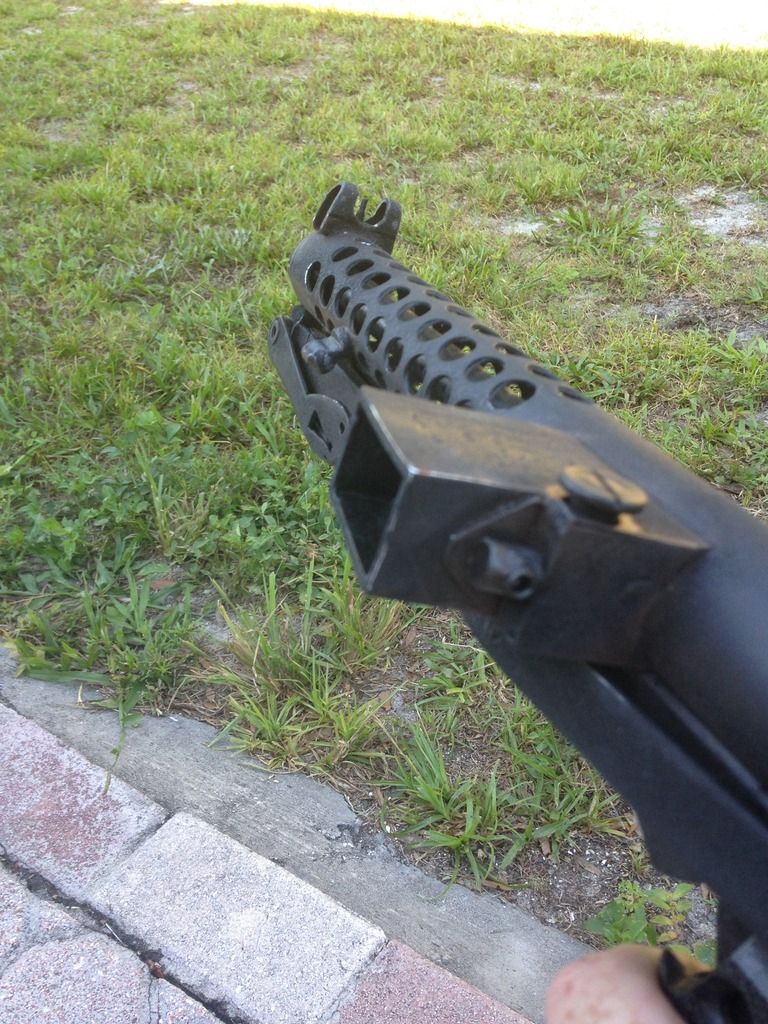
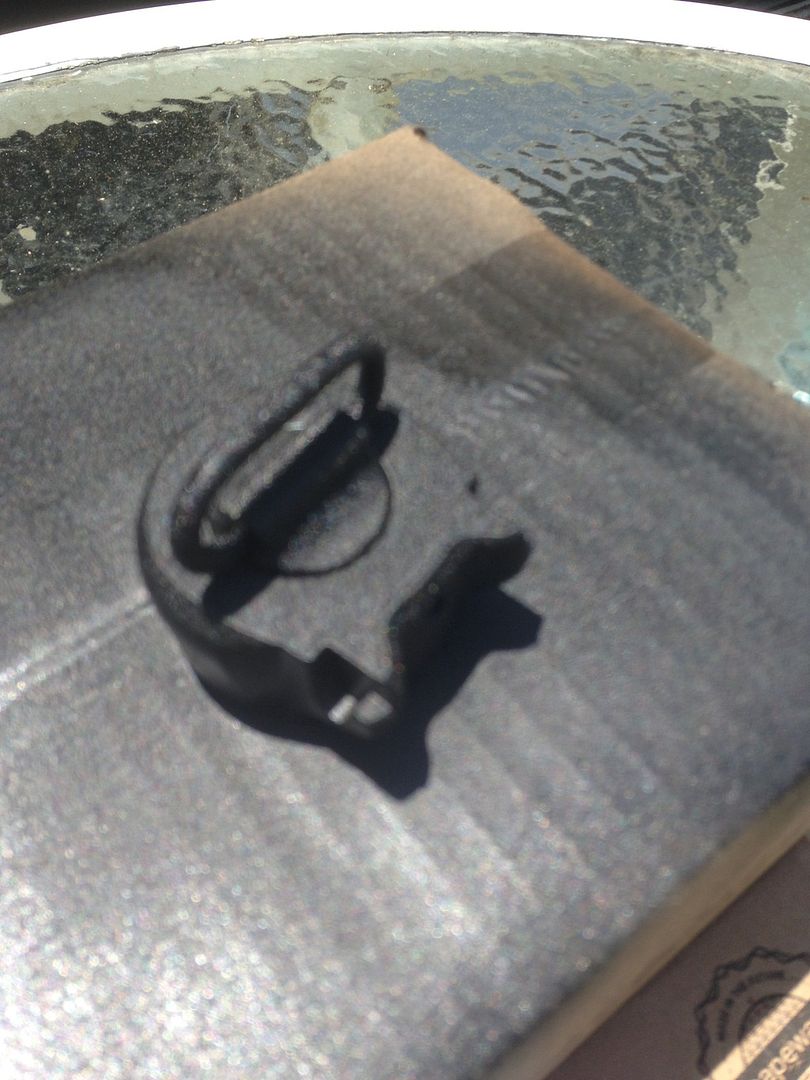
I went ahead and scratch made the site, mounted it, and installed the site protector. Here are some shots of the end result. More important is the view of the muzzle. I made mention i want happy with the look of the doopy muzzle so I used some filler to feather the muzzle into the reciever.

I would like some feedback on this approach. Clearly I'm not the first to have issues with the doopy muzzle on a pvc build.
-
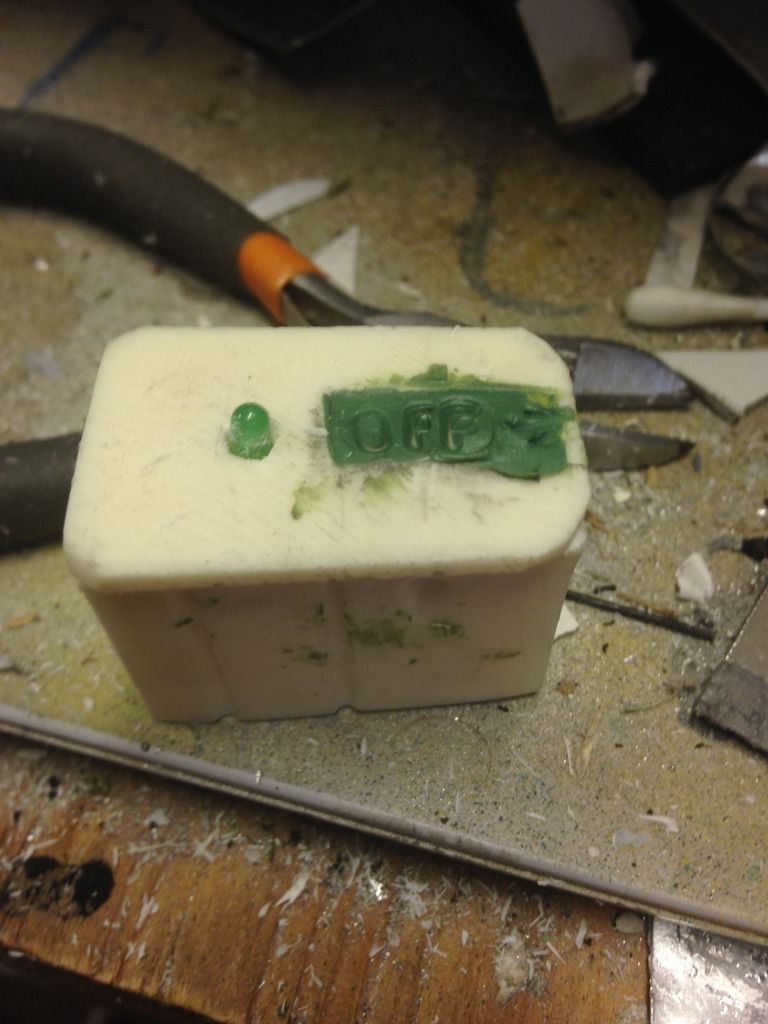
Onto the magazine. Kind of disapointing after working with Graz's magazine. His is so clean and precise and for some reason even though alot of the doopy kit is really nice, they skimped on some parts, and this magazine is one of them.
Heres Graz
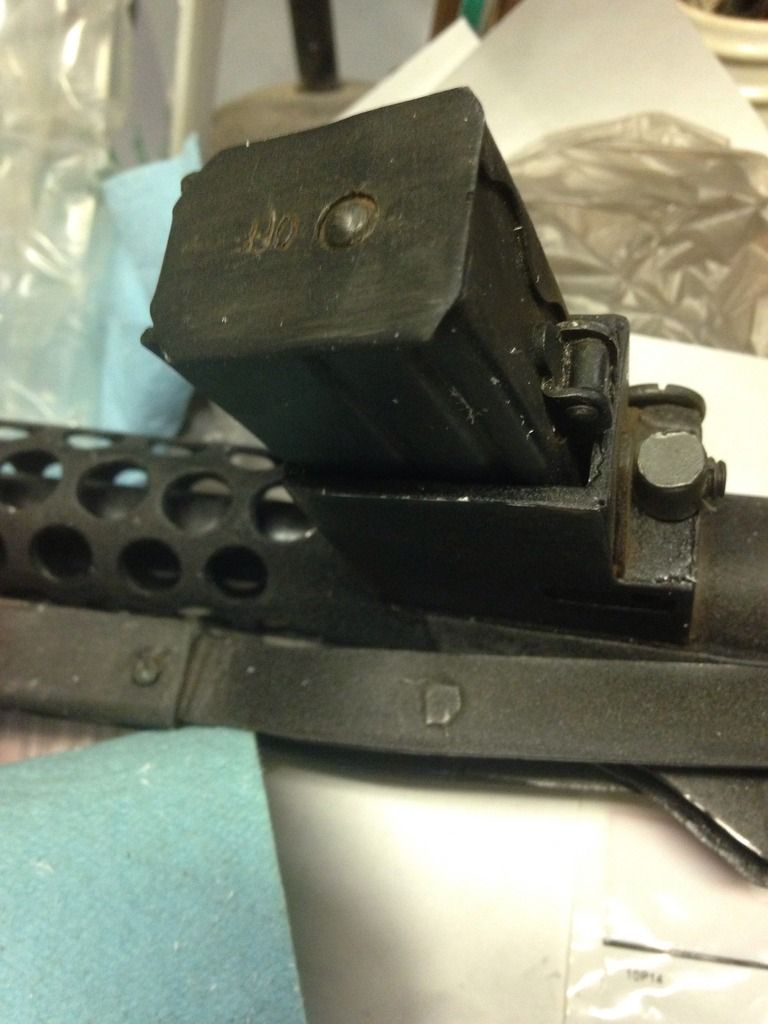
Here's Doopy's
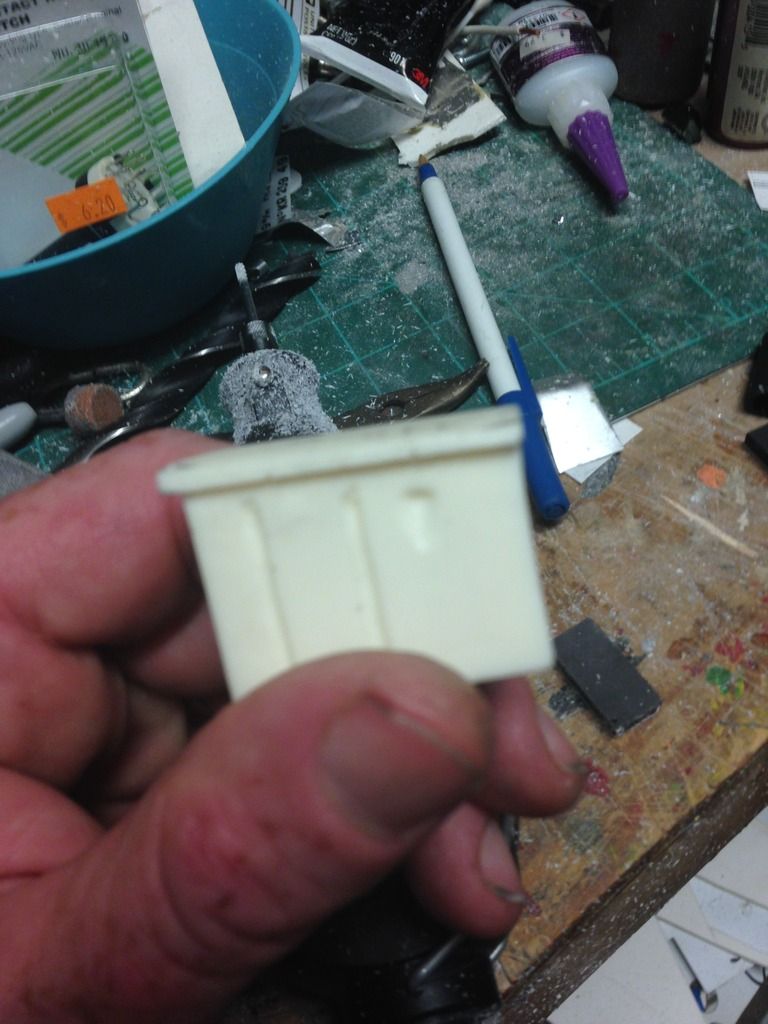
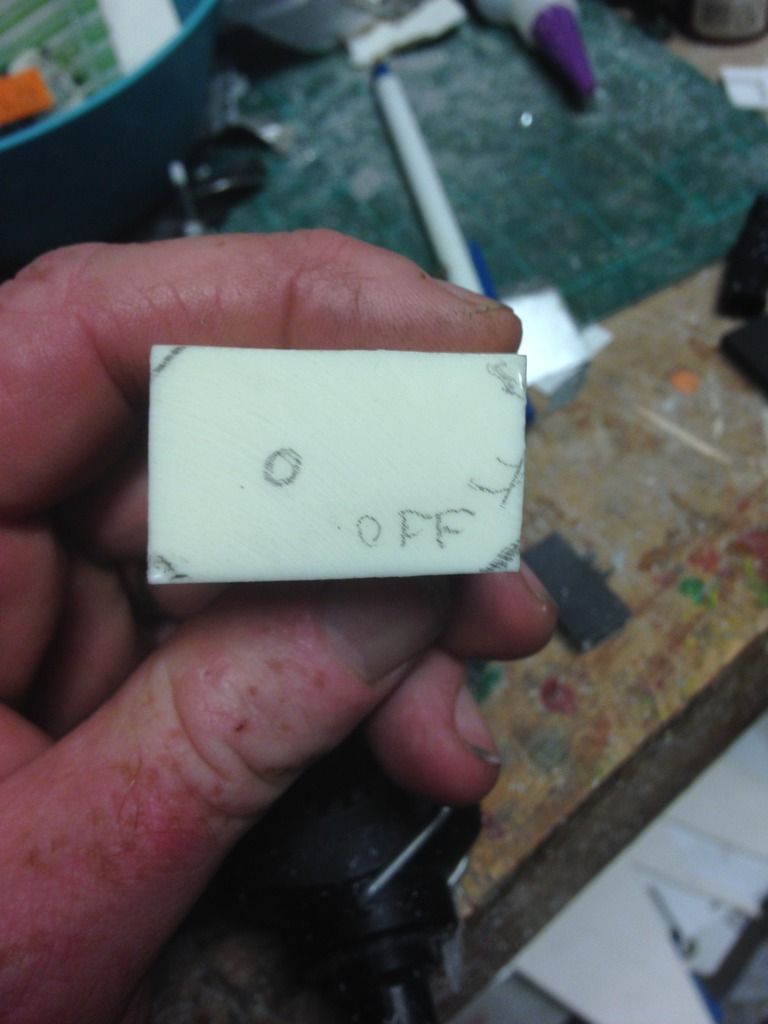
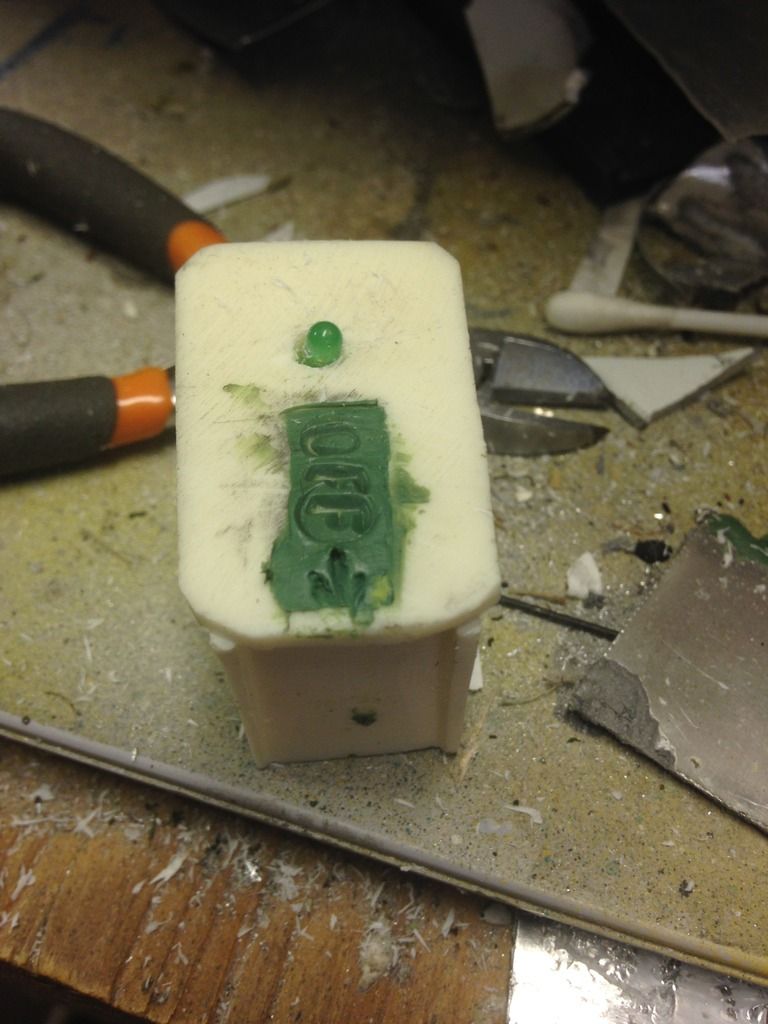
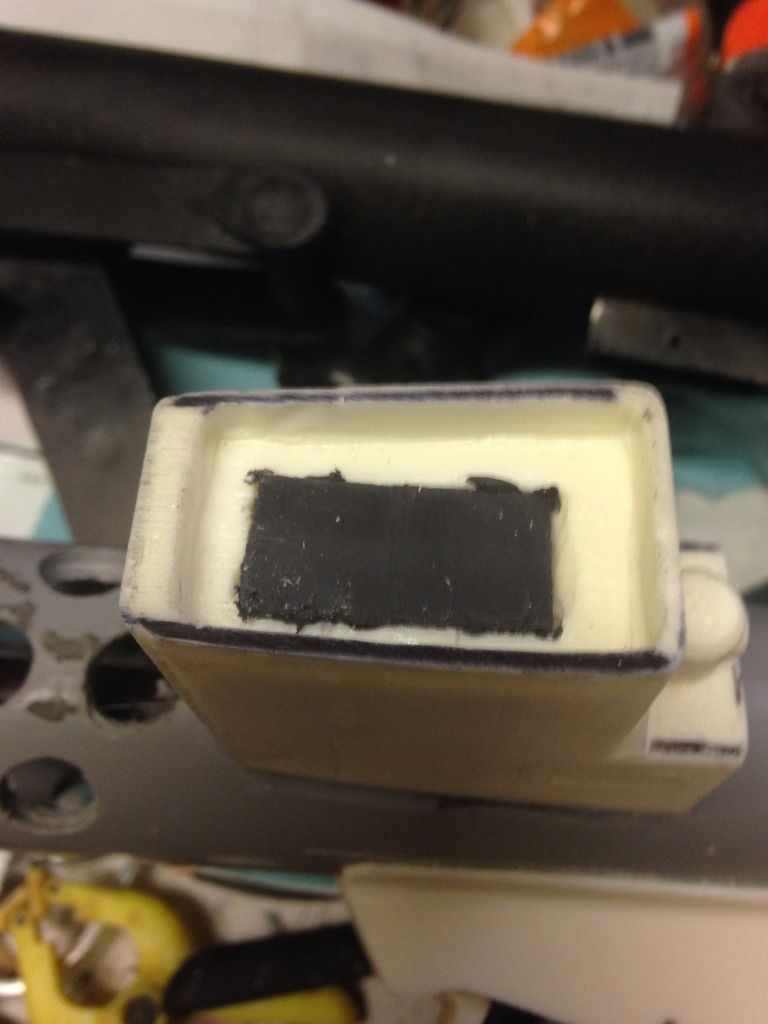
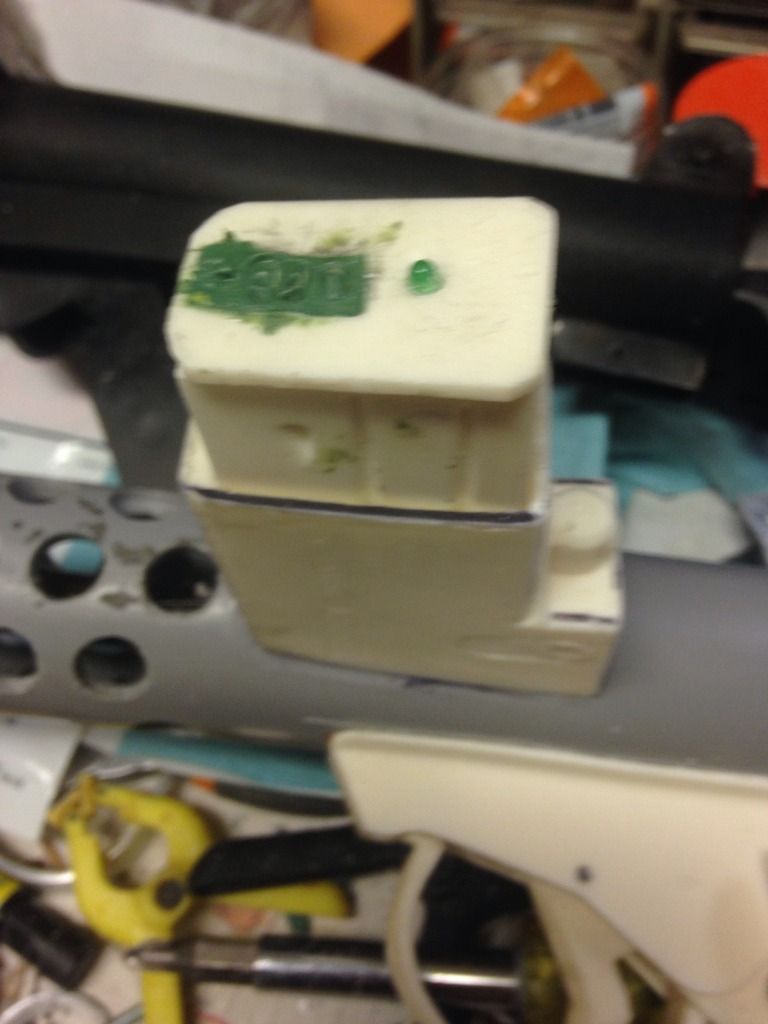
You can see, I already made some reference marks in pencil so I didn't mess up. I filed down the edges and used an LED light bulb as well as filed down an area to add green stuff and mark the "off and arrow" I know the light bulb is a little smaller but it will do. Still better than if left alone.
I also added some magnets to the receiver and bottom of the magazine for fun. I may have to rethink this or my son my loose the magazine but we will see.
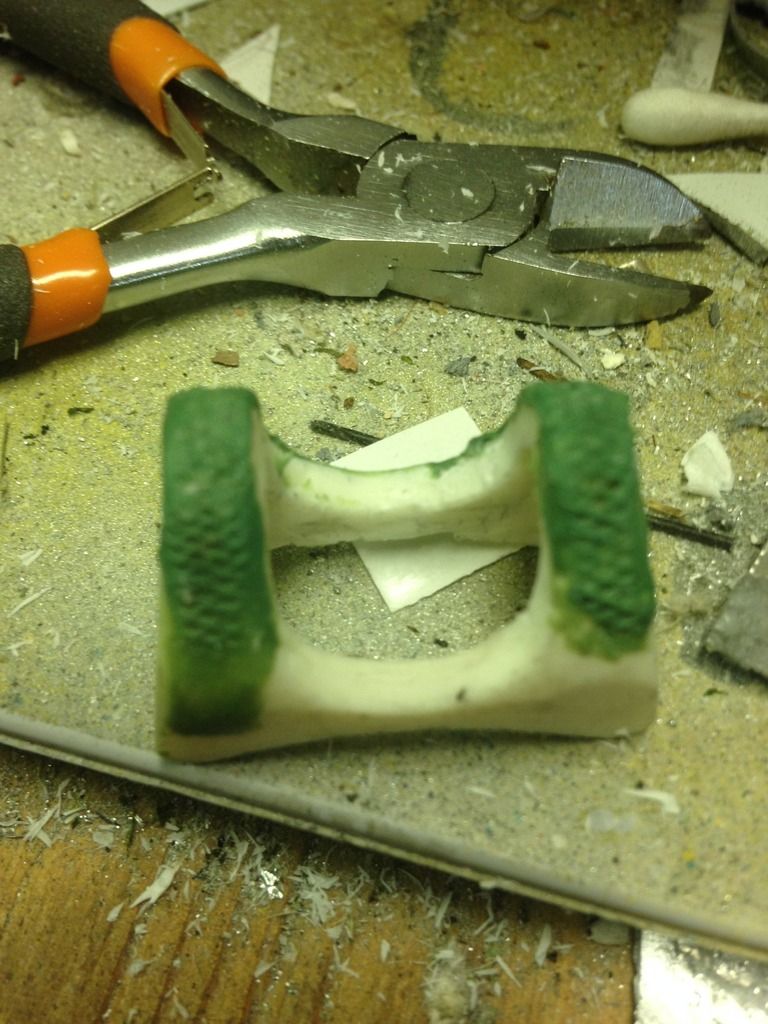
And while I had the green stuff out, I detailed the site guard.
-
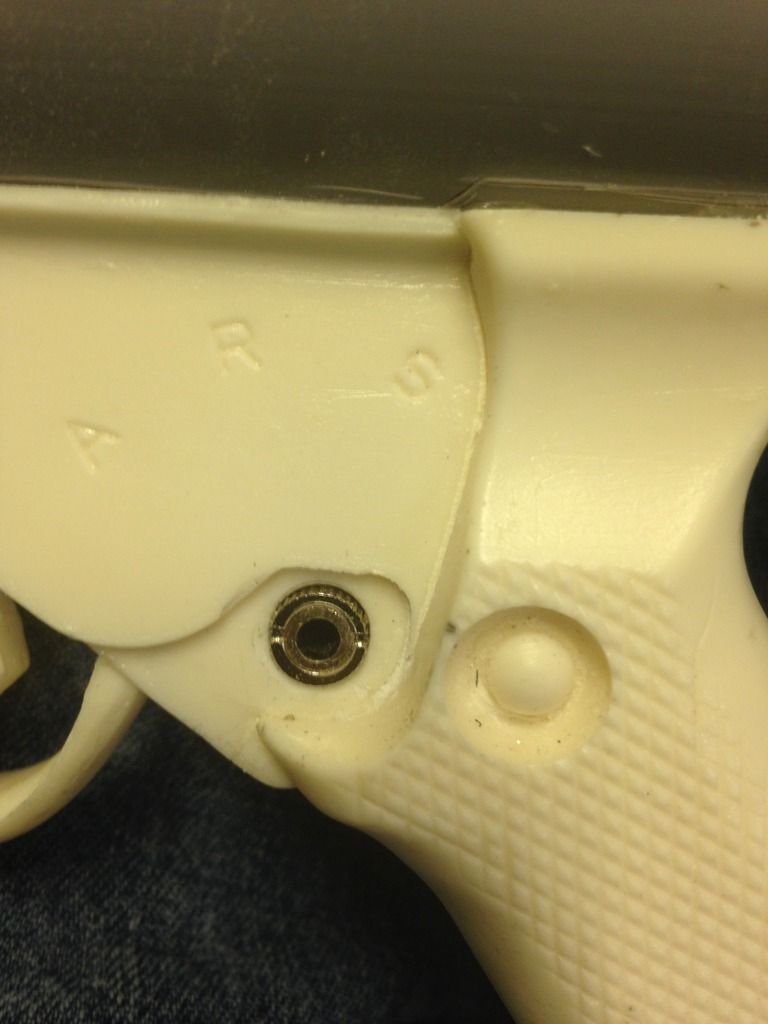
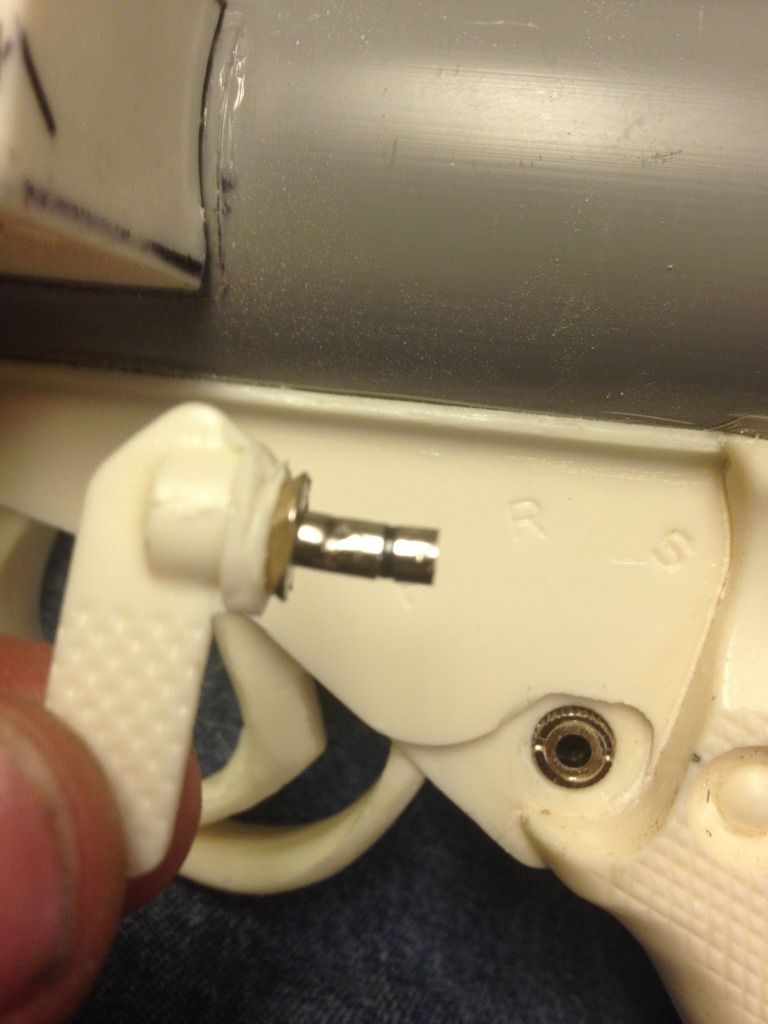
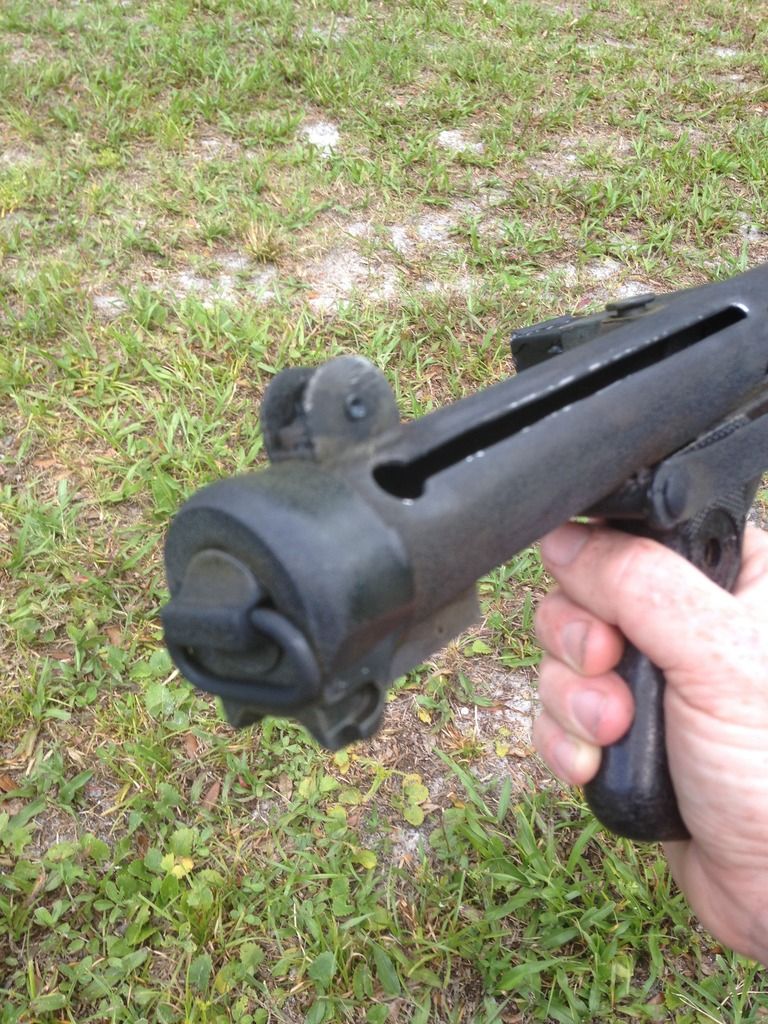
I weathered the magazine however I will spare you that update and post it when I finish the sterling base build. I ordered a bolt and handle from Dday so while I'm waiting, I went back to the pvc/resin kit. I kind of messed up while installing the muzzle and didn't put a barrel on it. It was already glued in place so I decided to work with what I had. Being a service electrician, I come across all sorts of chain and rods used for lights. I had a perfect size rod that fits in the opening of the muzzle to recreate the barrel. I drilled out the opening and made a piece to sit inside the receiver. A little crude but will do the trick and wont be seen anyway because its deep inside the receiver and covered by the bolt that wont move once installed. I also put the rca jacks in place for the lever, and cleaned out the side guard. I may just order another site from themainthesuitcase instead of making one. I liked his and used it on the aluminum scratch build already.
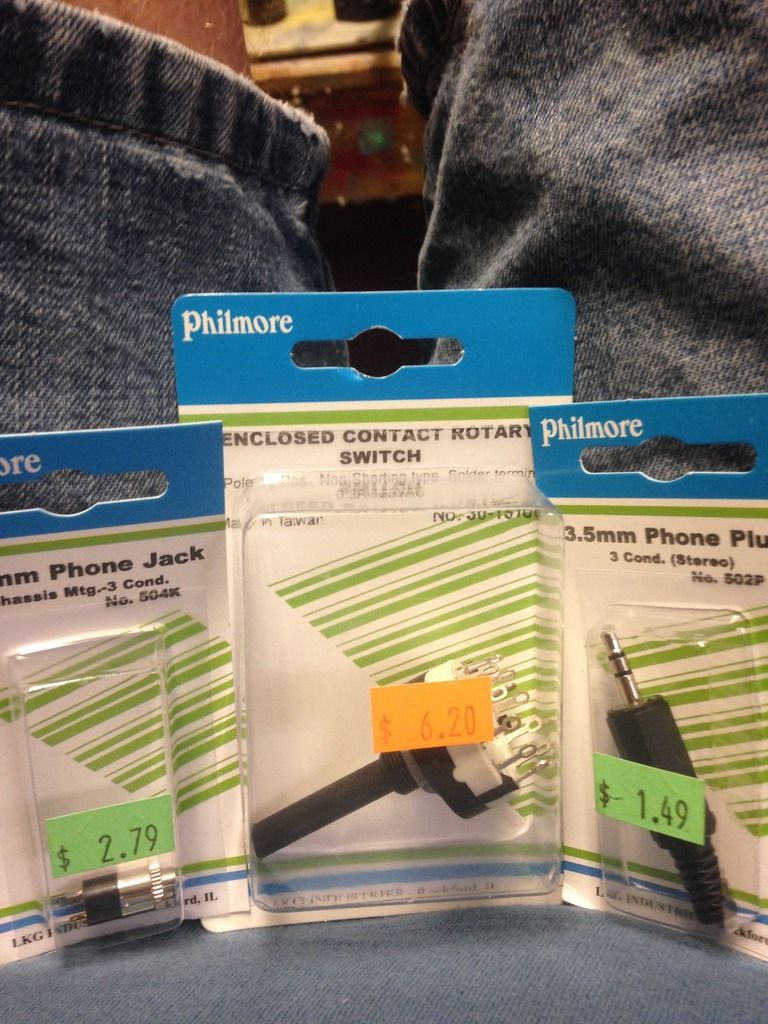
These are the jacks I used for the resin kit and the rotary switch will be for my scratch build lever.
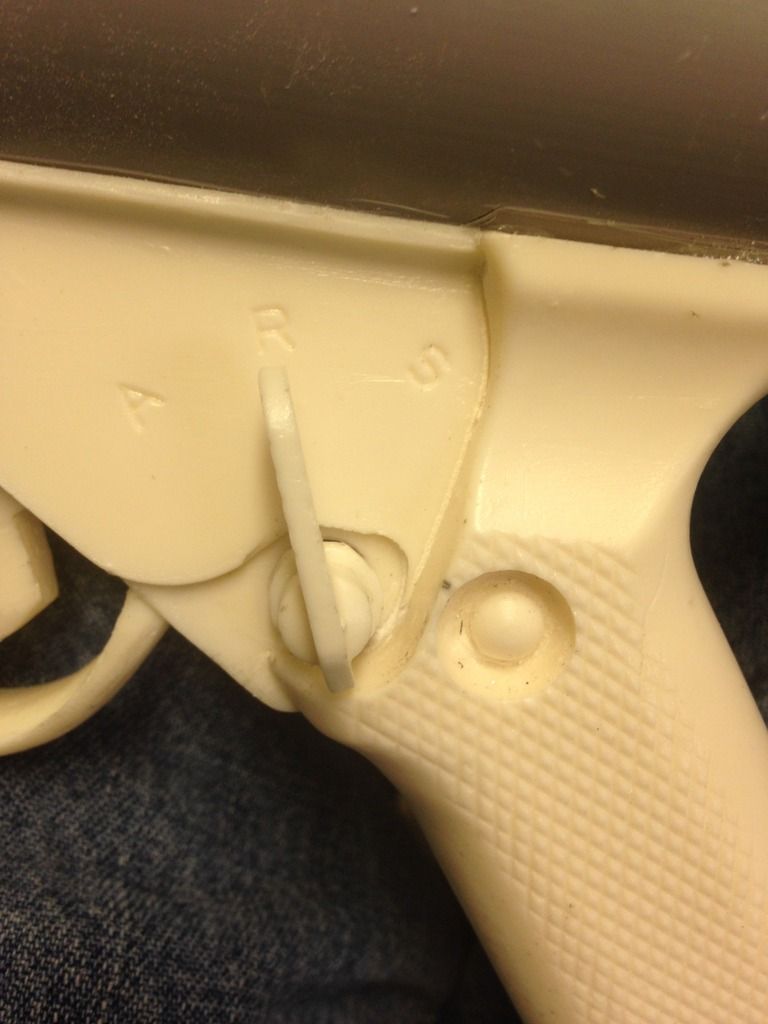
I know its more accurate to use a position or rotary switch however I didn't want to take the chance on my son pushing too hard and breaking it so I went with the jack. He can still turn it and it wont break this way.
my cleaned out protector.
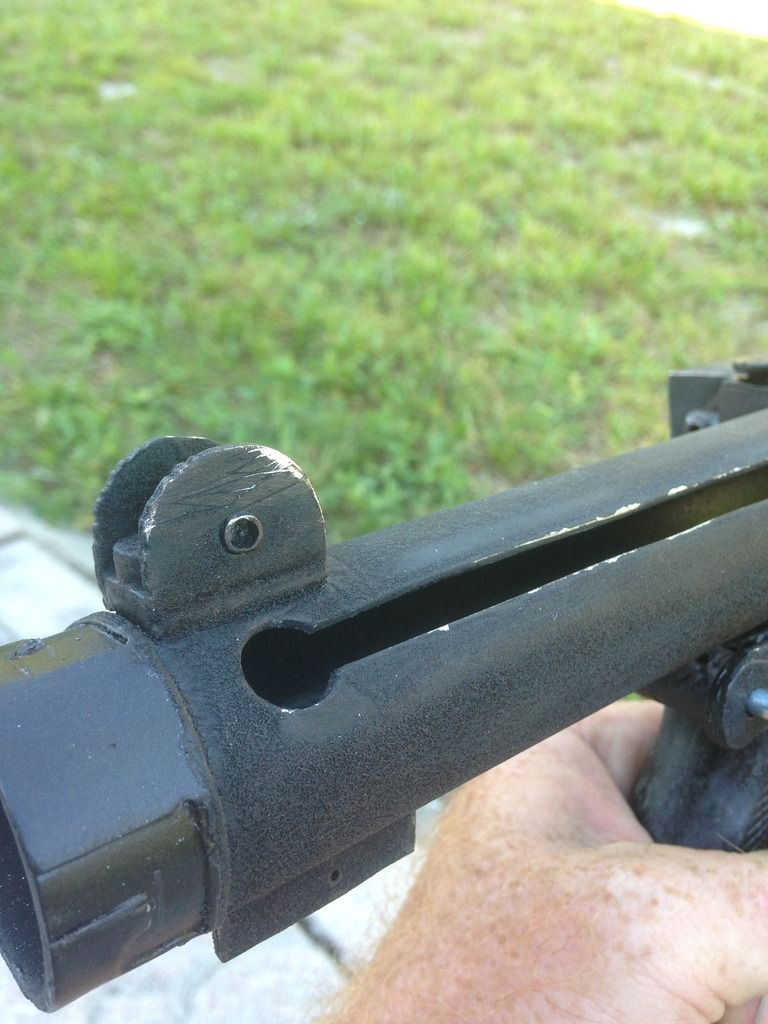
You can also notice the front may look a little different. I really was unhappy with the look of the doopy muzzle attached to the receiver. Aaron spoiled me with his and his looked so clean and natural on the aluminum that this doopy muzzle just wouldn't do. I decided to try and pull it out just a tad and use filler to feather the muzzle into the receiver. It looks better than it did but I will update that part later on when I am satisfied with it.
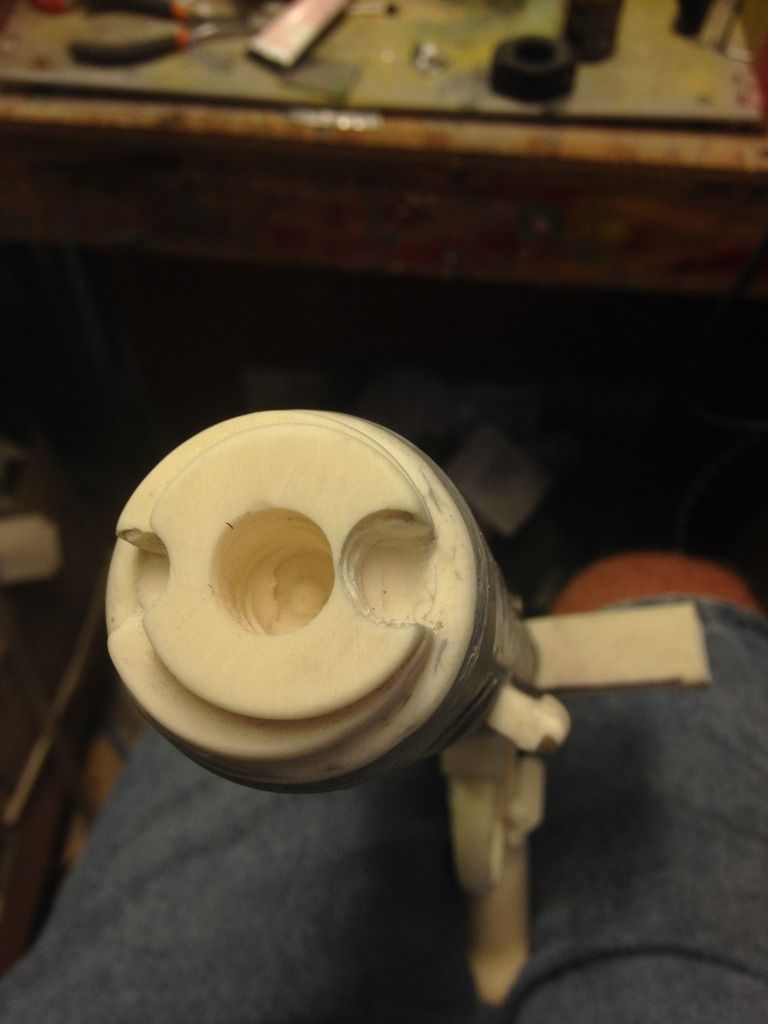
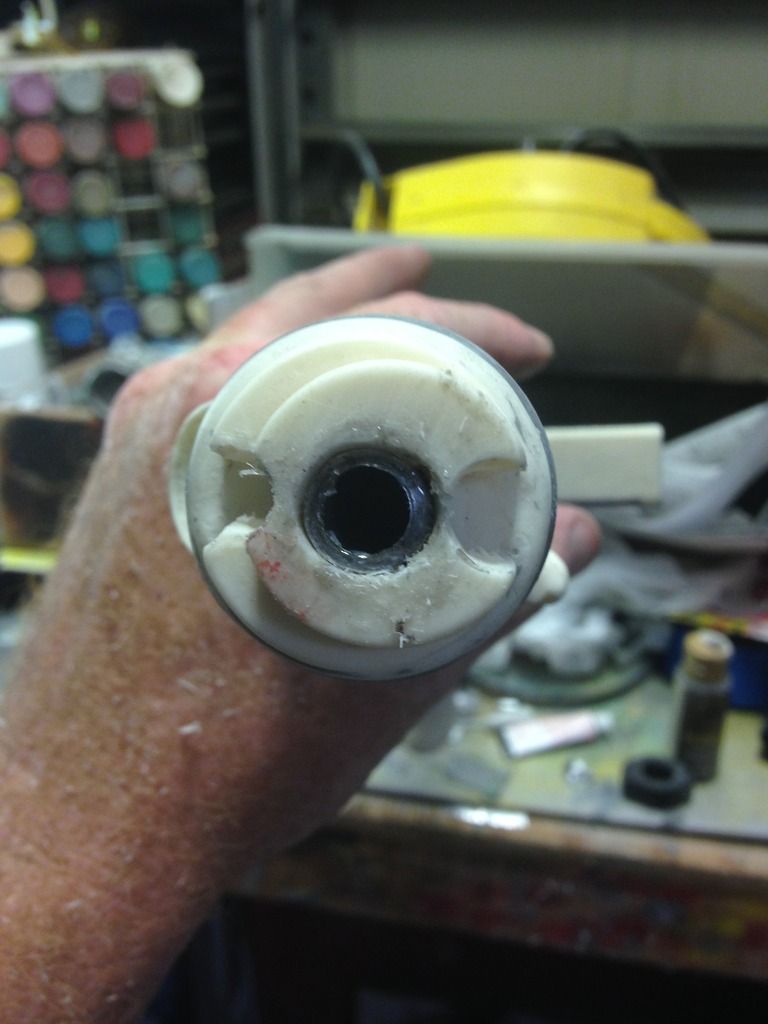
I know it narrowed the inside a tad, but this will do. If you look closely inside the receiver you can see the barrel end.

Thoughts?
-
Can't you just shorten the piece going into the hole for the rail
-
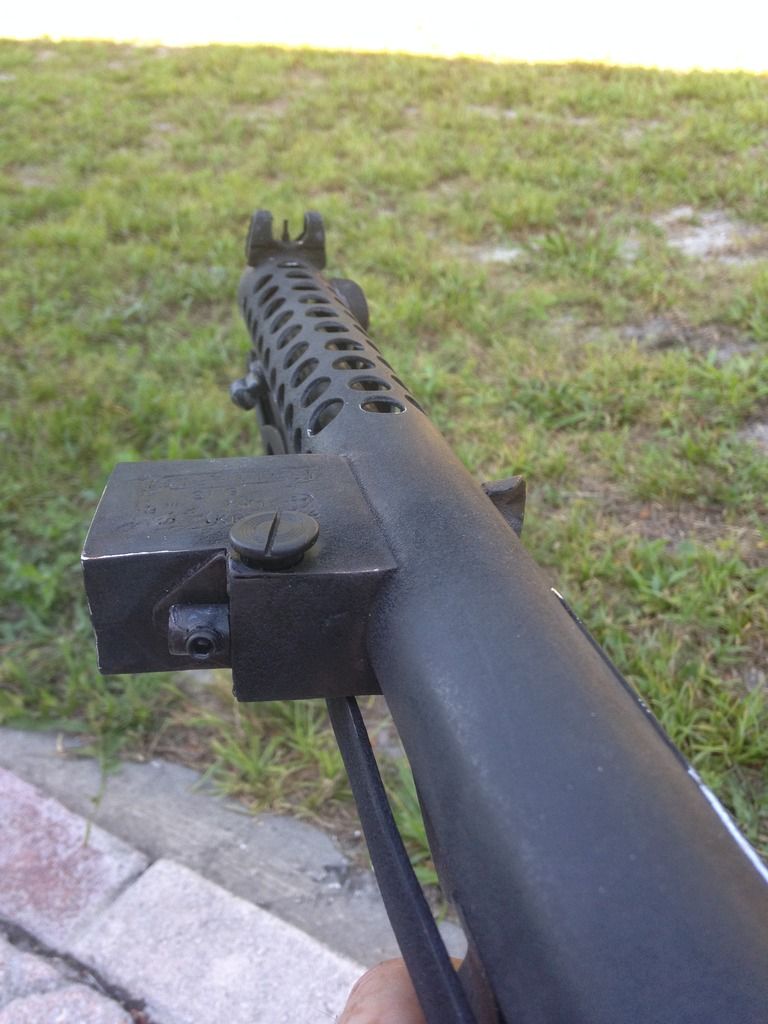
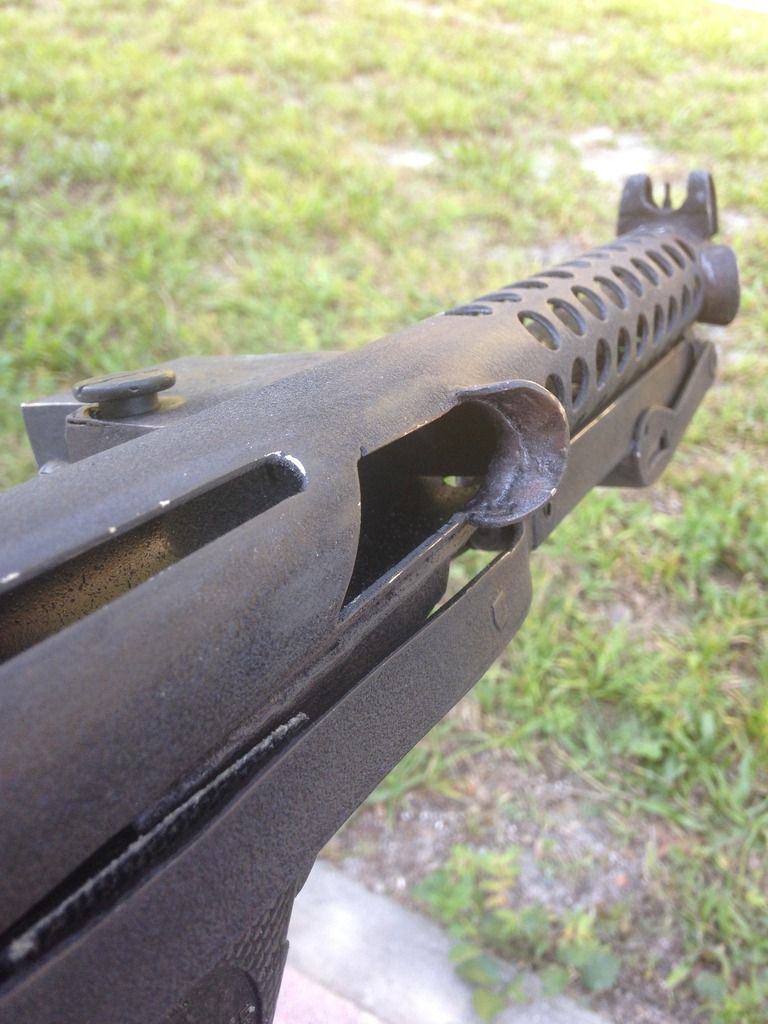
Some more weathering. I am going for more of an aged look rather than beat up. I think I'm there. Just missing the bolt. You can see the difference with the paint by looking at the magazine because it hasn't been weathered yet. I'm left handed so I tried to wear down the area where my hand my rub off the paint where I would slide the charging handle.

When it comes to weathering, it is so easy to over do it. I felt I was getting close, so I am going to stop. There is on more technique I may try and that is to clear coat the entire gun and water down some paint, and basically do a quick wash and wipe. This will enhance the detail a bit, so I'm not sure I will do it.
-
1
-
-
I just read this log all over again. Outstanding work. Looking forward to seeing the E11 modifications. This build needs to be pinned. I have been referencing your build for each step of mine. Thanks for your tutorials.
-
I have to admit that scratch building one is actually less work than digging out and detailing the resin parts (and alot less messy)and being all metal is also easier to weather because I can get down to bare metal without having to try and recreate the real metal look. I'm getting closer to finishing the scratch build base sterling. Once I do, I'm finishing the pvc/resin in its entirety. Then I will go back to this one and begin to add the E11 modifications.Looks great. I wish I was there. It seems like you're getting that first glimpse of light at the end of the tunnel.
-
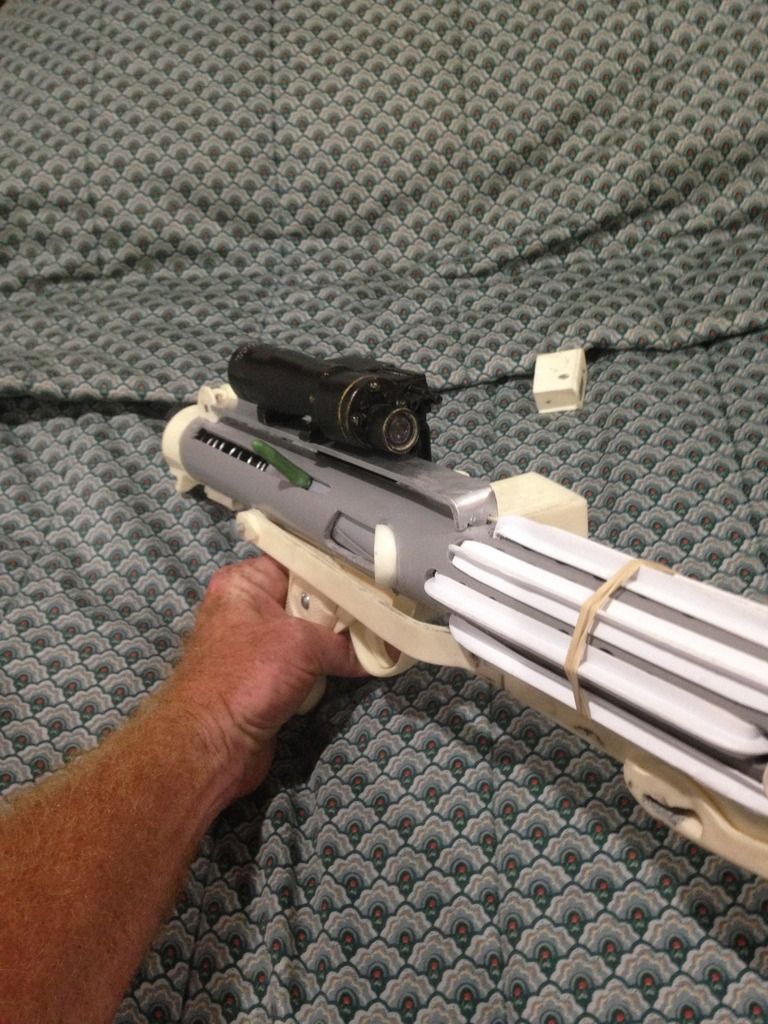
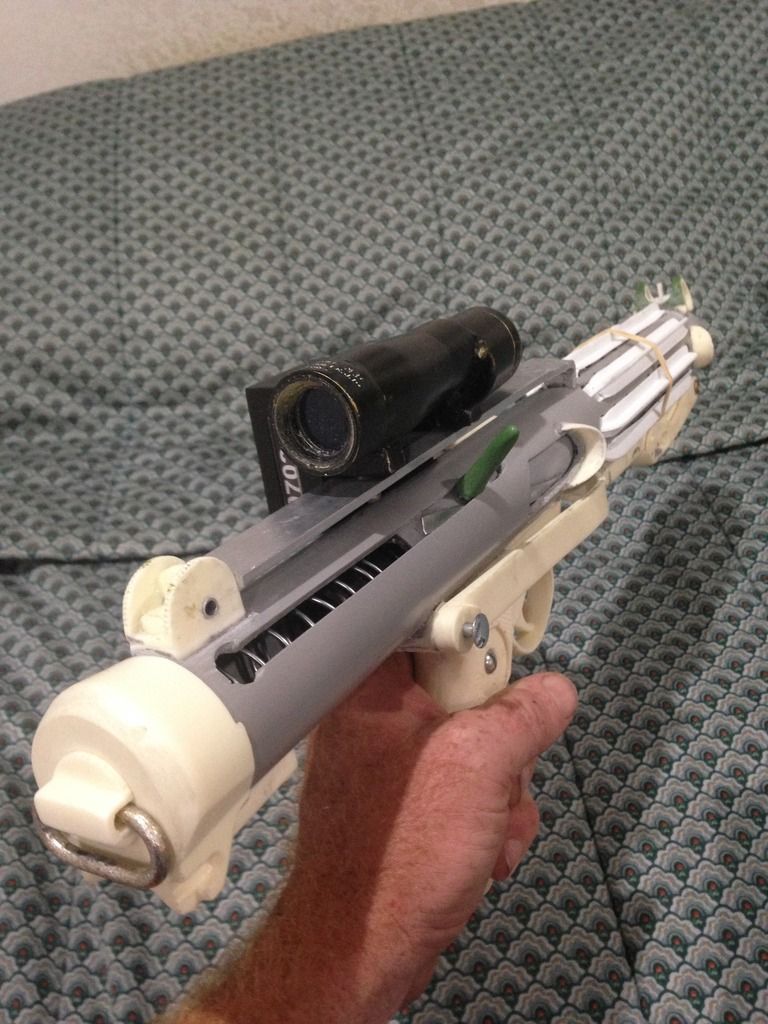
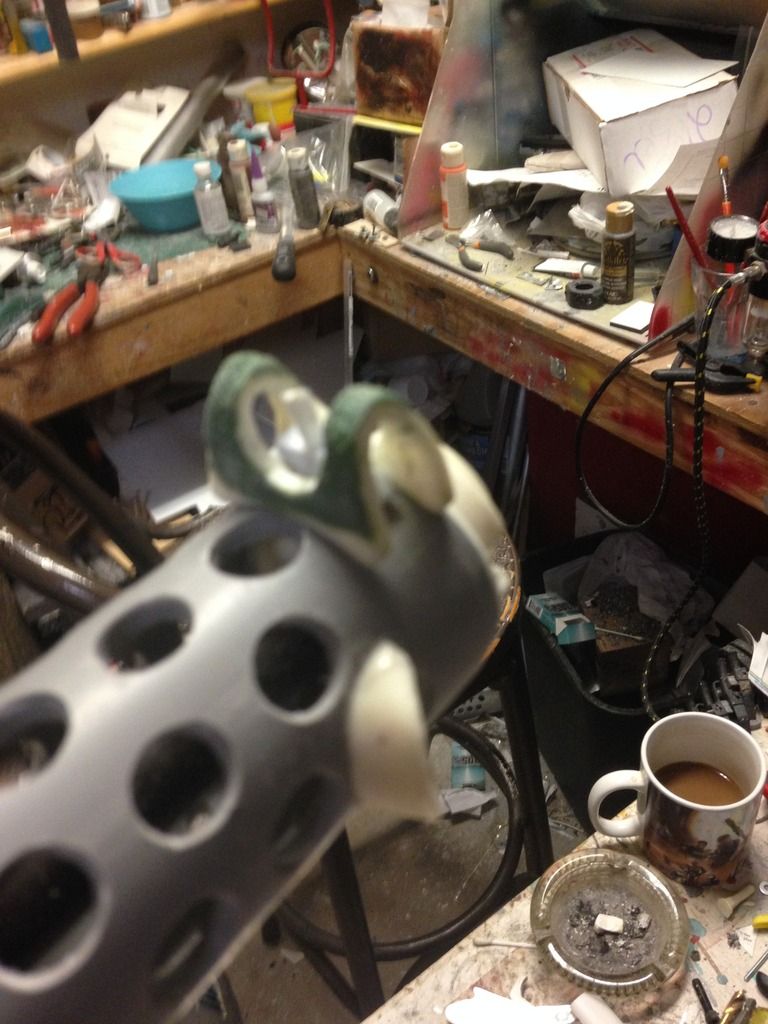
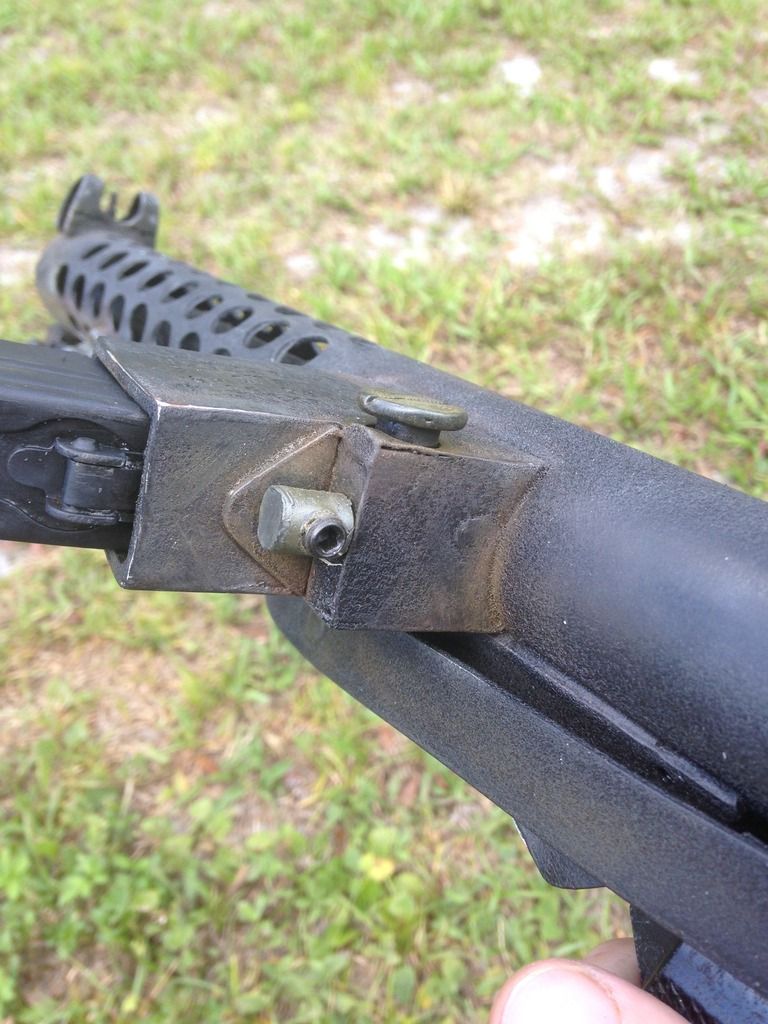
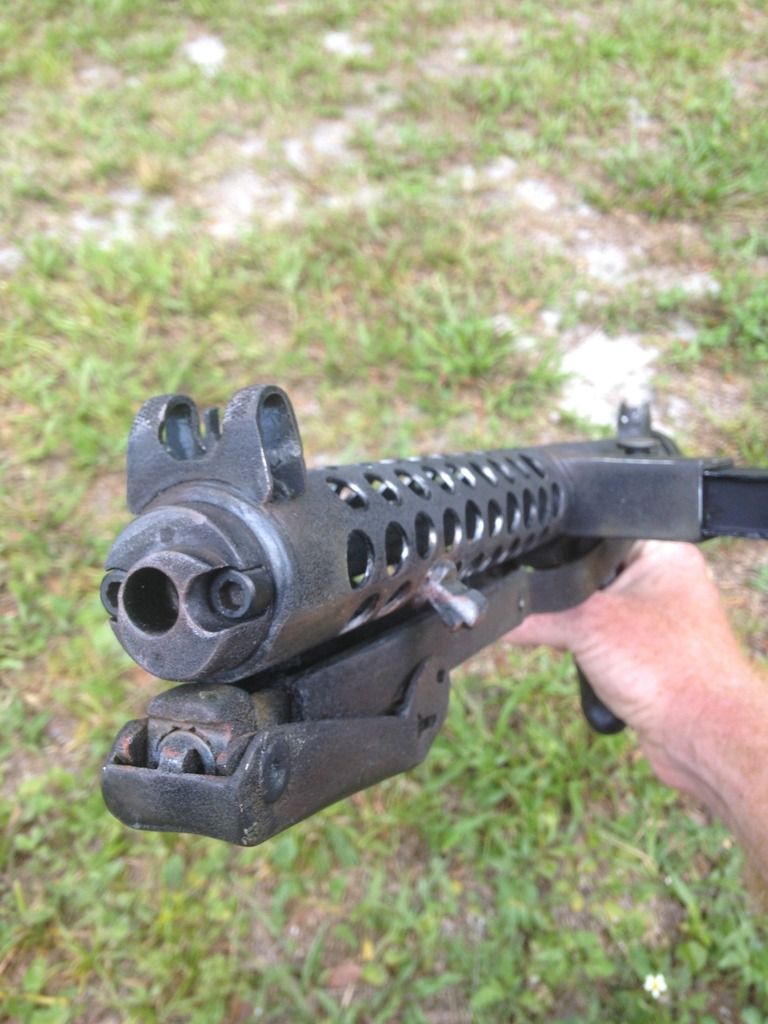
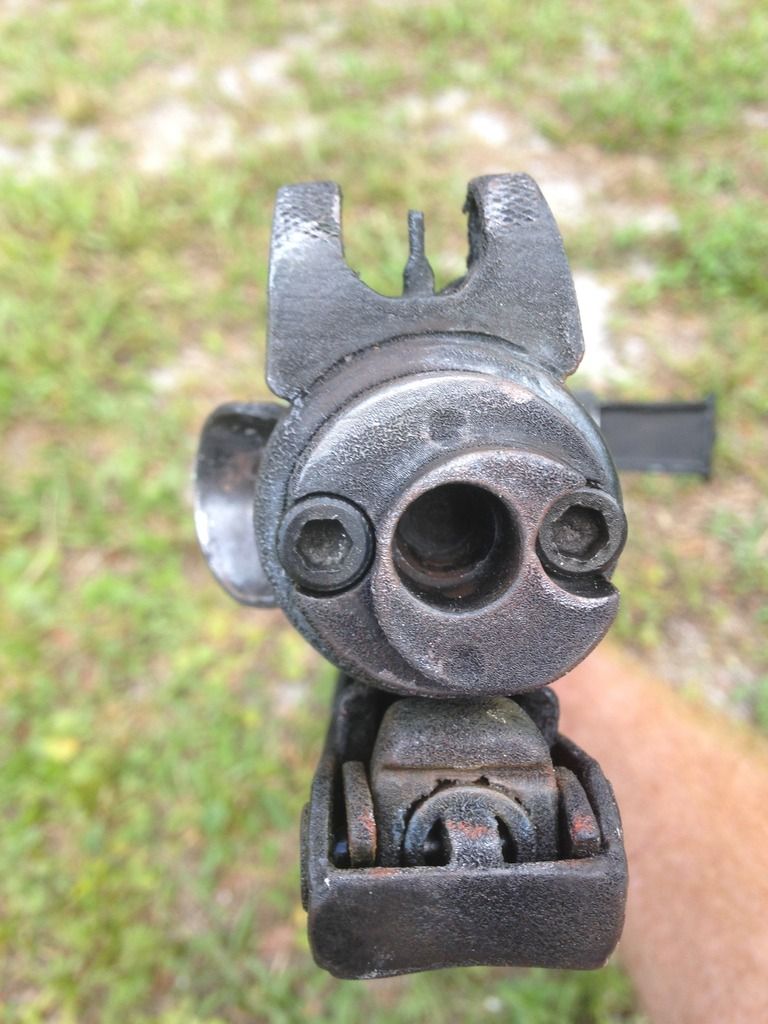
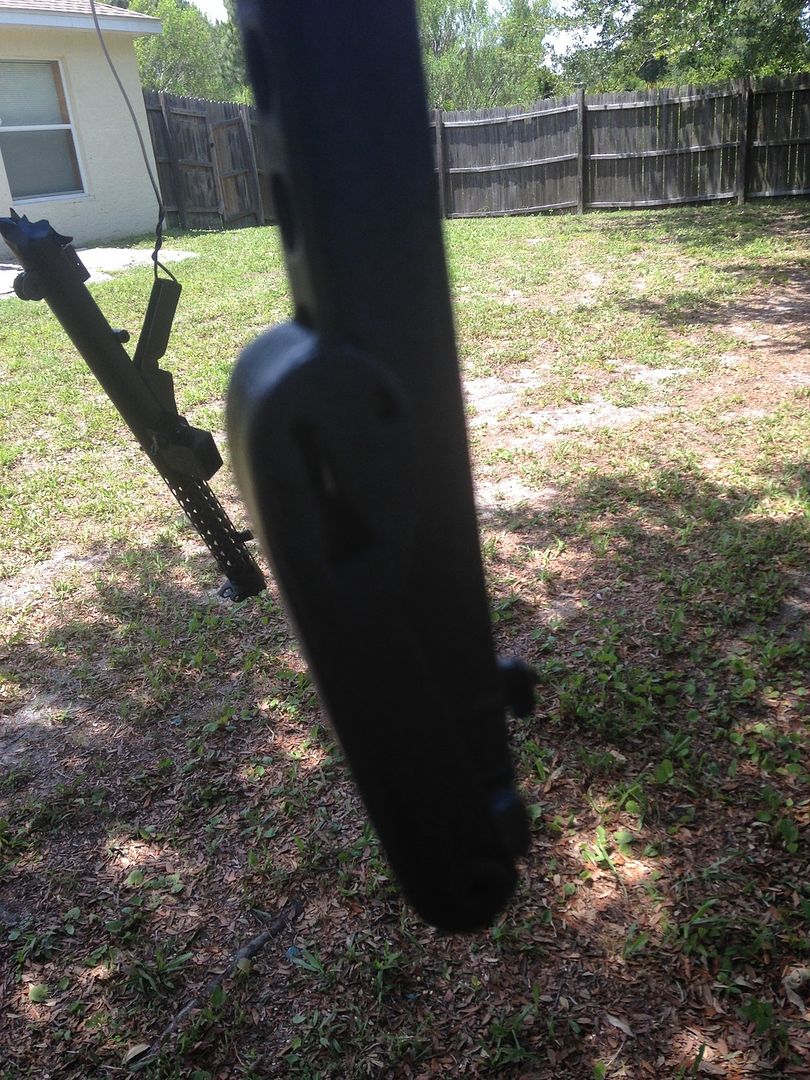
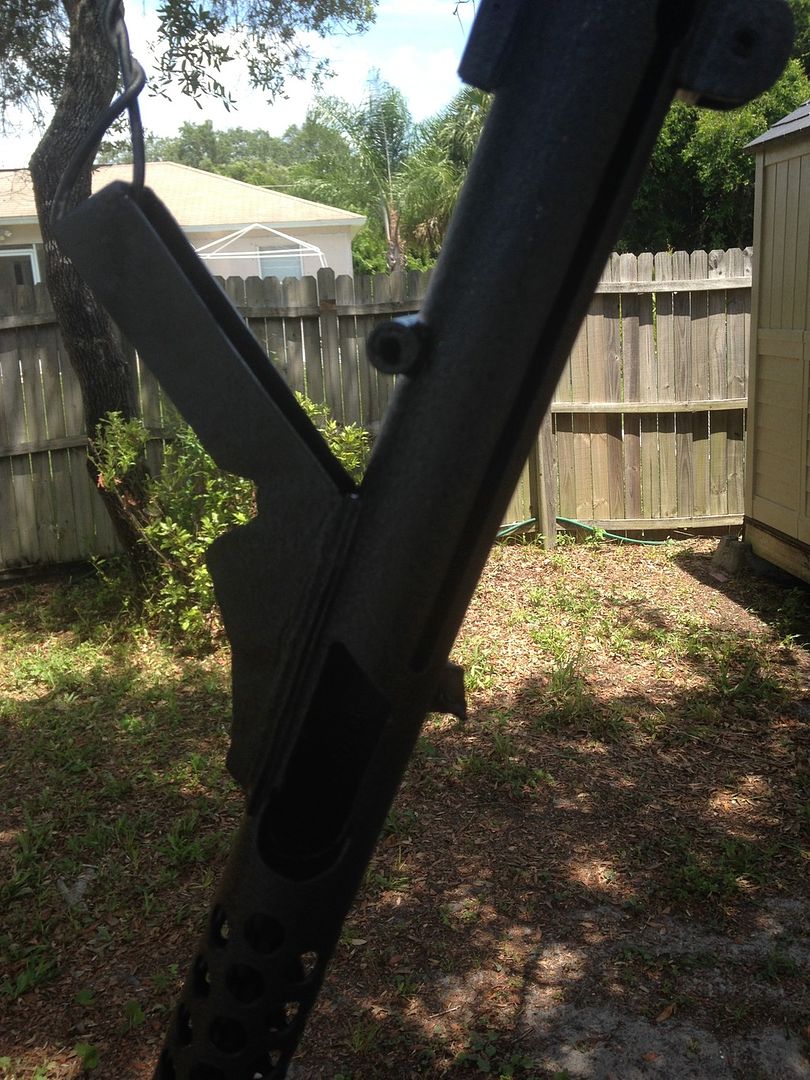
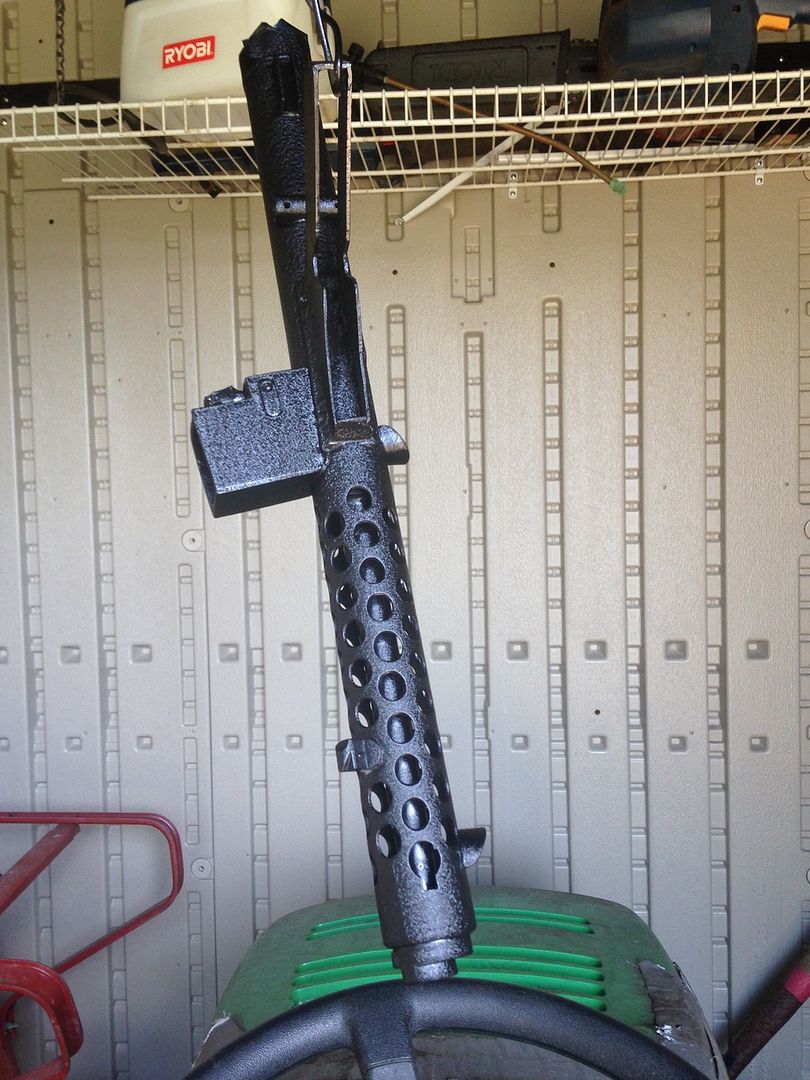
So today is the day, the paint is ready. As soon as I got home, I found myself being pulled to the shed to retrieve my blaster. Very happy with the end result but immediately began to knock the paint down and begin the aging process. I used some small files to get down to bare metal in some spots, and sanding sponges to create the wear look. I then began to dry brush some areas as well as washing in other areas. Tomorrow I will head over to my local hobby shop and get some other paints to really weather this thing. I was contemplating on bringing this in because I'm friends with the shop keepers, however I believe a little heads up would be better seeing how they are train guys and may get a little uneasy seeing me walk in with a sterling. (lol)
Any way, like a little kid, I found myself putting it back together and playing with it. So much for staying grounded. Here are some photos, and please. Any advise would be great and much appreciated.
still in the aging process and not finished yet. Just wanted to share.
-
3
-
-
I guess thats one way to look at it, however being clean and shiny also means this will show all imperfections so it may be more work. Either way it will be fun but this now means I will have to repaint my scope and counter because I plan on using bull dogs scope and maybe a better counter for the aluminum scratch build. Time will tell.If your son wants his blaster to look new and shiny, at least that means less work for you
Maybe he changes his mind when he sees your weathered blaster...
-
thanks for pasting the link. yes that's the one.
I was curious to see if it was worth it or not.
-
I'm sorry, I don't understand these answers. I can't paste the ebay link for some reason and I don't know if anyone has gone to ebay and searched with the user name I gave.
-
I can't post a link for some reason however has anyone heard of this seller. He claims his molds are vacuformed off the originals. Ebay Id is makerofthings!
-
Now onto some sad news. My son won't let me weather his blaster. He wants his to look new and shiny

-
I just added the wrinkle paint. Living in hot sunny Florida, I have the heat advantage.
Then I hung them in my shed and I will see them in a few days.
You can already so the wrinkles coming through. I cant wait to weather this thing.
Here comes another, Kevin's E11pipe build
in ANH BlasTech E11
Posted