


justjoseph63
-
Posts
12,619 -
Joined
-
Last visited
-
Days Won
317
Content Type
Profiles
Forums
Gallery
Articles
Media Demo
Posts posted by justjoseph63
-
-
10 hours ago, Kagamaru said:
So a while back I ordered an airsoft e11 replica. It hasn’t shipped yet and was pre ordered. As I get close to finishing my armor I have started looking at that bit and came across this discussion:
Do you have a link to the site that you ordered it from? Seeing some photos would help determine whether it would pass at Centurion.
I have seen a few different versions of the Airsoft, but you should compare them by vendor. One I looked at ($350.00, below) has a few discrepancies- most of which can be rectified, though. Bear in mind that I am a bit of a weapons accuracy snob, so take this for what it's worth.
")
1. Back half of the Hengstler is missing
2. Bottom of grip is more squared than rounded. Not the biggest of deals by far.
3. Screw attachment is rounded on the left side and recessed. Again, not a deal breaker IMO.
4. Spiral wire was used for promo blasters, not those seen onscreen. (Some folks like em' but I've never been a fan).

T-tracks are too short and need to cover all the holes.

A replica Hengstler counter and T-tracks can be purchased of course, but for that price I would look elsewhere, but that's just me.
I can appreciate the fact that you don't want a 3D printed version, but I once trooped with a friend's full metal version and my arms were worn out after a few hours, and I can't even imagine trying to wear it in a holster.. too heavy. An alternate would be one from Questdesign. IMO the best manufactured replica available. Not the cheapest (about $200.) but certainly the most accurate. Made of cast resin, they have a bit of heft but not too much.
-
Have you glued down the straps (yellow arrows), Chris? If not, you may have to make new ones with holes a little closer. Even though you used nylon, it still has a bit of wiggle room unless it's glued down on both sides. I think this may be what is causing the larger gap (second pic).


When you get to the point you can wear your canvas belt, you can use it to tighten up that gap, but sometimes it only eliminates it toward the bottom and opens the top up even more.
If you are just going for Basic or even Expert Infantry approval, that larger gap is not the biggest of deals, but if you are (hopefully
) aiming for Centurion it will need to have no gap.
-
 1
1
-
-
Good news/bad news, Sean. The ones I just looked at on Amazon should be fine for Basic 501st approval, but not for higher levels because of the seam on the front. Also, all the ones I looked at are made from faux leather. These would be fine for occasional trooping of course, but not being leather they don't "breathe" and can get mighty hot (especially here in FL.)
One set I noticed on there runs about $83.00. For a little extra money you can get a pair of leather ones from Keeptrooping (link here) which are the ones most of us here use. High quality, built to last (mine have lasted 7 years and still going strong) and approvable at all levels. If you decide to go with them, be aware that they only make them in "waves", and the next one starts on Sept. 8th. Also, they tend to run a bit small, so order at size larger than you normally wear.
Hope this helps!
-
12 hours ago, Thug-Pug92 said:
Thanks for all the advice everybody. Looks like I’m waiting for keep trooping.
A wise choice... trust me!
-
-
On 8/22/2023 at 9:44 PM, gmrhodes13 said:
Depending on your mannequin you may need to use some foam to get parts to sit correctly, biceps, forearms, thighs and such. Furniture foam (light yellow) is what I usually use.
I'm thinking of building one for my HWT, Glen. I like the idea of the foam, but do you have any pics of your mannequin(s) without armor to show how you did this? Thanks!!
-
3 hours ago, Thug-Pug92 said:
Thanks heaps TKSpartan always helpful to get links to the correct products.
The ones that Mario provided the link for (KeepTrooping) are pretty much the "go-to" boots for most troopers here. They are well made and will pass at all levels of approval. BUT, they only make them in "waves", so you would have to wait until Sept. 8th to order them (well worth it, though). One other thing about them is that they tend to run a bit small, so be sure to order a half or even full size larger than you normally wear.
-
1
-
-
5 minutes ago, MaskedVengeance said:
I already know you’re gonna be up doing your thing at 3 or 4am before the rest of us even think about waking up.
It's (sorry to say) more like 2:00 am., but I am more than happy to give you a wake-up call so that we can chat in real time. Just PM me your phone #.

-
OK all you awesome white armor types, I am officially back, and so DANGED happy to say that! As a few of you may know, I went through some health and personal issues over the last few months which has precluded me from being around, but thanks to lots of physical therapy and just plain refusing to give up I am back in the saddle and ready to take on the world!
Although I won't be able to wear the HWT pack any longer
 I should be able to suit up in my regular armor within a few weeks. That being said, I signed up for a troop in Nov. so that gives me a goal to get my Stunt polished up so I can get back to putting some smiles on some faces and meet some of more of my new Squad members!
My apologies for not getting back to you (yet) if you have PM'd me. I have a lot of catching up to do, so thanks for your patience! Also, a big THANKS to all those (especially Andrew, Paul, Mario, Chemi and Caleb) who went above and beyond.
Now that things are back to normal I will be here 7 days a week as I have for 7 years until this setback. Please feel free to hit me up with any questions about armor or builds or just say hello.
I love you guys and gals of the FISD... my second family. It's good to be back home here.
-
21
-
-
Thanks for submitting for Expert Infantry, Manvi! Before the D.O.s get here, just a couple of things that you might want to address:
Helmet:
1. Your tube stripes are sitting pretty far away from the "cheek" and will probably need to be moved up. As per the CRL, Ideally, the tube stripes are positioned approximately a pencil width from the side of the cheek. You may want to make them a bit shorter as well...


The screens on your Hovi tips are sticking out past the rims and need to be inside the rims with no edges of the screens showing.


Your boots seem to be really well made, but unfortunately the soles appear to be textured/ribbed. As stated in the CRL they must have a flat sole as seen in the screen used photo reference.


-
9 hours ago, Alikh said:
Oops correct, I meant letter!
I thought so, but just wanted to check.
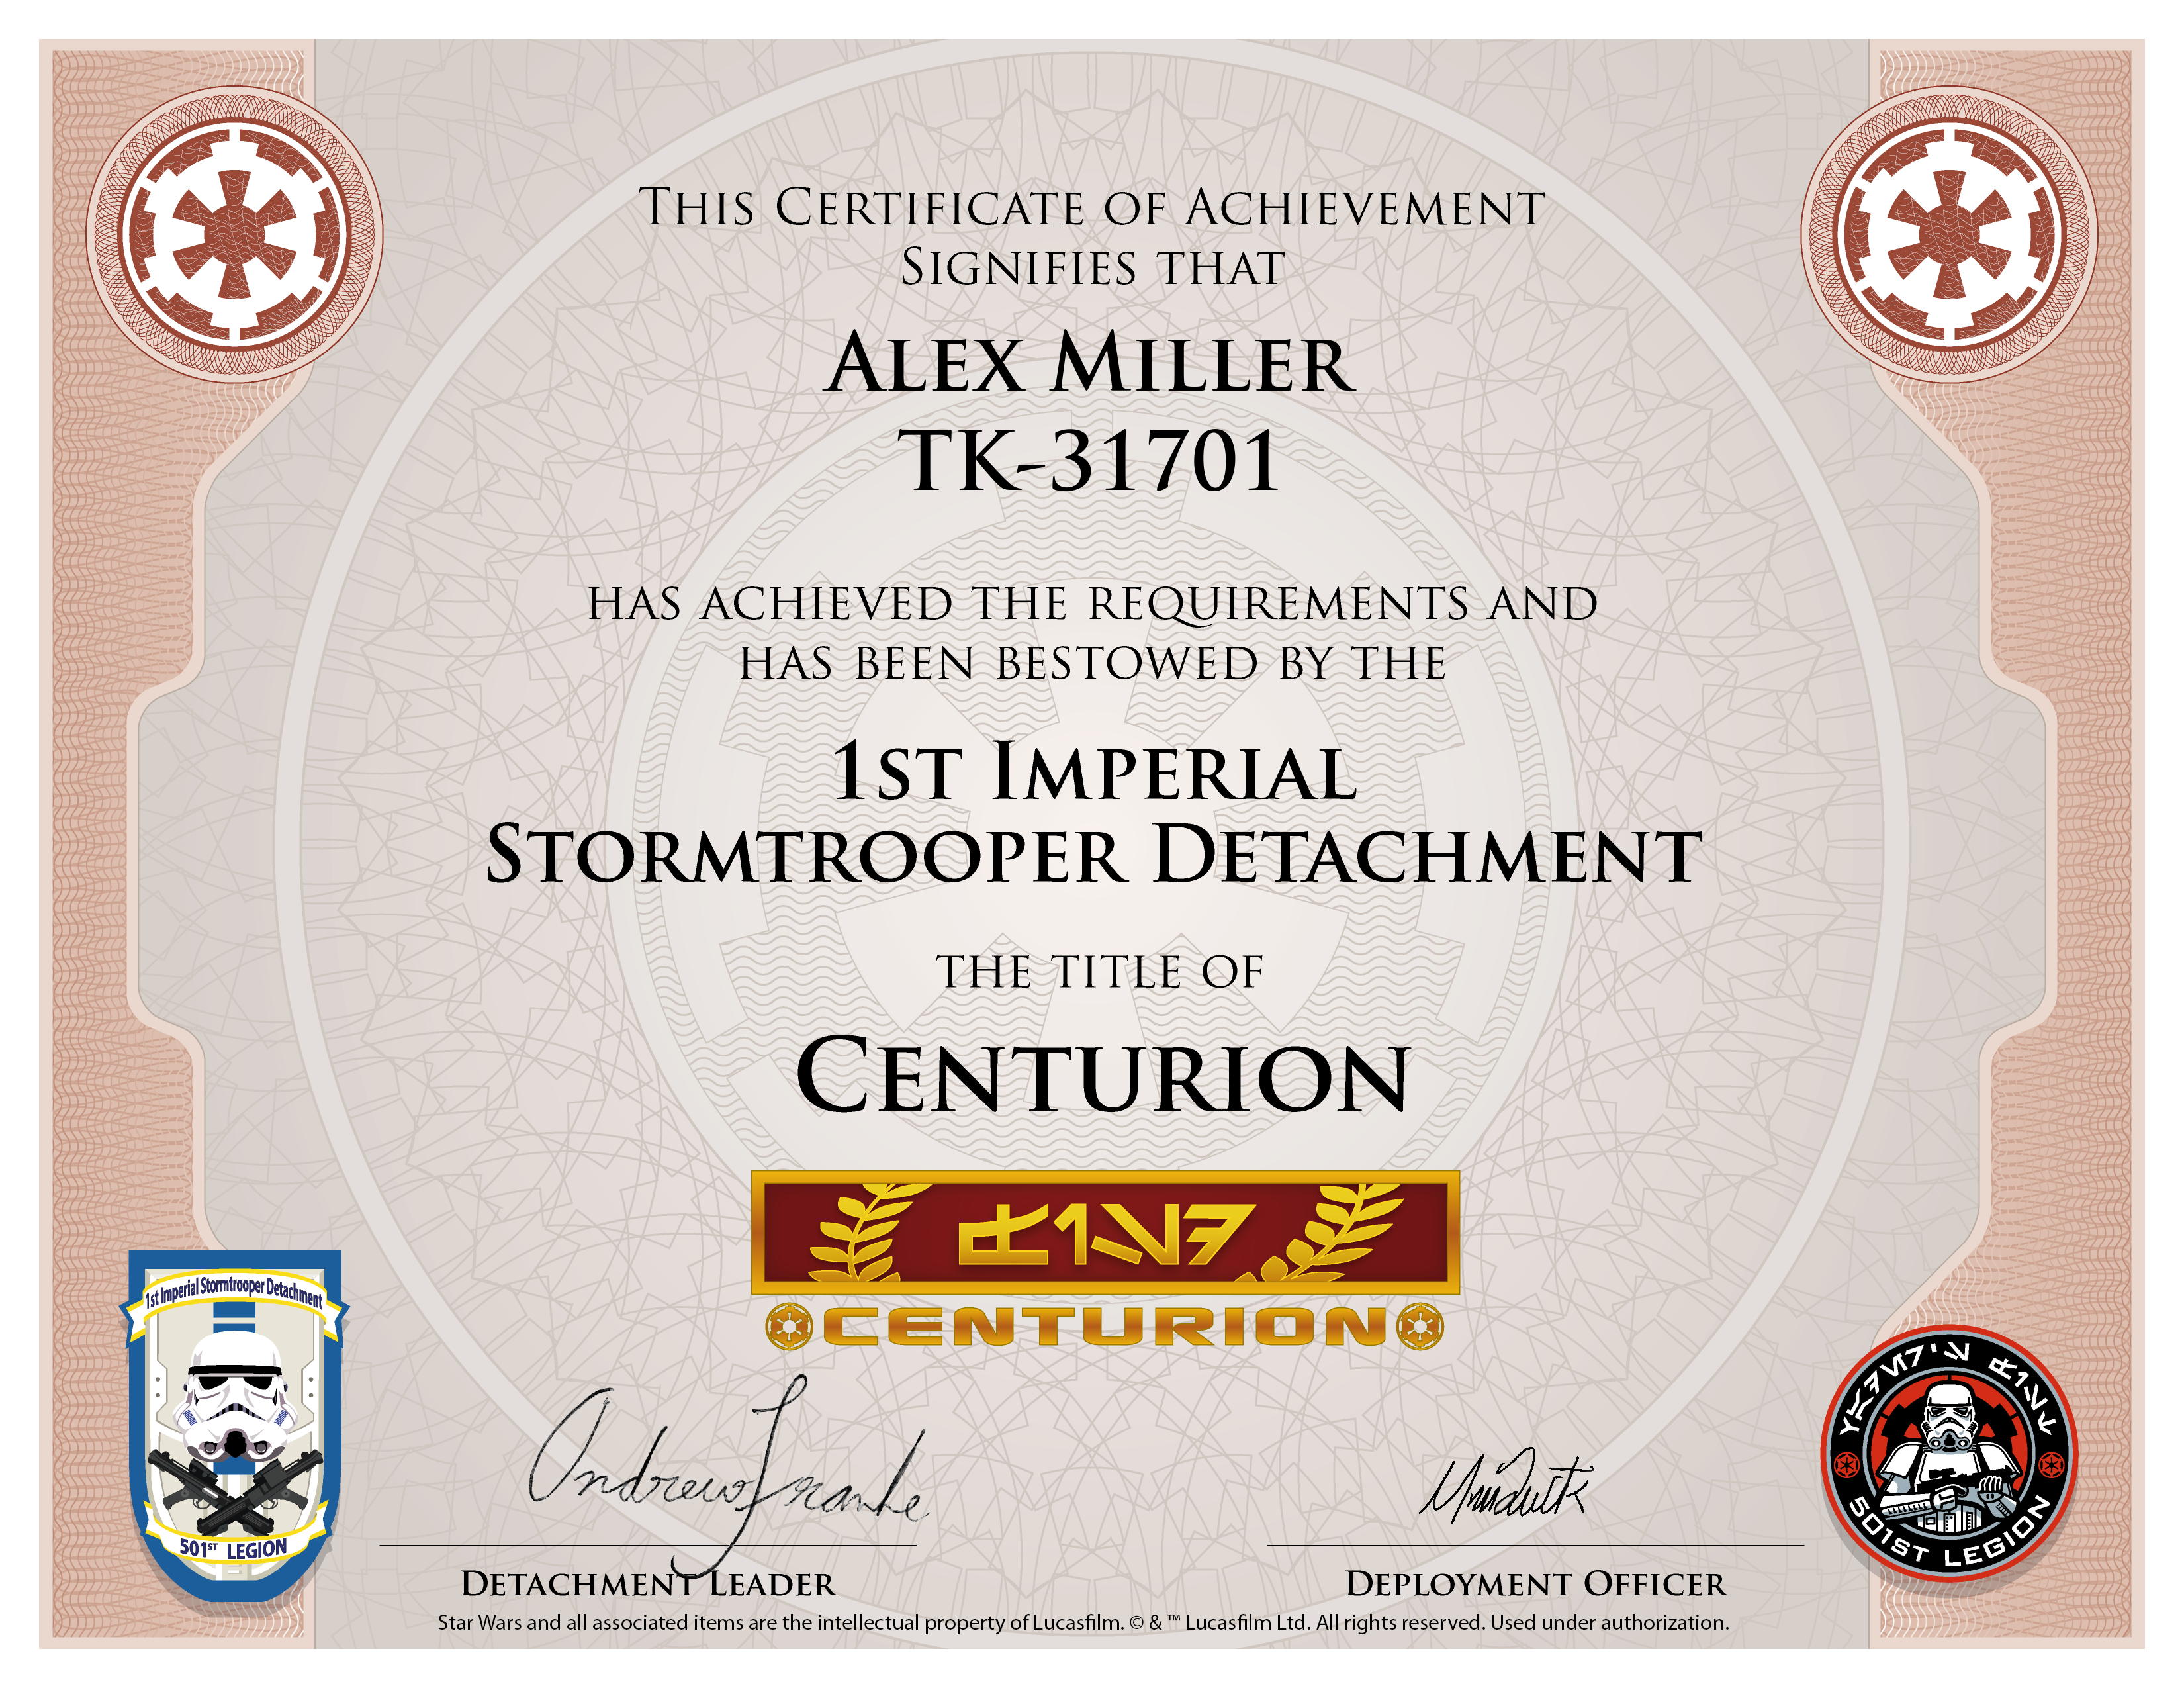
Drumroll please................ https://www.whitearmor.net/eib/certificates/31701-centurion.png
-
7 hours ago, Alikh said:
Alex
Miller
TK 31701A4
Mario
Congrats, Alex!
 Before I issue your certificate, I noticed that you asked the A4 size. I'm happy to oblige, but that format is normally requested by those outside the U.S. (you may have issues printing it) and for your E.I. cert you requested/received the Letter size. Please let me know your preference and I'll get that done for ya'. Thanks!
-
Hi Markus, and welcome to the FISD! To better help you identify the maker of this armor, can you post up a few close-up photos for us? I could also be an old set of AM with that 3 piece bucket
1. Ears
2. Face plate
3. Ab mid-section (including button plates)
4. Thermal detonator

The helmet decals look to have a blue(ish) shade similar to ESB, but they could have faded. A close-up of those would help as well.

We are here to answer any and all questions (no matter how many), so always feel free to ask about anything!
-
1
-
-
8 hours ago, TrickyT81 said:
As an additional step, I was going to add some black nylon webbing in the ‘fold’ where the female snaps will be added (see pic for ref). I felt this may help prevent the elastic becoming stretched around the snap hole. Do think this is unnecessary?As Glen mentioned, as long as the posts are long enough to fit through all the layers this is an EXCELLENT idea, Tim!
 (I am SO going to steal it, lol).
-
2
-
-
I built my first set of armor using single snaps at each connection. On my very first troop, both shoulder bells and 2 torso snaps came apart (ending it after only 15 minutes). Did I just not pay attention to flexibility issues? Perhaps, but a fellow Garrison mate turned me on to the double snap method. I (painstakingly) removed all the single ones and replaced them with doubles and have used that on each set of armor I have built. Extra time, cost and effort? You bet, but even after countless troops since, there have been no "wardrobe malfunctions".
As for keeping it in better alignment, absolutely. A single snap connection can slide left or right. Using two at each point will effectively eliminate that.
"The reason for asking is that I’ve seen some troopers using single snaps and thinking this alternative would be less fiddly when kitting up".
It takes less minute in total to secure the additional snaps, and is well worth that extra 60 seconds. Trust me.
-
1
-
-
"I've already figured out I need to add about 2" per side with shims (I thought I was thin!)".
You will need to trim all the return edges off of the sides, Kyle. Make sure they are straight, so that they meet up, and the shims are only used to extend the kidney, not the ab.

Here are some photos where Jose @TK 71627 used shims with his WTF armor. For EIB there is no need to repair (cover) the split as seen below...

BUT, for Centurion (which I hope you are aiming for) the repaired shim seam must be not be seen. Jose did a really nice job effectively covering these up with ABS paste and some work.


Note how in addition to the shim itself there is an additional piece of ABS inside for strength.

Keep those photos and questions coming!
-
Looking GREAT!
-
1
-
-
Welcome to the FISD, Paolo! As you have probably realized, there is a LOT of research and many decisions to make. The differences between Stunt and Hero are pretty minimal, but even with your height either are fine (Mark Hamill was only 5' 9" but Harrison Ford was 6' 1").
The most important thing after choosing your costume is deciding which armorer to go with. I would avoid ebay or the like (see this link) and stick with one of our "vetted" (tried and true) vendors which you can find here. It
Lastly, know that we are here to help every step of the way on your journey to become a white plastic spaceman, lol. Always feel free to ask as many questions as you like, and we look forward to answering them!
-
1
-
-
In looking back at this pic I'm glad to see that this was your index finger, lol.

-
1
-
-
As long as the 4 button plate color matches the 5 button plate I think you should be good to go, Tim. Fantastic job on trimming the large one, and EXCELLENT paint work!
Before attaching the small plate that you will eventually be using I would suggest trimming it down (note how the raised area below it can be seen on all 4 sides in the reference pics). The corners should be fairly sharp just as you did on the large one.
Reference images


Keep up with this level of detail and I see a Centurion badge in your future!
-
2
-
-
Welcome to the FISD, Christian, and SUPER nice set of armor there! I'm sure you can't wait to get out there and show it off, and it looks like you should have an easy path to make it to Expert Infantry approval (and perhaps Centurion) level if you choose to do so (wink wink, nudge nudge)
.
-
1
-
-
Can you post up a photo or two showing them side by side with your ab plate?
-
There are many options for interior strapping, and it all comes down to preference as it will not affect approval at any level. Some prefer the bracket system and have been happy with it, but as Glen mentioned there can be issues. The ABS used for a normal set of armor is pretty thin, and although ours doesn't normally go through the rigors of those used on screen (thus the word "stunt") the bracket mounts can pull through the over time.
Note in the screen used example below where the screws pulled through the return edge (blue arrows) and had to be re-mounted by the prop crew on the rear using washers. Not pretty, but effective for filming purposes.

Not so attractive up close.

Some have trooped for years using this method for years with no issues. If you do decide to go this route I would suggest cutting some flat shims from your scrap ABS and gluing them in under the return edges in the areas where the brackets will go for added strength.

An alternative would be to mount the screws only (for that classic strapping look) and use the nylon/elastic straps to actually hold the pieced in place. It's a little extra work, but you get the best of both worlds.
Note in the above pics from Glen and Kyle that they used the double snap method. Some folks have had success with using one at each join, but a single snap is much more likely to come undone. Having two will help ensure you won't have any "wardrobe malfunctions" during a troop. It's extra work and cost, but for peace of mind it's well worth it IMO.
Here is another example:

-
1
-
-
5 hours ago, N0SweatBobaFett said:
Hopefully I can start strapping tomorrow!
Are you doing the "classic" strapping system (screws/brackets) on the torso pieces or elastic/nylon/snaps?

Tim’s first time build (RS Prop Masters ESB TK)
in ESB Build Threads
Posted
What you have there should be just fine and dandy, Tim. Just cut the corners as seen below and you are golden.
When you get around to the screw covers, I highly suggest trimming off ALL the return edges. The sides should lay flat against the ABS belt with no raised edges.