


ukswrath
-
Posts
14,394 -
Joined
-
Last visited
-
Days Won
176
Content Type
Profiles
Forums
Gallery
Articles
Media Demo
Posts posted by ukswrath
-
-
Welcome Jeff
-
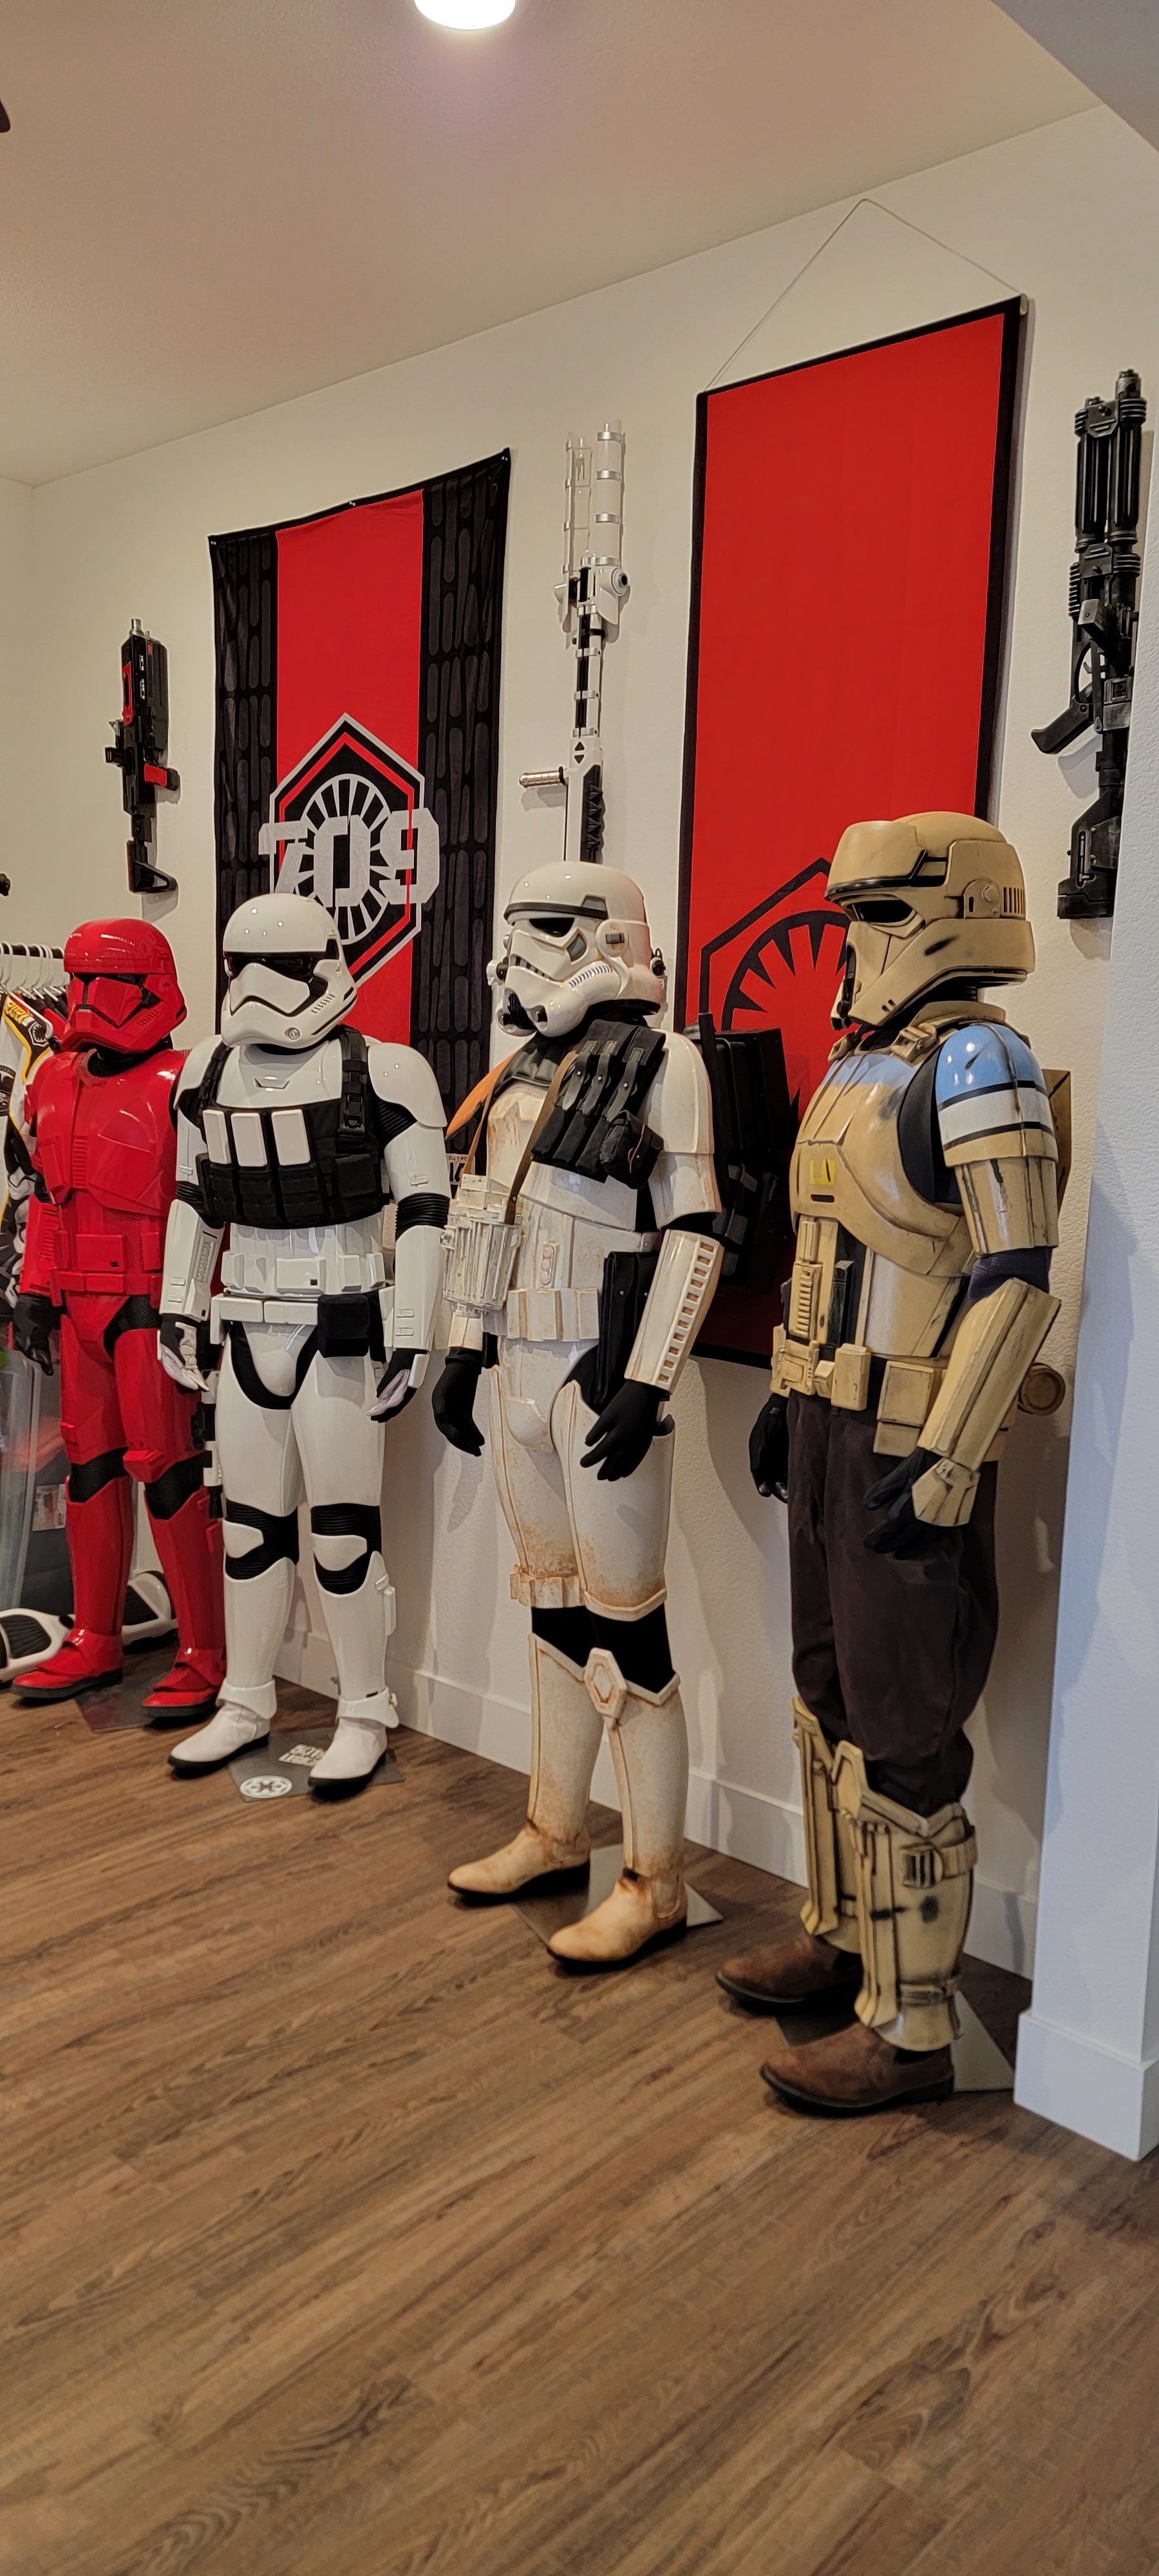
Something else to consider. When you see a fellow trooper making cool poses, or even sitting, they're usually using elastic. Nylon has very little give and will tend to pop snaps, leaving armor sections sagging.
Speaking of snaps, some of my armor uses glue secured, some use snaps, some use a combination. Once you troop in your armor for more than an hour you quickly figure out what works and what doesn't.
-
 2
2
-
-
Coming along nicely Hanson

Looks like you're in good hands
-
Done!
-
4
-
-
Thanks for stepping up brother
-
3
-
-
Congrats Jason, well done trooper!
-
17 minutes ago, CloseTheBlastDoor said:
Much credit goes to you, Tony! I was quite lost until someone pointed me to your build thread.

Thank you. After all these years I just glad to still be of assistance. Keep up the great work
-
2
-
-
On 2/26/2024 at 8:10 PM, CloseTheBlastDoor said:
It’s been a while since I’ve posted anything, but I’ve been hard at work when time allowed.
Bending the clips properly was indeed the next challenge for me. In one of my earliest posts, I had pre-drilled the screw holes in the strips before bending, and those points proved to be the weak points in the curve. You can see that the arc is sharper at those points:

This strip, I screwed onto the sacrificial PVC pipe I used earlier, first with one screw at the end to hold it, then attempted to bend it by hand. This didn’t work great. Trying to keep it all square, plus having enough hand, or even clamp strength to get the bend, plus not knowing exactly how much arc to impose overall made all of the process awkward. The aluminum bar that I used was pretty stiff, maybe stiffer than typical for this?

So after some noodling, I thought I’d make a jig that better imposed the required shape. I broke out the hole saw set and cut a semicircle in the edge of a 2x4. This would be the outer side of the arc. For the inner side, I cut off some of the PVC. Since the PVC is 2” inner diameter, 2.375” outer diameter, and the biggest hole saw in my set is 2.5,” this left 1/16” of radius for the strip - perfect!

I had not initially seen @ukswrath's build thread. Looking through it, I was so impressed with the amount of detail and clear images. The approach to the TD build was easy for me to follow, so I decided to back up a bit and start over with the strips. Here is that post:
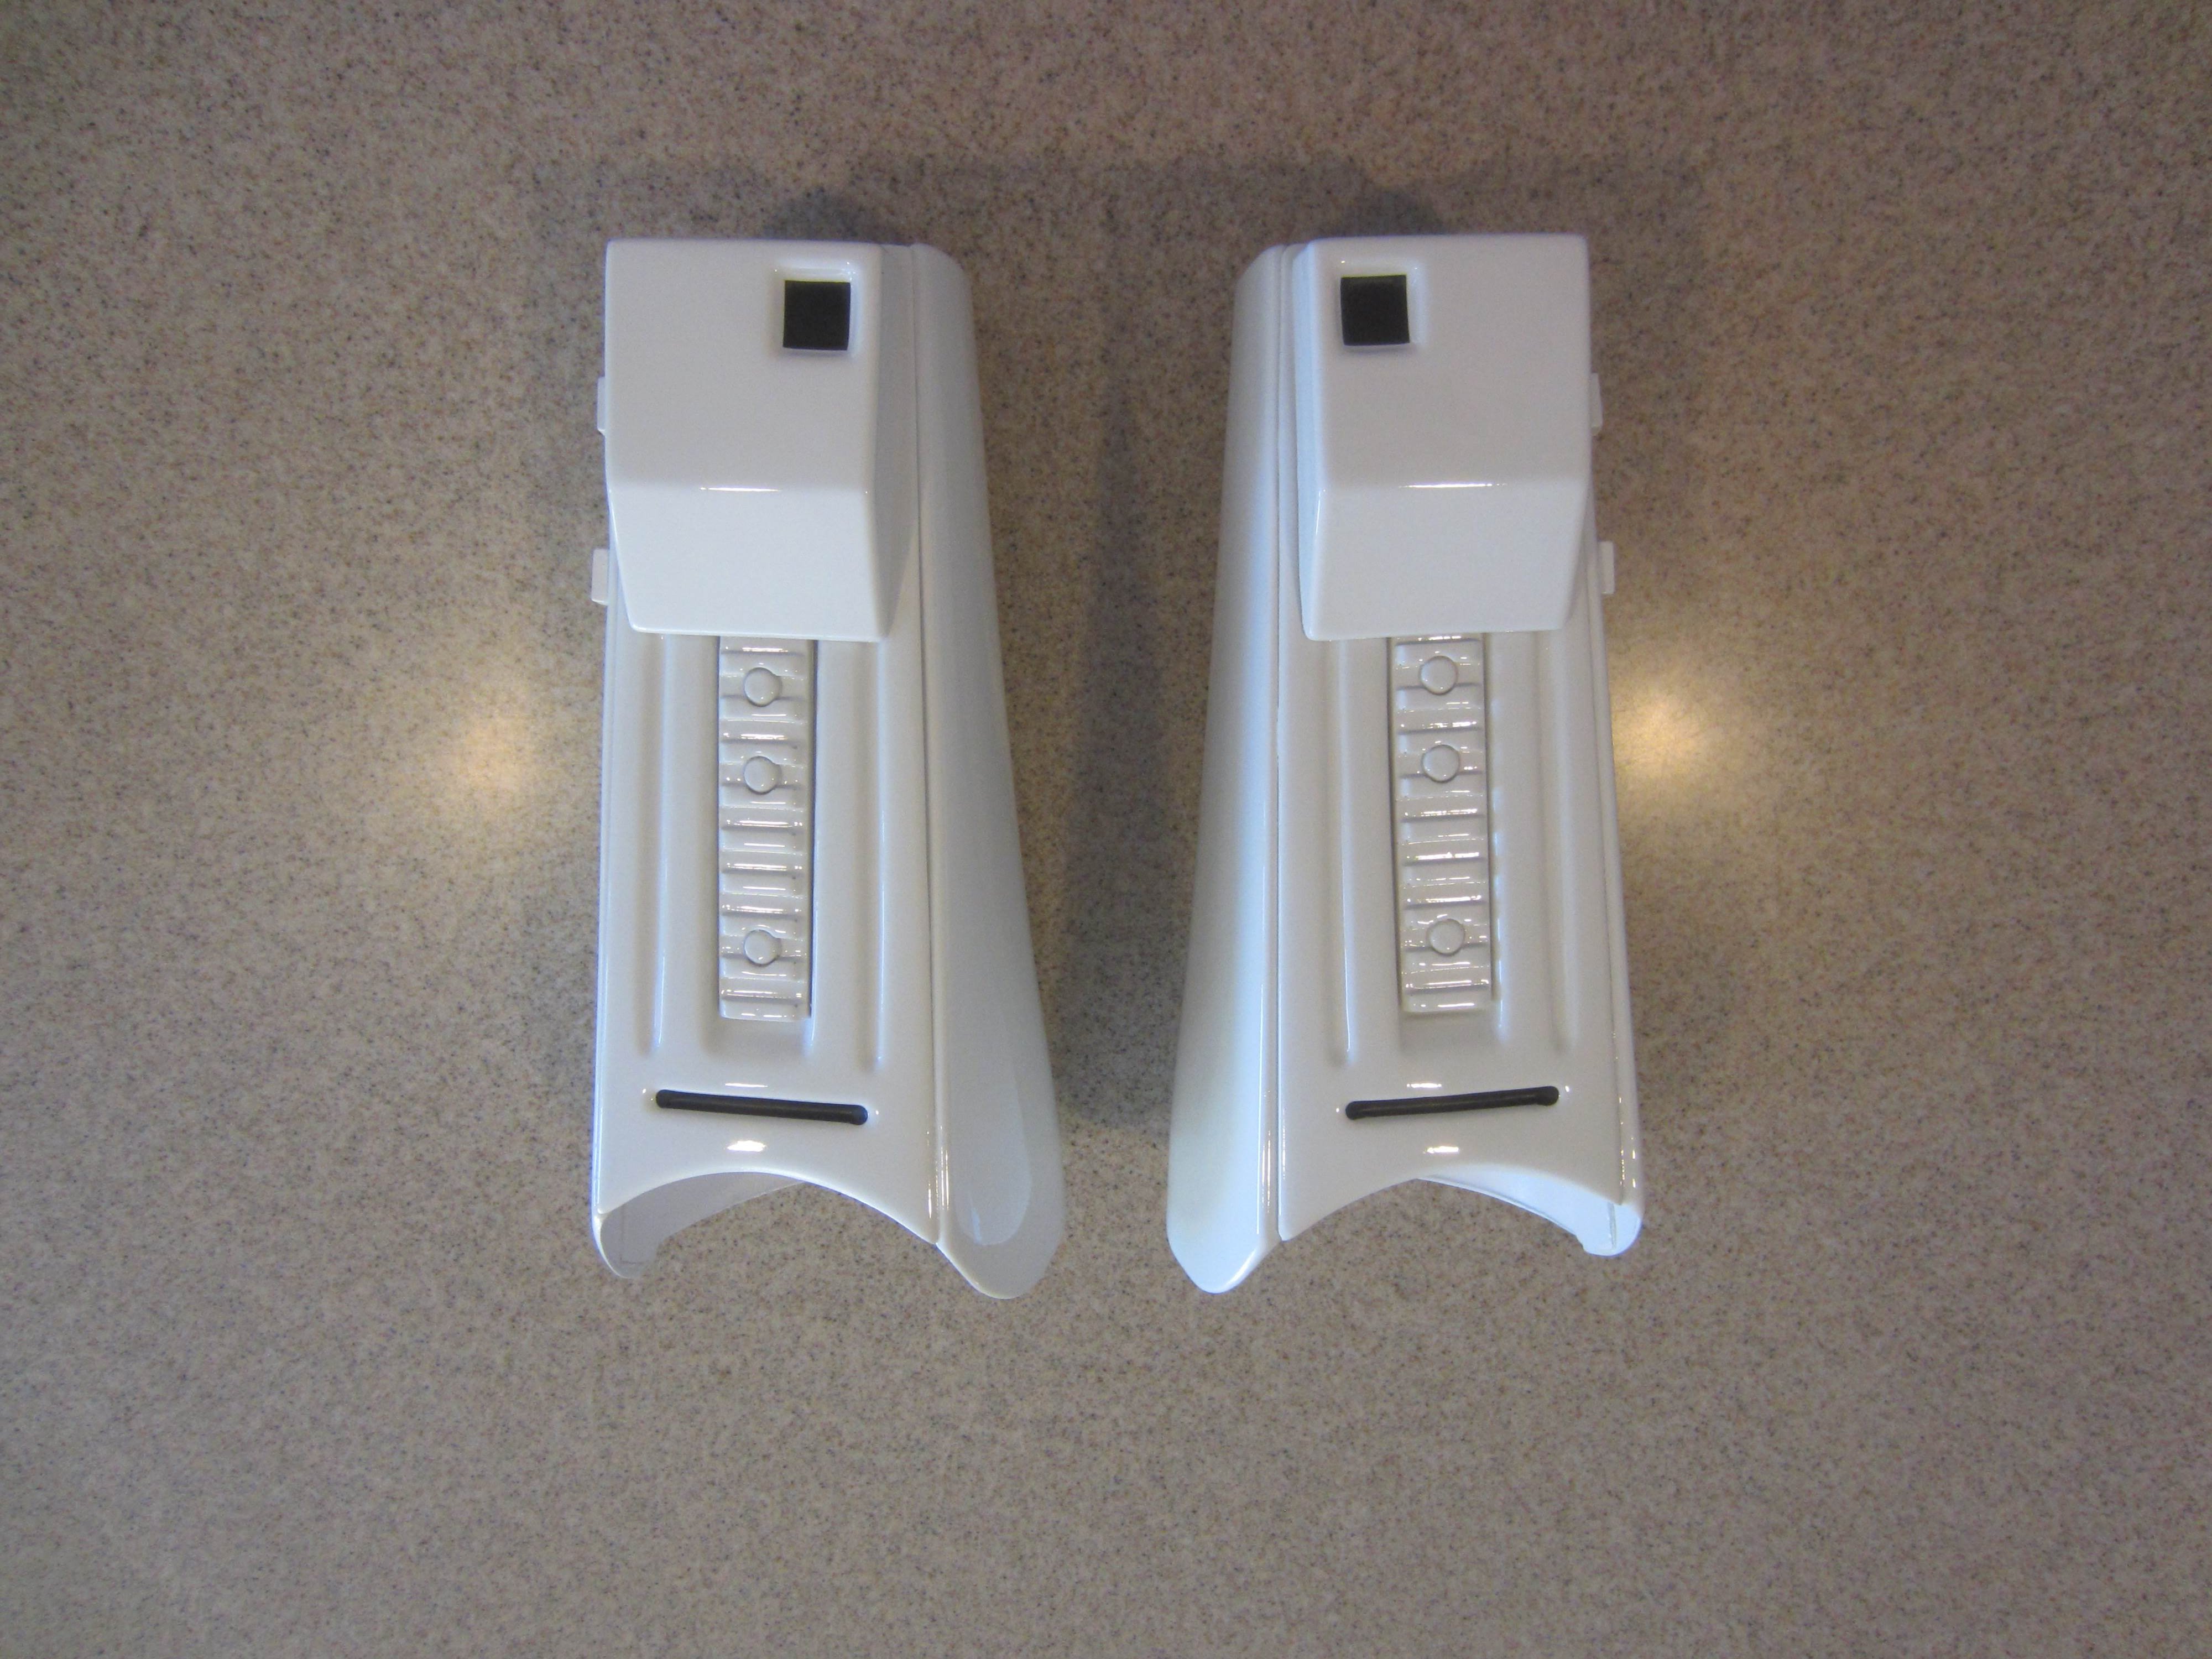
I got the bars to length, drilled holes and rounded the corners on one end:

Then worked each bar into the jig a little bit at a time until I got the angle I wanted:


The curve is a bit smoother:

Now to drill the holes in the tube. I marked everything as carefully as I could. The hole closest to the control panel, I drilled to 9/64”, which is what is recommended for #6 screws. For the other set of holes, I wanted to have a little bit of play just in case my marks were off, so I drilled those to 11/64”.

The screws I got were not black. It was hard enough to find the right size to begin with. So I needed to hit the heads with black.

After screwing them in, they will need a bit of touch-up where the screwdriver was in contact.
Next was doing the rest of the bending on the clips.

Tried to get a square bend on the first one. Then I flipped it over and increased the angle.


A bit of bending by hand with spacer in place followed this, so I got to close to 180 degrees:

Then on to a vice to take it the rest of the way:


Fitting the clips and caps onto the tube was next:

I think it turned out pretty well! Now, all I need to do is glue the cover on.


Awesome. Great job!
-
1
-
-
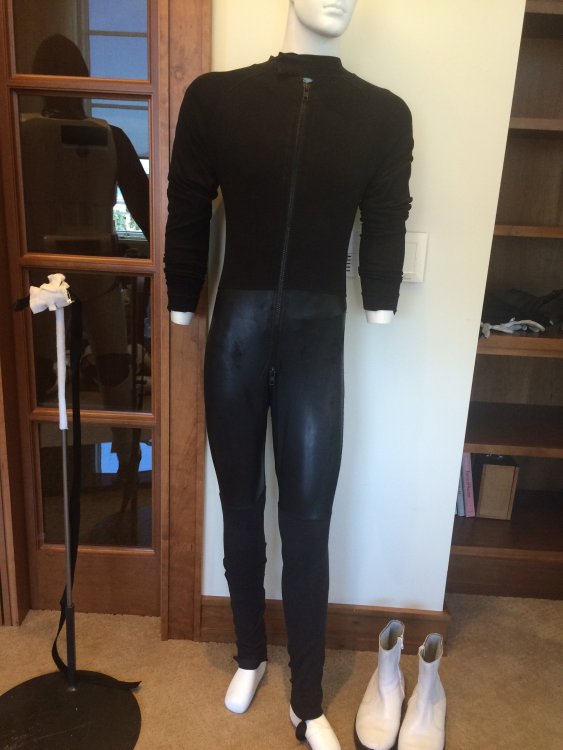
Simple answer is yes. There are areas that can be seen between armor sections that are undersuit material, and others are gaskets on top of the undersuit.
-
Awesome! Congrats brother. Just the man for the job
-
3
-
-
-
3
-
-
10 hours ago, TheRascalKing said:
Many of us have switched to Behr Premium No. 52 Gloss White, if it is available in your region. It sprays significantly nicer than the previously recommended Rust-Oleum rattle cans, matches the Denuo Novo white ABS decently well, and is still decently inexpensive. I don't own or want to invest in an HVLP spray gun system at this time, so mixing custom automotive colors wasn't really an option.
I will admit the automotive option is considerably more expensive, but then it never dulls, fades, or loses it's luster. Like a vintage car it's stunning, but you're going to pay for it. Everything else in my armor arsenal except the FOTK and ST is rattle can. That said, I'm always looking for a better rattle can option, I'll have to take a look at the Behr. Thanks Justin
-
1
-
-
7 minutes ago, gmrhodes13 said:
You know I was going to add that but couldn't see any clips on his TD images
")
 I figured it was coming
-
1
-
-
1 hour ago, gmrhodes13 said:
An old trick was to drill a hole where it will not be seen (under a clip or control panel) then use compressed air in the hole and one cap should pop off, then you have access to knock the other cap off.
Adding to this idea. Drill a small hole where the TD clip screws will be mounted. Then you're not really doing any damage
-
1
-
-
In addition, the paint code above was pulled from my Anovos Beta helmet, which was painted by Anovos. Disney supposedly commissioned Anovos to provide the armor for their "Rise of the Resistance" ride characters. So, though the movie armor is not painted, the color above is a close second I would suspect.
-
2
-
-
Another photo, after paint.
Hope this helps

-
This is the position of my Anovos armor
-
I'm building more as we speak
-
2
-
-
Damn! This is devastating

What a great person he was.
Screw cancer
Buckets off
-
1
-
-
Yea buddy!
-
1
-
-
On 12/29/2022 at 2:26 PM, Lucasfan7 said:
Thank you for the awesome product and support when I had questions.
My pleasure

-
55 minutes ago, Lucasfan7 said:
His sound systems are amazing and his customer service is even better. I have his set up in a couple of my costumes and I absolutely love them
Thank you for the kudos and support.
-
Roughly 48 hours of continuous use.
-
1
-
-
What makes me furious more than anything is so many people that signed up were turned down. Some just wanted the opportunity to be apart of something great.
The 501st is a NON PROFIT organization. The members of this organization that were given this opportunity should be grateful, in addition they're paid $500 a day.
As much as this bothers me I also realize a lot of people are struggling financially these days. Maybe, just maybe, it was for a good reason.
-
4
-


Daryl’s Denuo Novo FOTK build
in TLJ Build Threads
Posted
Congratulations!!!