-
Posts
60 -
Joined
-
Last visited
Content Type
Profiles
Forums
Gallery
Articles
Media Demo
Posts posted by Batphobic
-
-
Can I ask how tall your son is? Mine is 10, too, but I was worried he'd be too tall for it. Maybe he's tall for his age, I really don't know.
Sent from my iPad using Tapatalk
-
Hi everyone --
I suppose this is goodbye (because I'm now sandy lol). Just kidding.
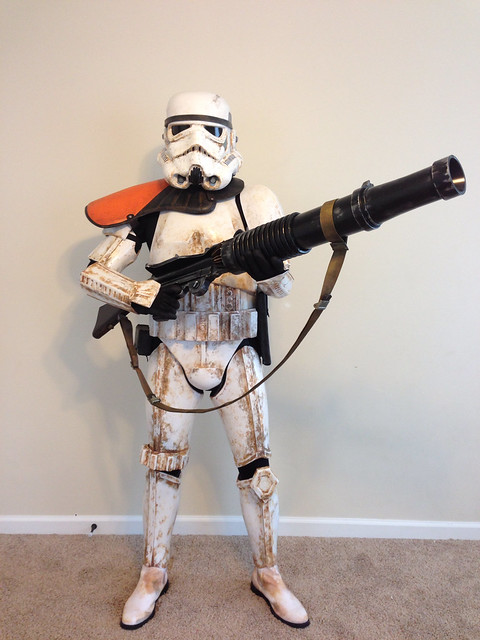
Thanks once again everyone for the comments and tips and support while building out my sandtrooper. I just got approved! TD20290!
For anyone interested, I secured TD20290.com, ported my blog over there, and finished up the posts taking it all the way to the end. I have my first troop tomorrow for a 4th of July parade in Atlanta!
-
David -- yes, ATA comes w neck and brow trim
Sent from my iPad using Tapatalk
-
Thanks Haui and Steve!
WOW, especially the blaster build. One thing I havent seen anyone else do is what you did with the magnets, gona use that idea.
thanks for sharing
Thanks Rick! I certainly can't take credit for the magnets though. Got the idea from others here but yeah, not sure how anyone would build a suit without them.
-
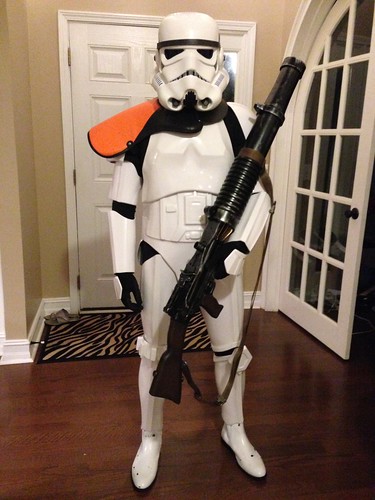
Hello all,
I've been documenting my MTK build on a blog. It requires an additional click to get to it from here but the audience of my write-up includes family members and such that aren't members of FISD. Hope that doesn't deter too many folks from heading over there and then giving some feedback here.
I've been documenting how this whole thing began for me, quirks of the armor, and mistakes I've made and learned from.
As I progress in the journey and the blog I'll update this thread.
I will be taking this thing all the way to TD but so far I've not documented the TD portions of the journey so hopefully people here get some benefit from my experiences.
Here's the link:
http://blog.panzainteractive.com
Thanks for looking!
-
(Sorry -- reposted to the build threads sub topic)
-
Wow you are super nice to those little brothers! Looks like a good kit. How are you doing the tube stripes? Do the decals fit? Hand painting?
Sent from my iPhone using Tapatalk
-
AWESOME! I love ATA helmets. I have built 3 of them.
-----------
Just don't cut as much off as it looks like you should.
Don't hesitate to ask any questions!
-
Yeah these boards don't allow much space for photos. So you have to upload somewhere else (I chose flickr) and then you can link to those photos. When adding media to these boards you can choose to add it from a URL.
Sent from my iPad using Tapatalk
-
Hey Jaren -- welcome! Good to see another MTK. Not many of us on here. FYI myself and bzb (Bobby) have MTK. He has a good build thread up and even his centurion application. Those have been great references for me. I'm still working on mine. Will post a build thread when done.
don't hesitate to ask any questions via PM, board, whatever!
Sent from my iPad using Tapatalk
-
Thanks for the shout-out Brian! Great start. Like others have said - huge props for getting this far with the coping saw. Yeah, tough to get great accuracy with a jig saw but I cut wide of the cut line and then used rough-tooth files to really eat away at the wood to get back to the line.
Can't wait to see the progress.
-
Thanks folks. Will be careful and do many fittings/measurements before cutting.
I have MTK.
Sent from my iPhone using Tapatalk
-
Hello all -
I have a question about how to size the back.
On the front there's some leeway to simply overlap the chest/ab piece more for slightly shorter troopers. (right? I know about the trick to cut the cod but I'm not really that short - 5'9").
But what about the back? If I line up the back piece, the kidney piece, and the butt piece and it's too tall then what would I trim? The kidney piece? Maybe I'd trim the bottom of the kidney piece (removing the return edge) but then just cover that with the belt?
Thanks for any help --
-
Cool. Thanks for checking.
Sent from my iPhone using Tapatalk
-
Hey if anyone bought a big role of mesh at a home improvement store and after cutting off a few inches has a massive role sitting around the house... I'll take a couple more inches off your hands. Happy to paypal you a couple bucks for your trouble. I was at Home Depot last night and couldn't bring myself to buy a whole role (even tho it was cheap) cuz it would just sit around the house/garage after I took what I needed for my helmet.
LMK. Thanks.
-
OK - after a long absence (destroyed one set of ears and set it aside and got distracted with my T21 blaster build)... I just finished this up last night. Pics below still represent several weeks worth just working on it bits at a time.
I'm posting the good, the bad, and the ugly. But I'm really happy with how it turned out.
So, after being reassured by everyone here that the bottom of the face and the cap/back was as expected (thanks for the feedback, everyone) I drilled and riveted the two pieces together:
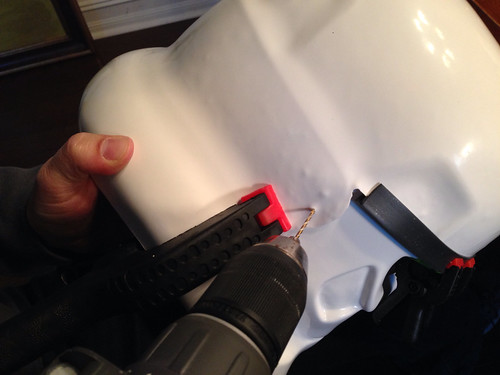
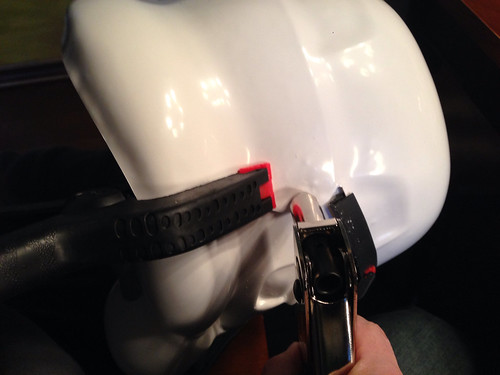
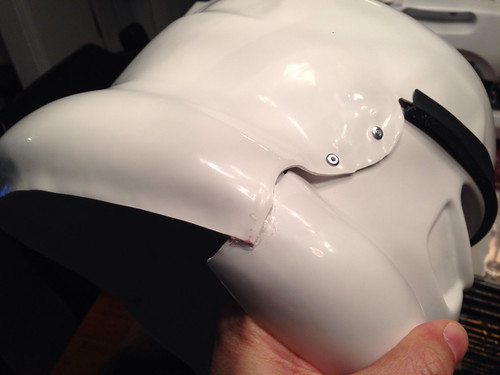
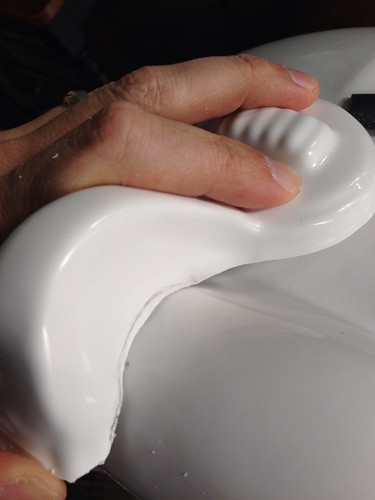
And here you can see the results of not leaving enuf plastic when trimming the ATA - I had no room to put a rivet in the bottom. Had to E6000 it:
And then reinforce it on the inside with some E6000-soaked canvas:
(the red dot is from the clamp which is red... guess the E6000 melted off some color from the clamp)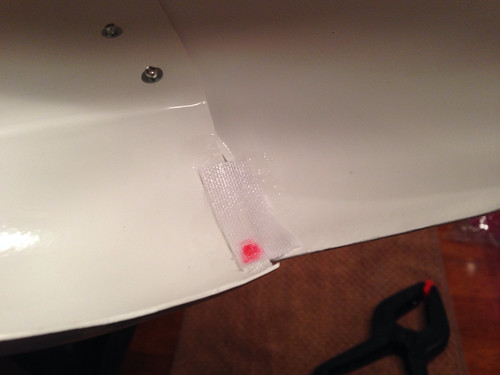
Like I said I trashed one set of ears by trimming off too much. So second set I took my time. Just cut a little bit off at a time... maybe half-a-dozen times going back to trim a little more off.
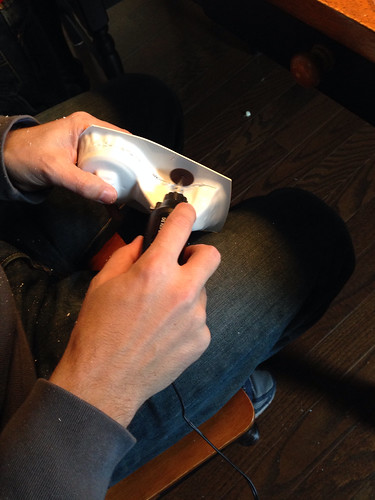
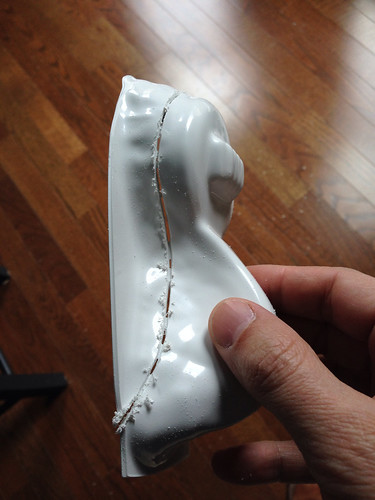
Still more... lots more:
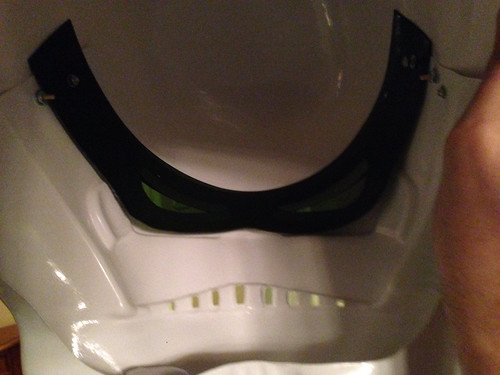
Then installed the lenses:
And... Then done. I wish I had pictures of my progress painting but I got anxious to finish up.
I used Trooperbay's "Move Along" Decals and they're AWESOME. Super easy to put on (using the tutorial video on the site) and I think they look amazing. Way better than what it would look like if I painted it.

-
Thanks Chris - Yeah it was a lot of work but what you described worked well. Printed it out onto 24 pages of 8.5x11" paper, cut the top and left edge of each, and taped 'em together. Printed out a couple copies of some of the key parts that needed transferring.
I scribbled graphite all over the back of the paper and then put the paper face-up (with graphite on the wood) on the wood and then traced the template drawing. That transferred the design to the wood.
I like your idea of simply holding onto styrene cut-outs! Gonna do that if I ever decide to do another.
-
Thanks Terry! Heading to the home and hobby stores tomorrow for materials. Should be a fun (and long) project.
-
This step is for later (electronics) but I wanted to feed the wires through the chamber pipes before they were glued in place

Great build. EXTREMELY helpful. However question: HOW did you drill this hole for the wires... and what kind of wires are you using here? (what gauge, etc)
-
Great template! Thanks for sharing! Printed it out and will be going to the home supply store tomorrow!
-
Great build. Thanks for sharing. Can you tell me -- did you start with Terry's (Panda Trooper's) template and if so, more importantly, how did you print it out? Wondering if everyone's got large-format printers in their homes or if everyone is going to Kinkos to print the thing out.
-
Looks great. Nice job on the ears. I hope mine turn out that well.
Sent from my iPhone using Tapatalk
-
If you are happy with the brow placement then don't stress about the bottoms not aligning. Once it is riveted you can carefully try and even the bottom out but (as stated above) the bottom parts of the ears will cover that. Plus the s trim on the bottom can cover a little of that as well.
Here is the bottom of my unfinished AP. I will end up trimming a little more off the bottom to get closer to the bottom of the ear, s trim will easily cover the rest.
This is helpful. Thanks Brian.
It also shows the difference between AP and ATA. Very different all around.
-
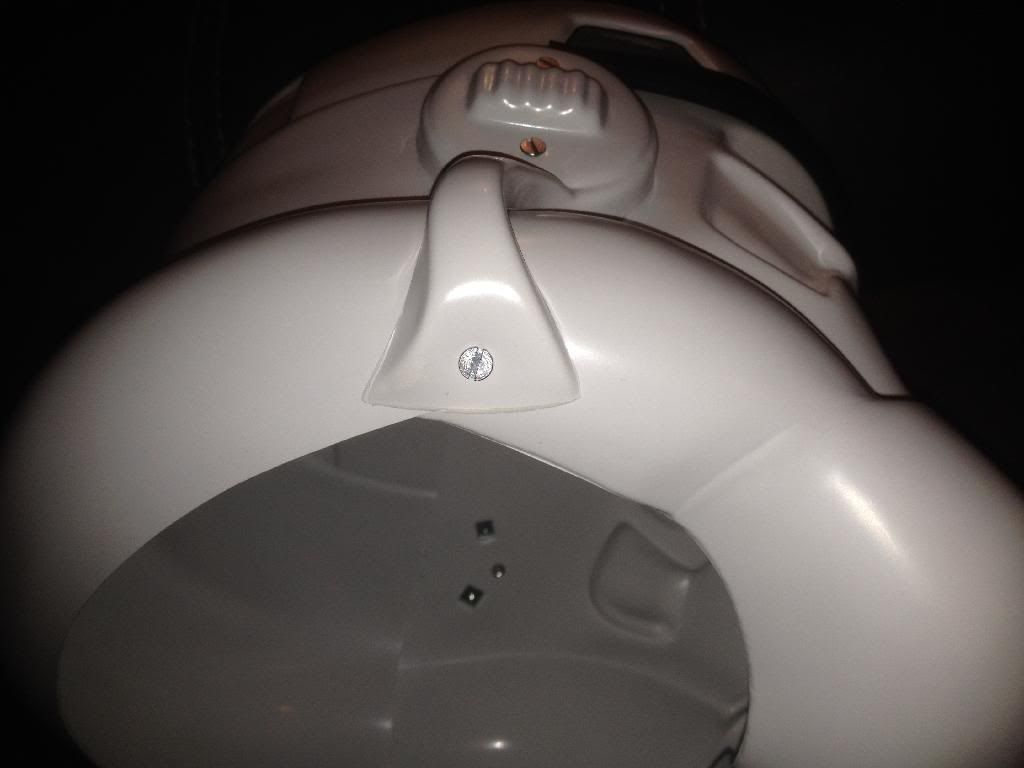
Yes, don't worry this is all normal!
Same thing on my bro's helmet (just don't mind the cat
 ):
):
That's hilarious


Father/Son 1st Armor Build (NE & MTK) in CA
in ANH Build Threads
Posted
Very thorough, Nate! This will be a good resource for others. Thanks for making it sound like I'm just such a good brother I flew out there just for an armor party and nothing else!
Sent from my iPhone using Tapatalk