-
Posts
156 -
Joined
-
Last visited
Content Type
Profiles
Forums
Gallery
Articles
Media Demo
Posts posted by Maxl
-
-
Ok, thank you for discuss this topic! I won't do anything before everything is settled!
greets
-
-
I think it's done ... Did I do it right?
-
-
Name: Markus Vock
TK ID: 15315
Legion Profile: https://www.501st.com/members/displaymemberdetails.php?userID=22448
FISD-Forum Name: Maxl
Garrison: Austria
Mandatory Information
Armor Maker: Troopermaster (TM)
Helmet Maker: TM
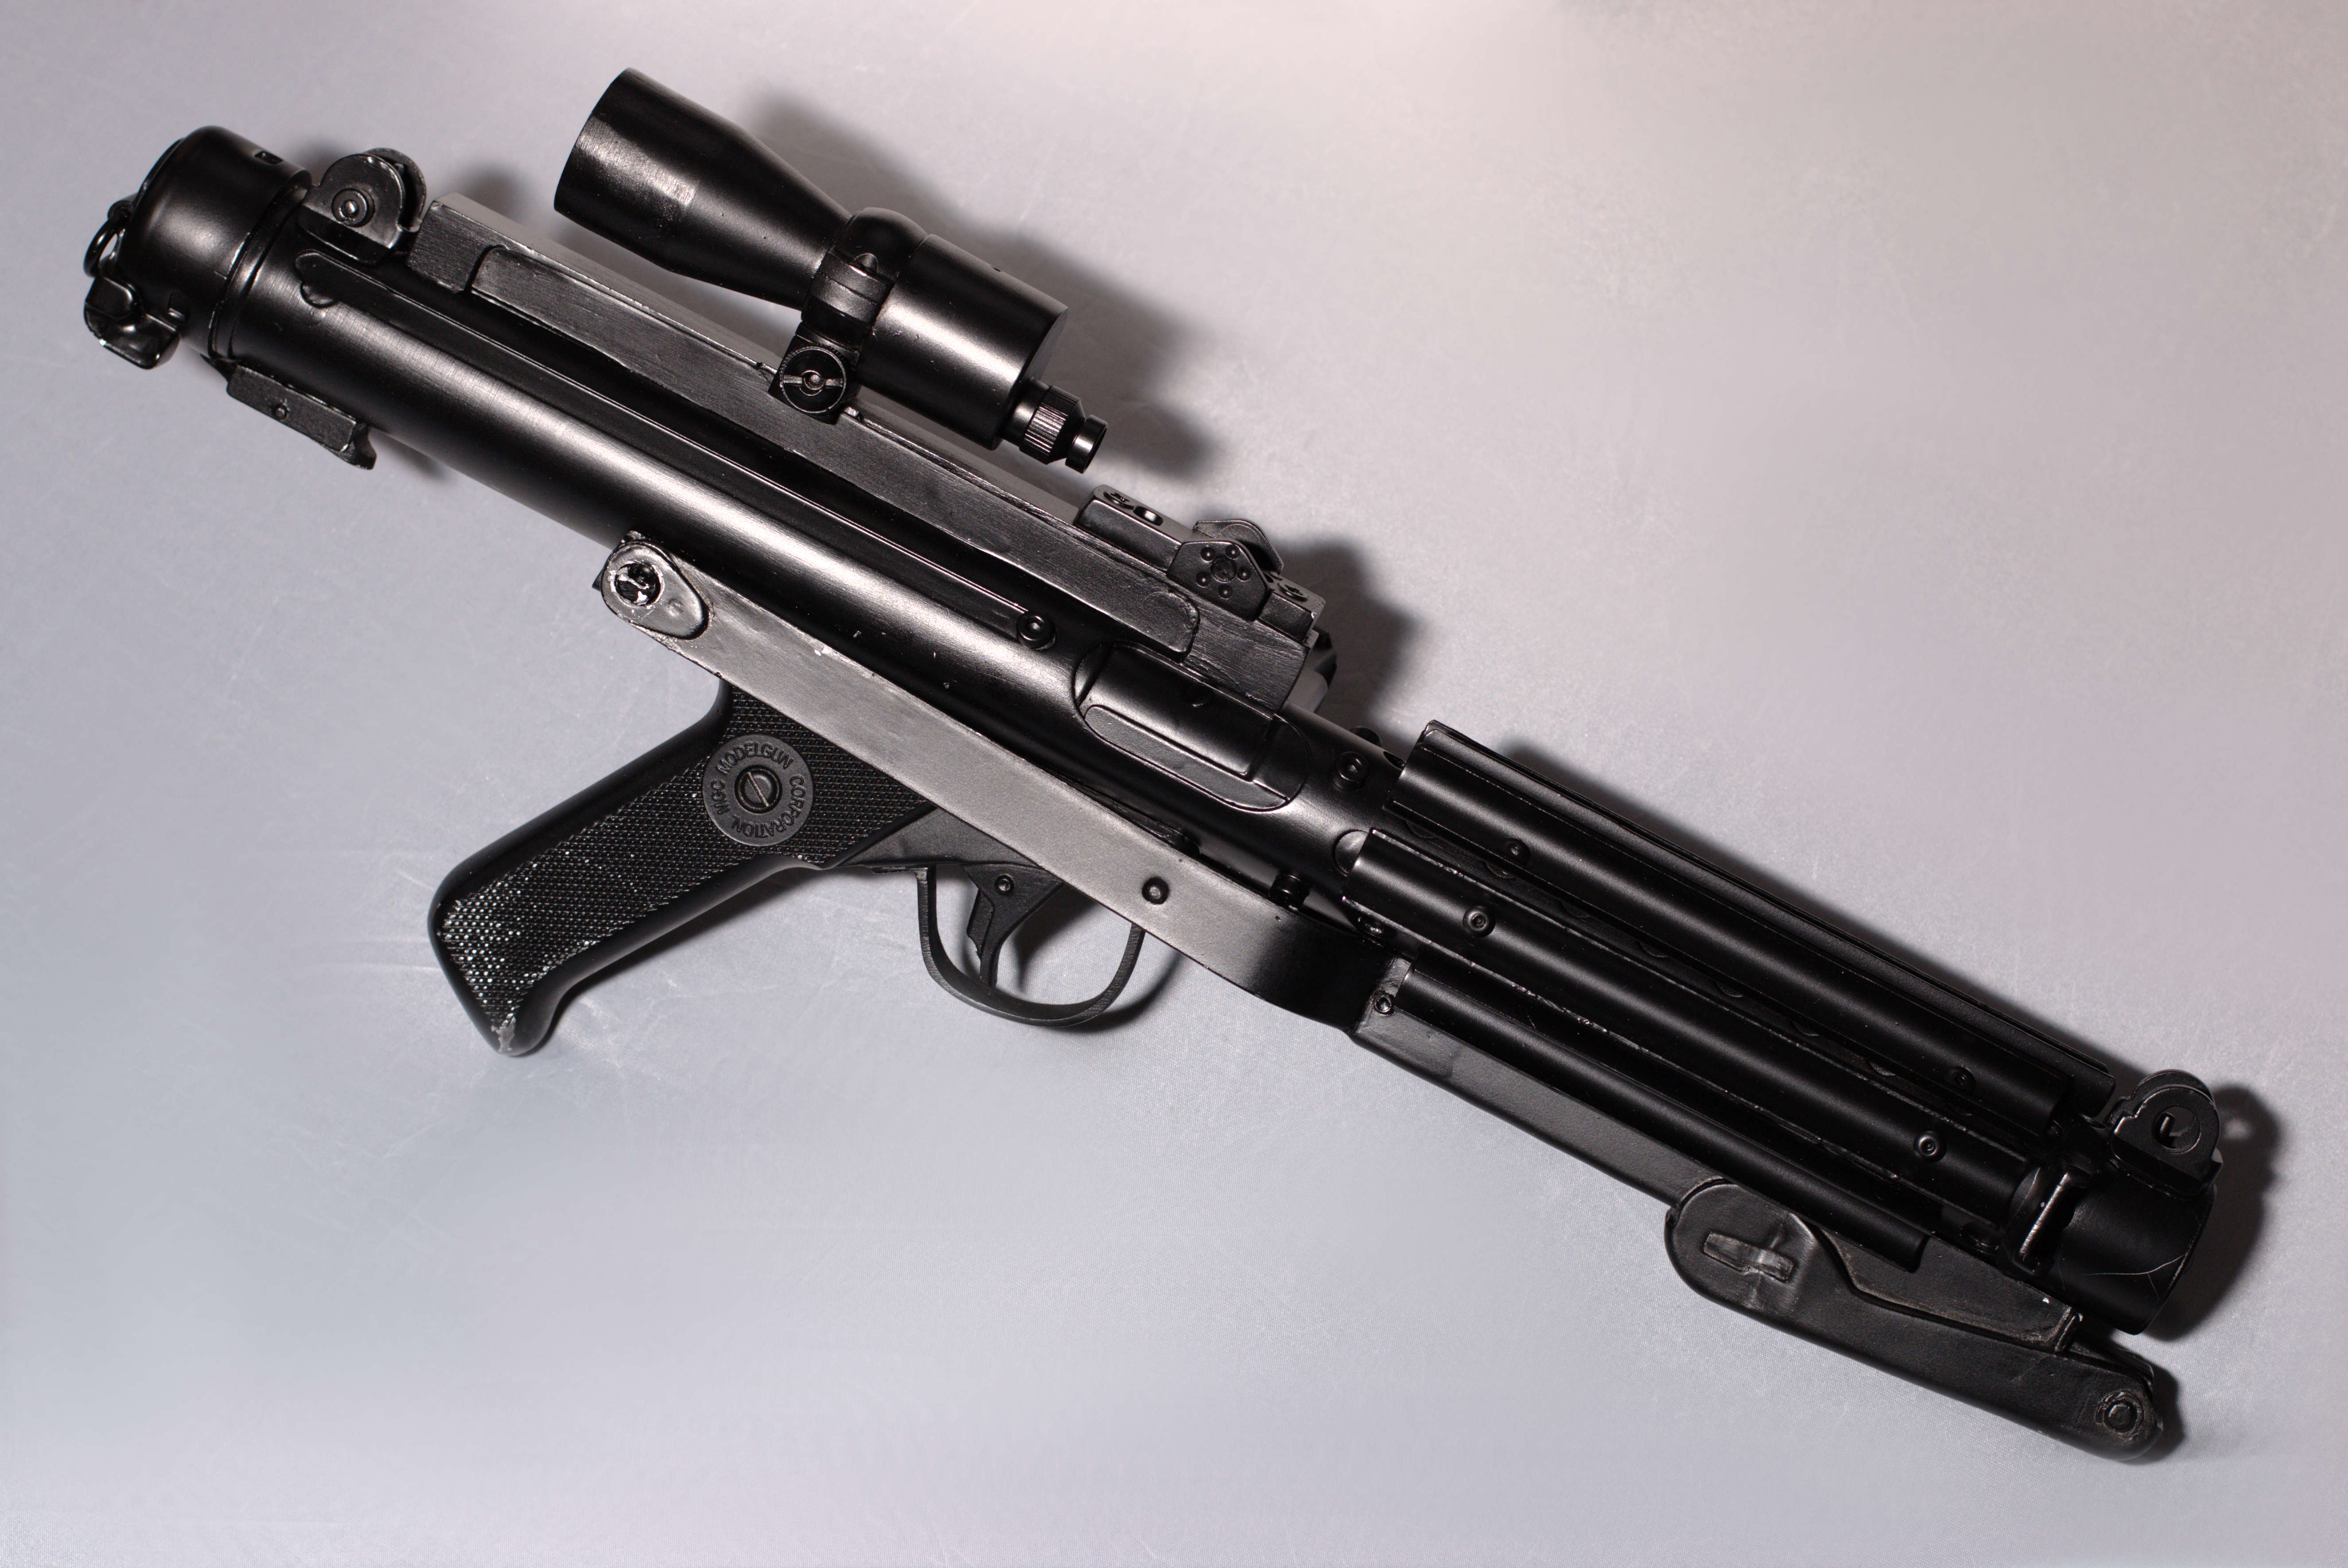
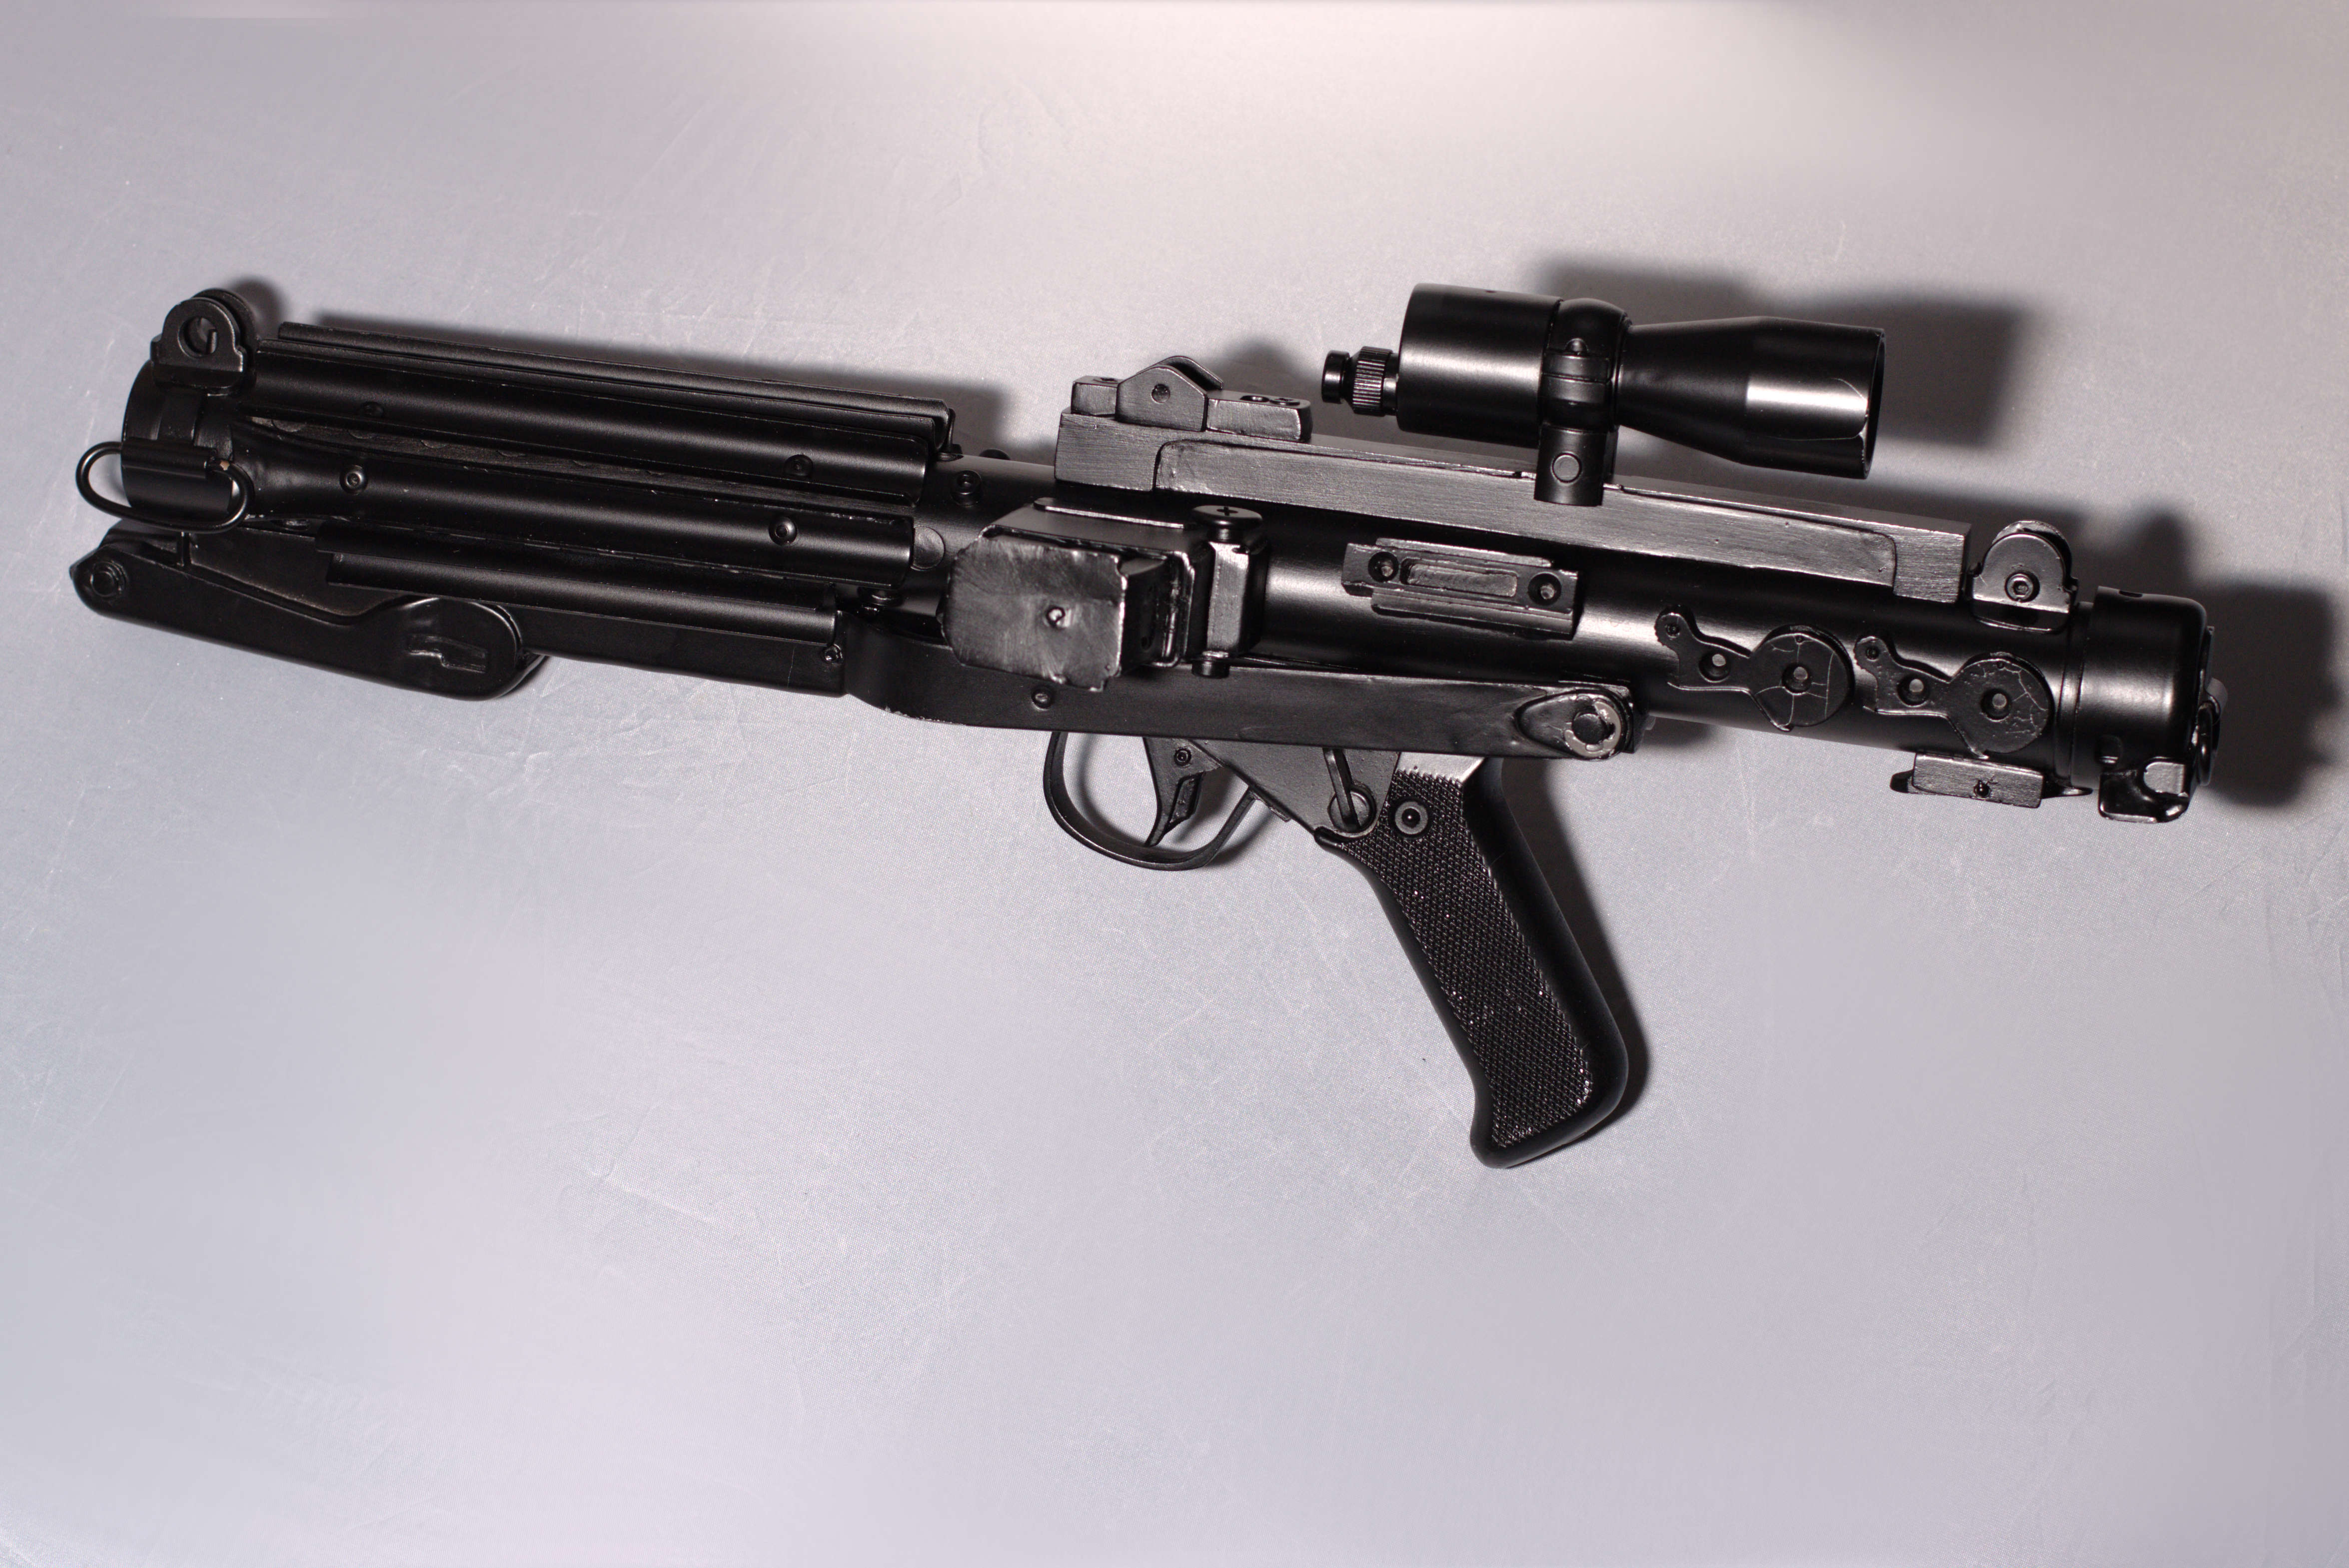
Blaster Type: E11 ROTJ (CFO)
Other Information
Height: 1,83cm
Weight: 71kg
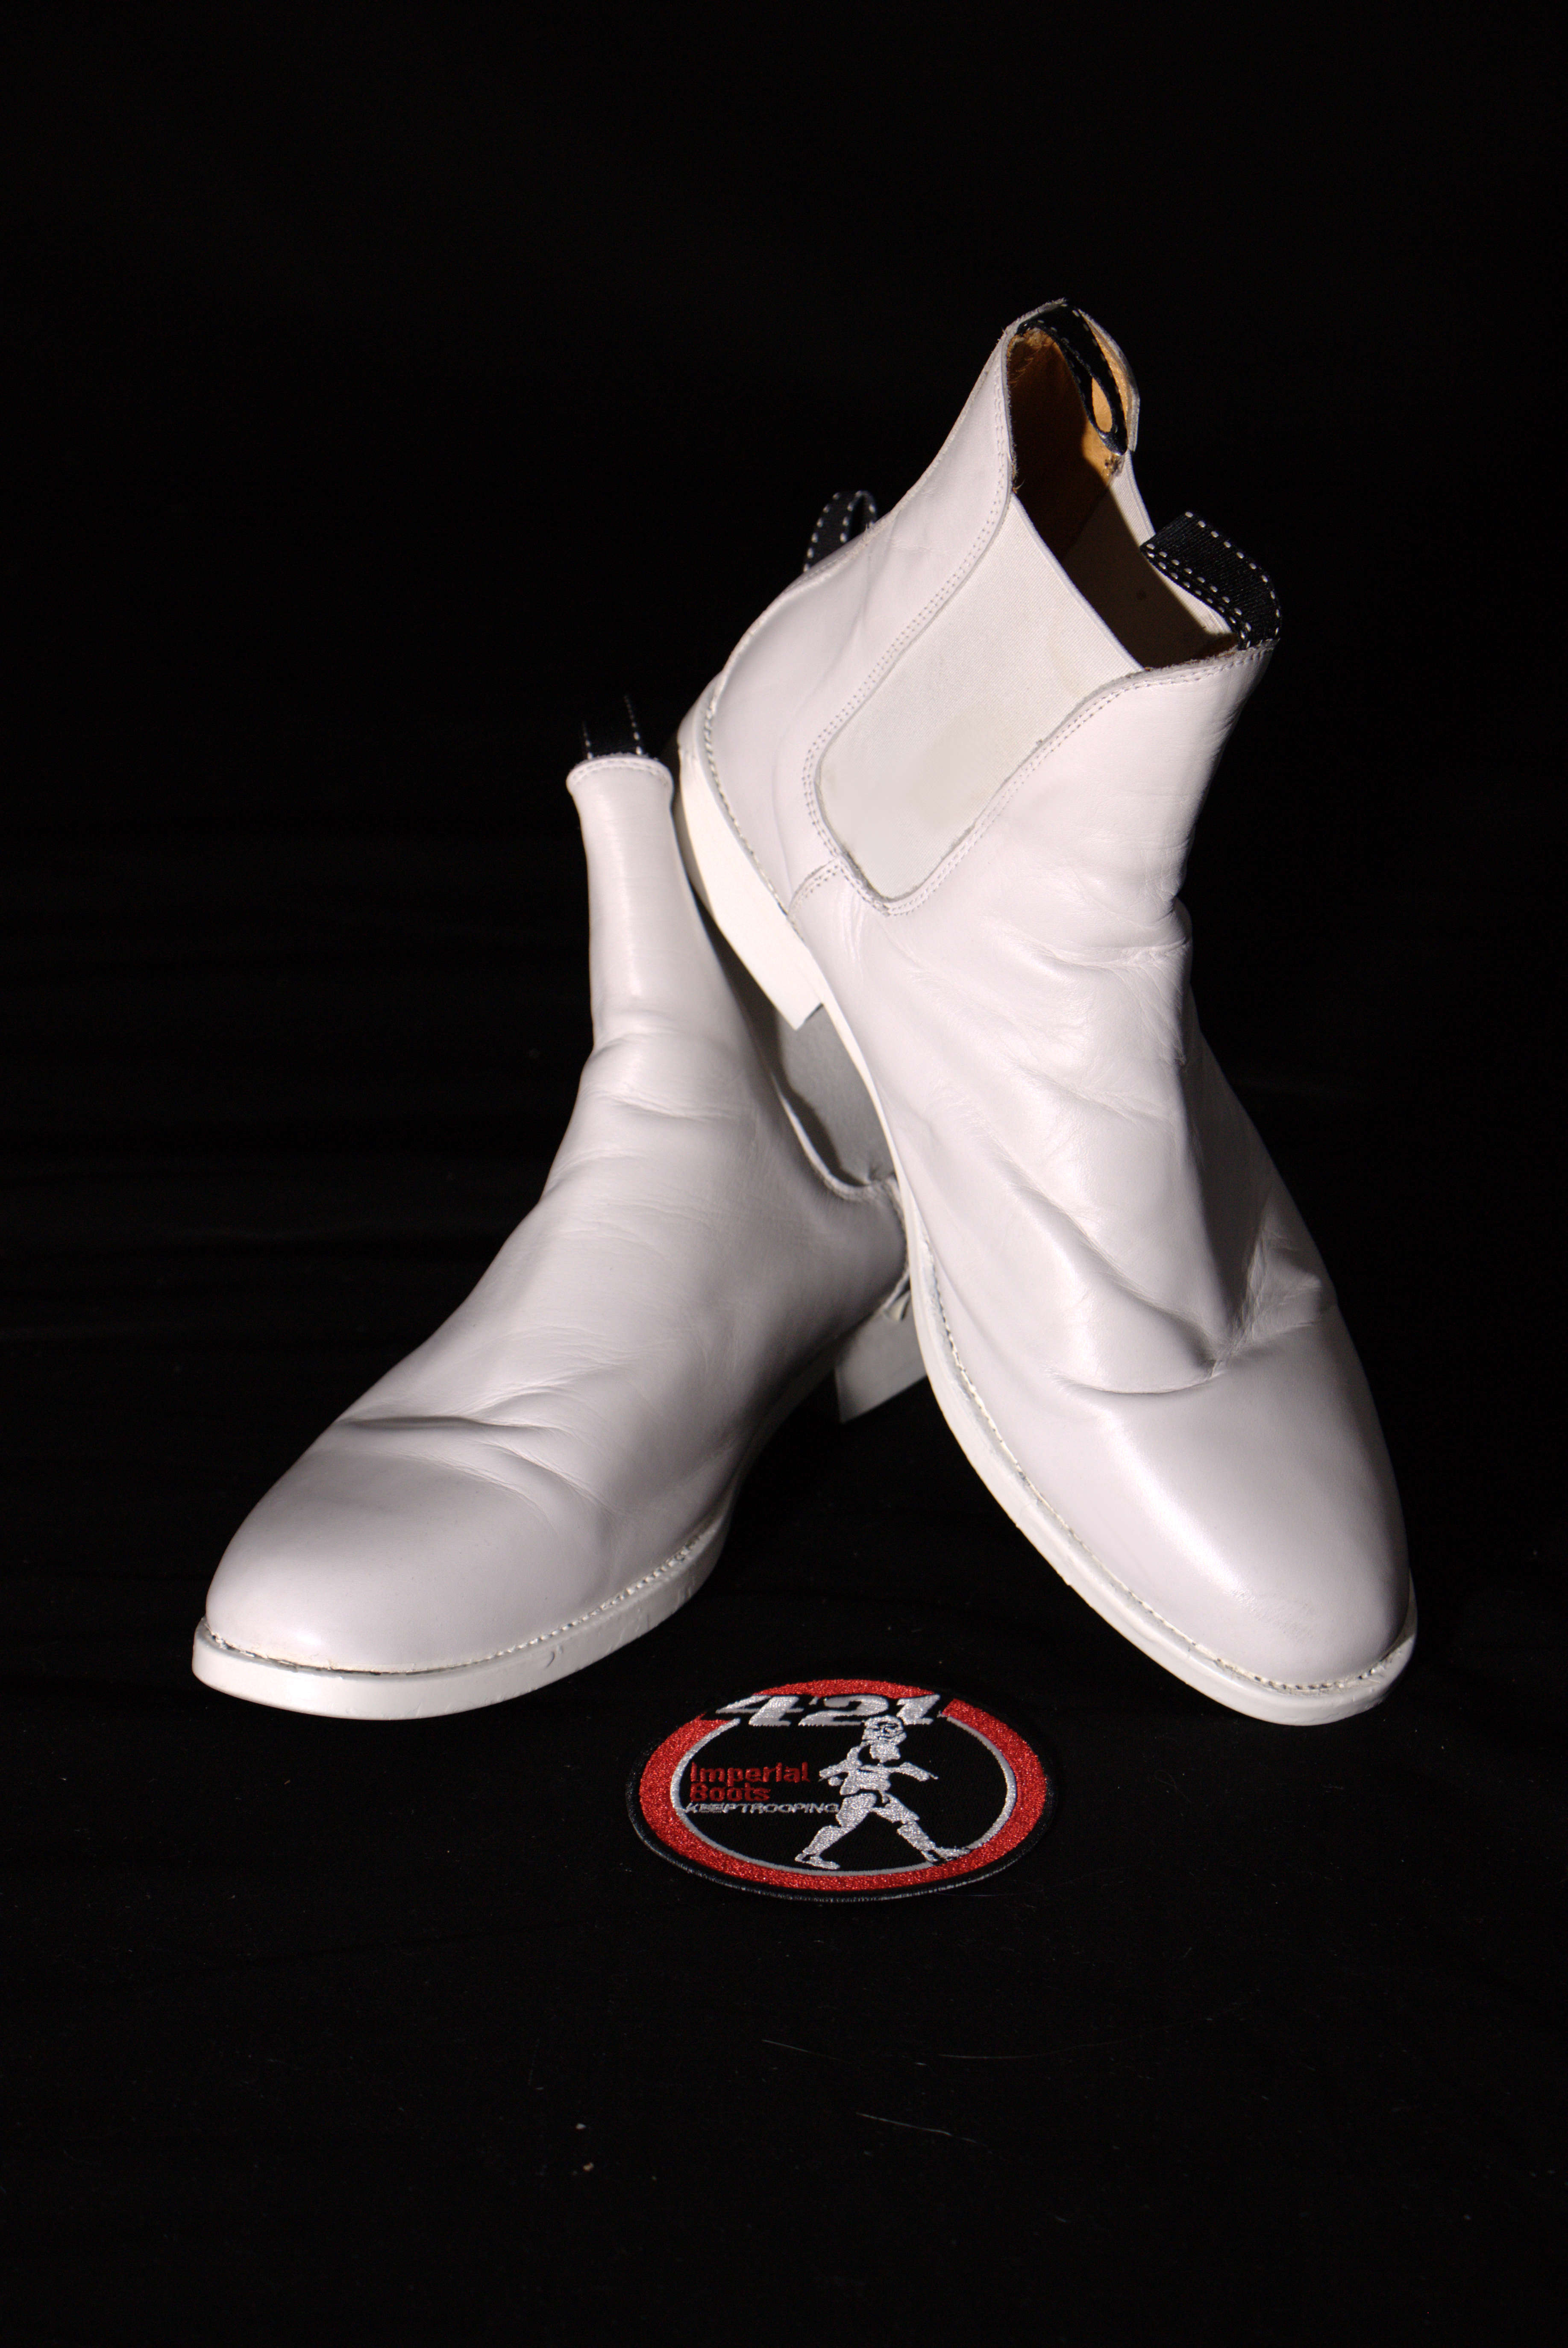
Boots Maker: Imperial Boots
Canvas Belt: TM
Hand Plates Type: ROTJ
Electronics: Helmet -> Ukswrath
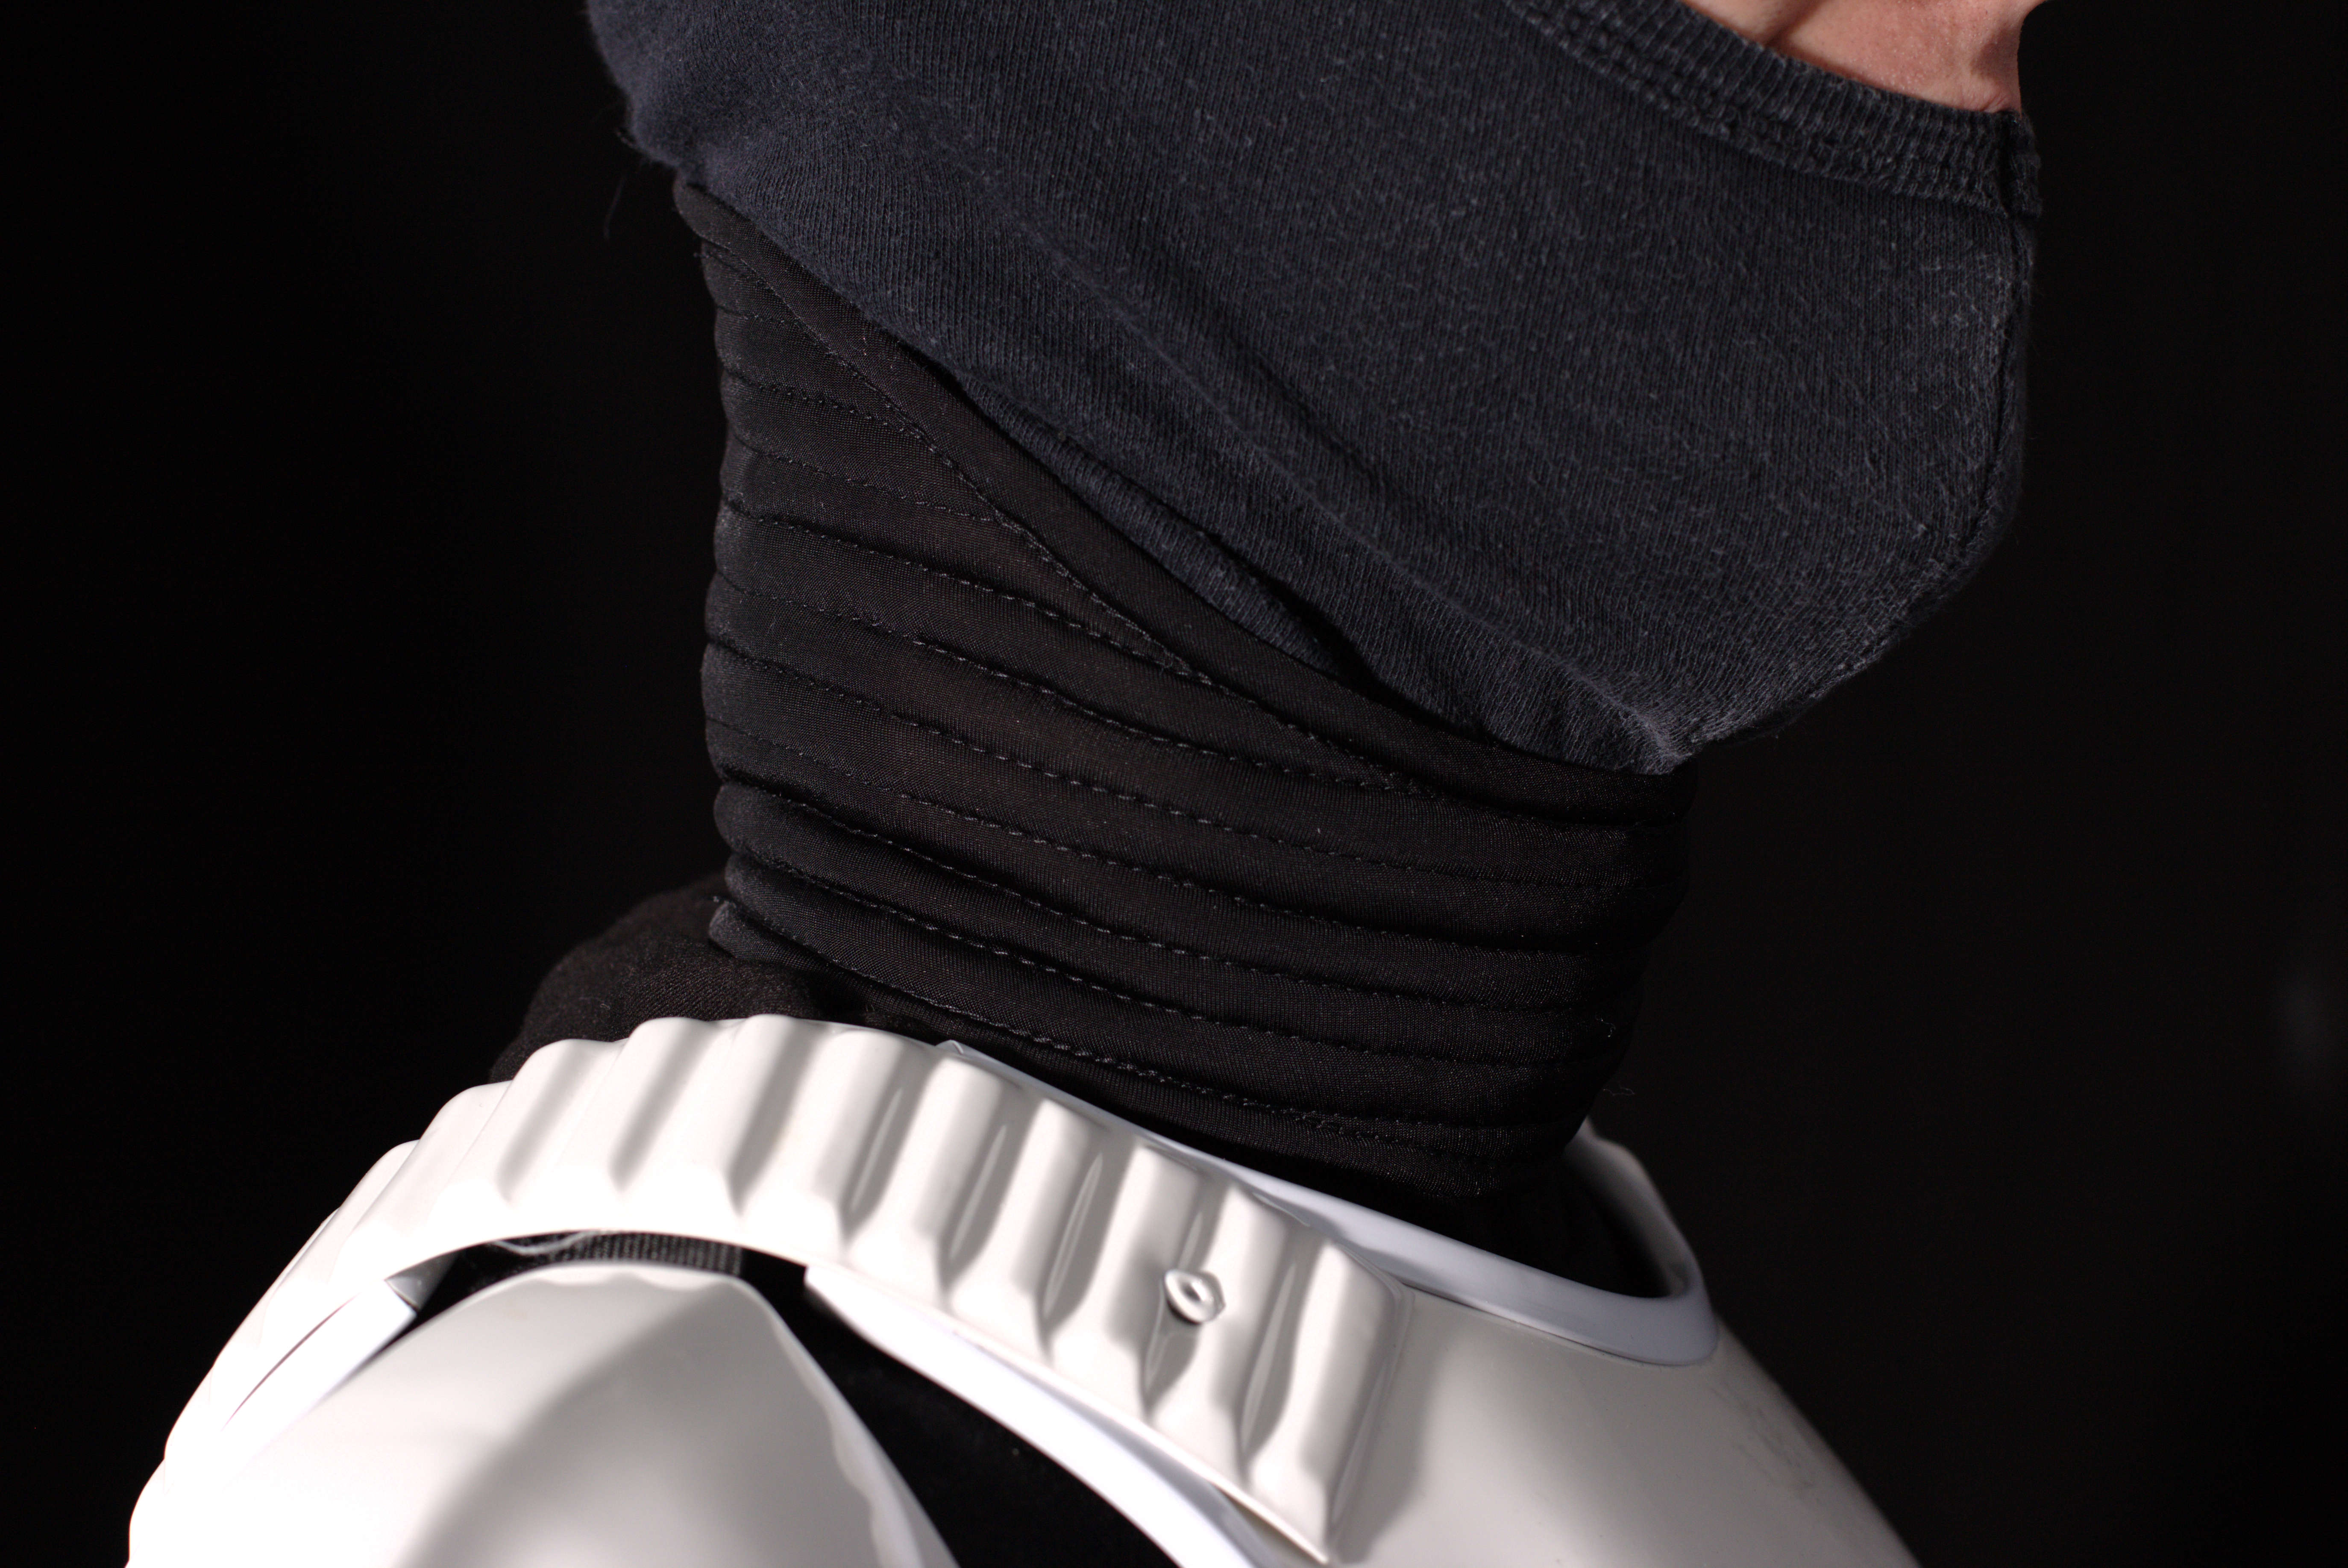
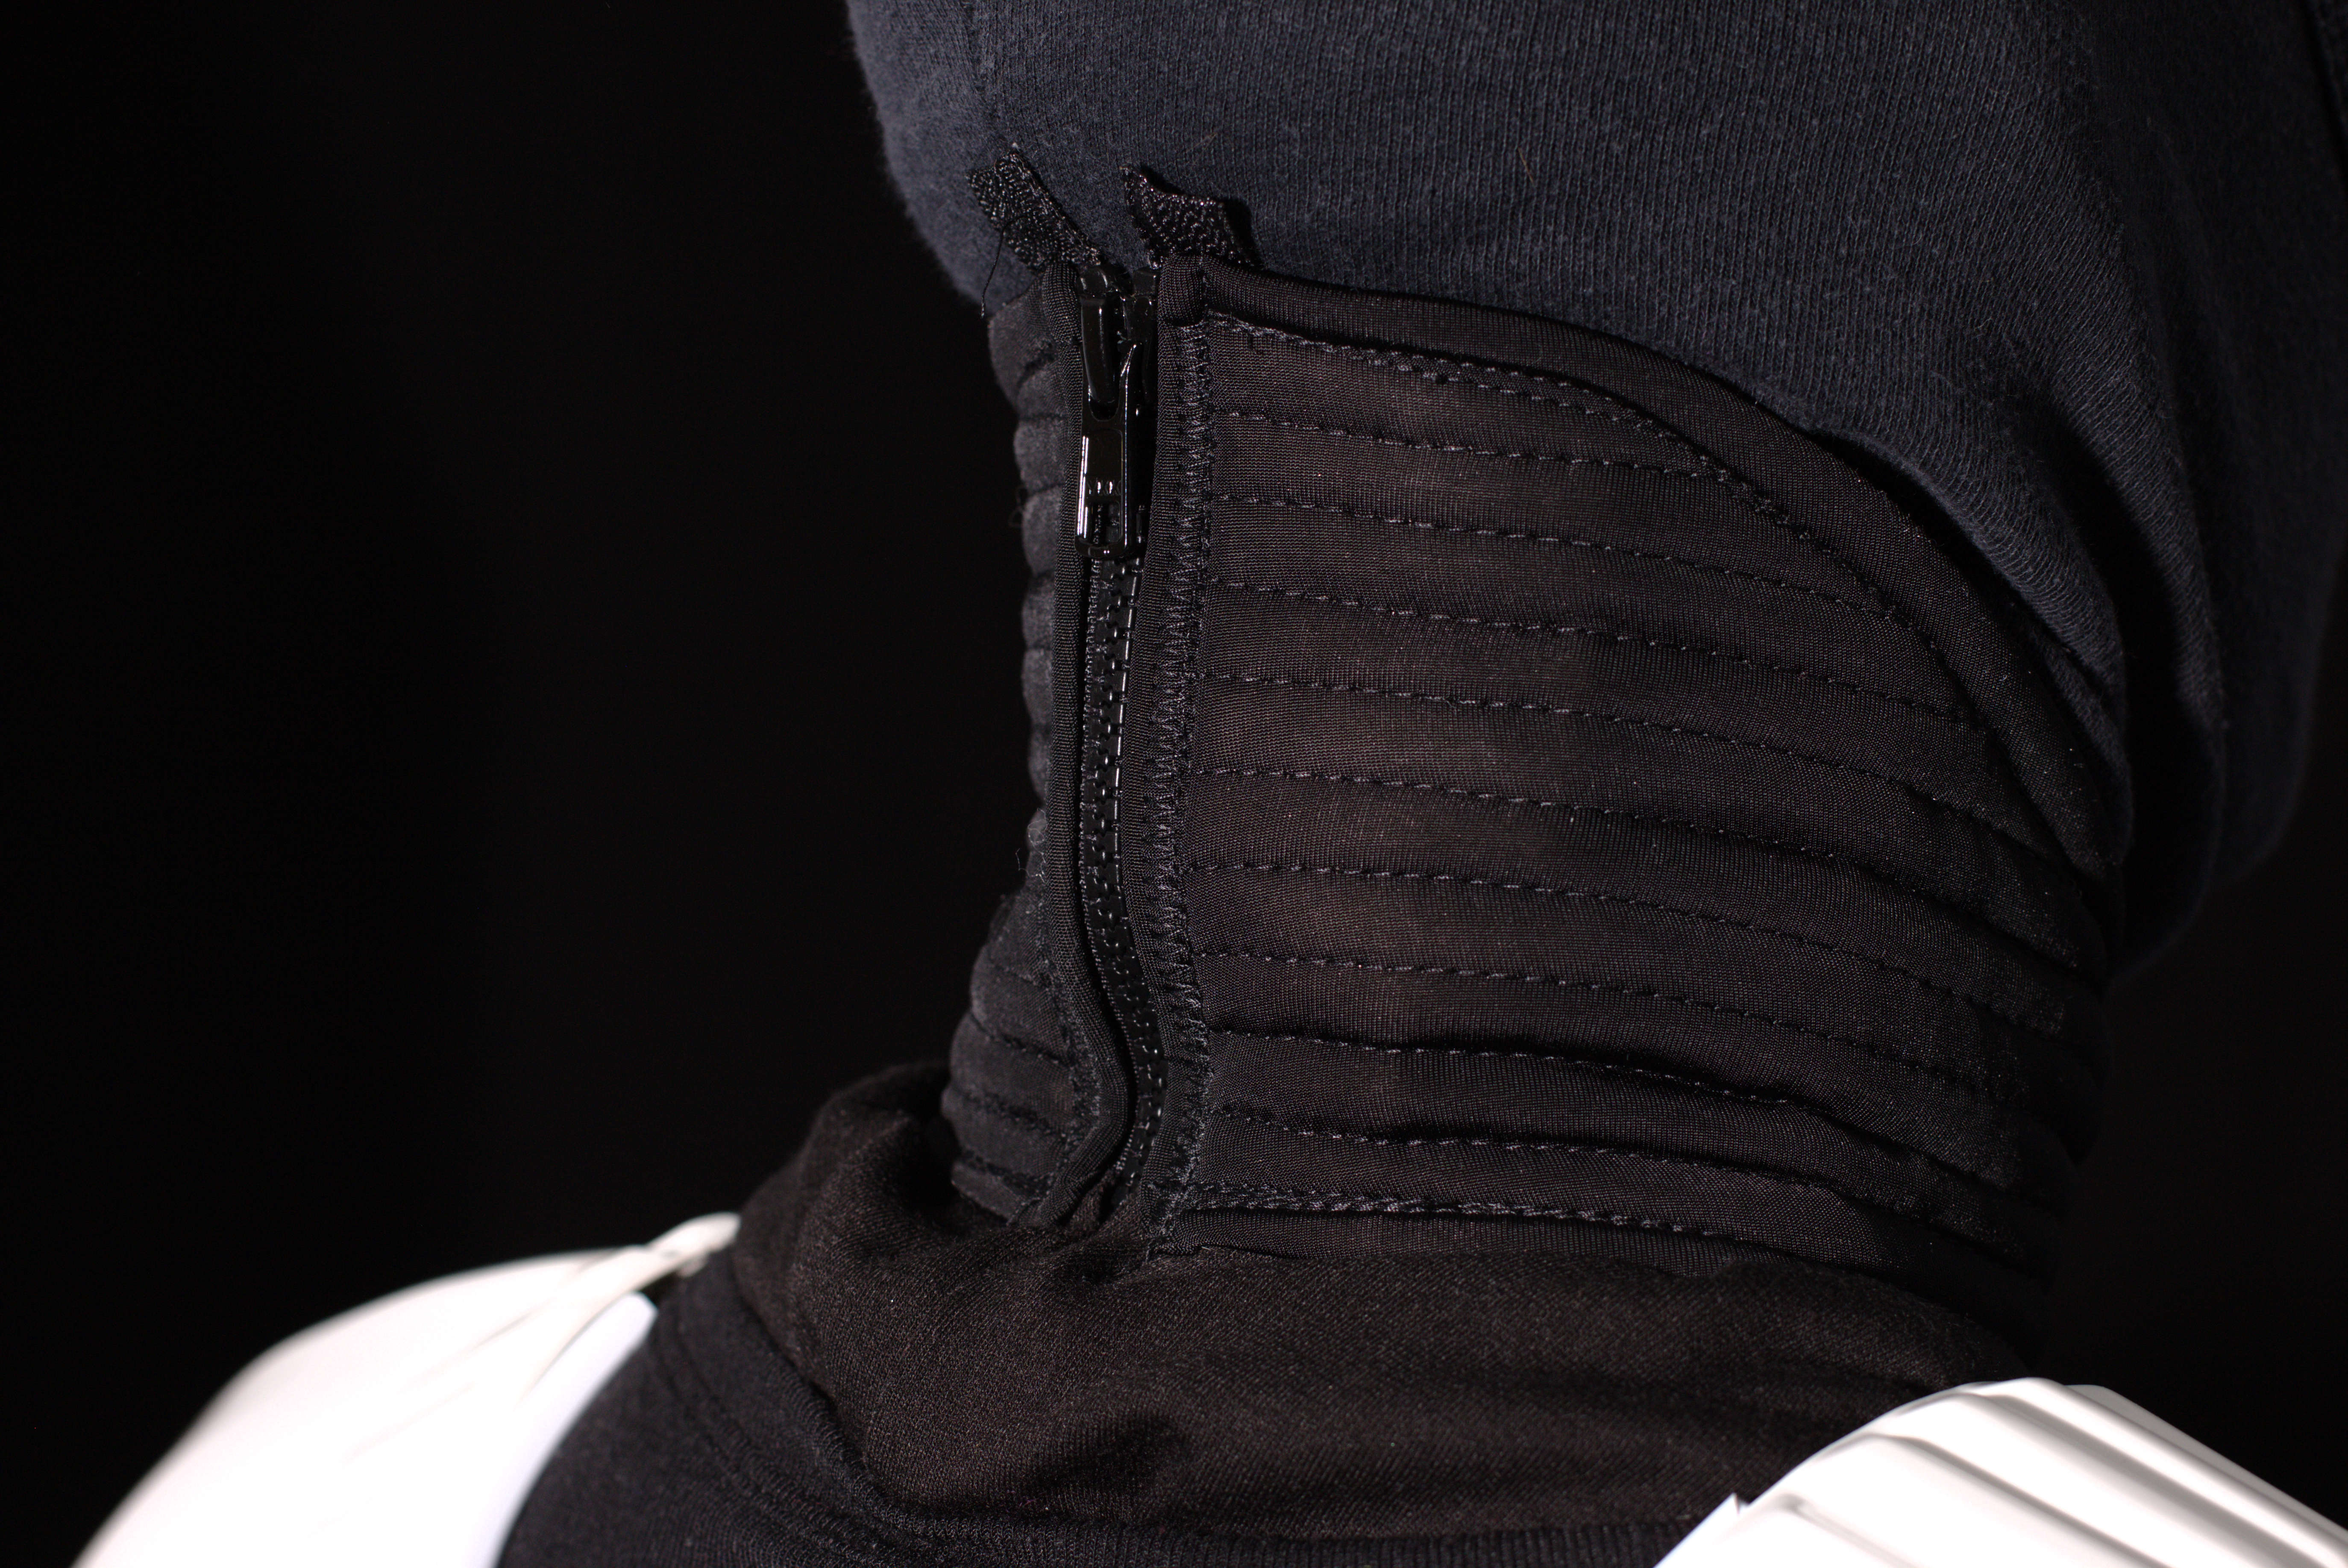
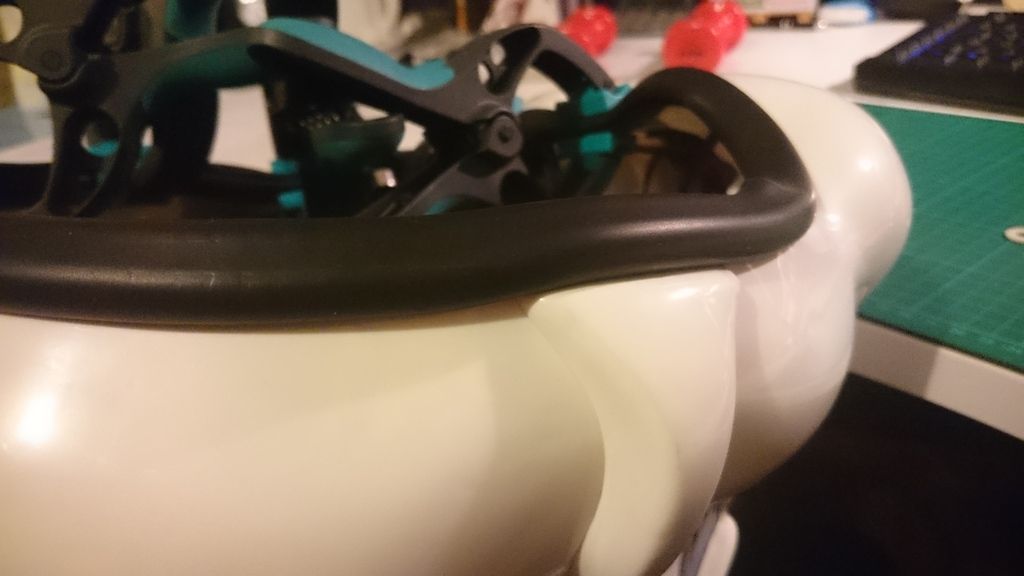
Neck Seal Type: ripped/Darman
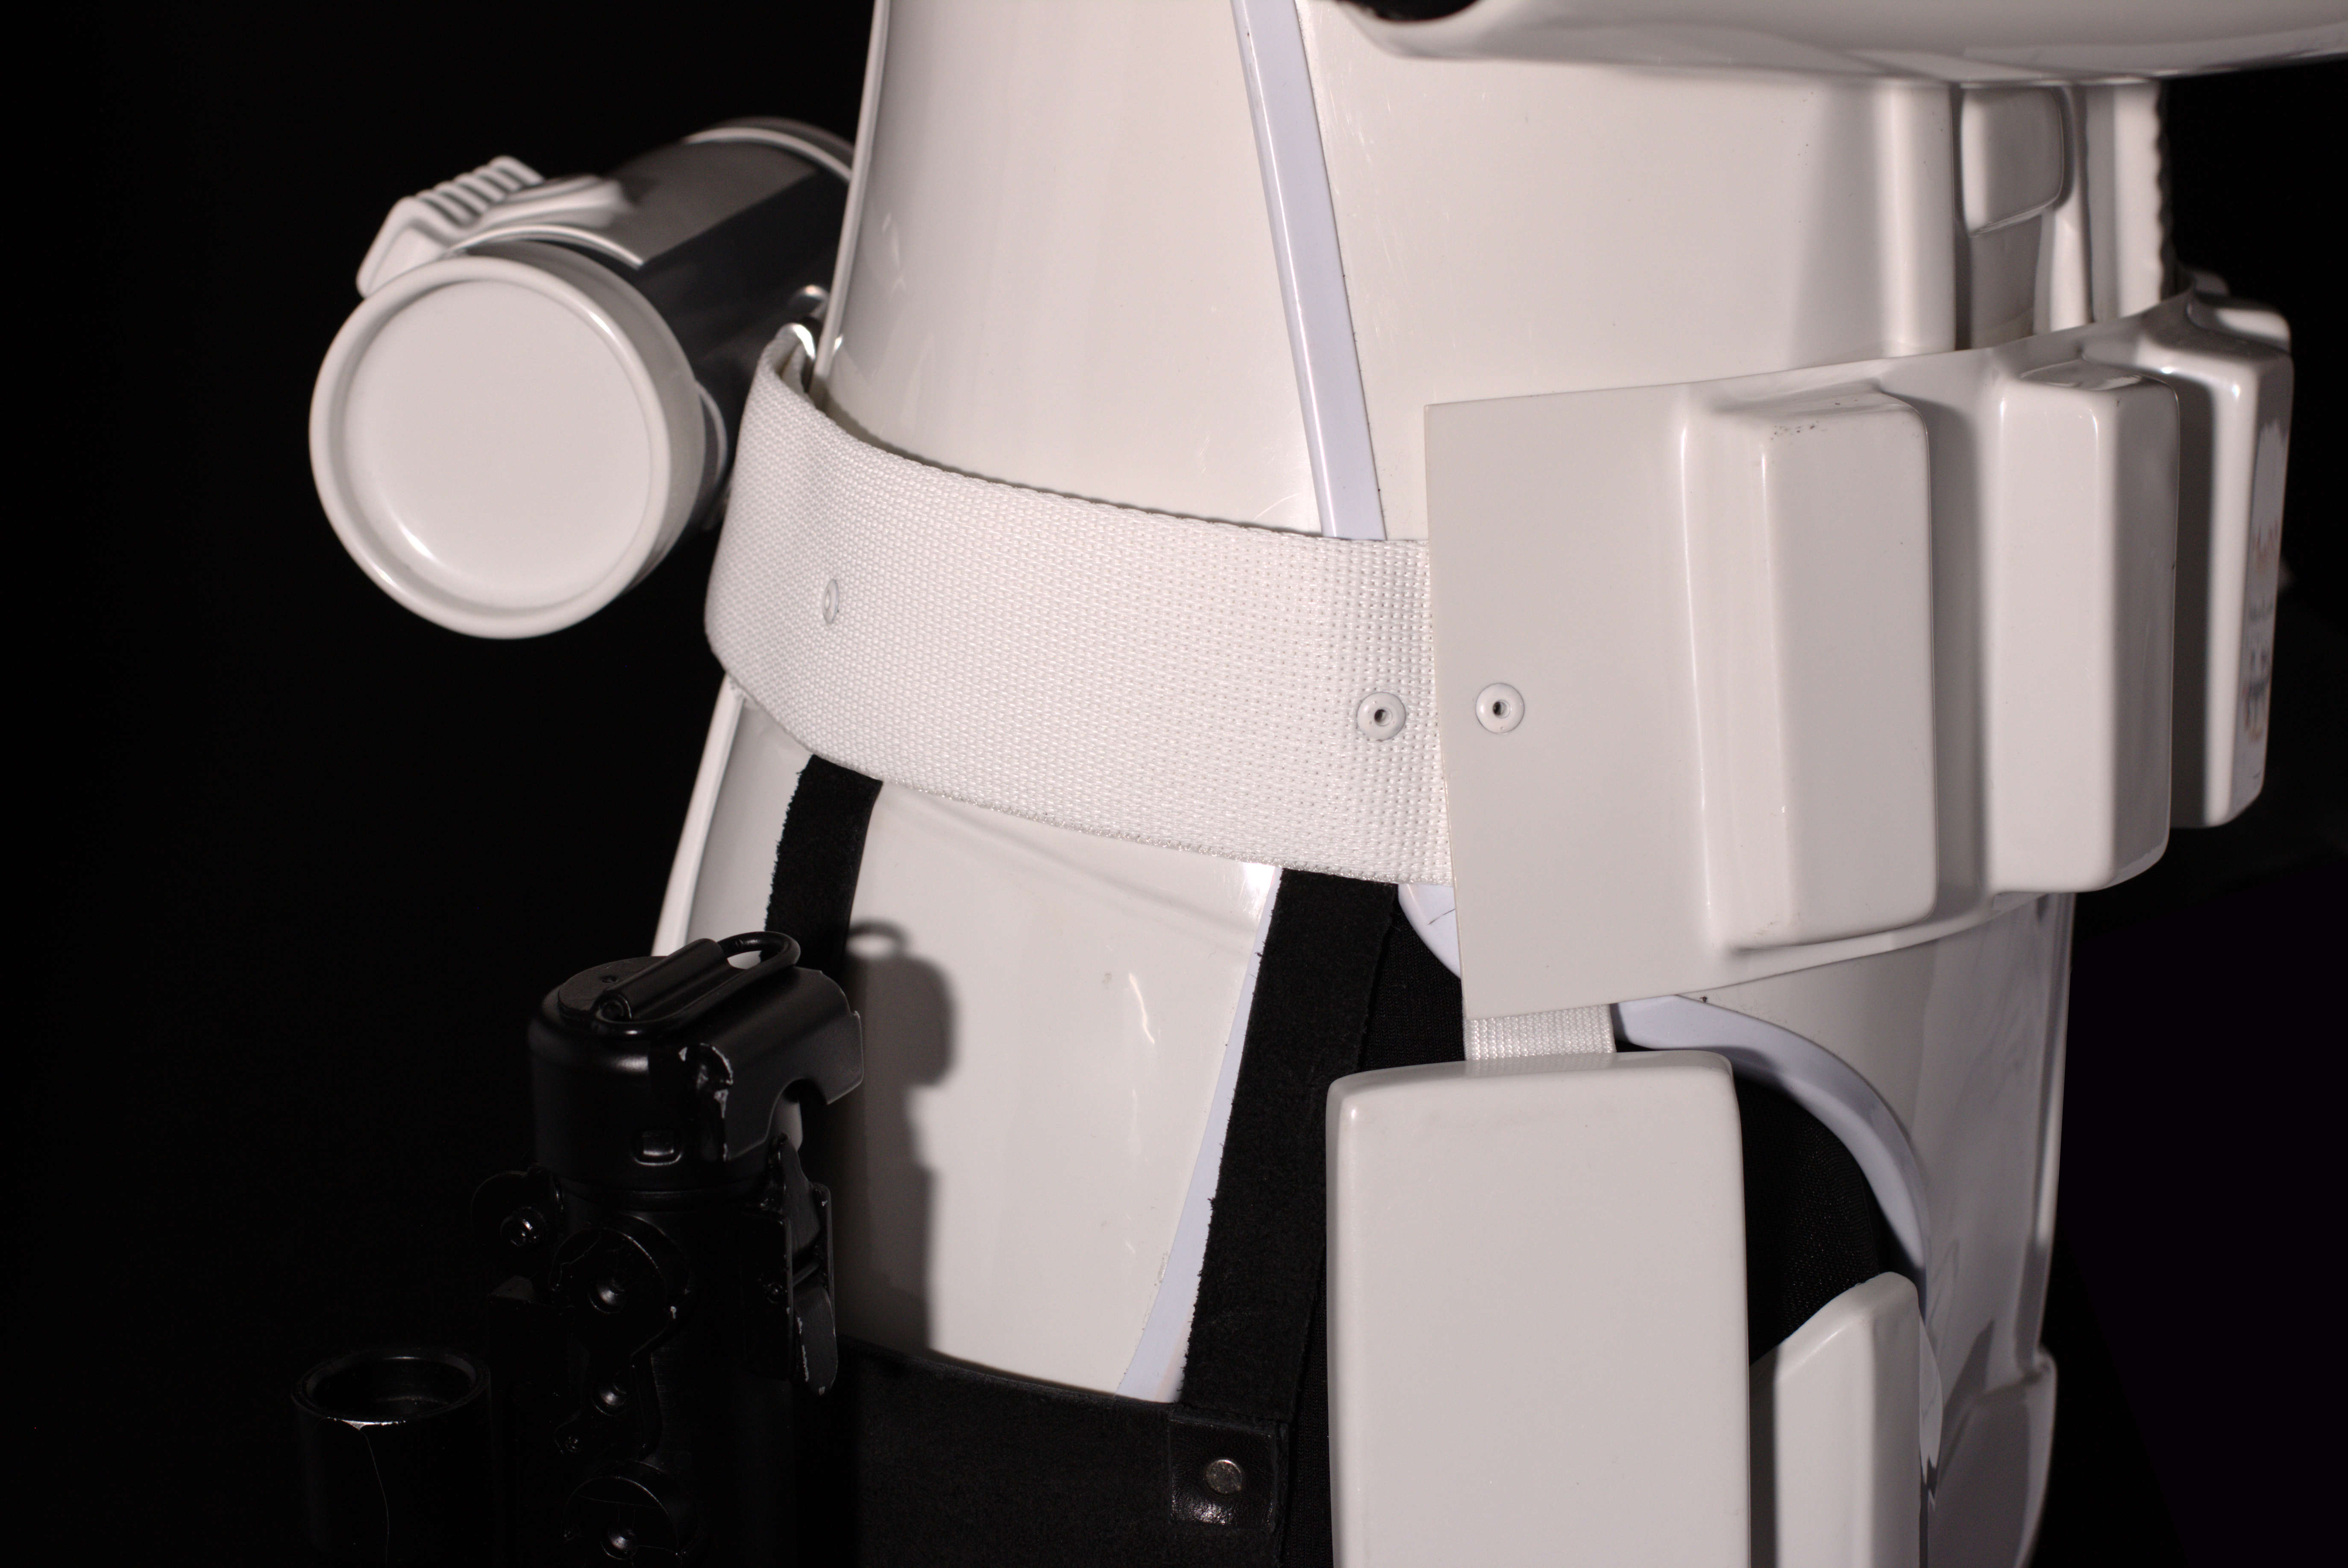
Holster Maker: TM
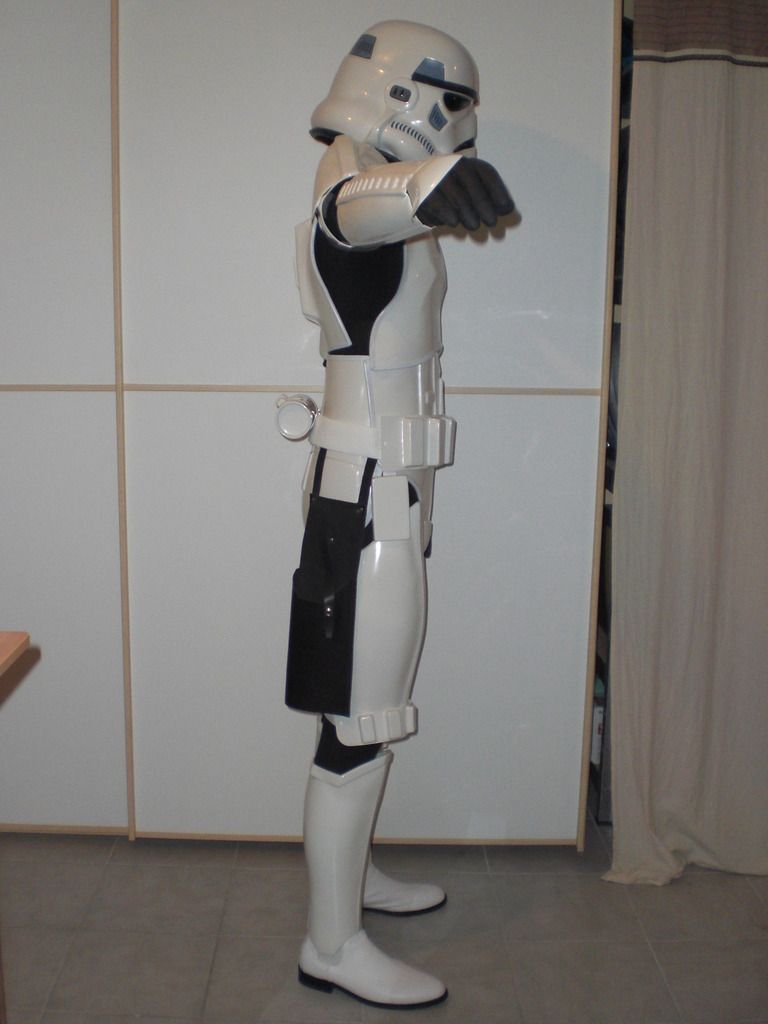
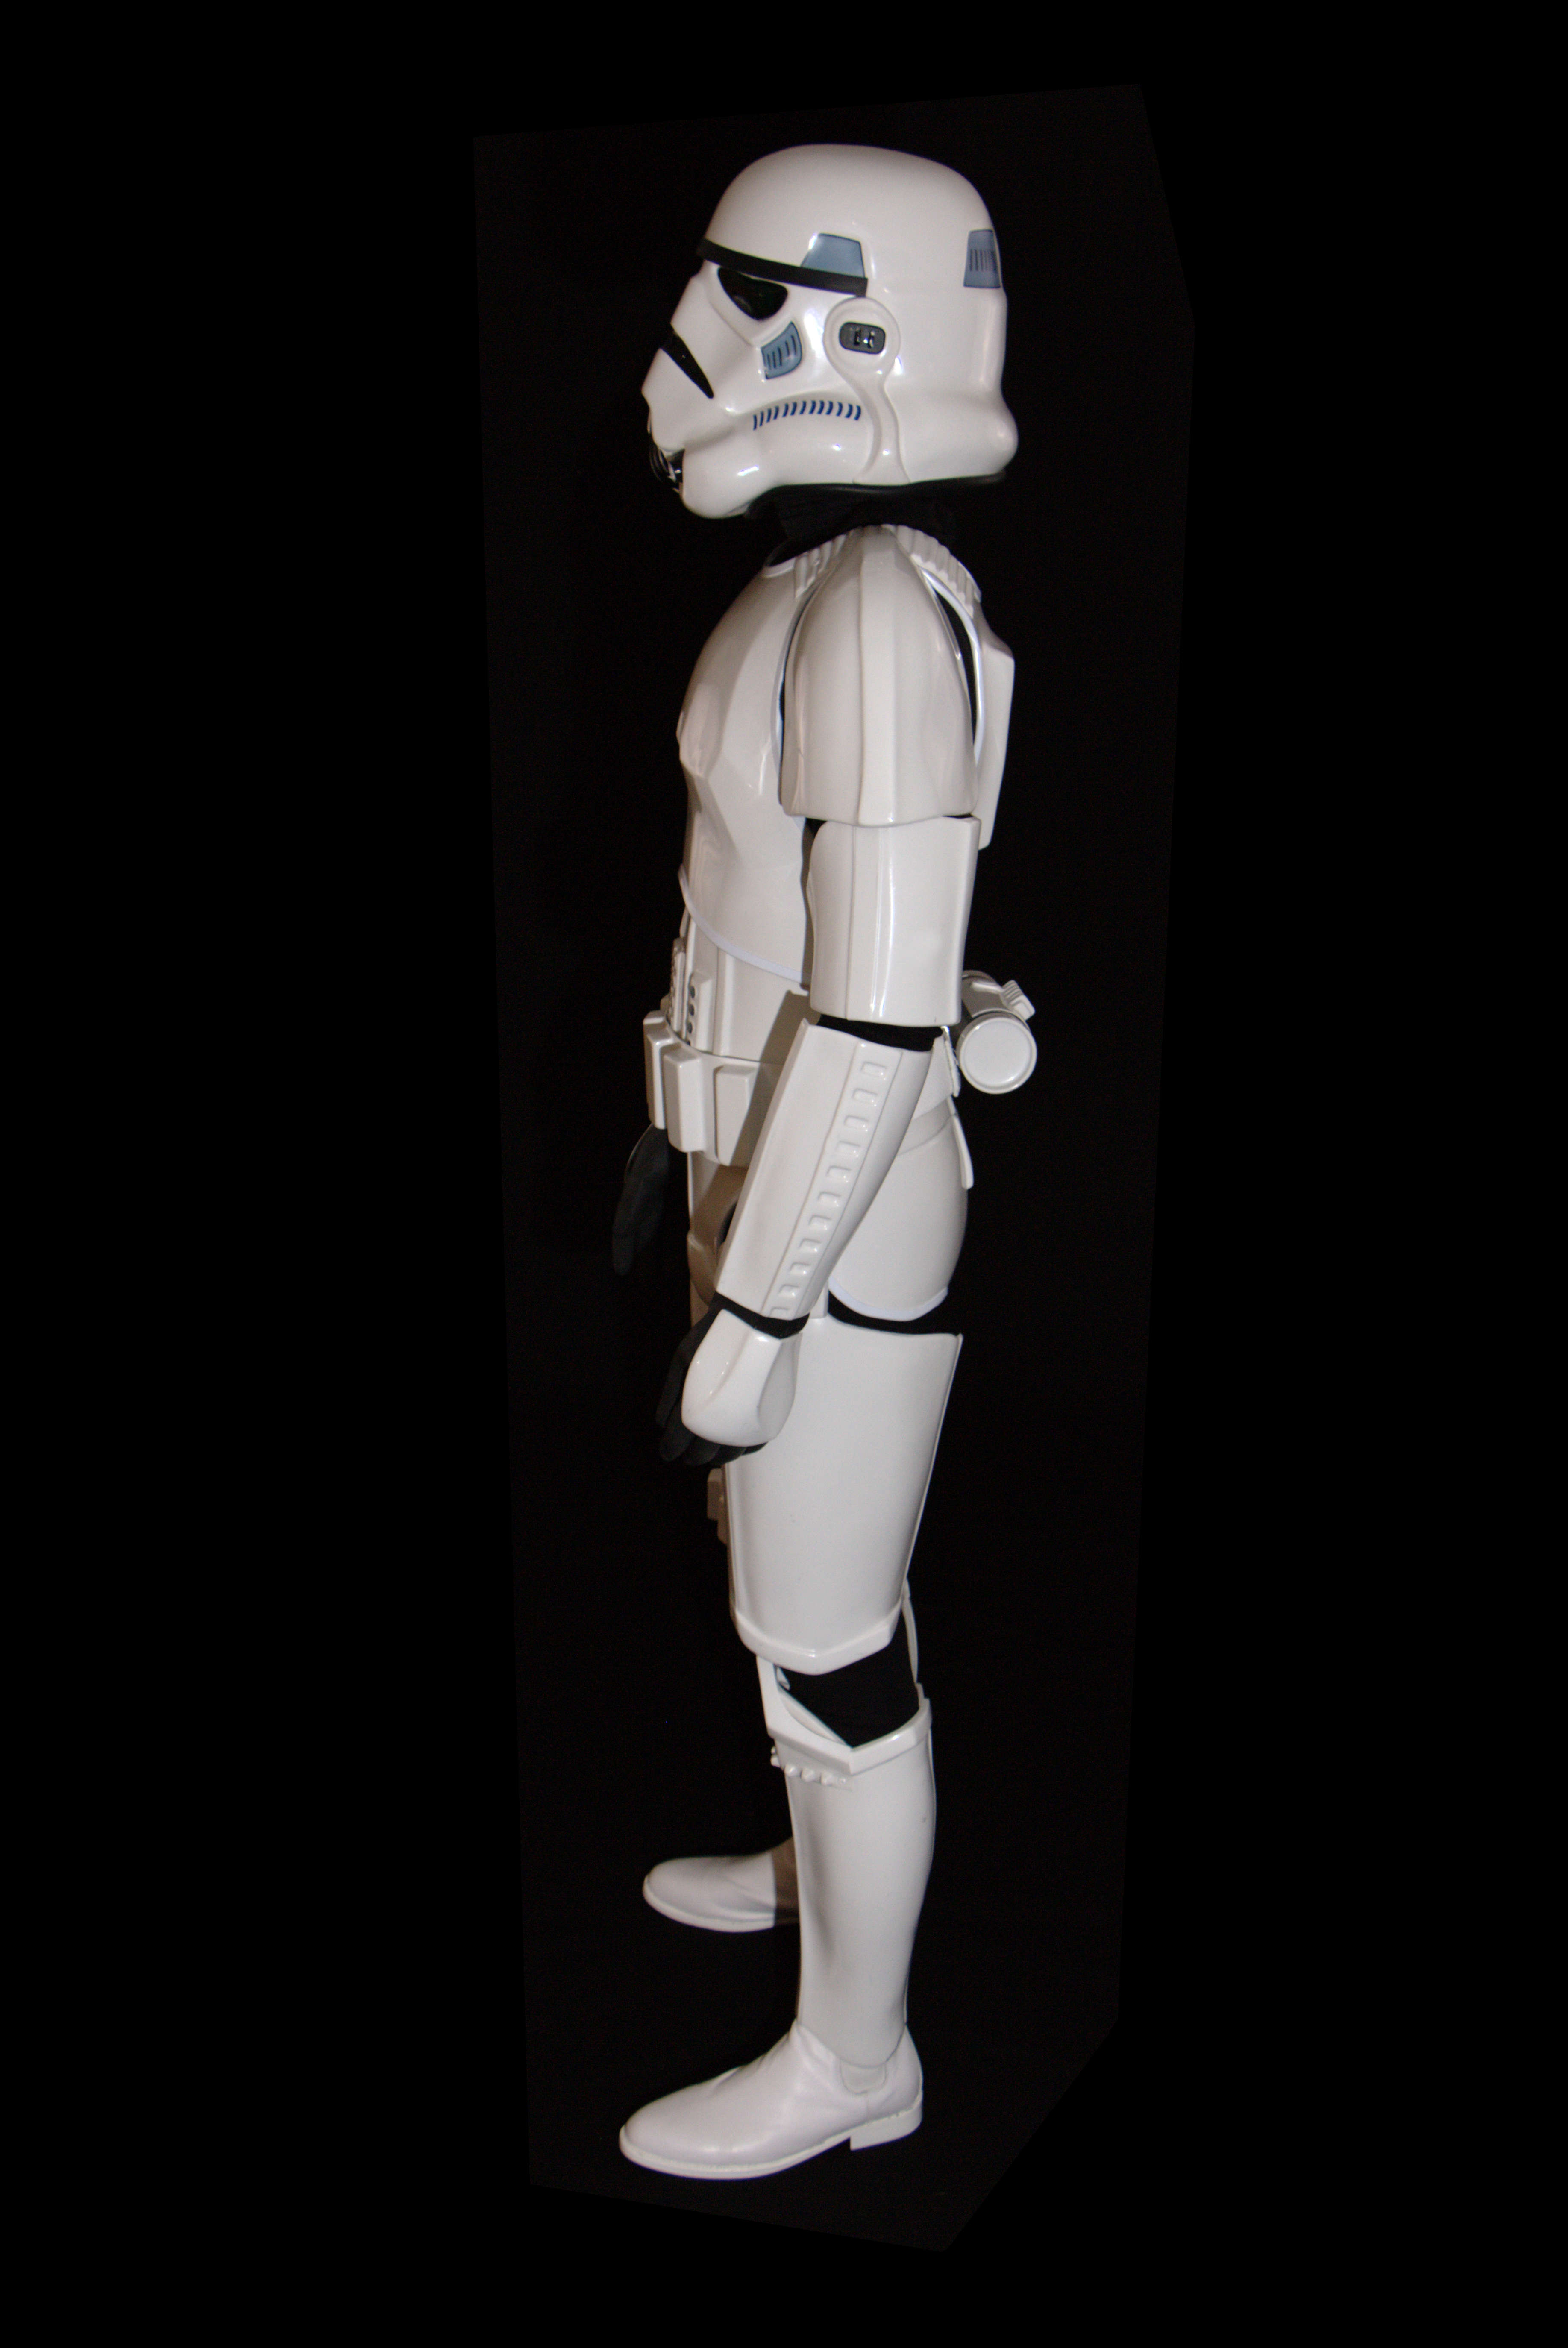
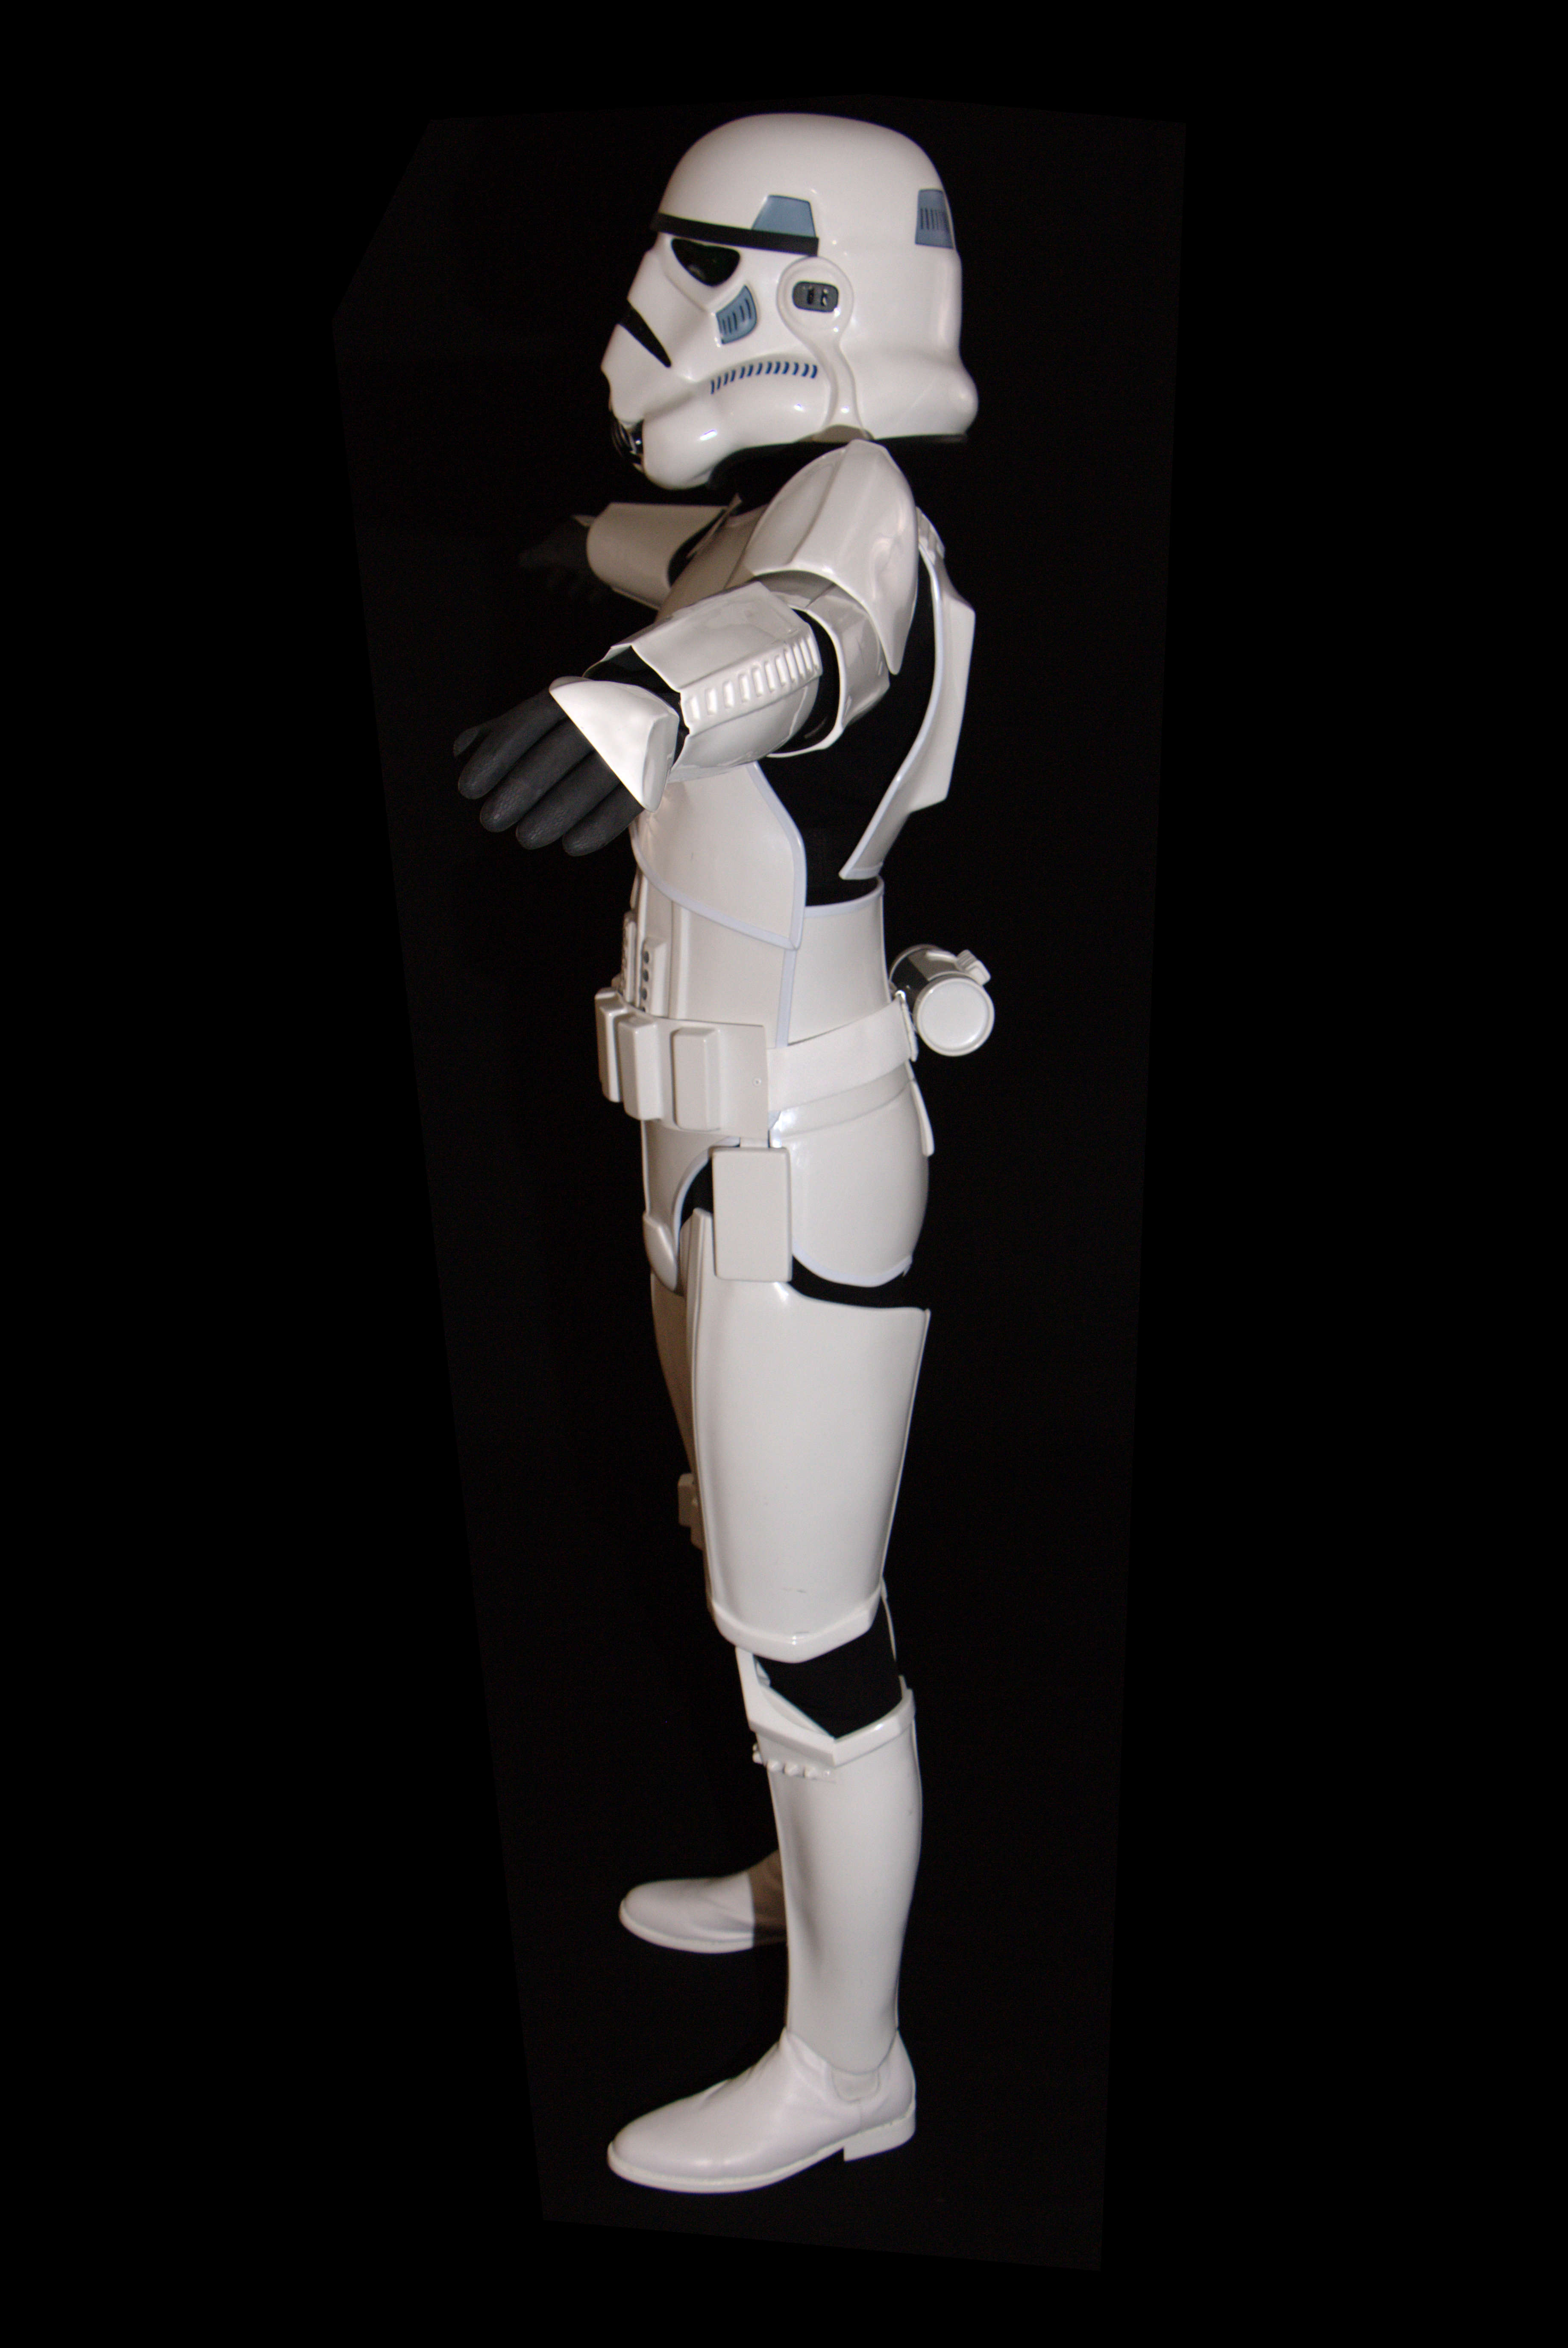
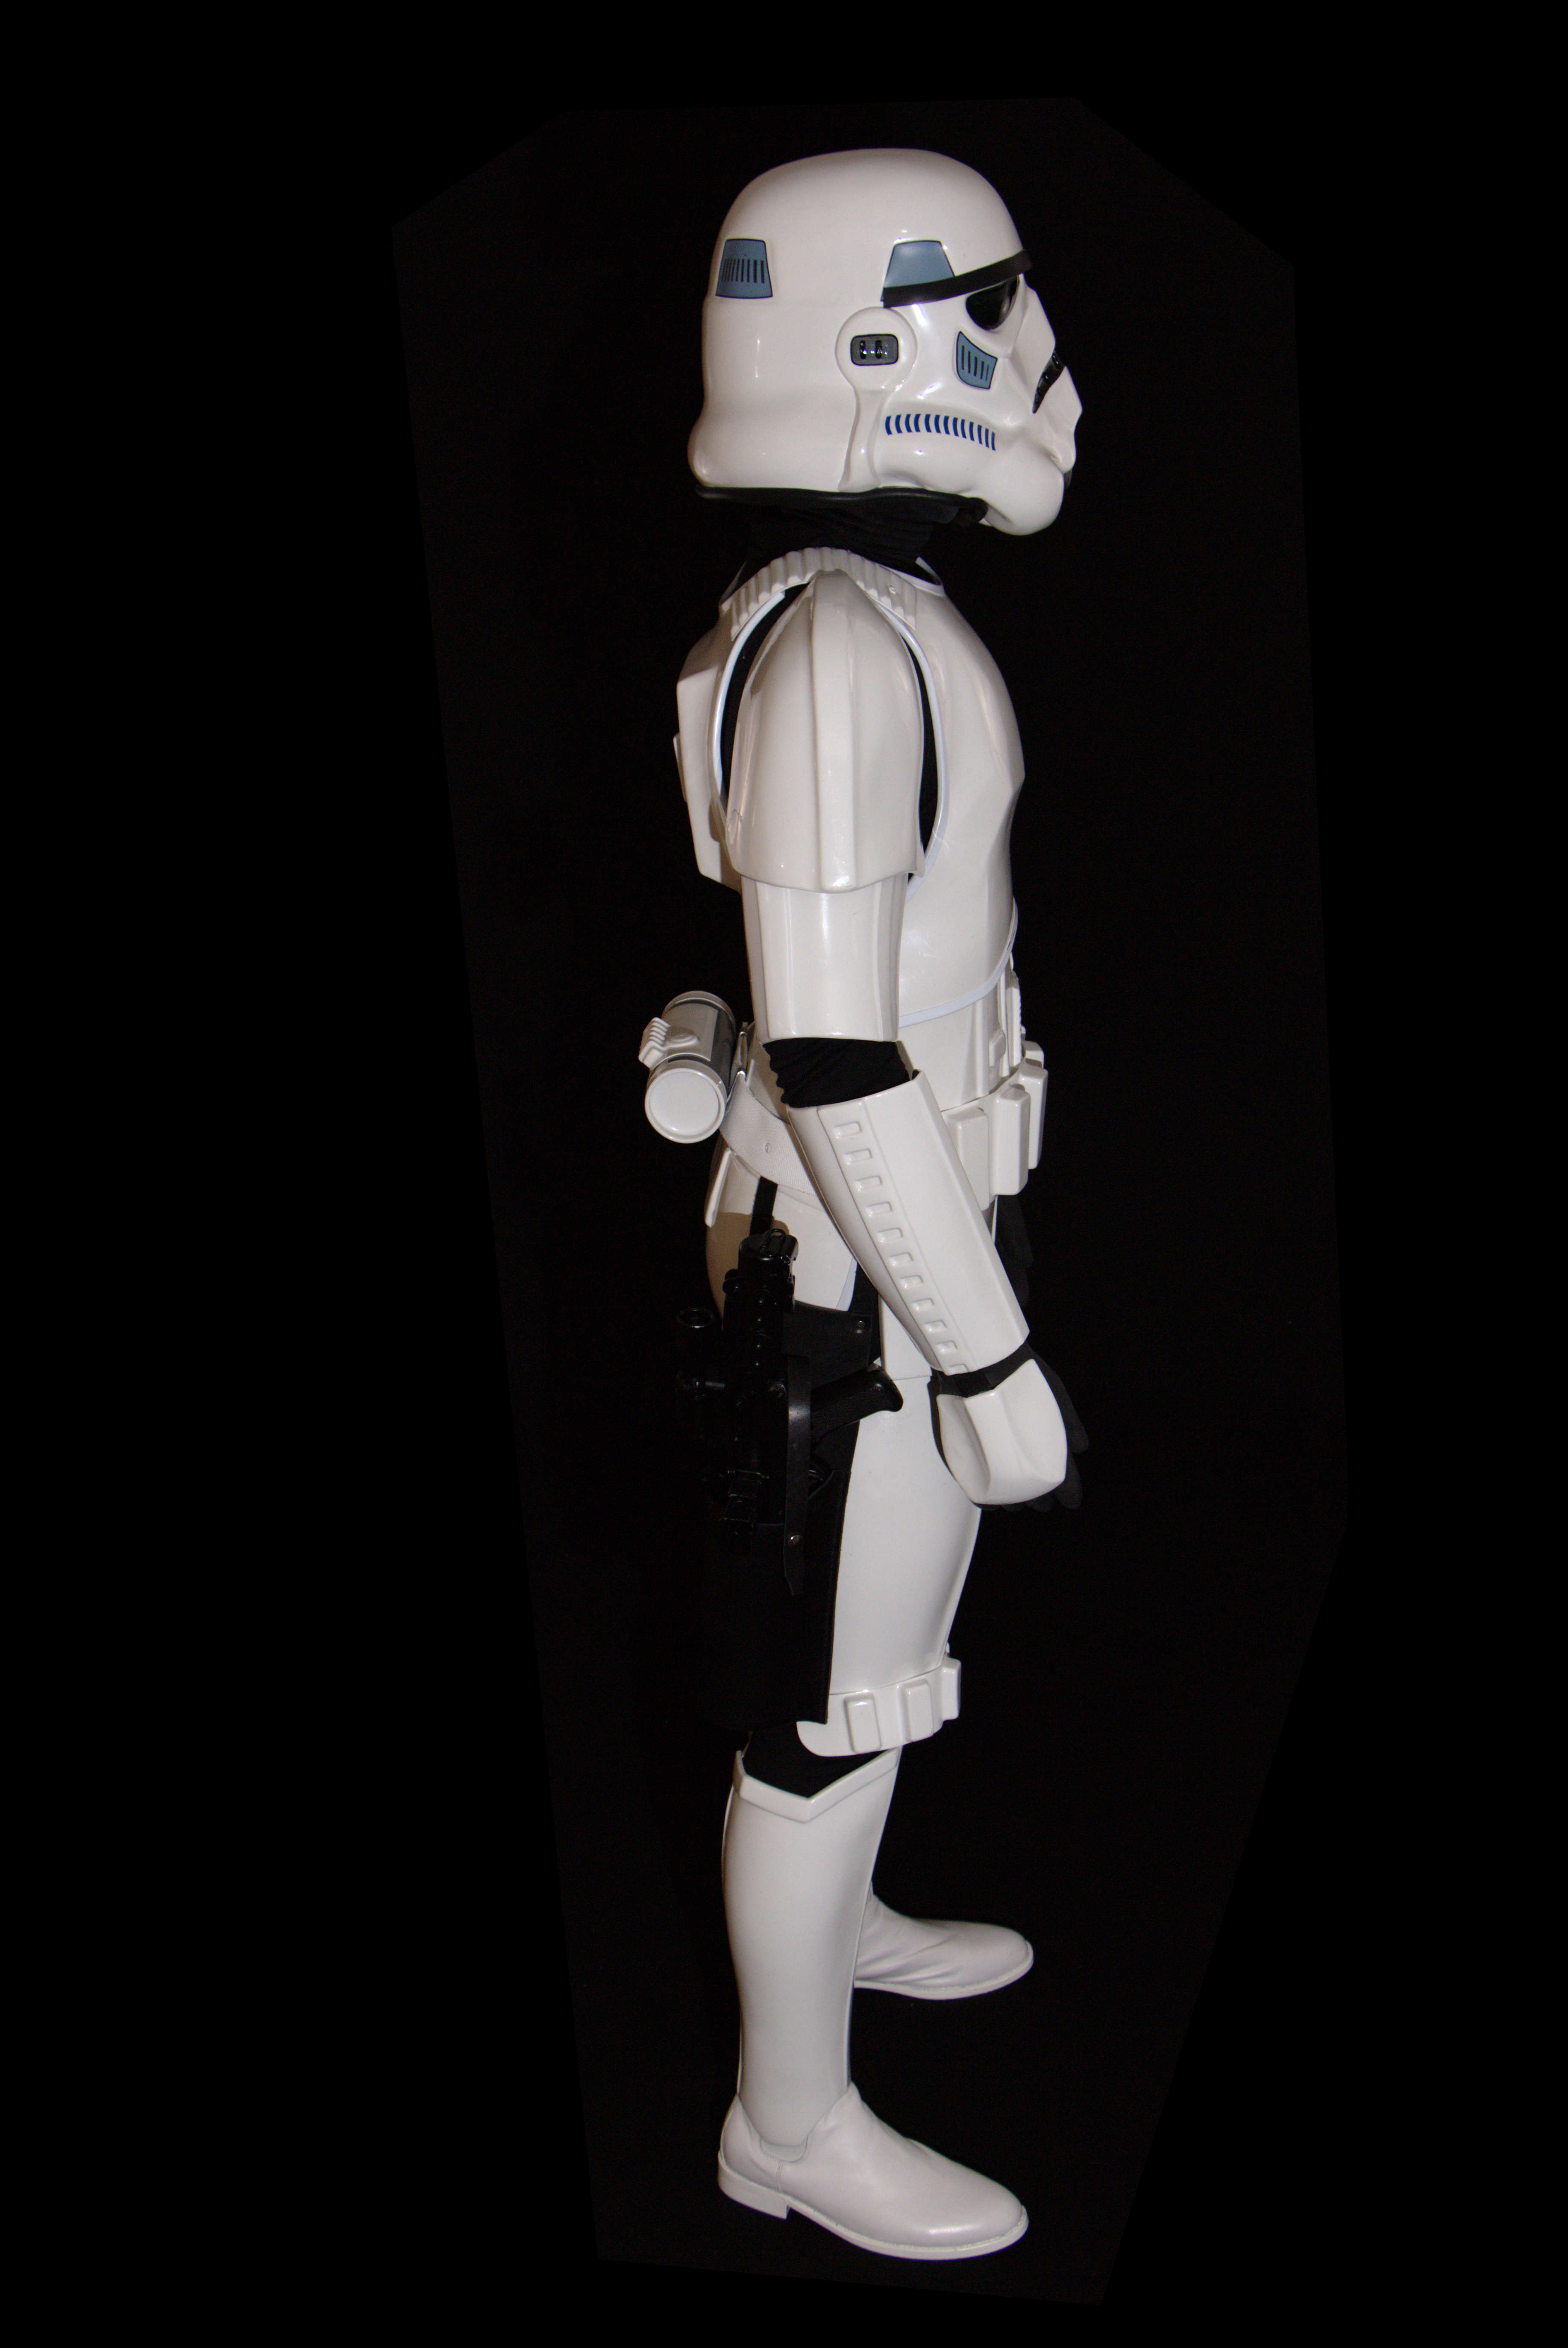
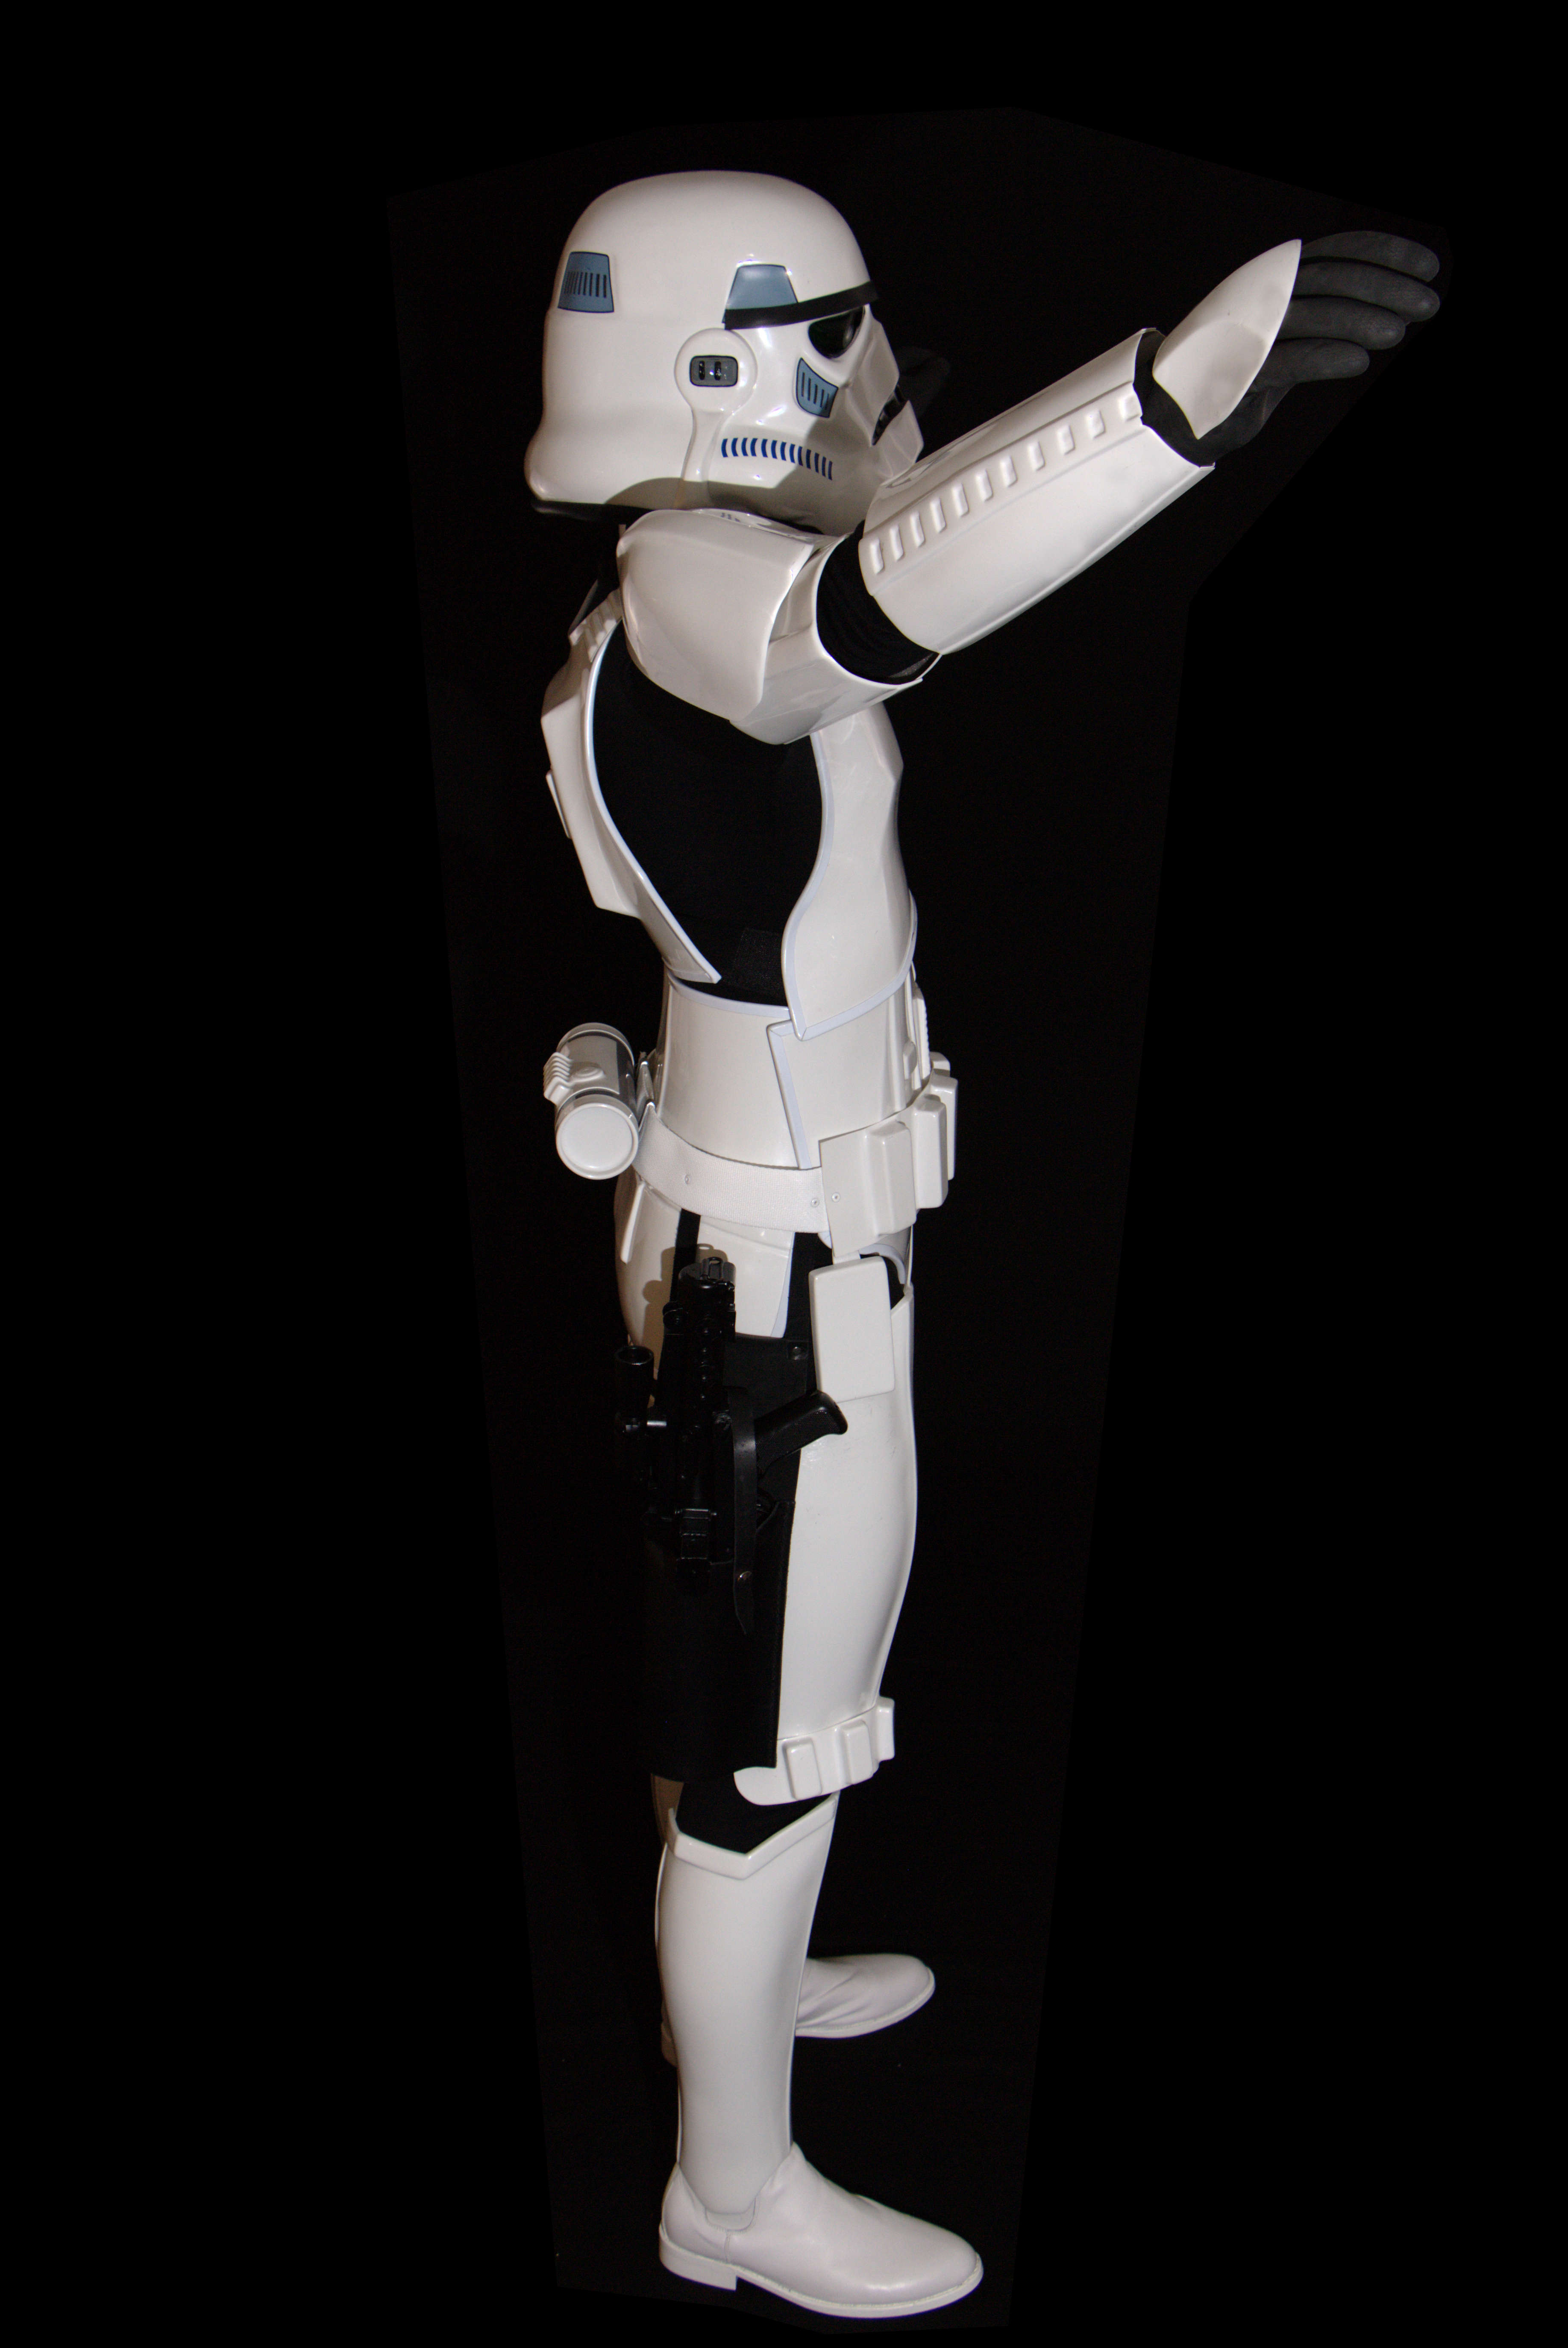
Full Body:
Front
Back
Left Side
Right Side
Armor Details:
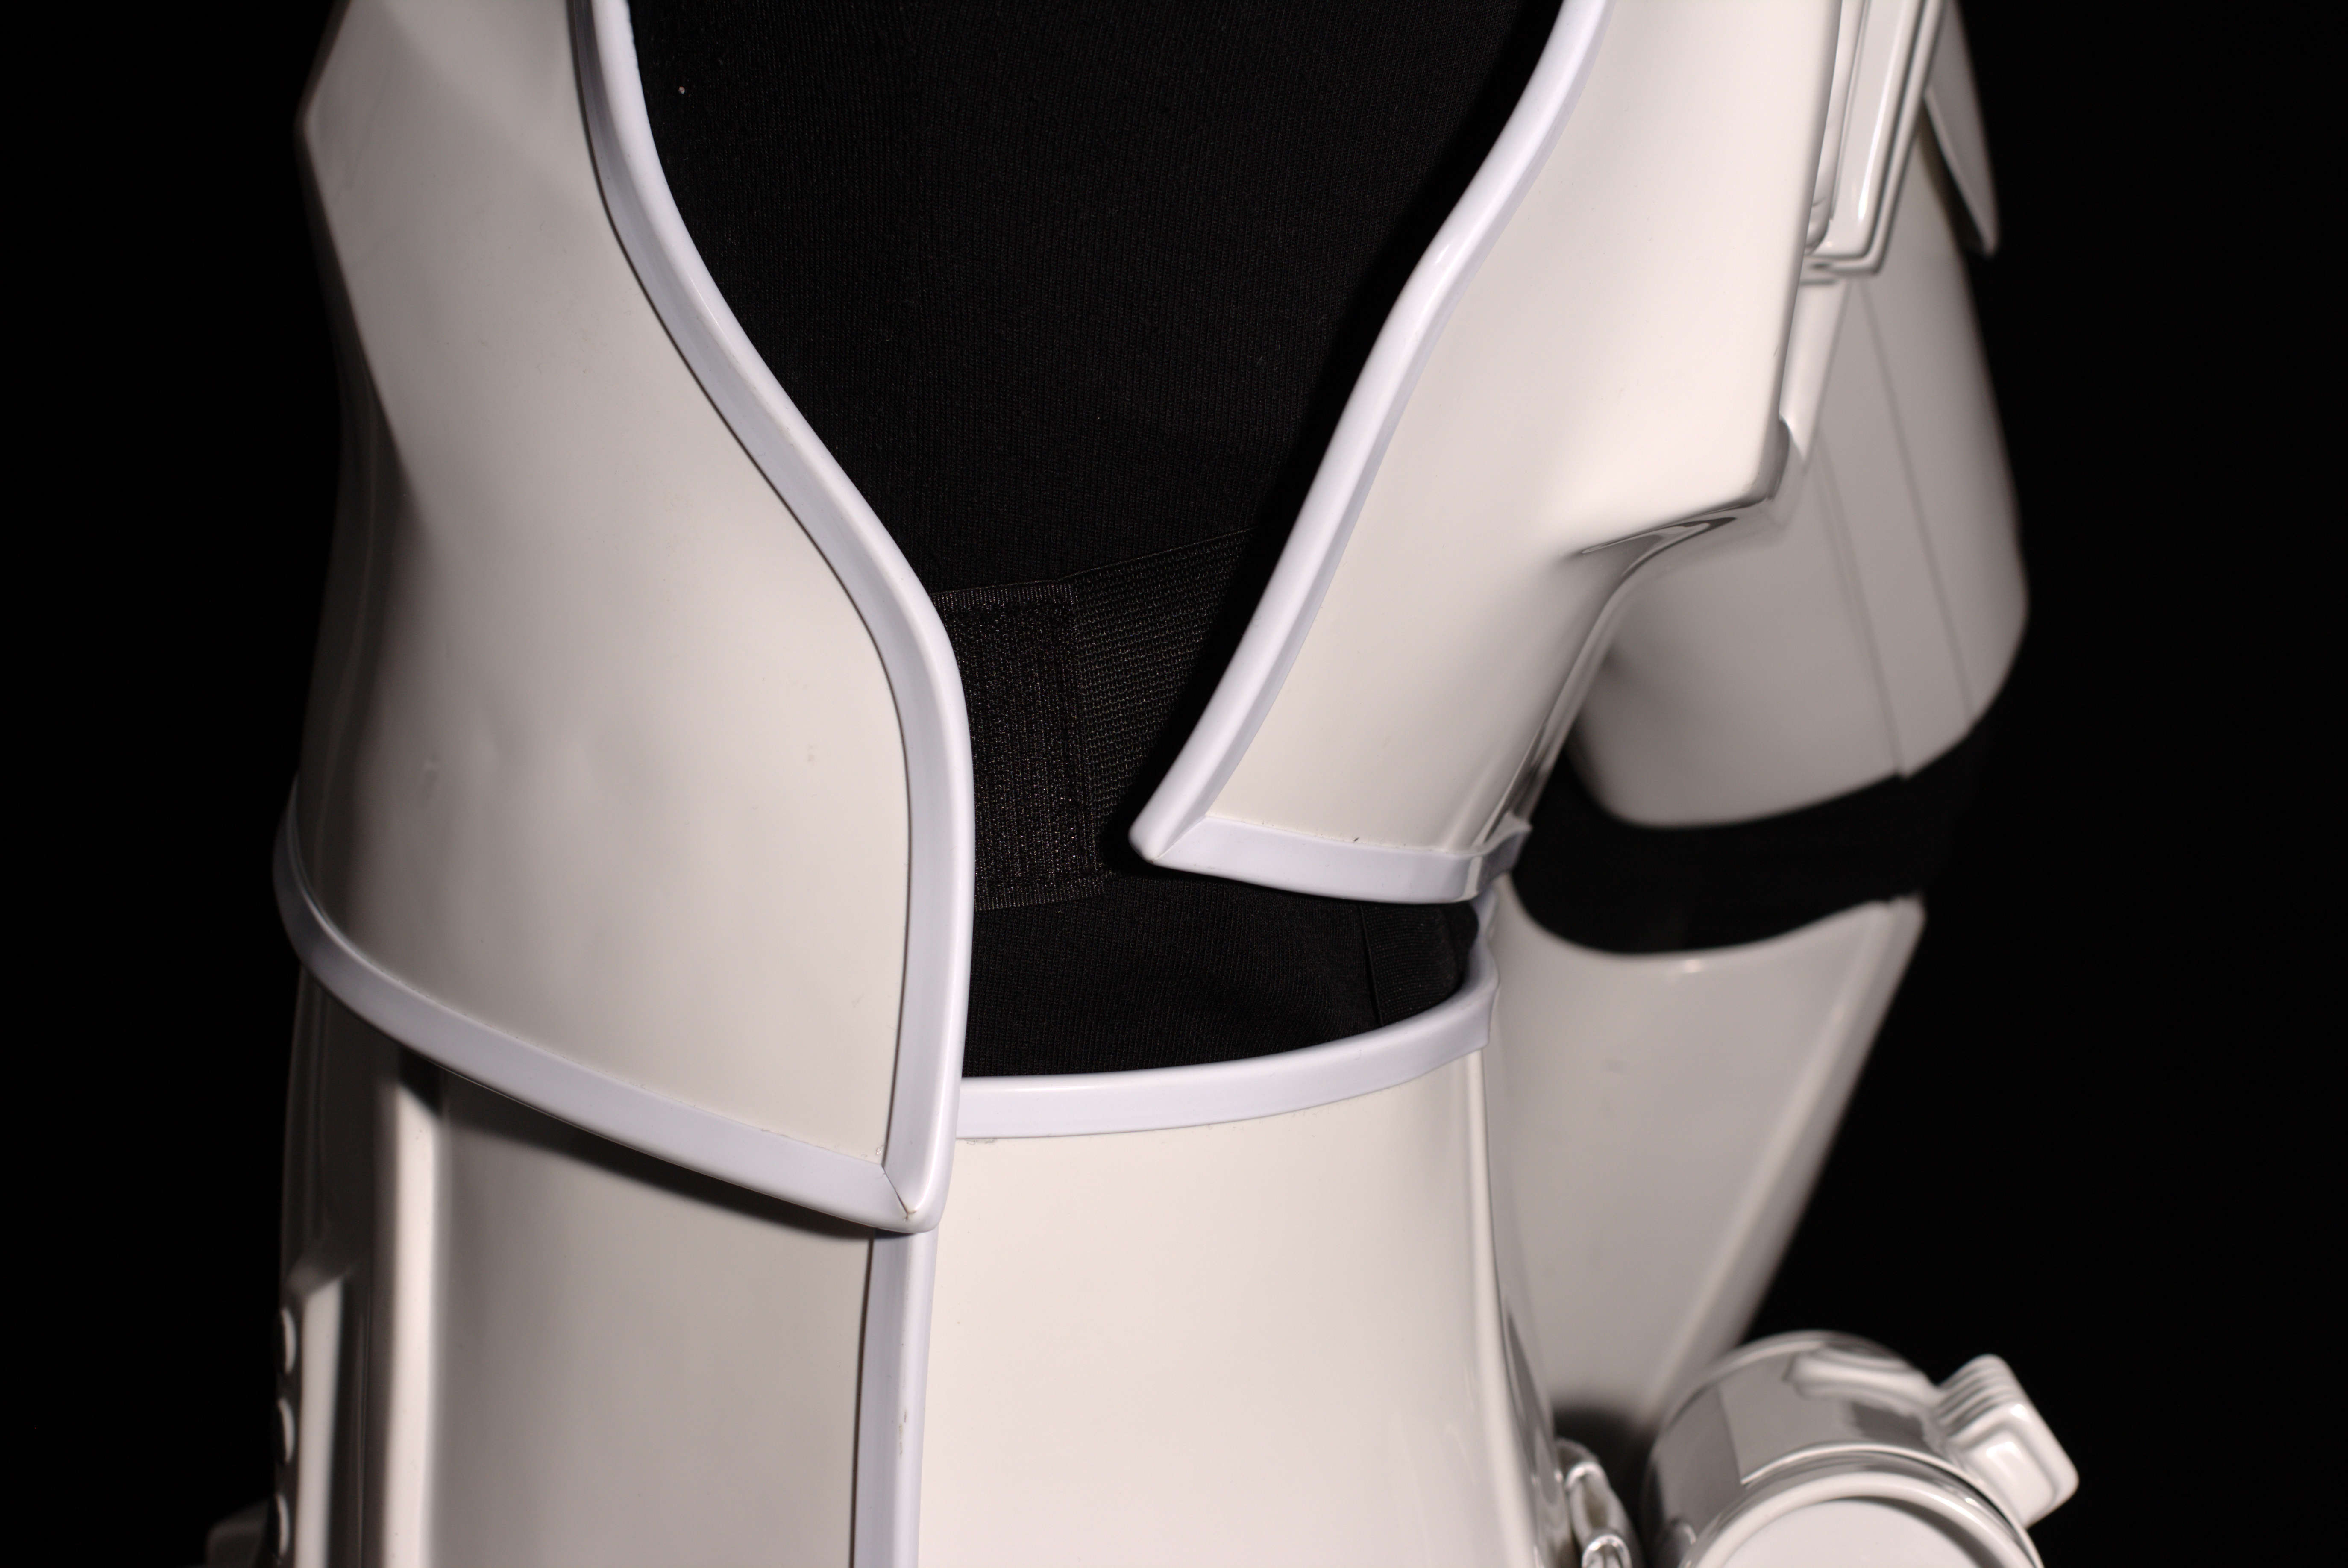
Ab/Kidney Attachment
Butt/Kidney - Fixed:
yes
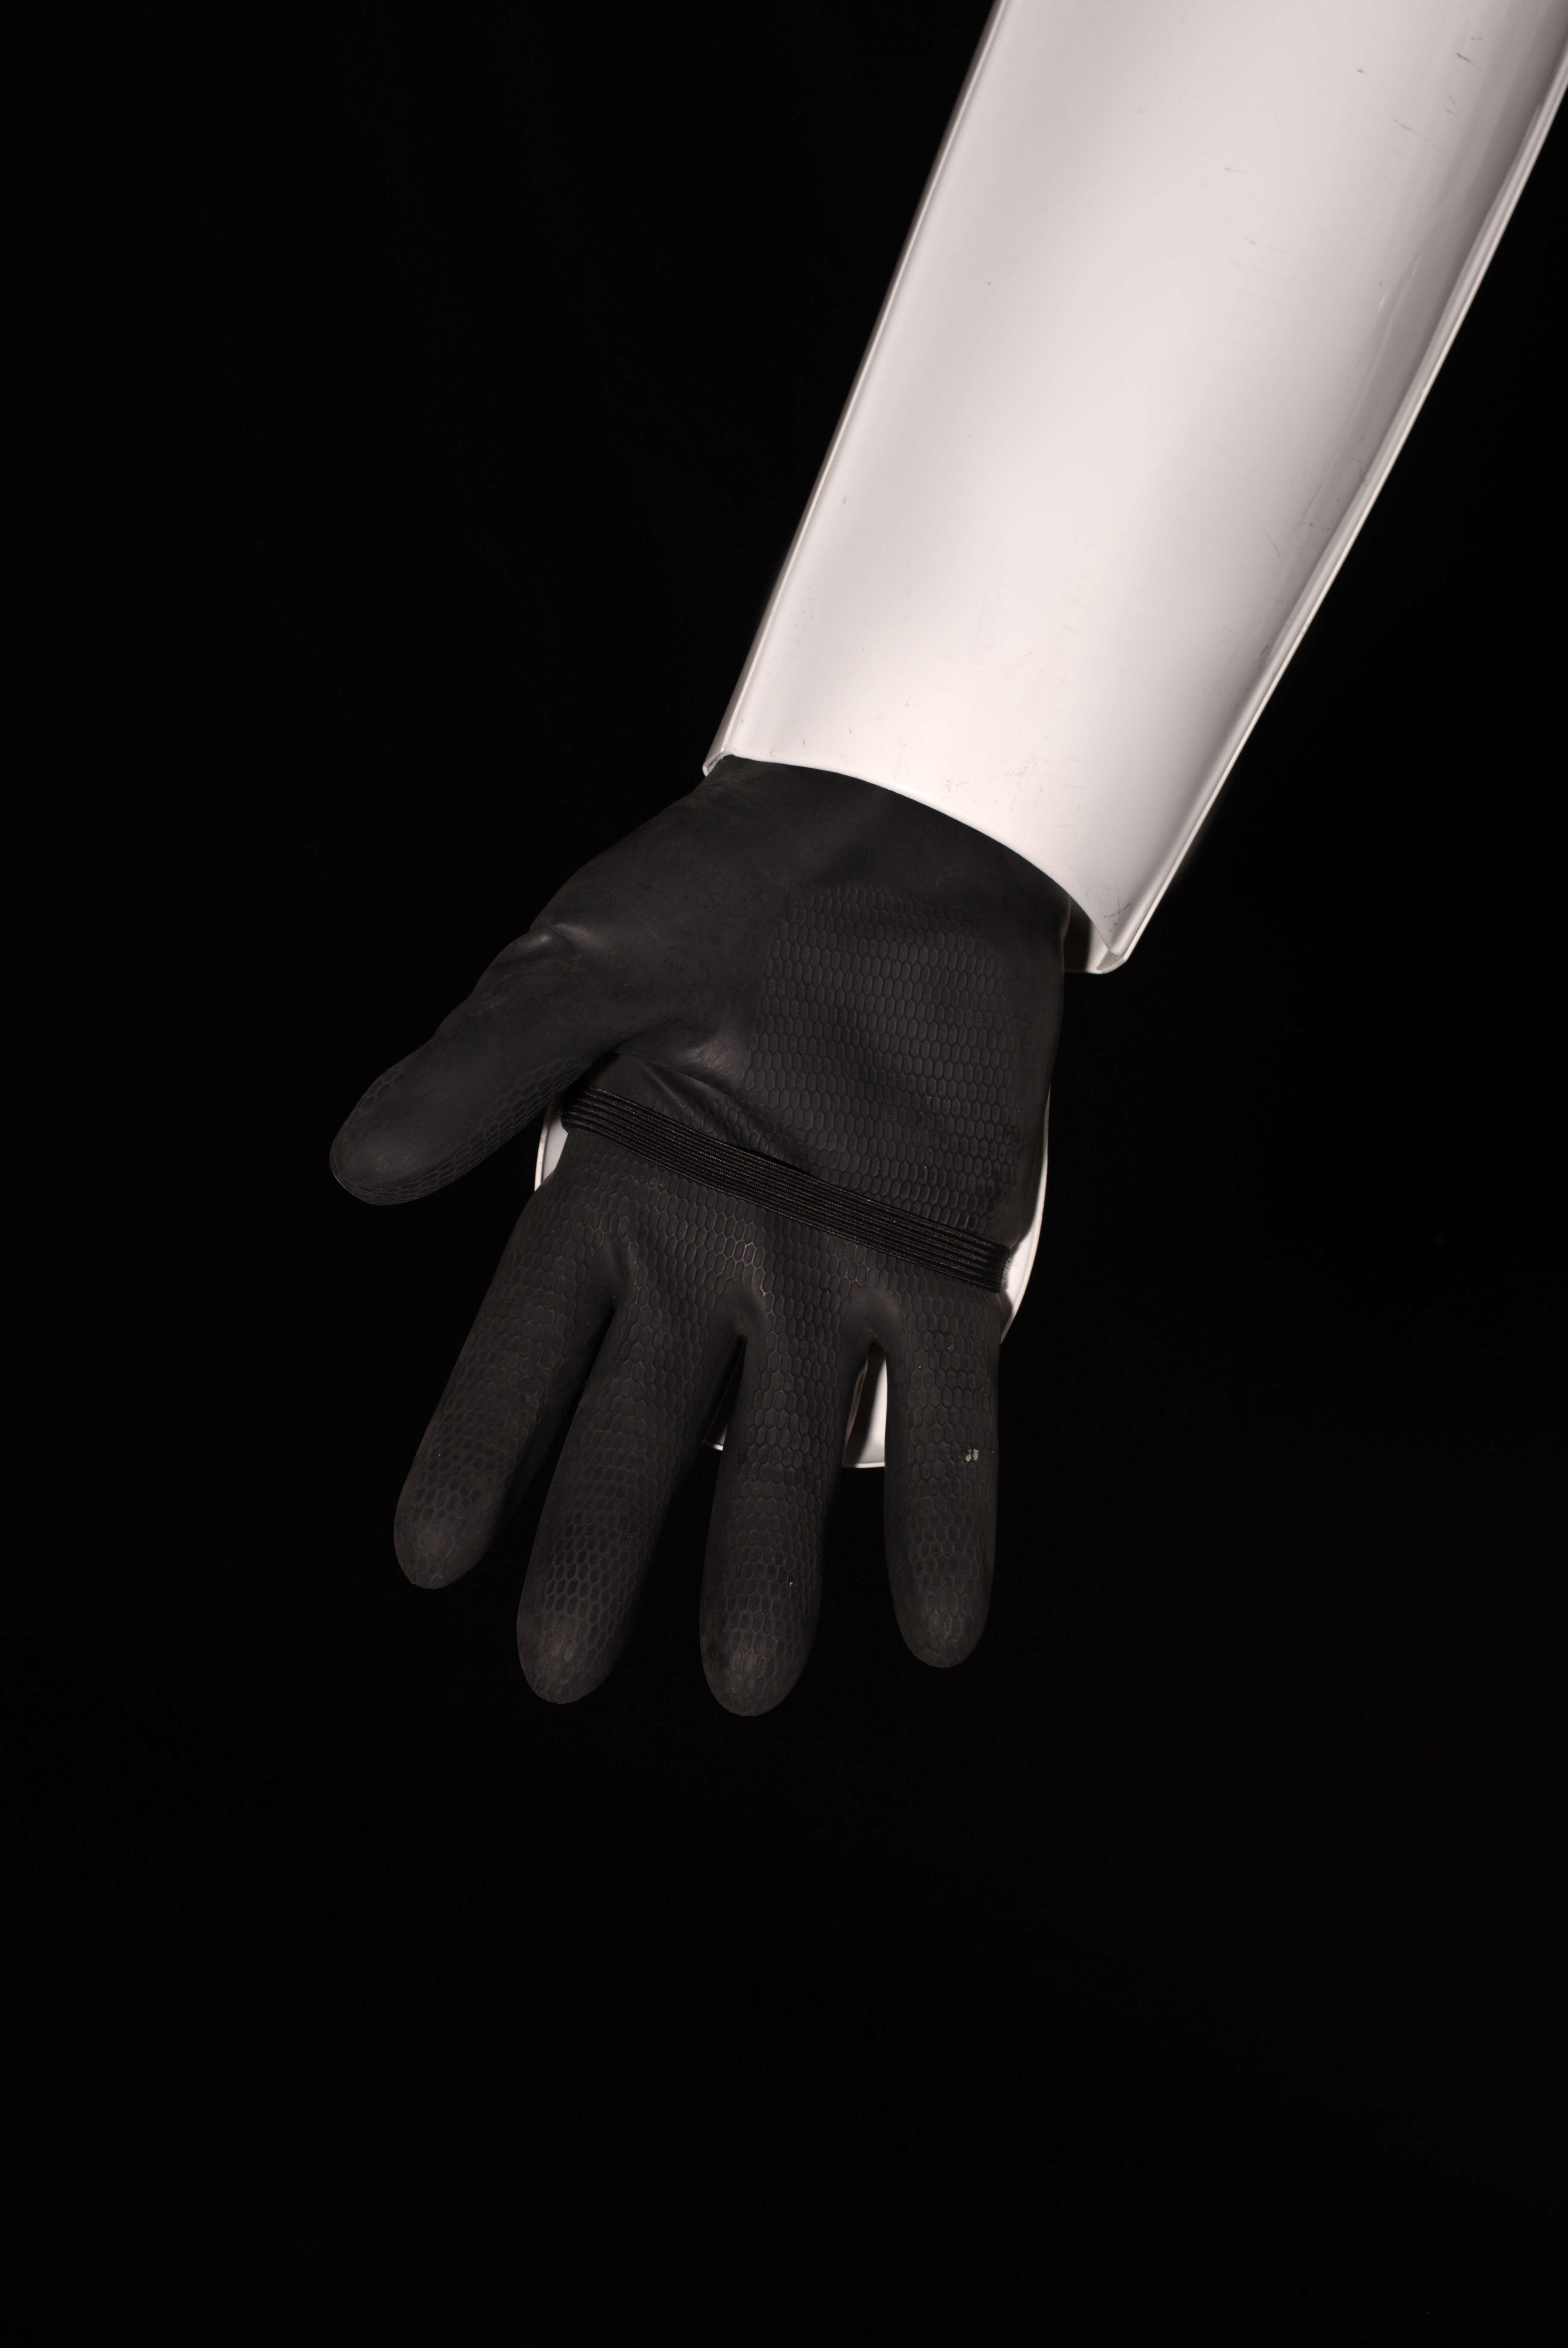
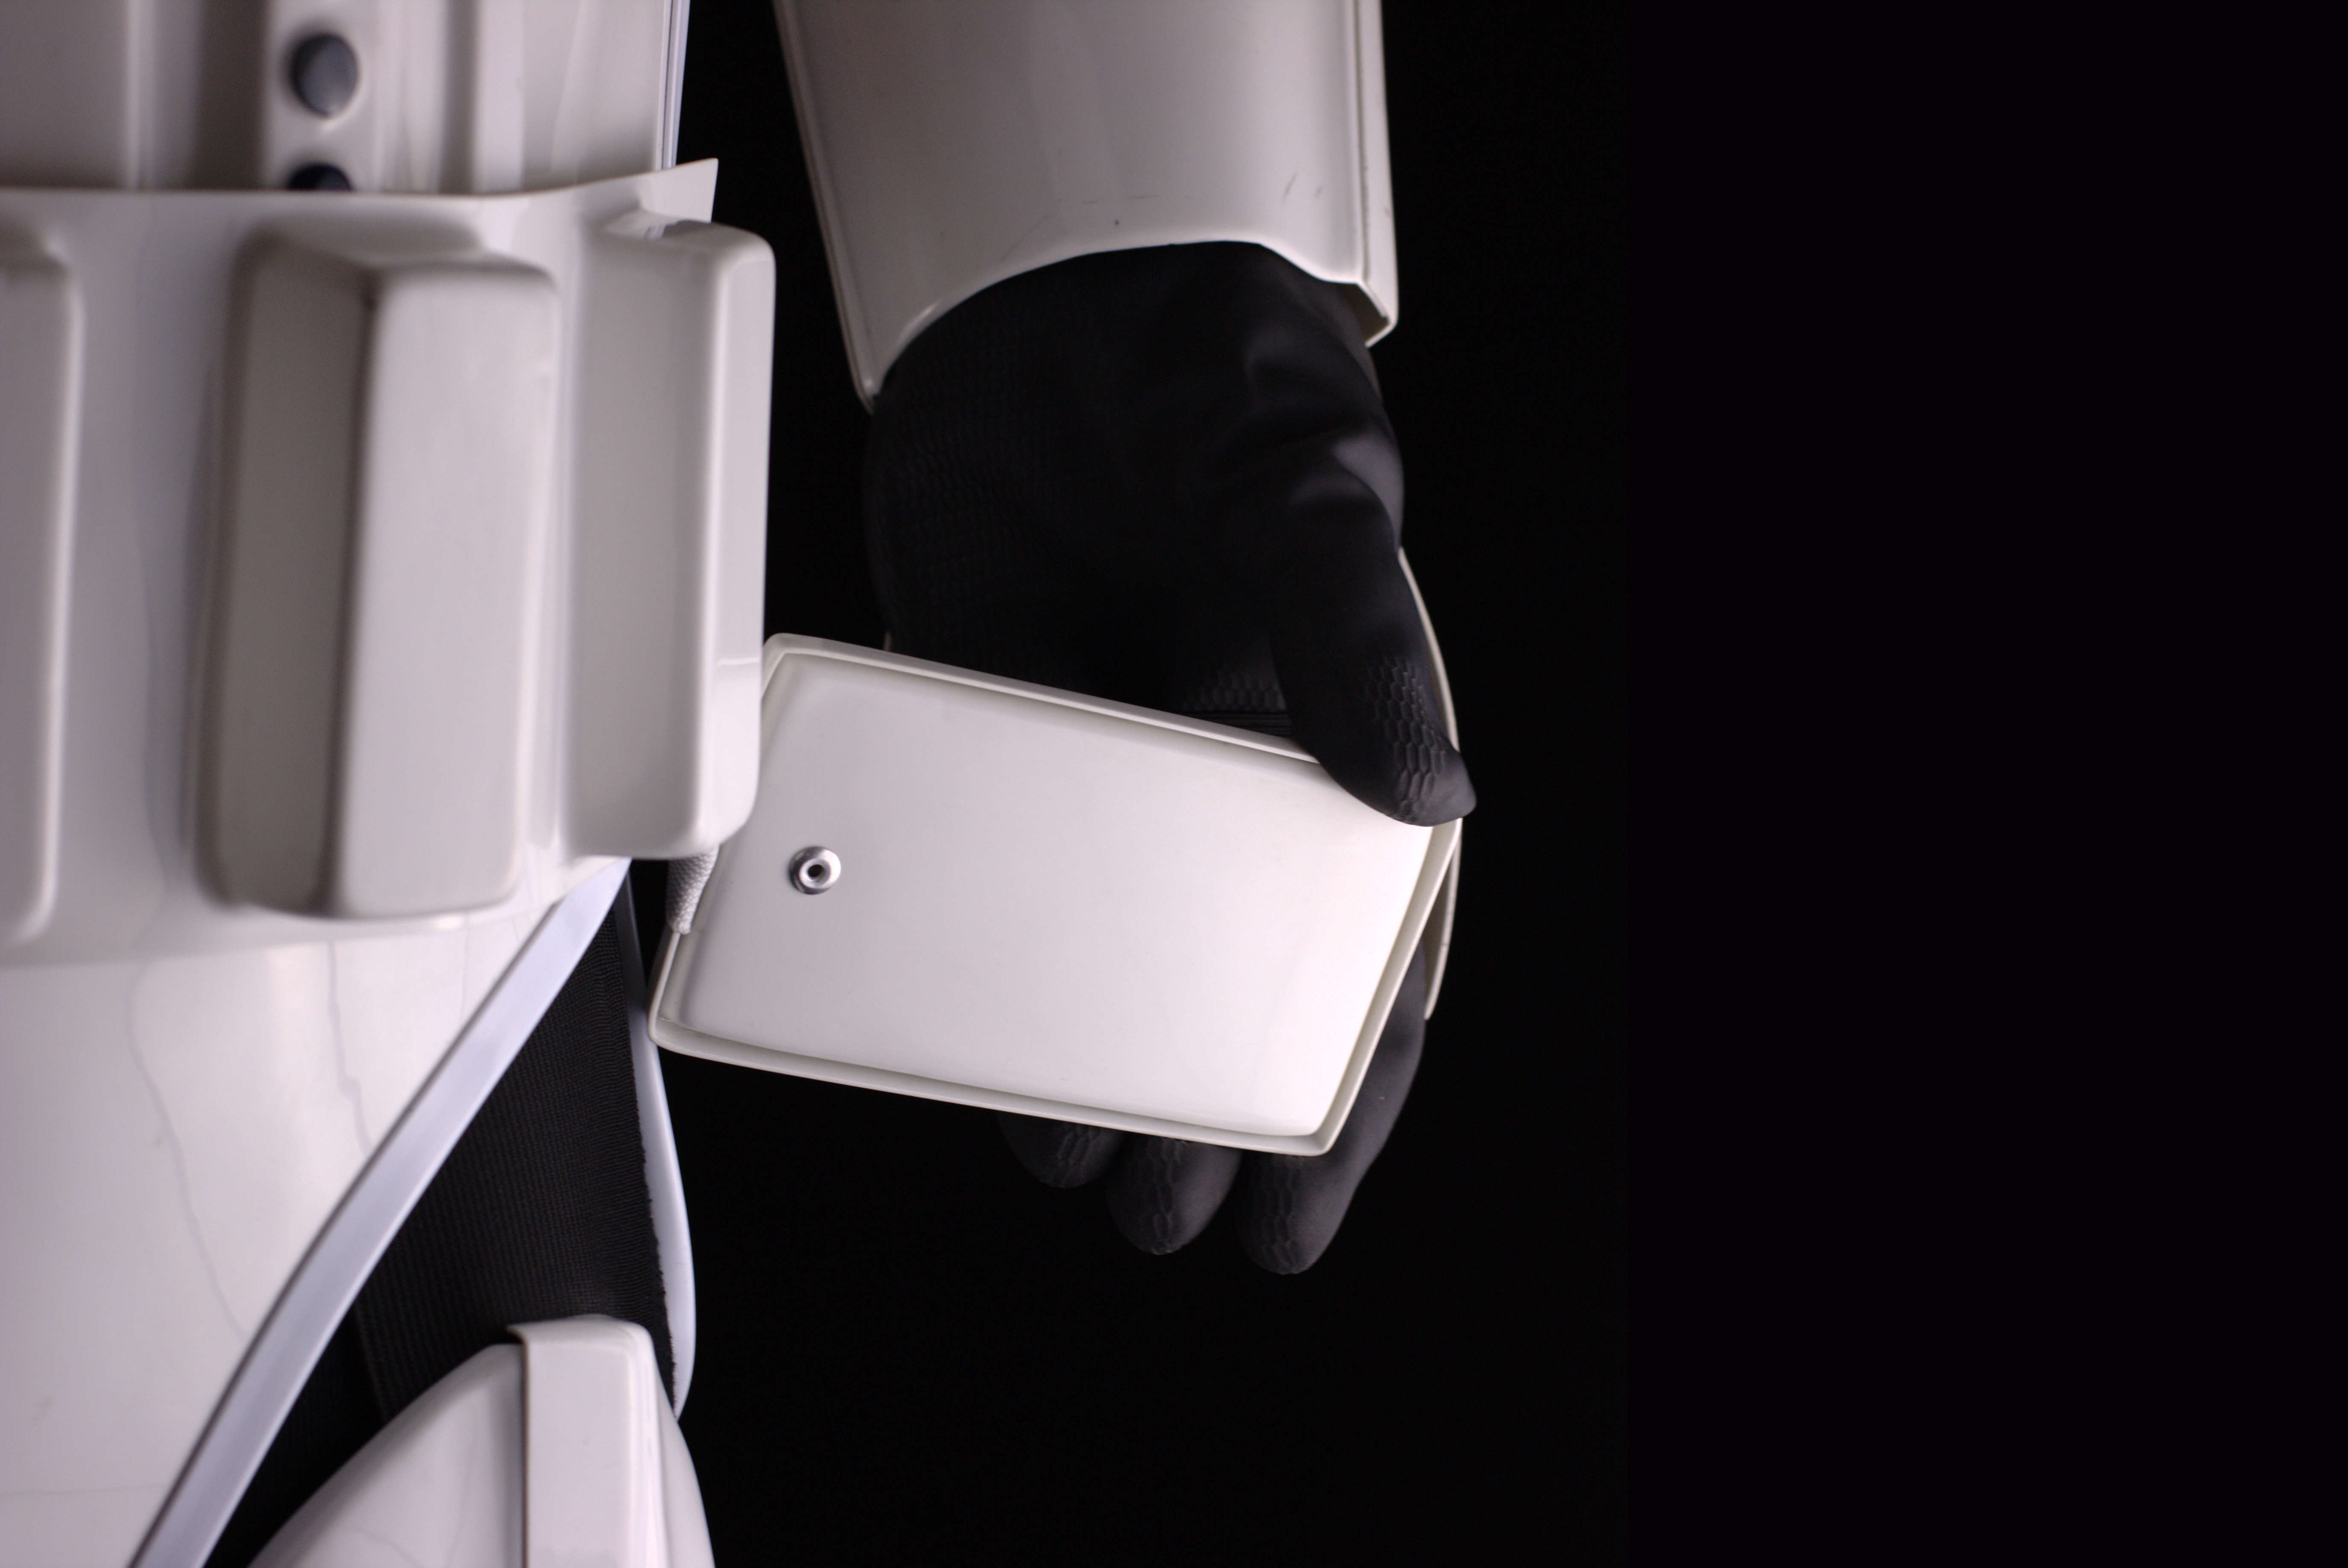
Hand PLates
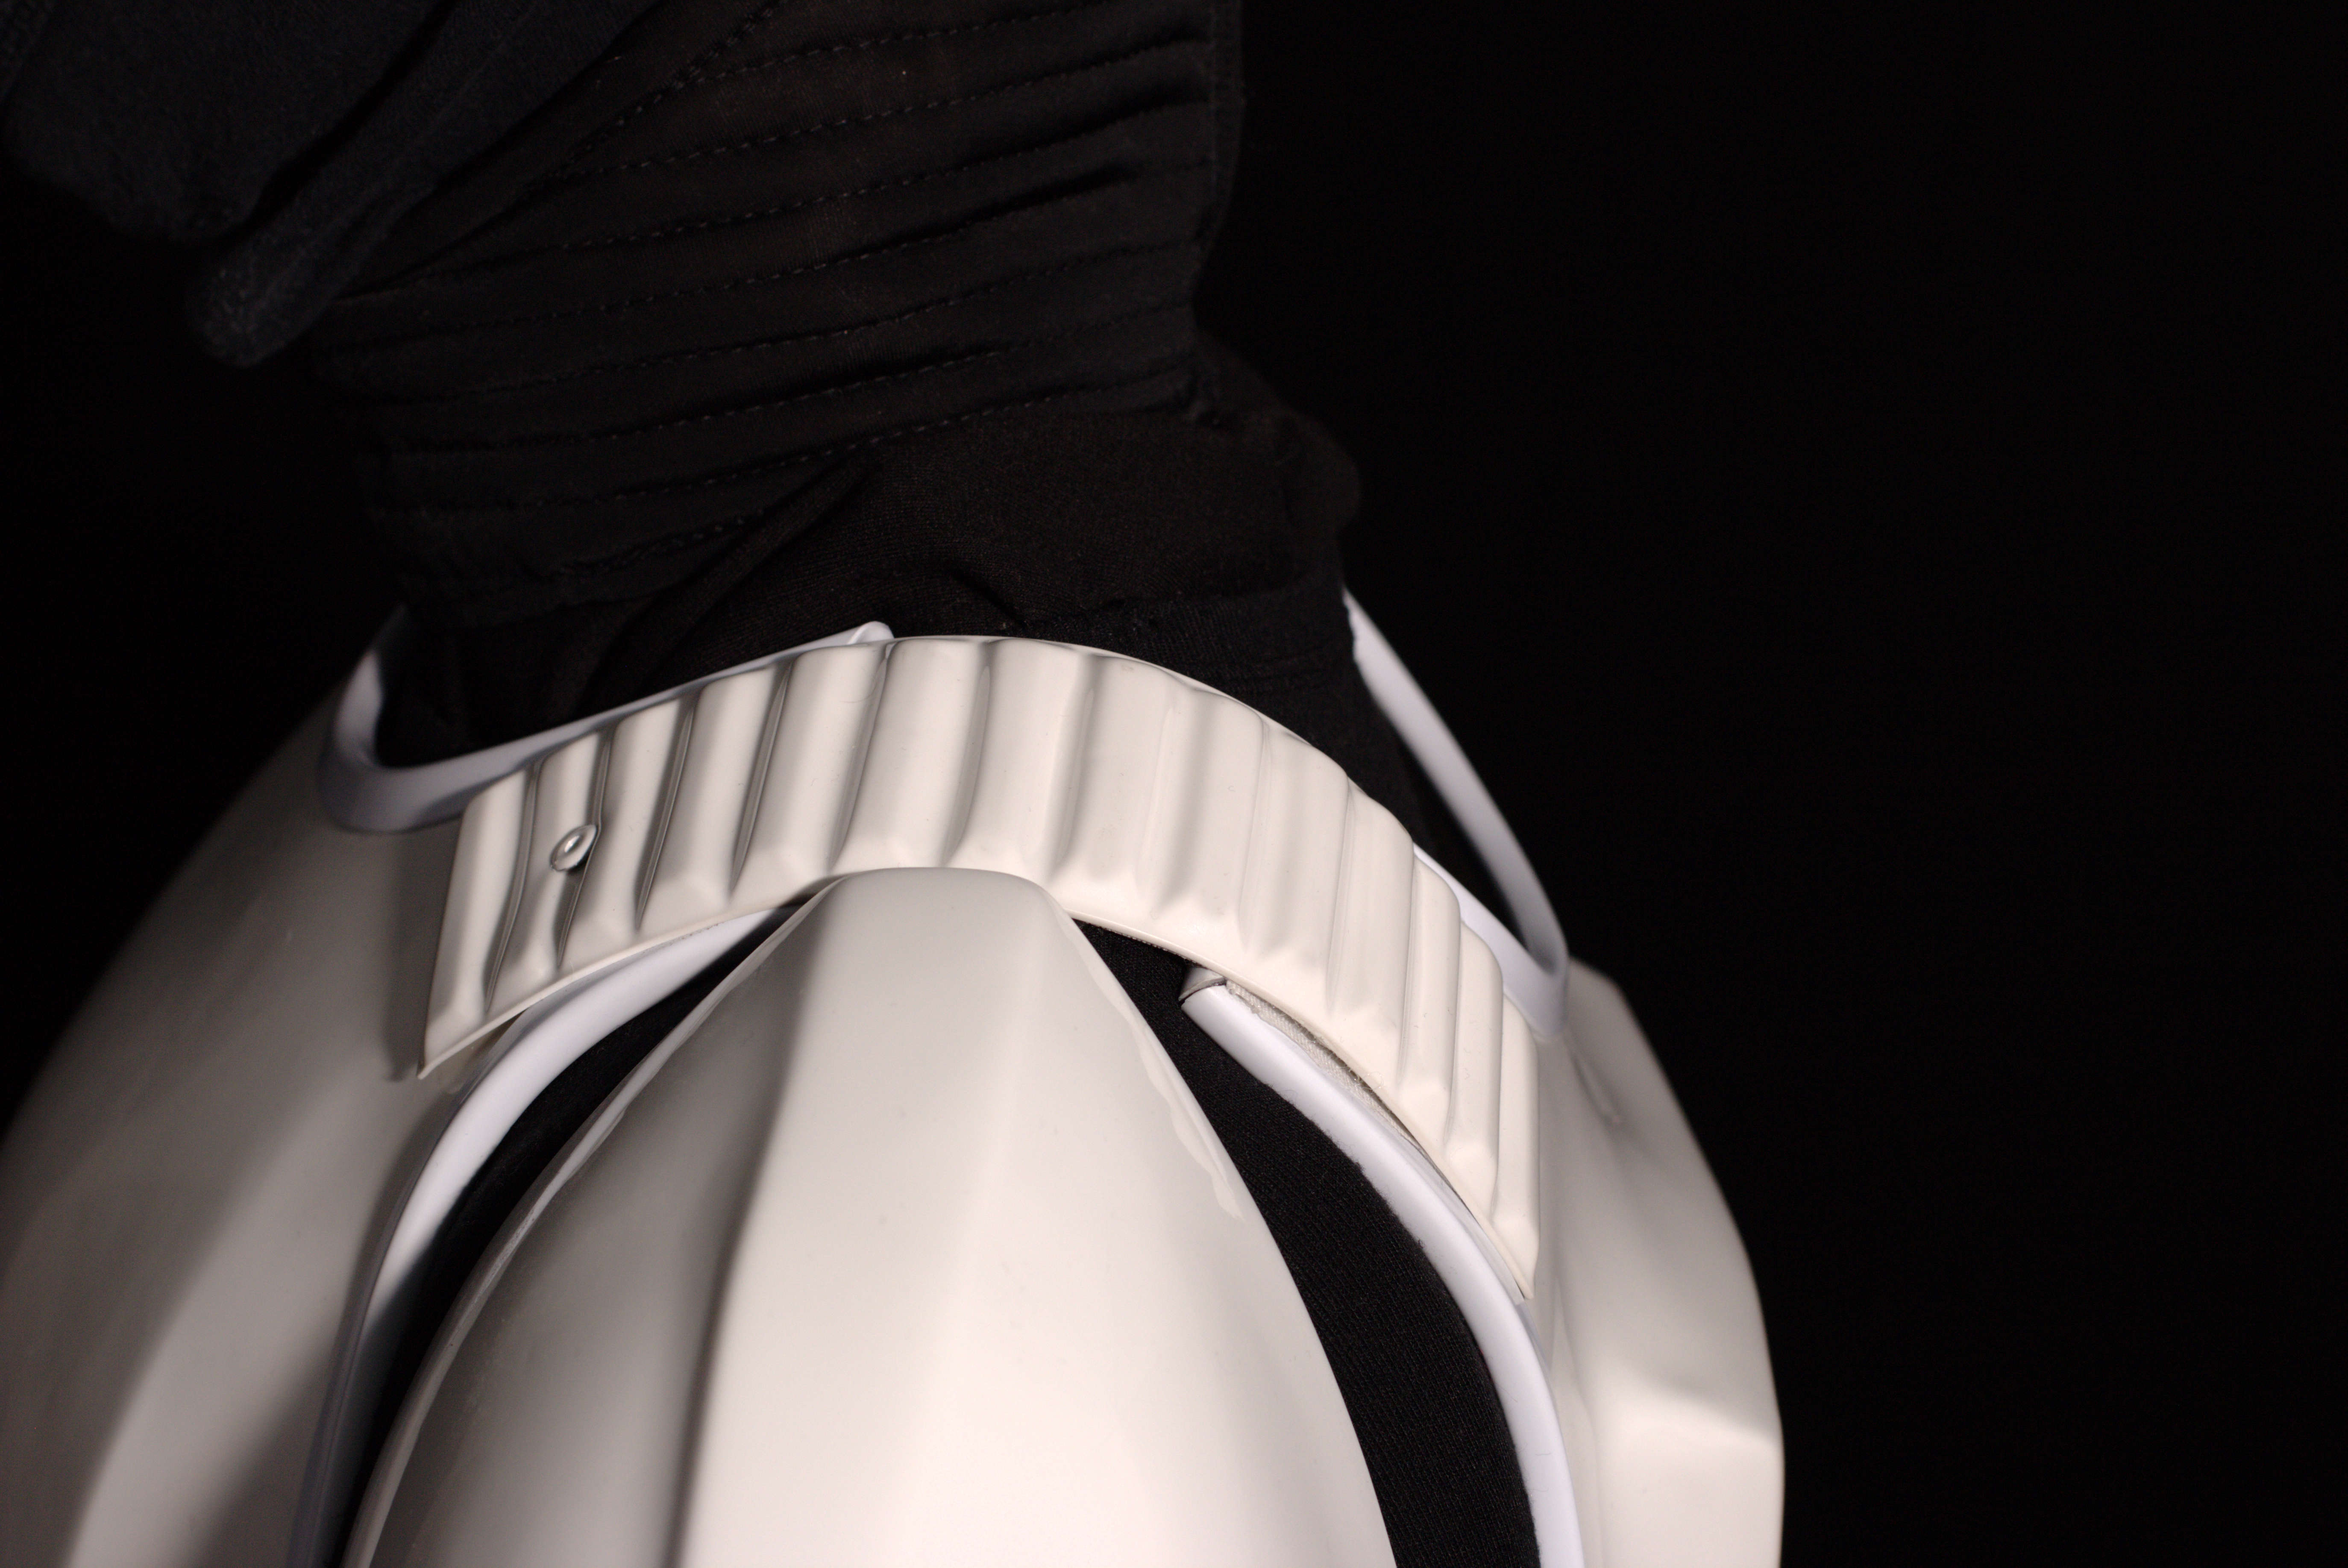
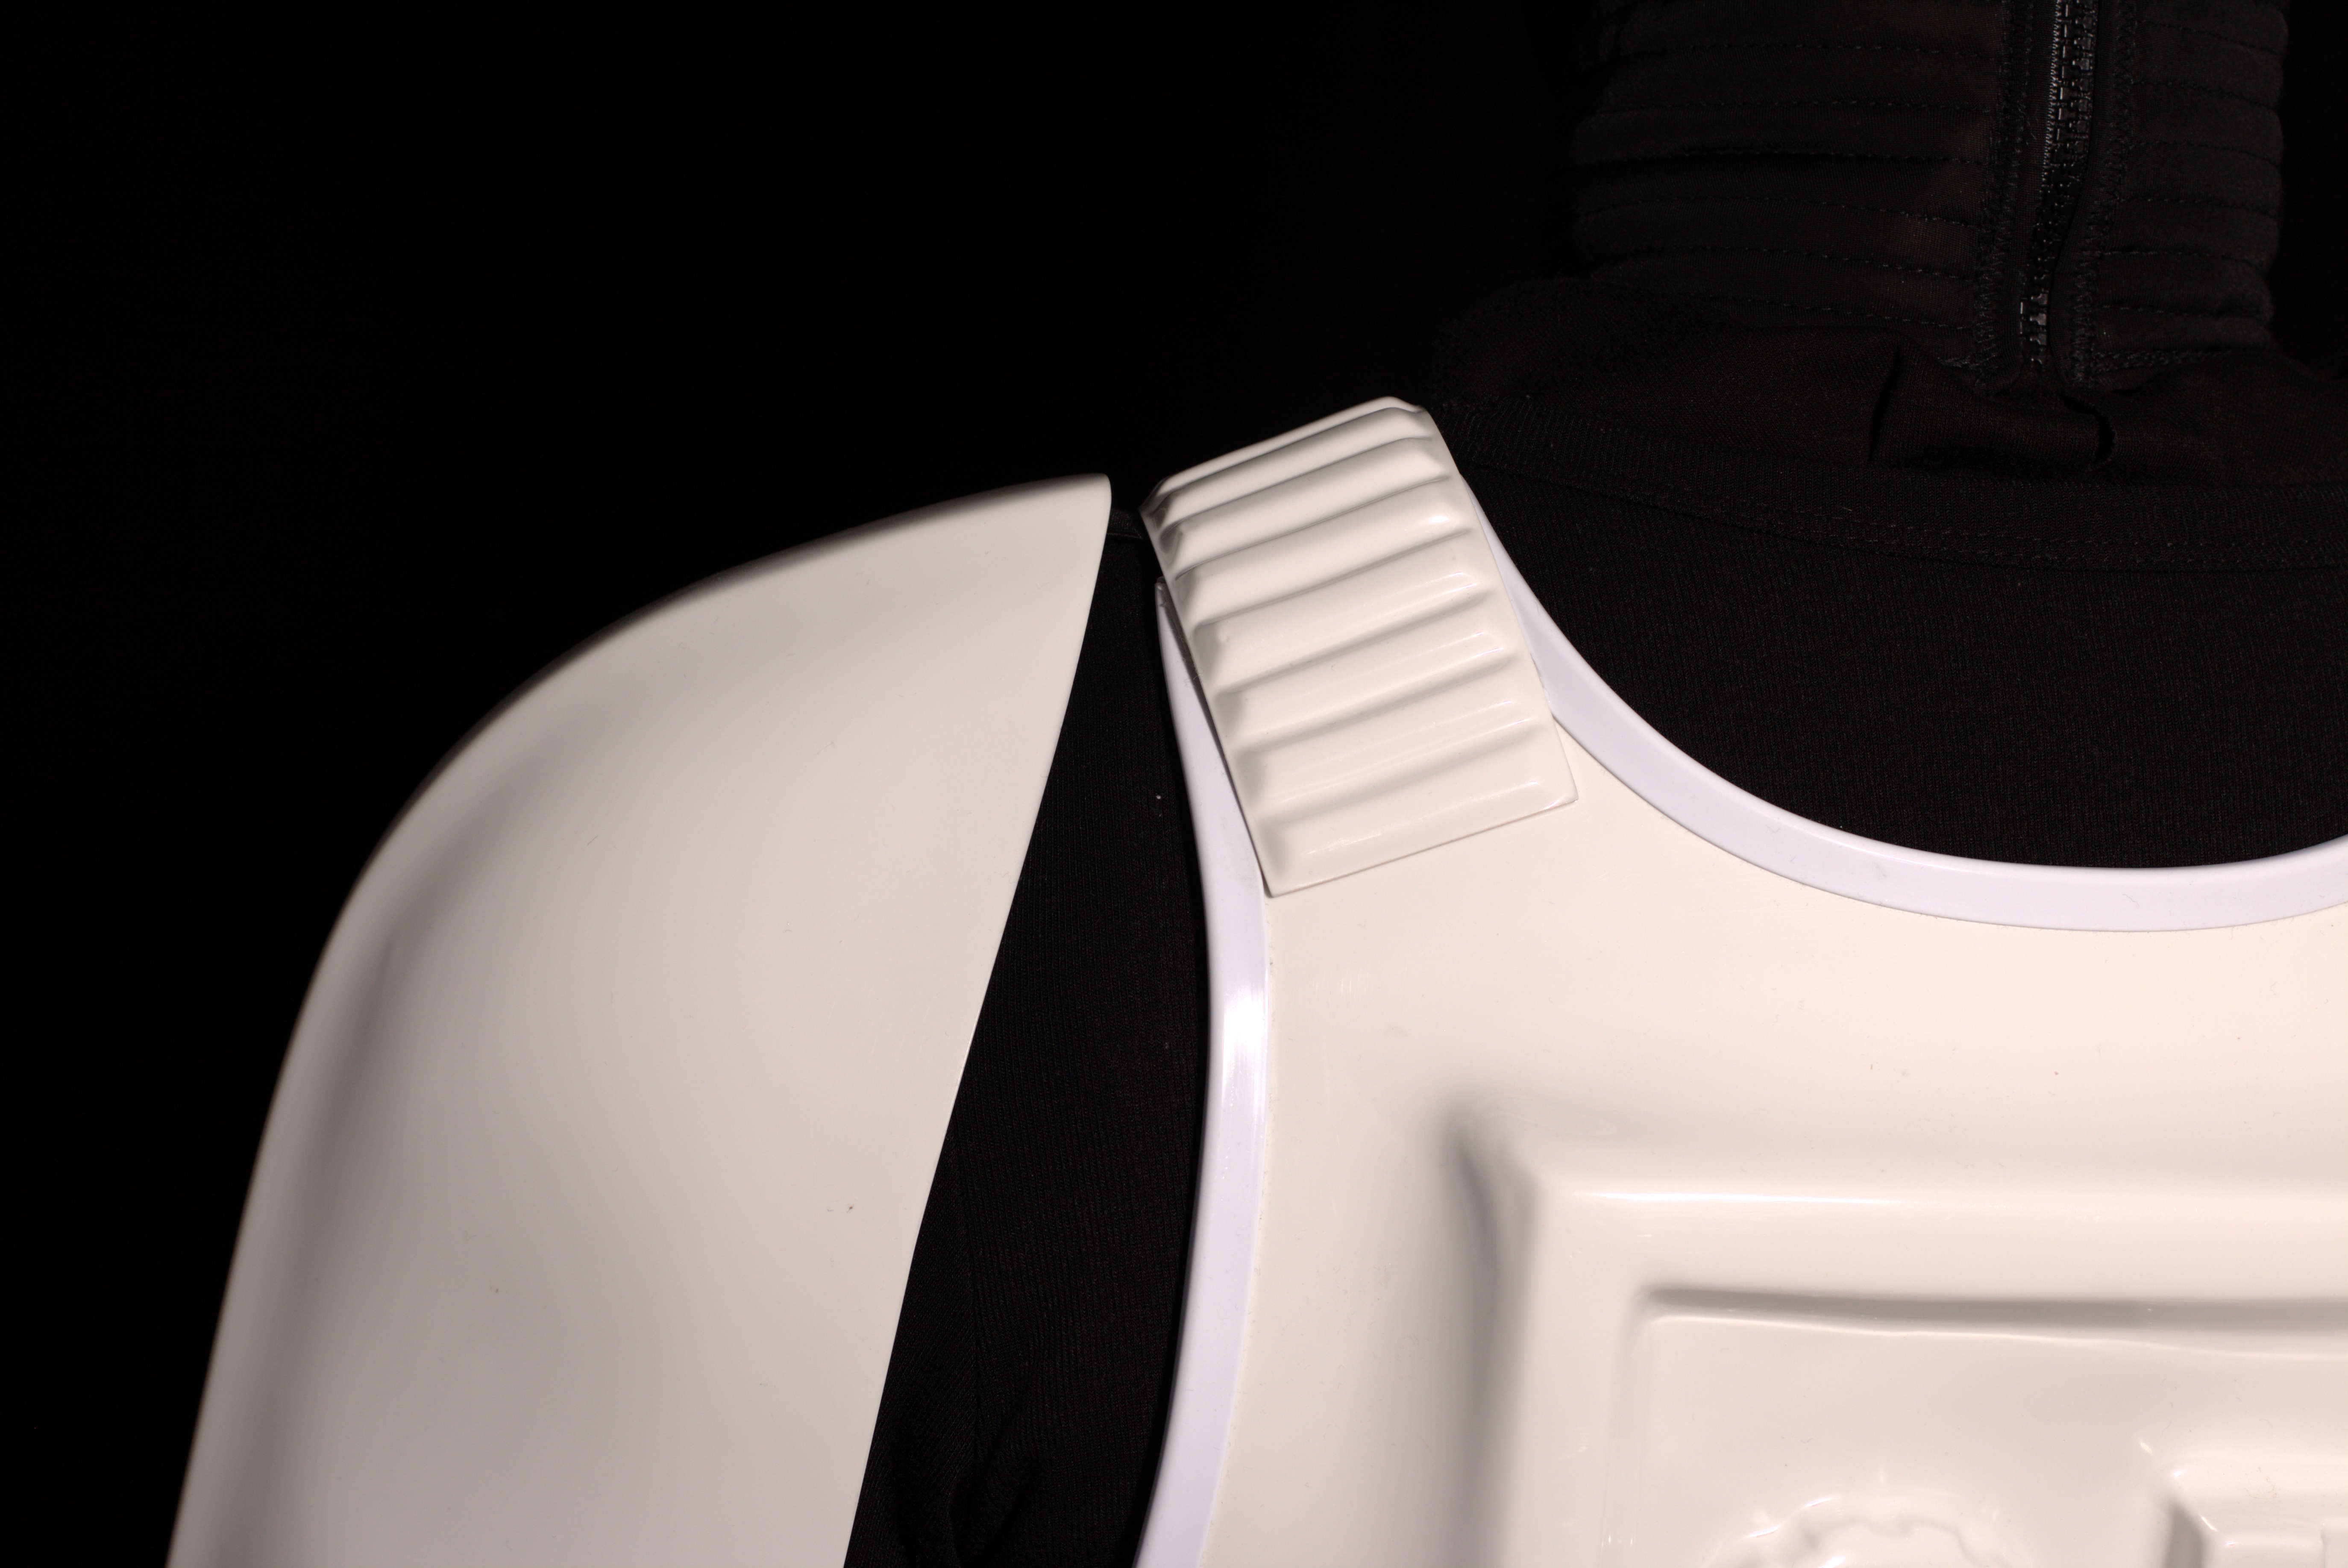
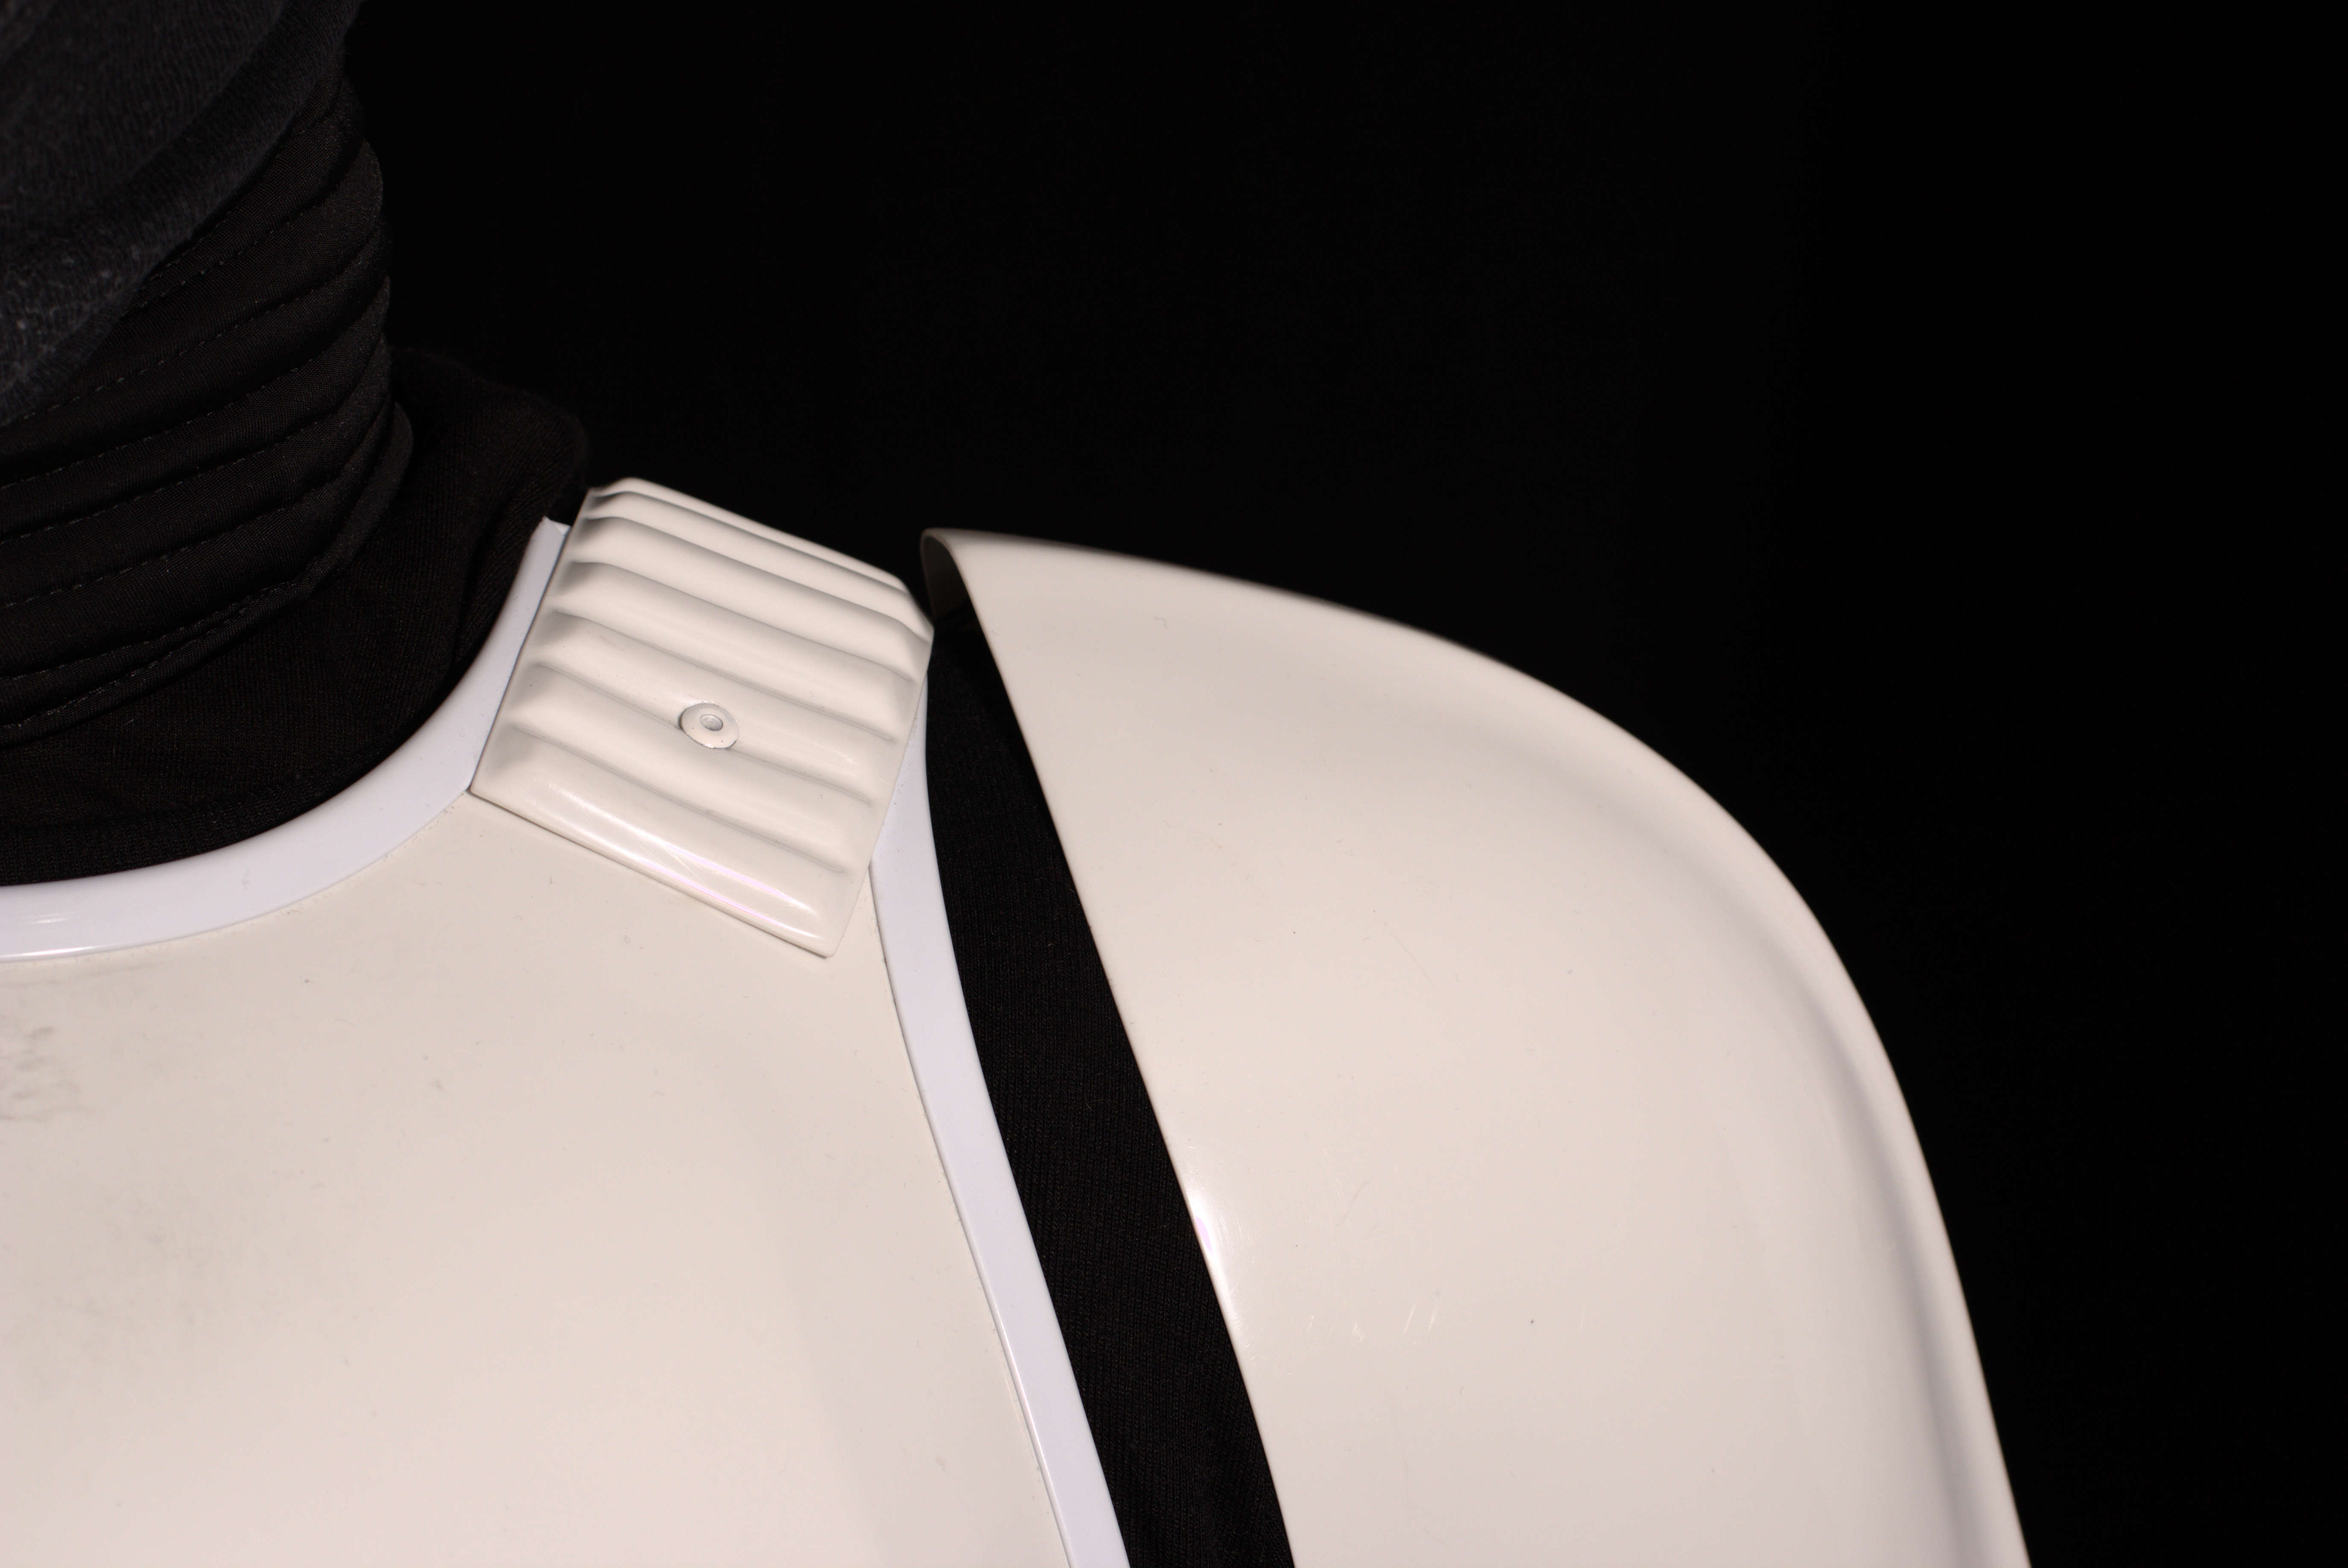
Shoulder Bridge Back
Shoulder Bridge Front
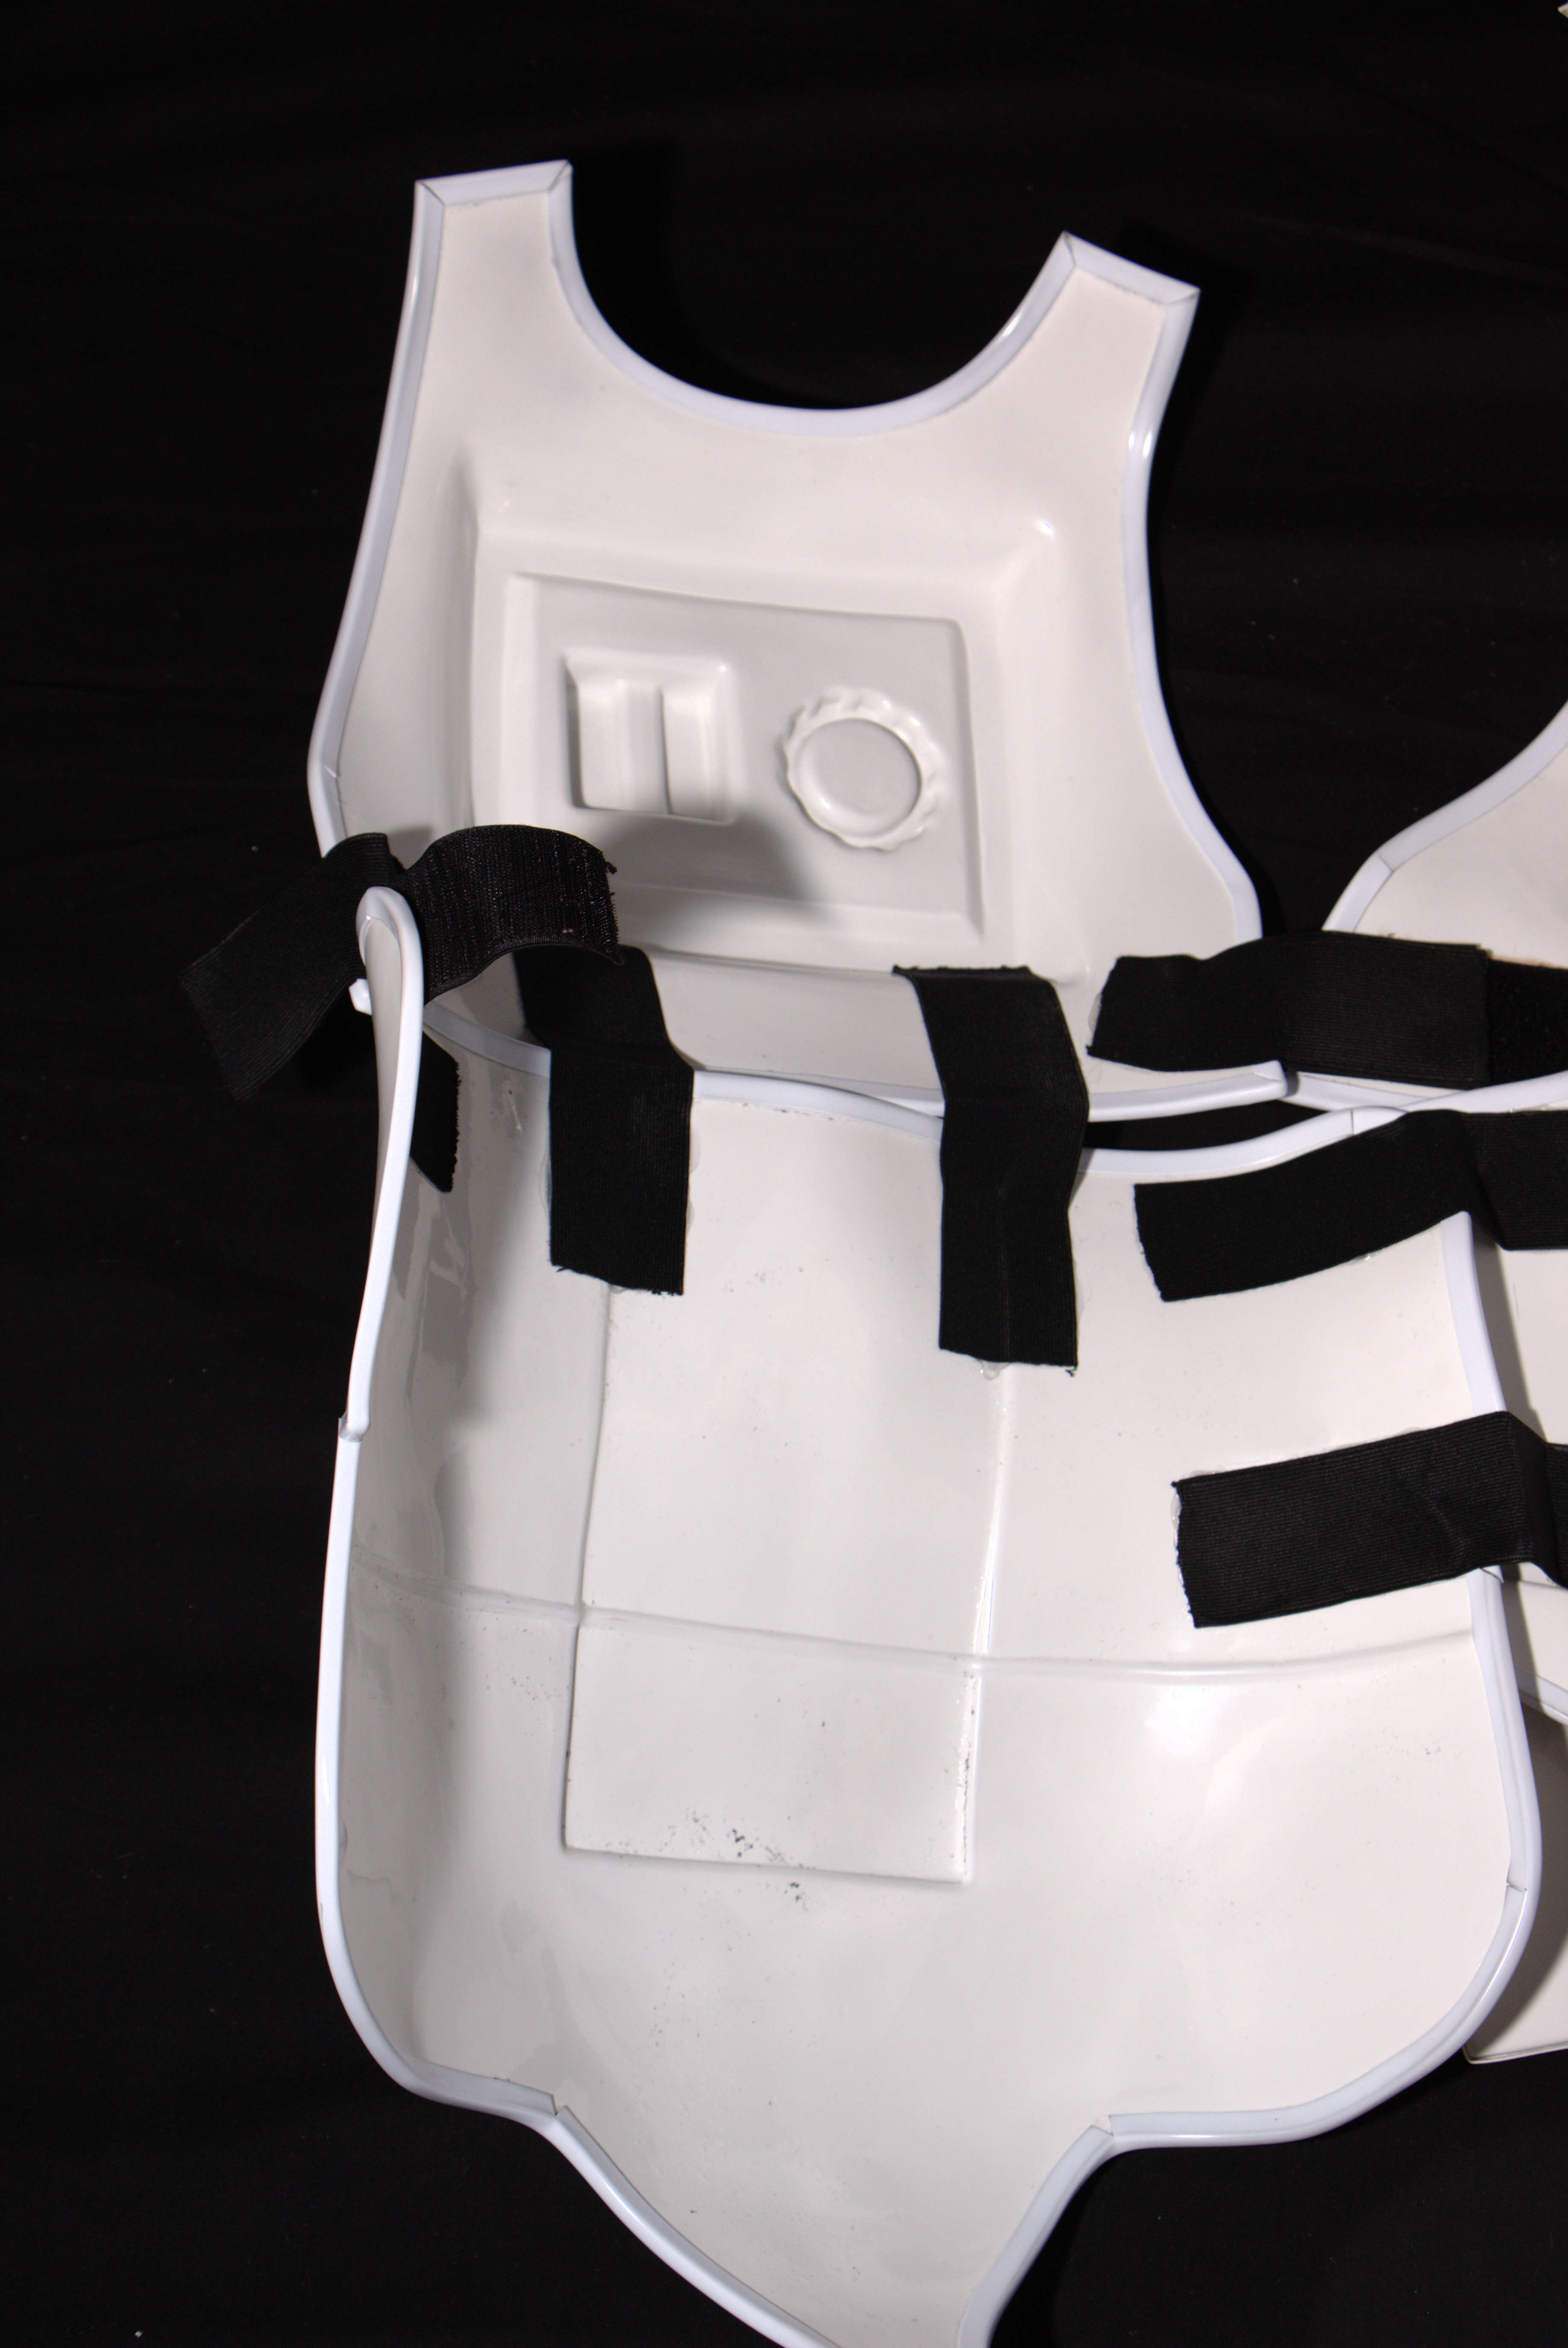
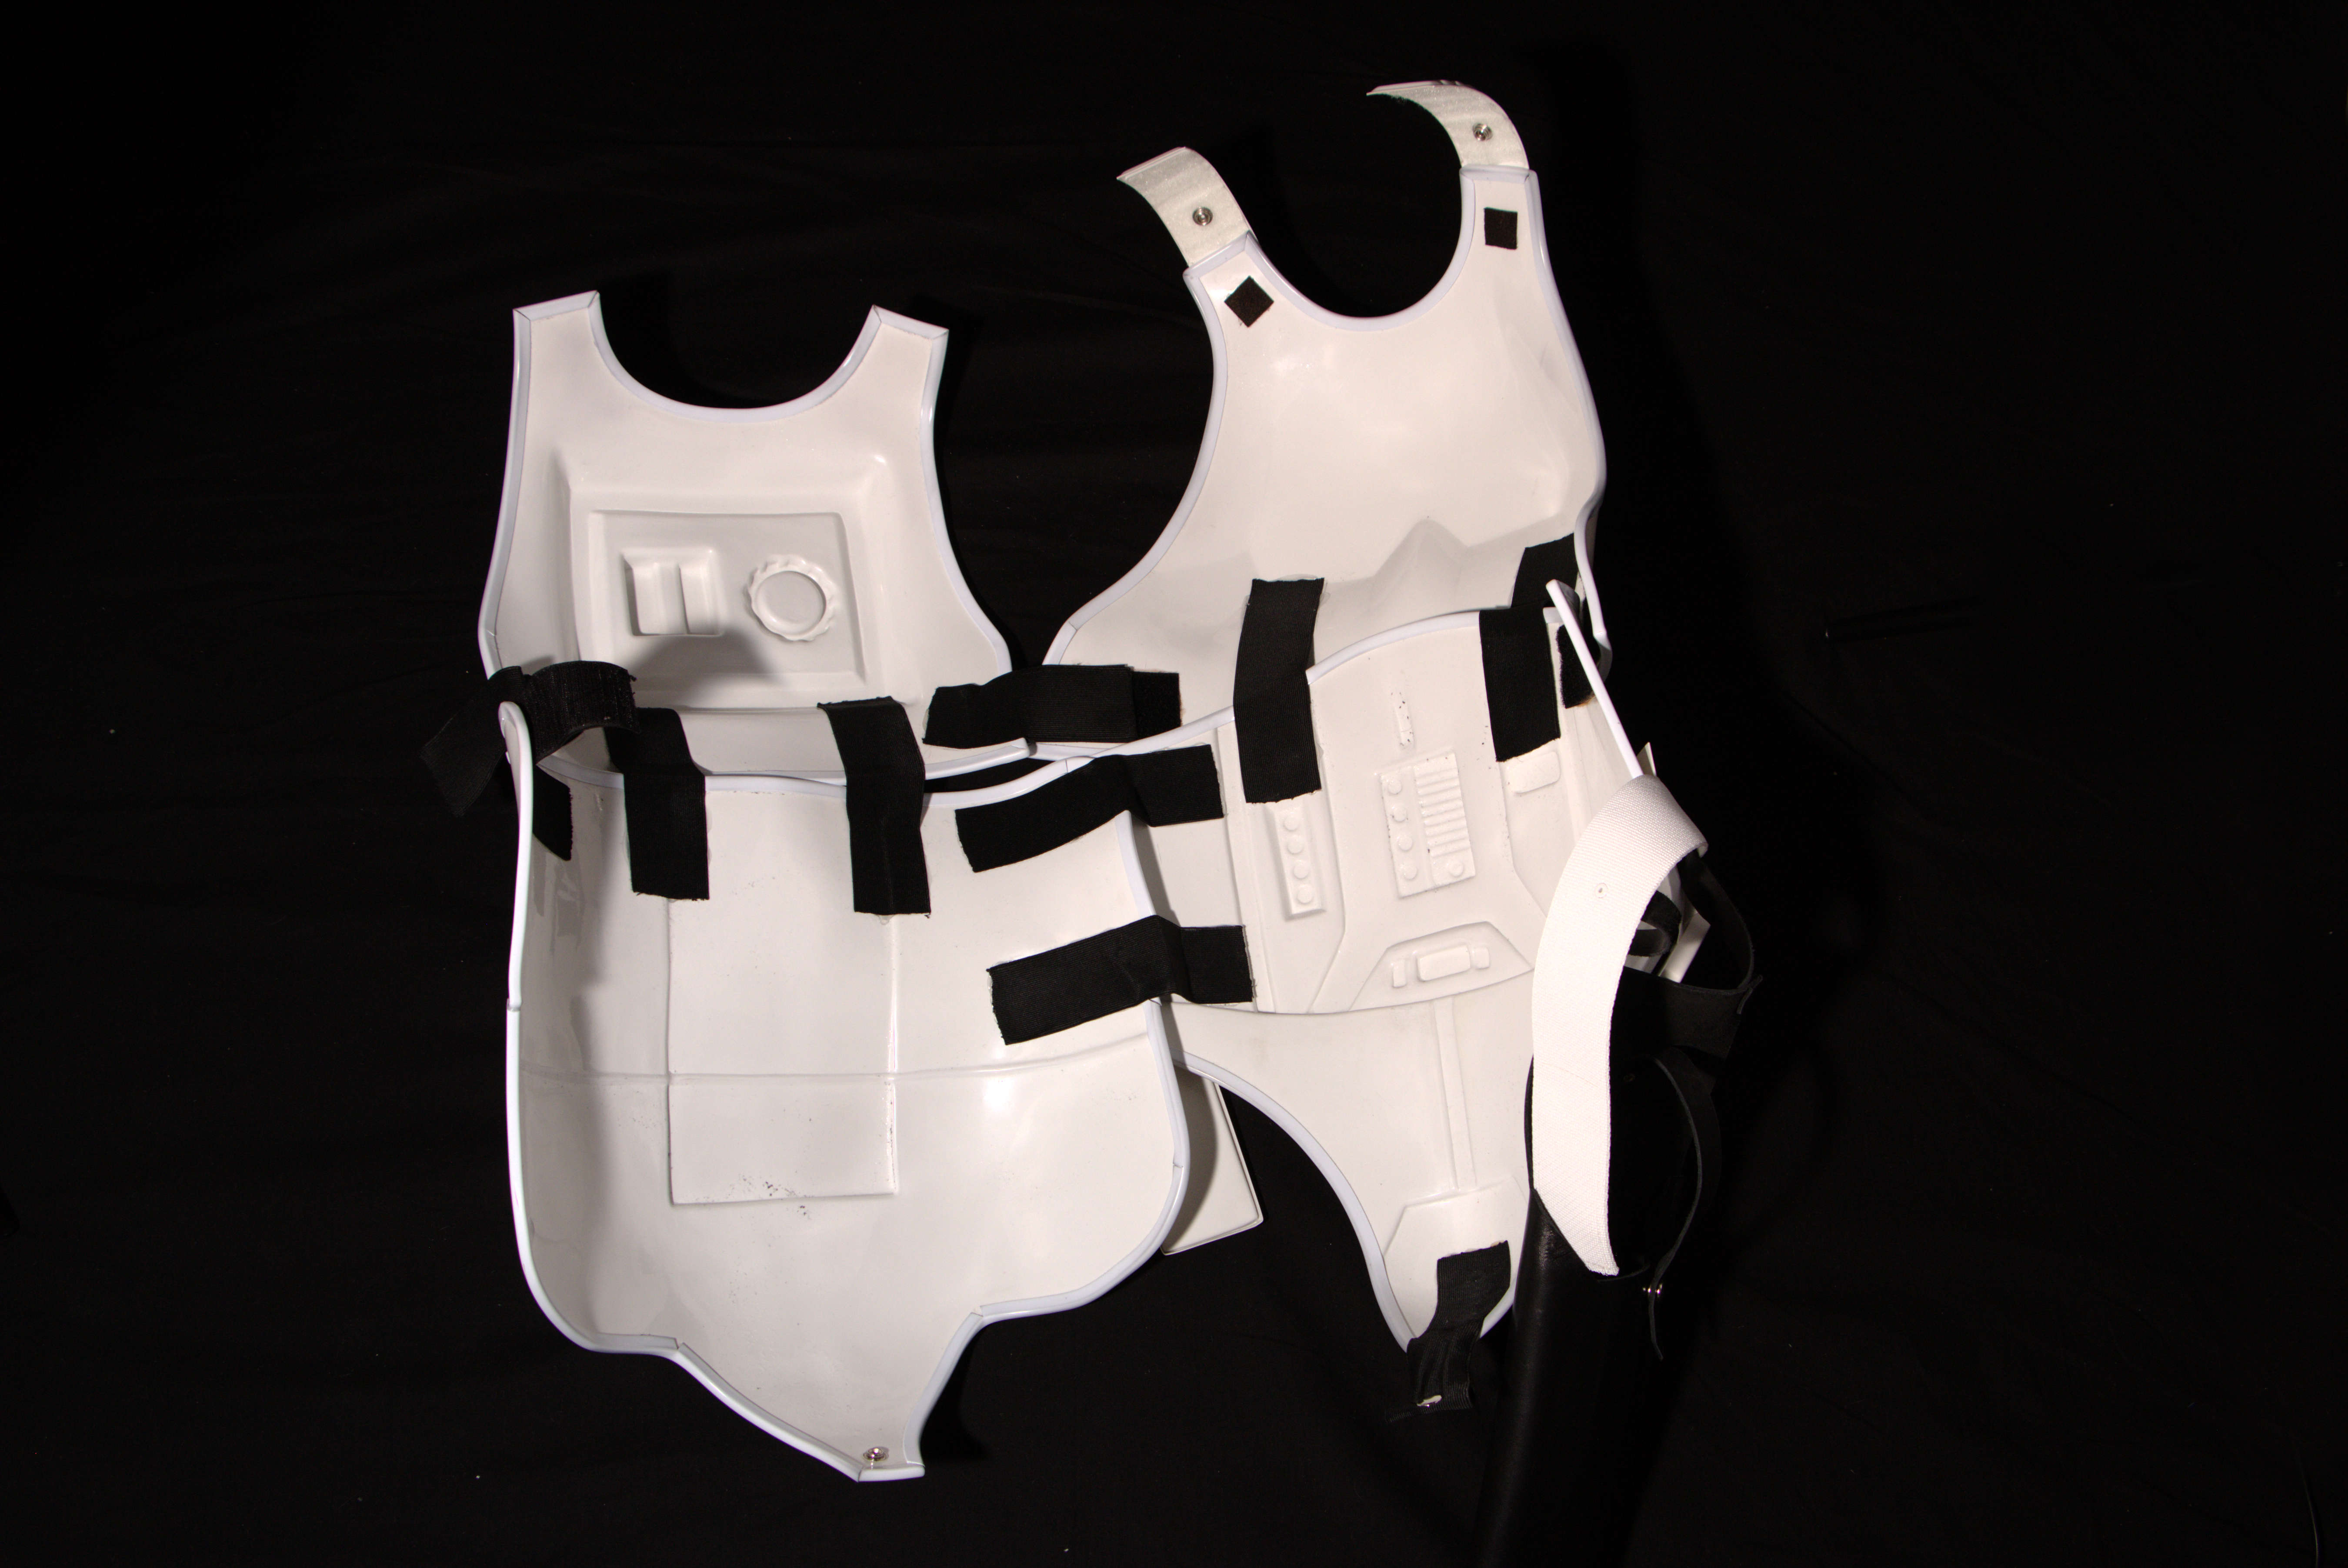
Back/Chest Connection
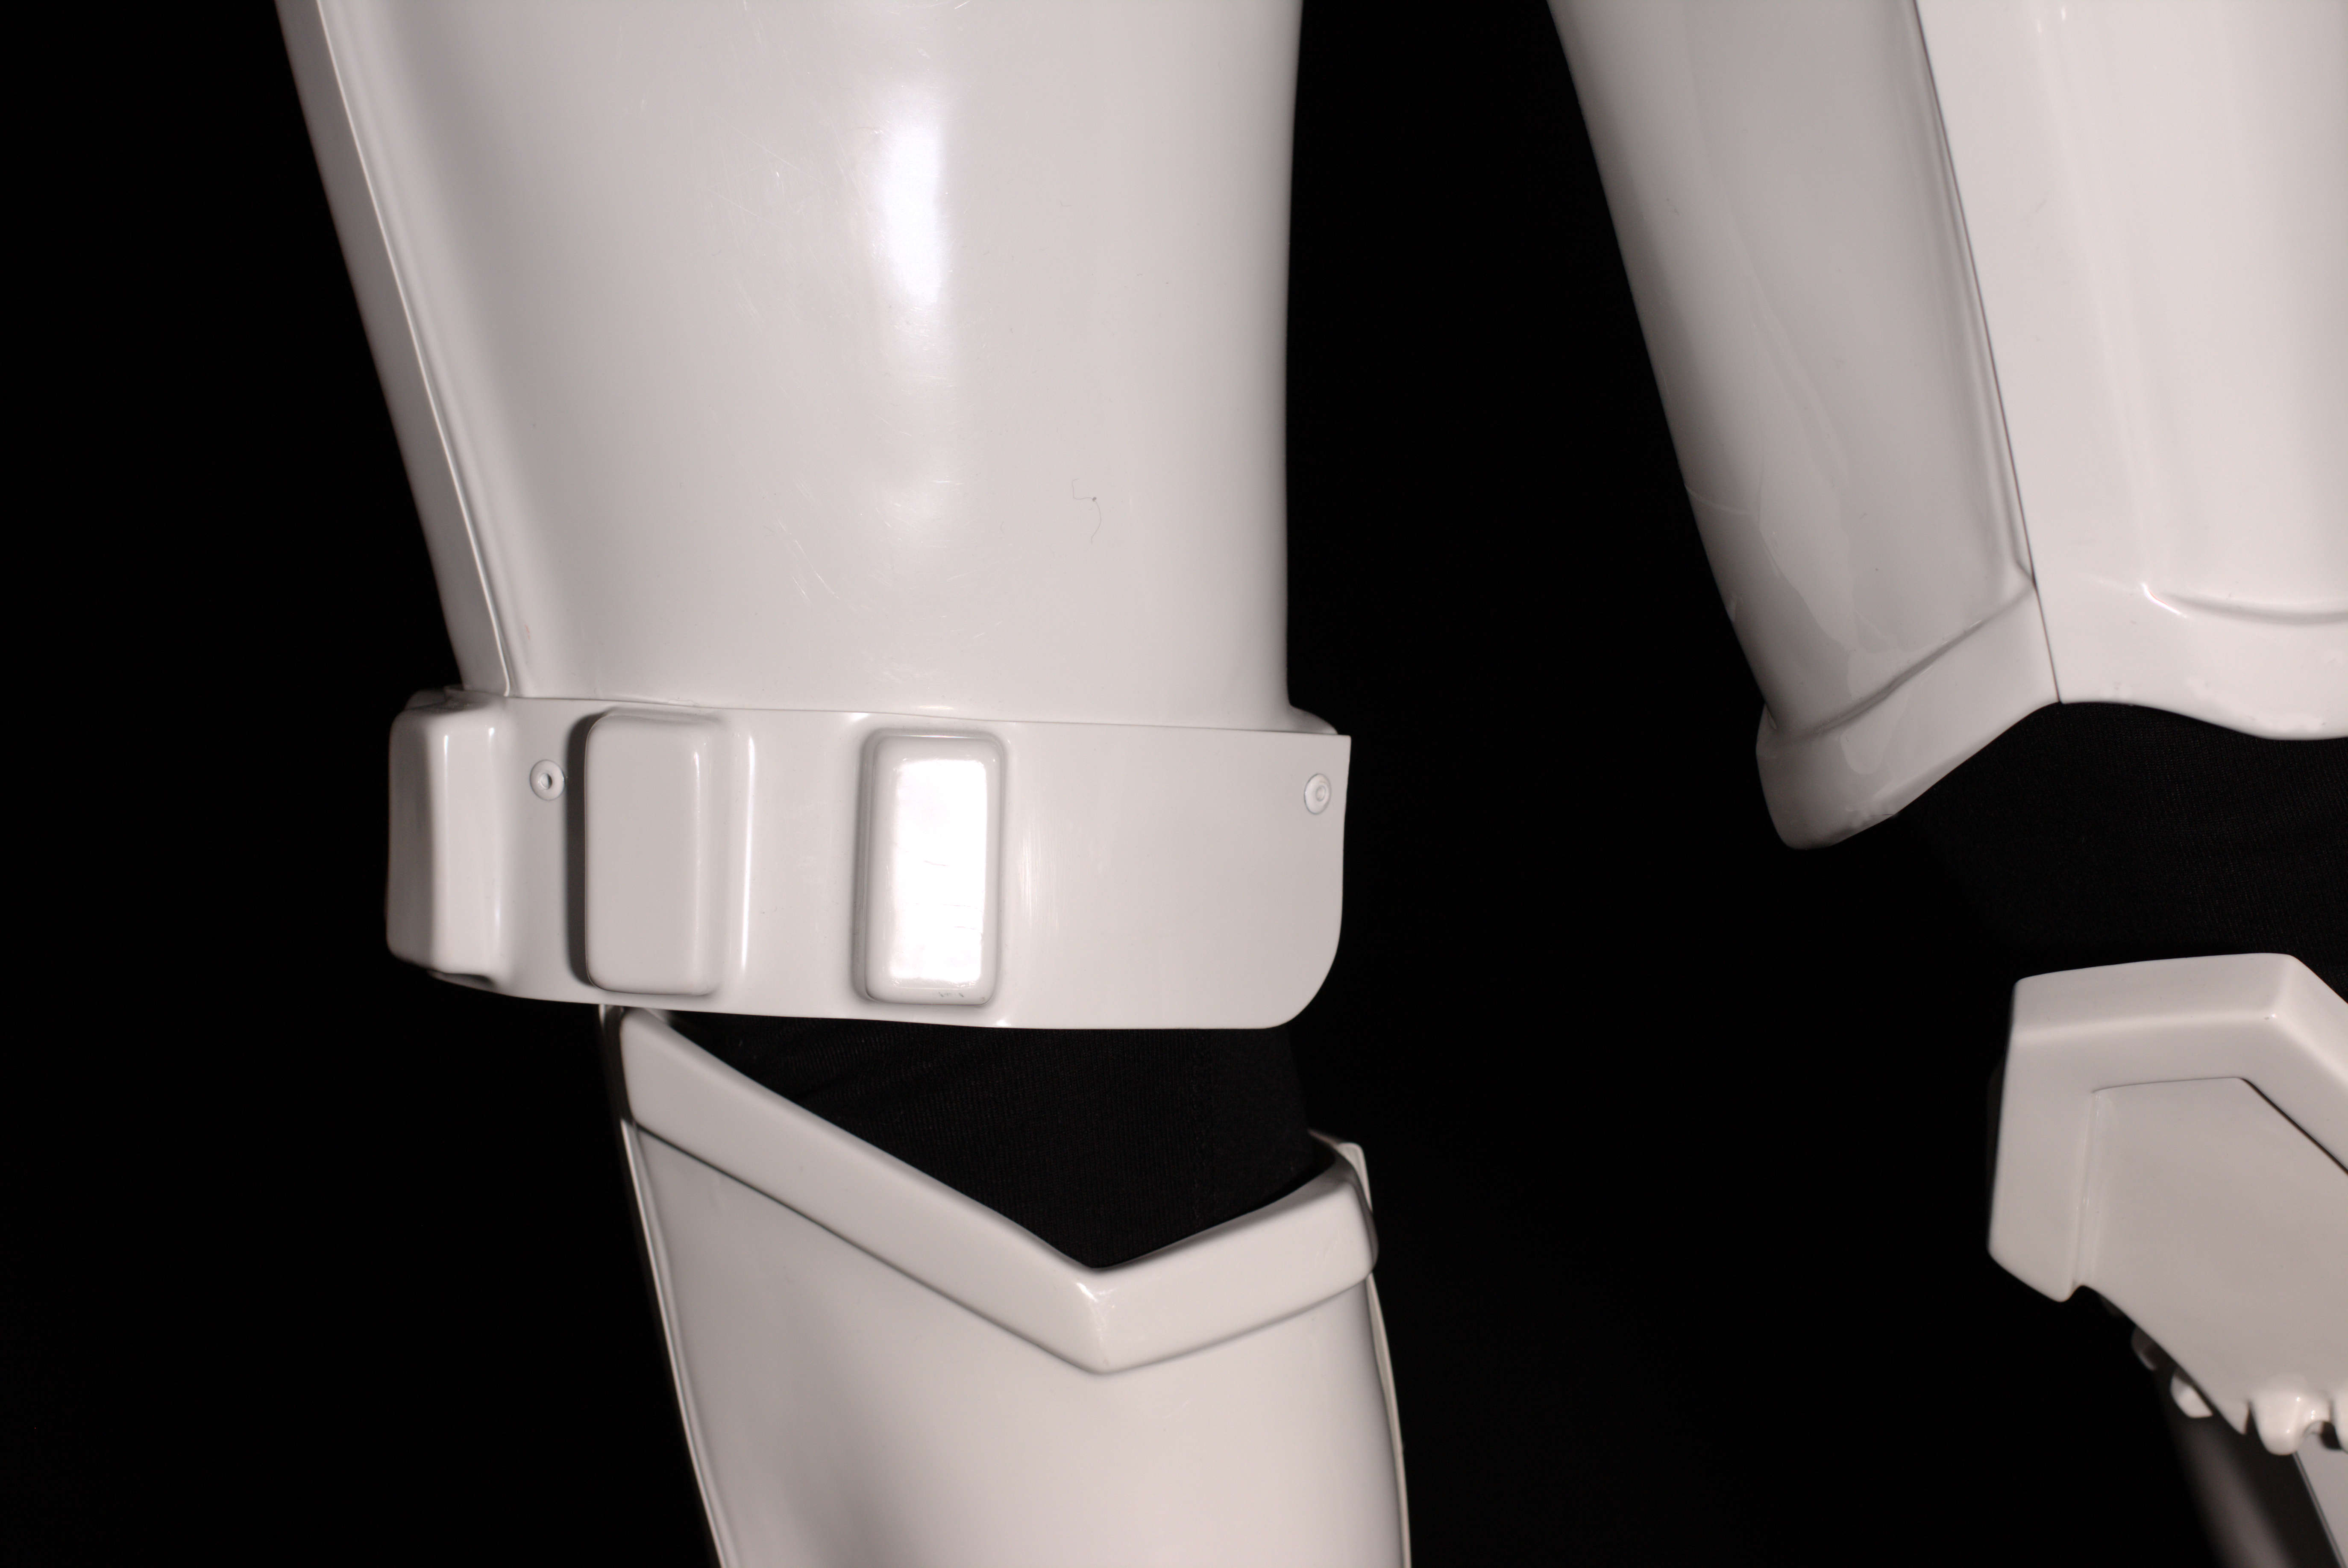
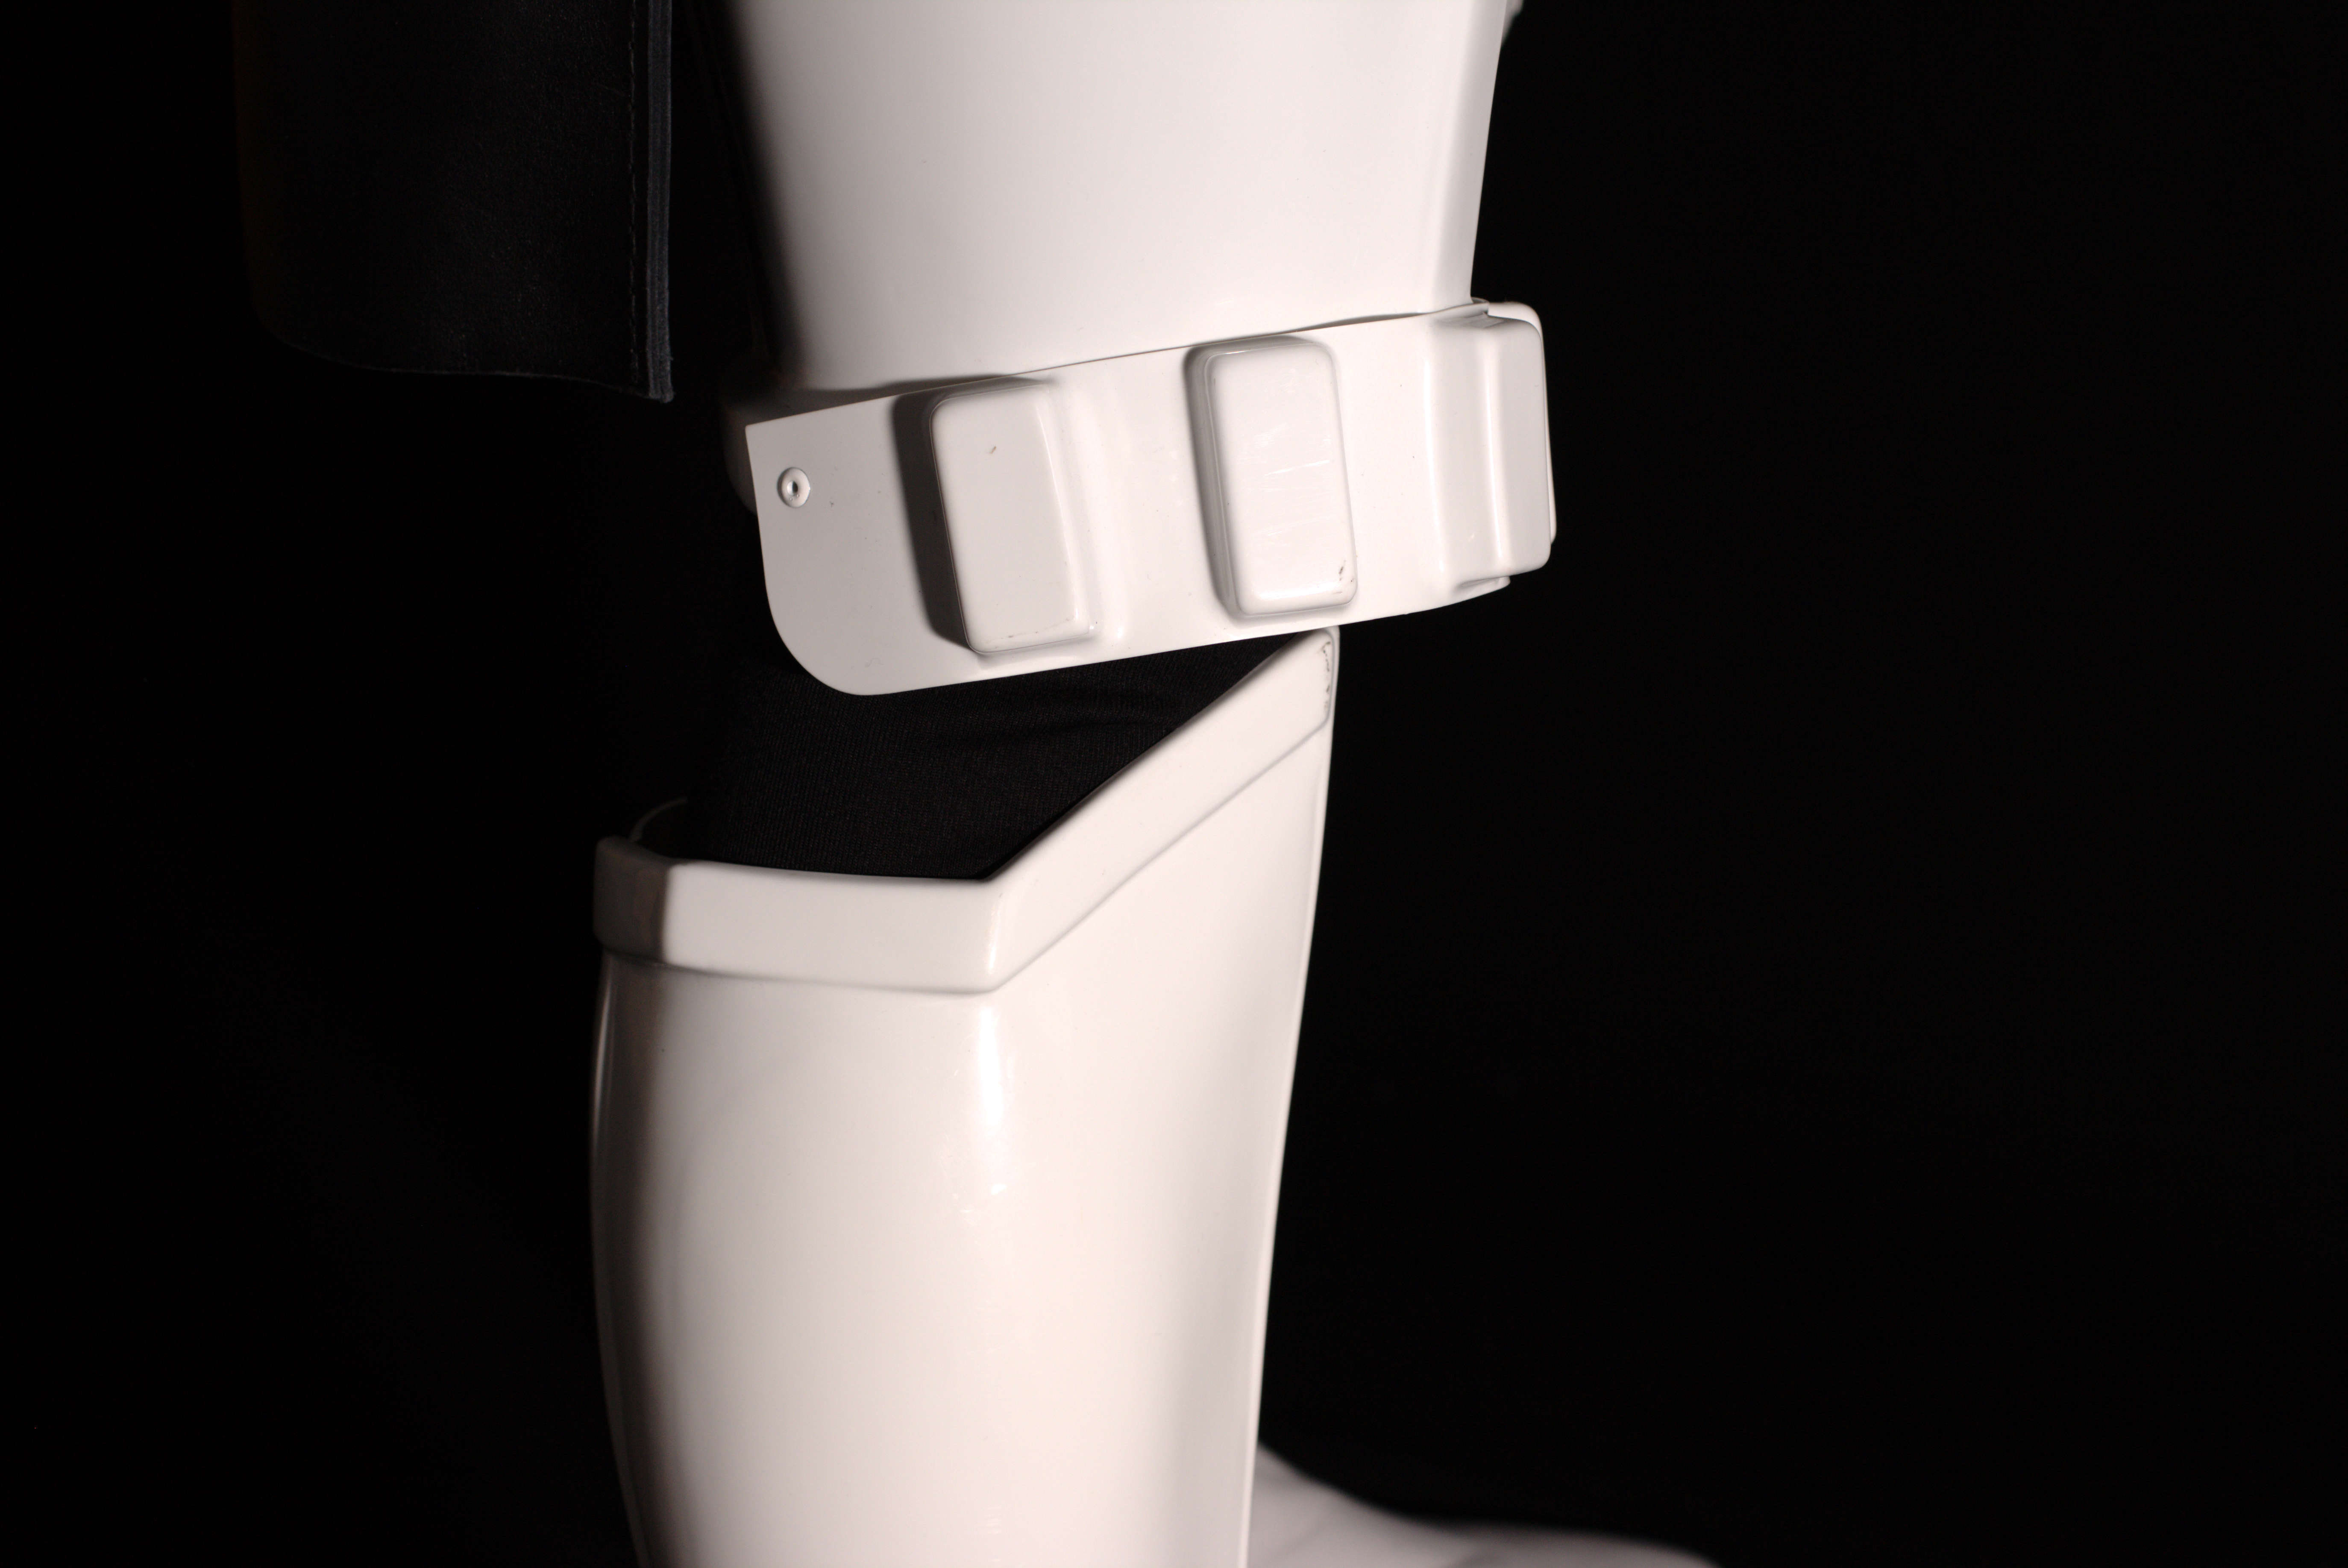
Thigh Pack Attachment
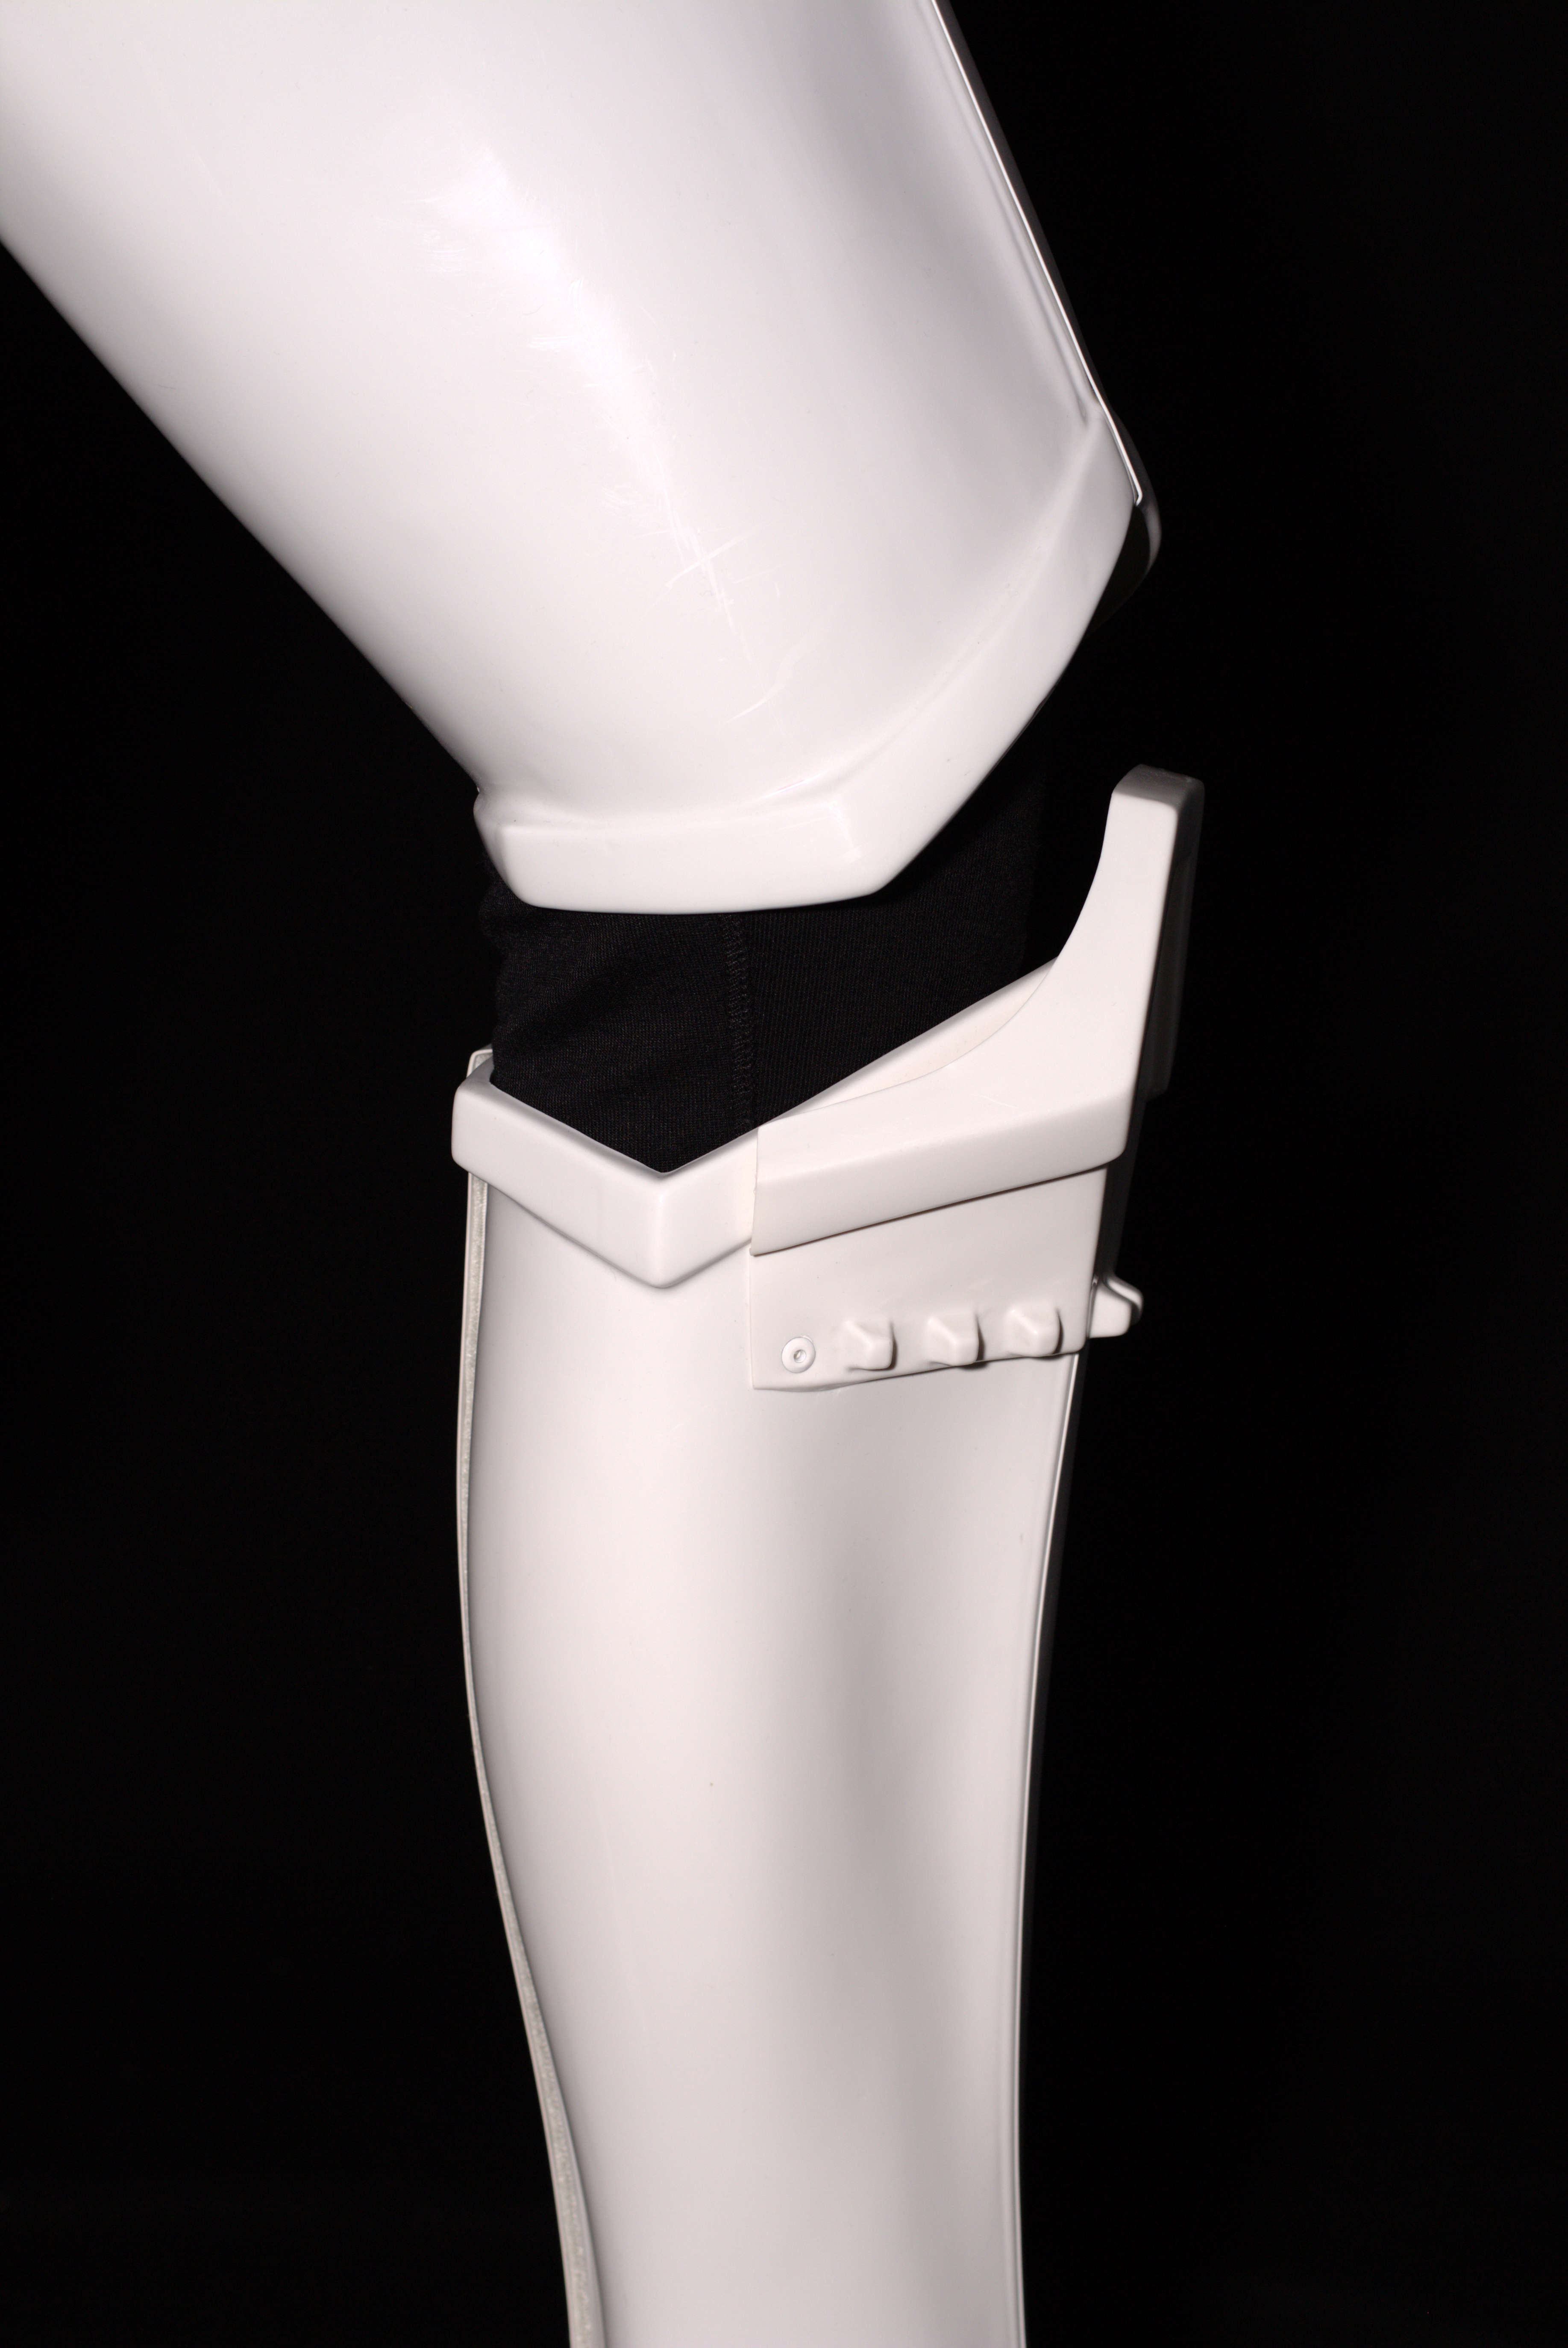
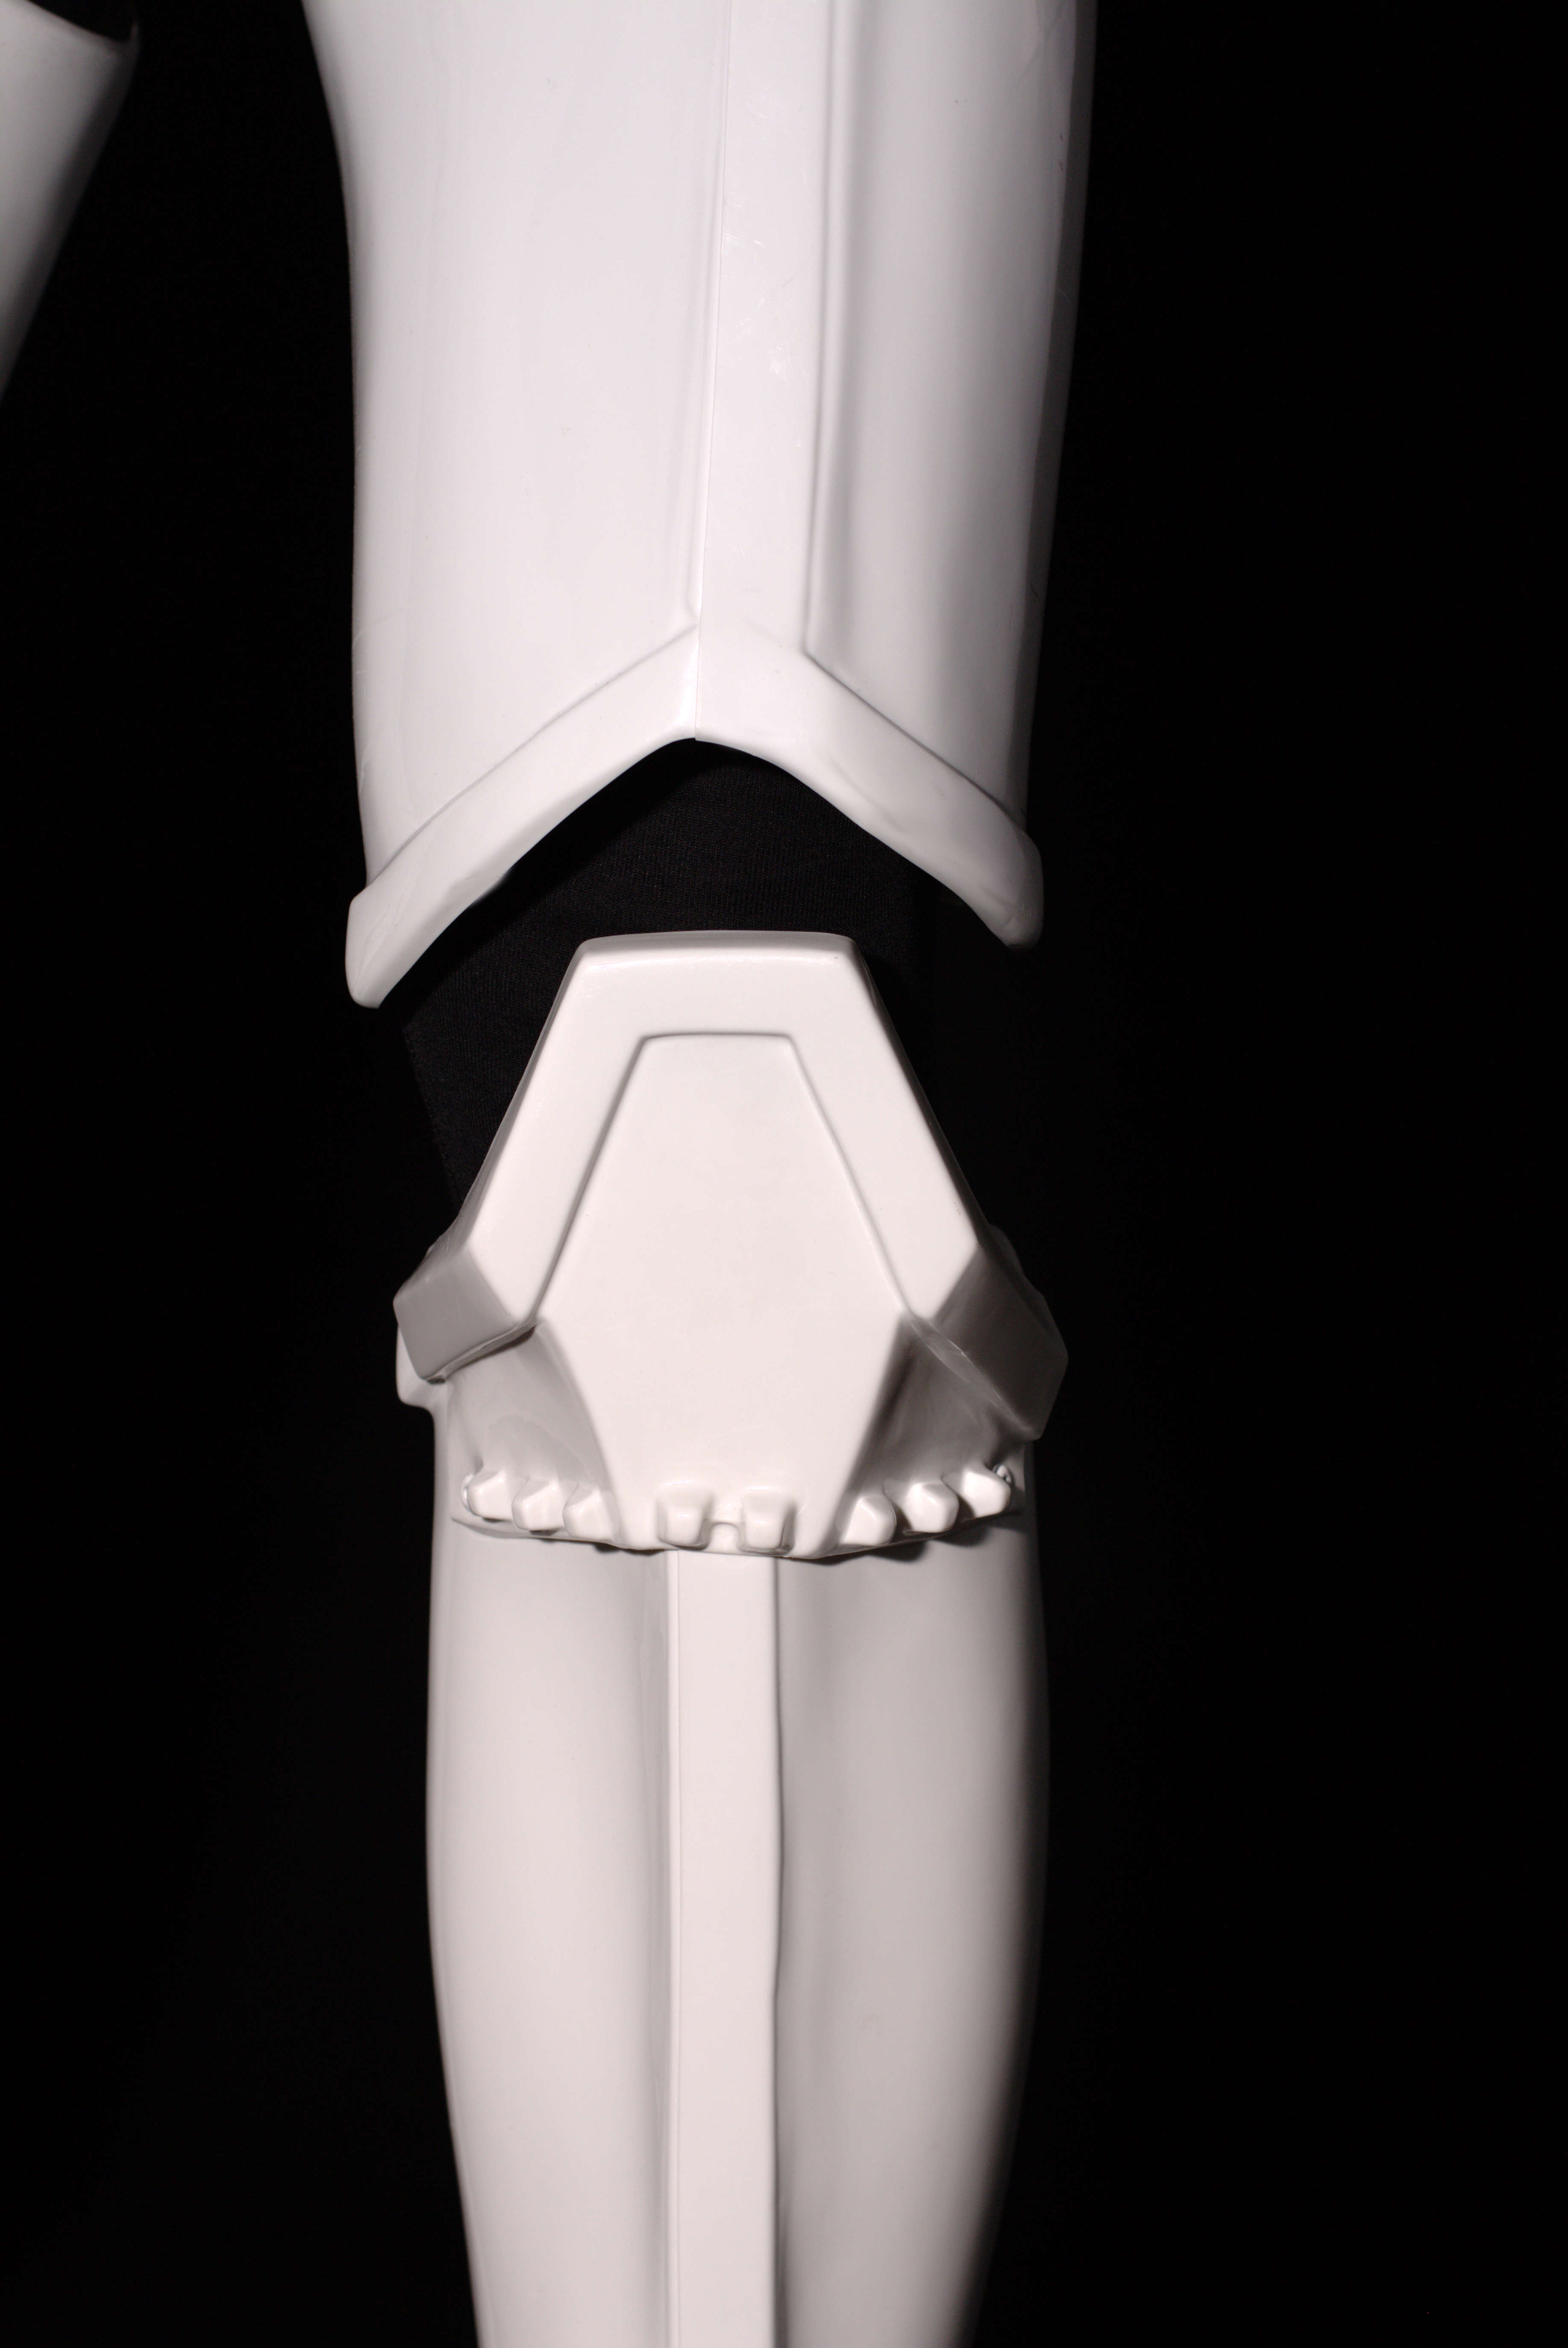
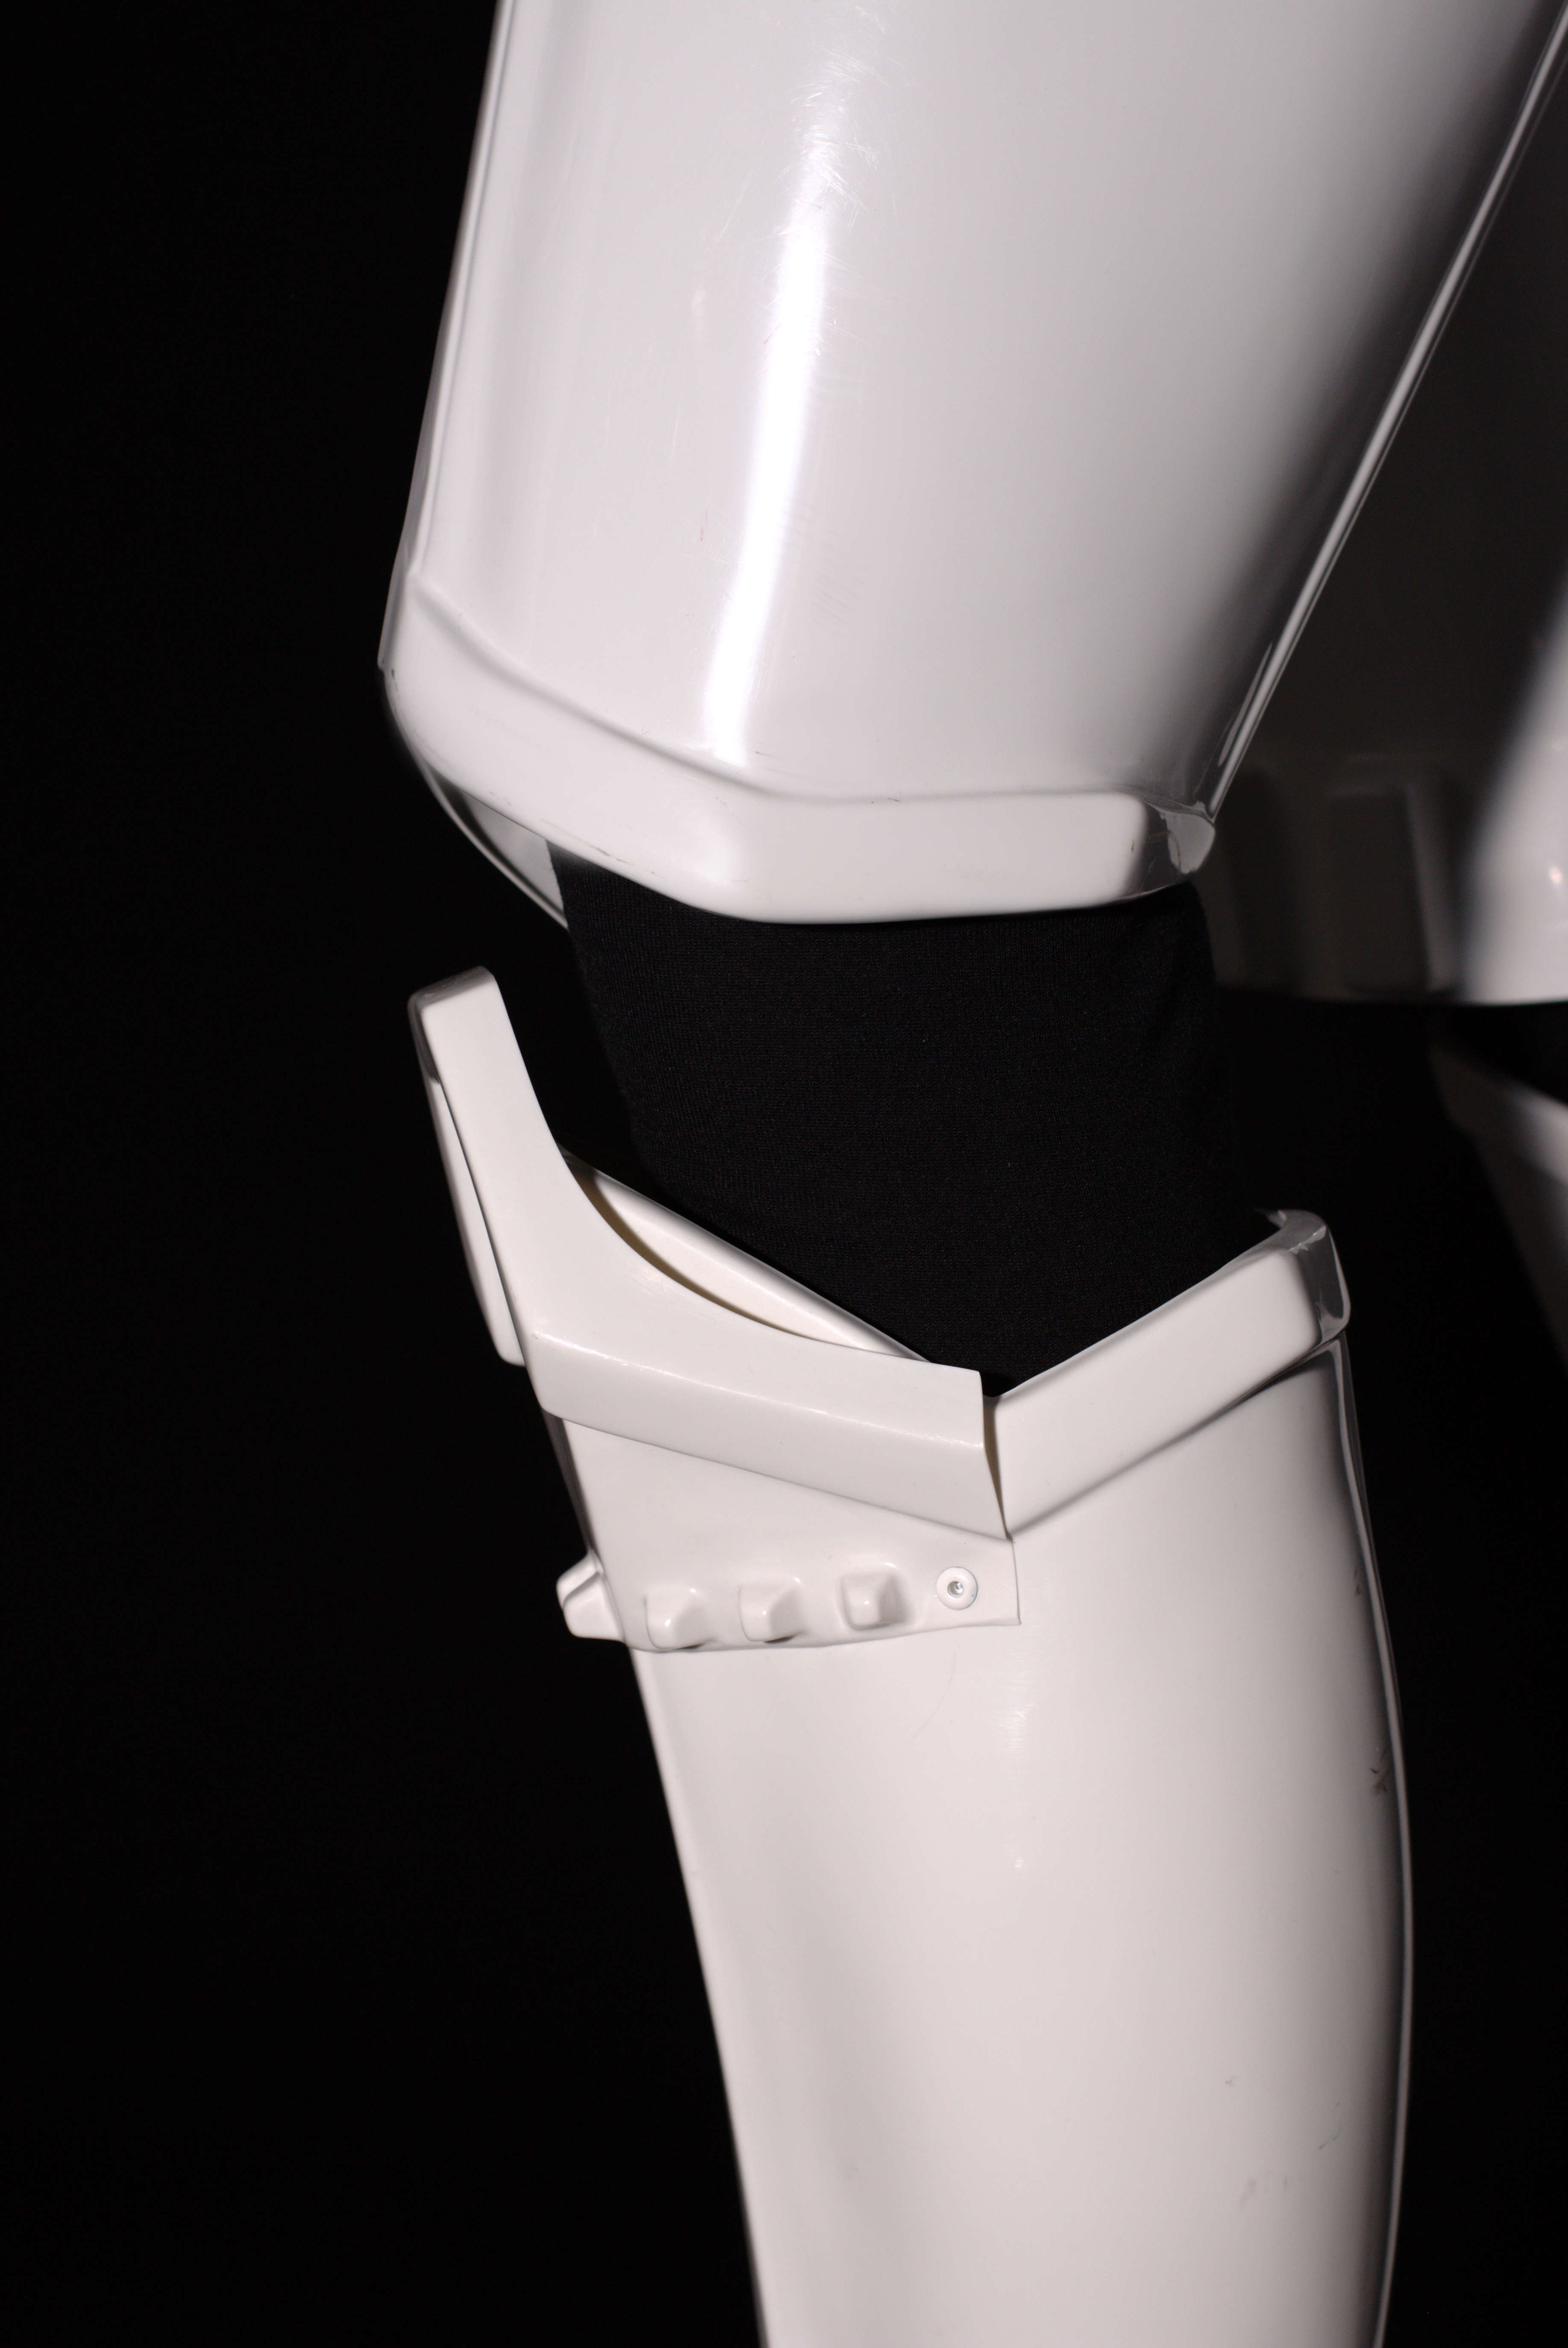
Knee Plate
Drop Box Back
Cod & Butt Plate Attachment
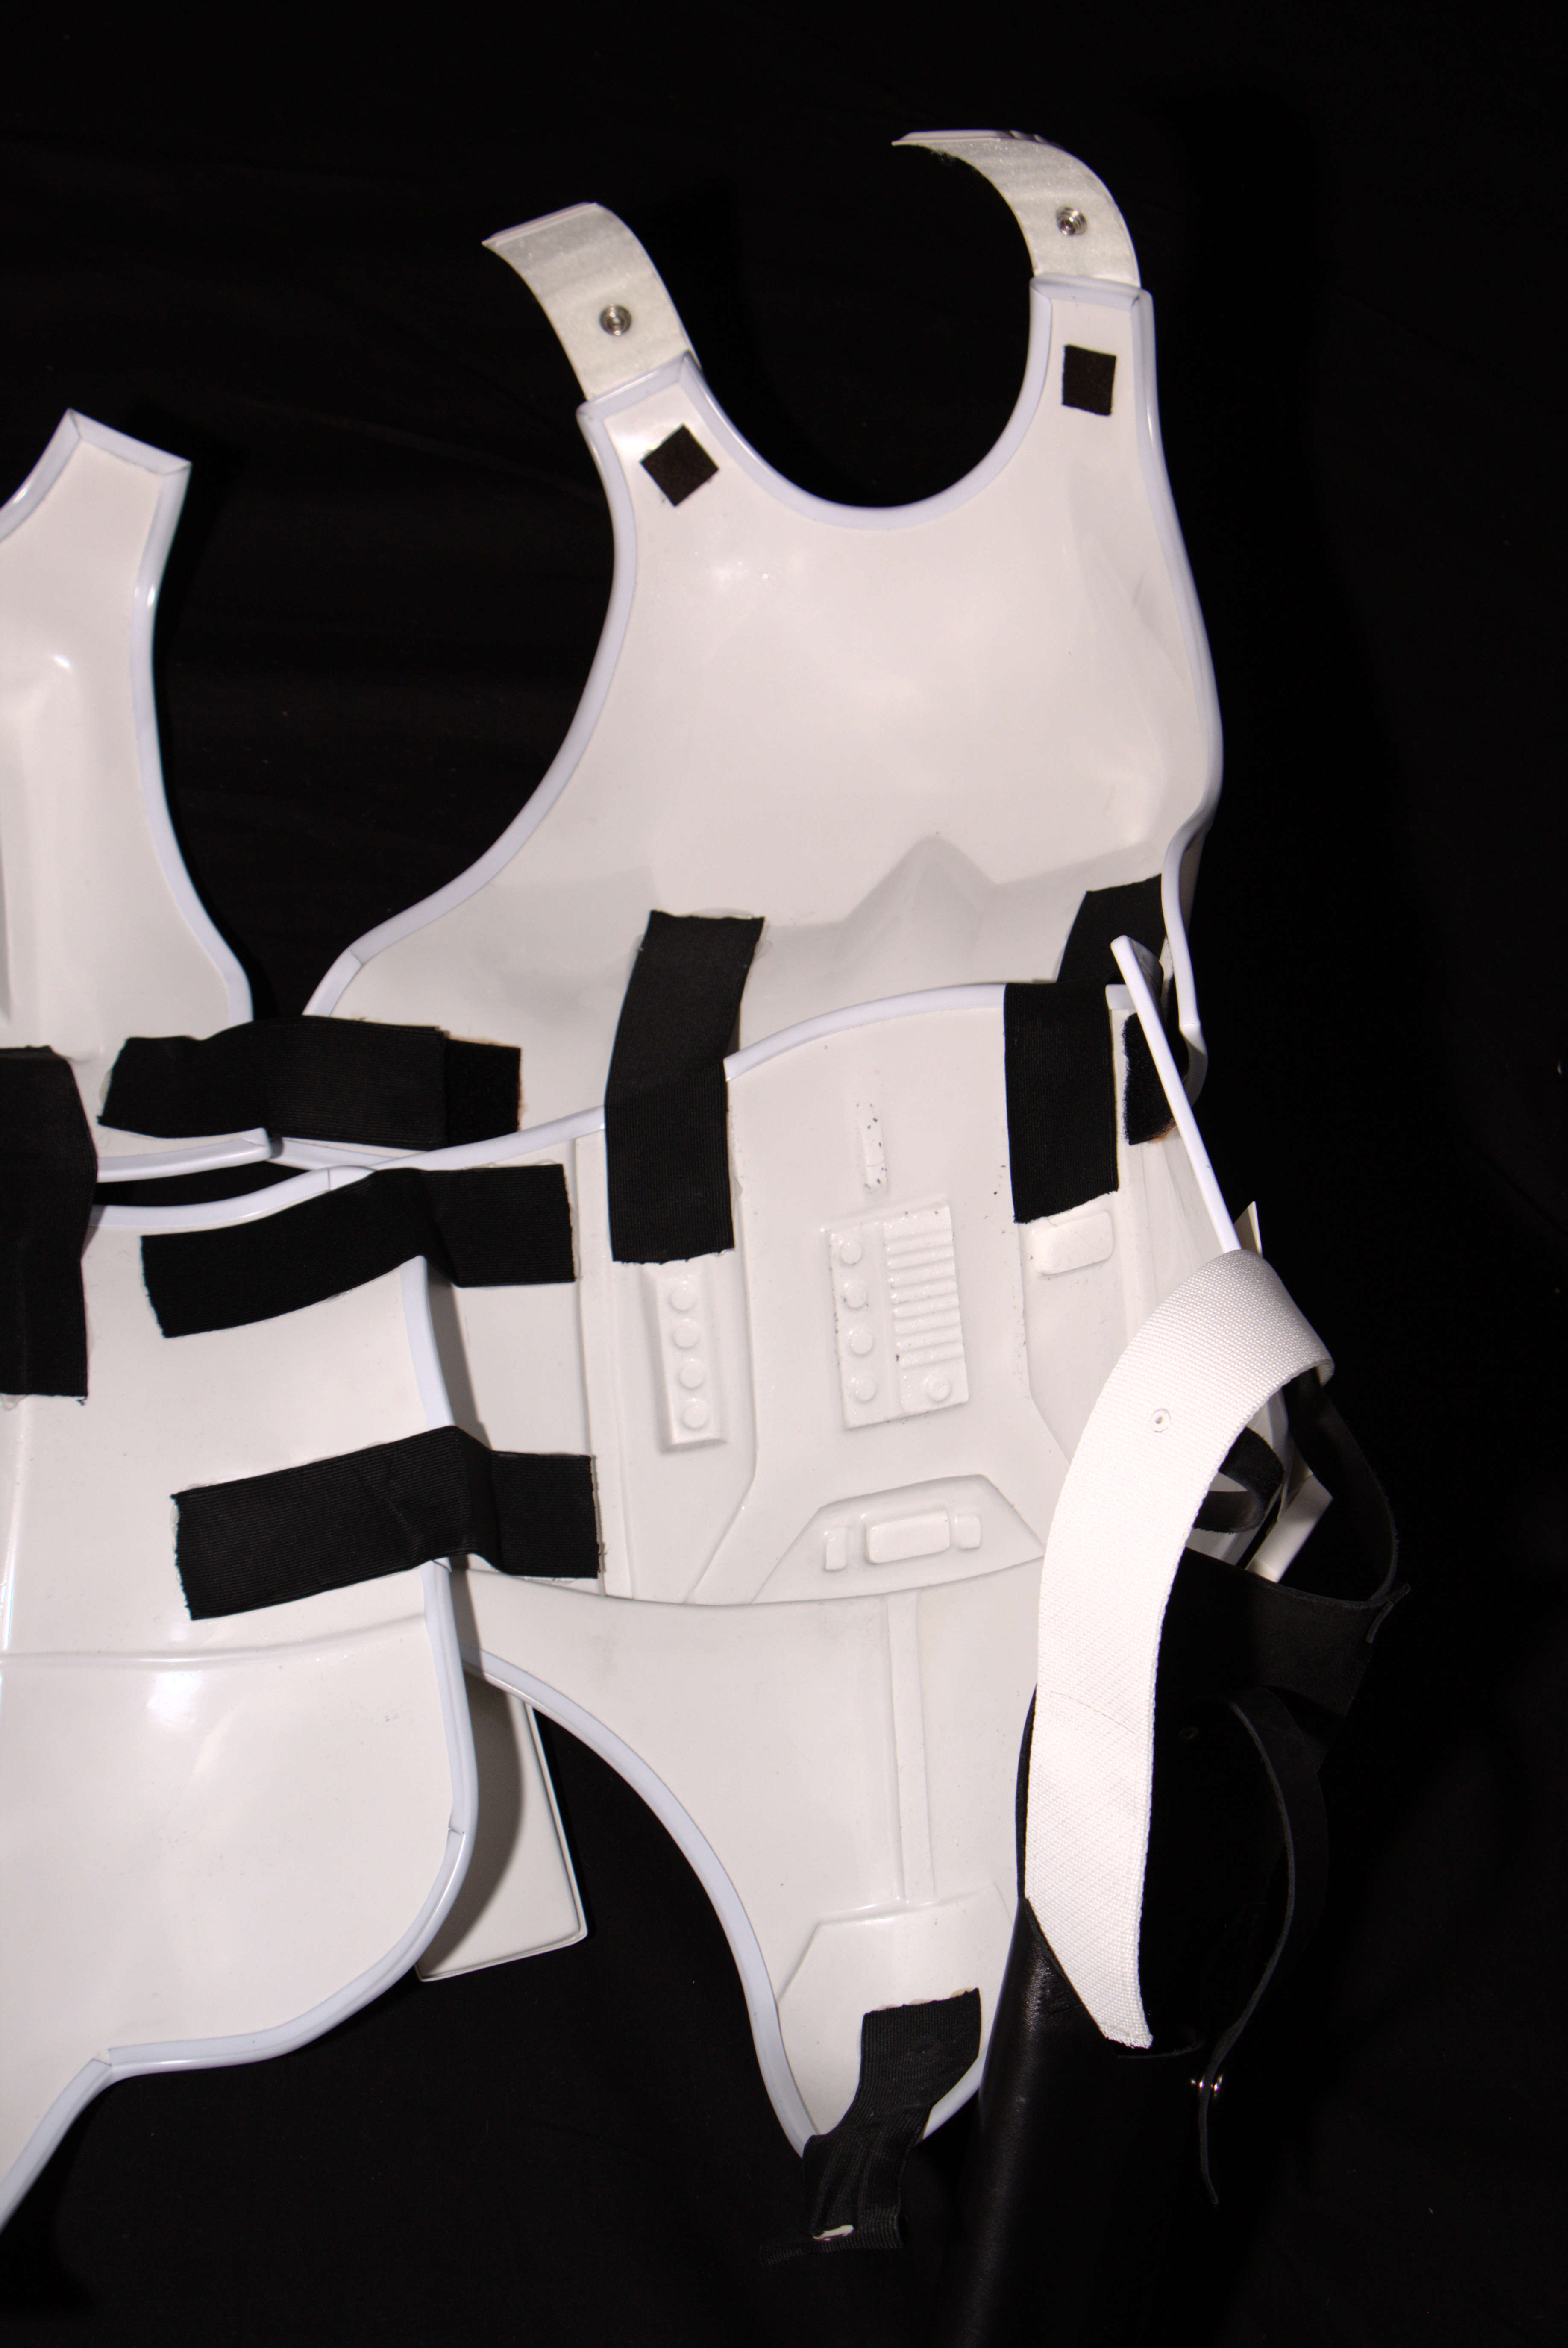
Interior Strapping
Kidney Plate Notch
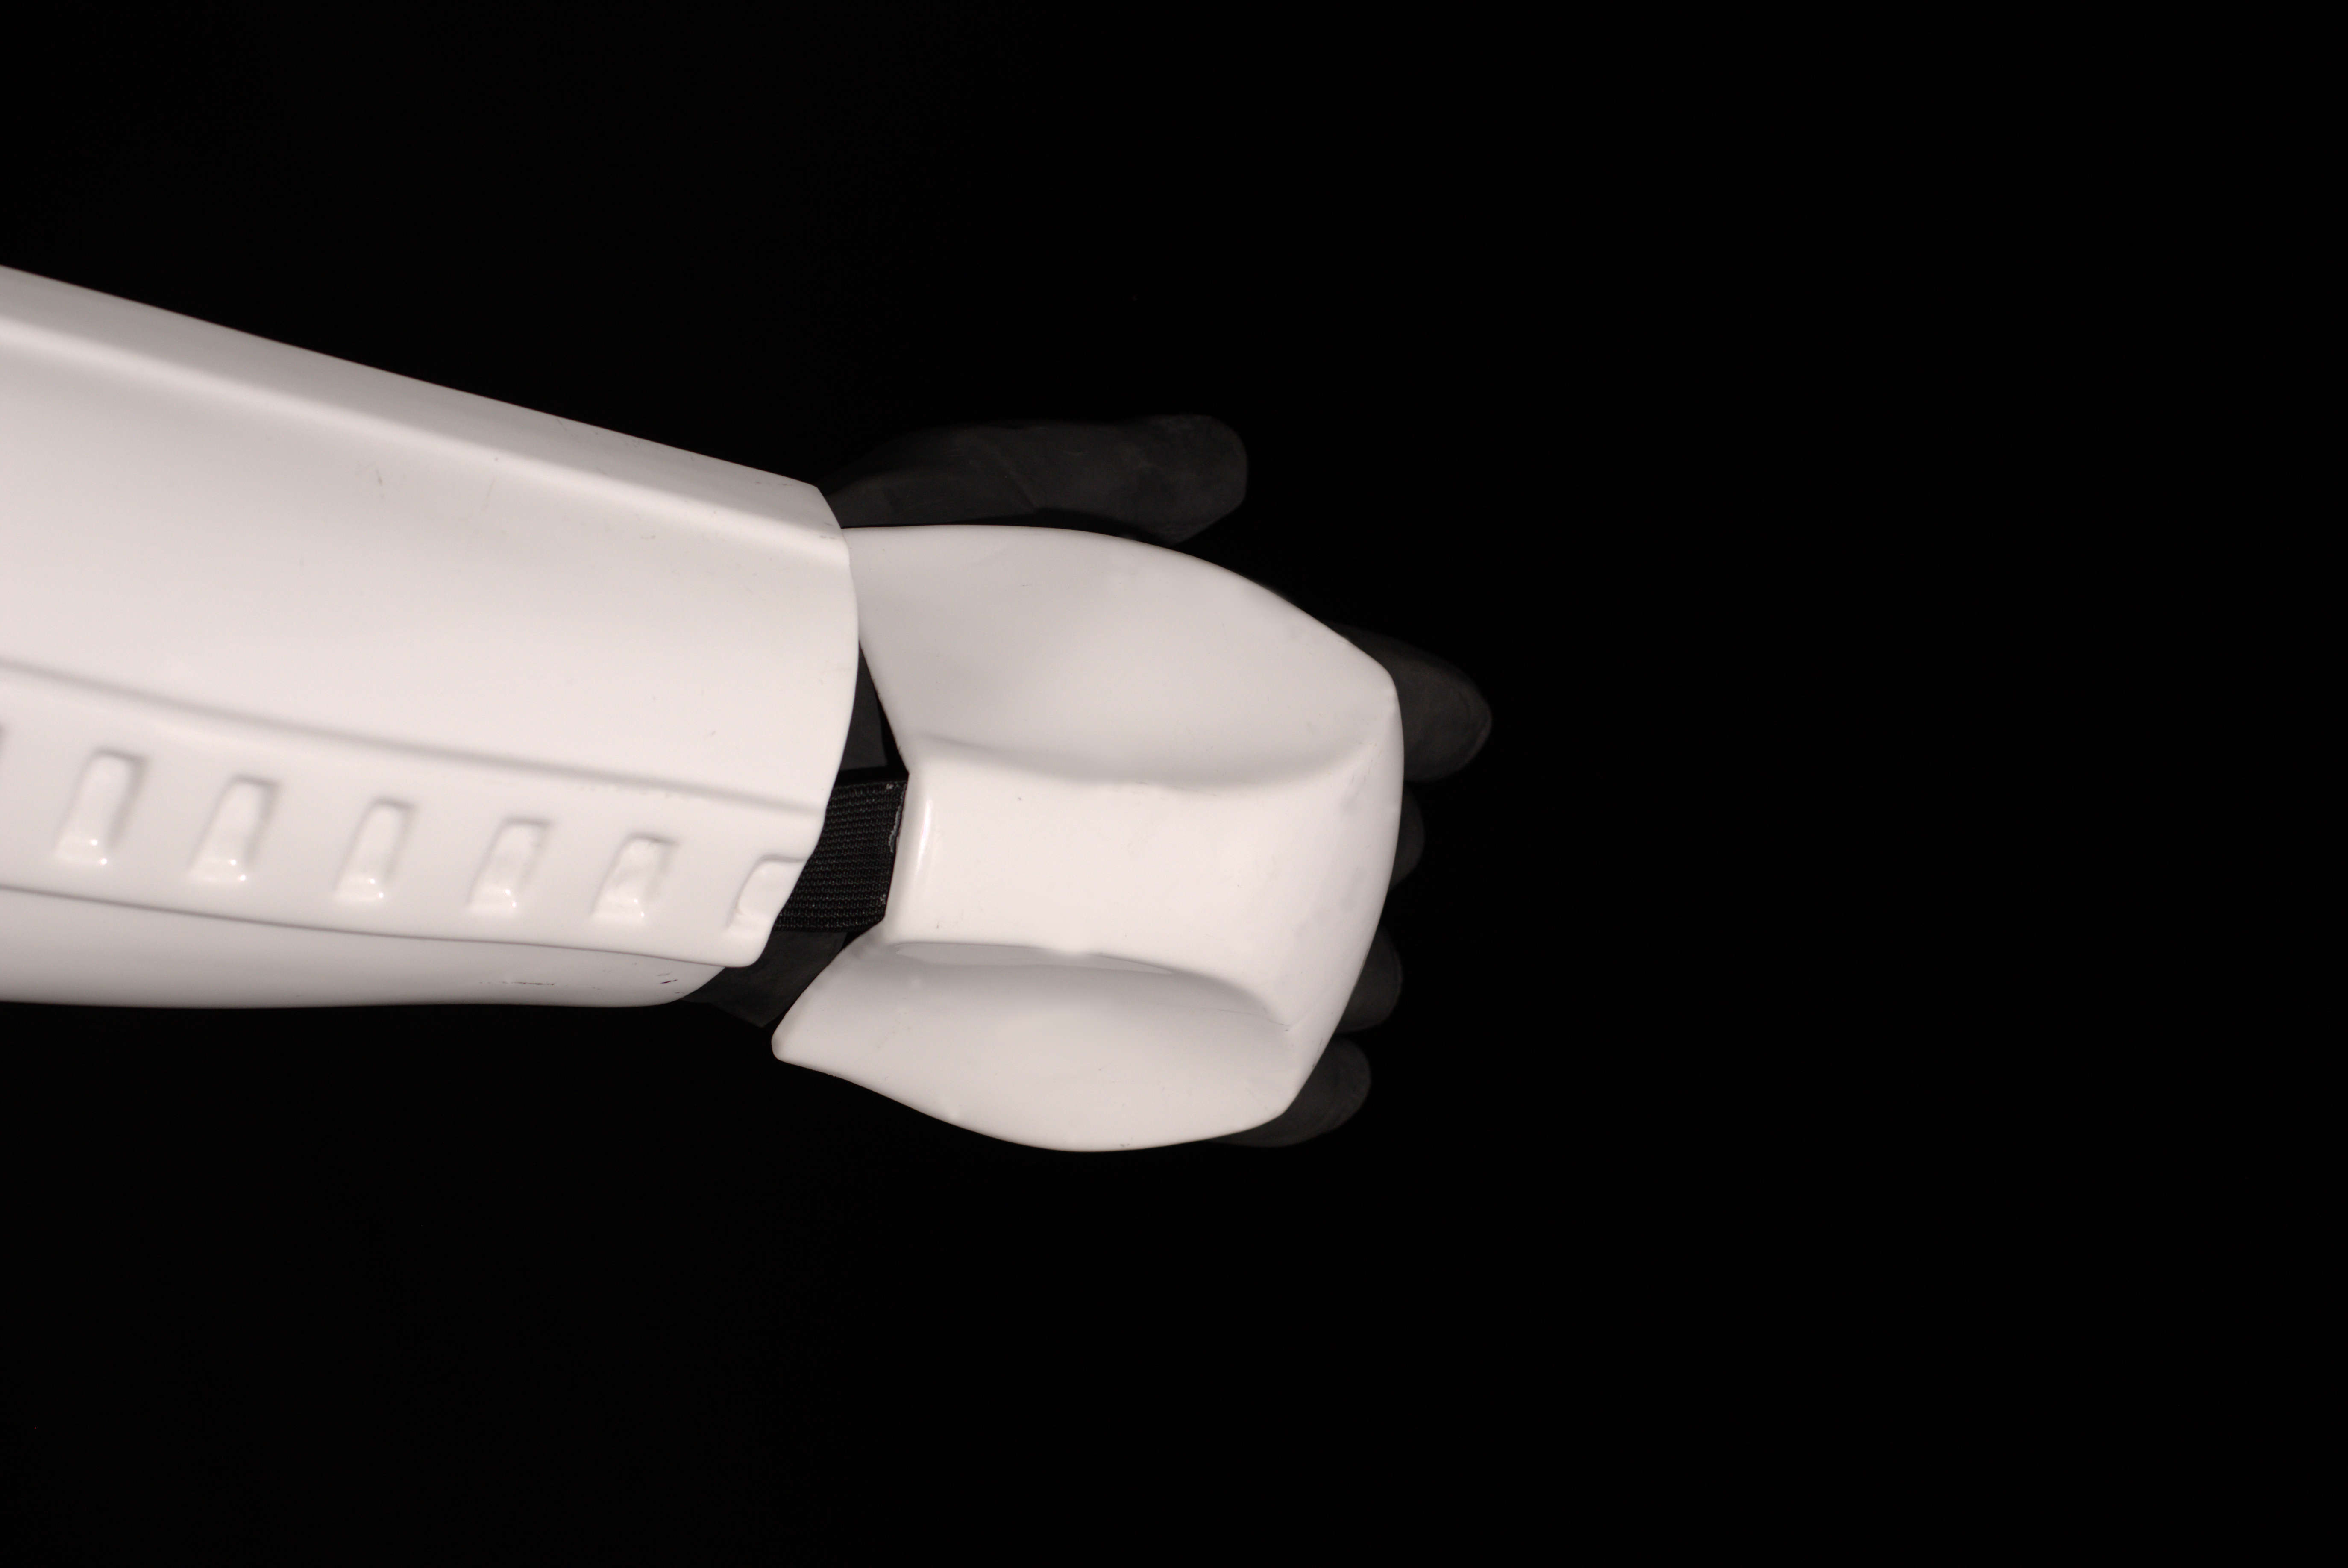
Wrist Side of Forearms
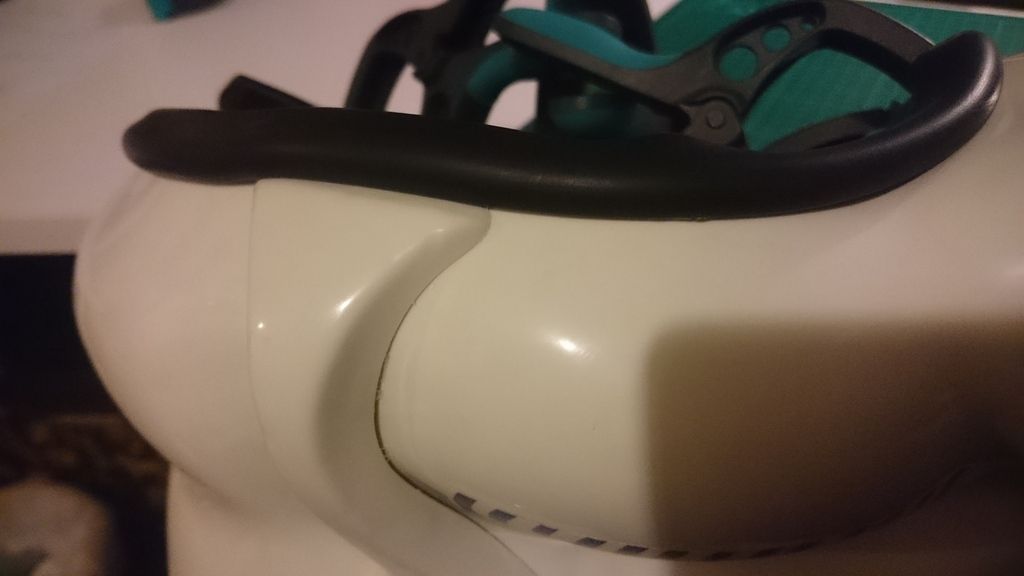
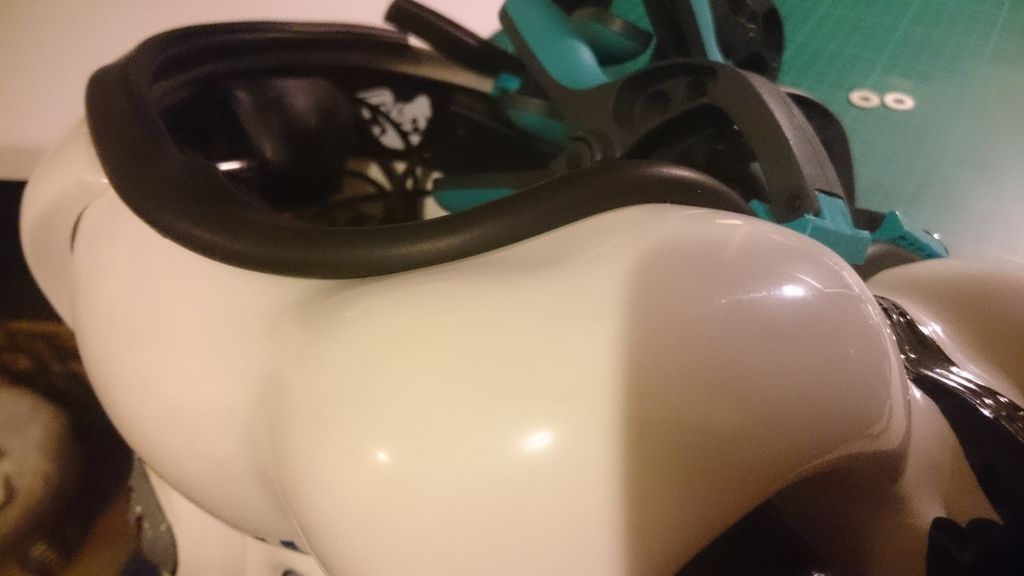
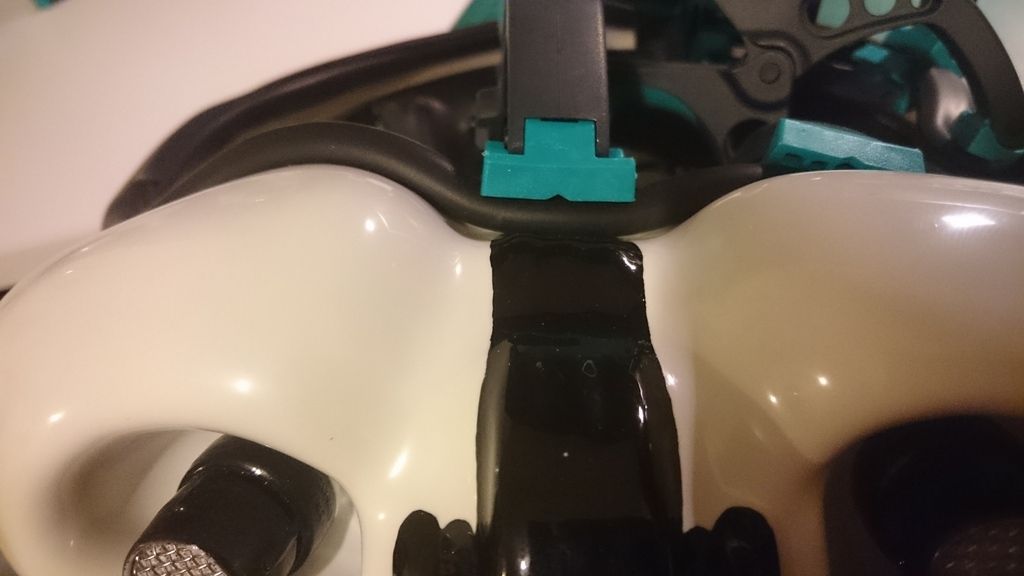
Helmet Details:
Front
Side Left
Side Right
Back
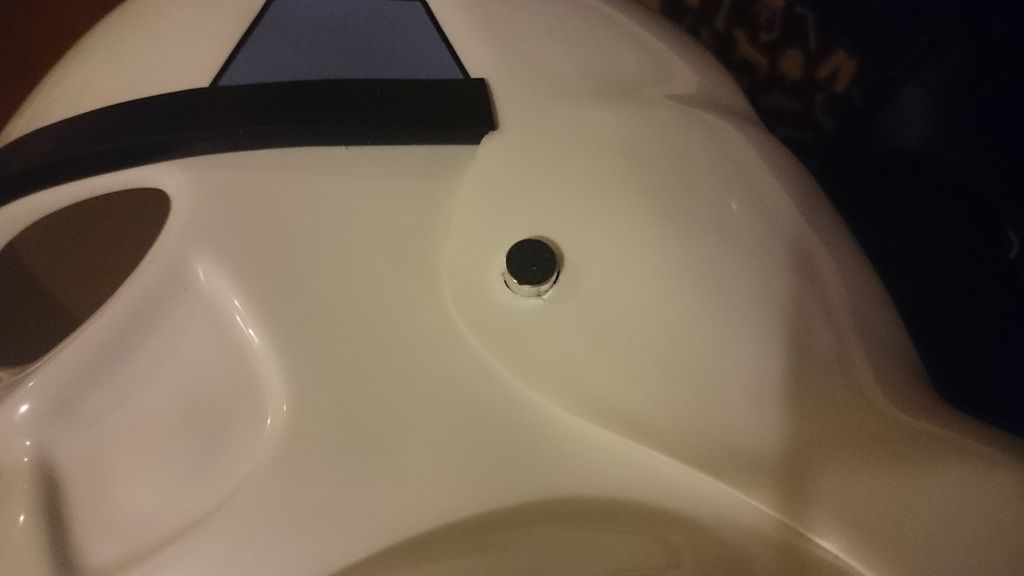
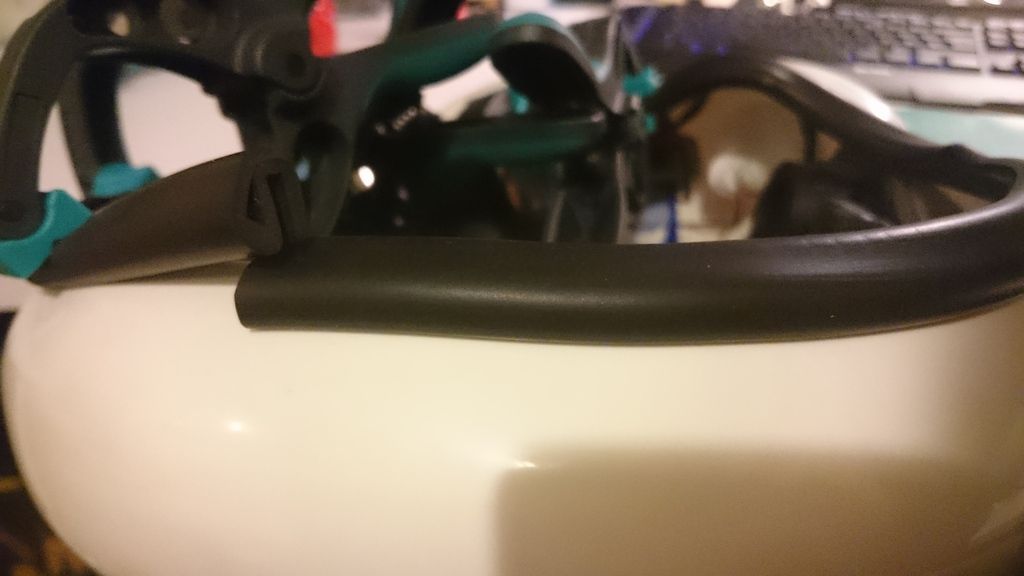
Hovi Mic Tip Detail
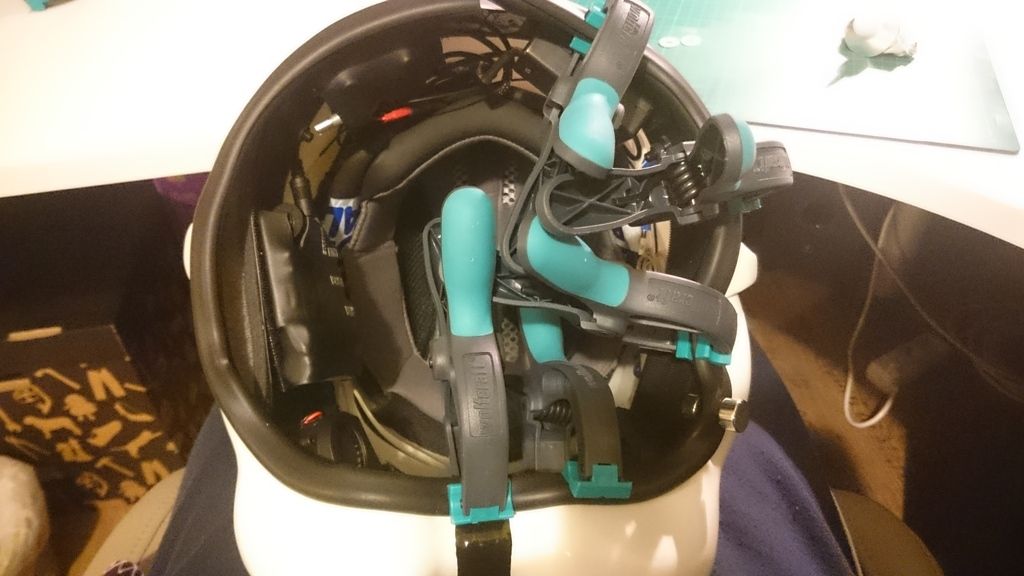
Electronics
Lens Color
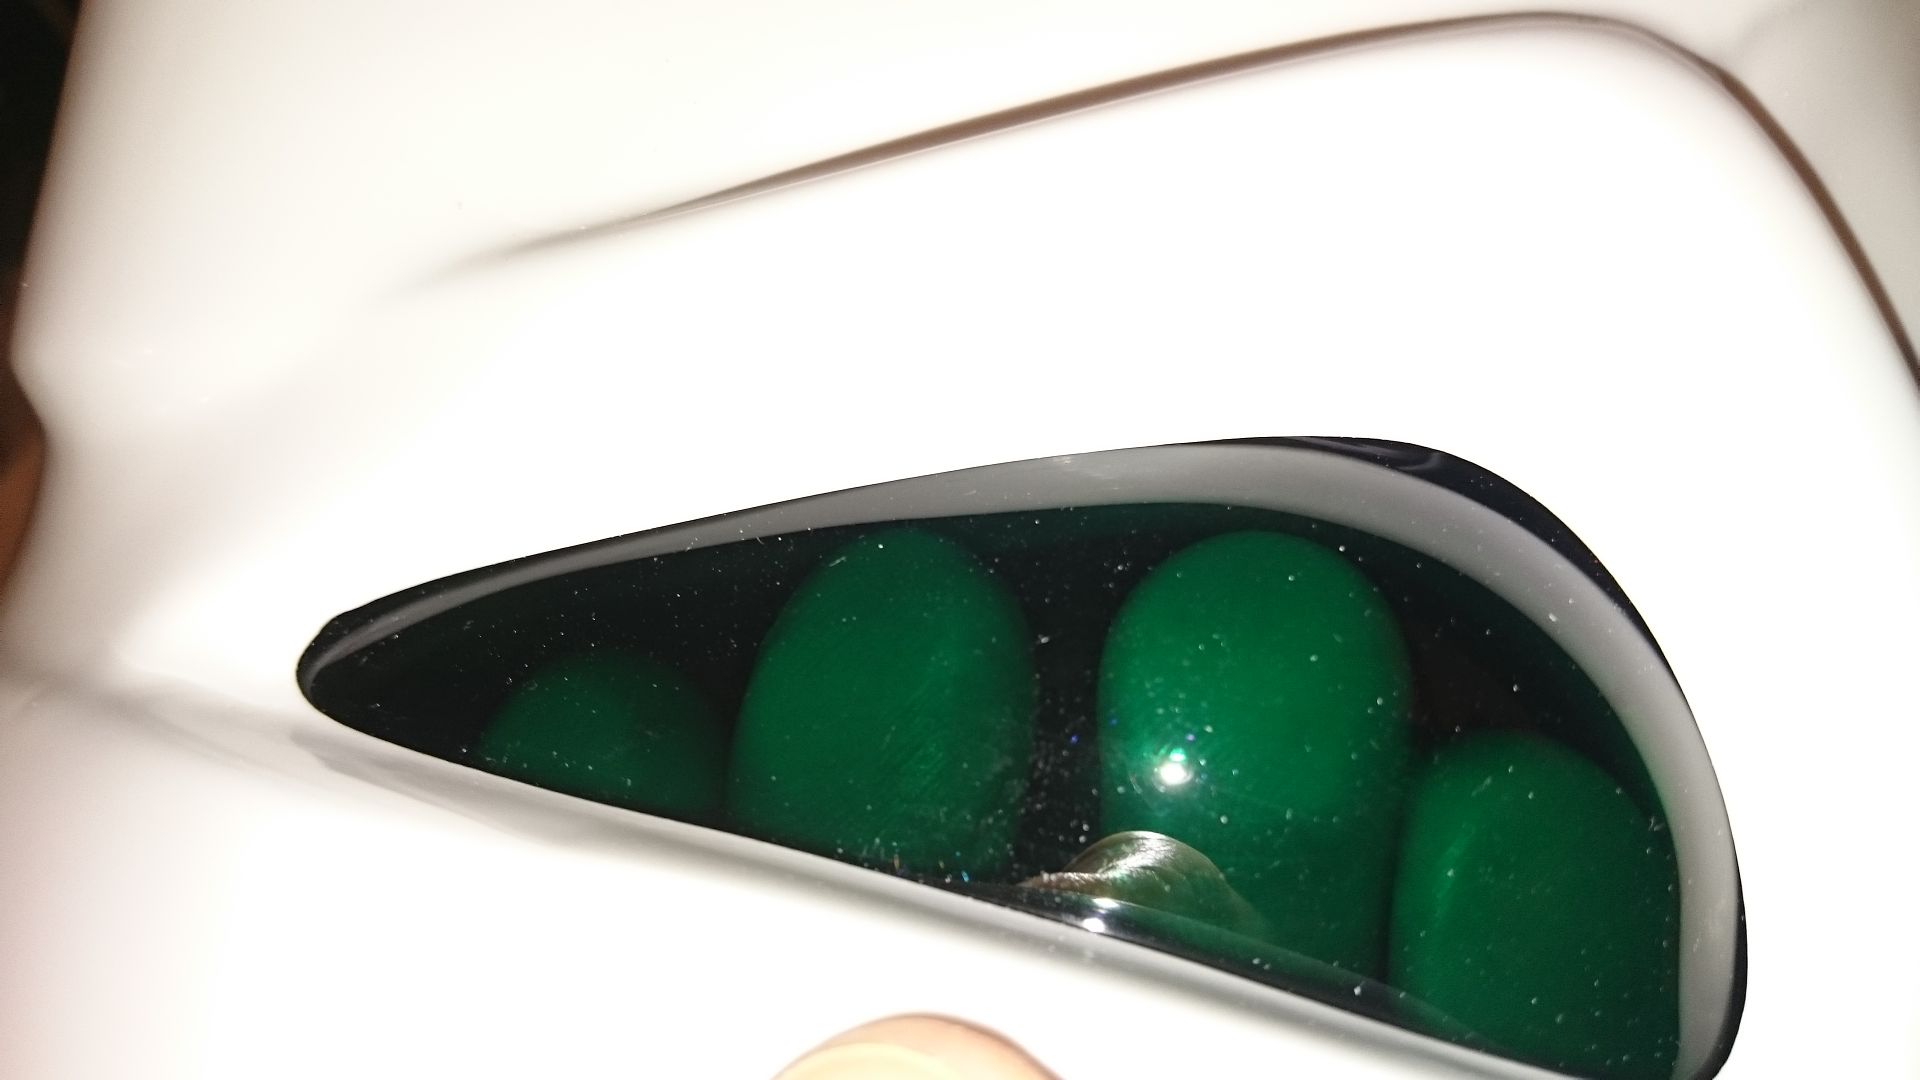
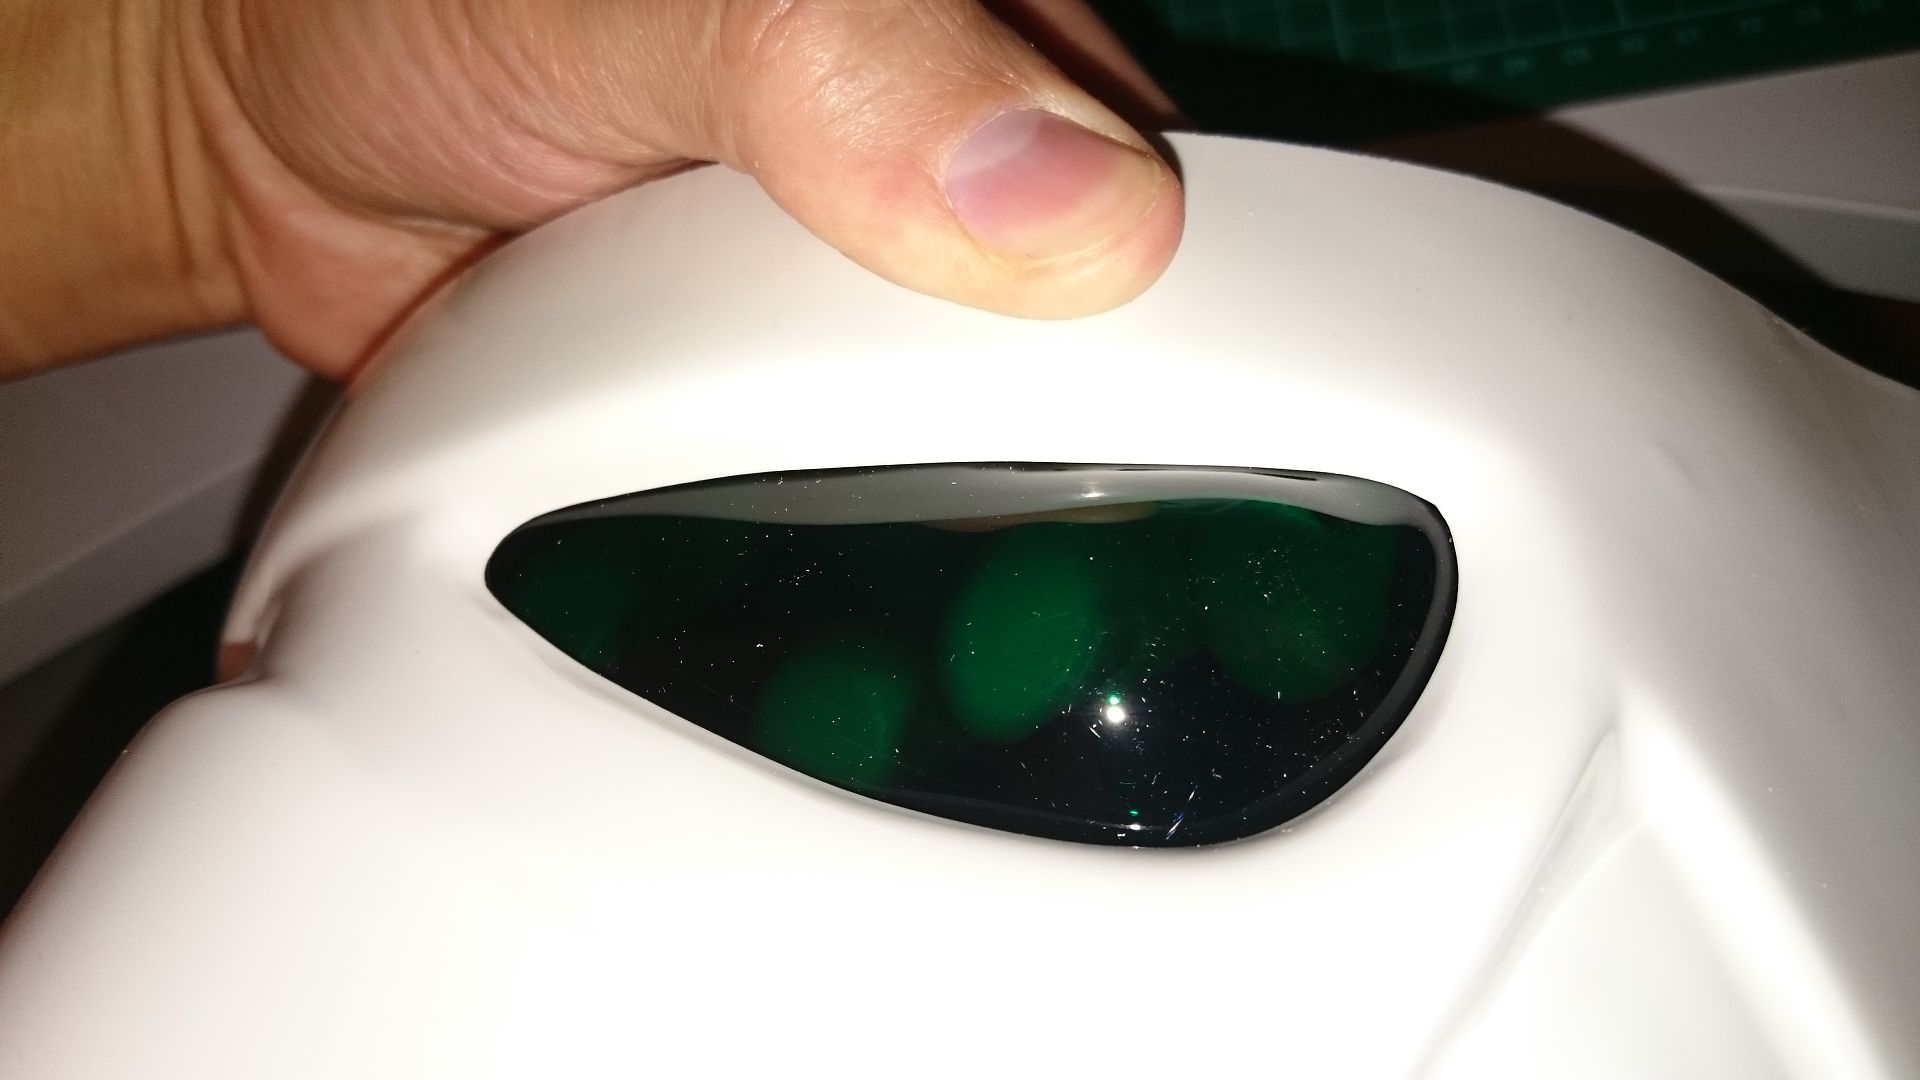
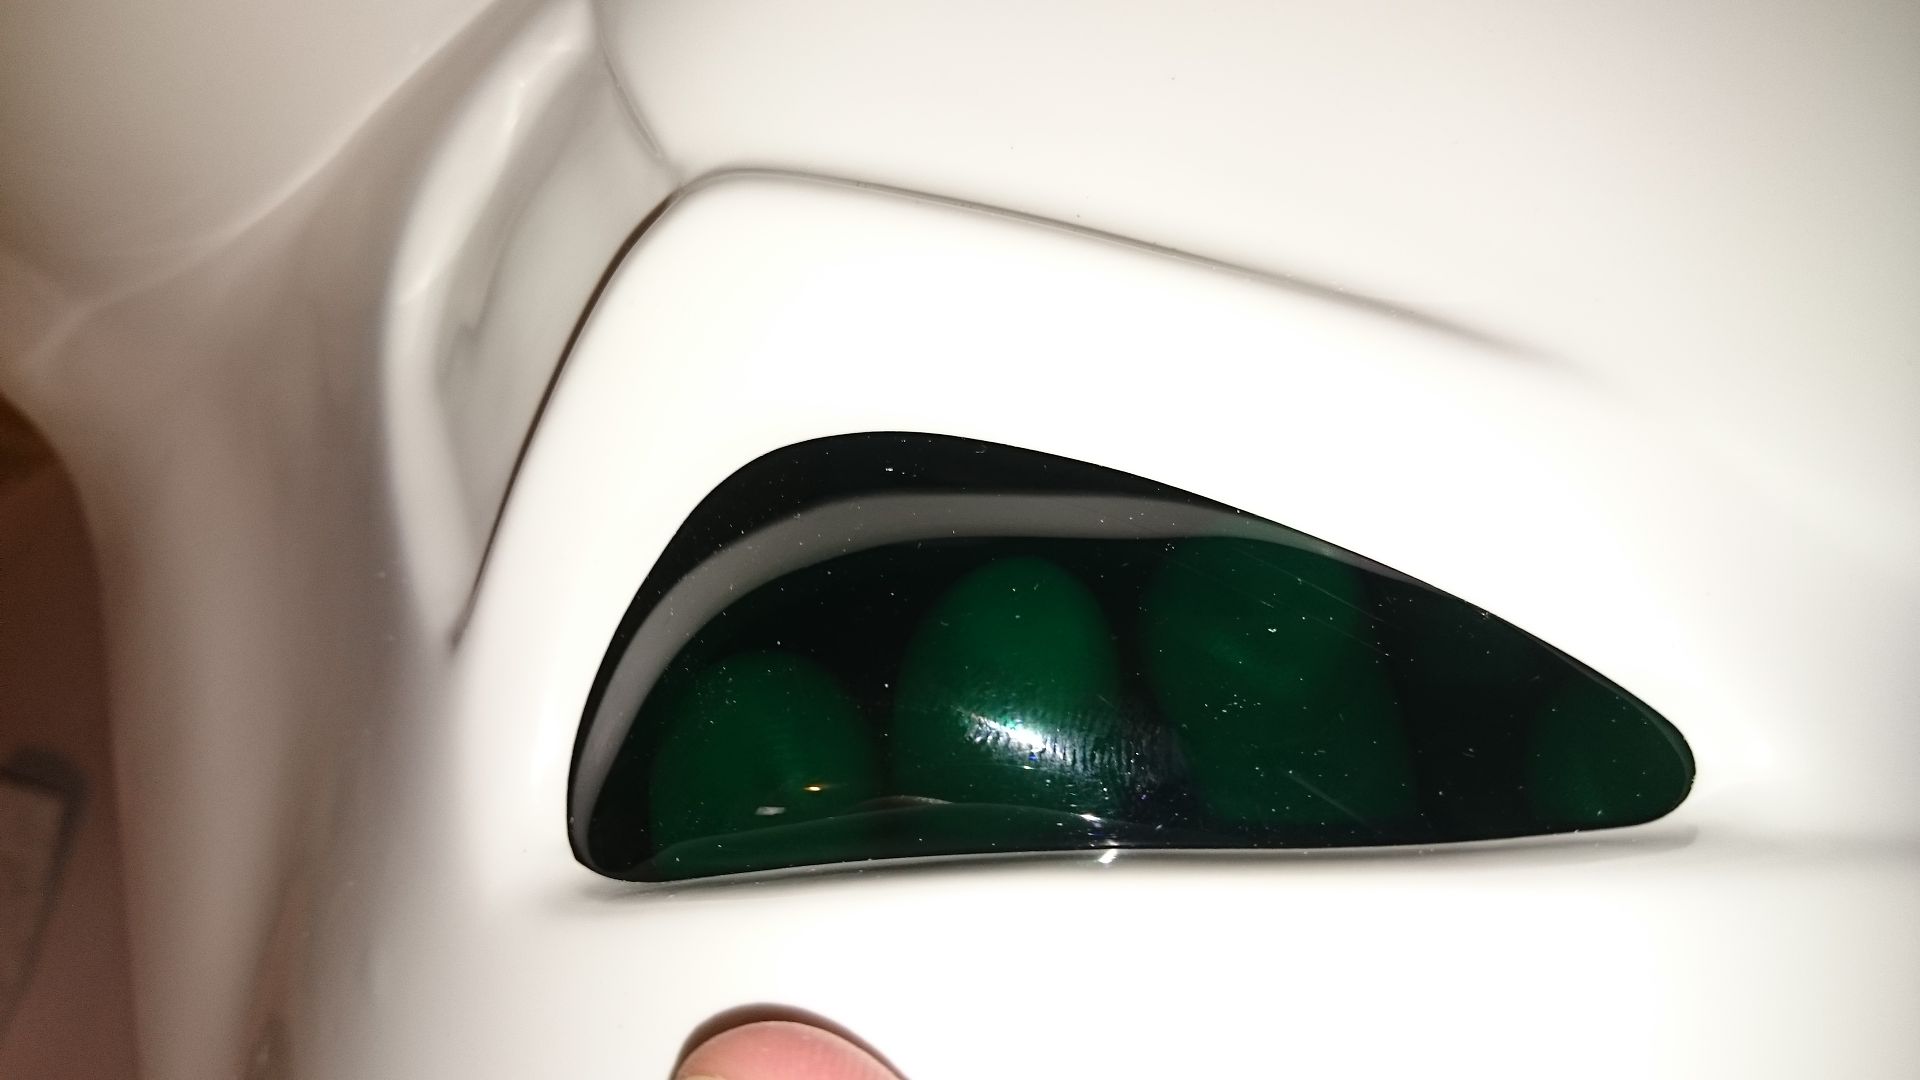
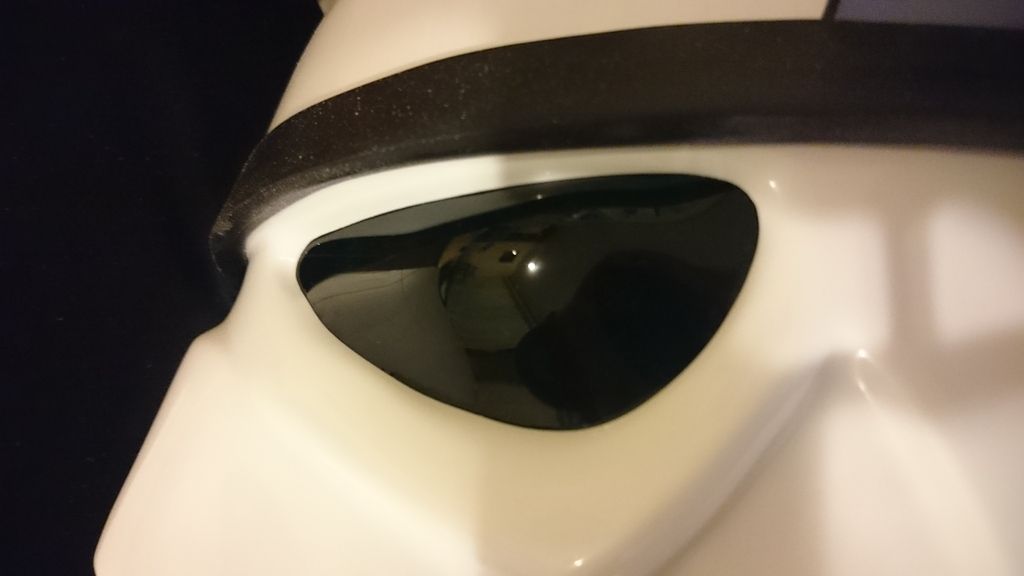
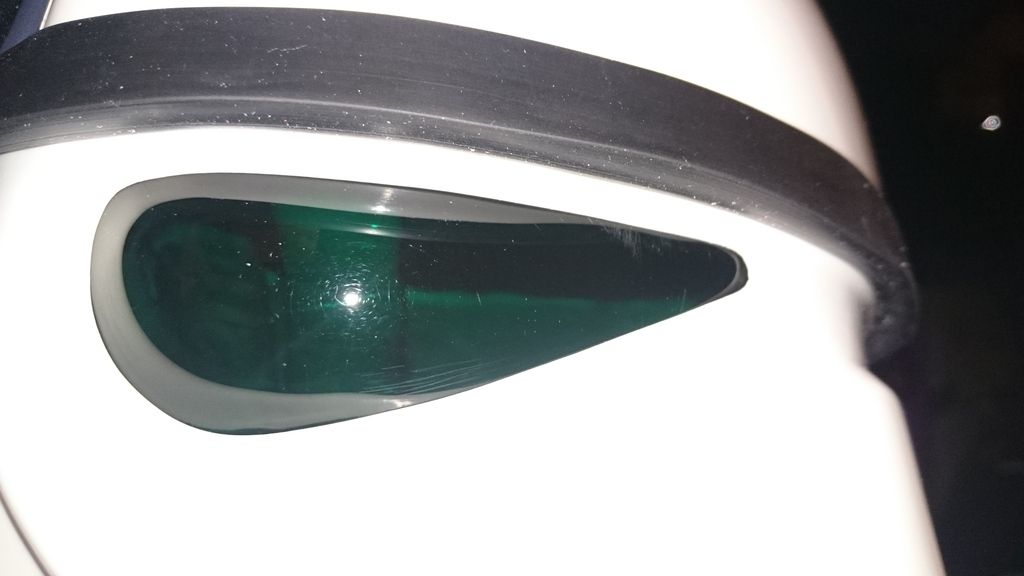
Green Bubbled Lenses
S-Trim
Blaster Details
Right
Left
Accessoires Details
Neck Seal
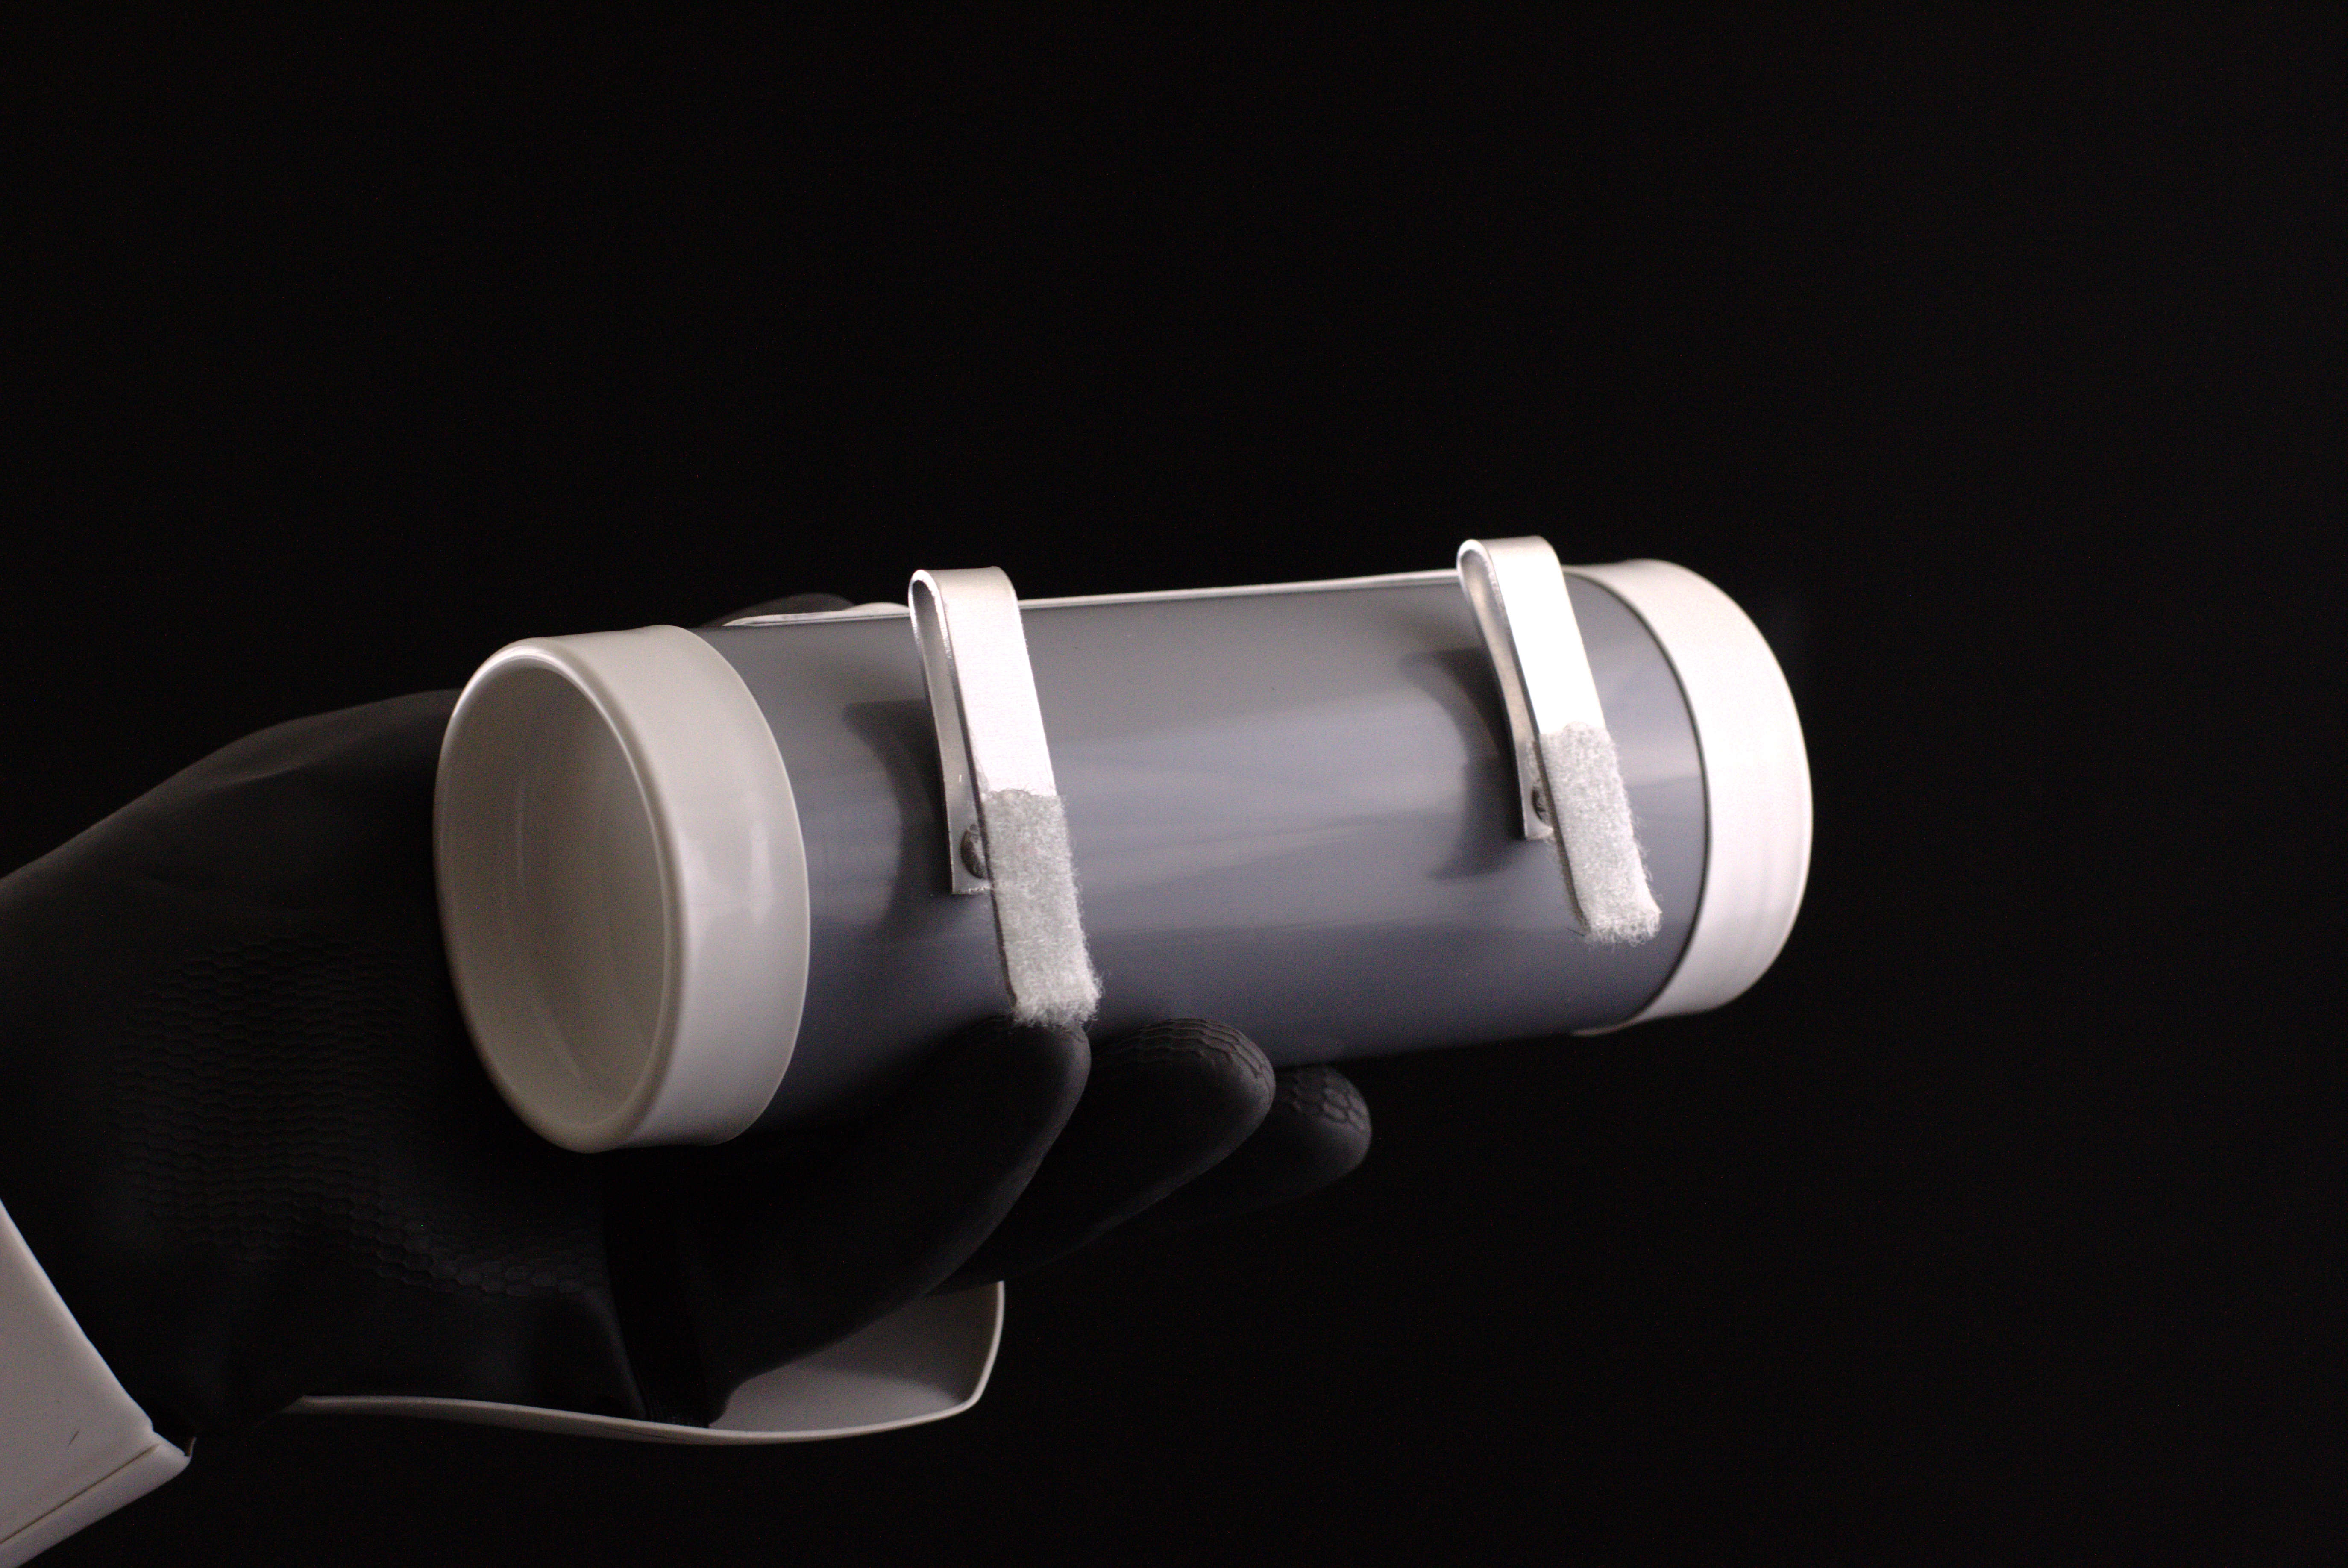
Thermal Detonator Back
Holster Attachment
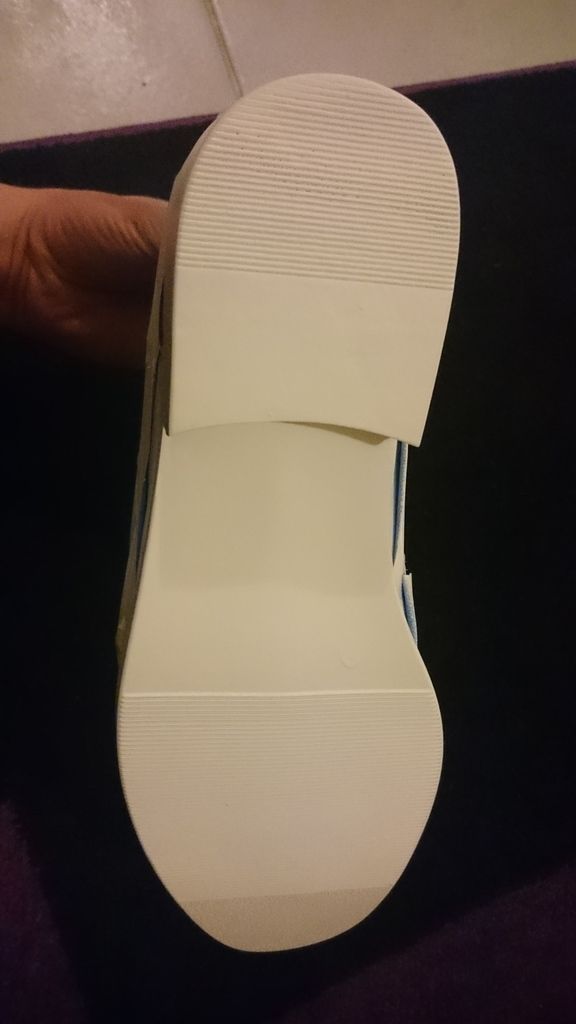
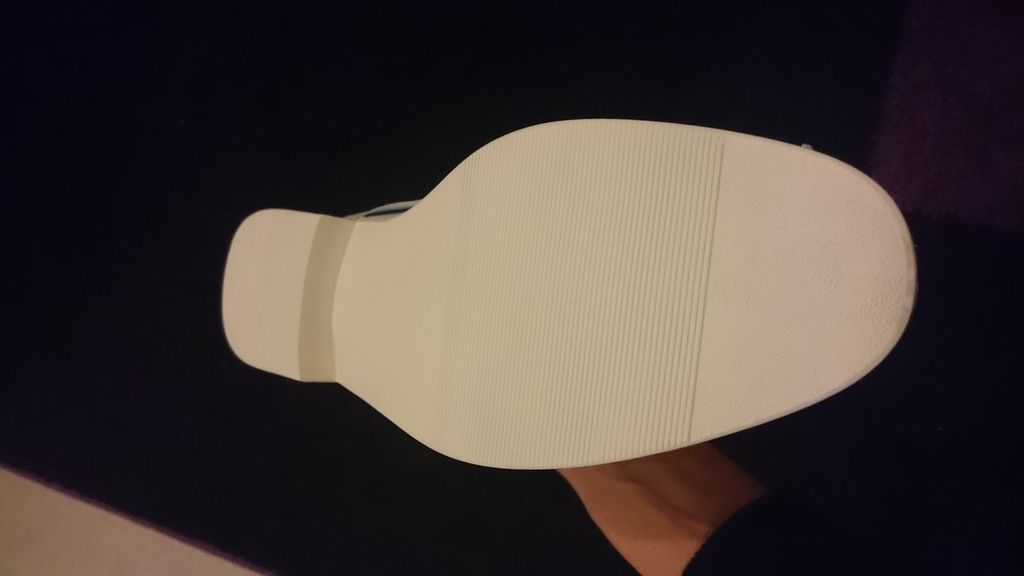
Shoes White Sole
-
-
I have to make up for work:
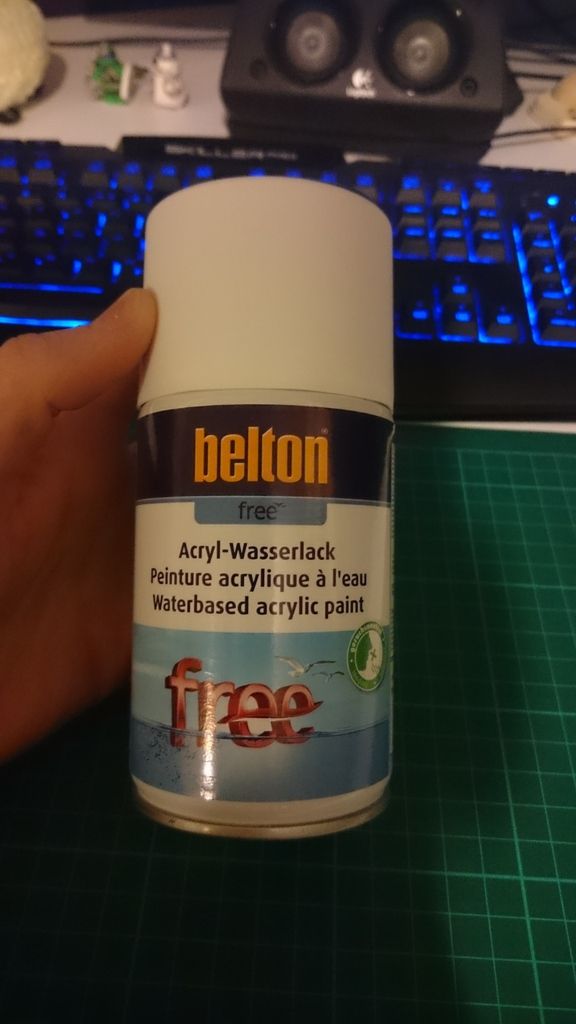
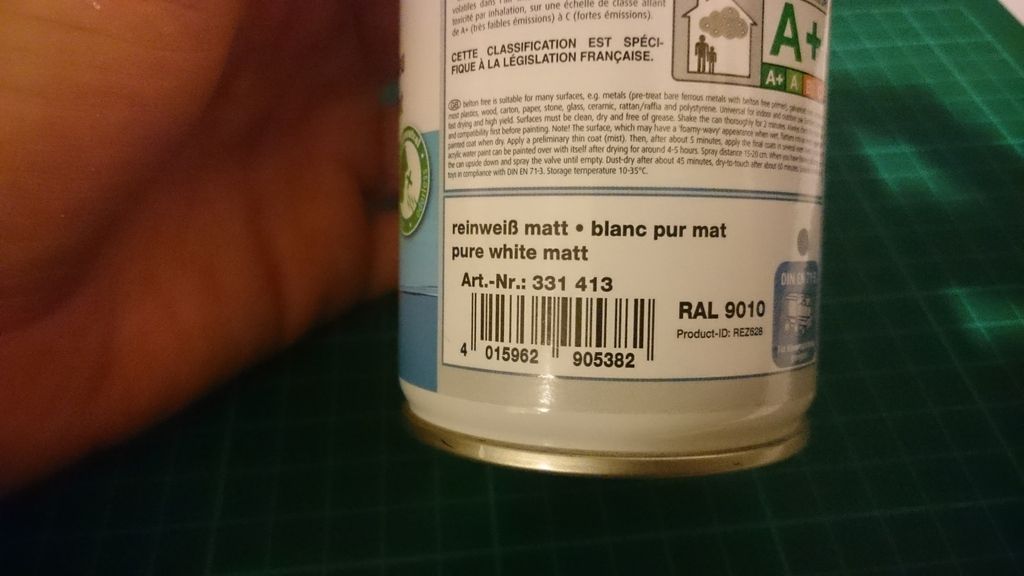
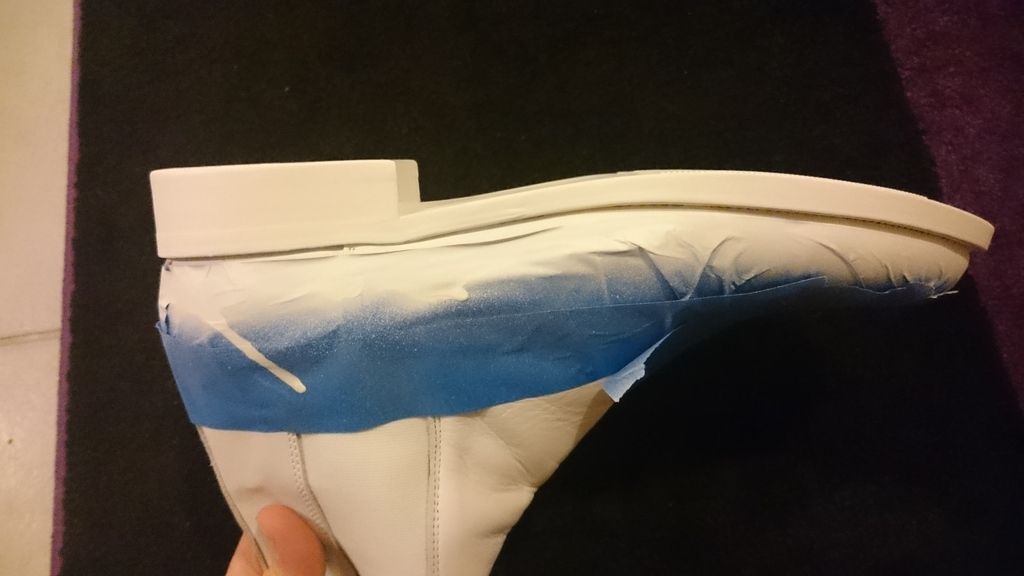
The soles are already painted white, although they are not finished. I did some mistakes at painting:
1.) I bought a too little can of paint.
2.) I have the shoes not taped properly.
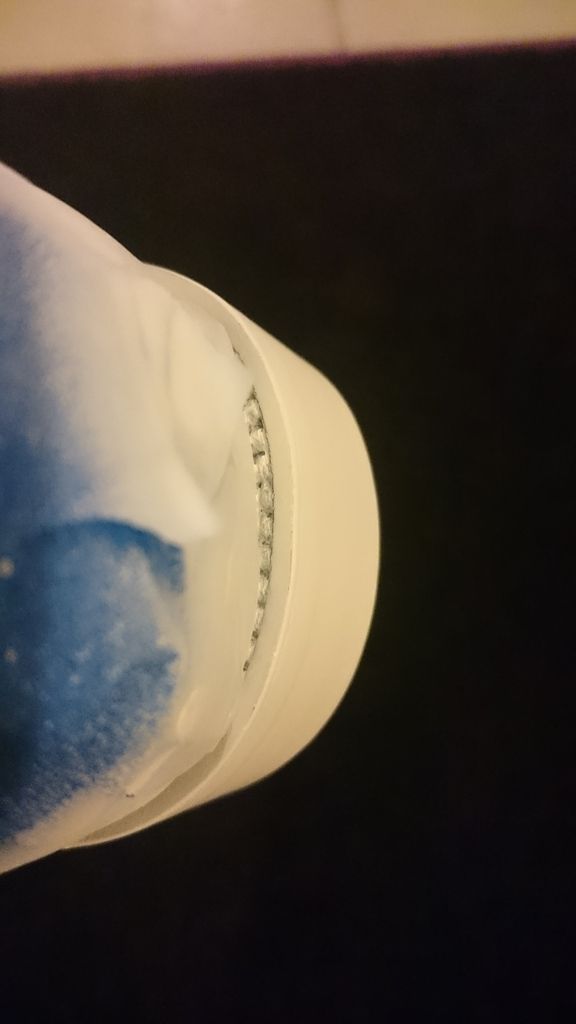
The progress of painting is not finished yet, because of too less colour and the seams are already black on some points.
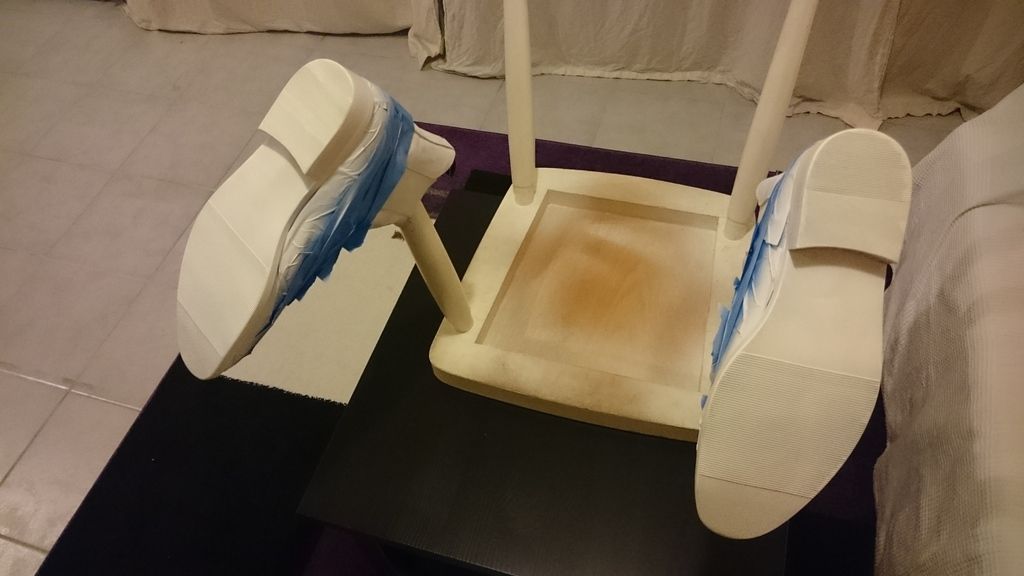
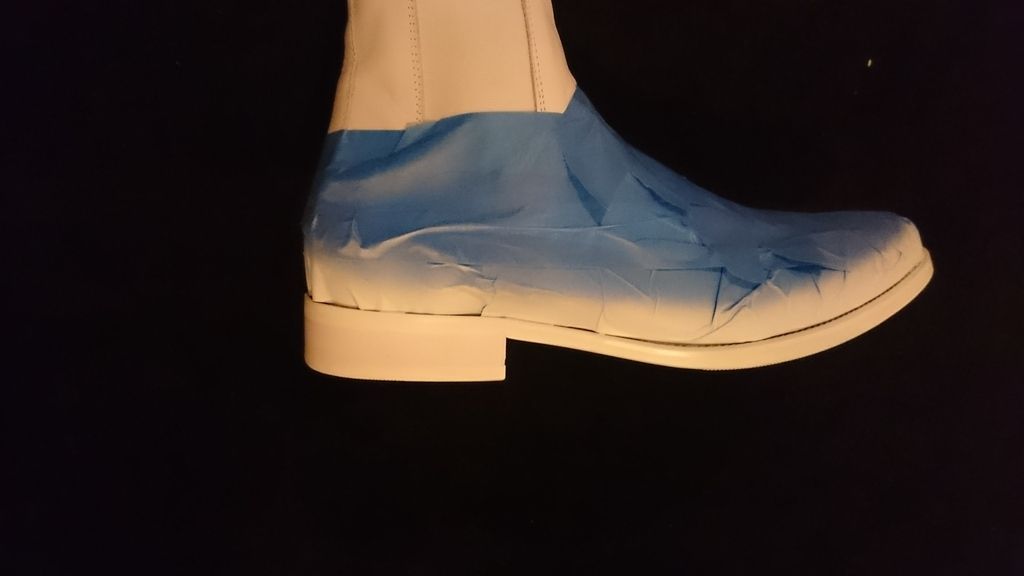
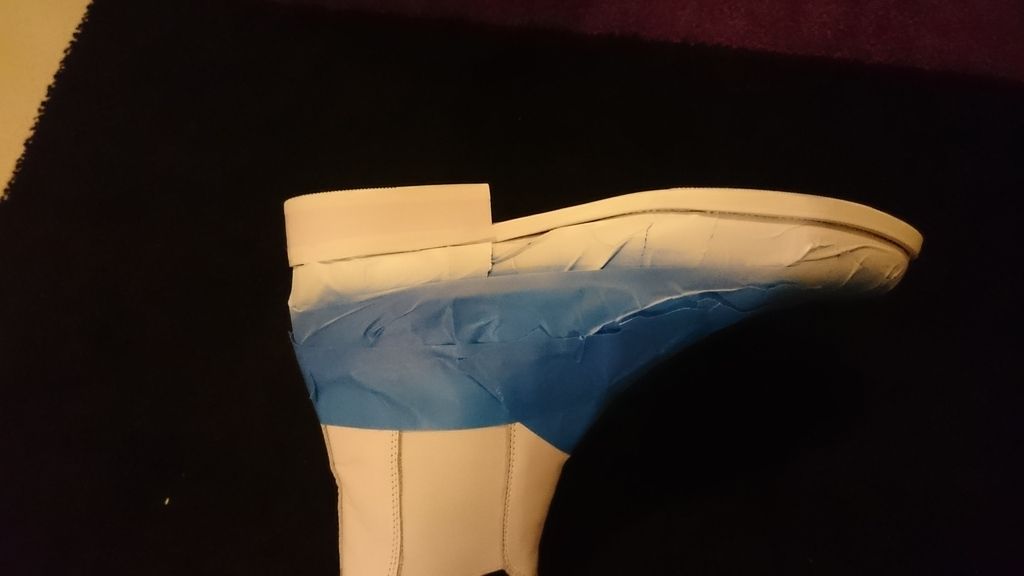
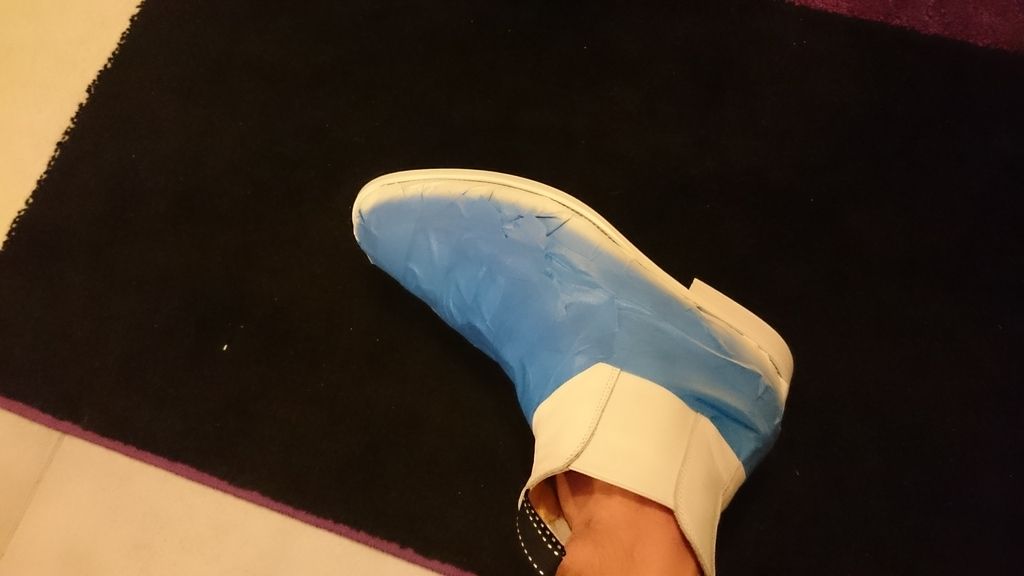
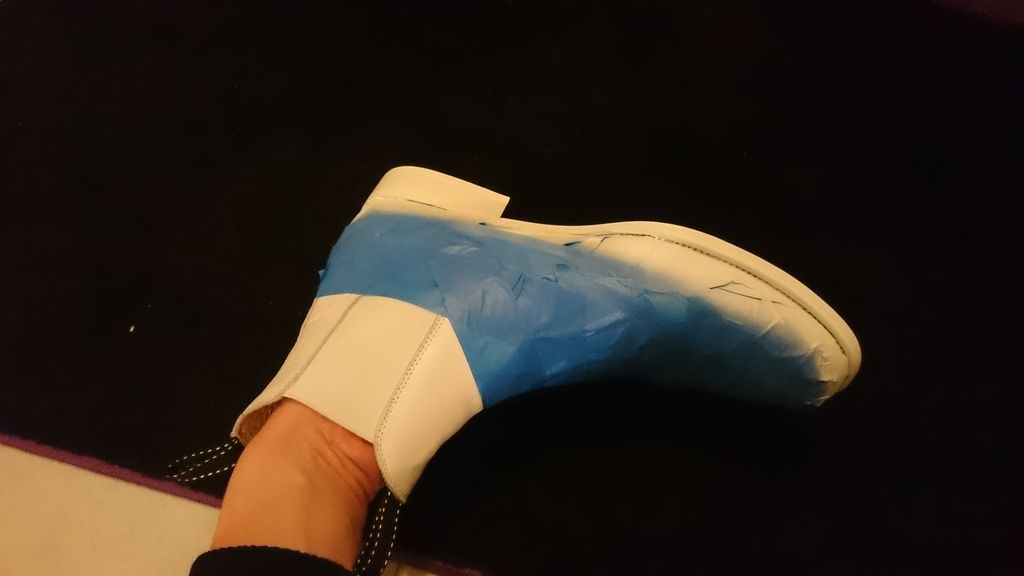
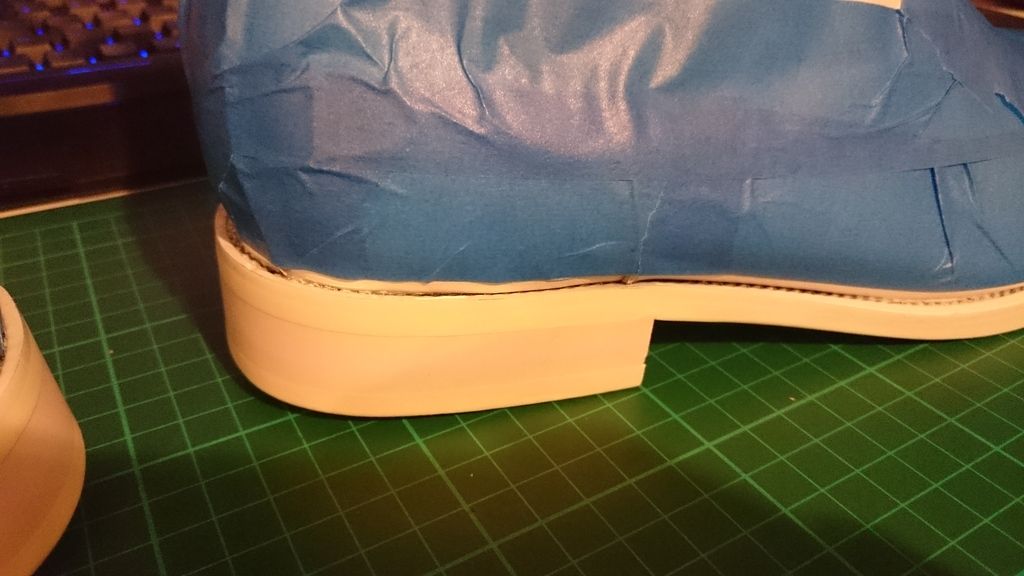
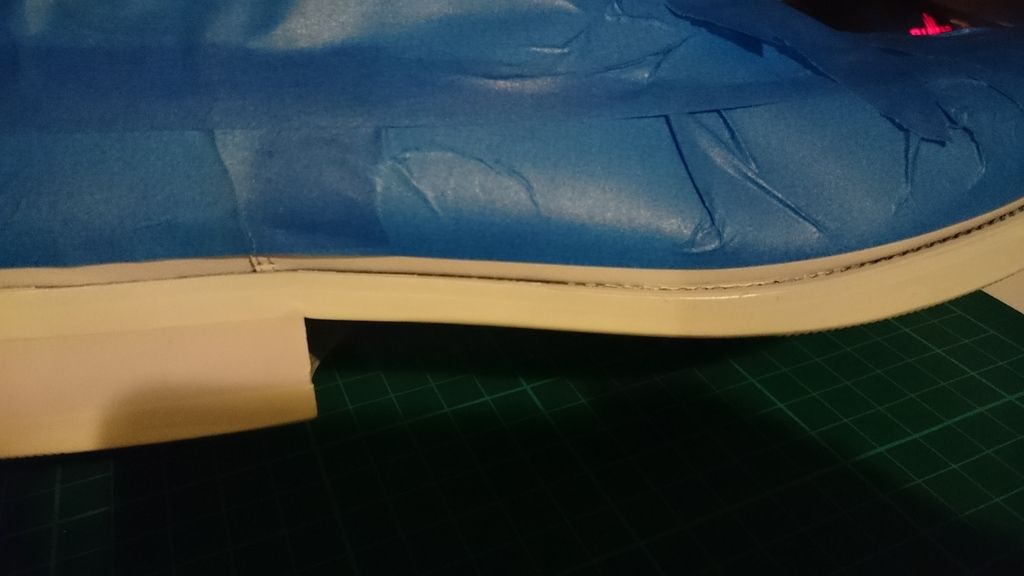
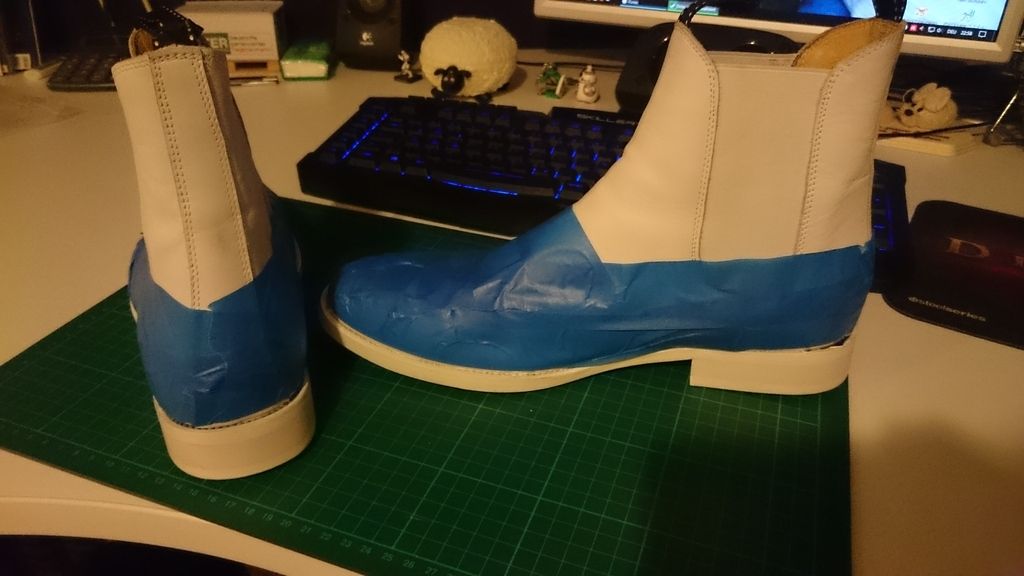
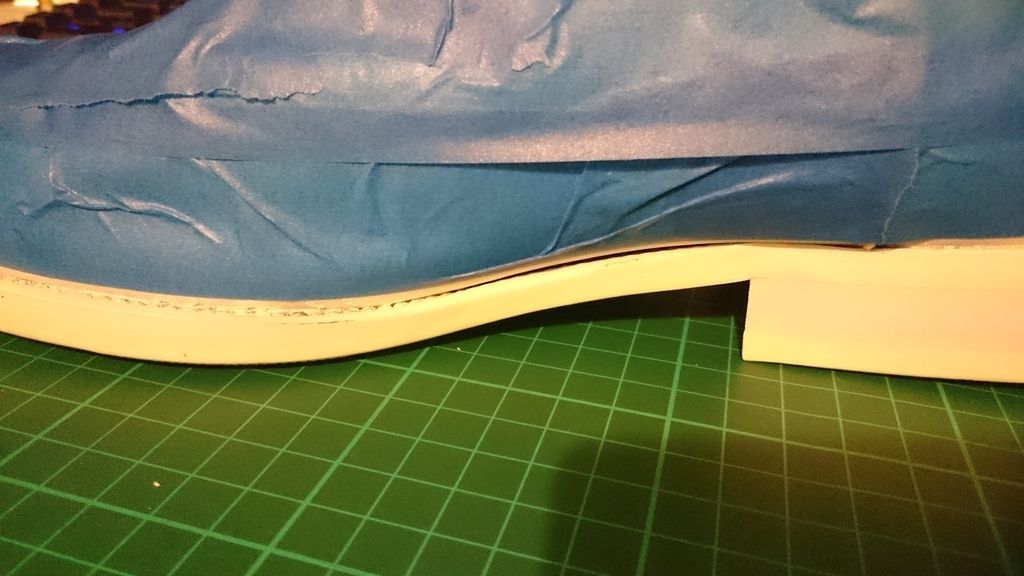
At the last few pictures you can see the position of the tape (about 2-3mm over the seam). I hope it will be working better so ... ... ...merry X-mas!
TK-15315
-
 1
1
-
-
Congratulations trooper.
Sent from my SM-J100Y using Tapatalk
Thanx!!
 :smiley-sw013:
-
 1
1
-
-
Thx :-D :-D :-D
sent from Deathstar
-
Yes, I know. But I didn't make it. There was no time left to doLooking great!! You still got to paint your soles white tho!
Sent from my iPhone using Tapatalk

But I have a new name since yesterday:
TK15315
 :D
:D 
sent from Deathstar
-
 1
1
-
-
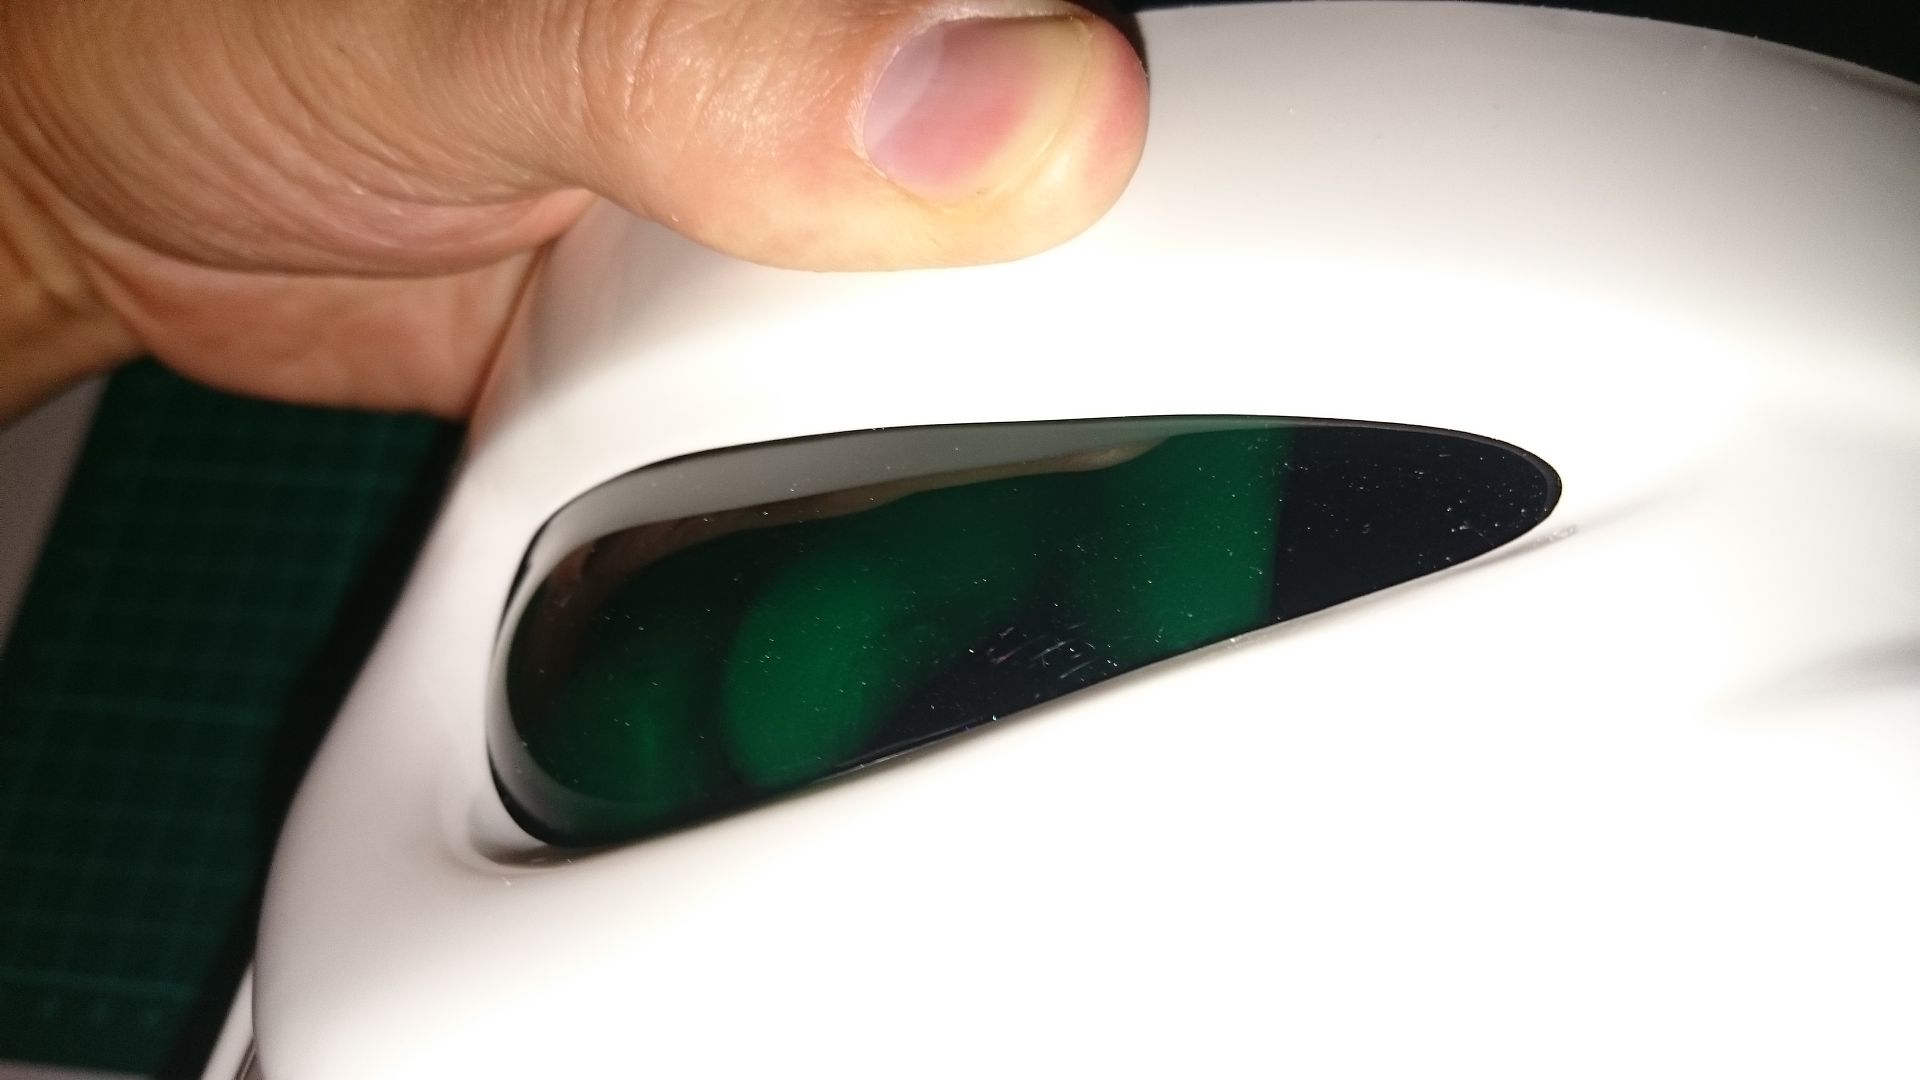
With super glue! The only way how to fix it fast and without clamps! (my opinion)

But you have to be VERY careful with putting it in, cause the glue on the lense is not removeable (at least I don't know how :/ )
sent from Deathstar
-
 1
1
-
-
 It is DONE!!!
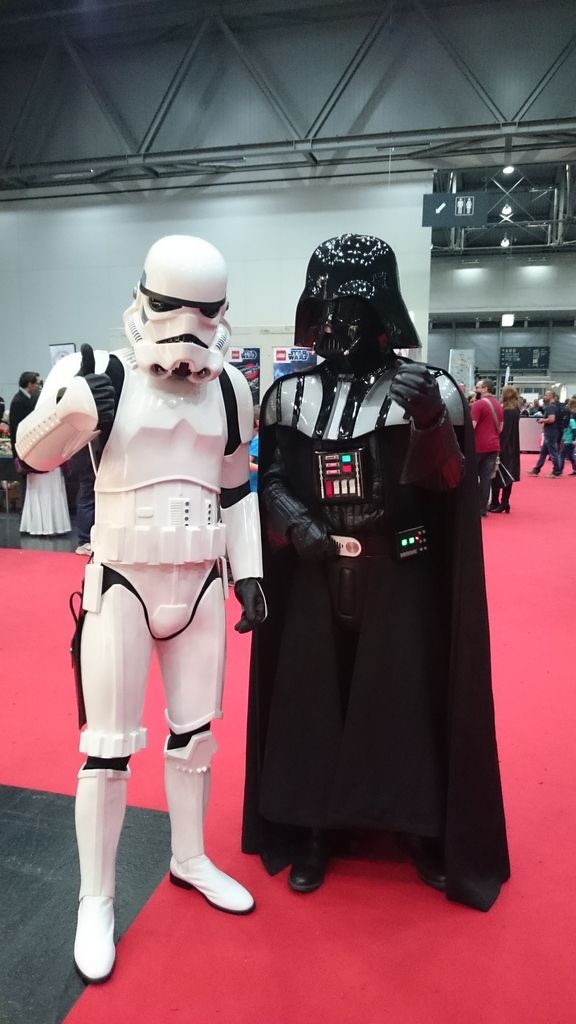
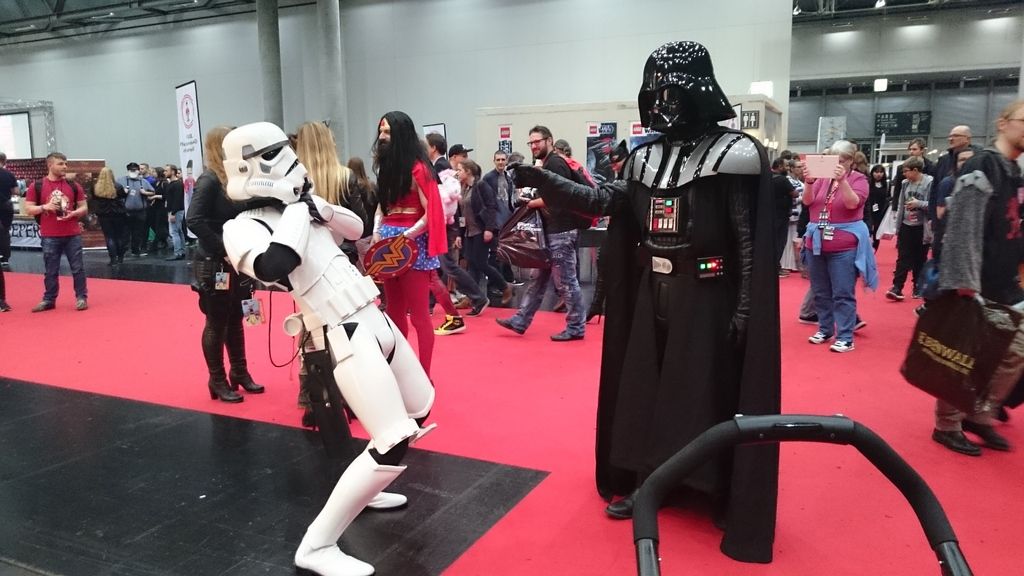
I could test my Stormie at the Comic Convention in Vienna on Saturday the 19th of November ... although I'm not a member yet .... Everybody looked at me ... amazing!!!

 It was very funny for me and my family!
Here some photos of the VIECC (Vienna Comic Con):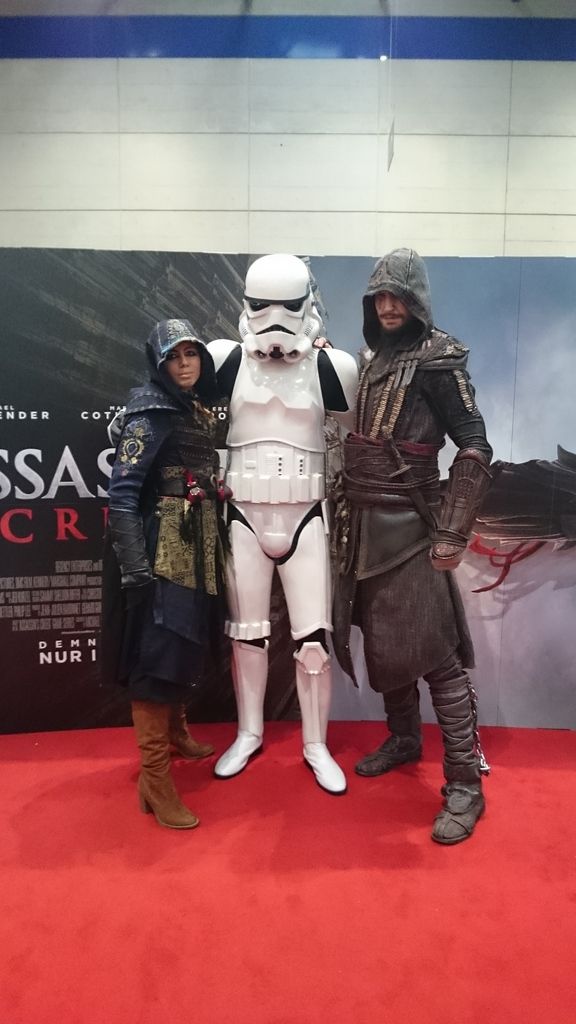
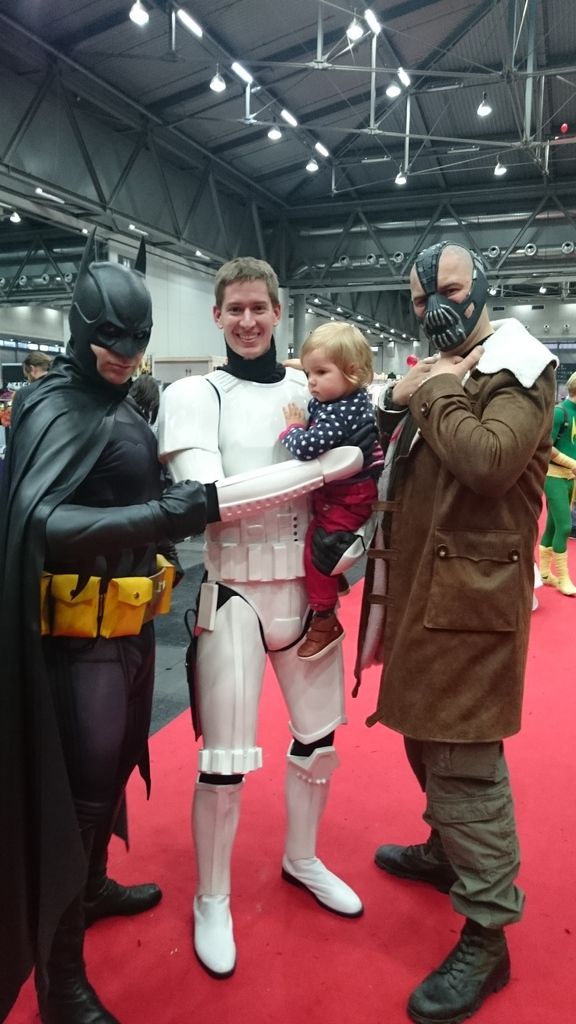
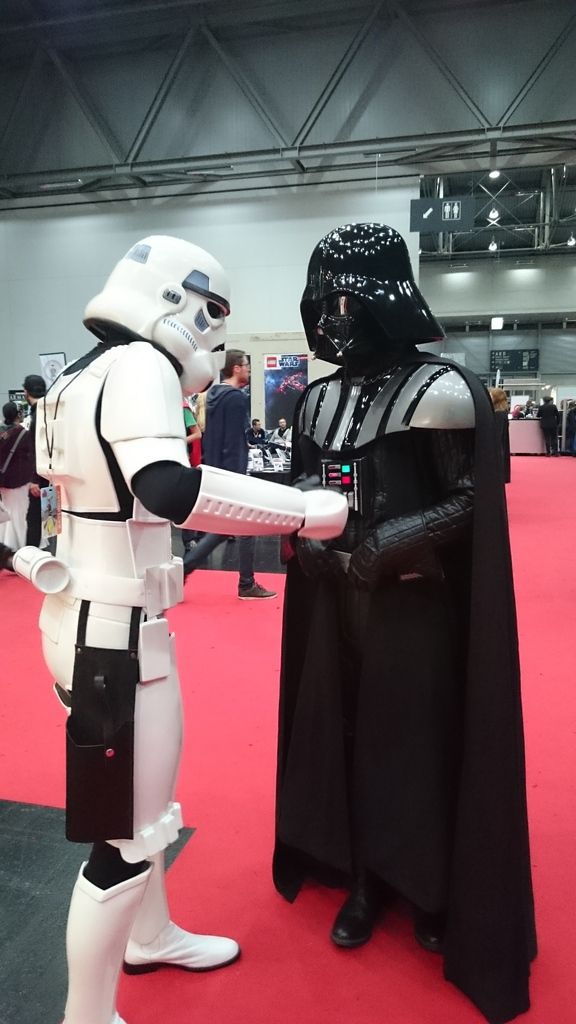
I sent the application the day before yesterday ... let's see if I'm accepted ... I hope ...
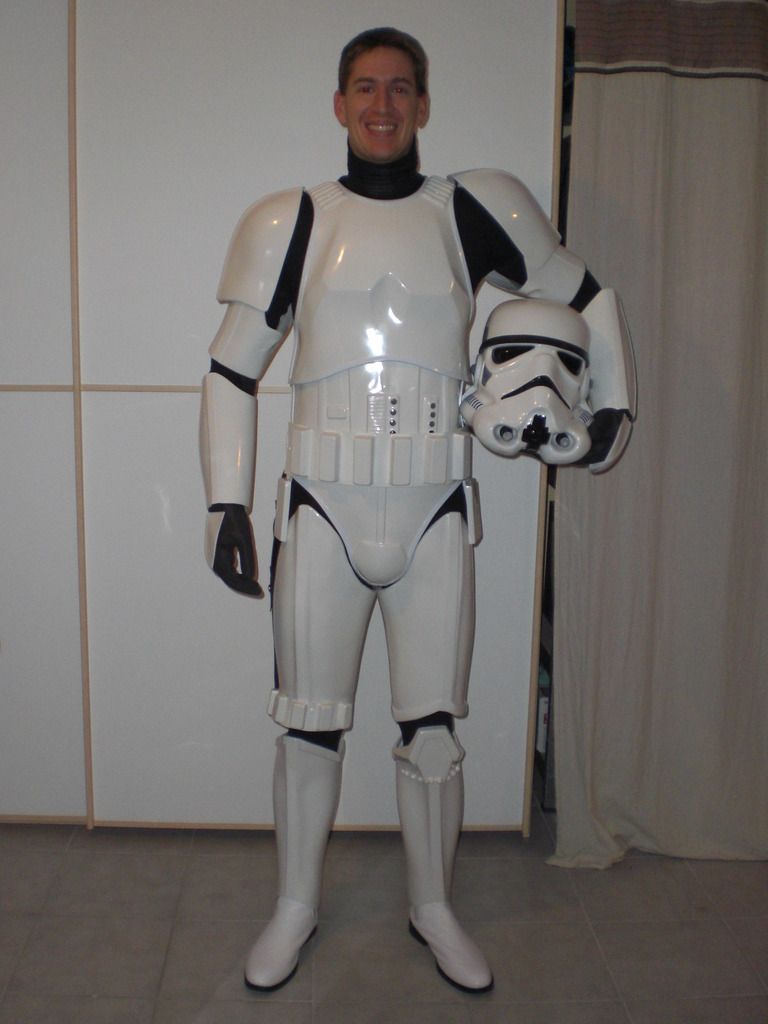
here some "application-photos":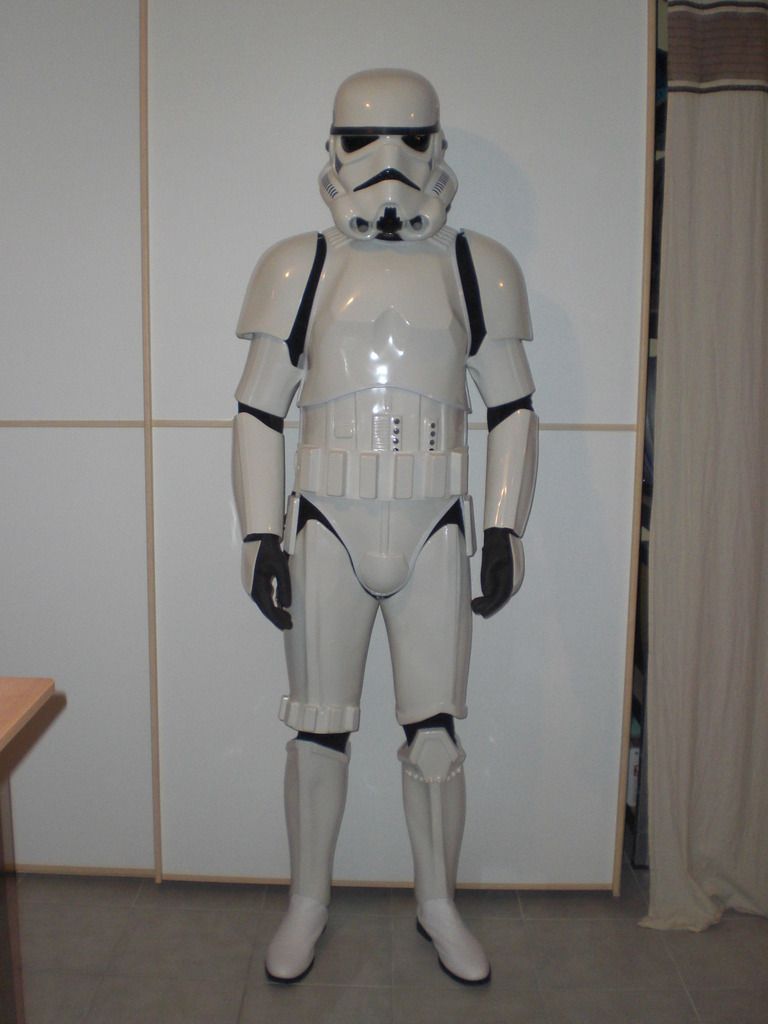
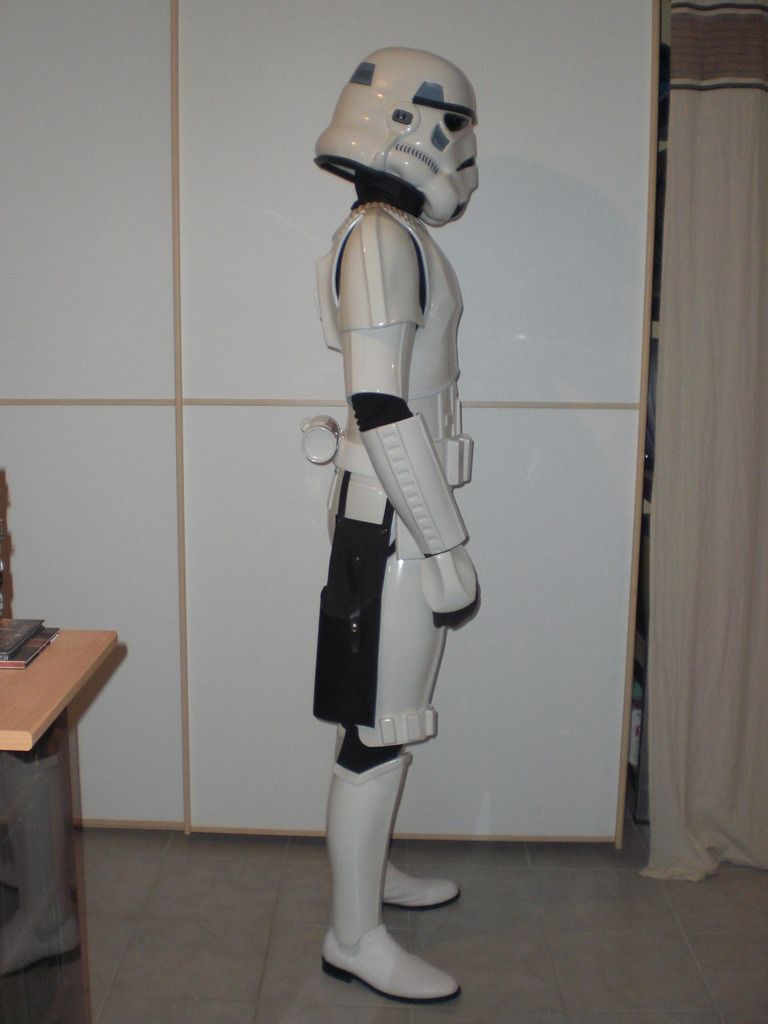
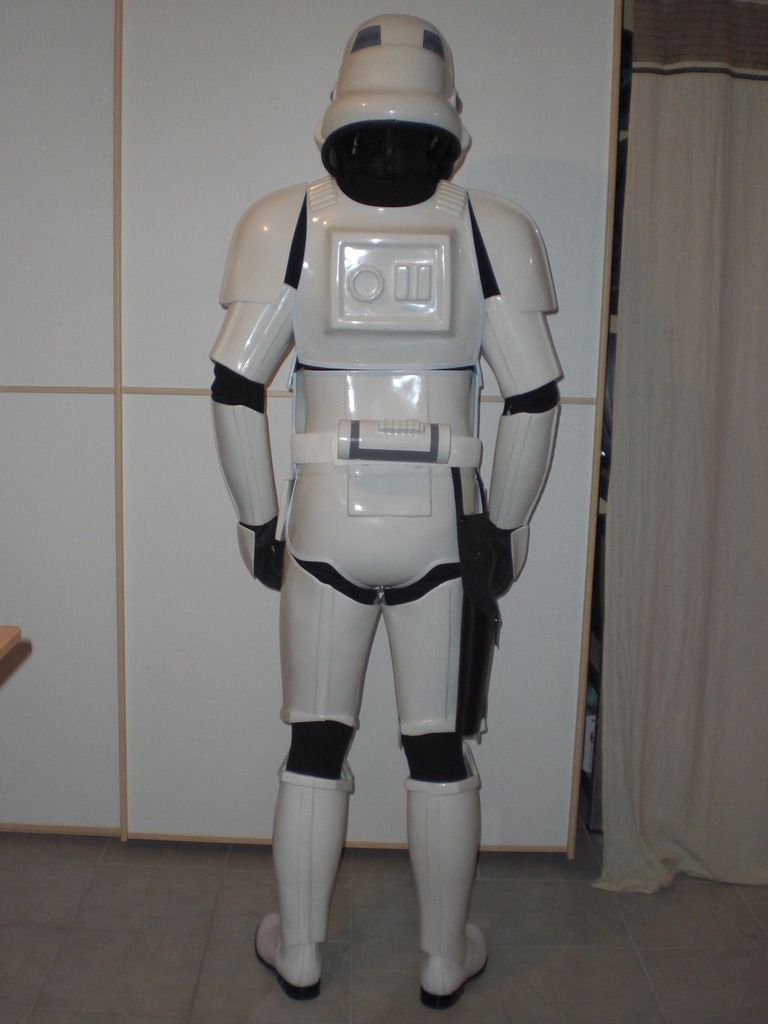
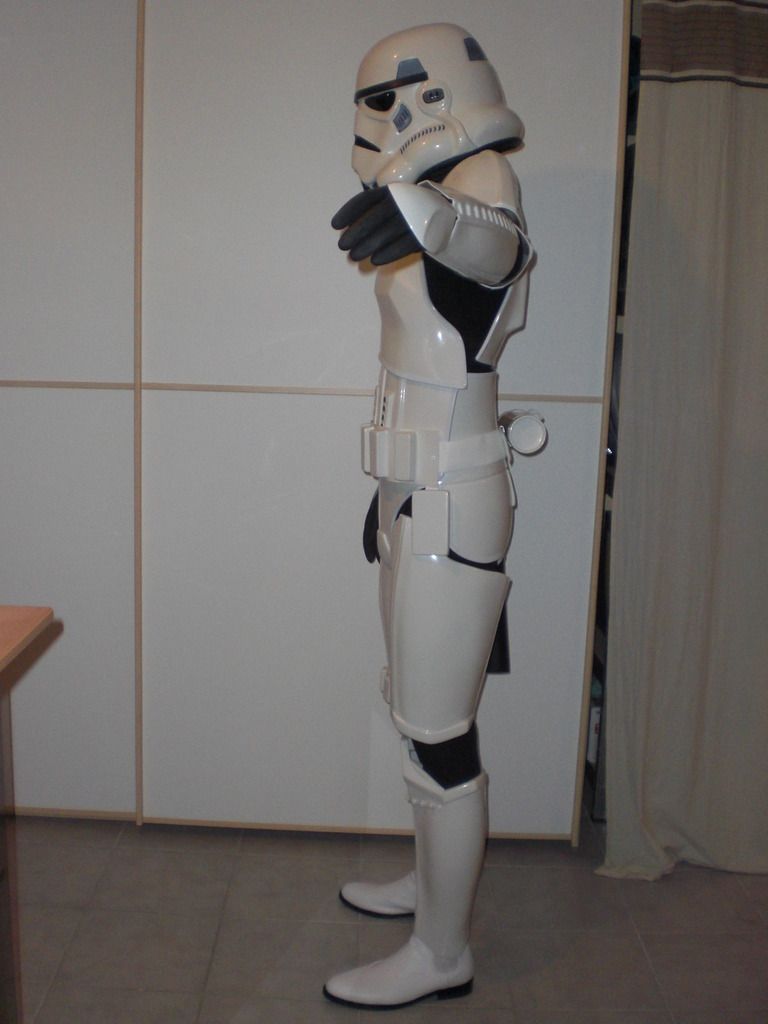
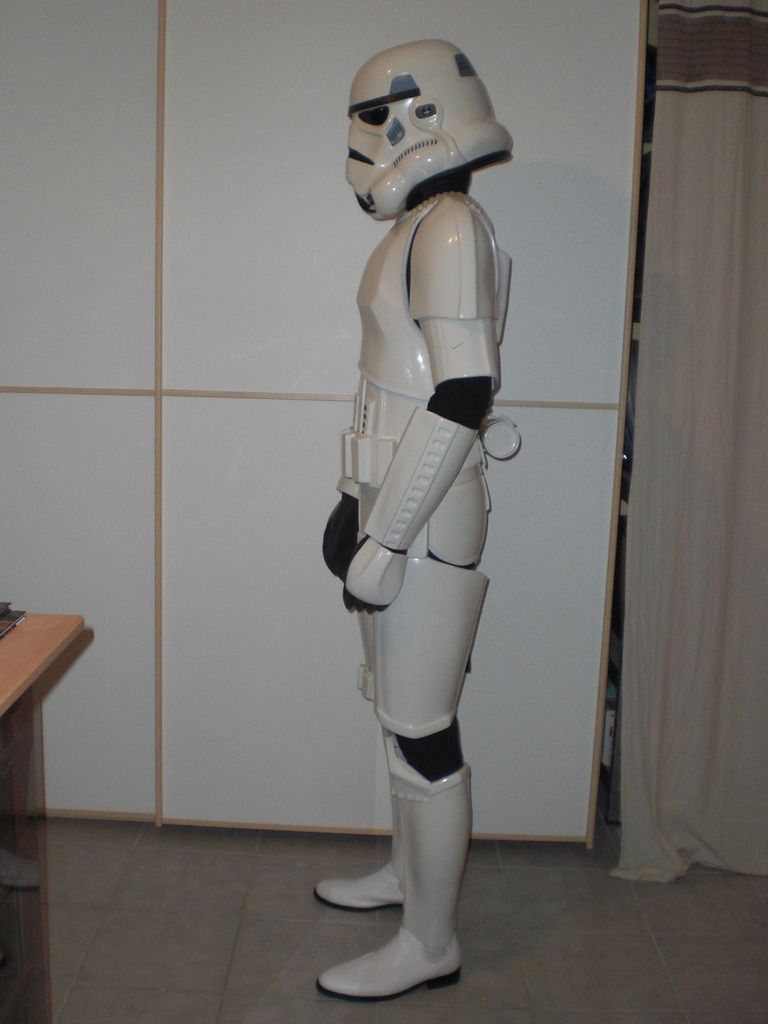
 :smiley-sw013:
-
 1
1
-
-
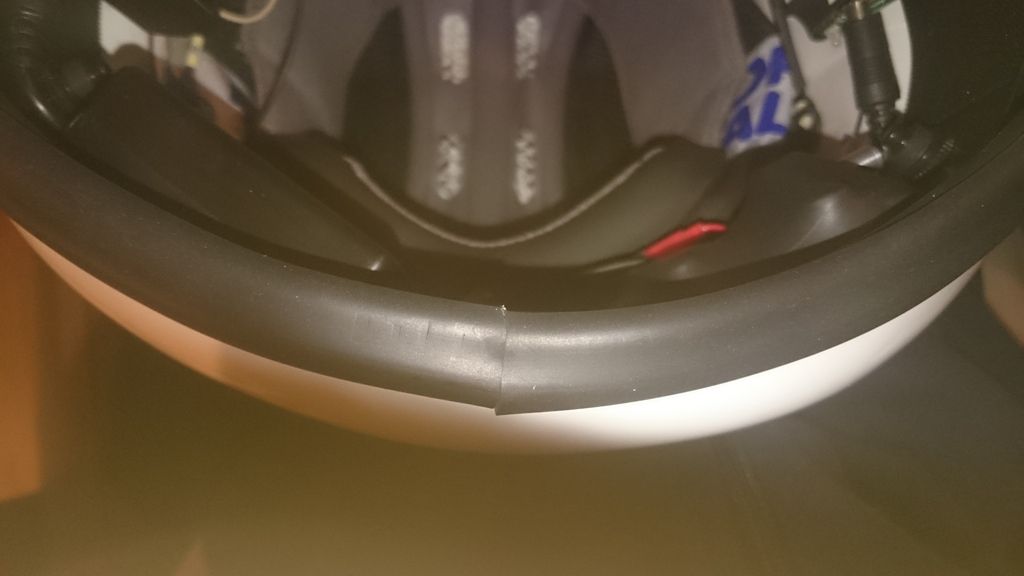
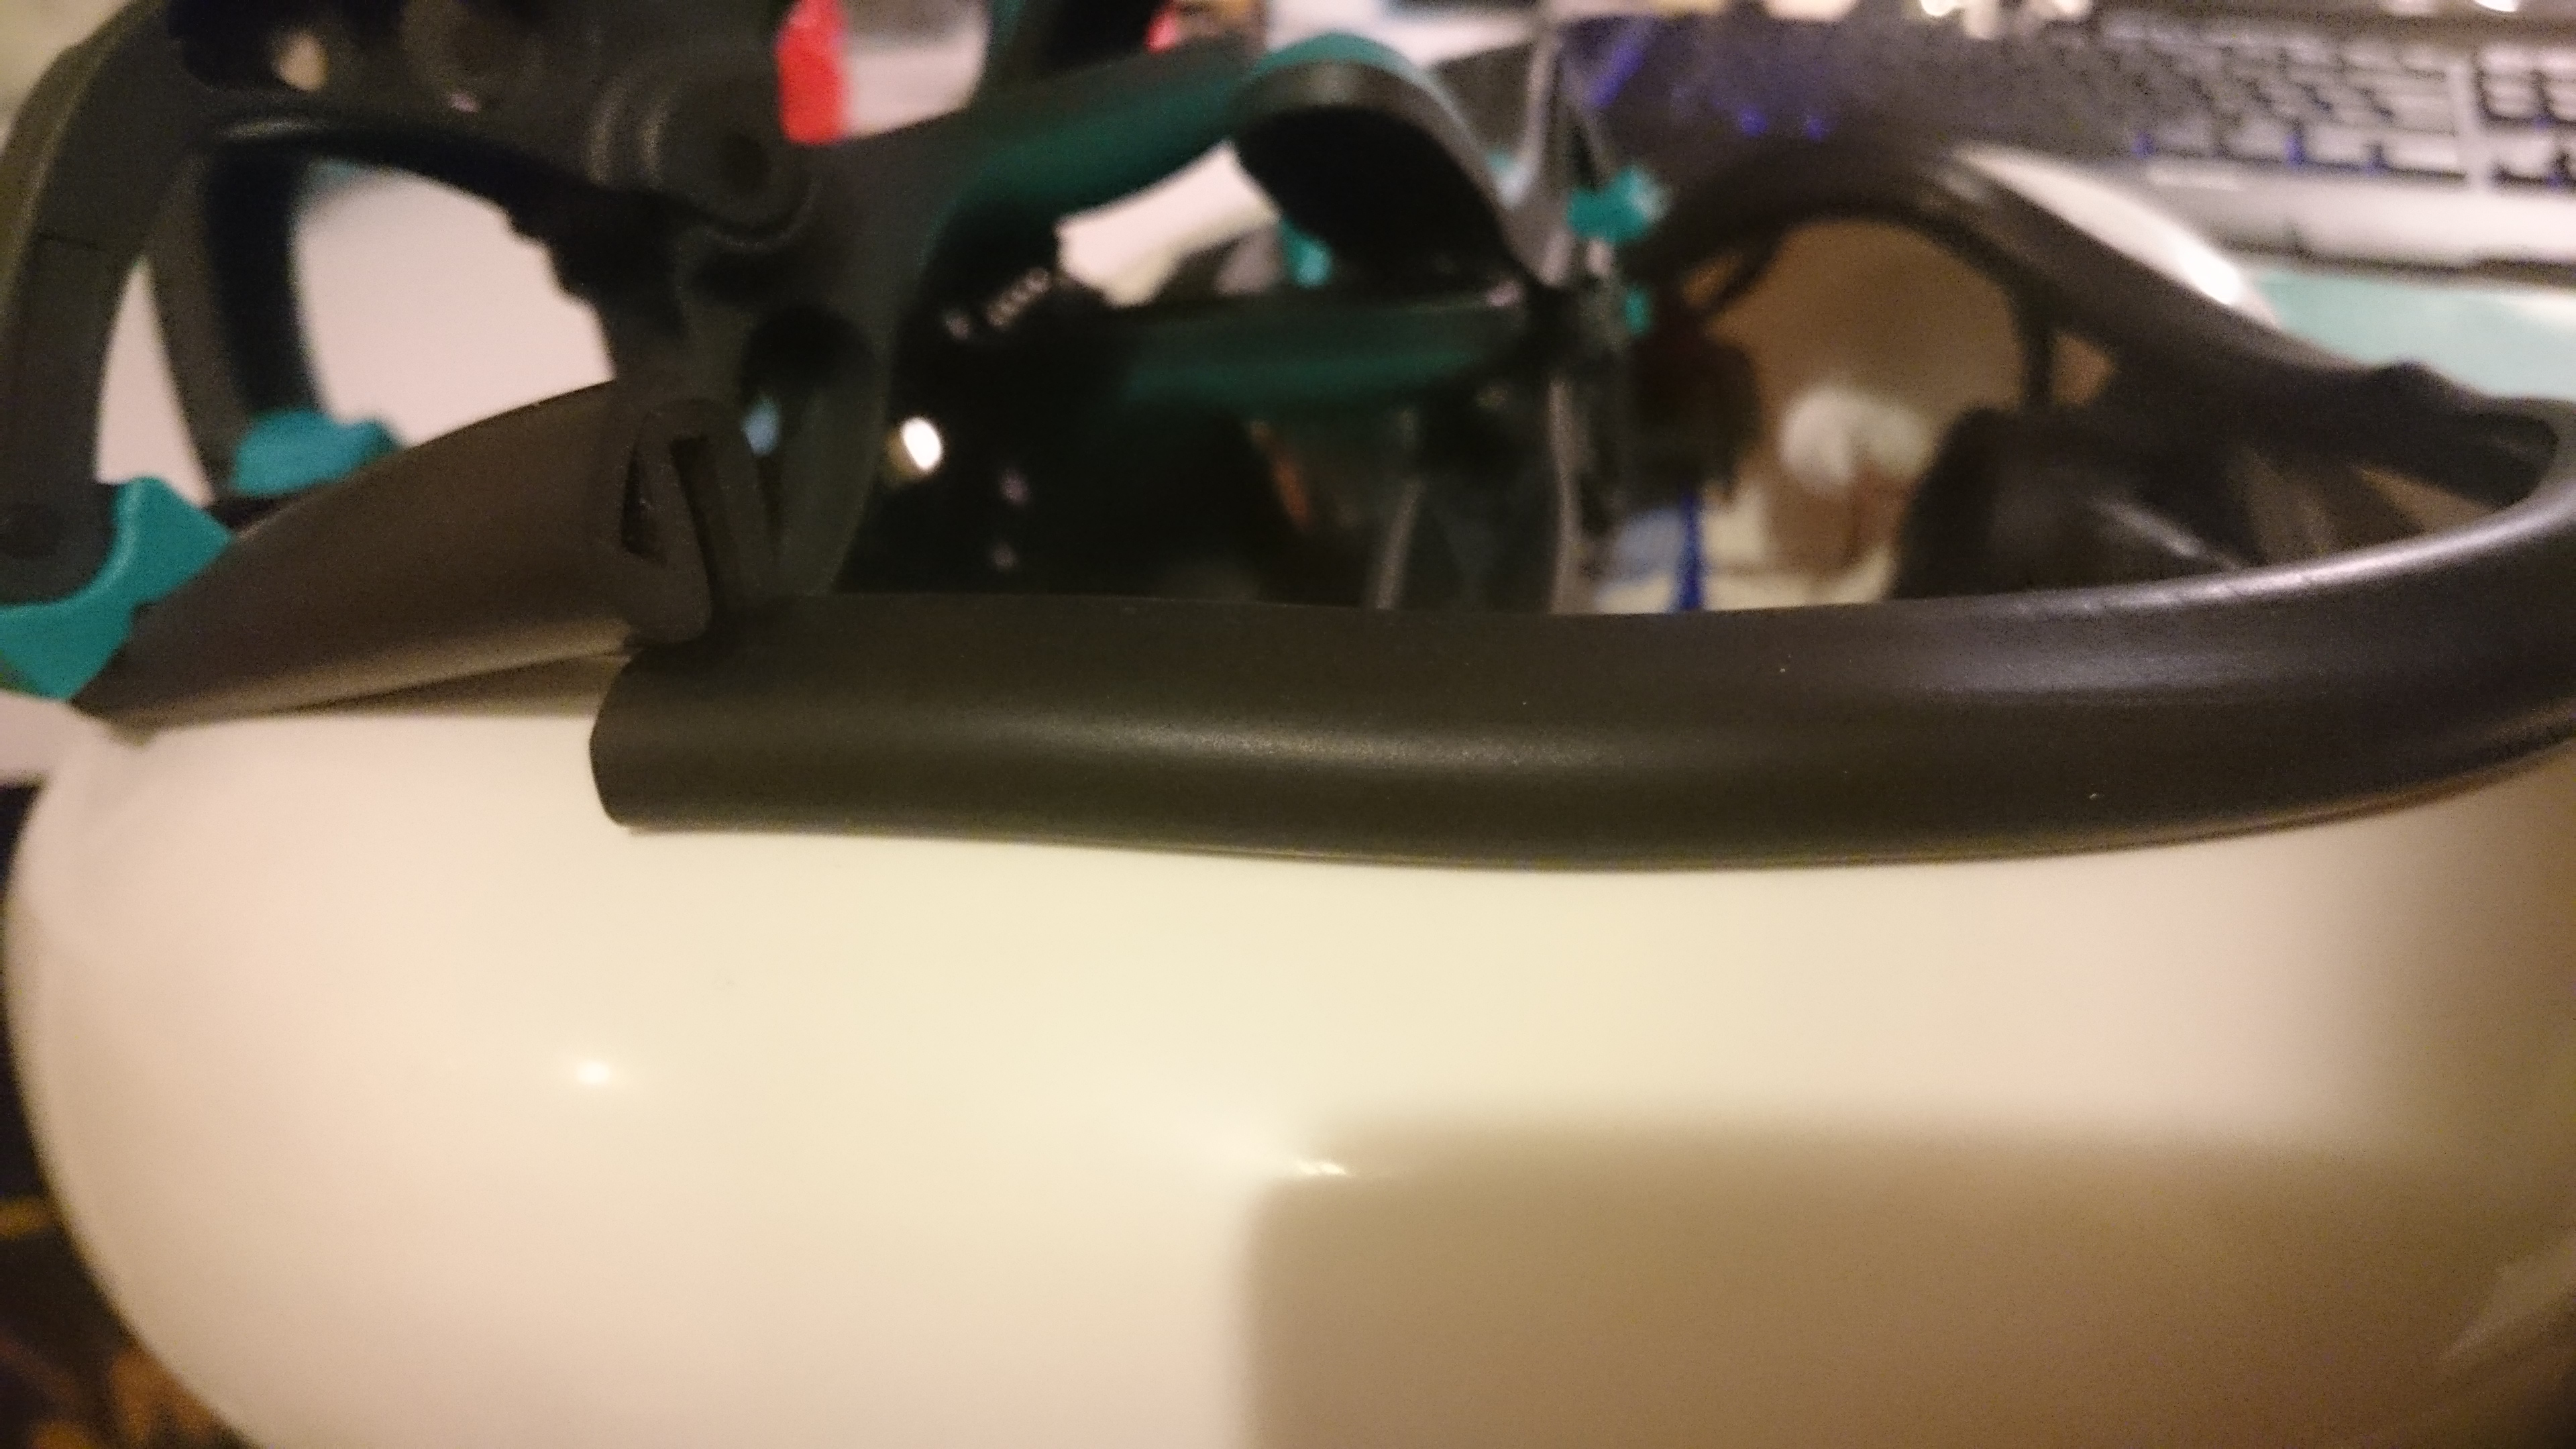
I finished the neck trim of the helmet:
looks a bit skew. I hope no one will see that
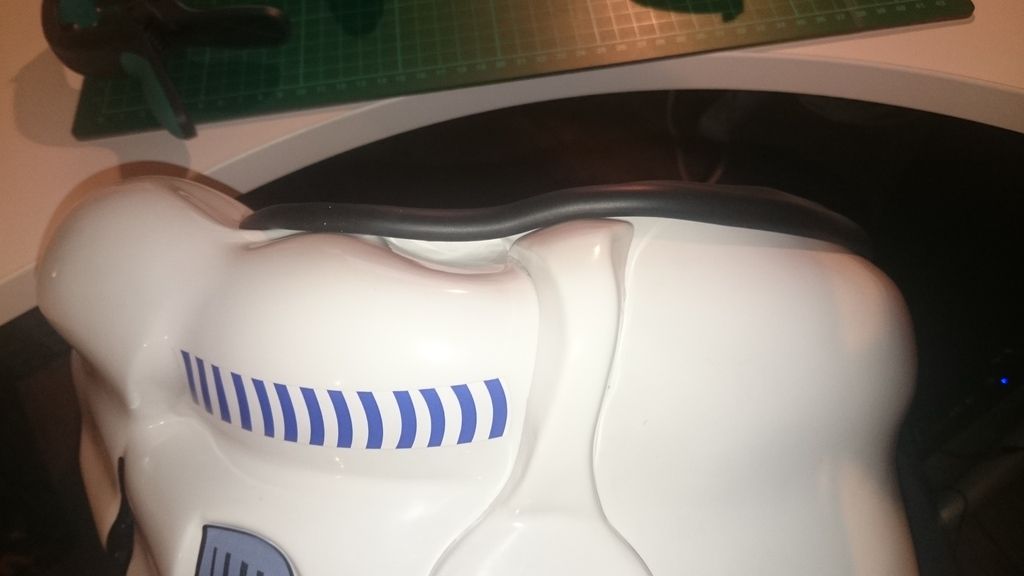
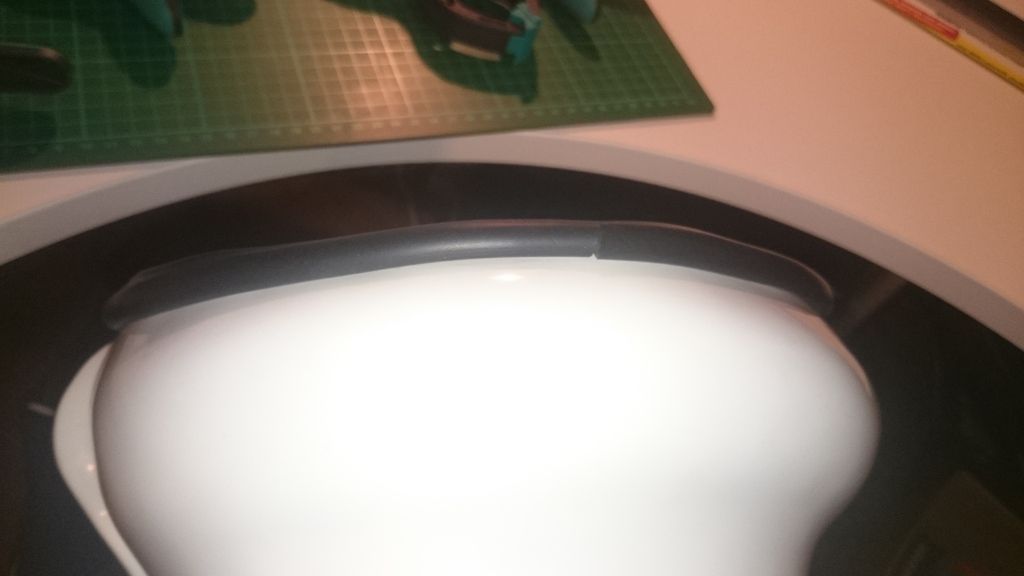
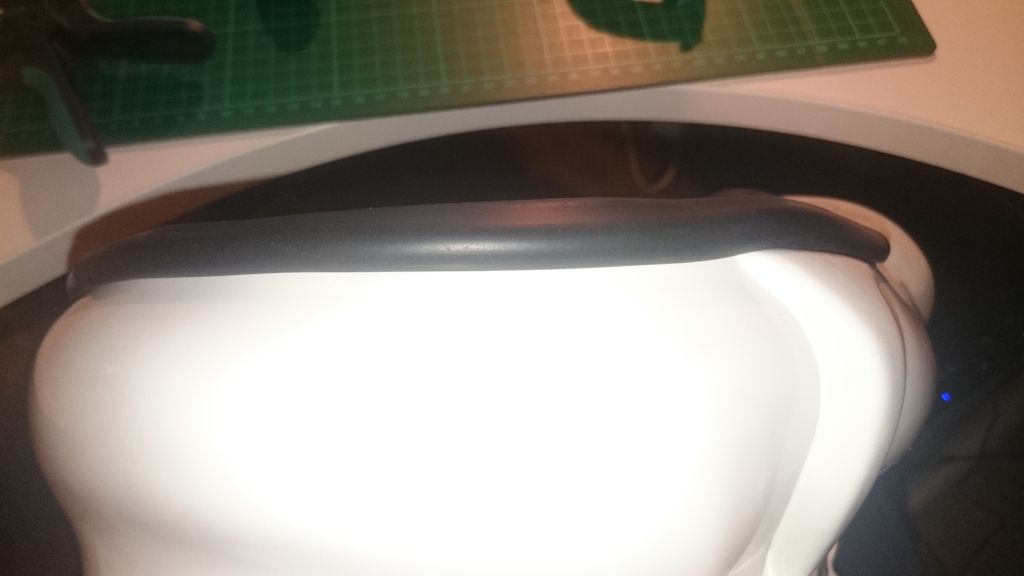
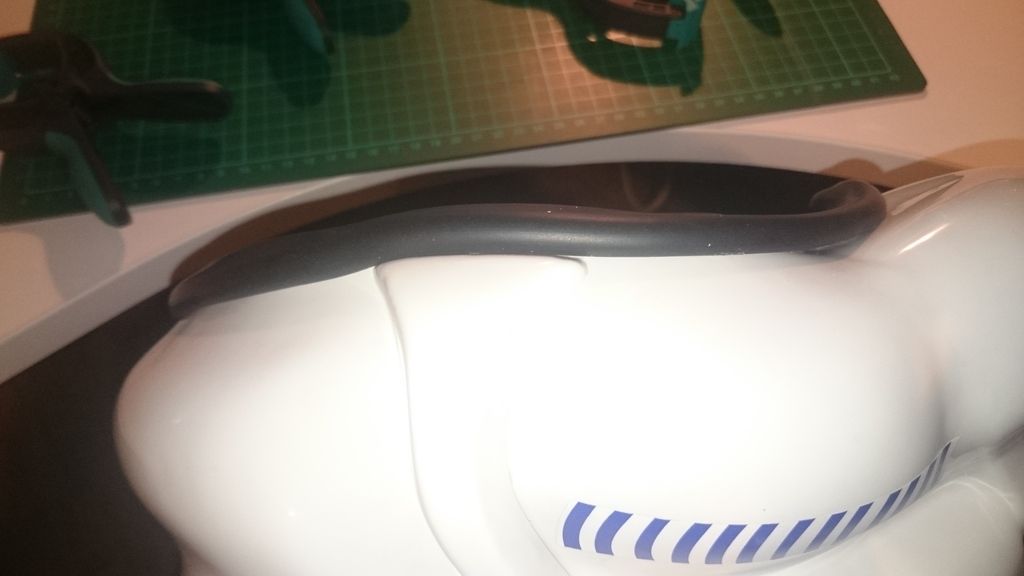
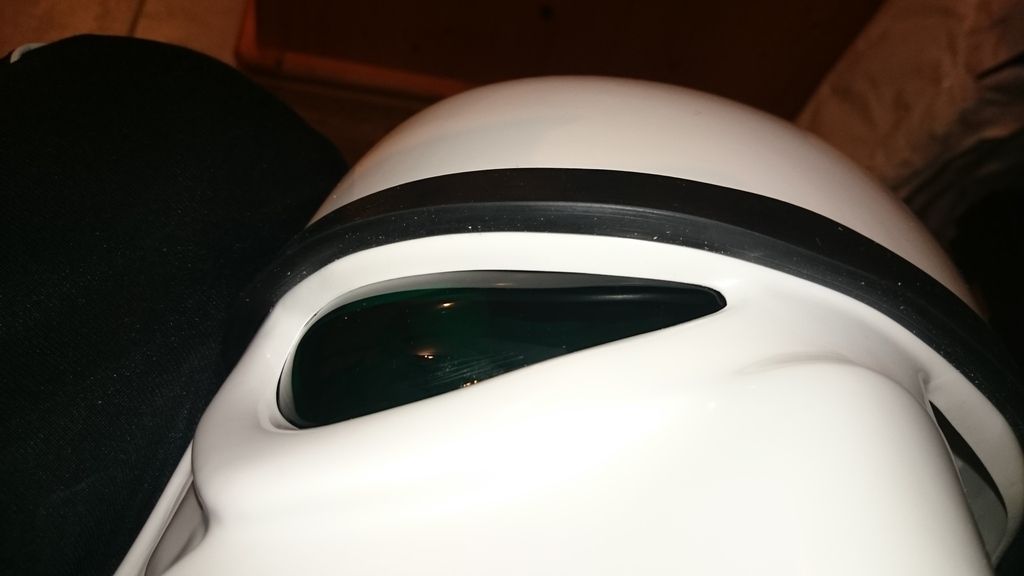
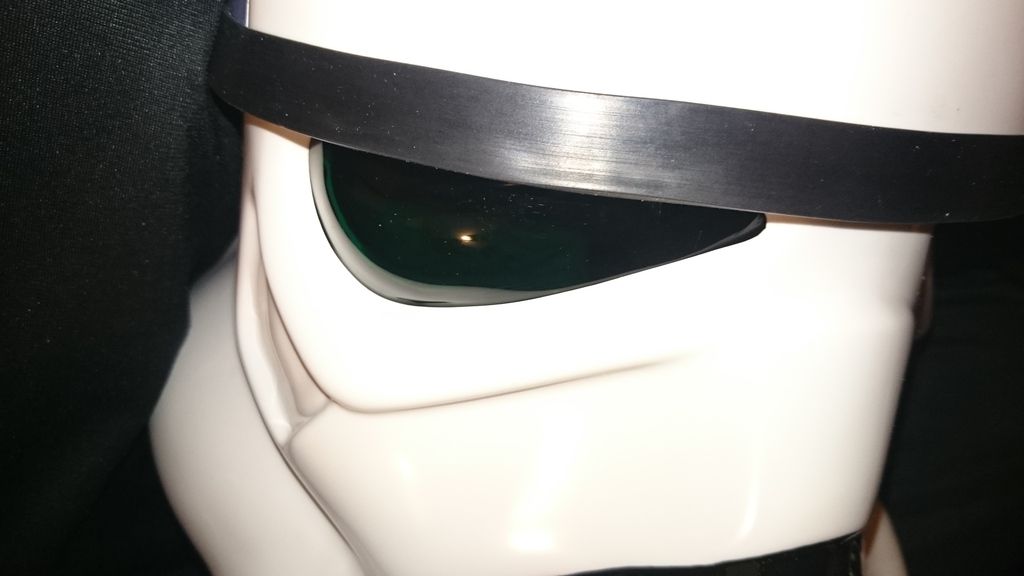
After gluing the neck trim I glued the eyes with super glue. The eyes hold quite well ... till now.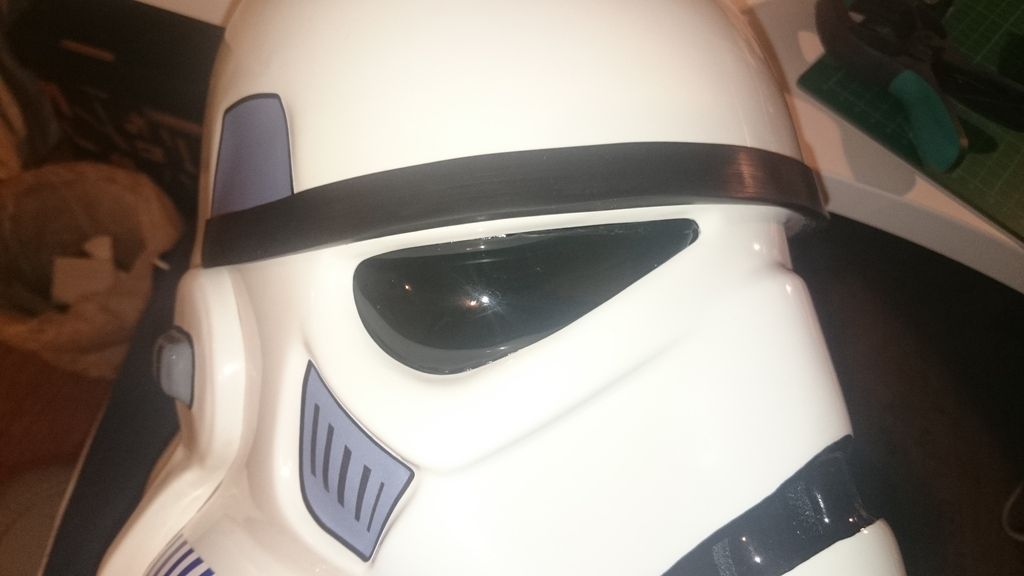
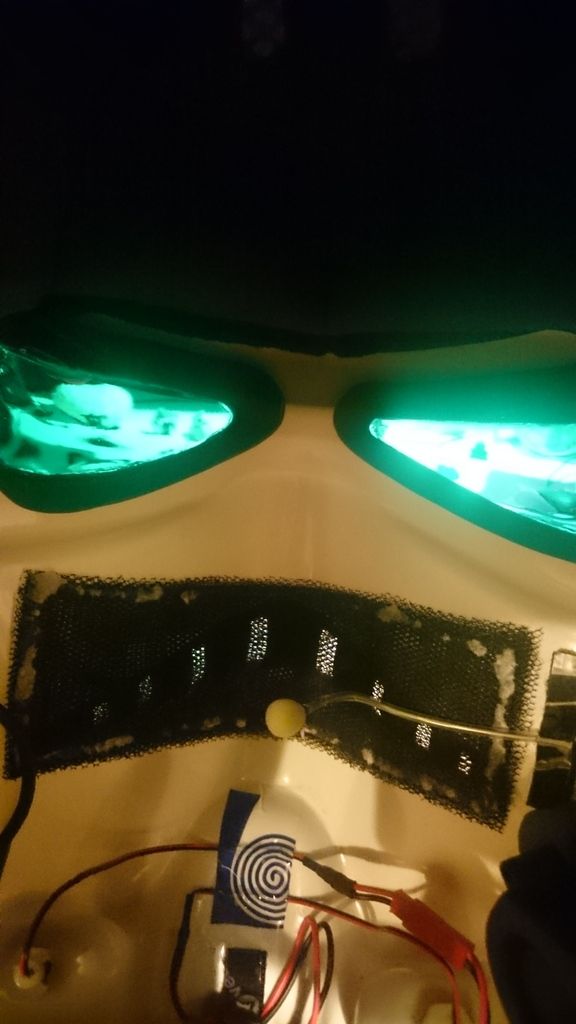
And last but not least: A full body photo :D
:D 
 :smiley-sw013:
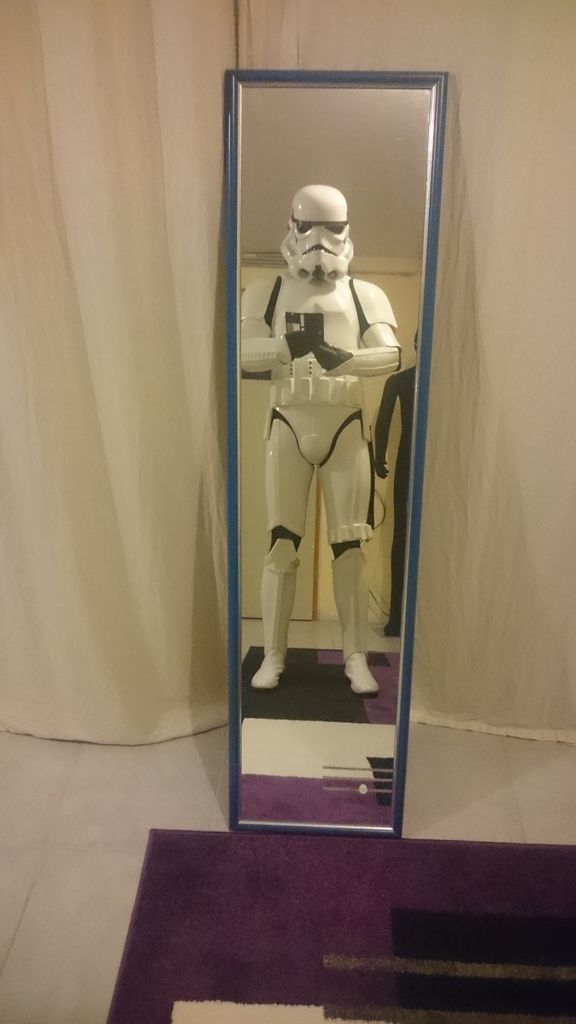
In a few days I'll paint the sole of the shoes white. Then I go for application.
 I hope I'll get an ID
-
-
-
Here are the glued ear bars:
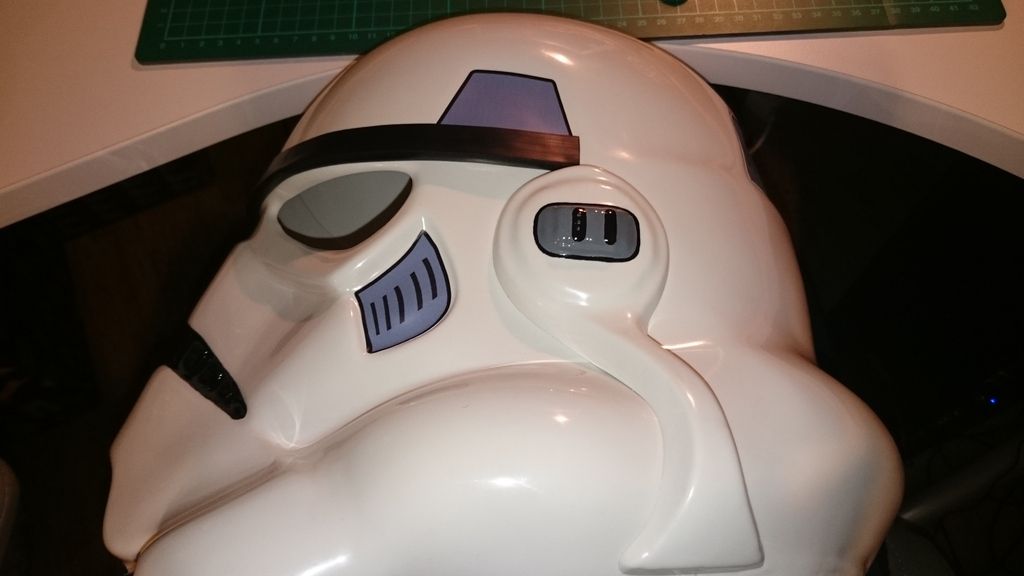
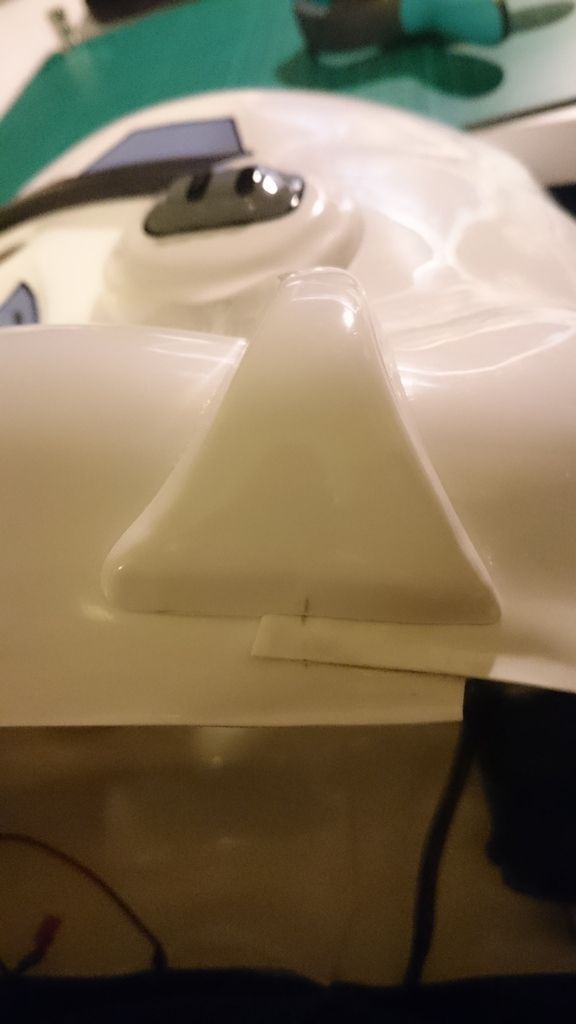
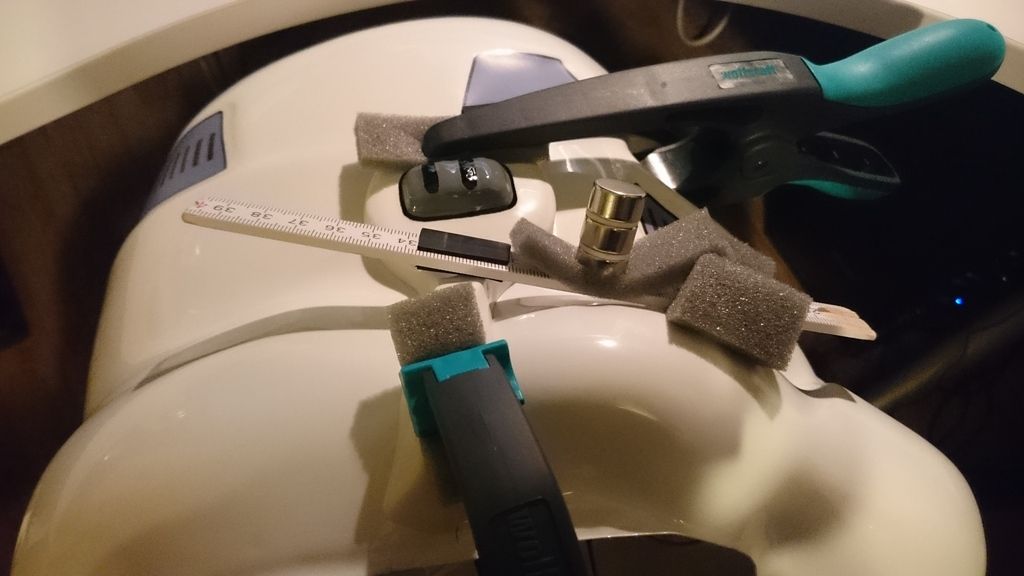
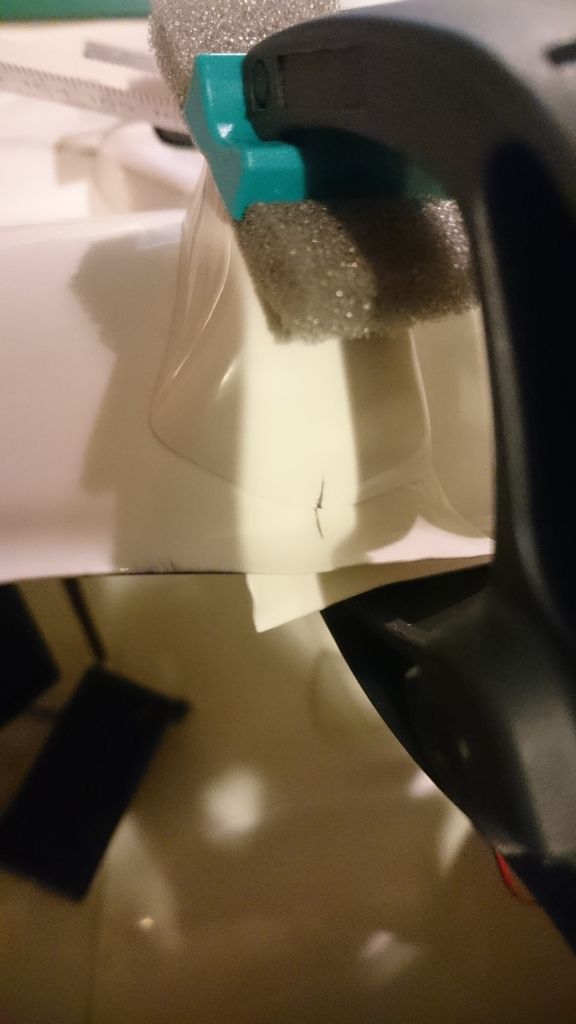
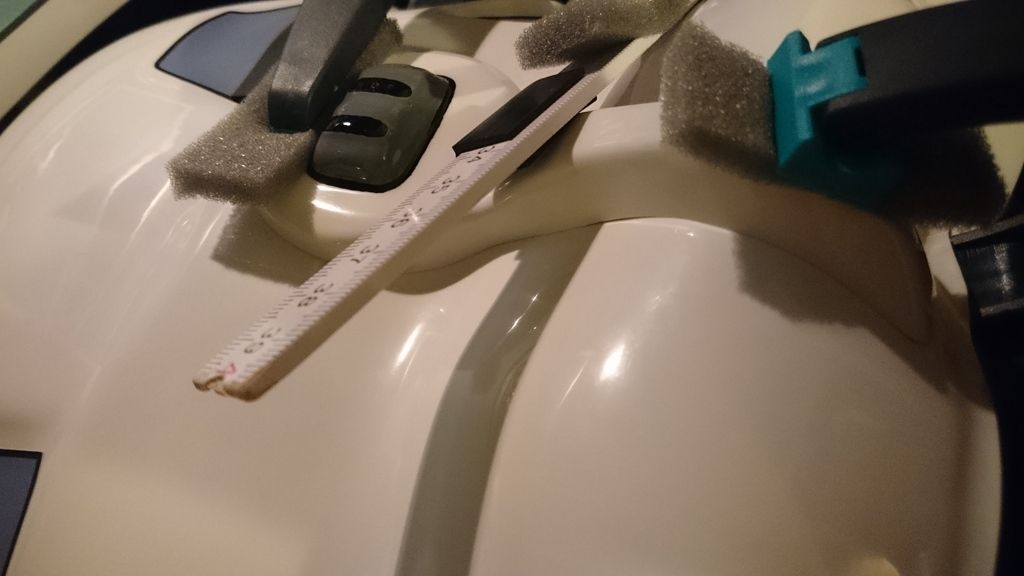
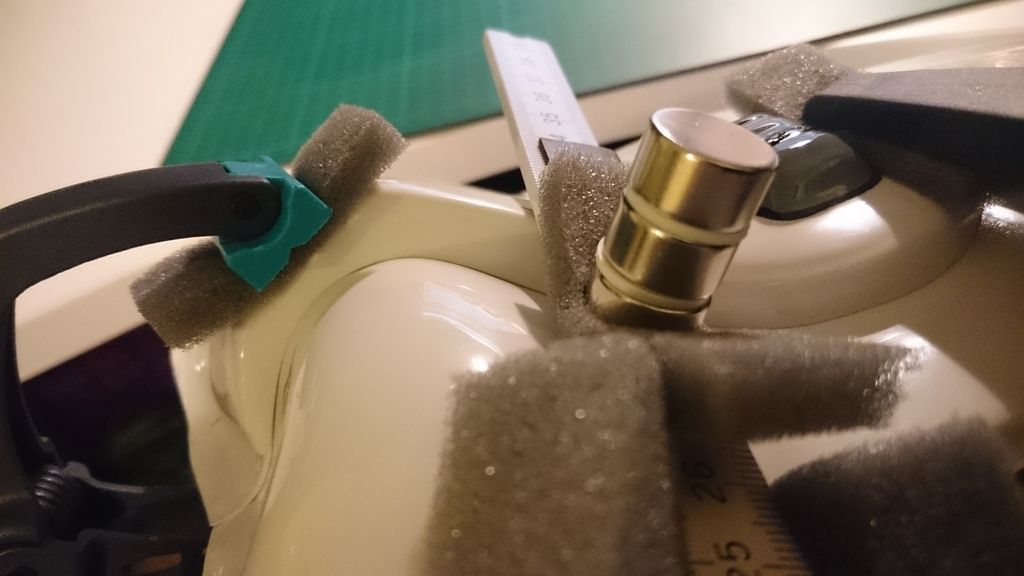
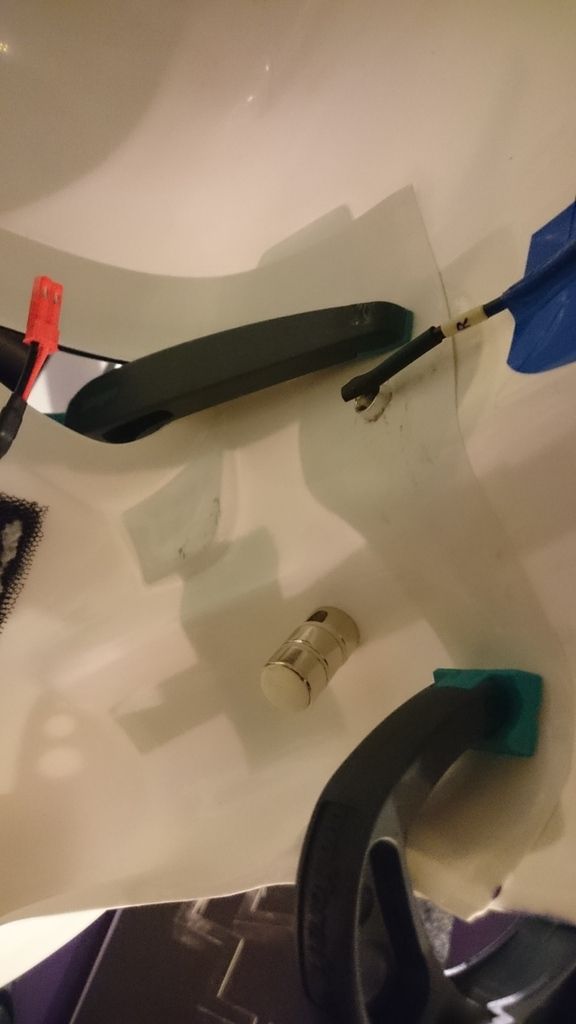
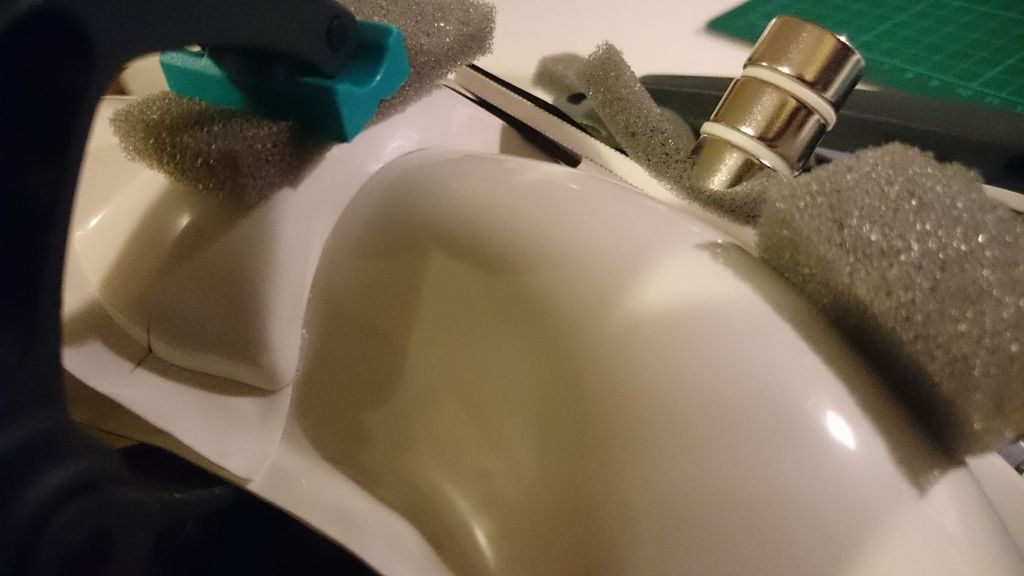
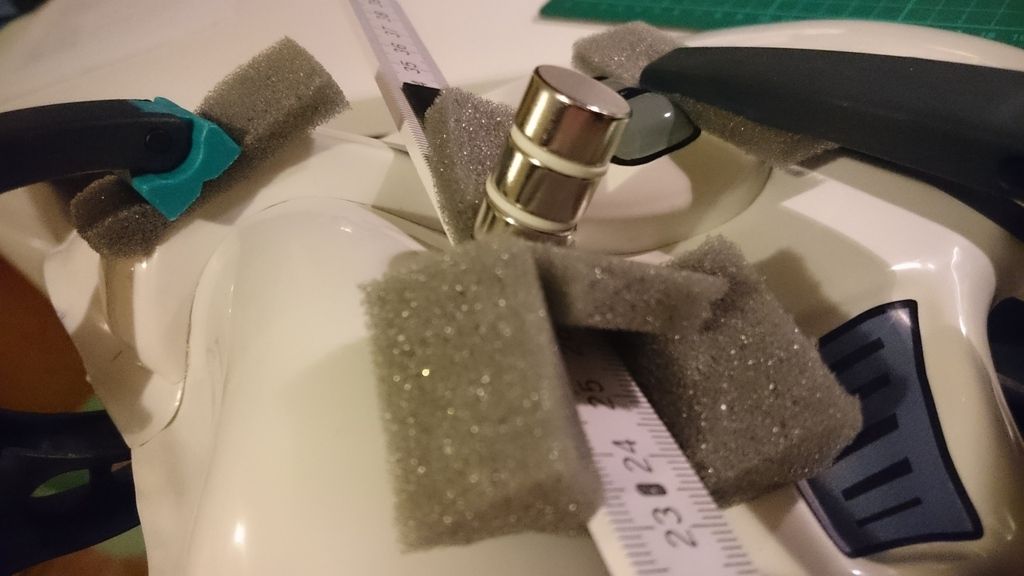
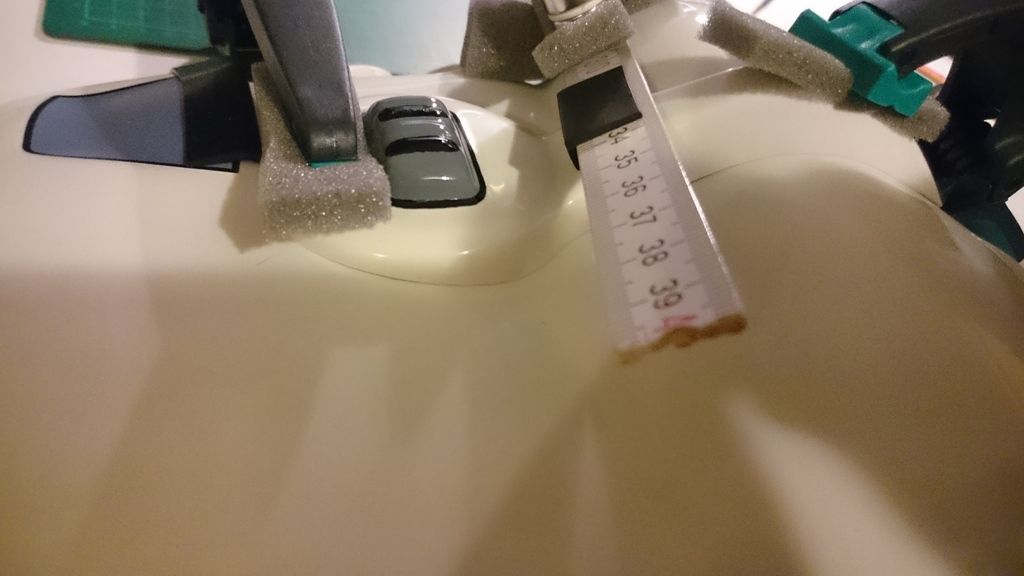
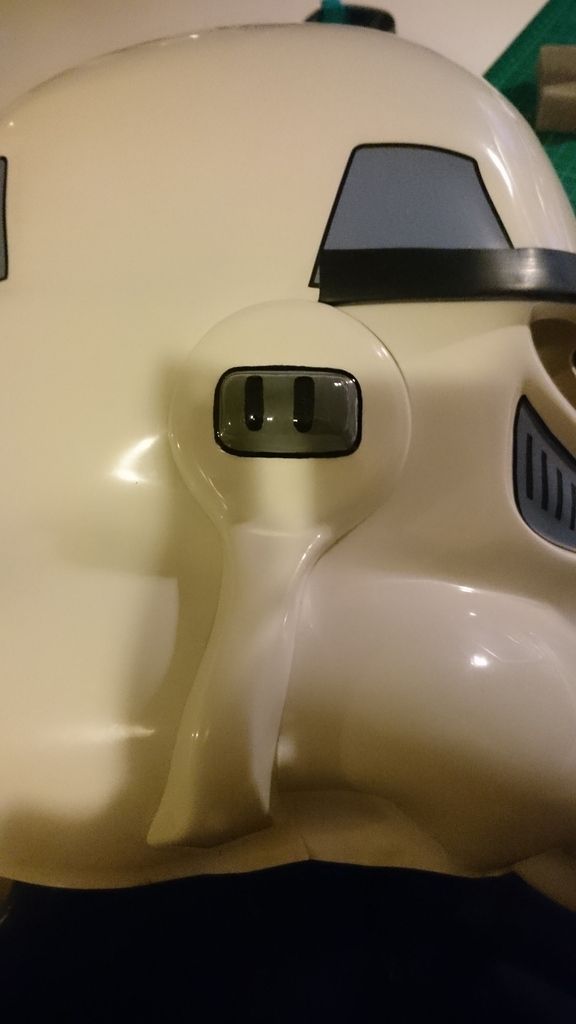
The "s-type-neck trim"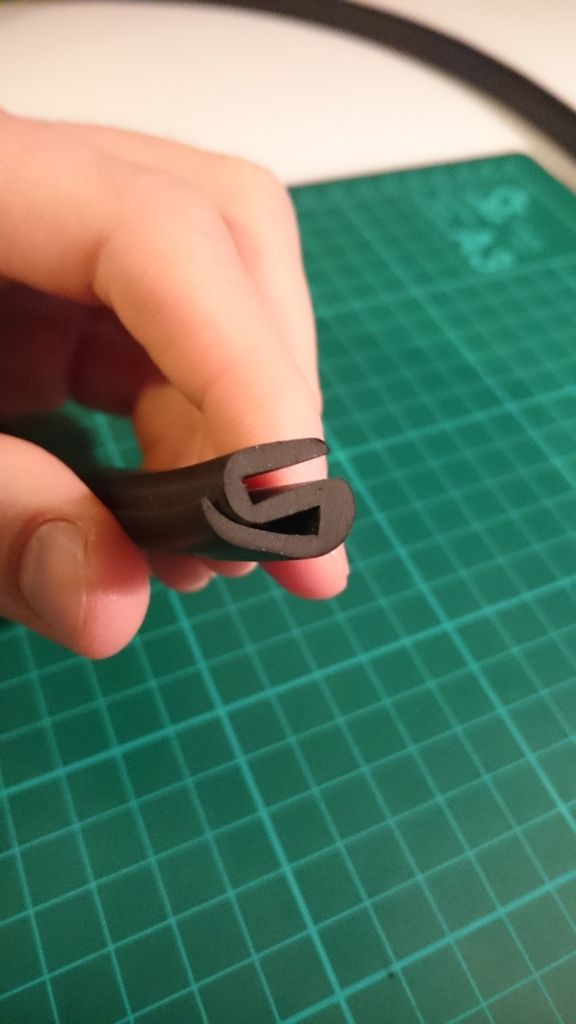
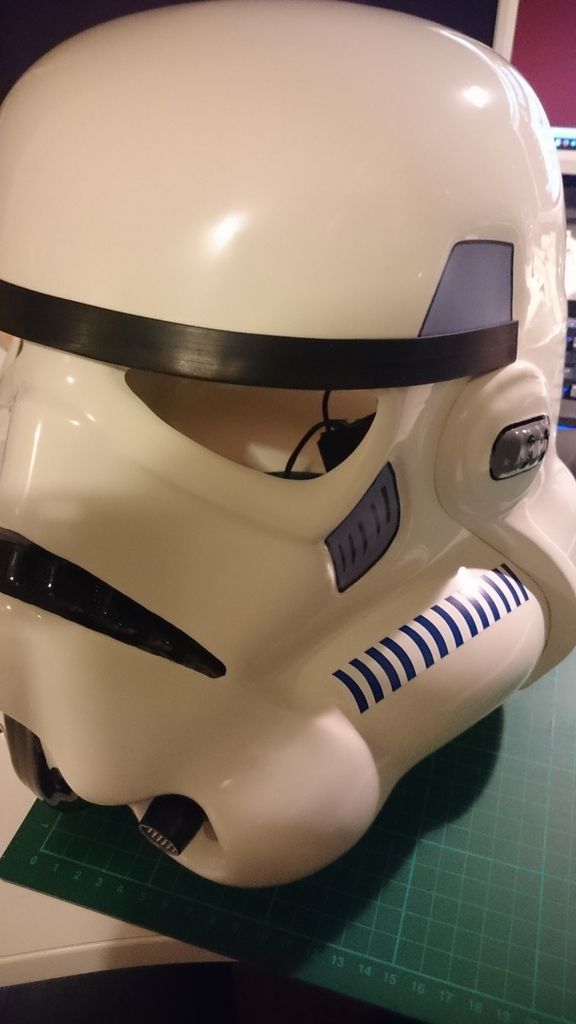
Every decal are on the helmet now. It looks from time to time more like a stormtrooper helmet :
:
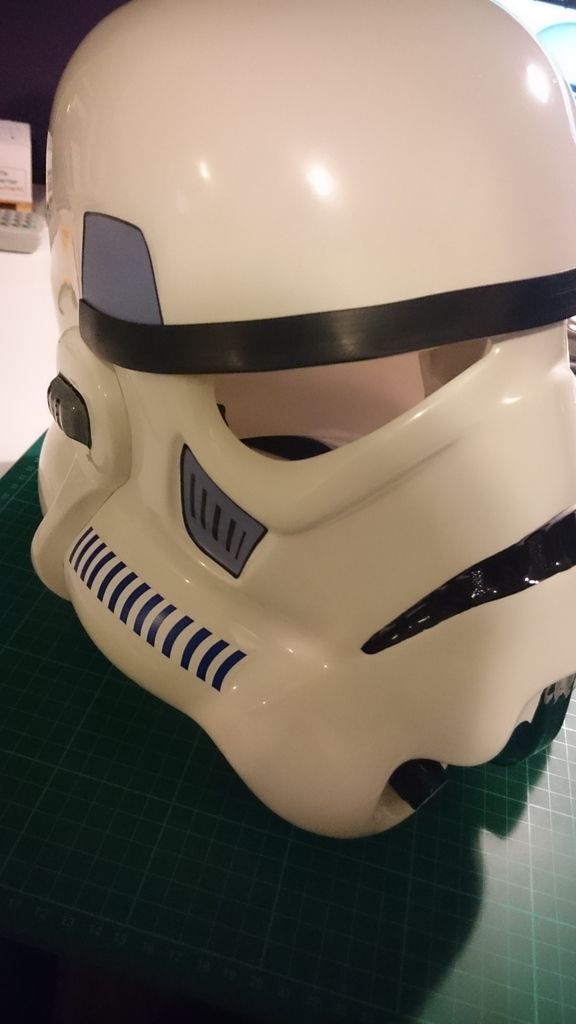
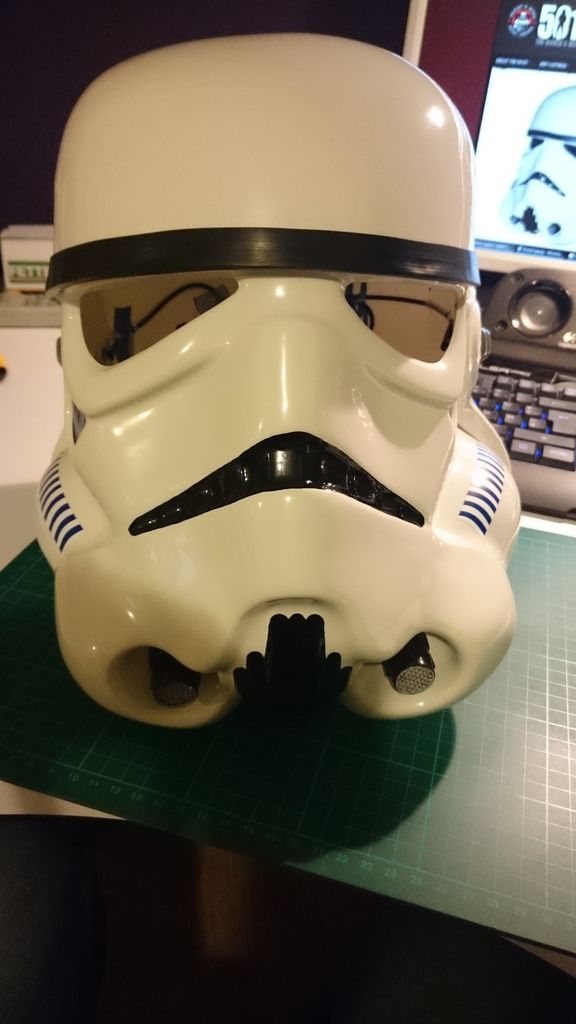
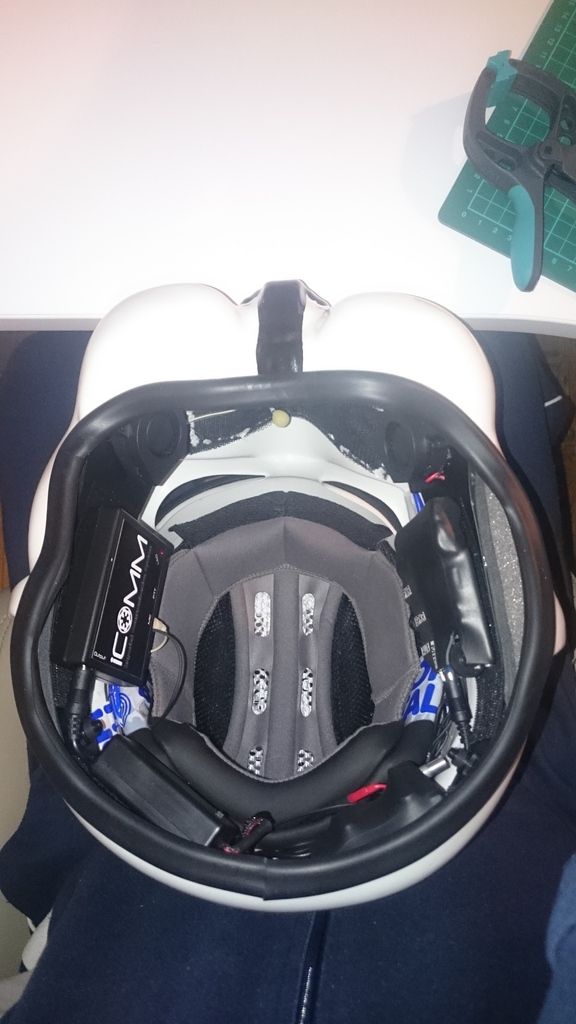
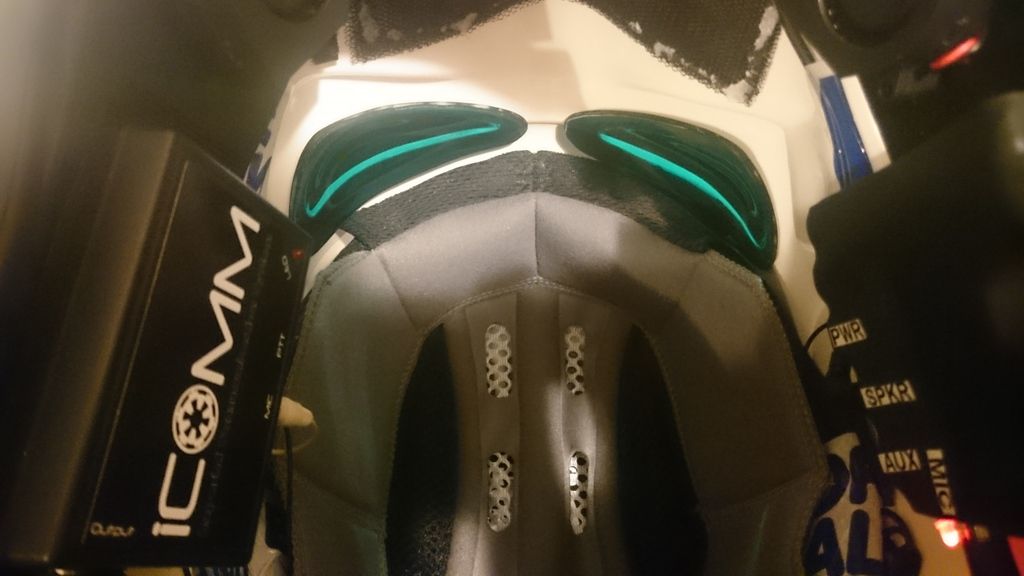
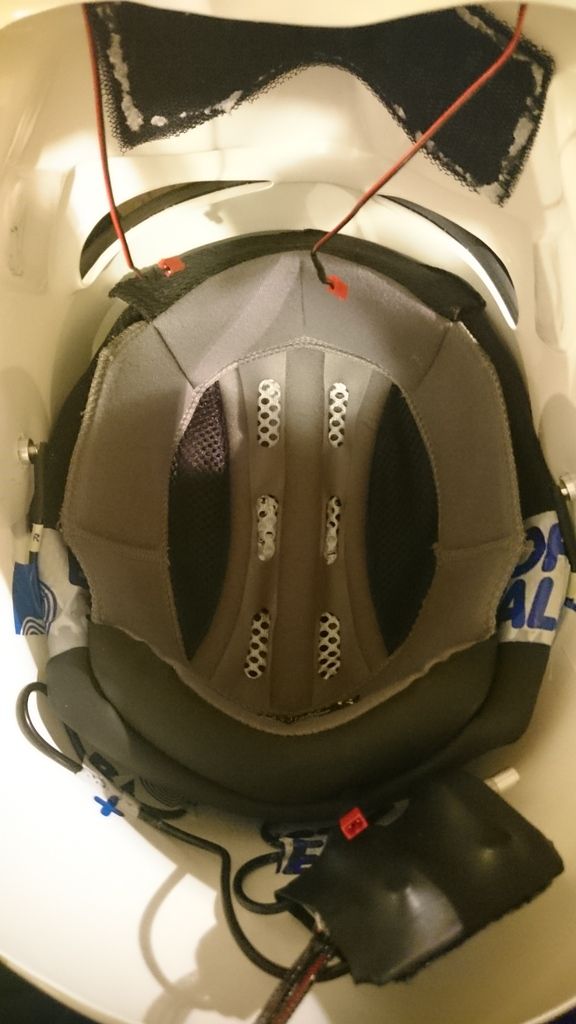
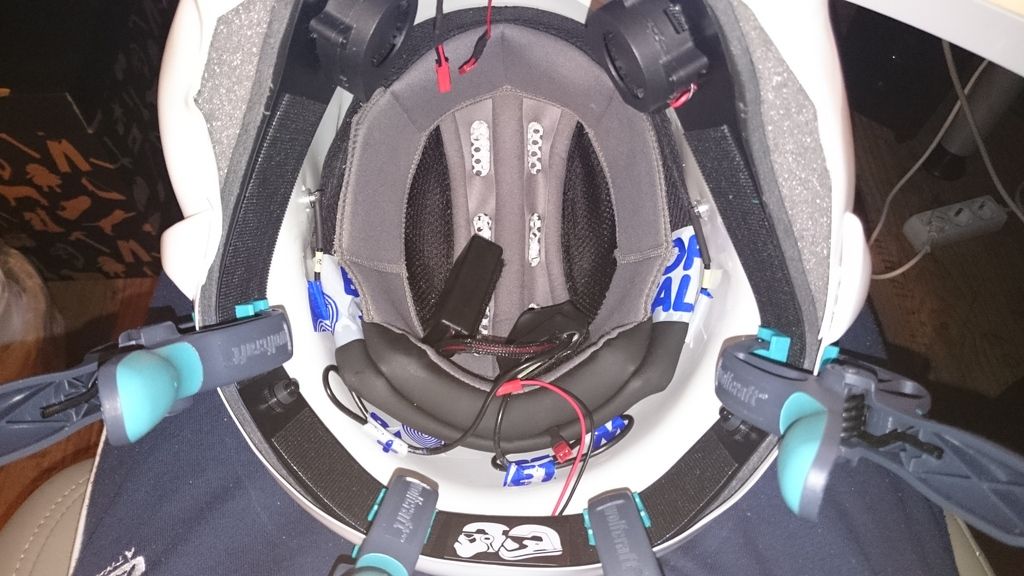
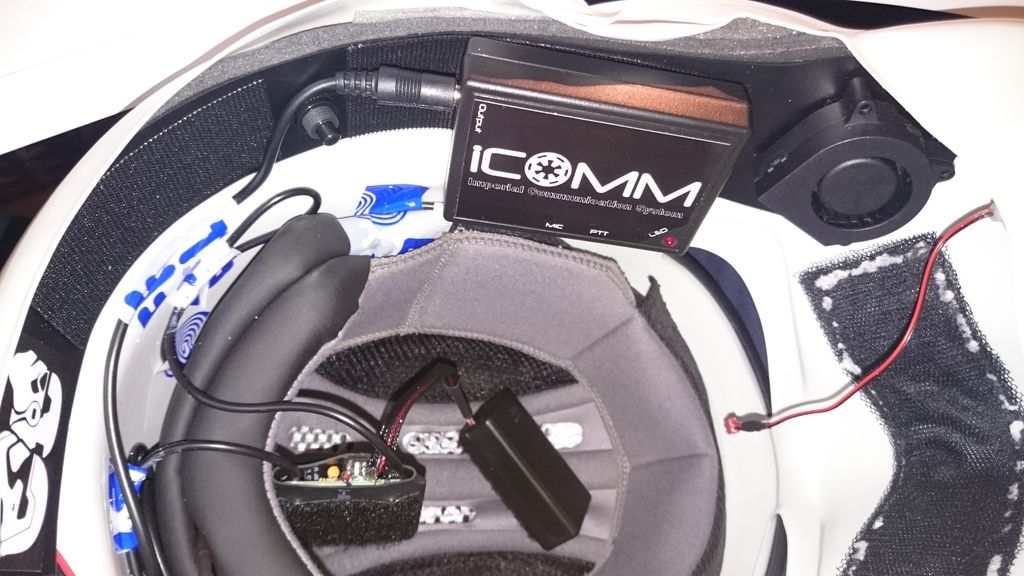
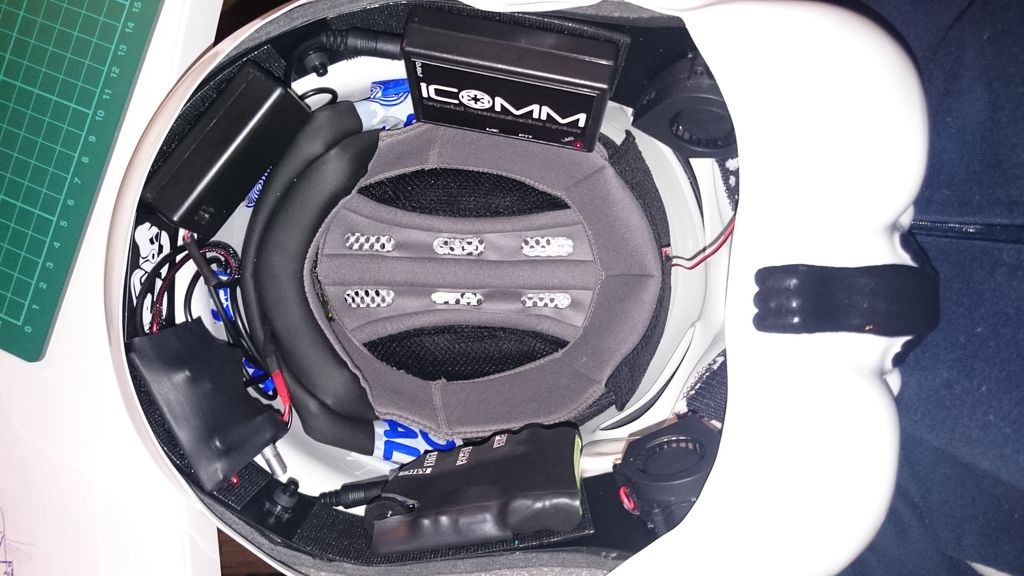
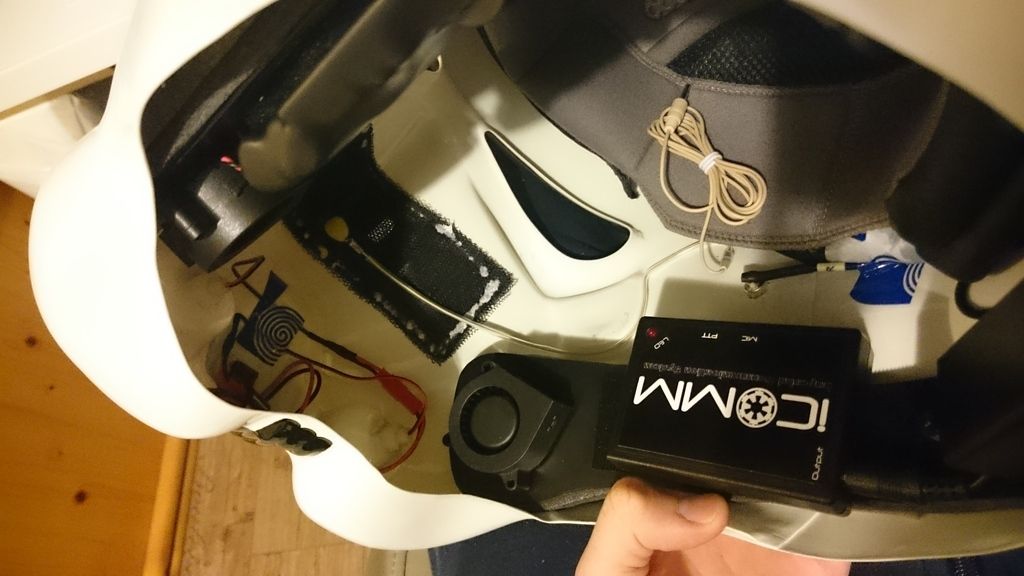
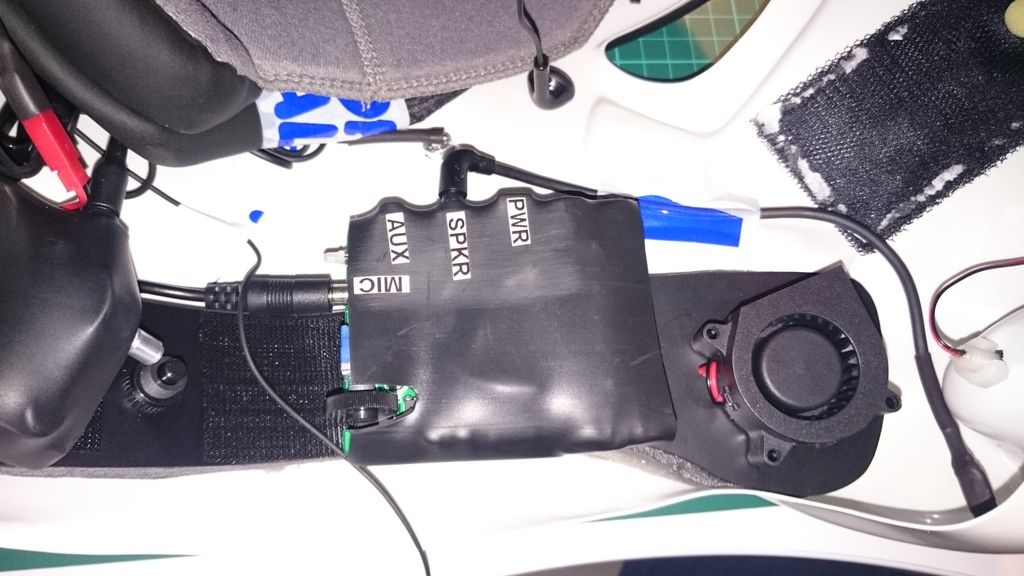
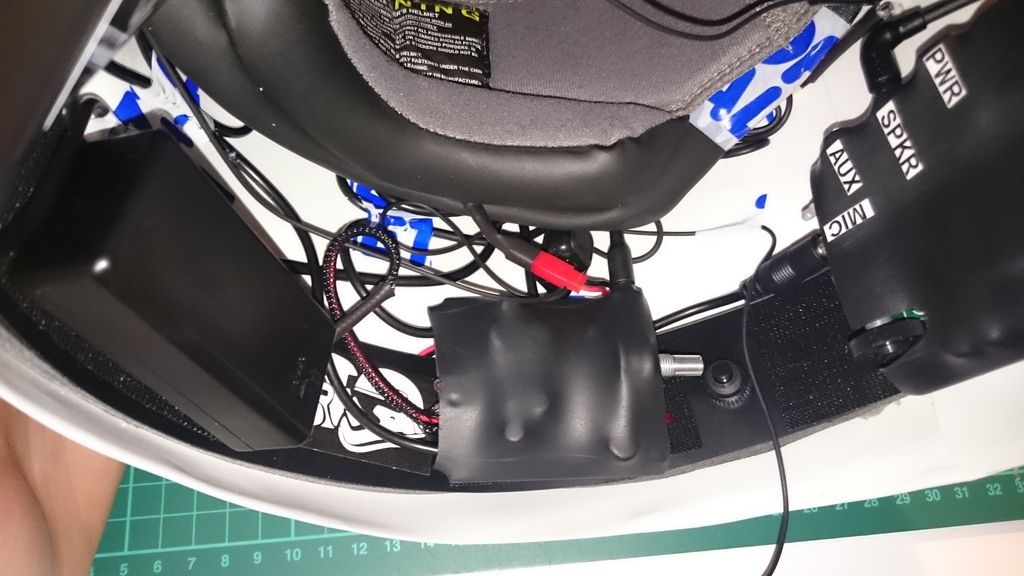
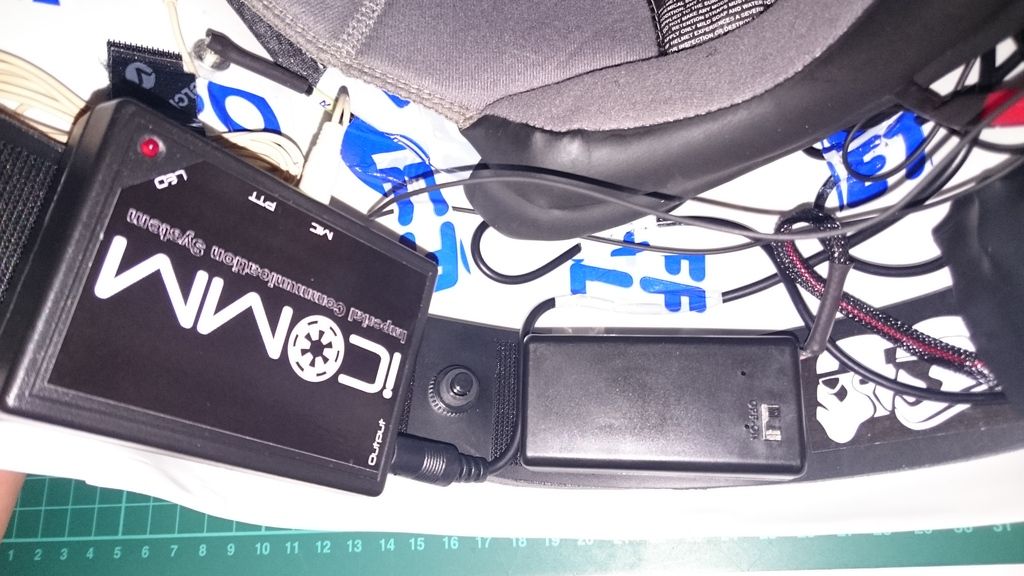
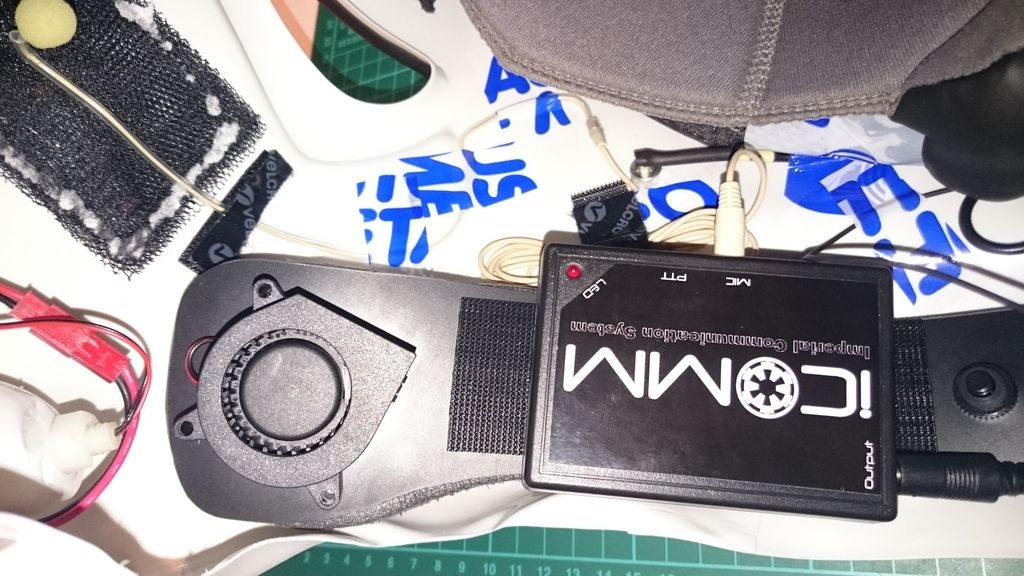
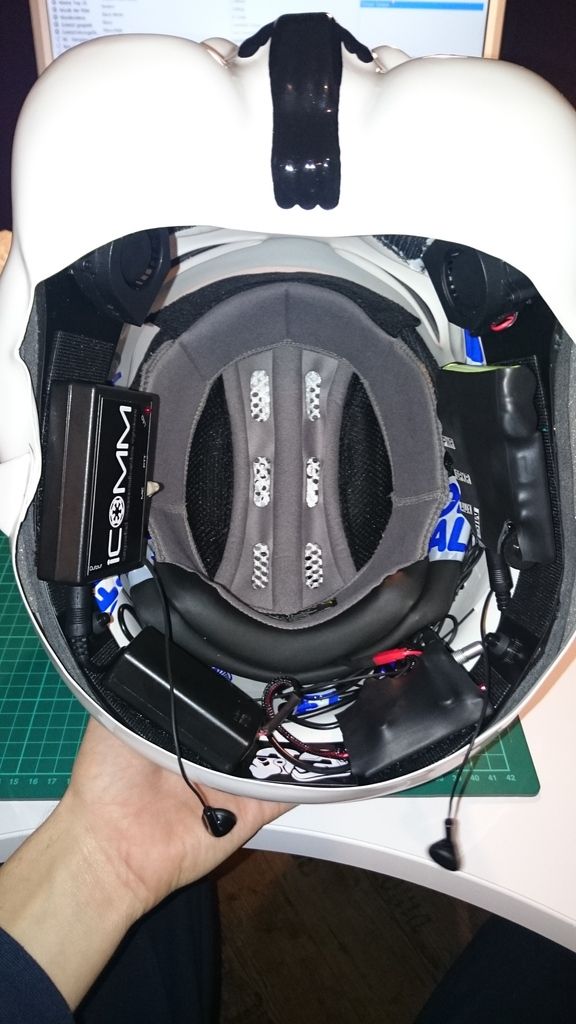
I glued a piece of velcro on the bracket and on the "SHA"-System (Stormtrooper Hearing Assist), the battery packs, the speaker and the iComm. All will be fixed on the bracket as shown.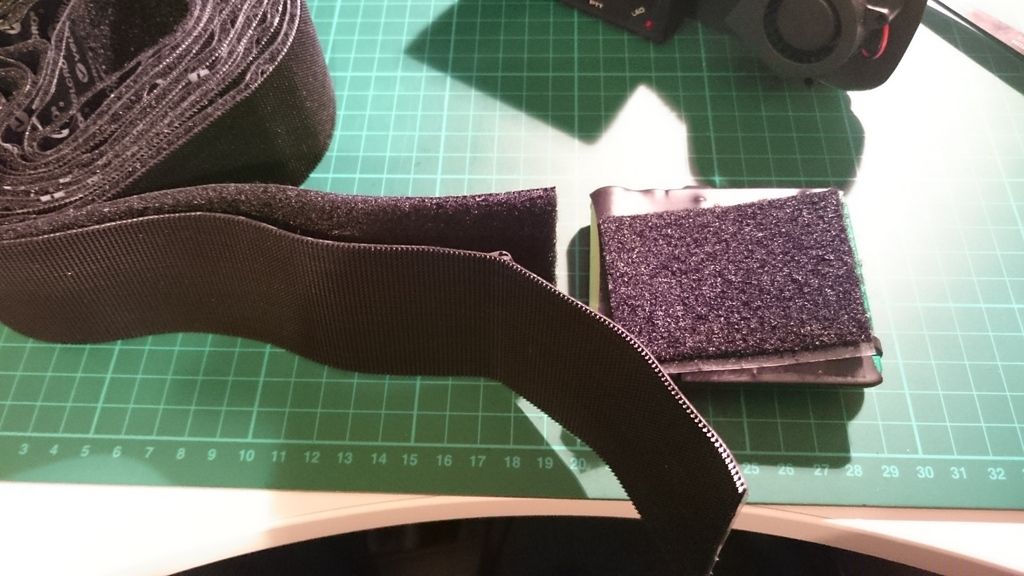
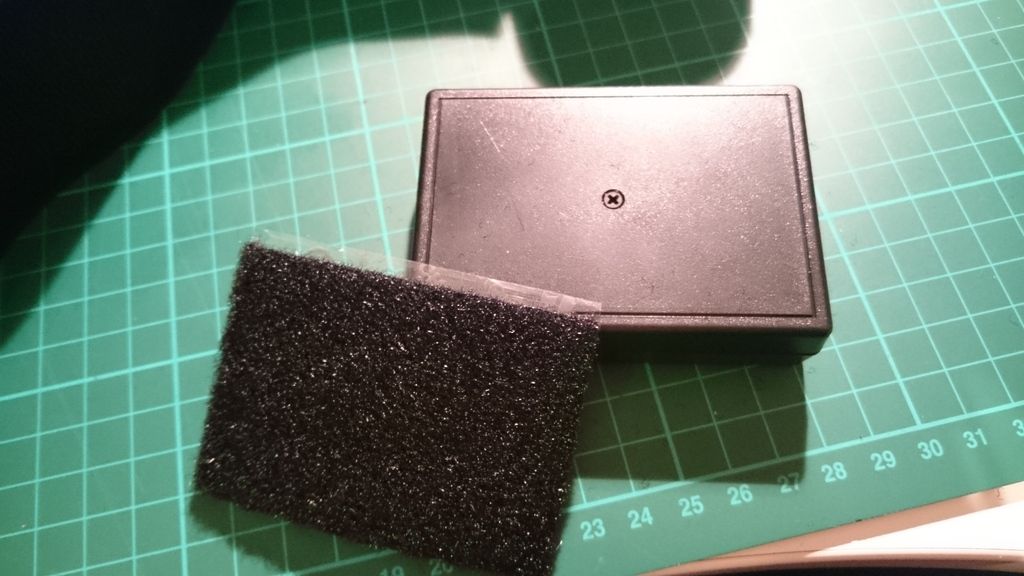
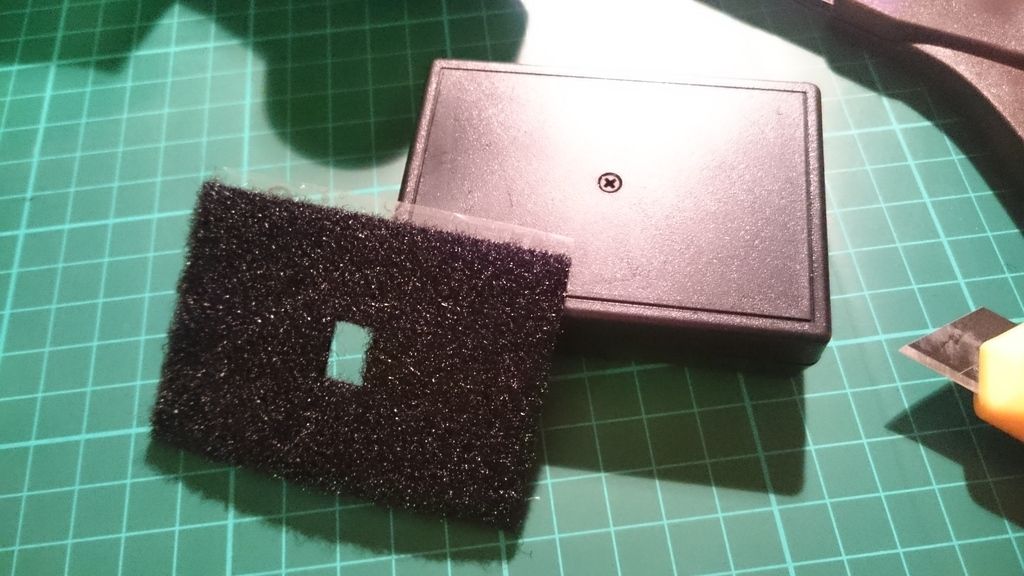
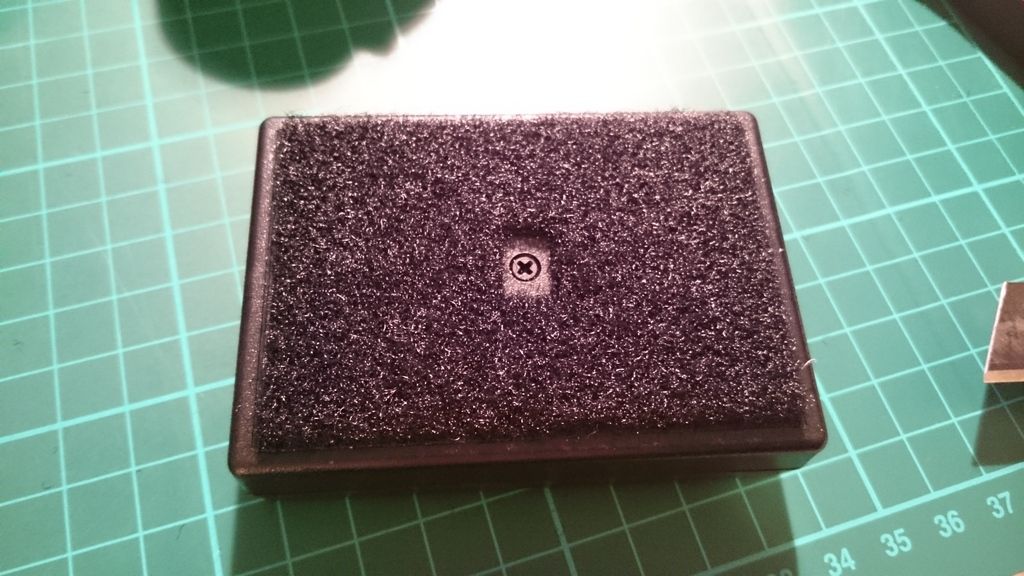
a piece of foam for better adaptation: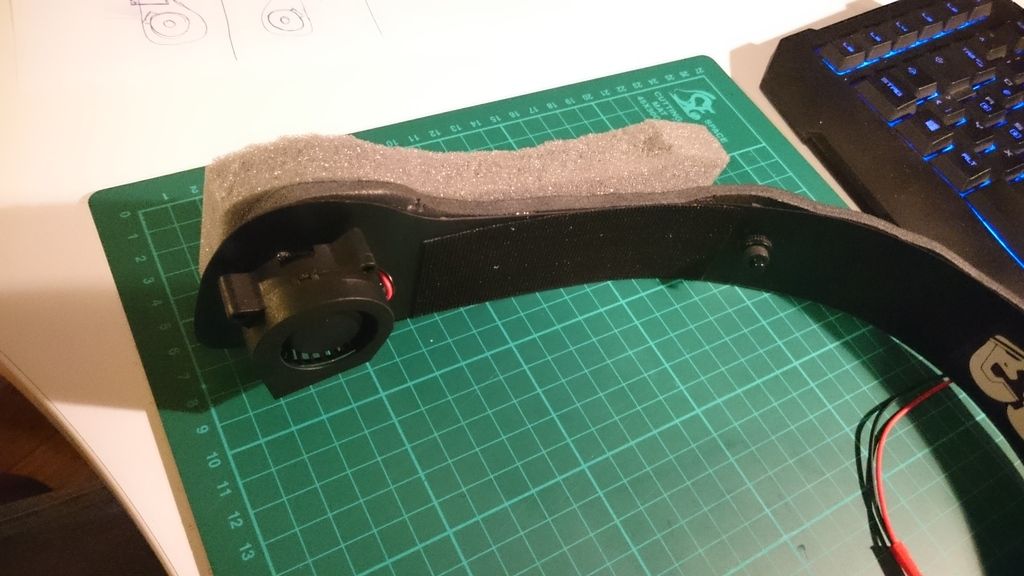
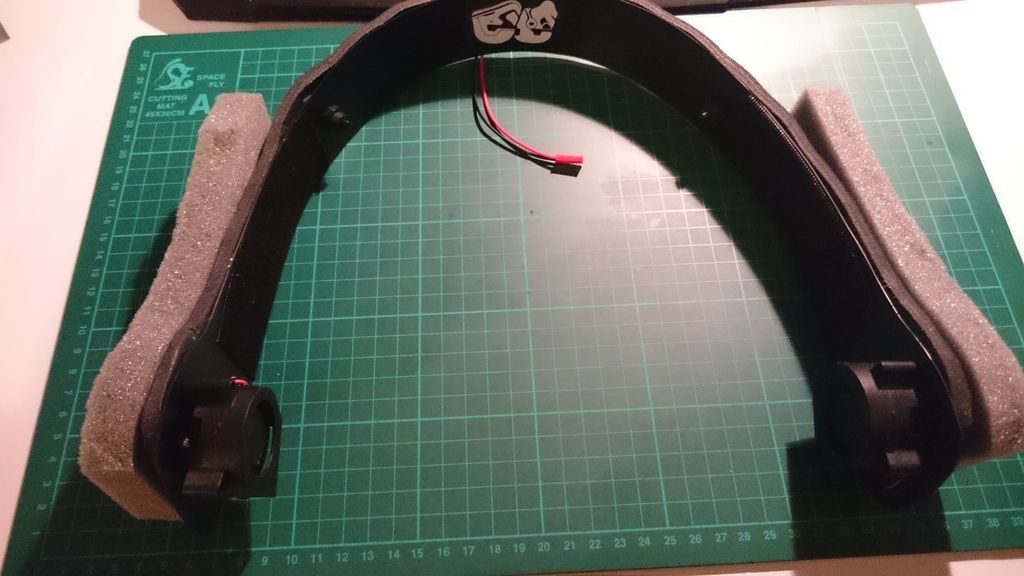
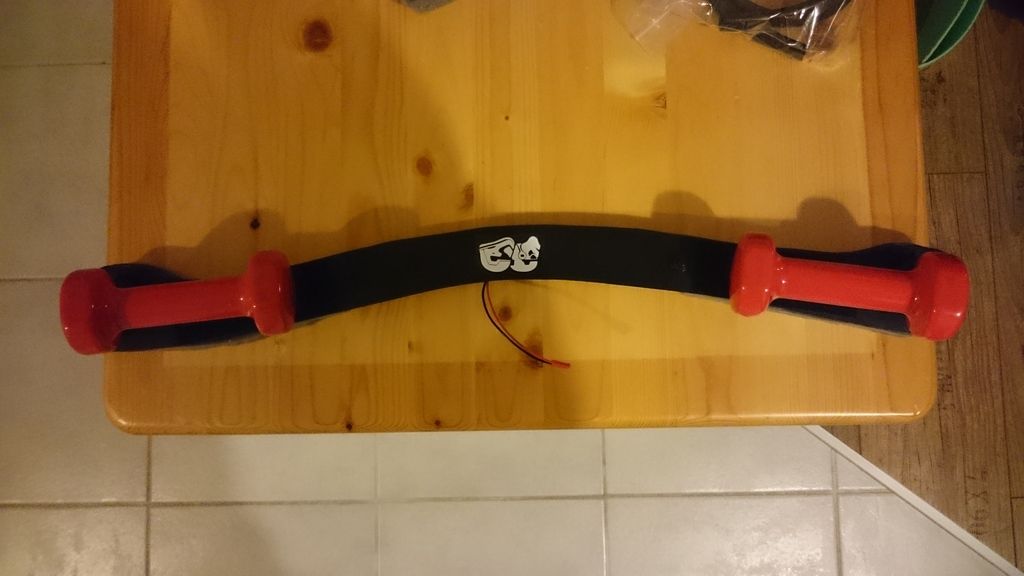
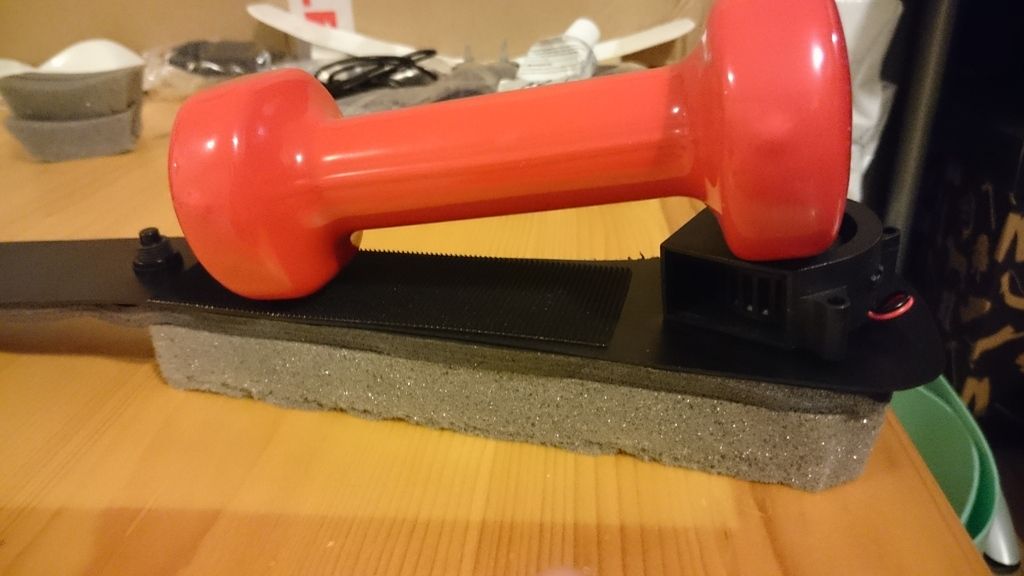
Here a overview to know where I have to fix everything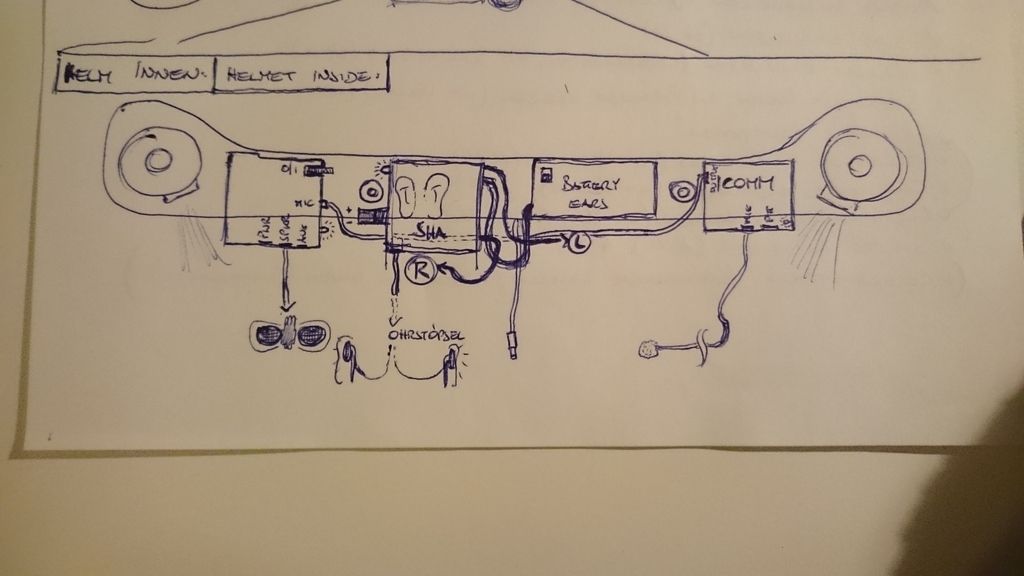
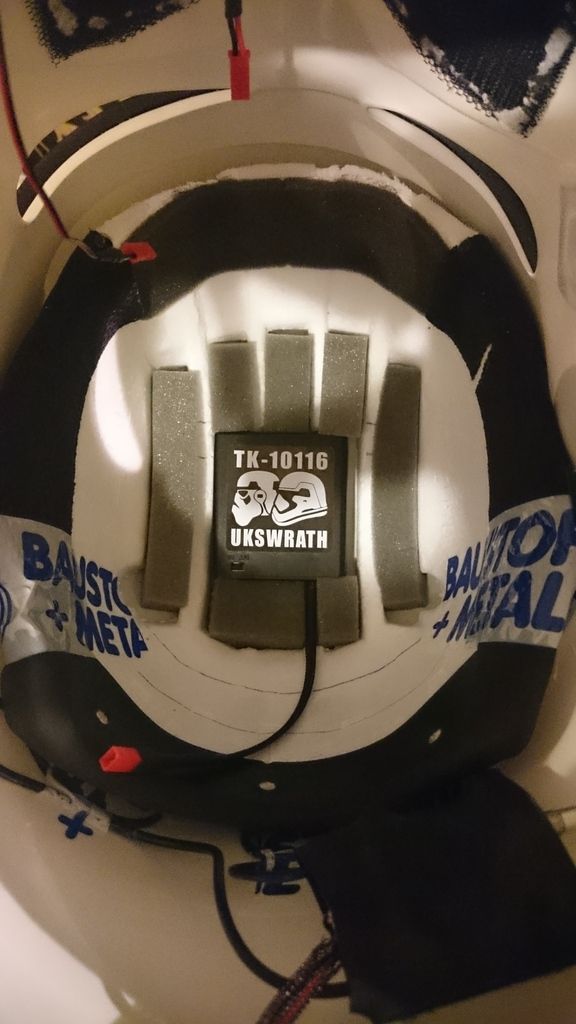
The cable from the battery pack of the fans to the bracket runs between the helmet inlay and the lining of the inlay.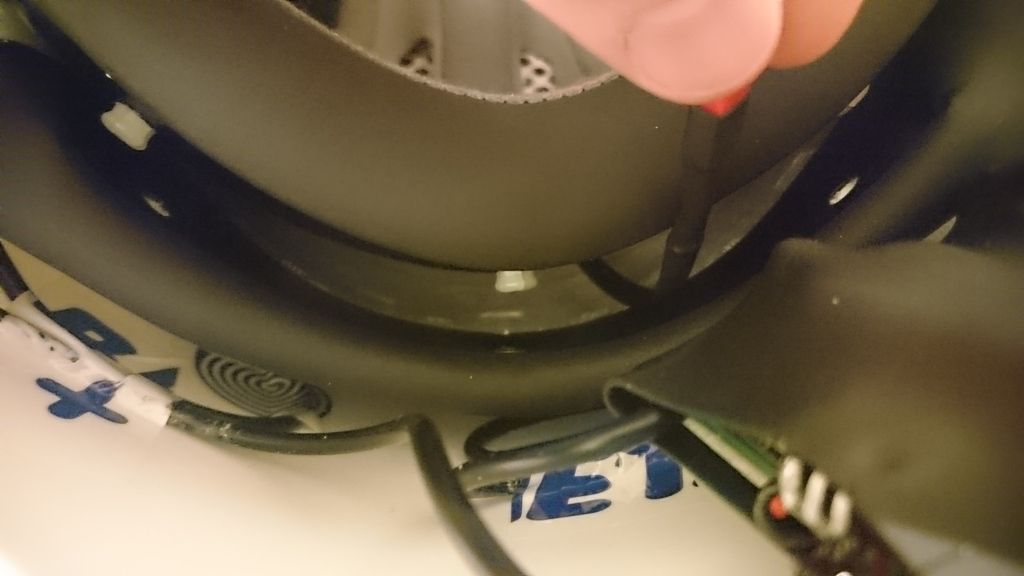
-
 2
2
-
-
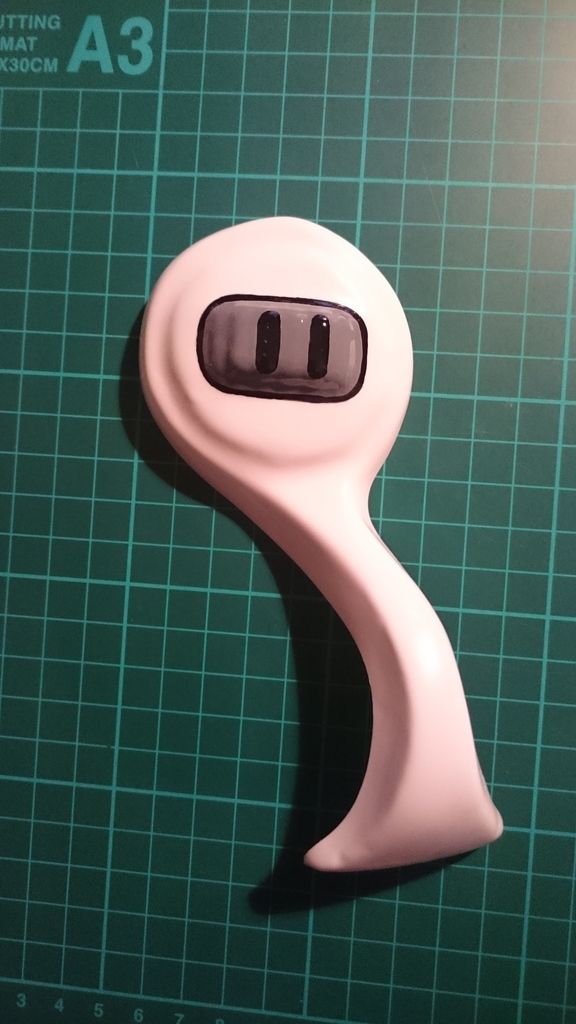
It went on with the ears
Results:
.) first step: tools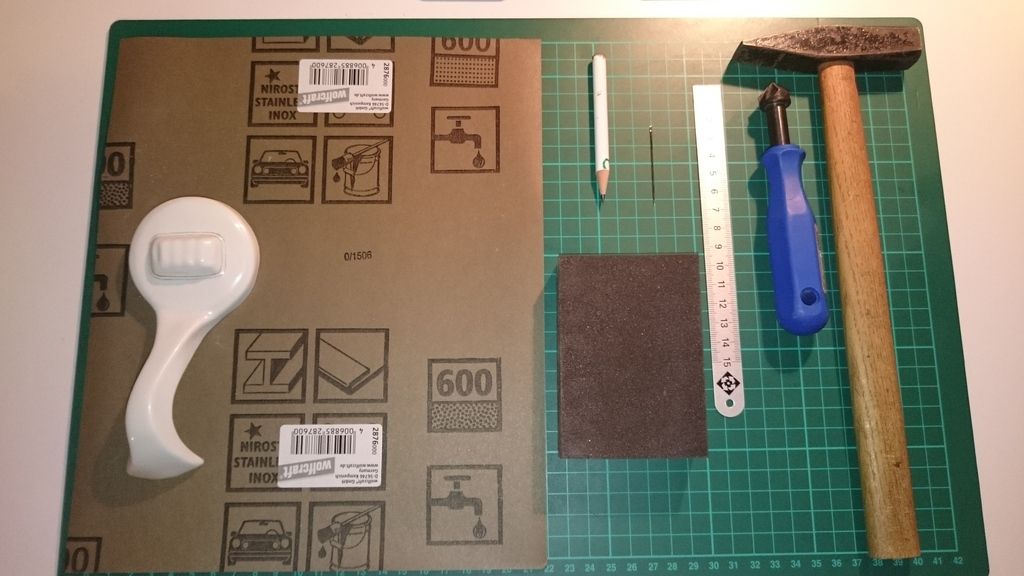
.) after that test-fitting of the ears for gluing
.) it fit well. Draw contours for easier painting it and mark three holes for better hearing (does this sentence make sense?):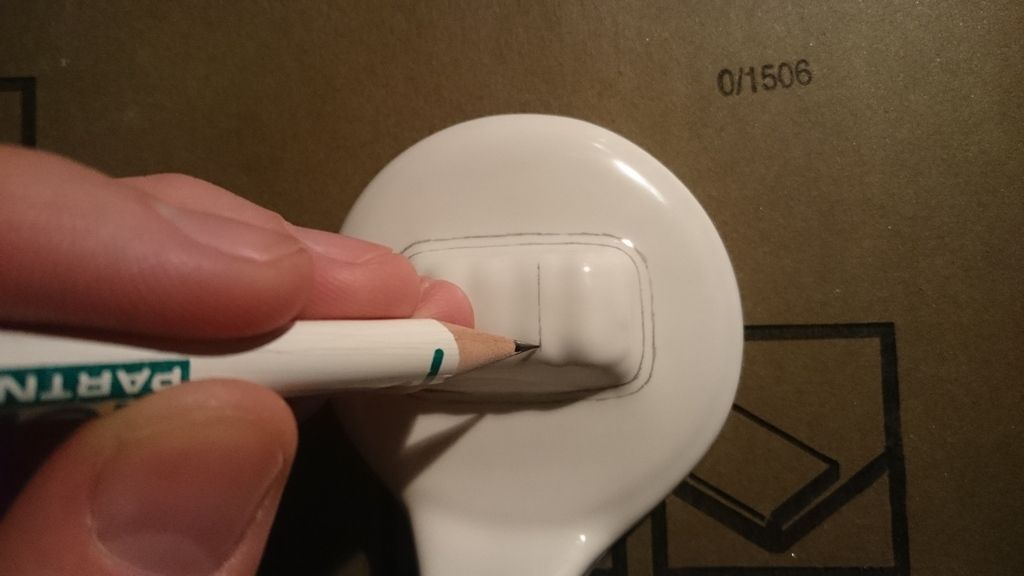
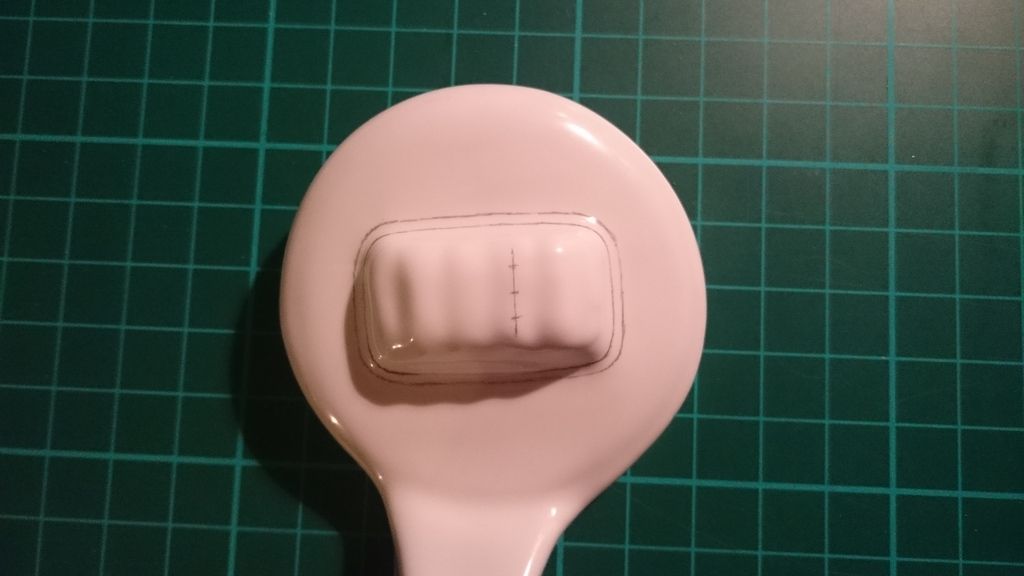
.) make a hole where marked with needle and hammer: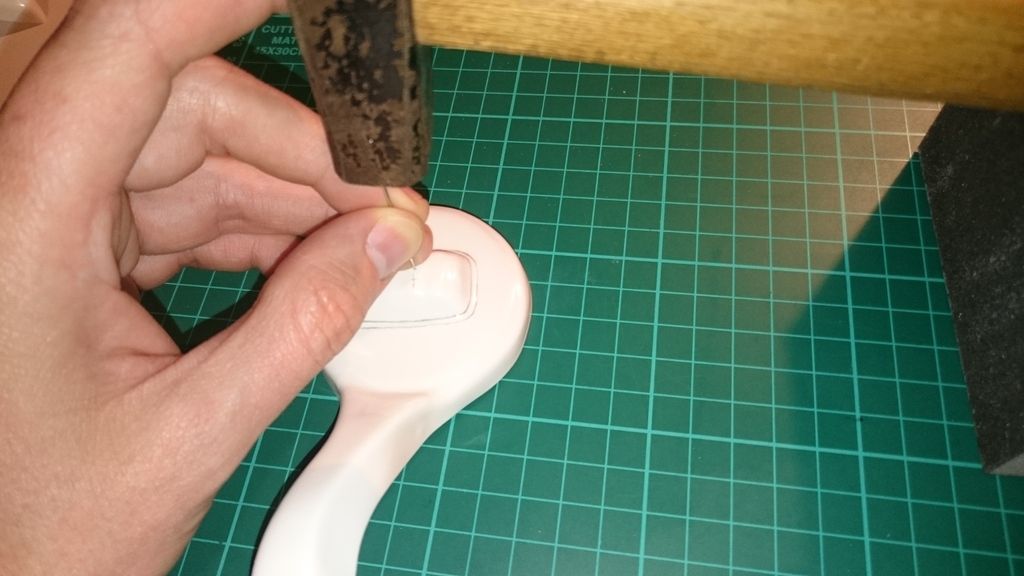
.) (a bit skew, but I can't correct it)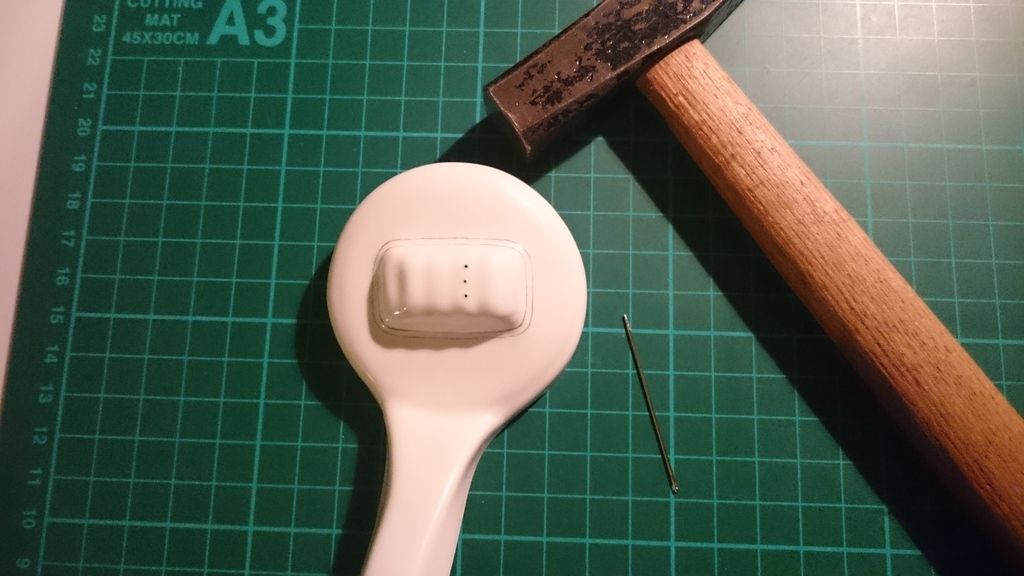
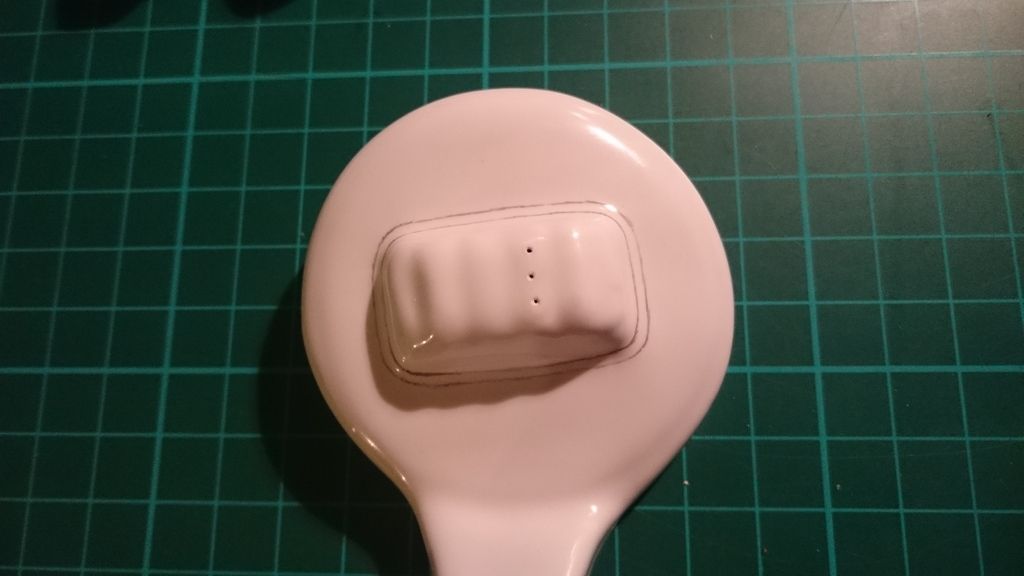
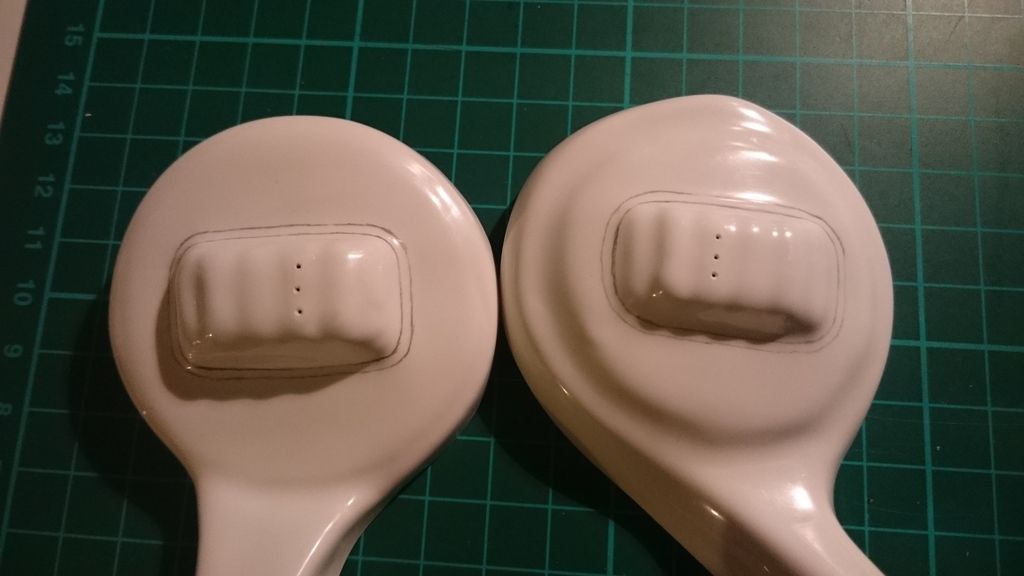
.) after all painting ("Humbrol grey gloss 5" und "Humbrol black gloss 21"):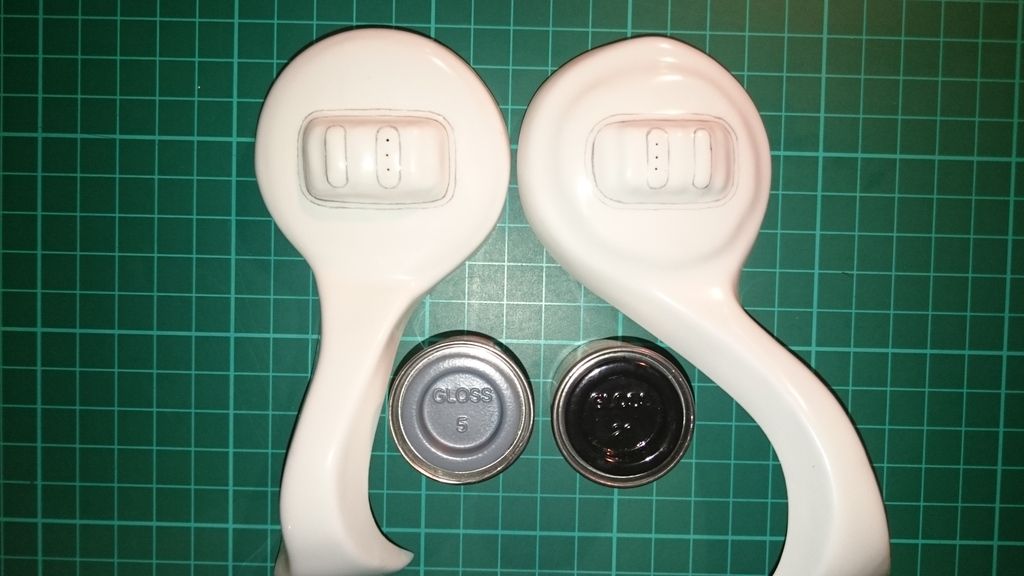
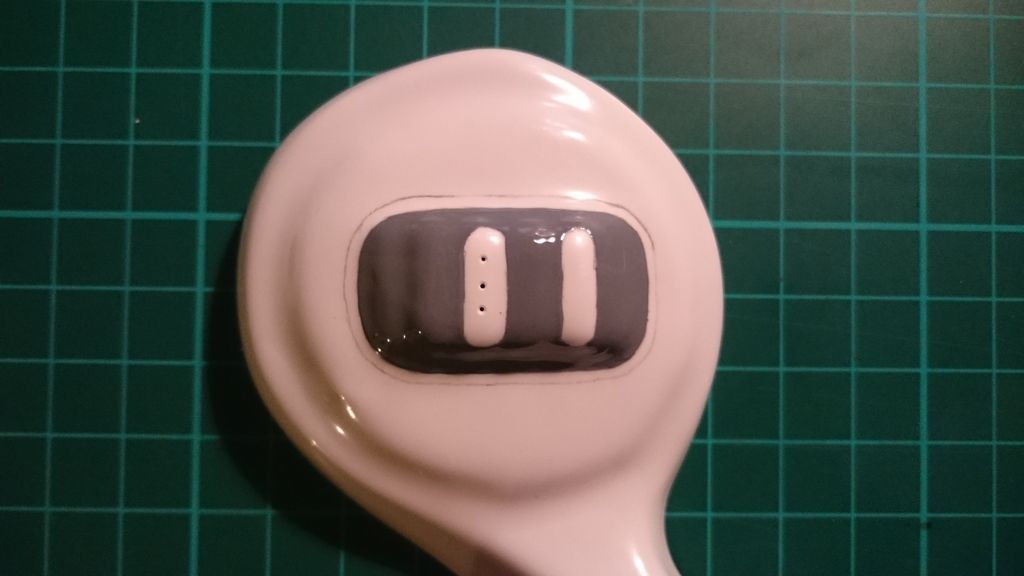
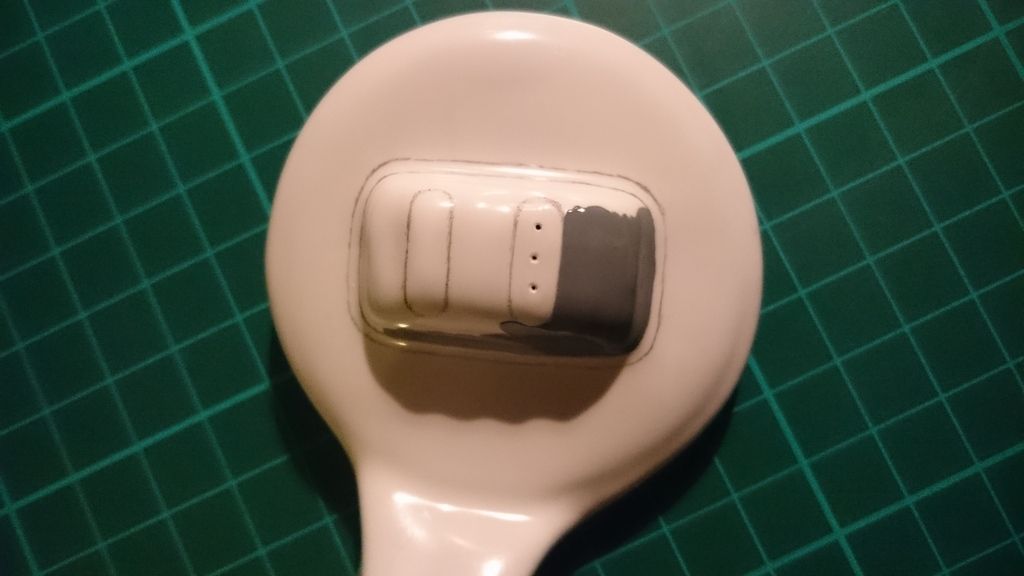
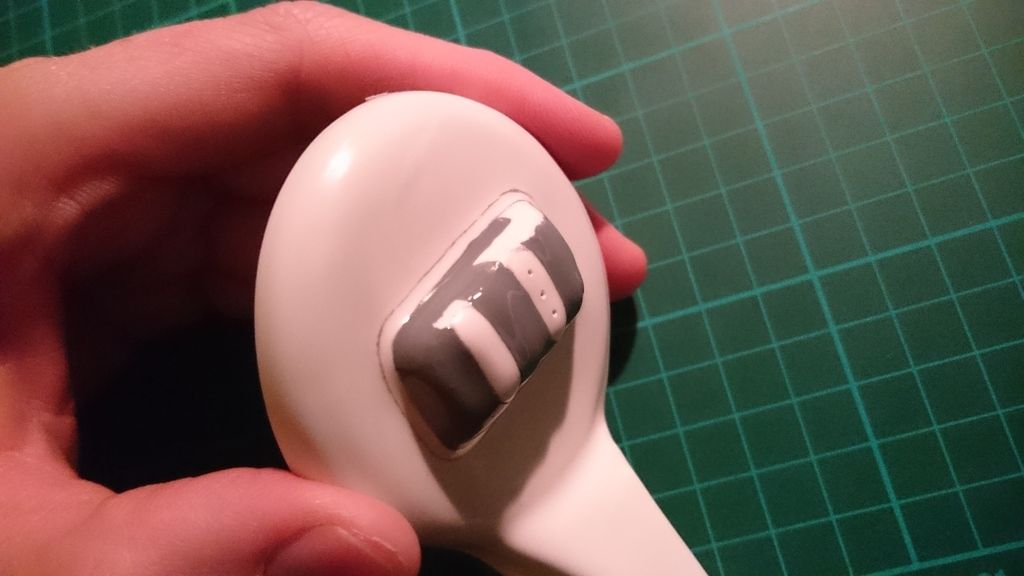
painting the holes from the inside too: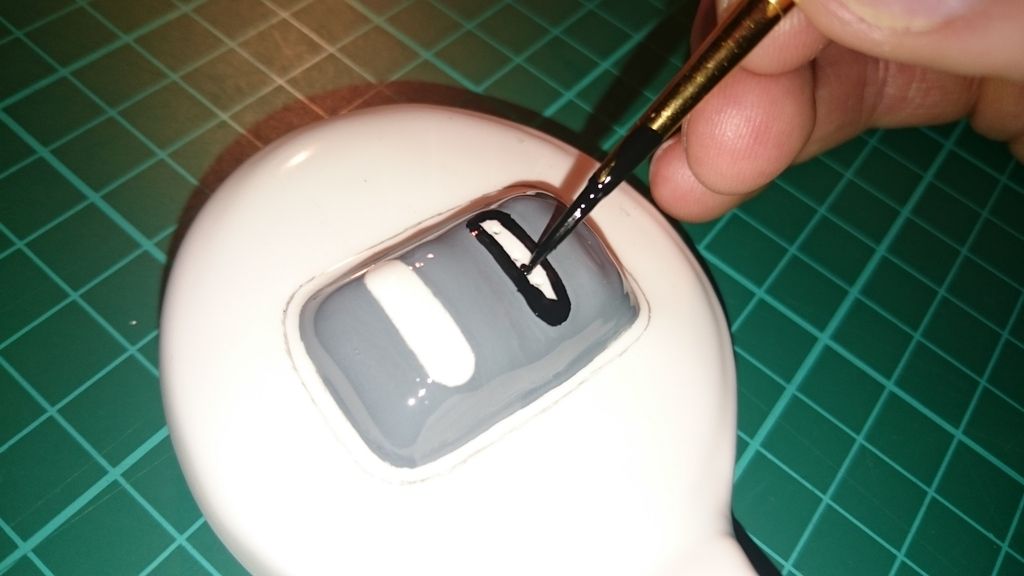
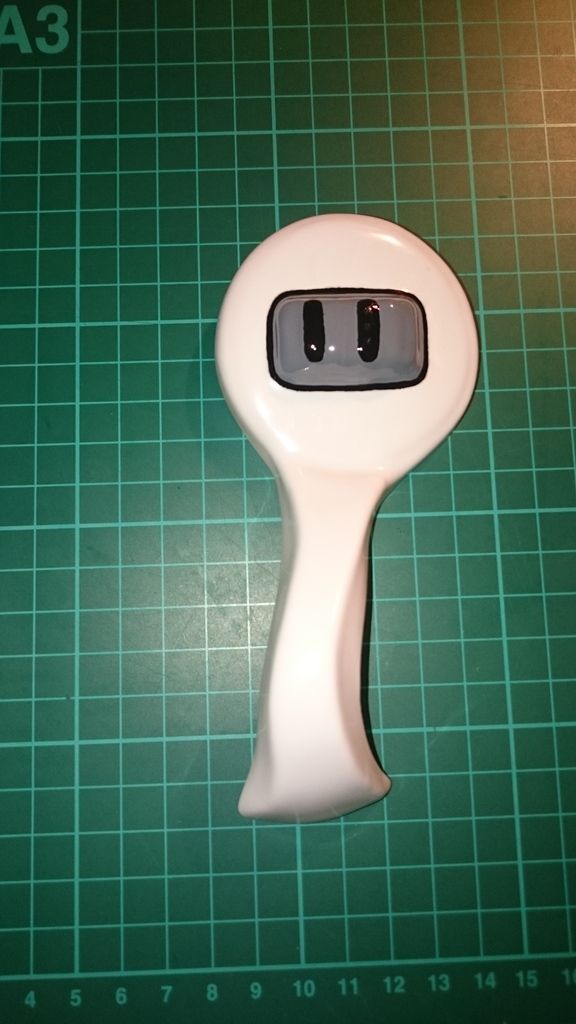
"Decals":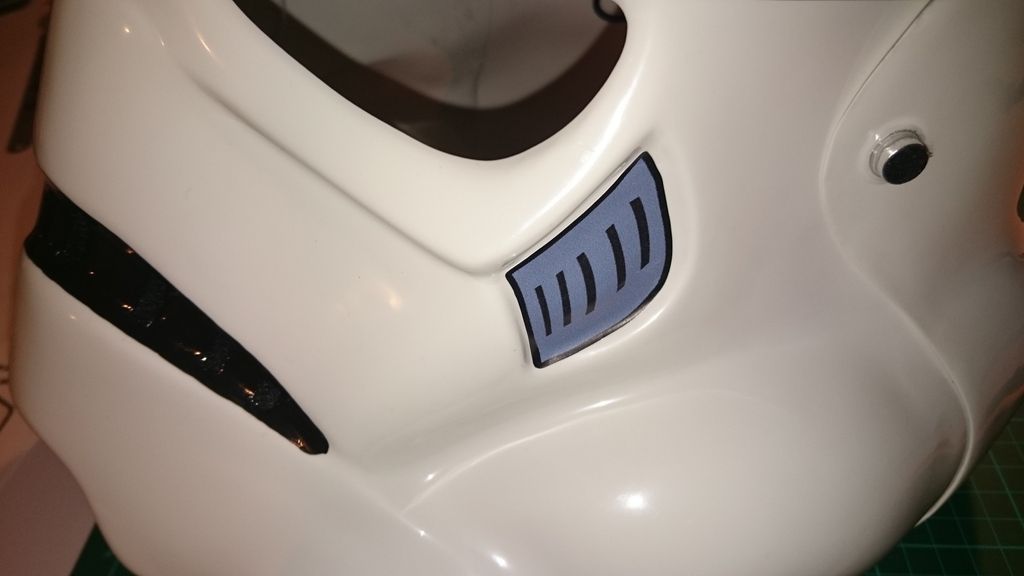
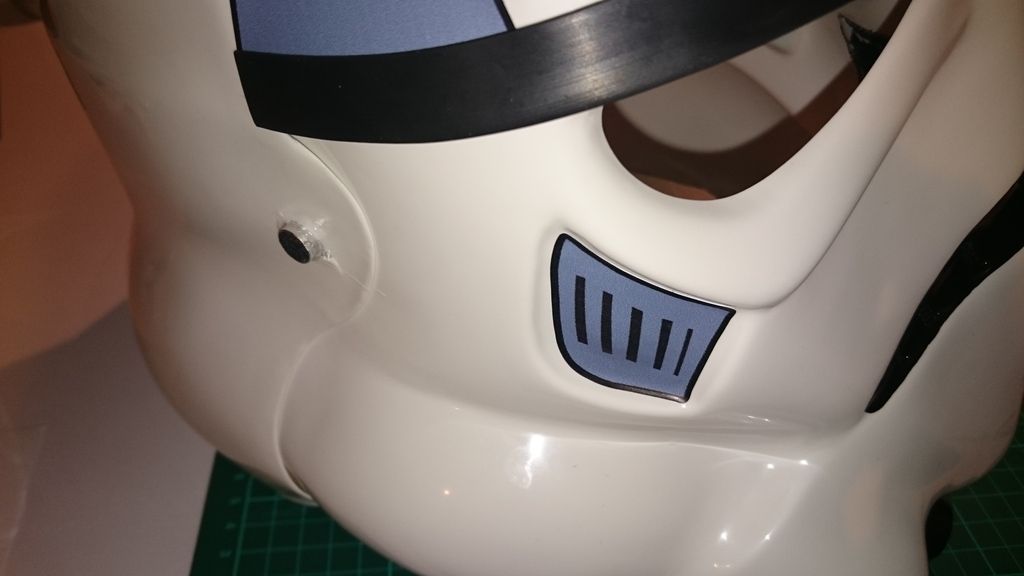
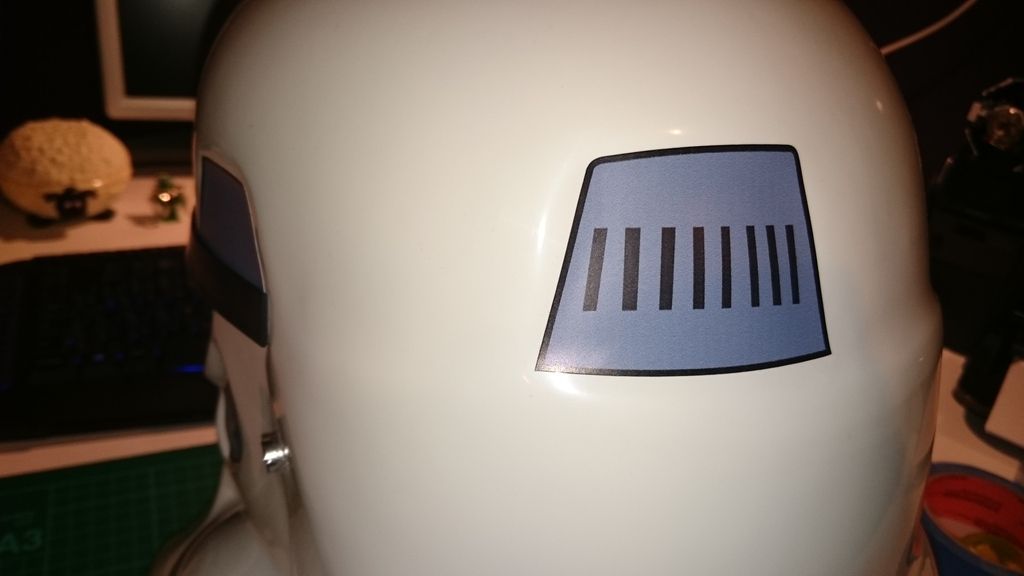
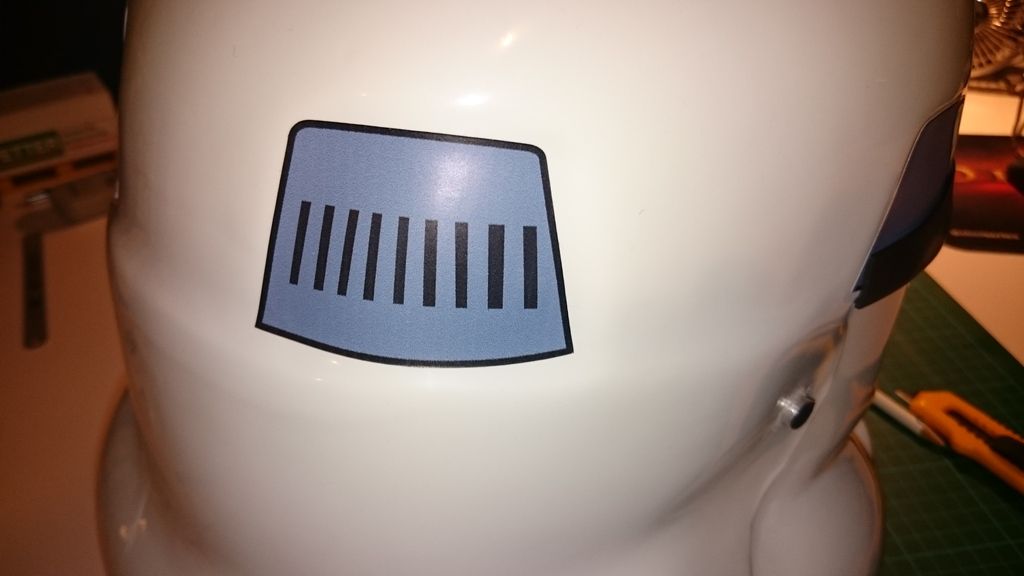
the helmet looks better and better B)
B) 
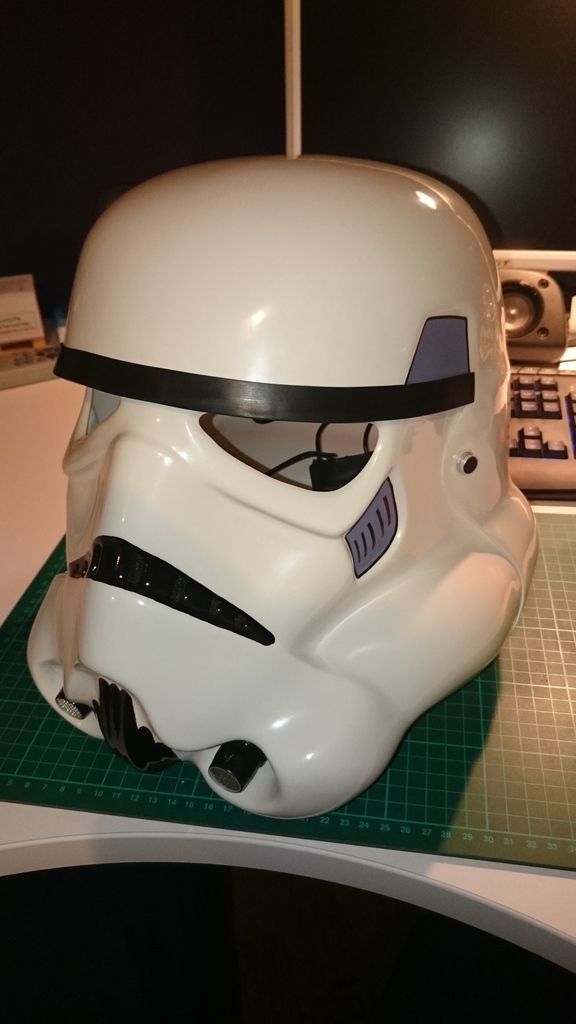
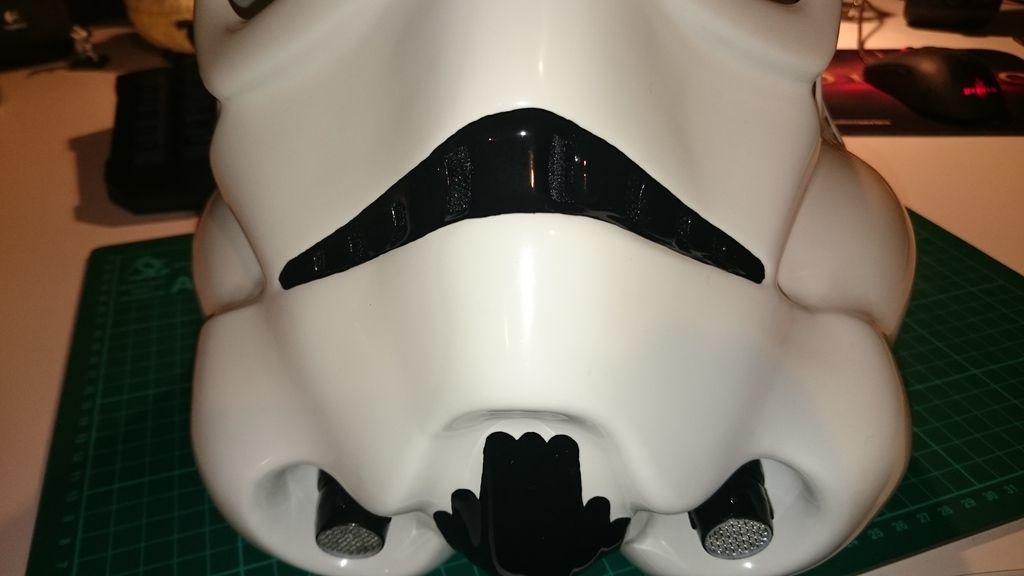
finally after all I glued one ear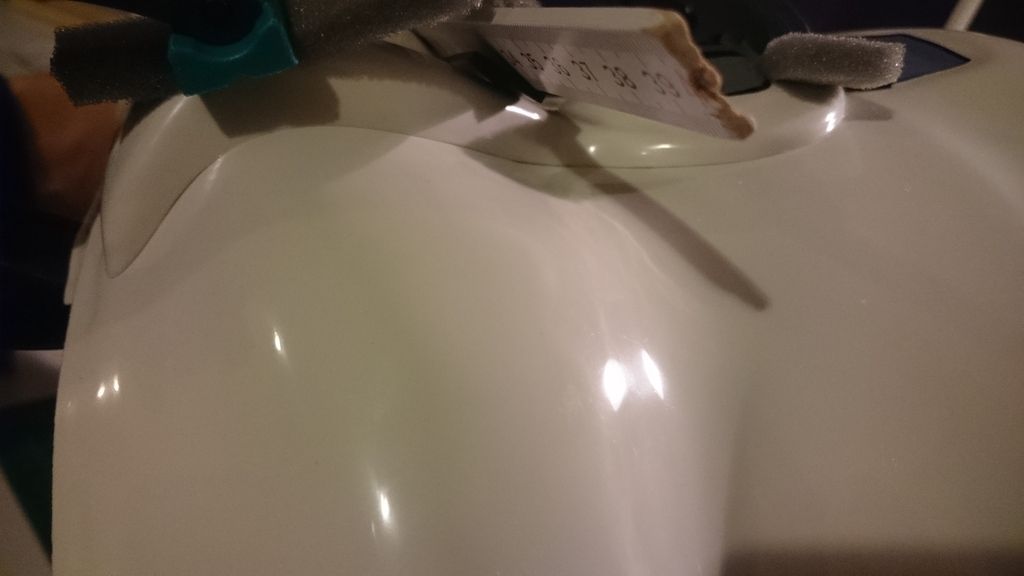
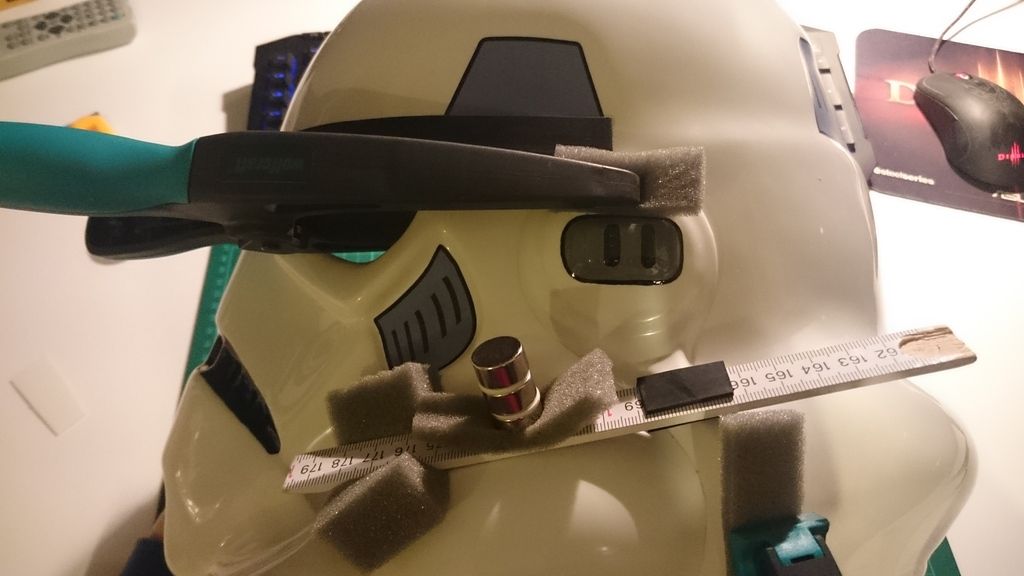
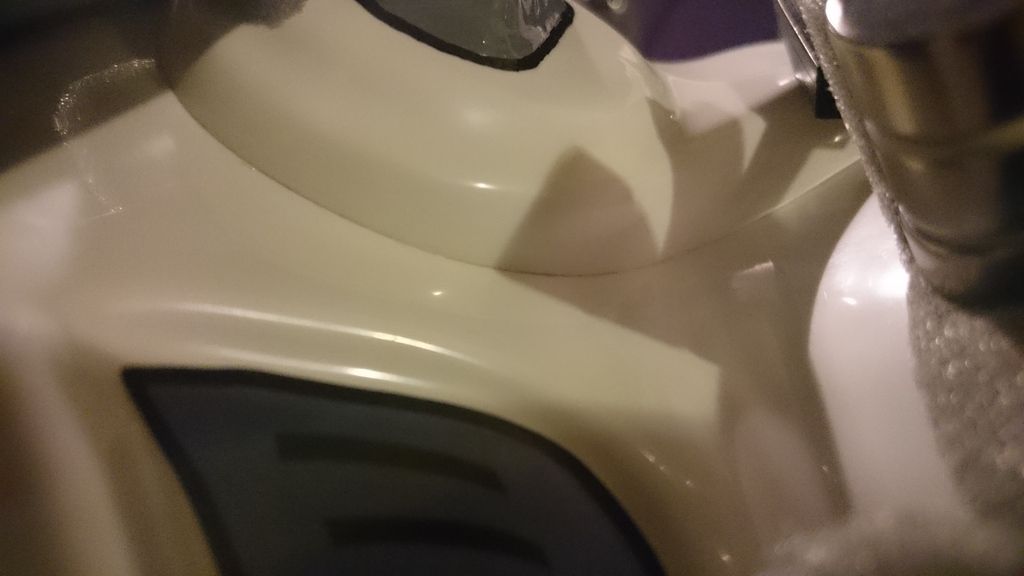
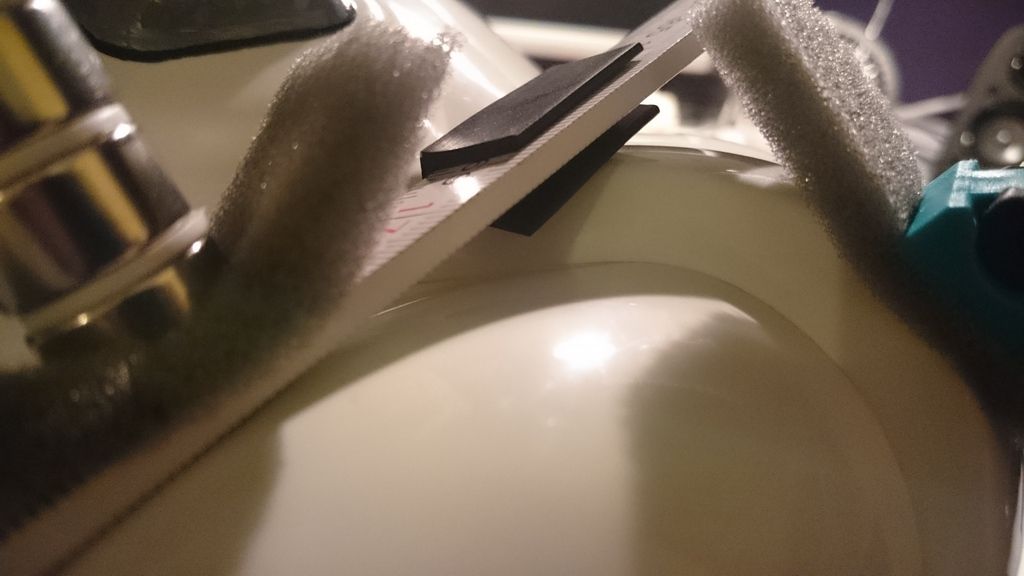
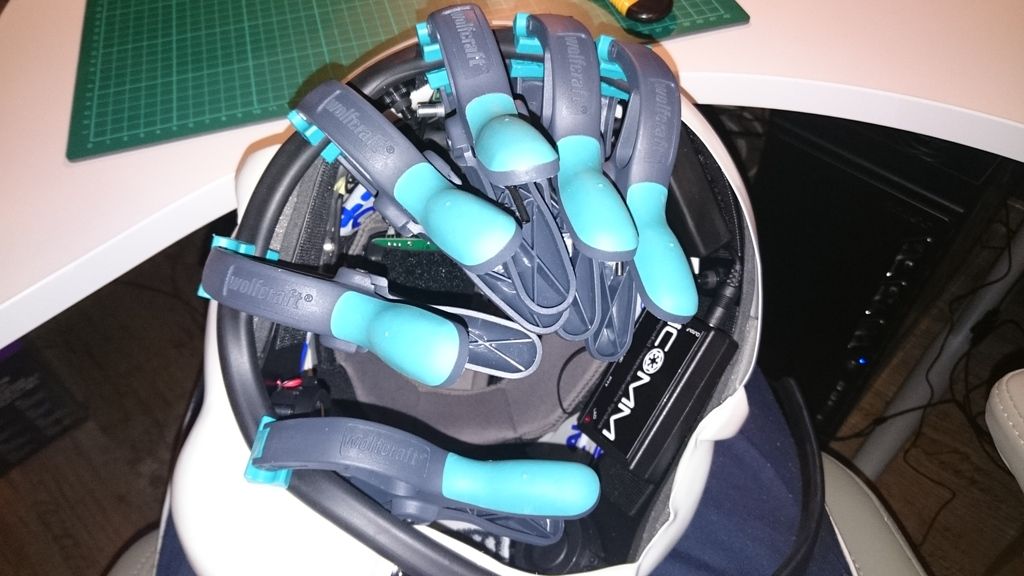
This ear has to be clamped for two days. That means tomorrow I can glue the second one. Yey!!
greets, Markus -
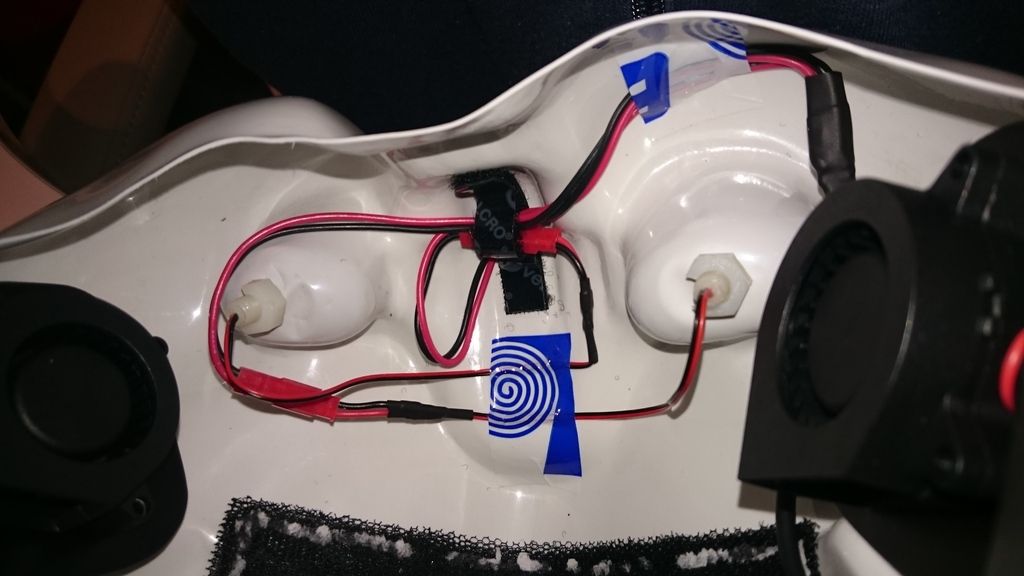
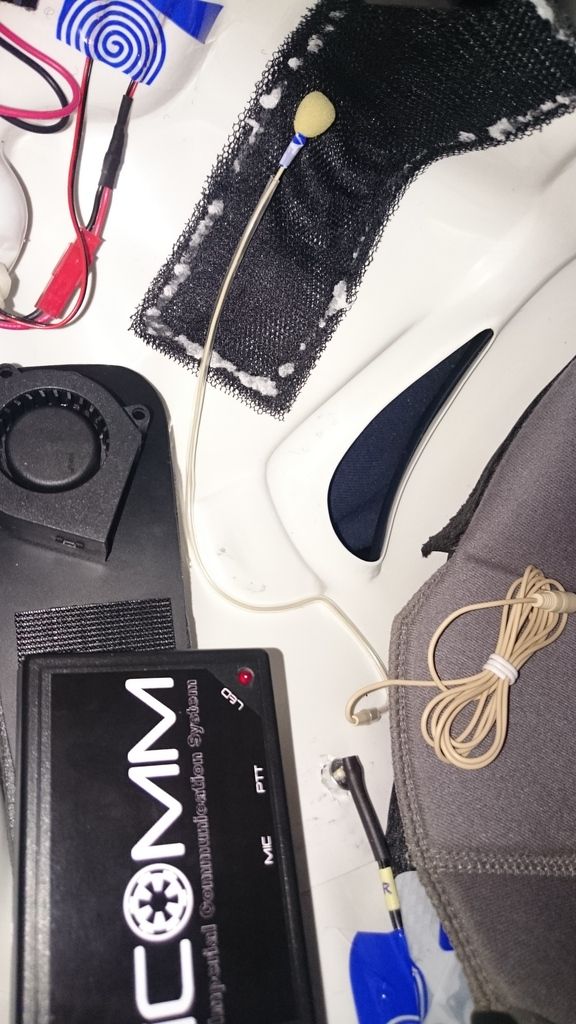
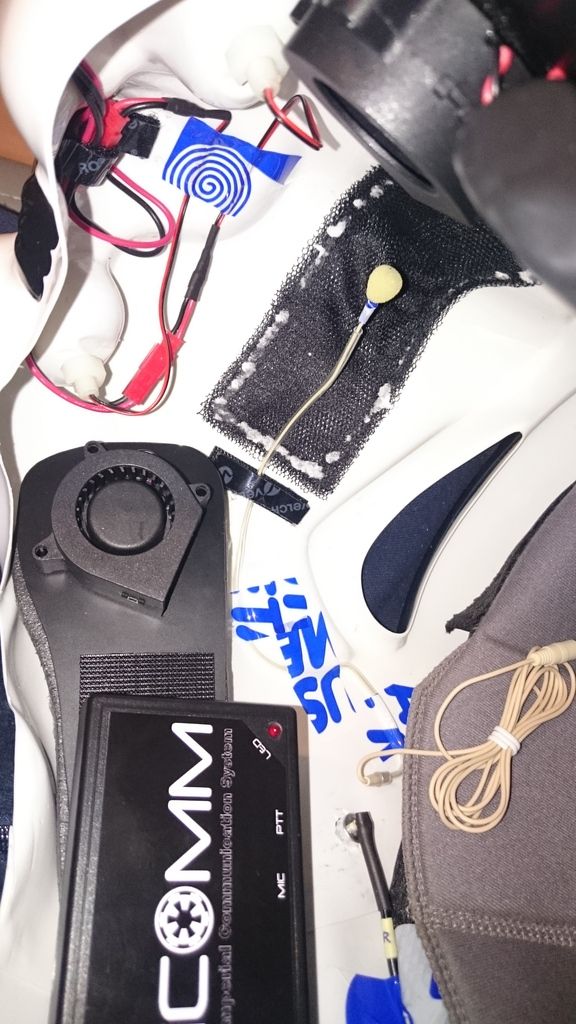
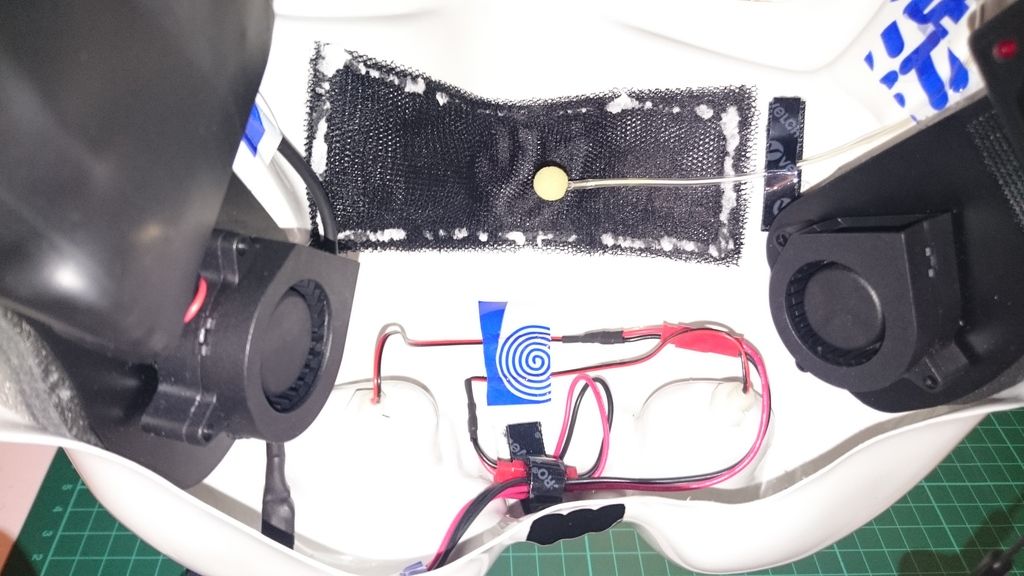
The hole electronic for my helmet is from ukswrath! Thank you, Tony! This is a real good system and in my view it is worth its money!!!

But step by step:
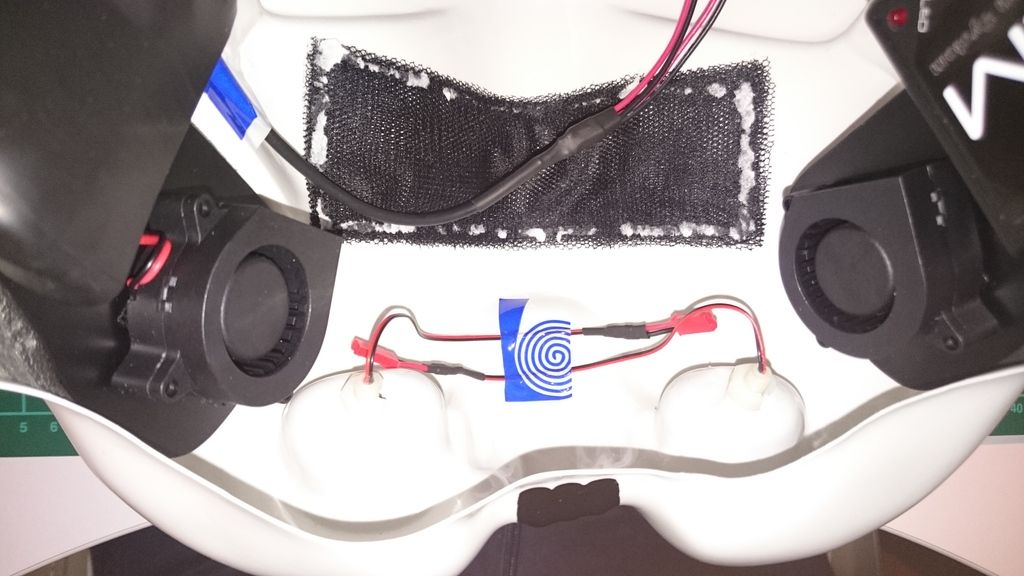
First I installed the "face-obscurer" (mesh behind the frown):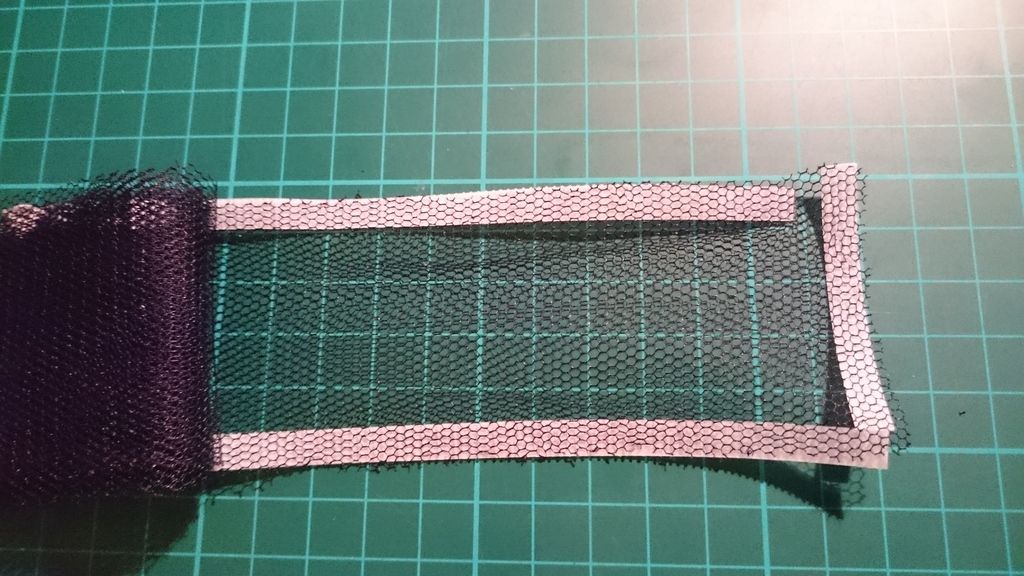
The flynet worked quite good, but nevertheless I glued the net with the E-6000 too.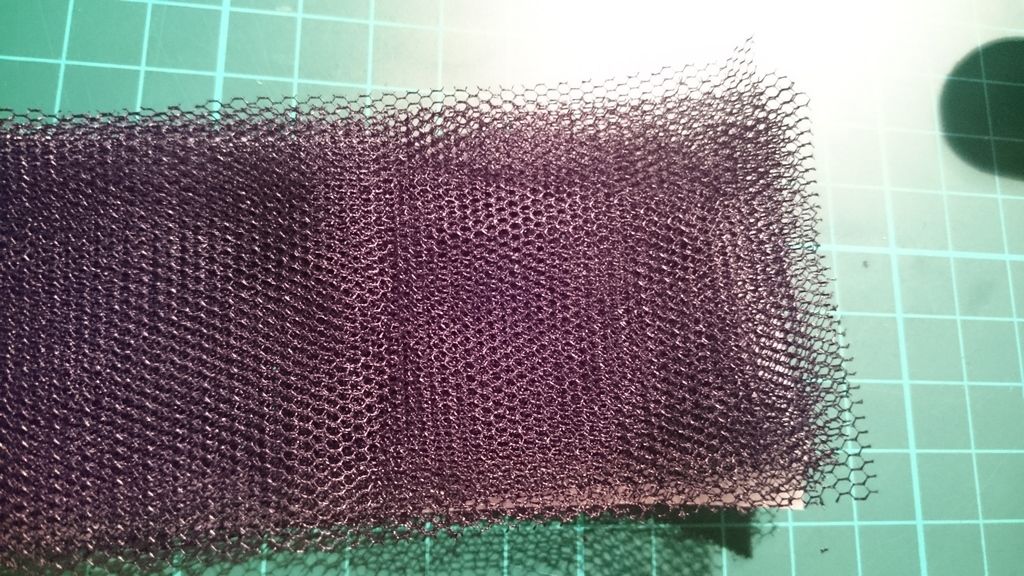
always layered
I enclosed a piece of paper, because I didn't want the glue on the clamps. That's the reason for the white rest paper on the net. But it doesn't matter, cause no one would ever see this.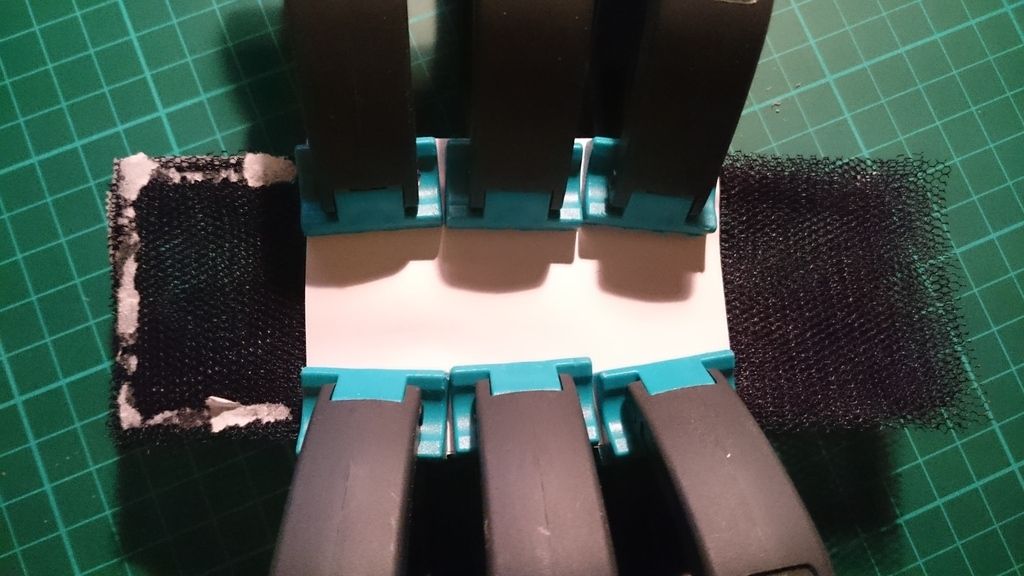
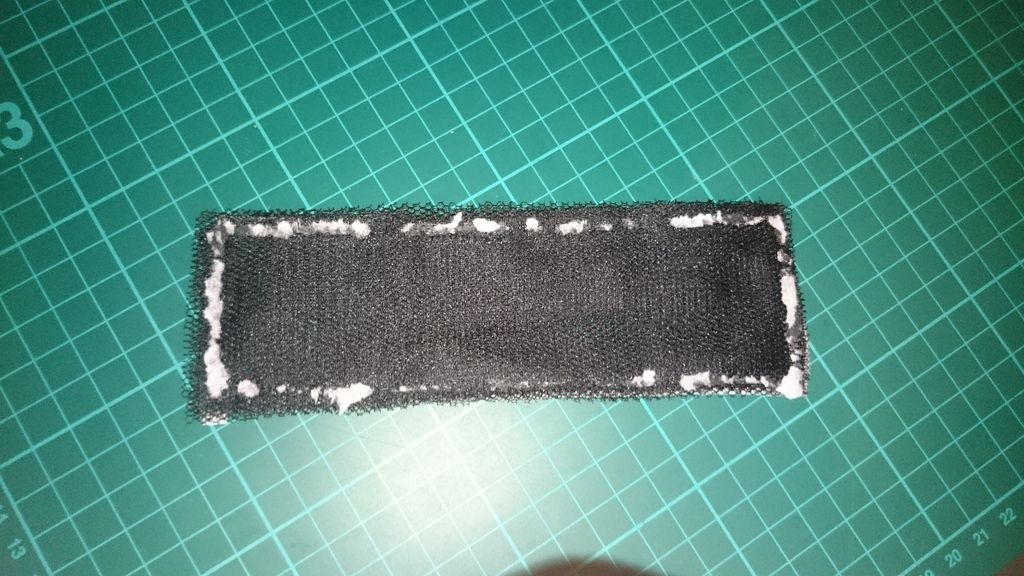
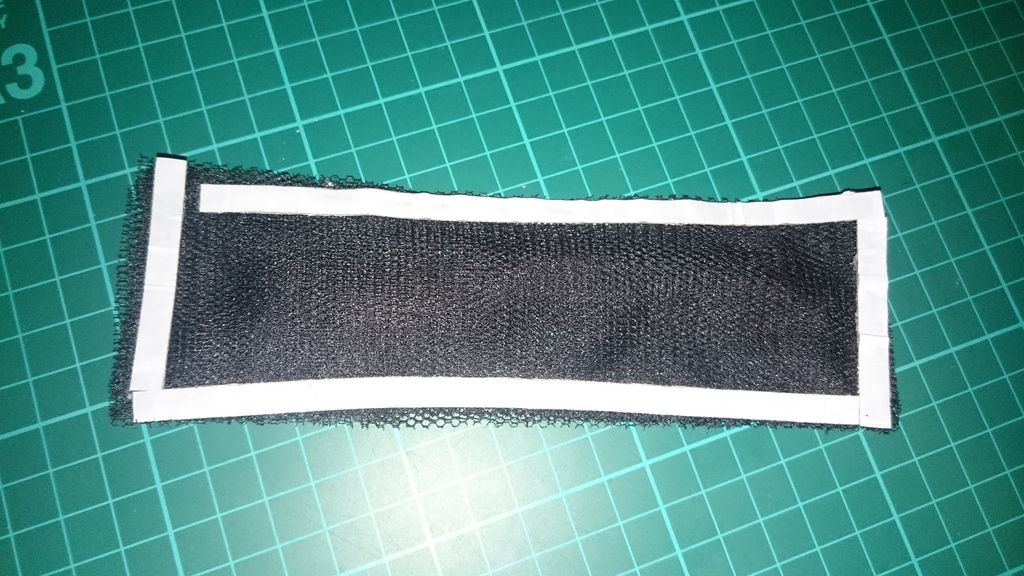
here you can see the mesh fixed in the helmet: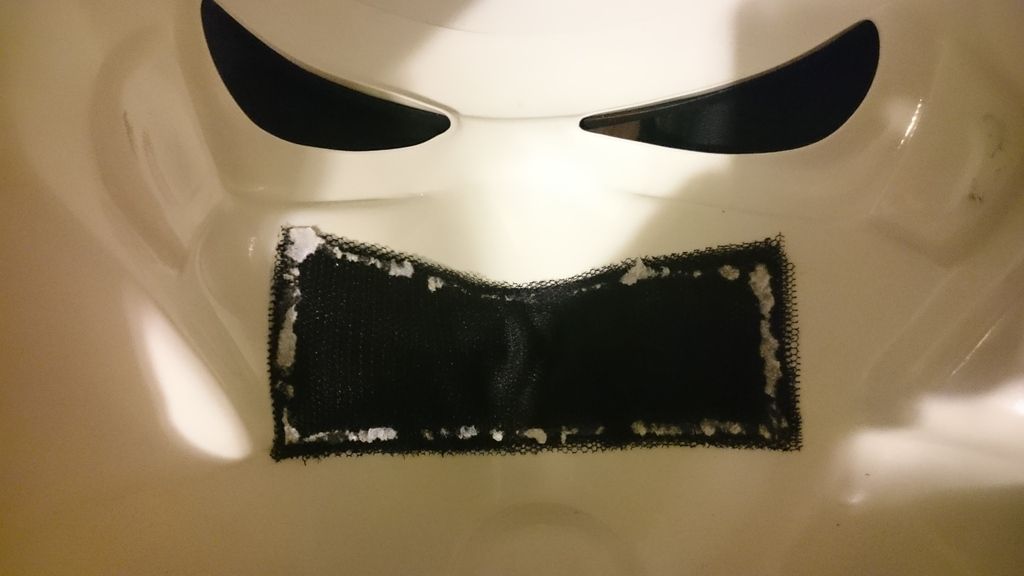
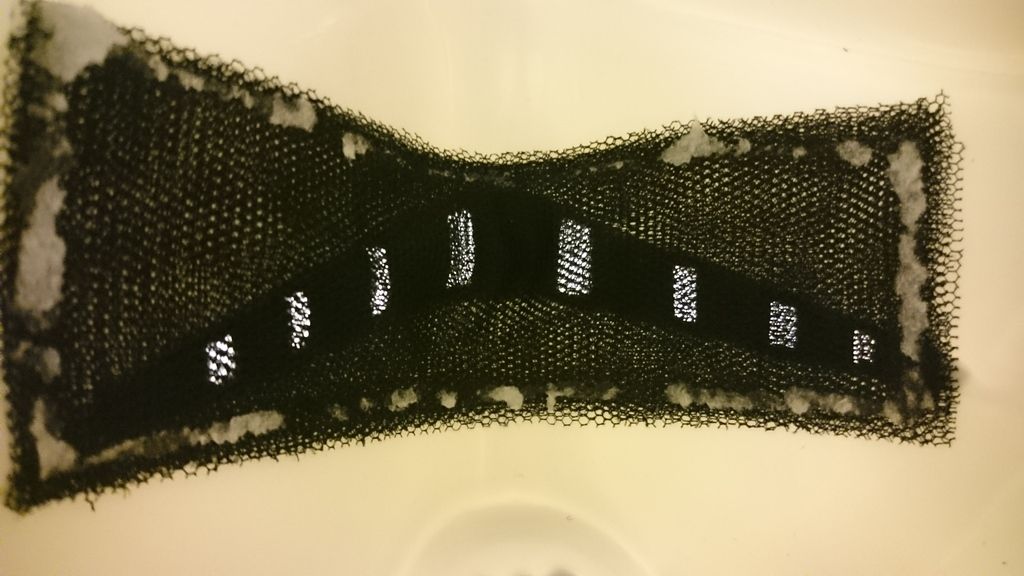
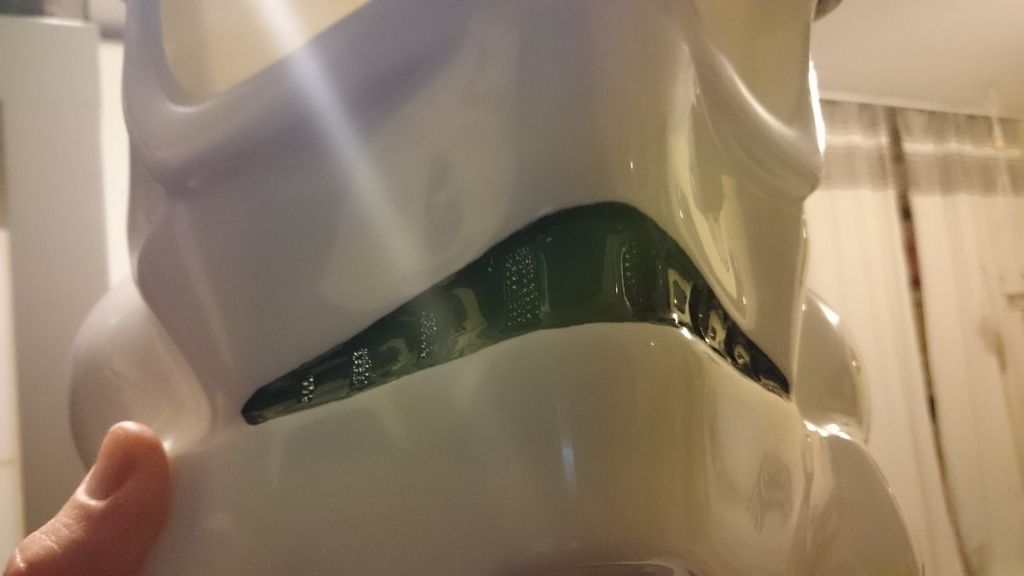
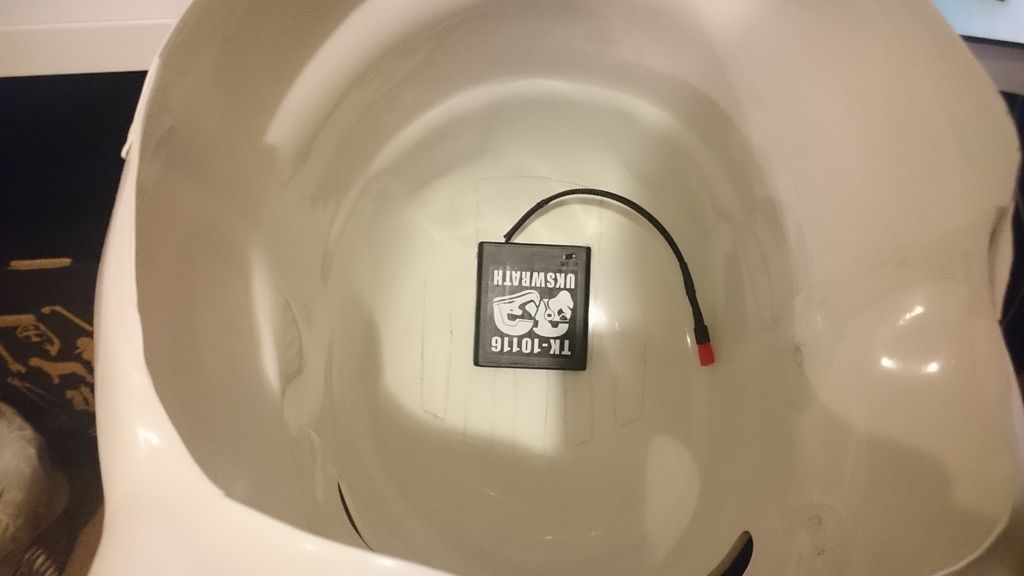
Here the first electronic-piece in my helmet. I installed it on the top of the helmet (on the inside ):
):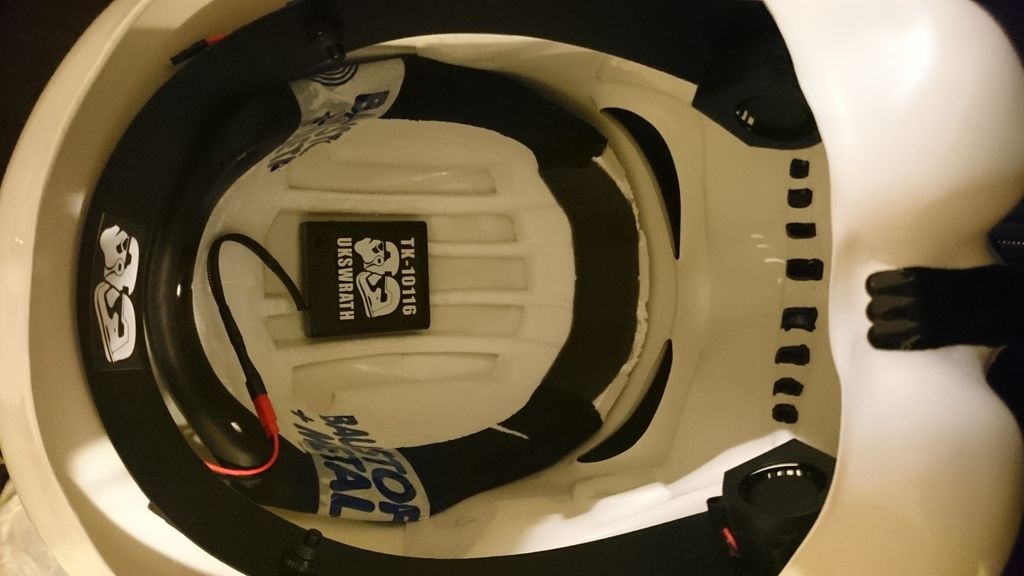
When the inlay is mounted, nothing disturbe.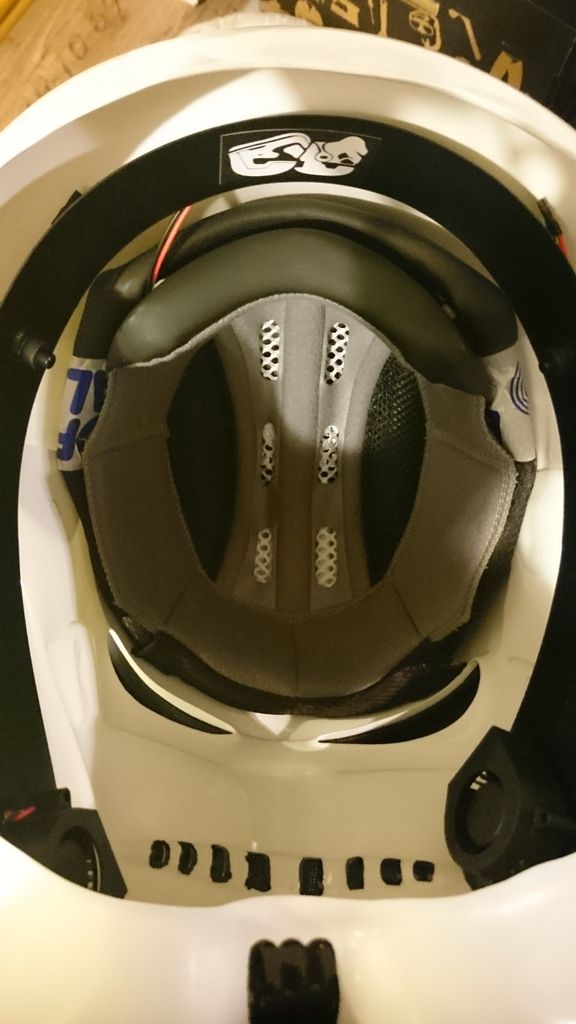
For that first I had to mark the position of the inlay.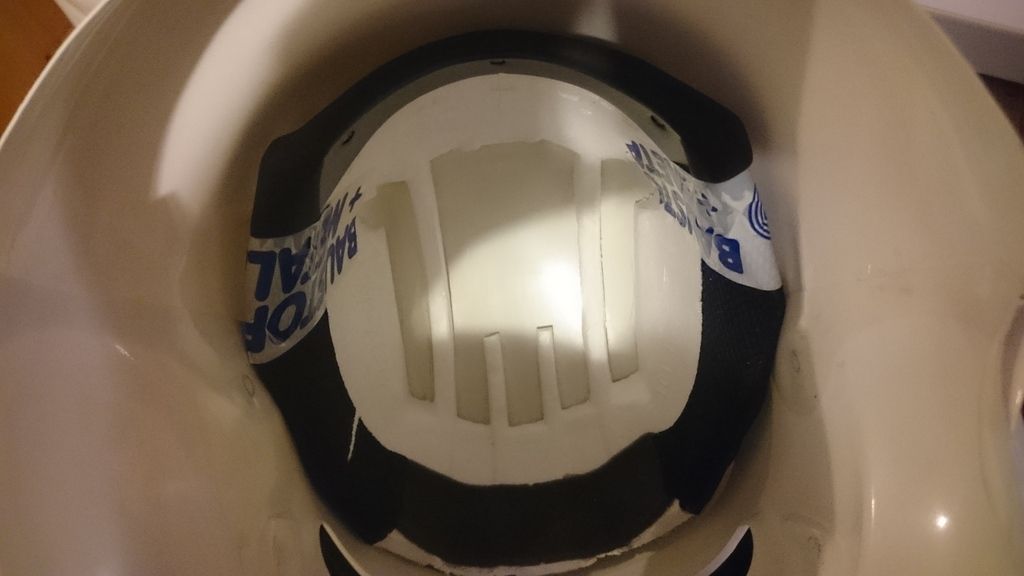
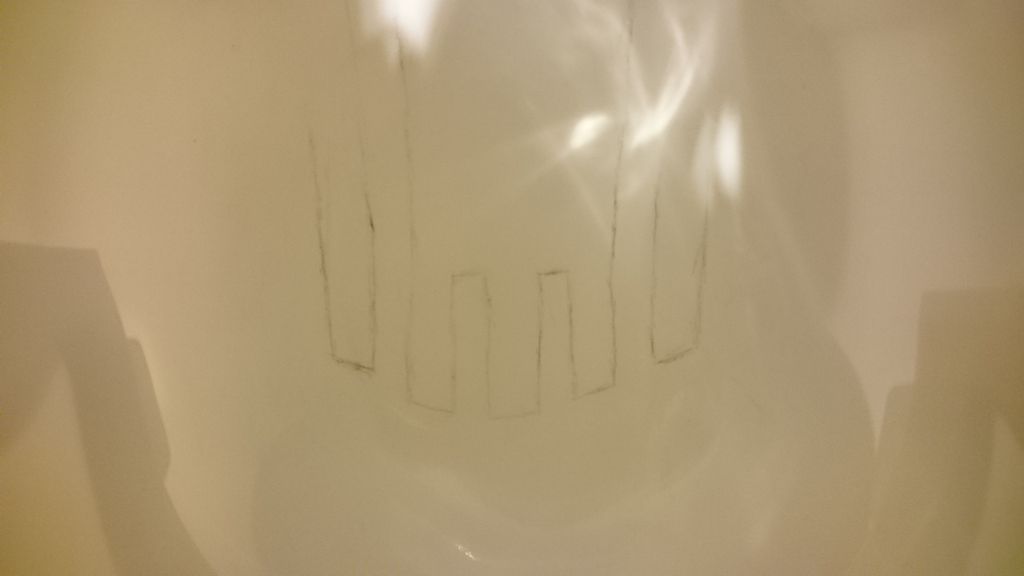
on the backside of the battery pack I glued 2 stripes of velcro: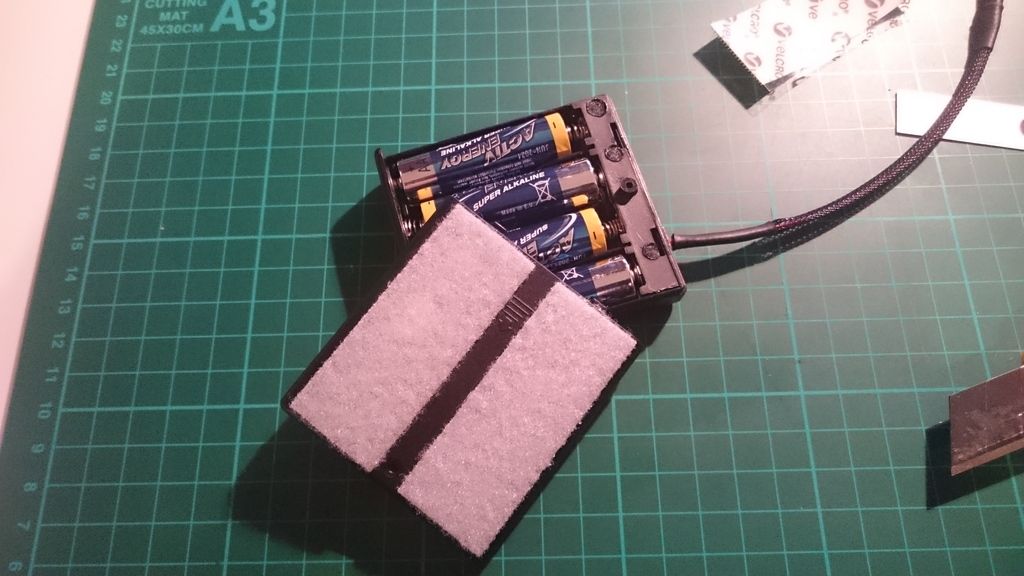
(and inside the helmet the counterpart):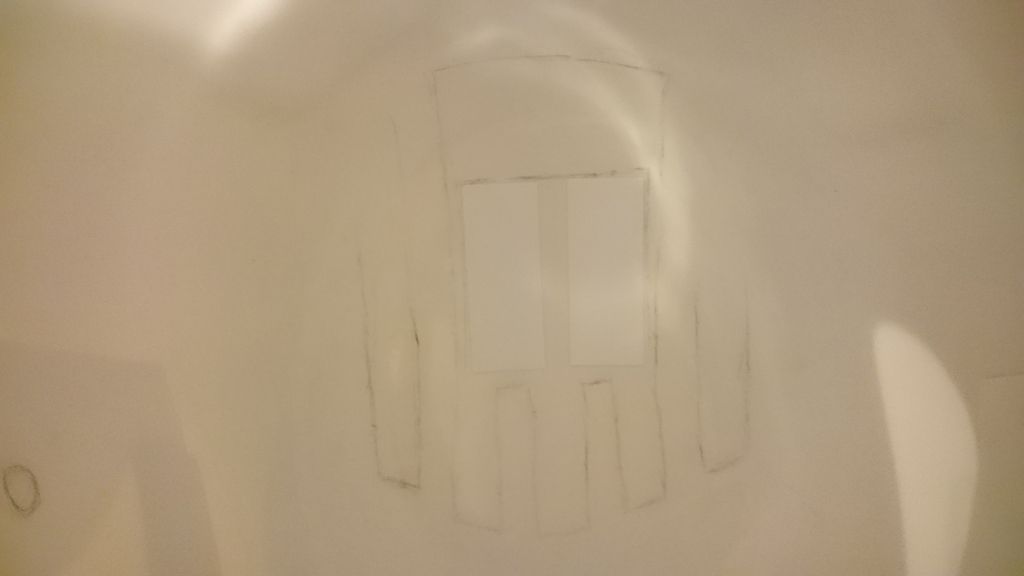
Ta-ta-ta-taaa!!! It fits!!!
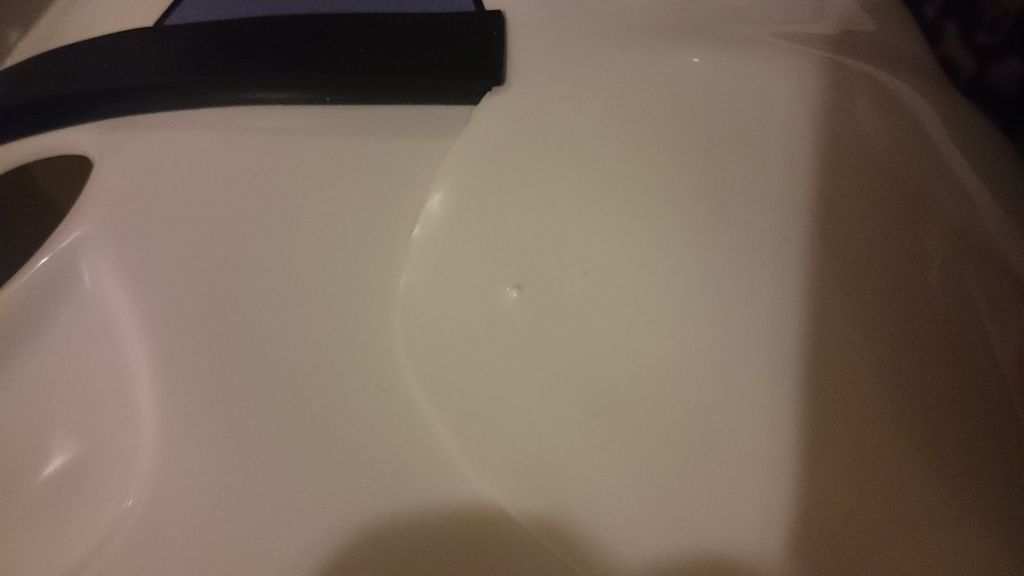
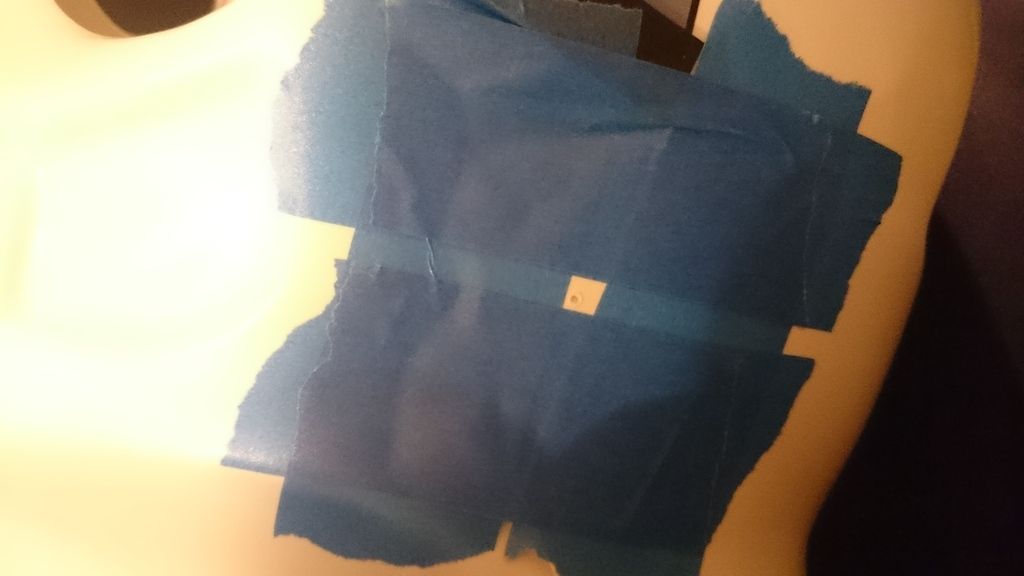
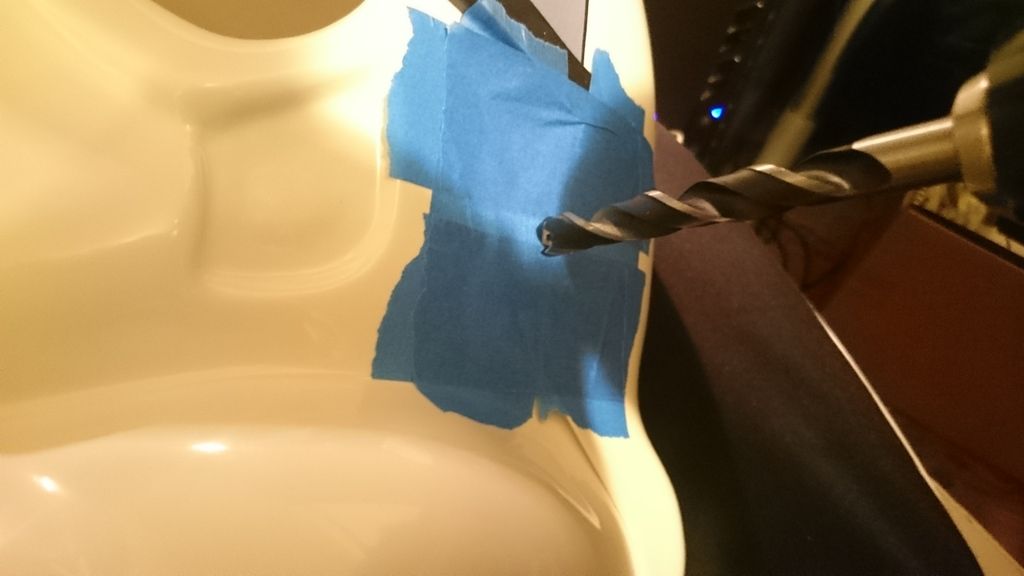
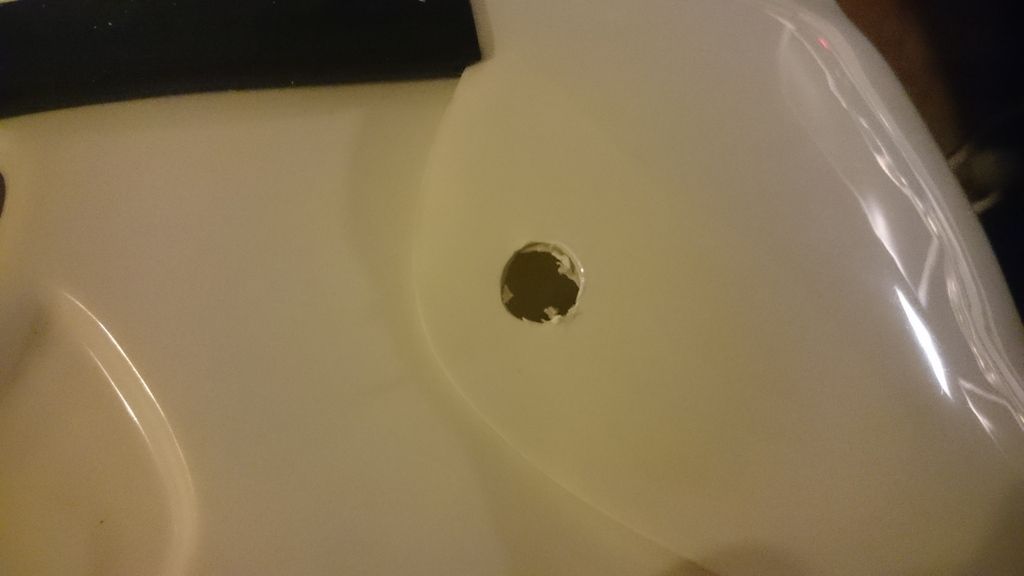
Next step ... Ears ... ... First I marked the "hearing amplifier". The tape is for obscuring the surface. Be careful while drilling!!!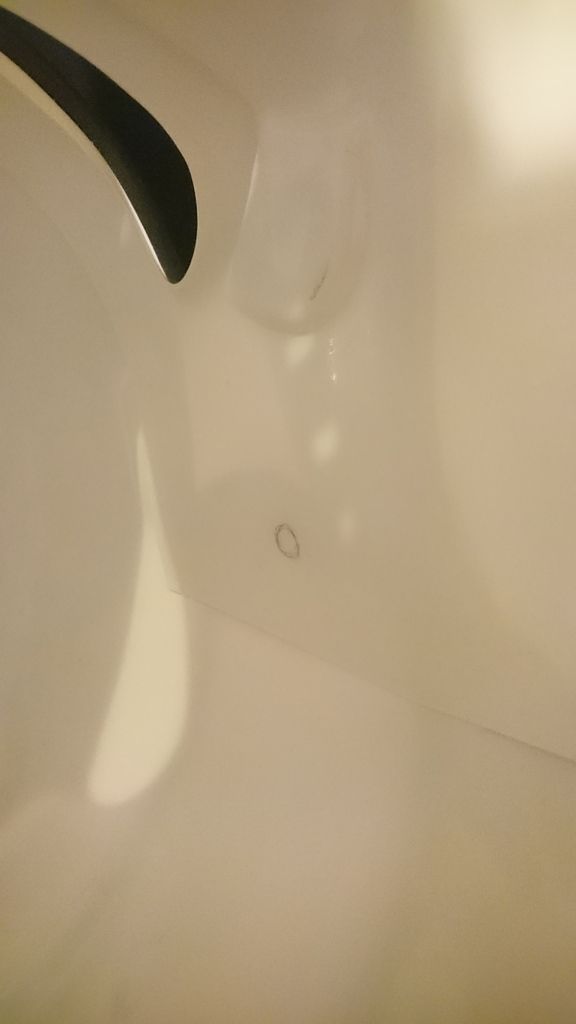
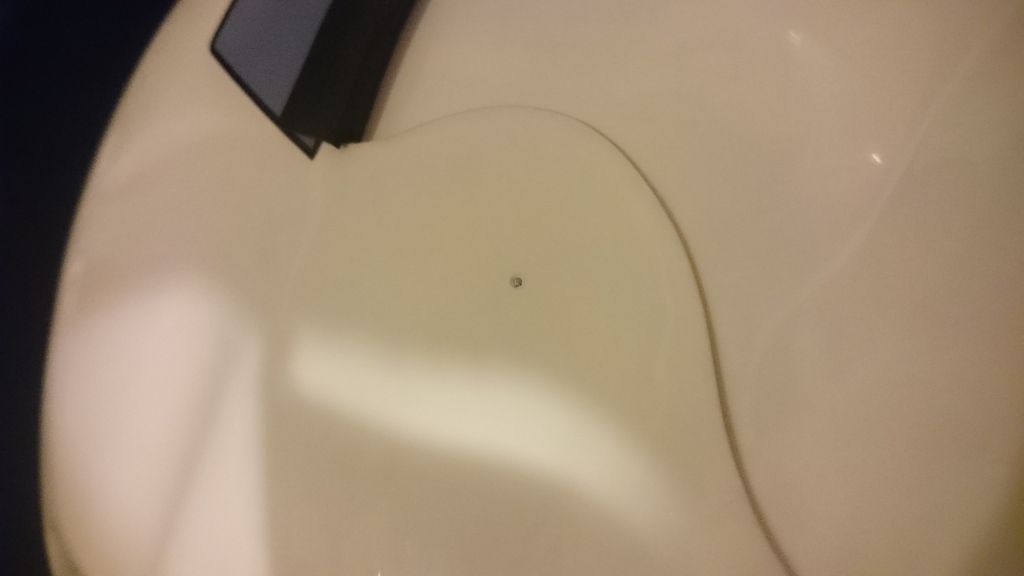
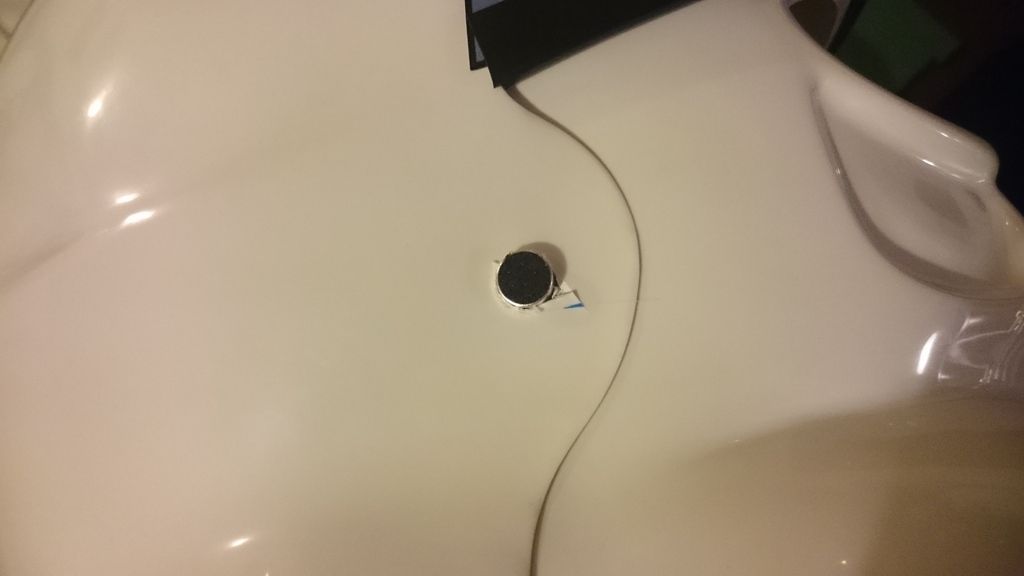
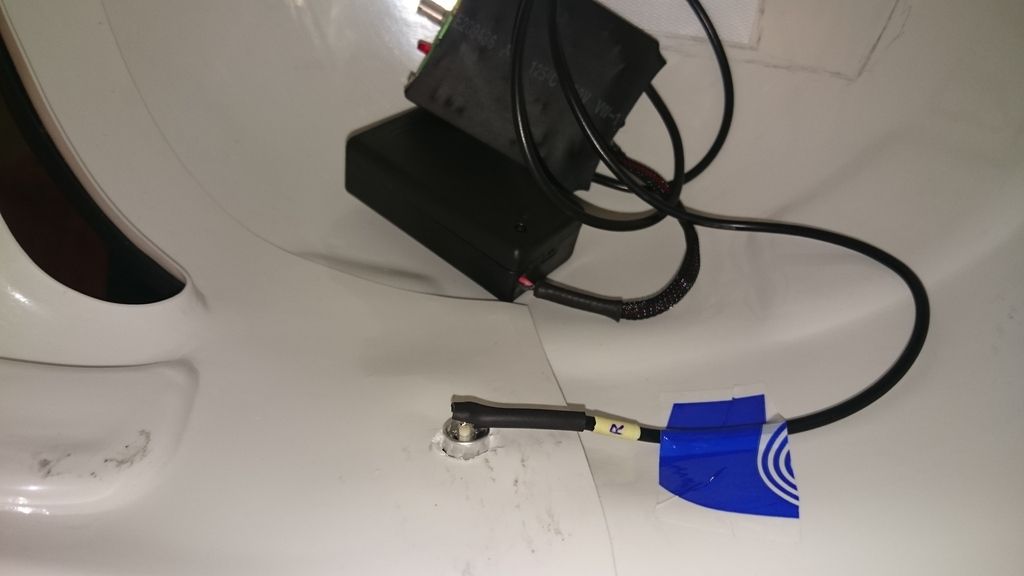
A piece of tape fix the cable.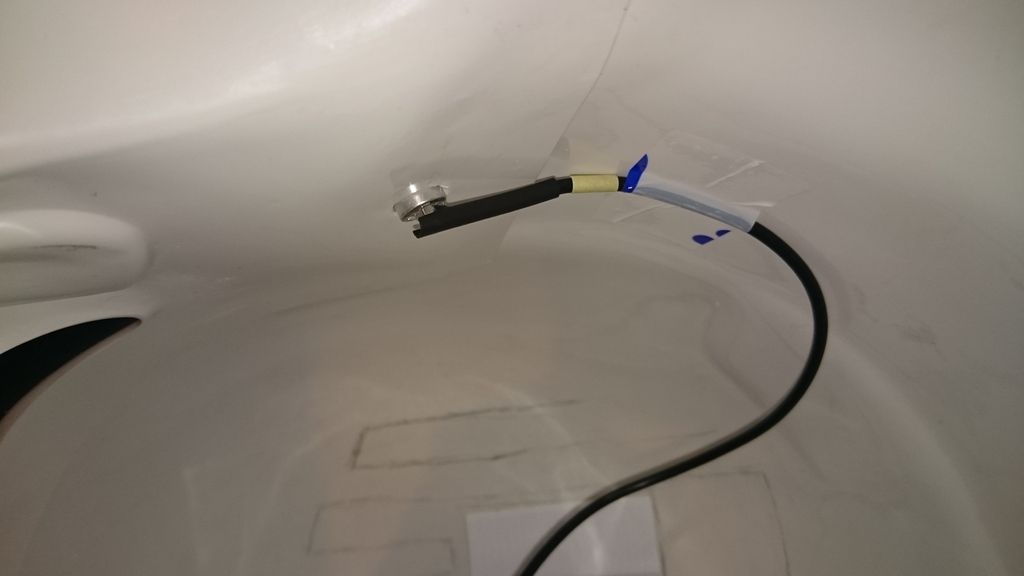
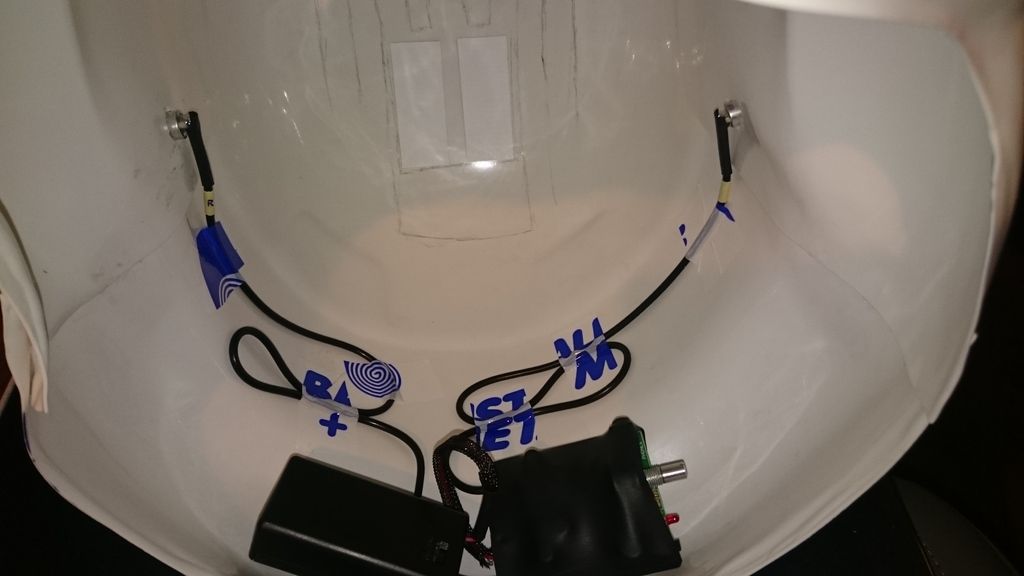
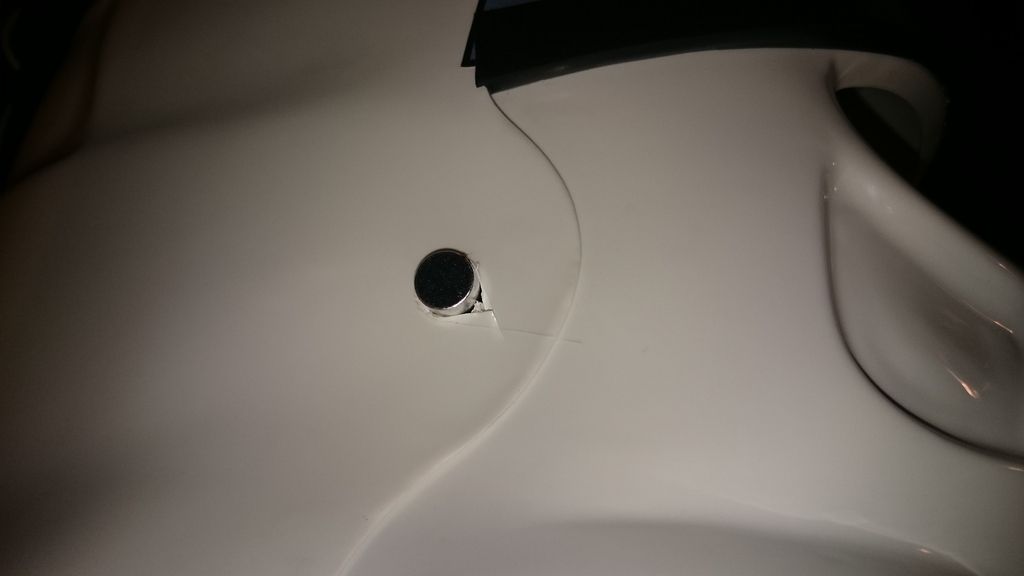
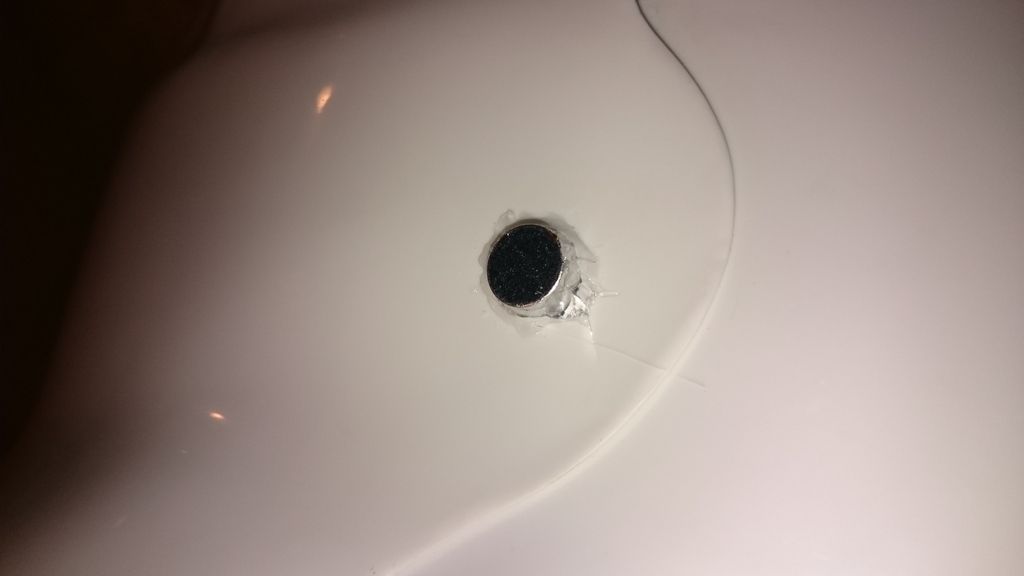
...
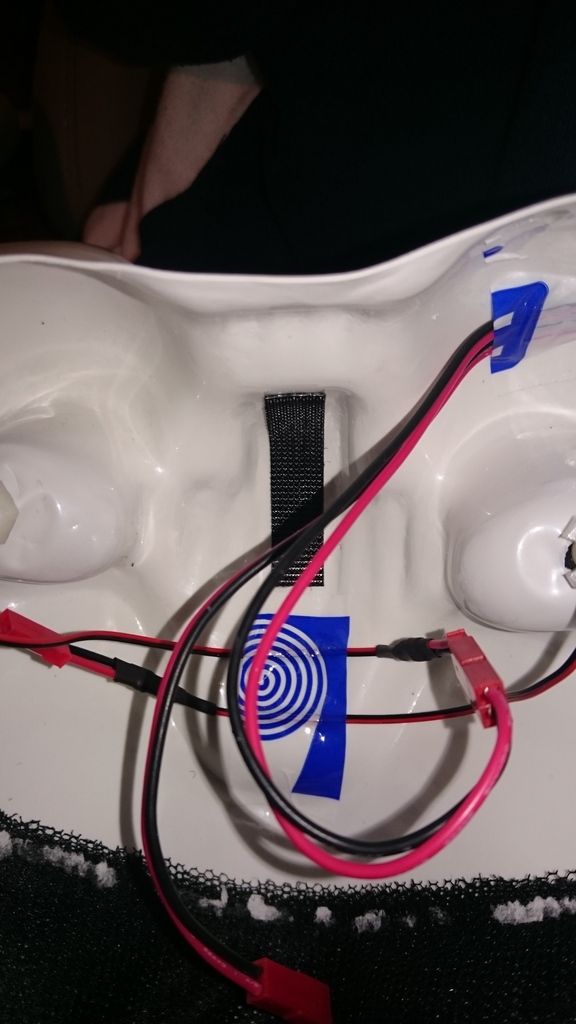
After that I installed the Hovi Mics:
The rubber washer helpes tighten up the Hovi Mics: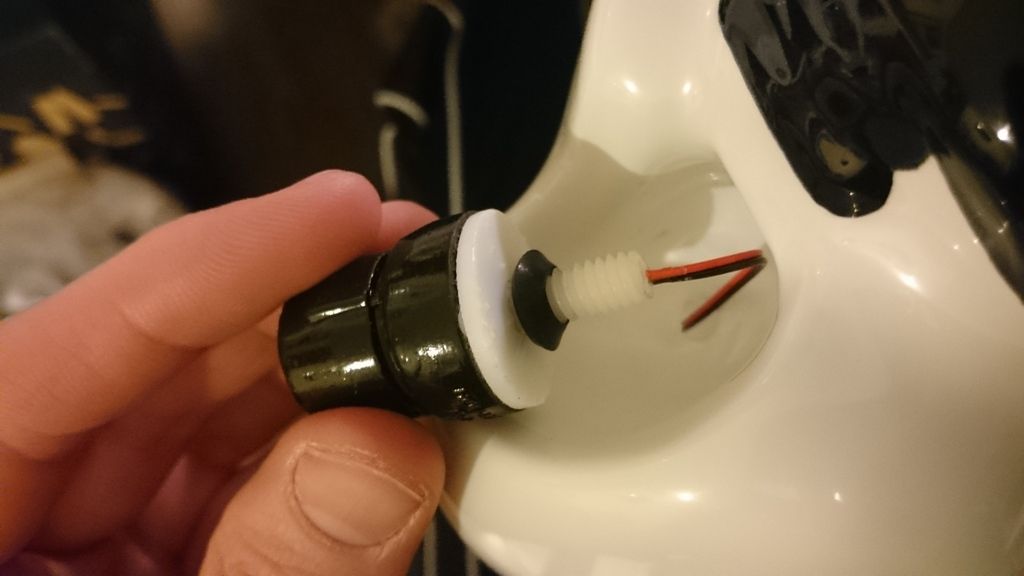
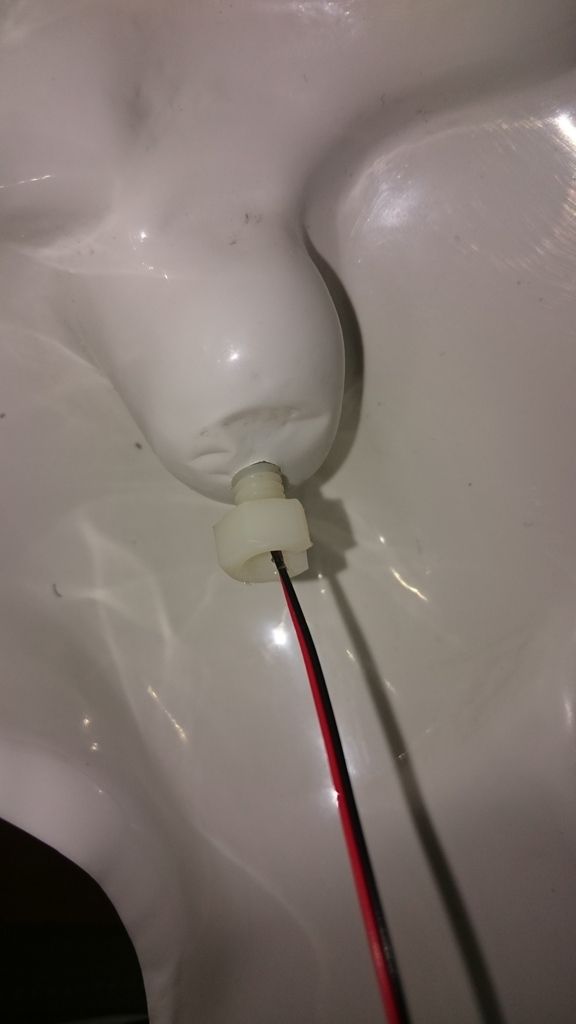
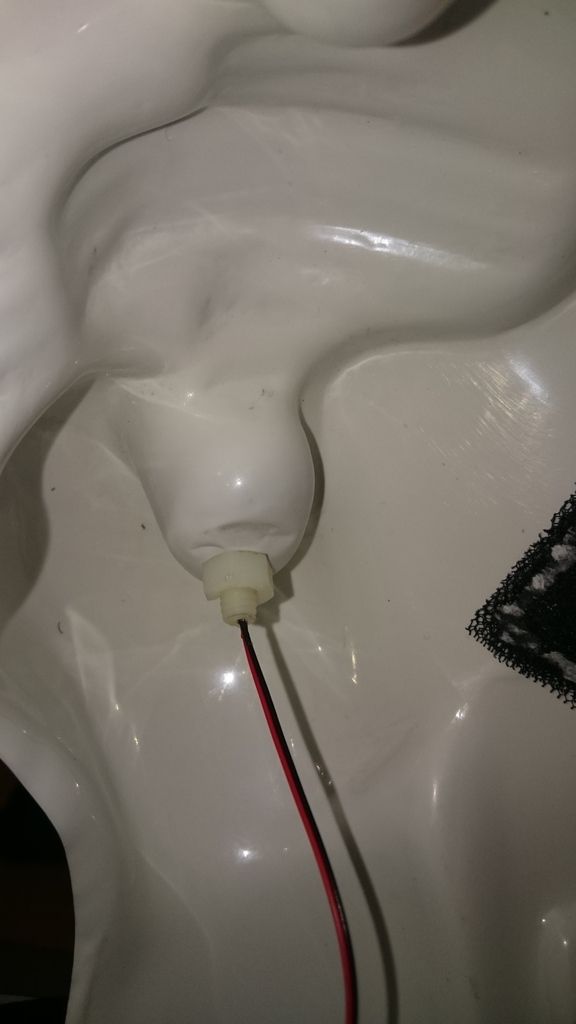
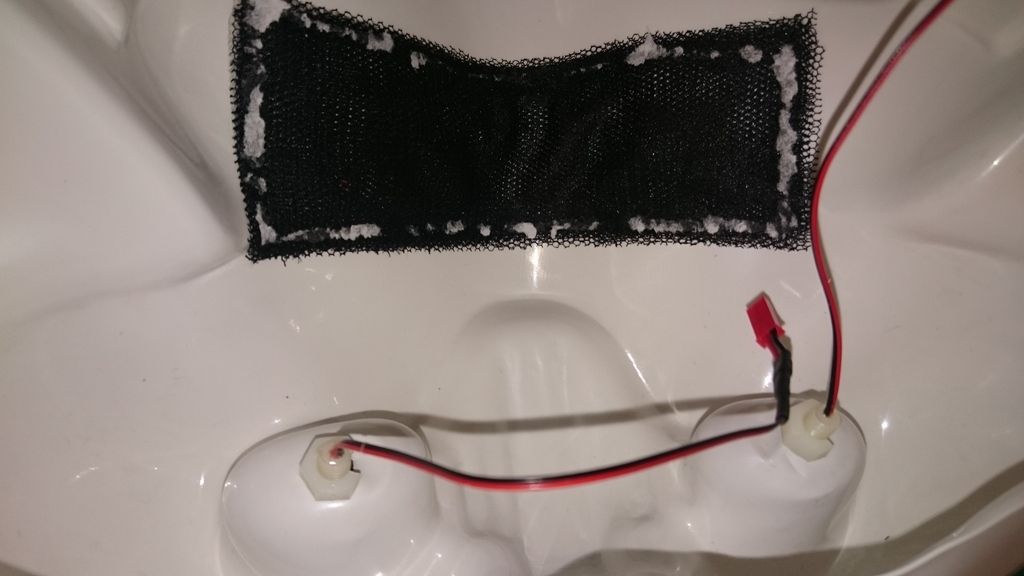
Another important point, stow the cables is not as easy as it semms to be I have to find a way of stow all cables and amplifiers, or it's getting tightly and uncomfortable.
May the force be with you! -
Well, thank you. My task today will be the rank stripes
sent from Deathstar
-
Are there any rules regarding the number of rank stripes of the ear bars?
Because in the CRL's is written:
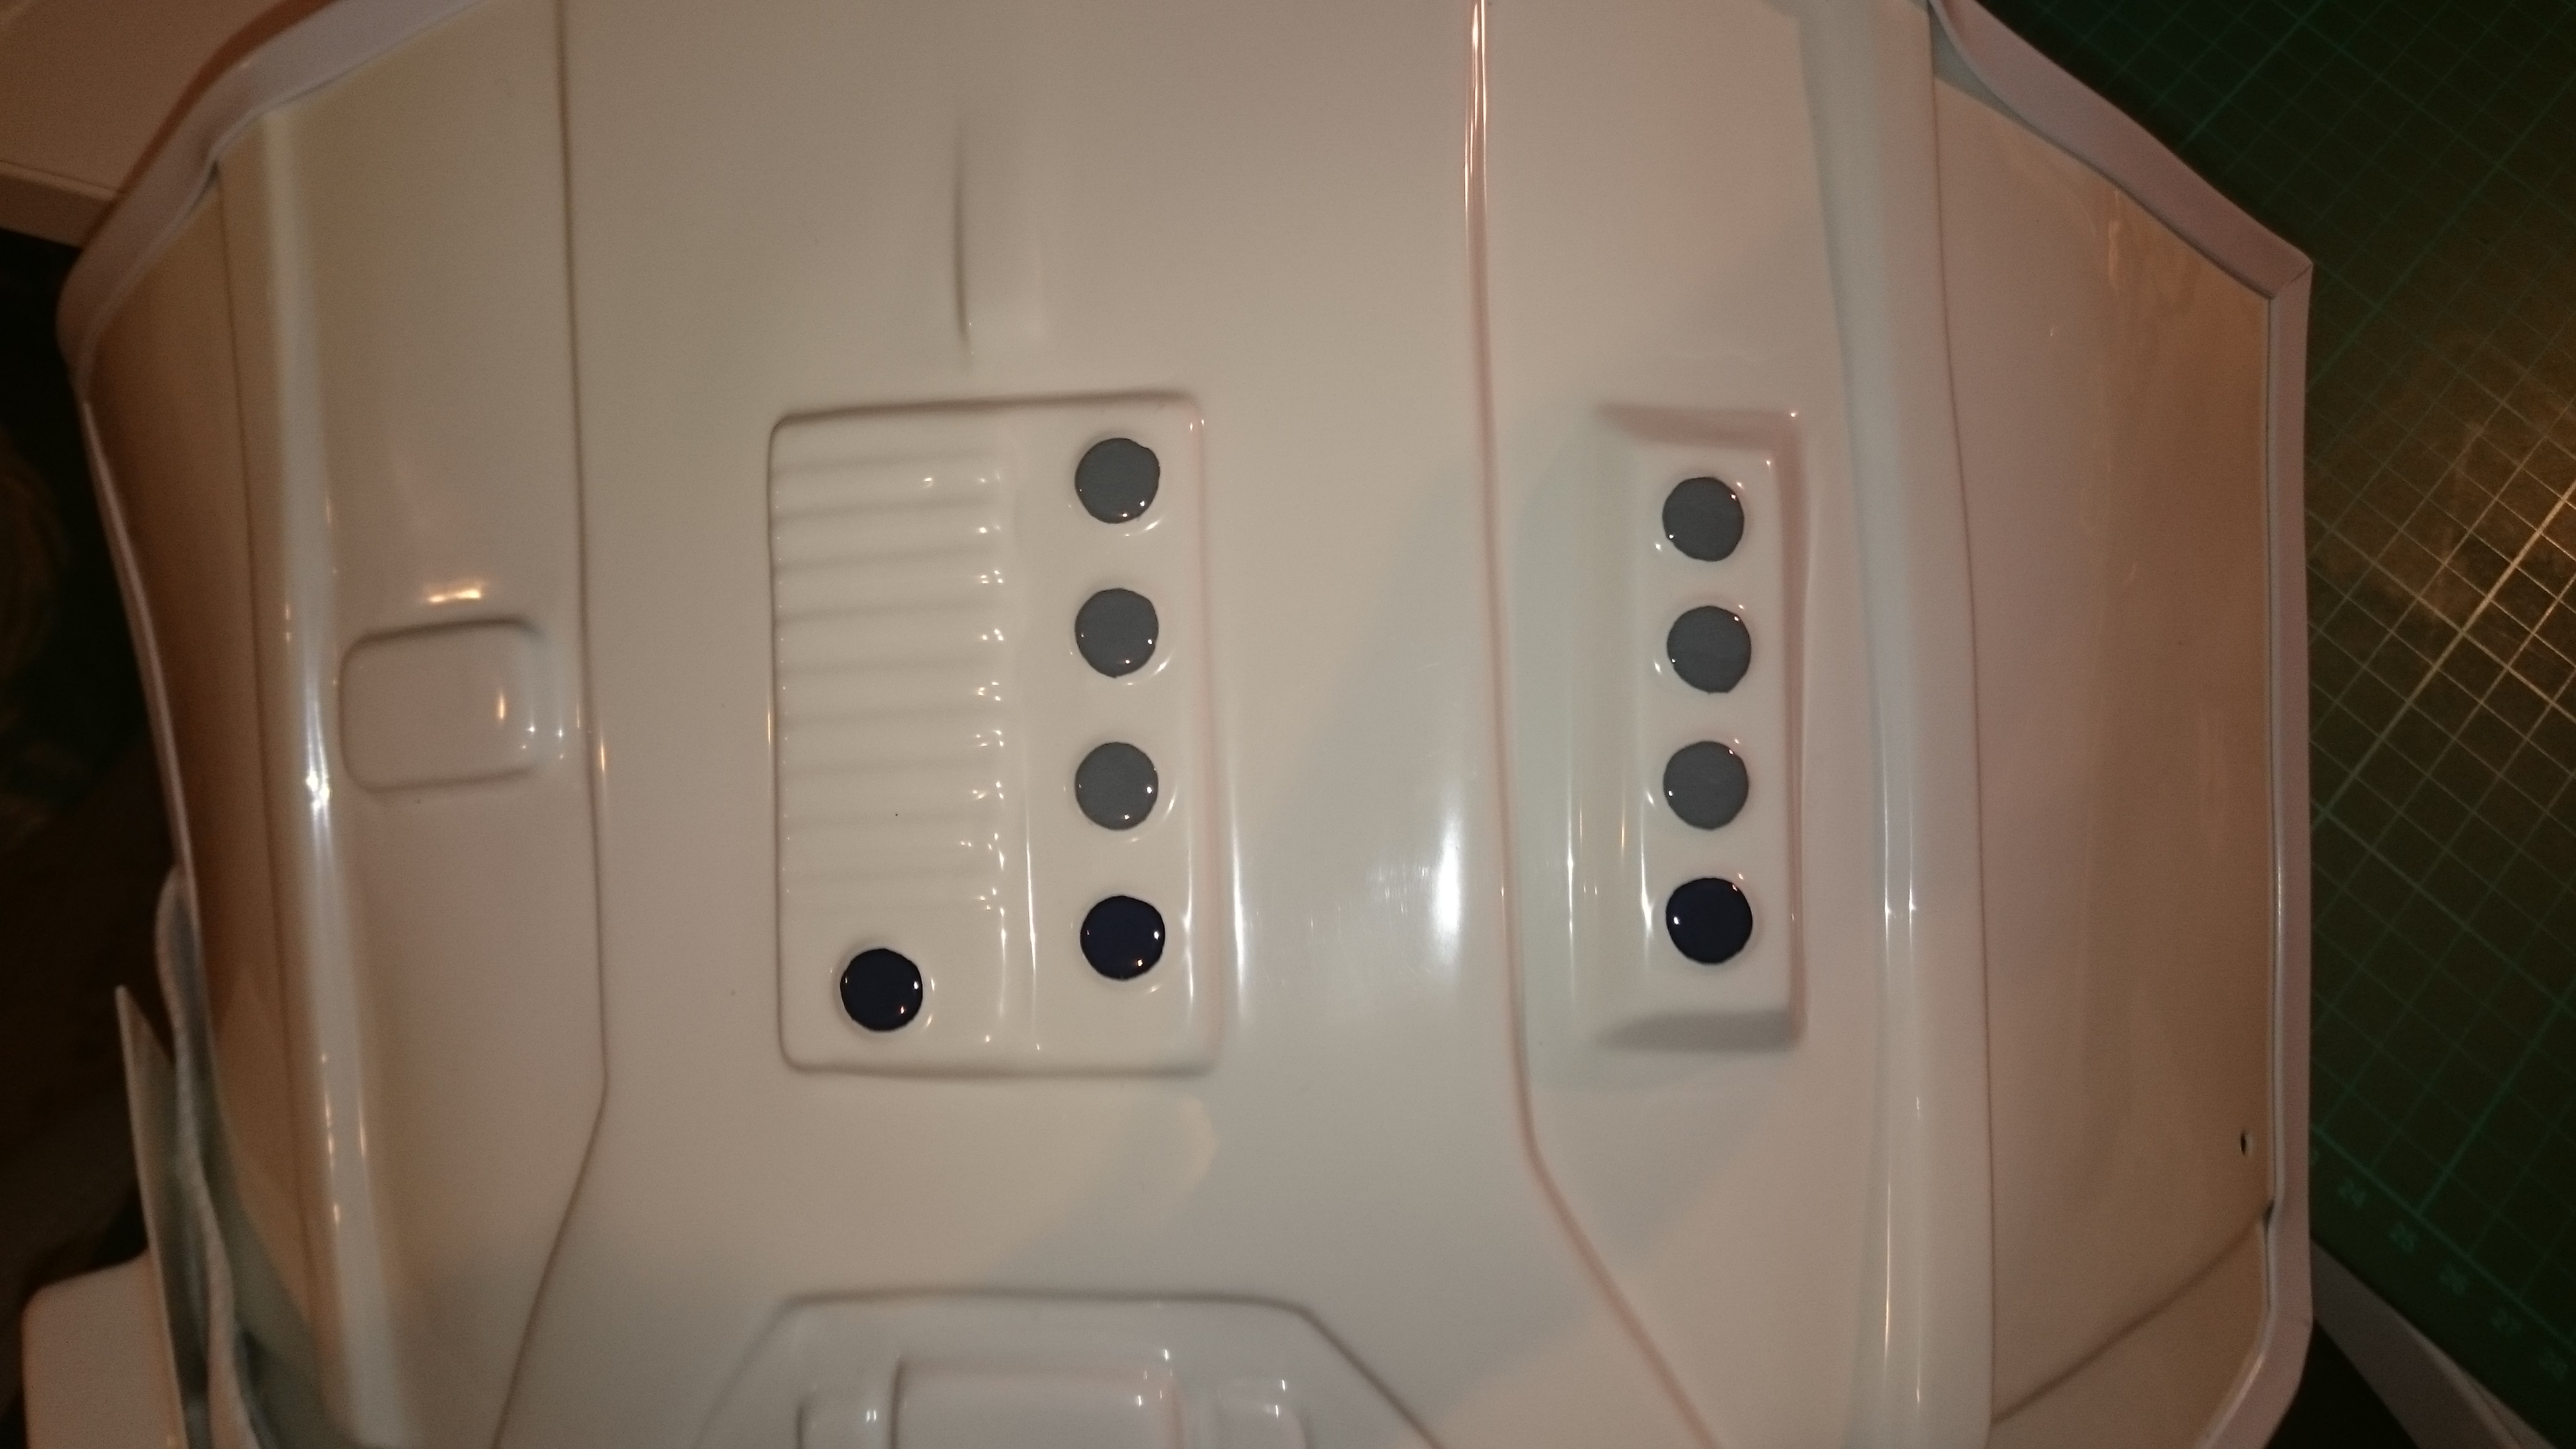
"Ear bars have only two to three bumps painted in black (rank stripes)"
And which two (or three) of the four bumbs shall be painted?
AND - which color is the right one? Is it the same grey like the buttons of the control panel on the AB-Plate?
-
Alright. Thank you. I'll try to cut out the teeth a bit more before gluing the net.
Merdé.... I have to paint the teeth again.... Hm.....I'll think about it.... :-D
sent from Deathstar
-
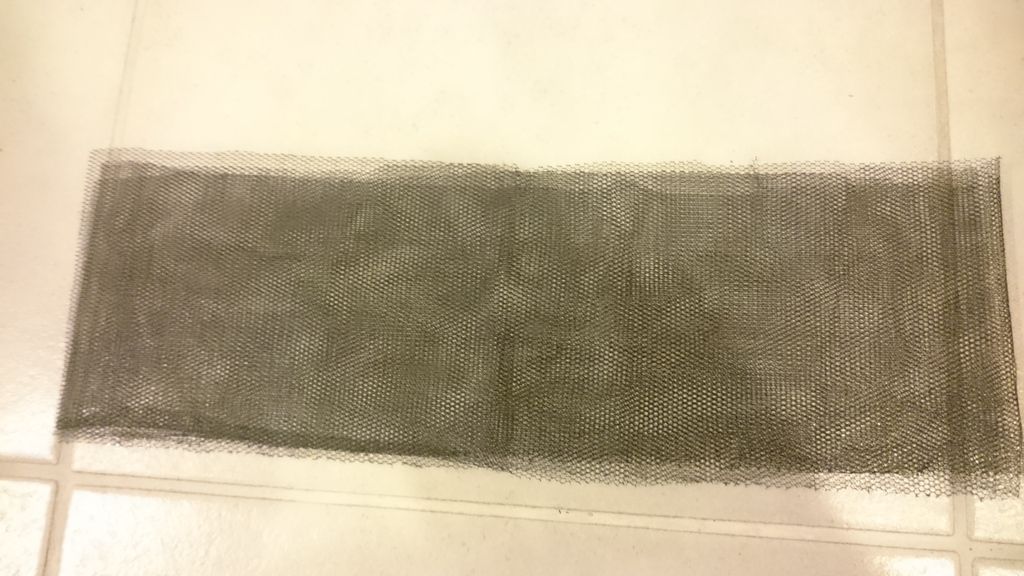
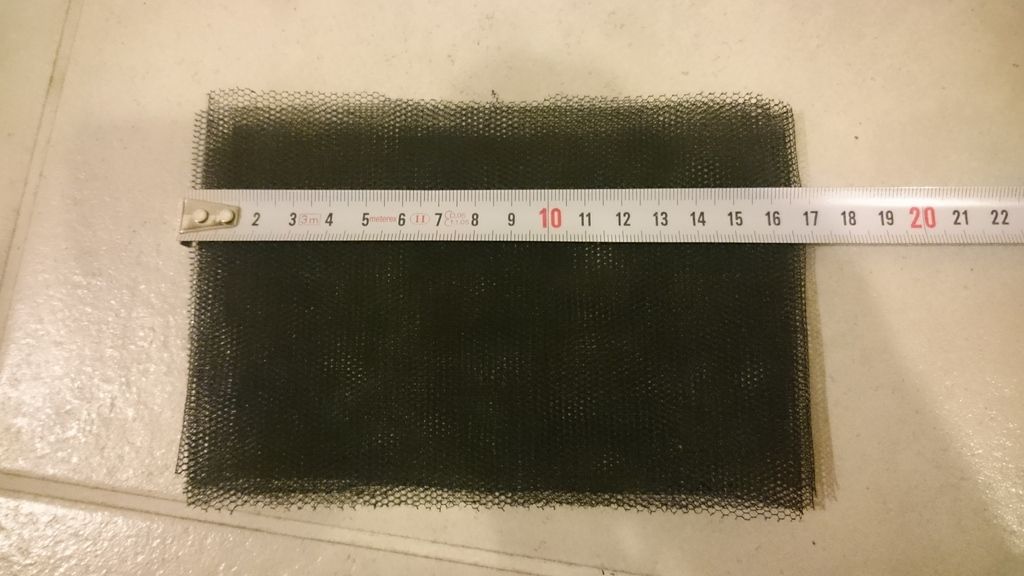
I got the fly net for the frown (of the helmet
 )
)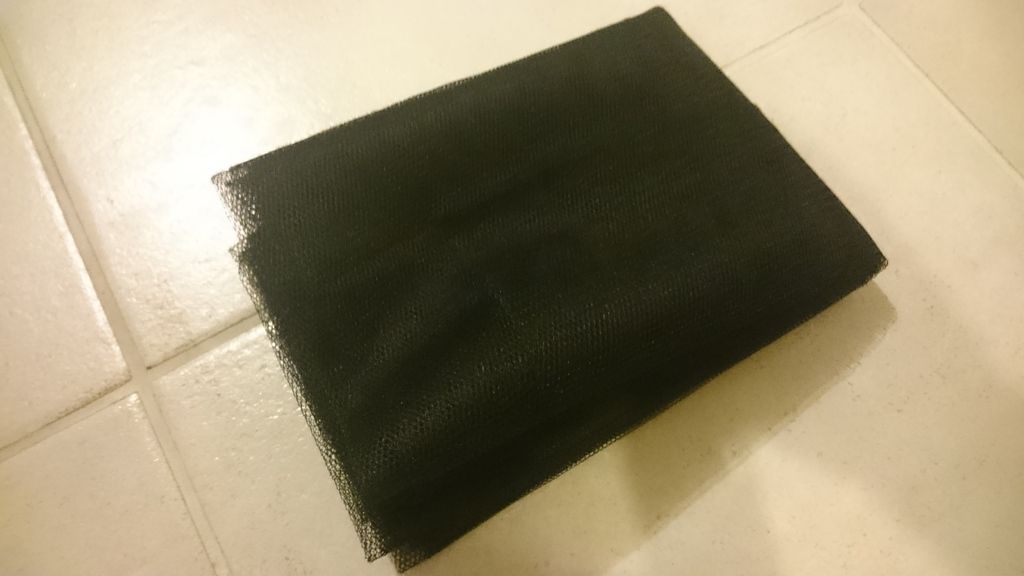
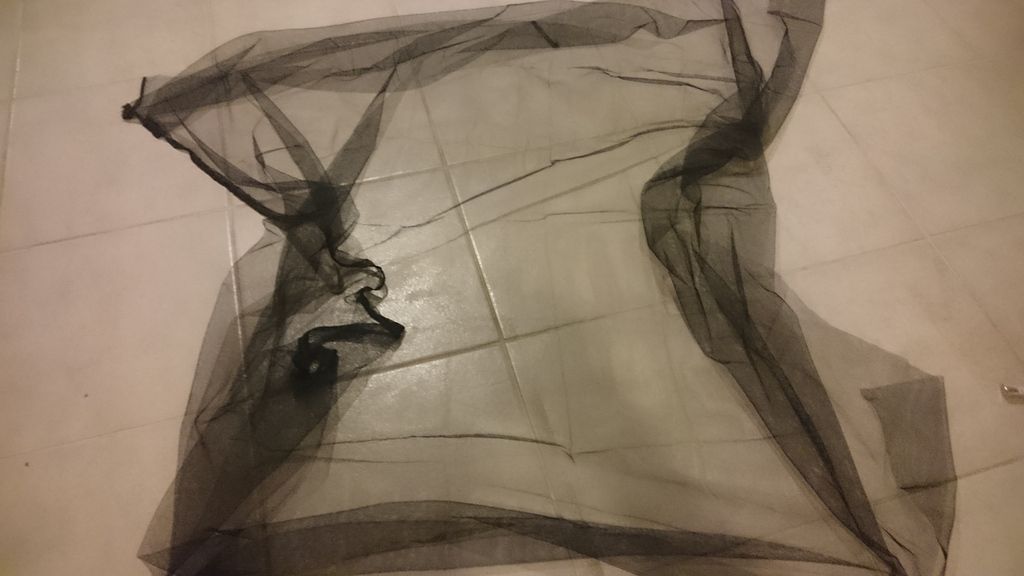
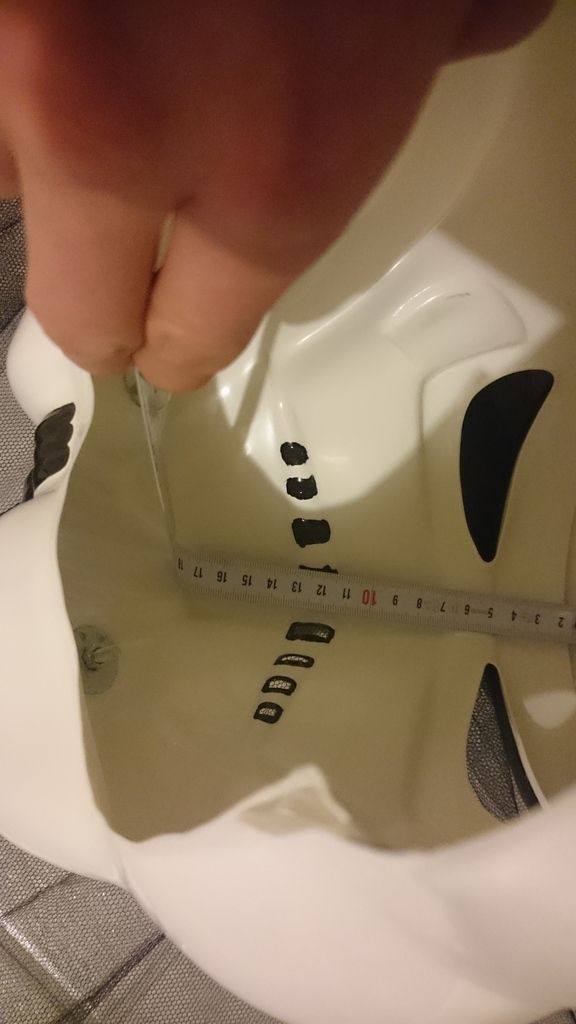
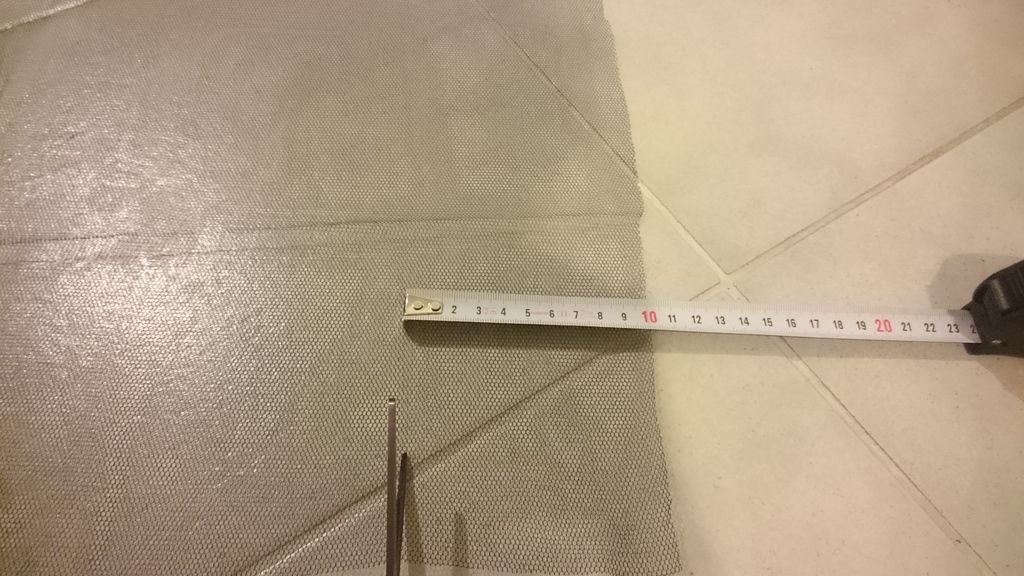
a short meassure (length and wide - approximately 17 x 6 cm) to know where to cut and how much to cut off: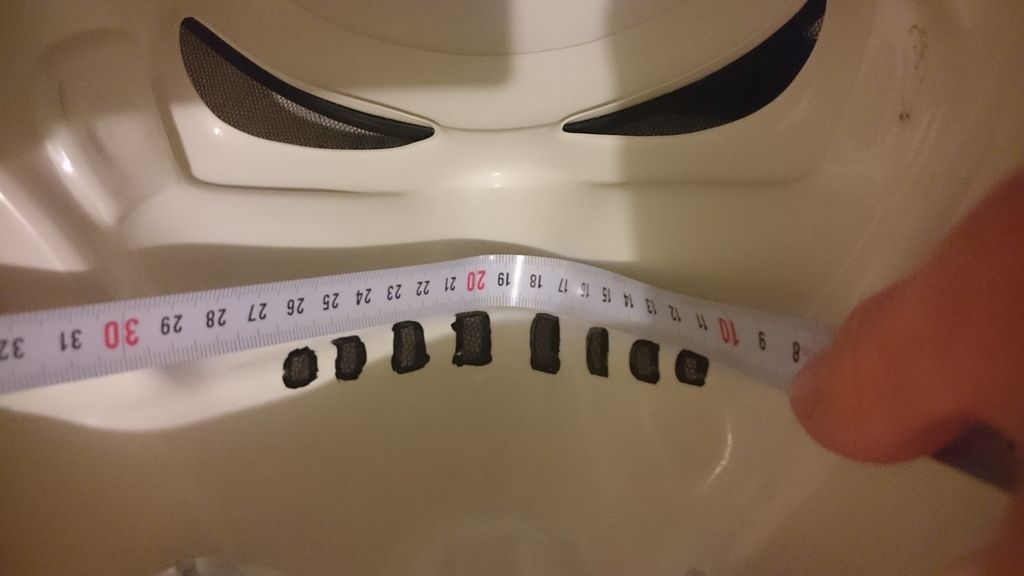
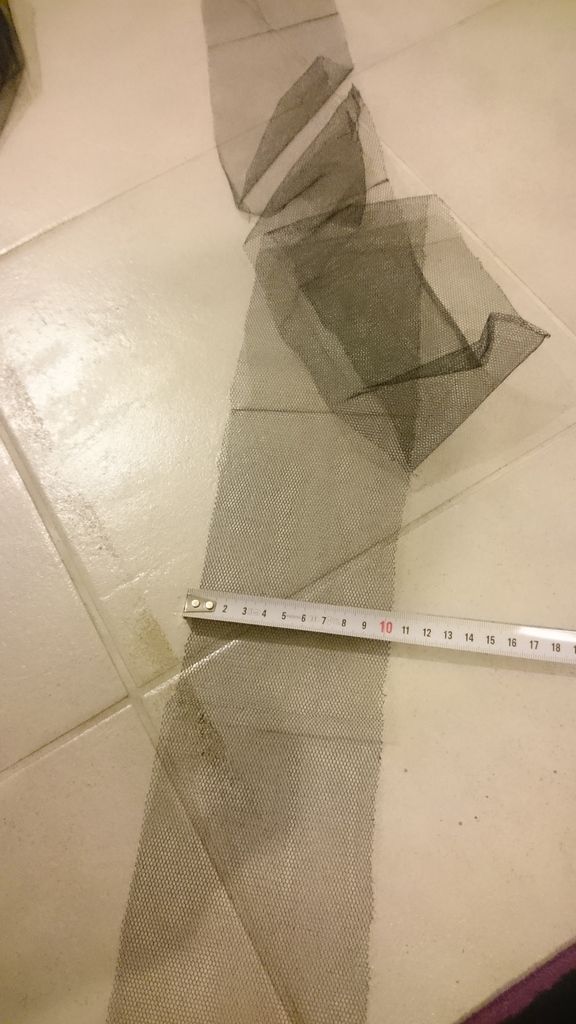
More of the stripes obscure the face of the wearer more (logically )
)
That's how it looks like from the inside of the helmet. Breathing through it works perfect
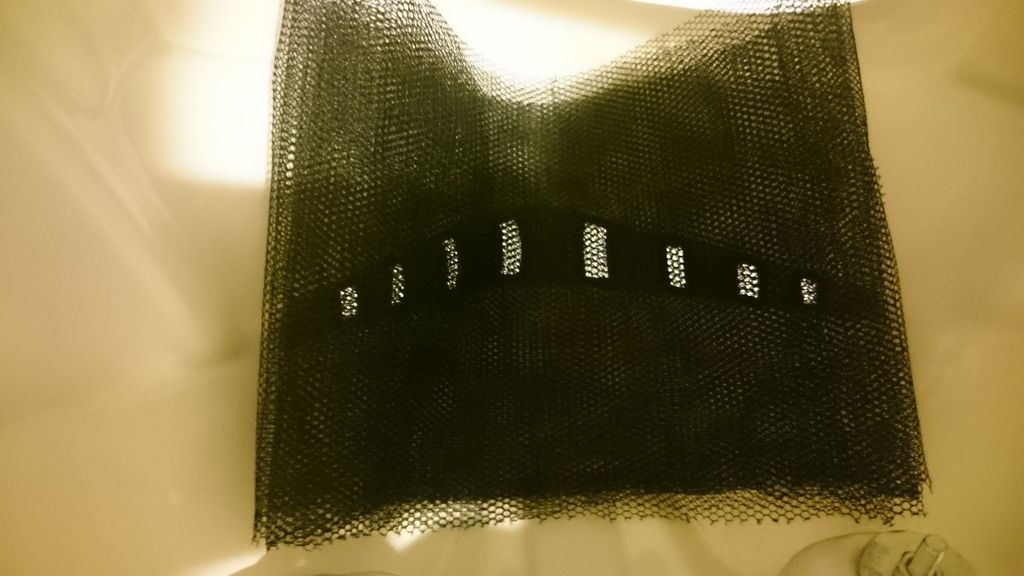
And that's how it looks like from the outside (it is already not glued)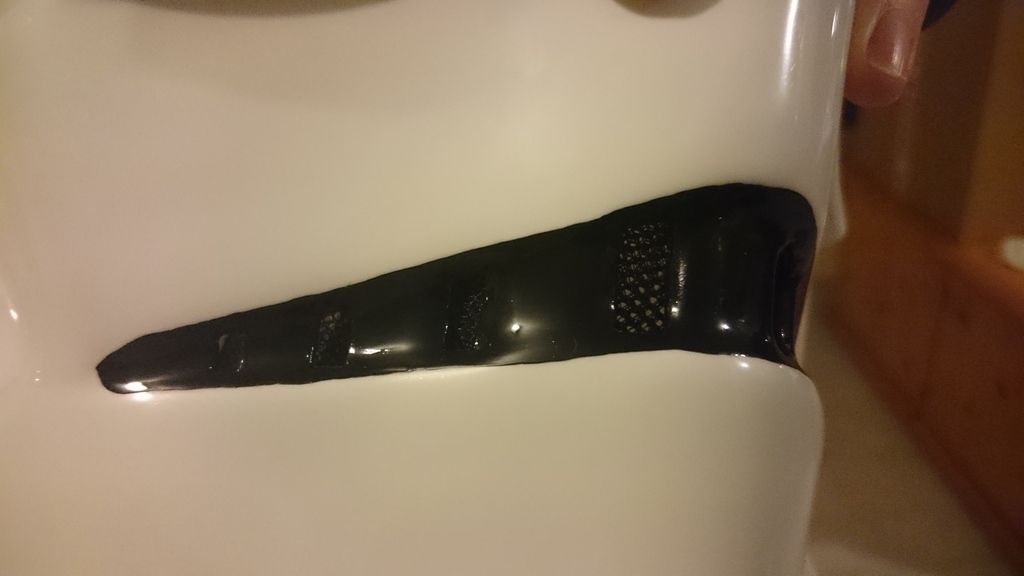
-
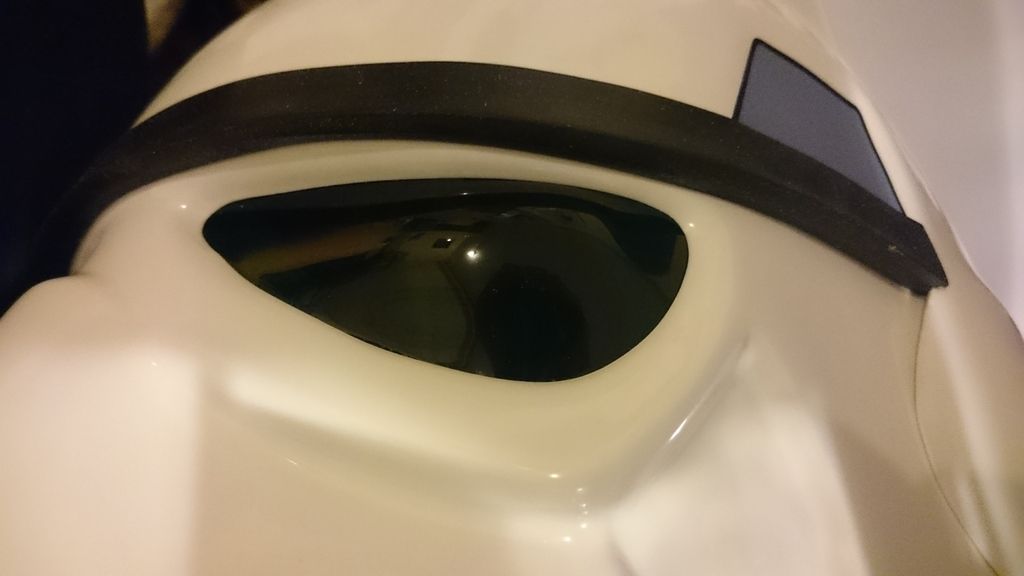
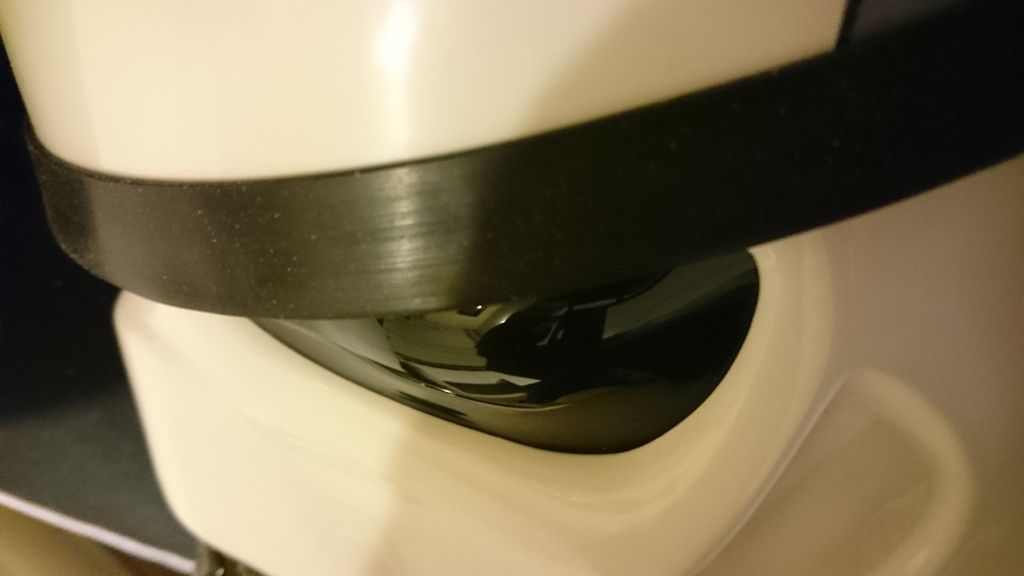
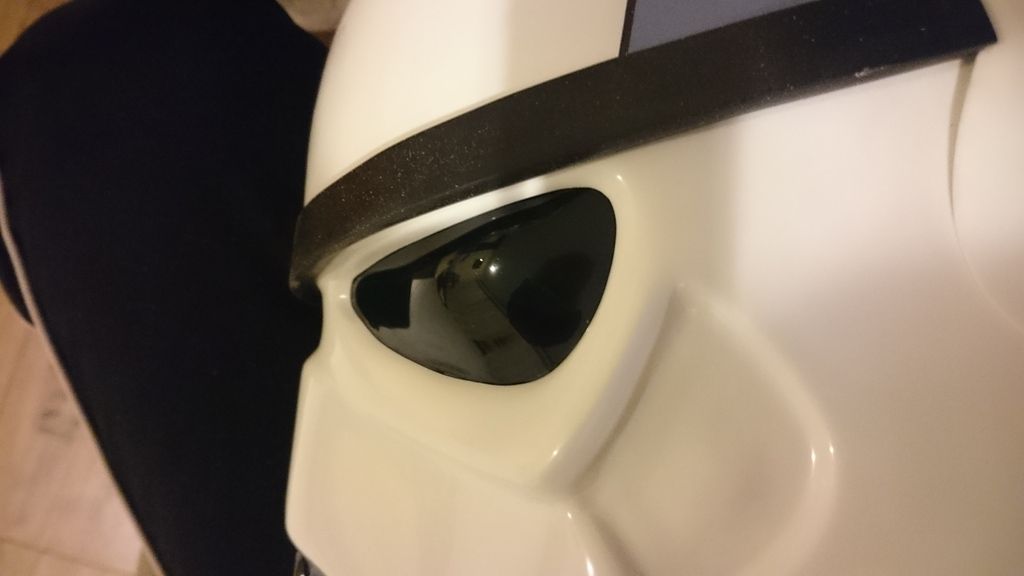
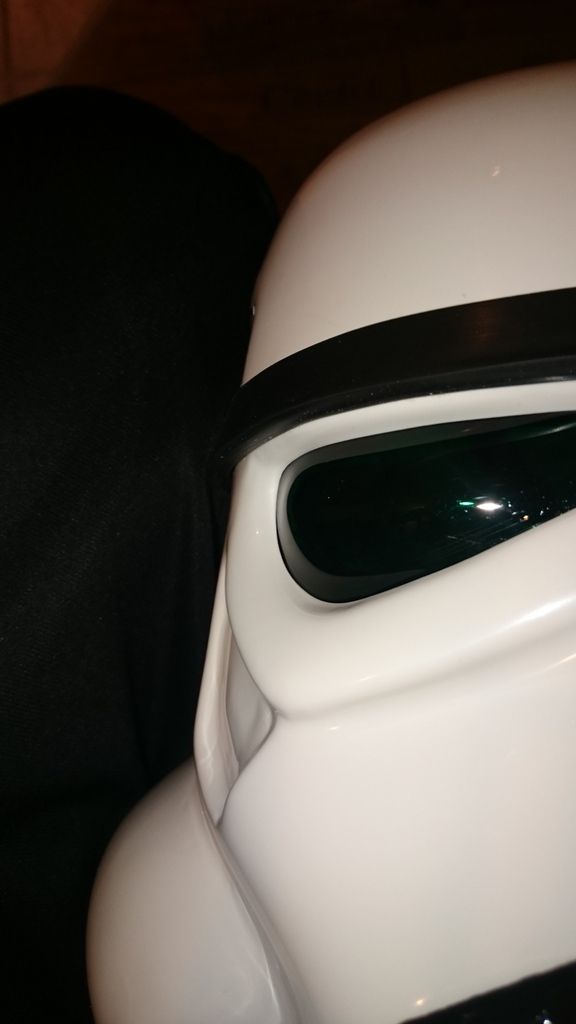
Thank you very much. It was work for two daysGreat job trimming out the eye sockets!


sent from Deathstar
-

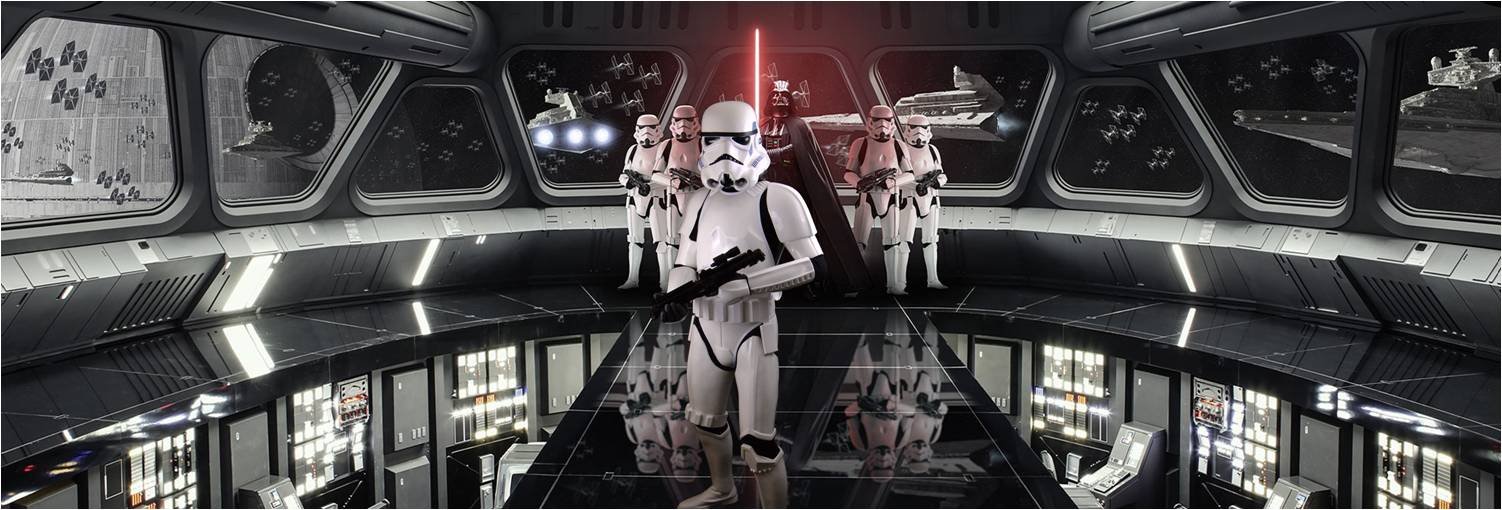
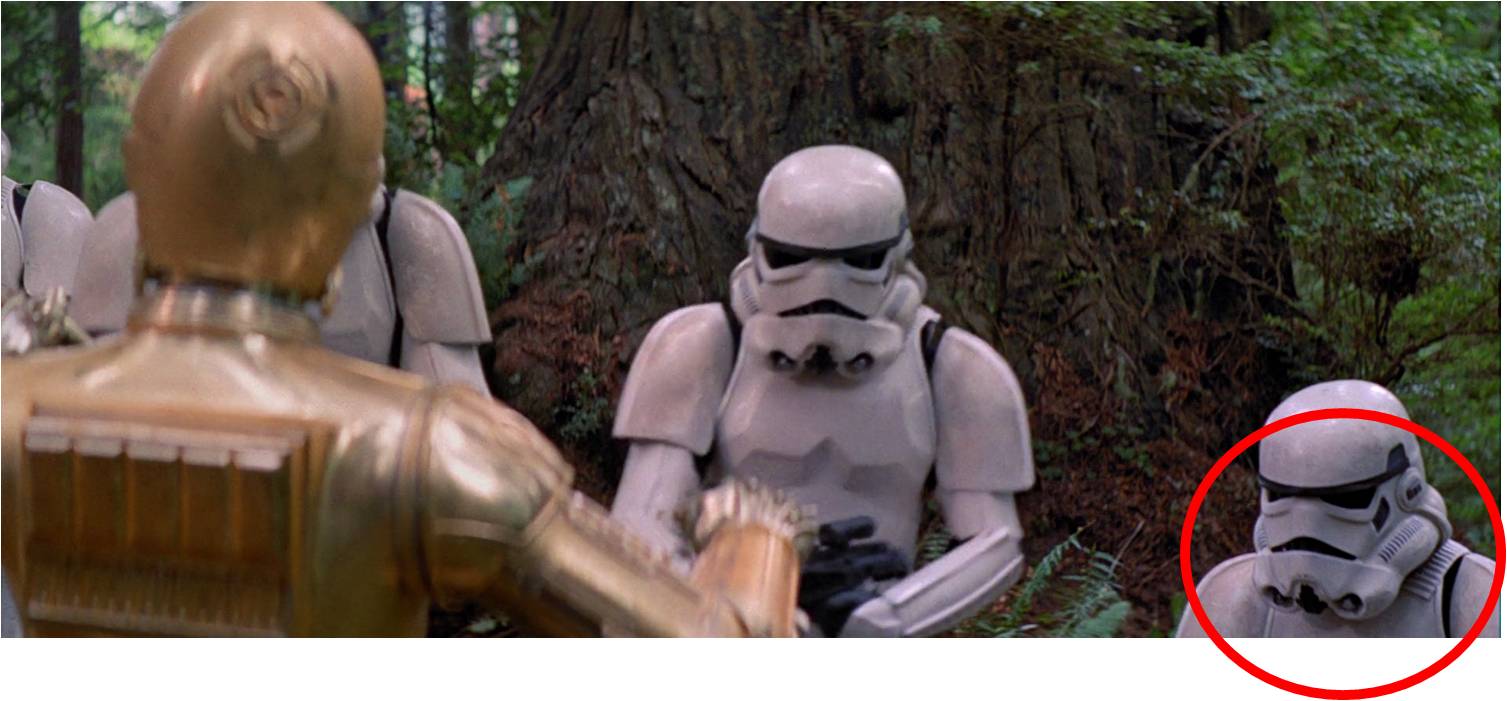

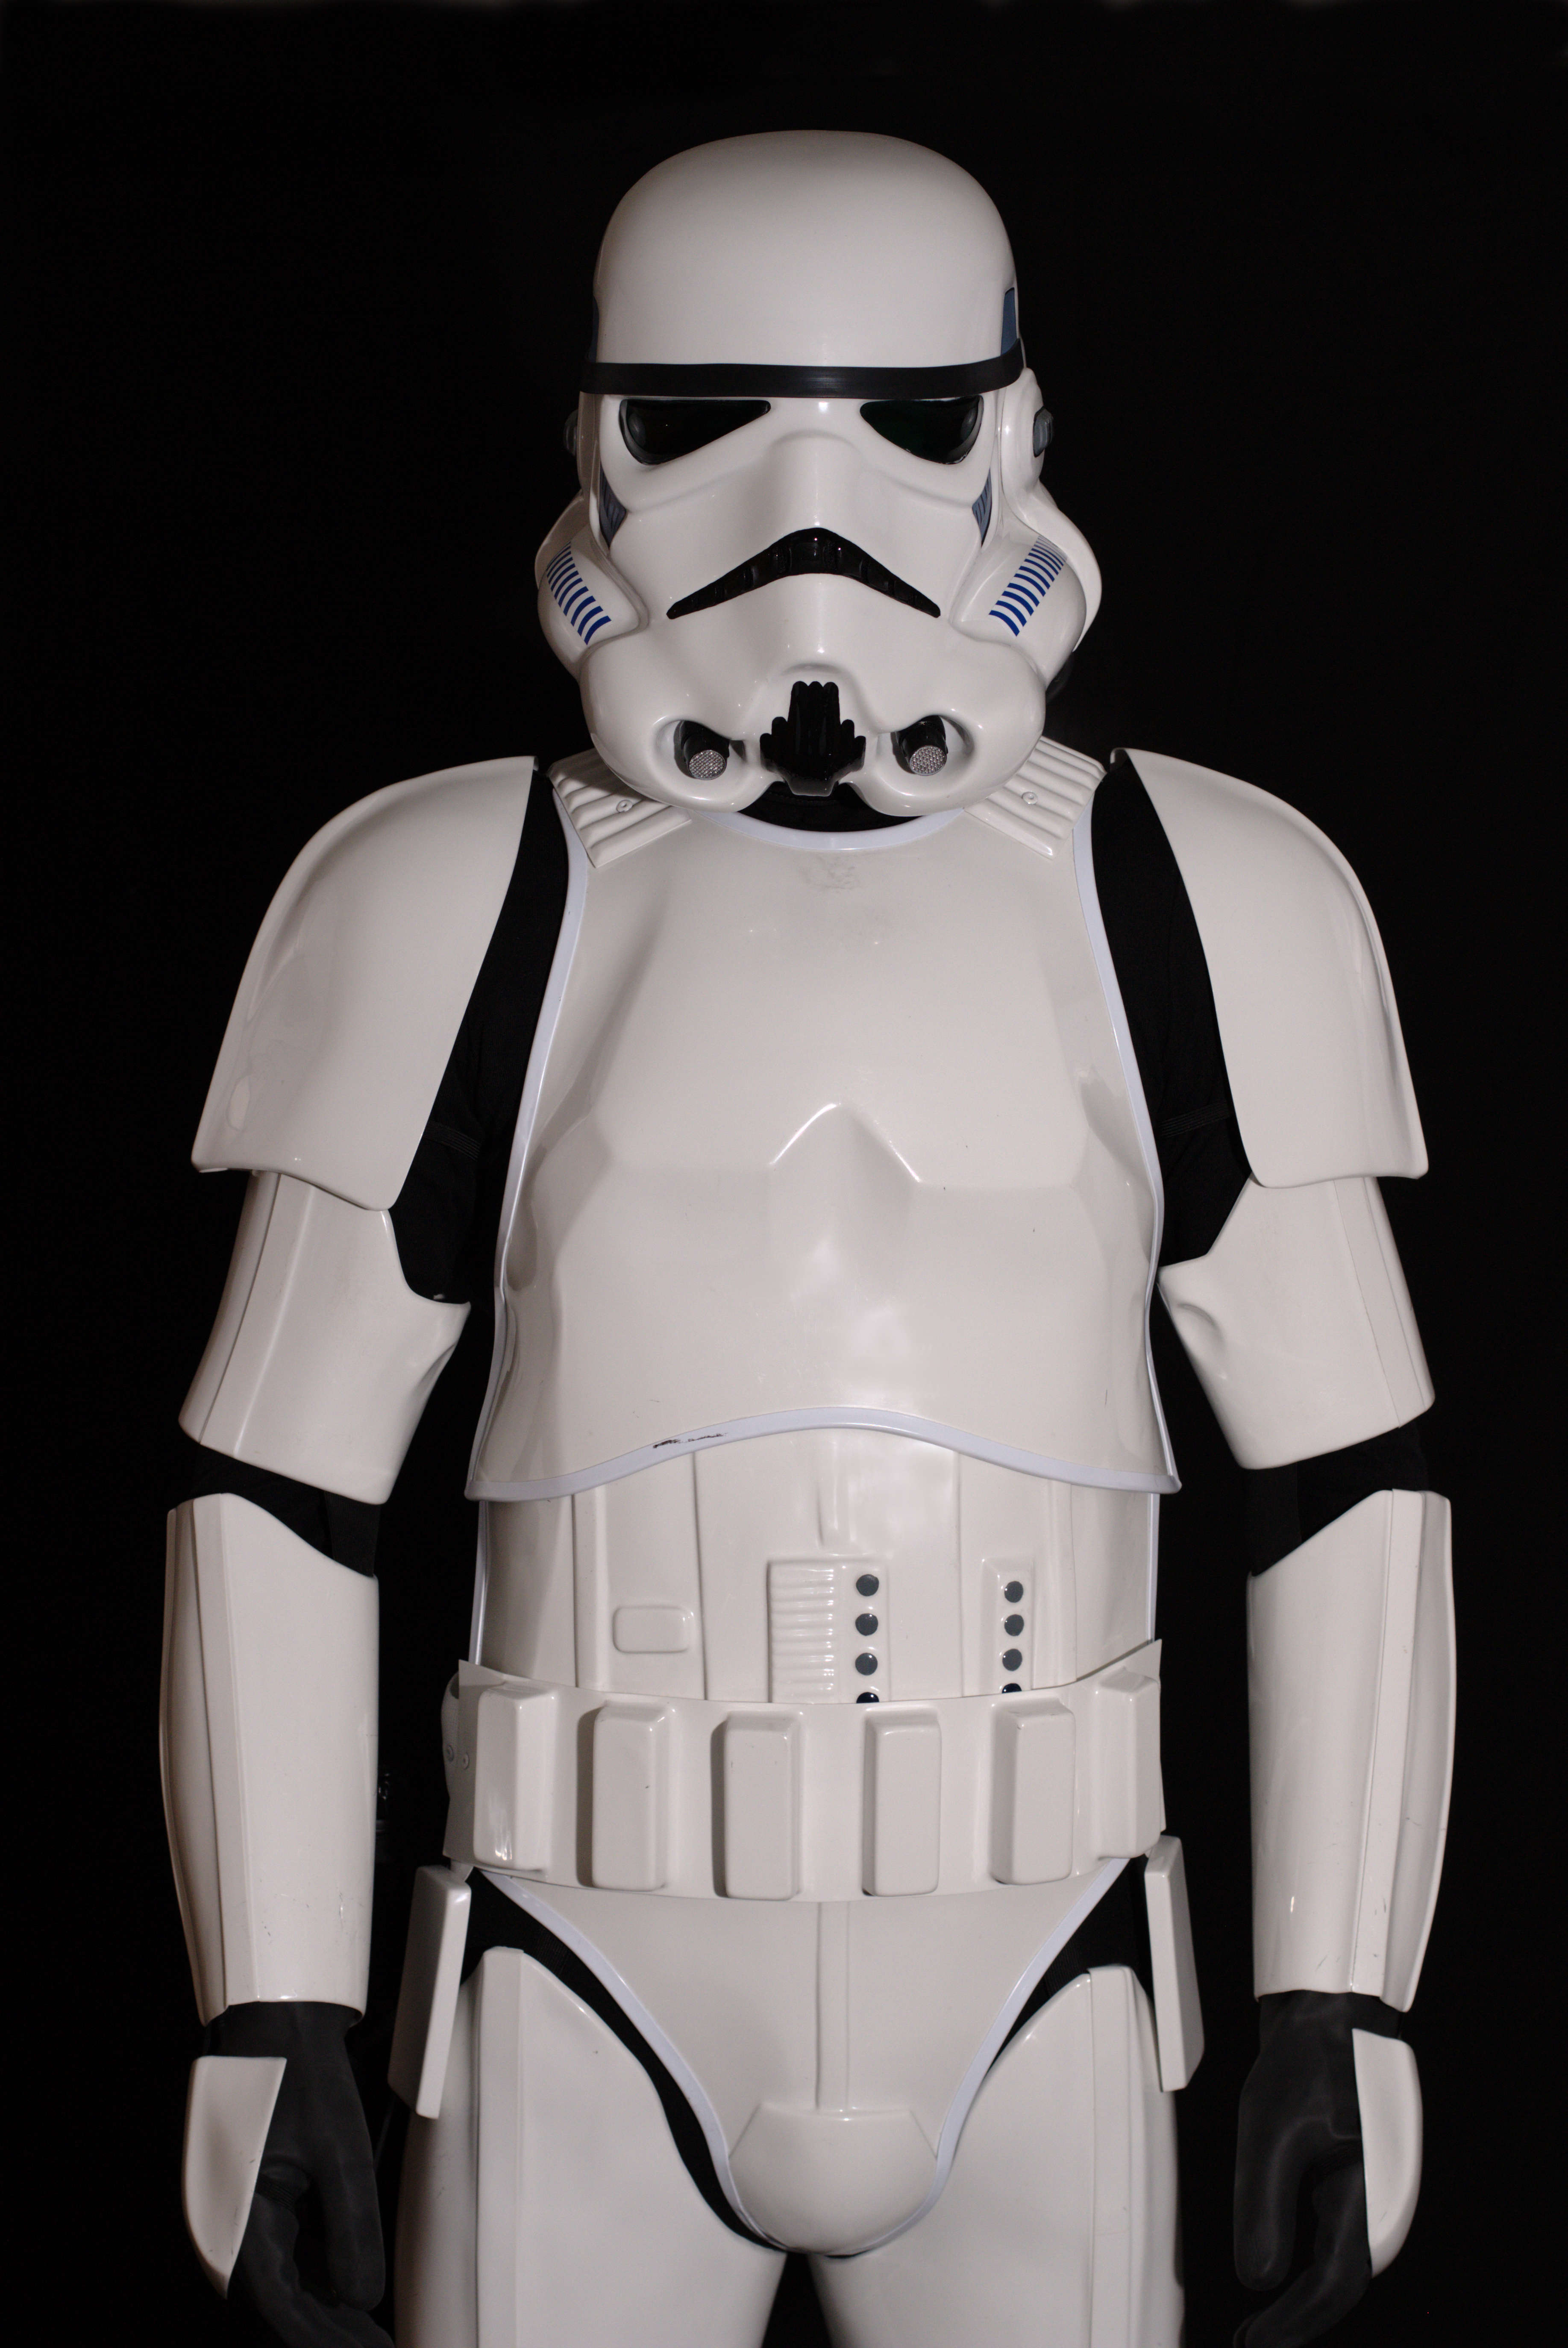
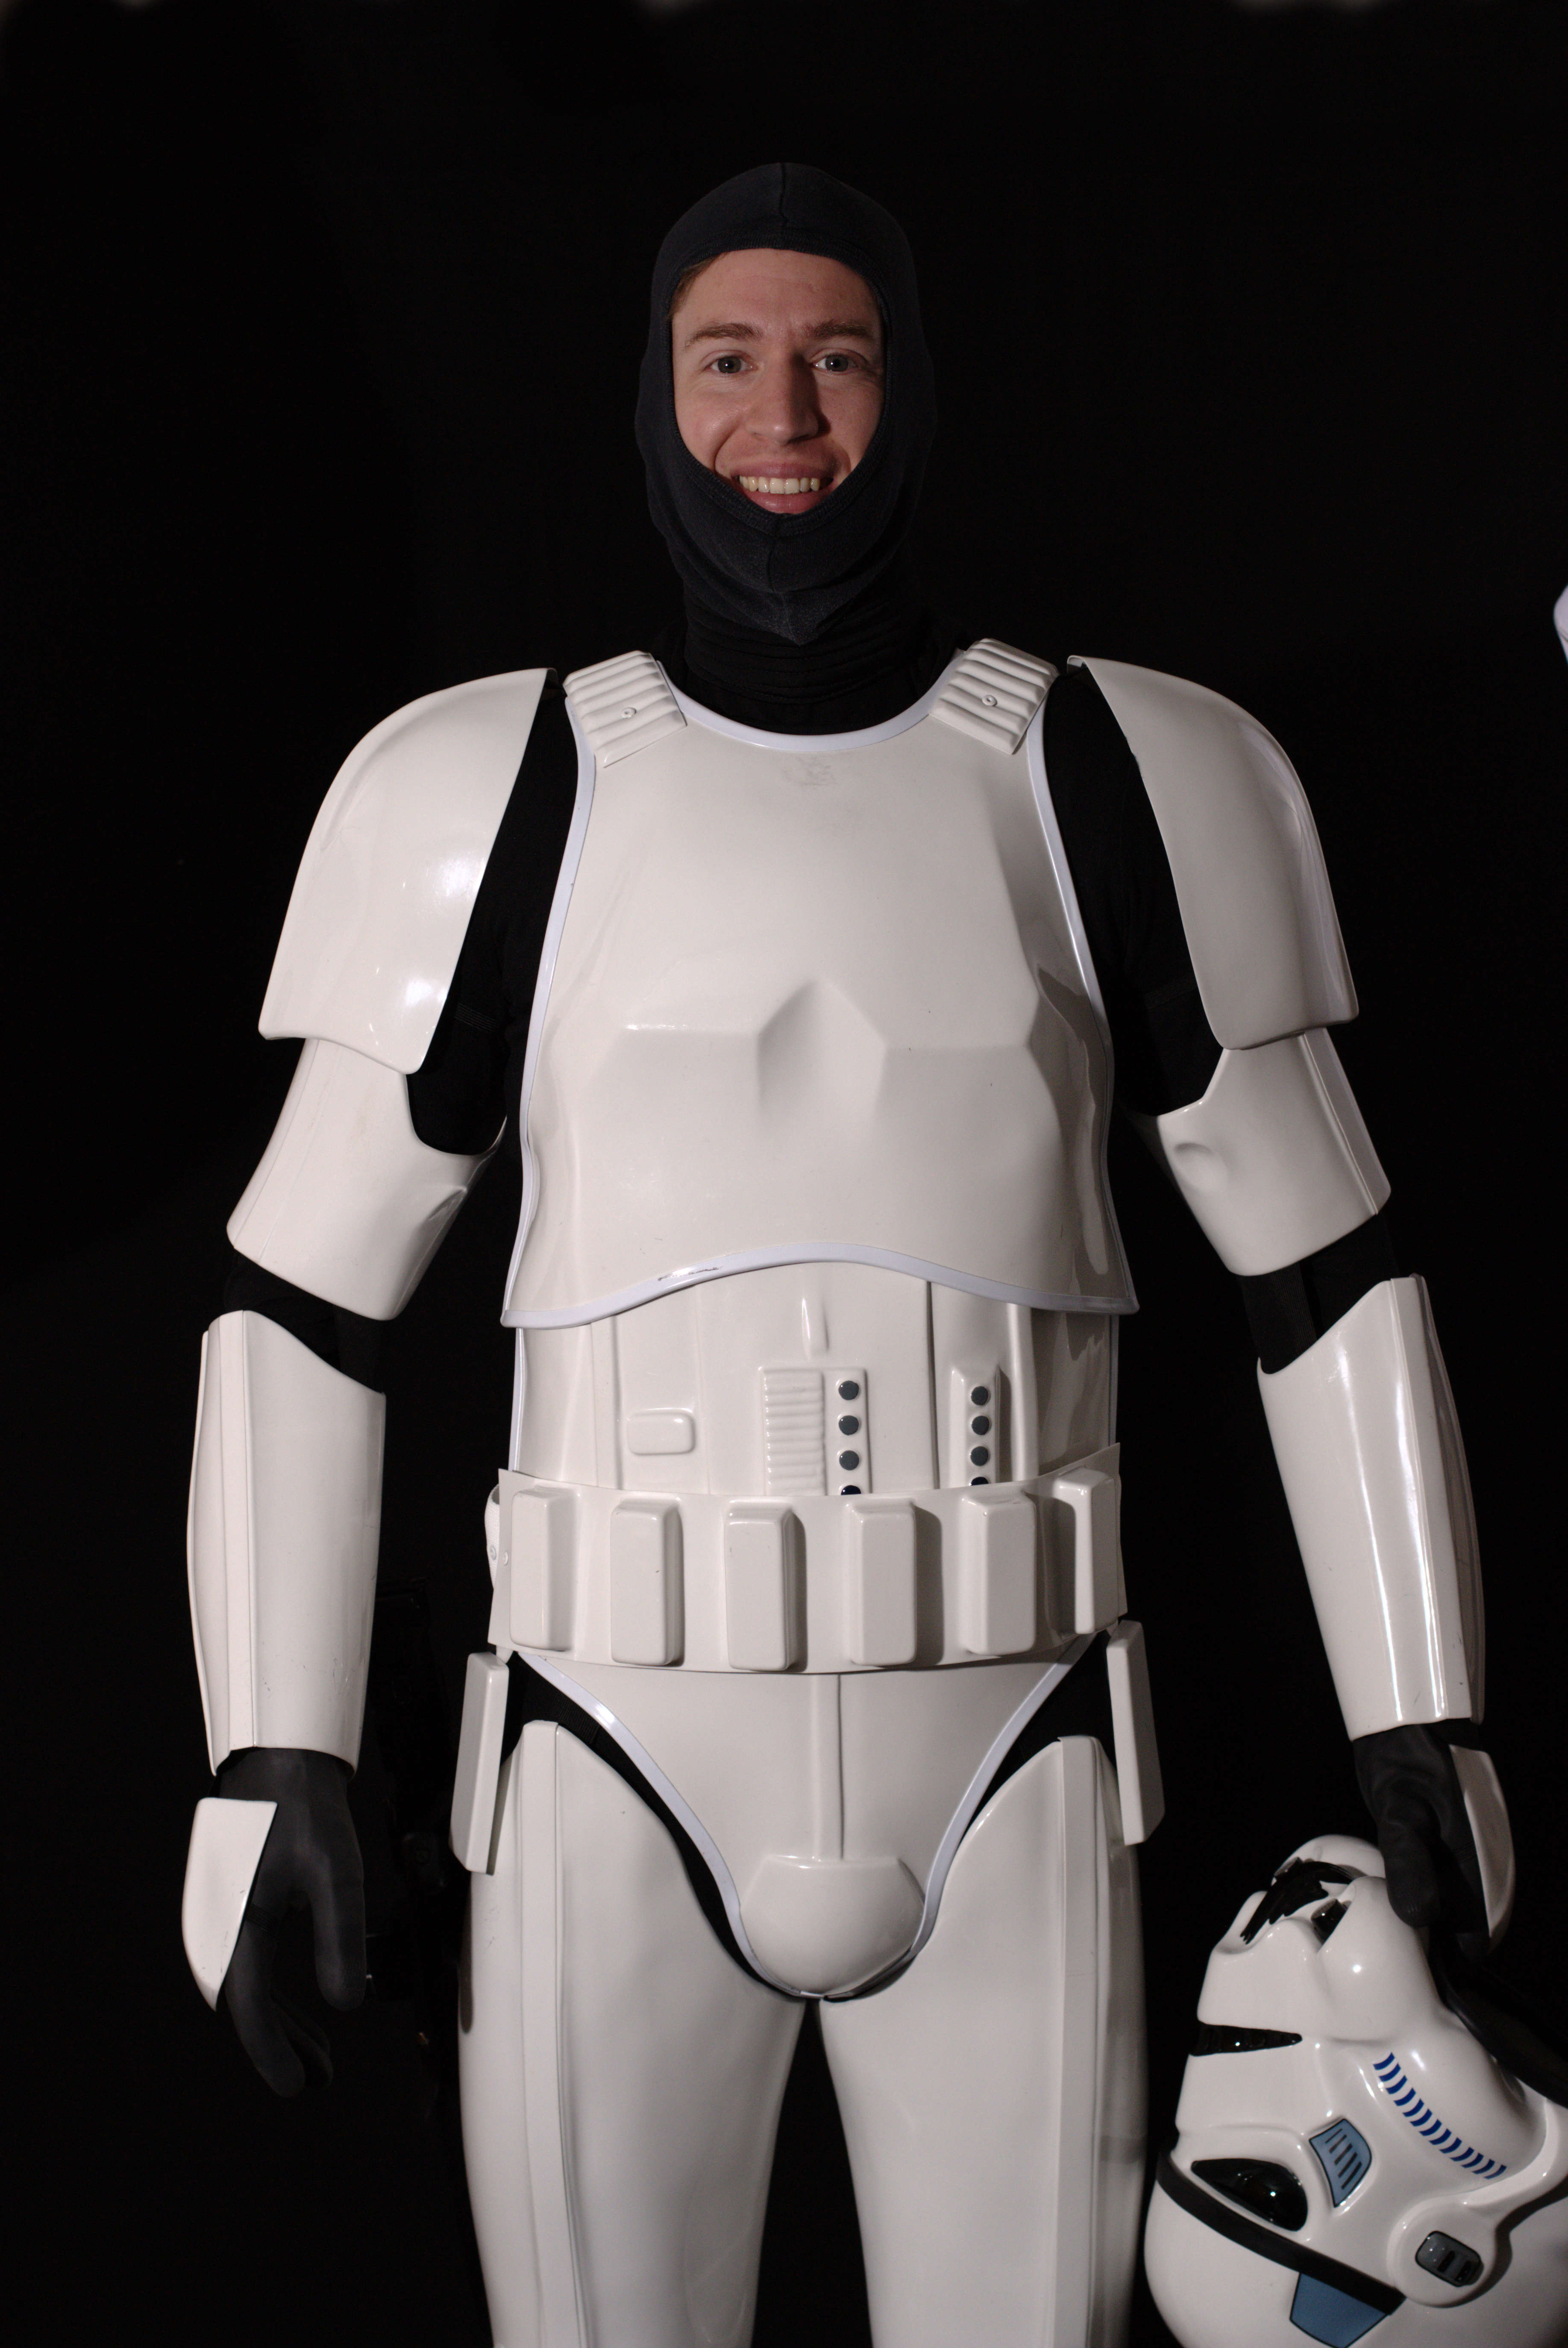
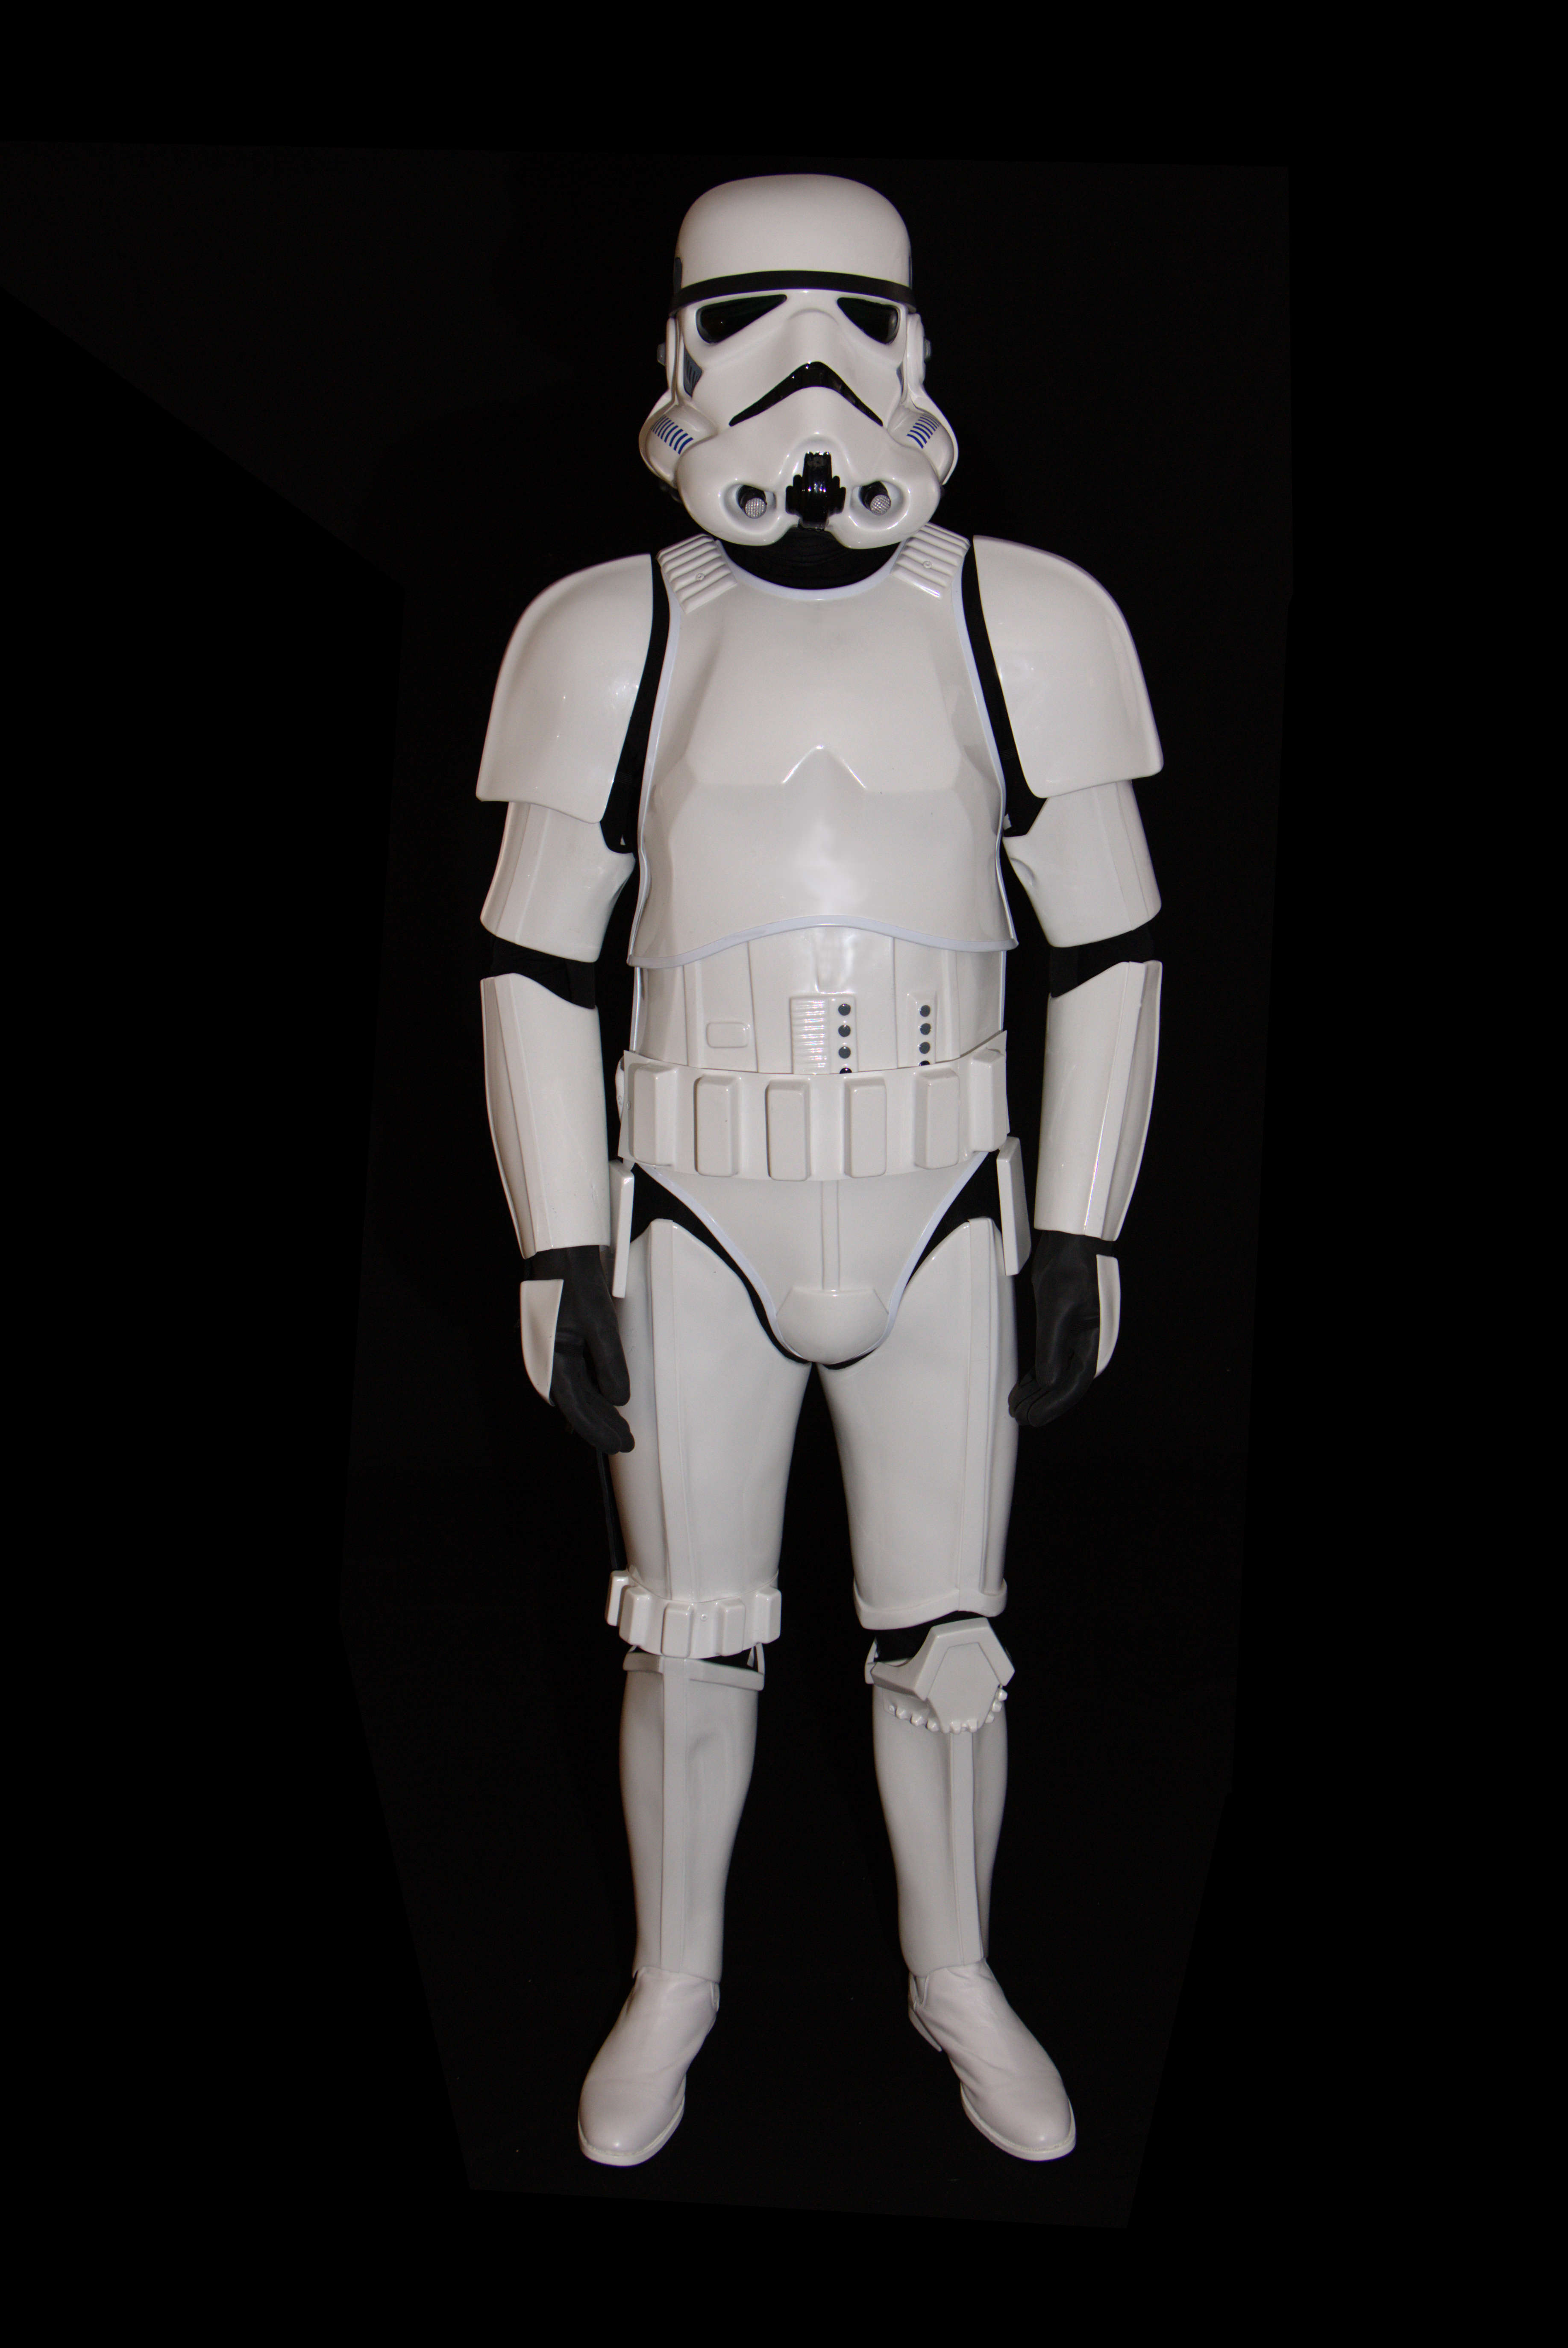
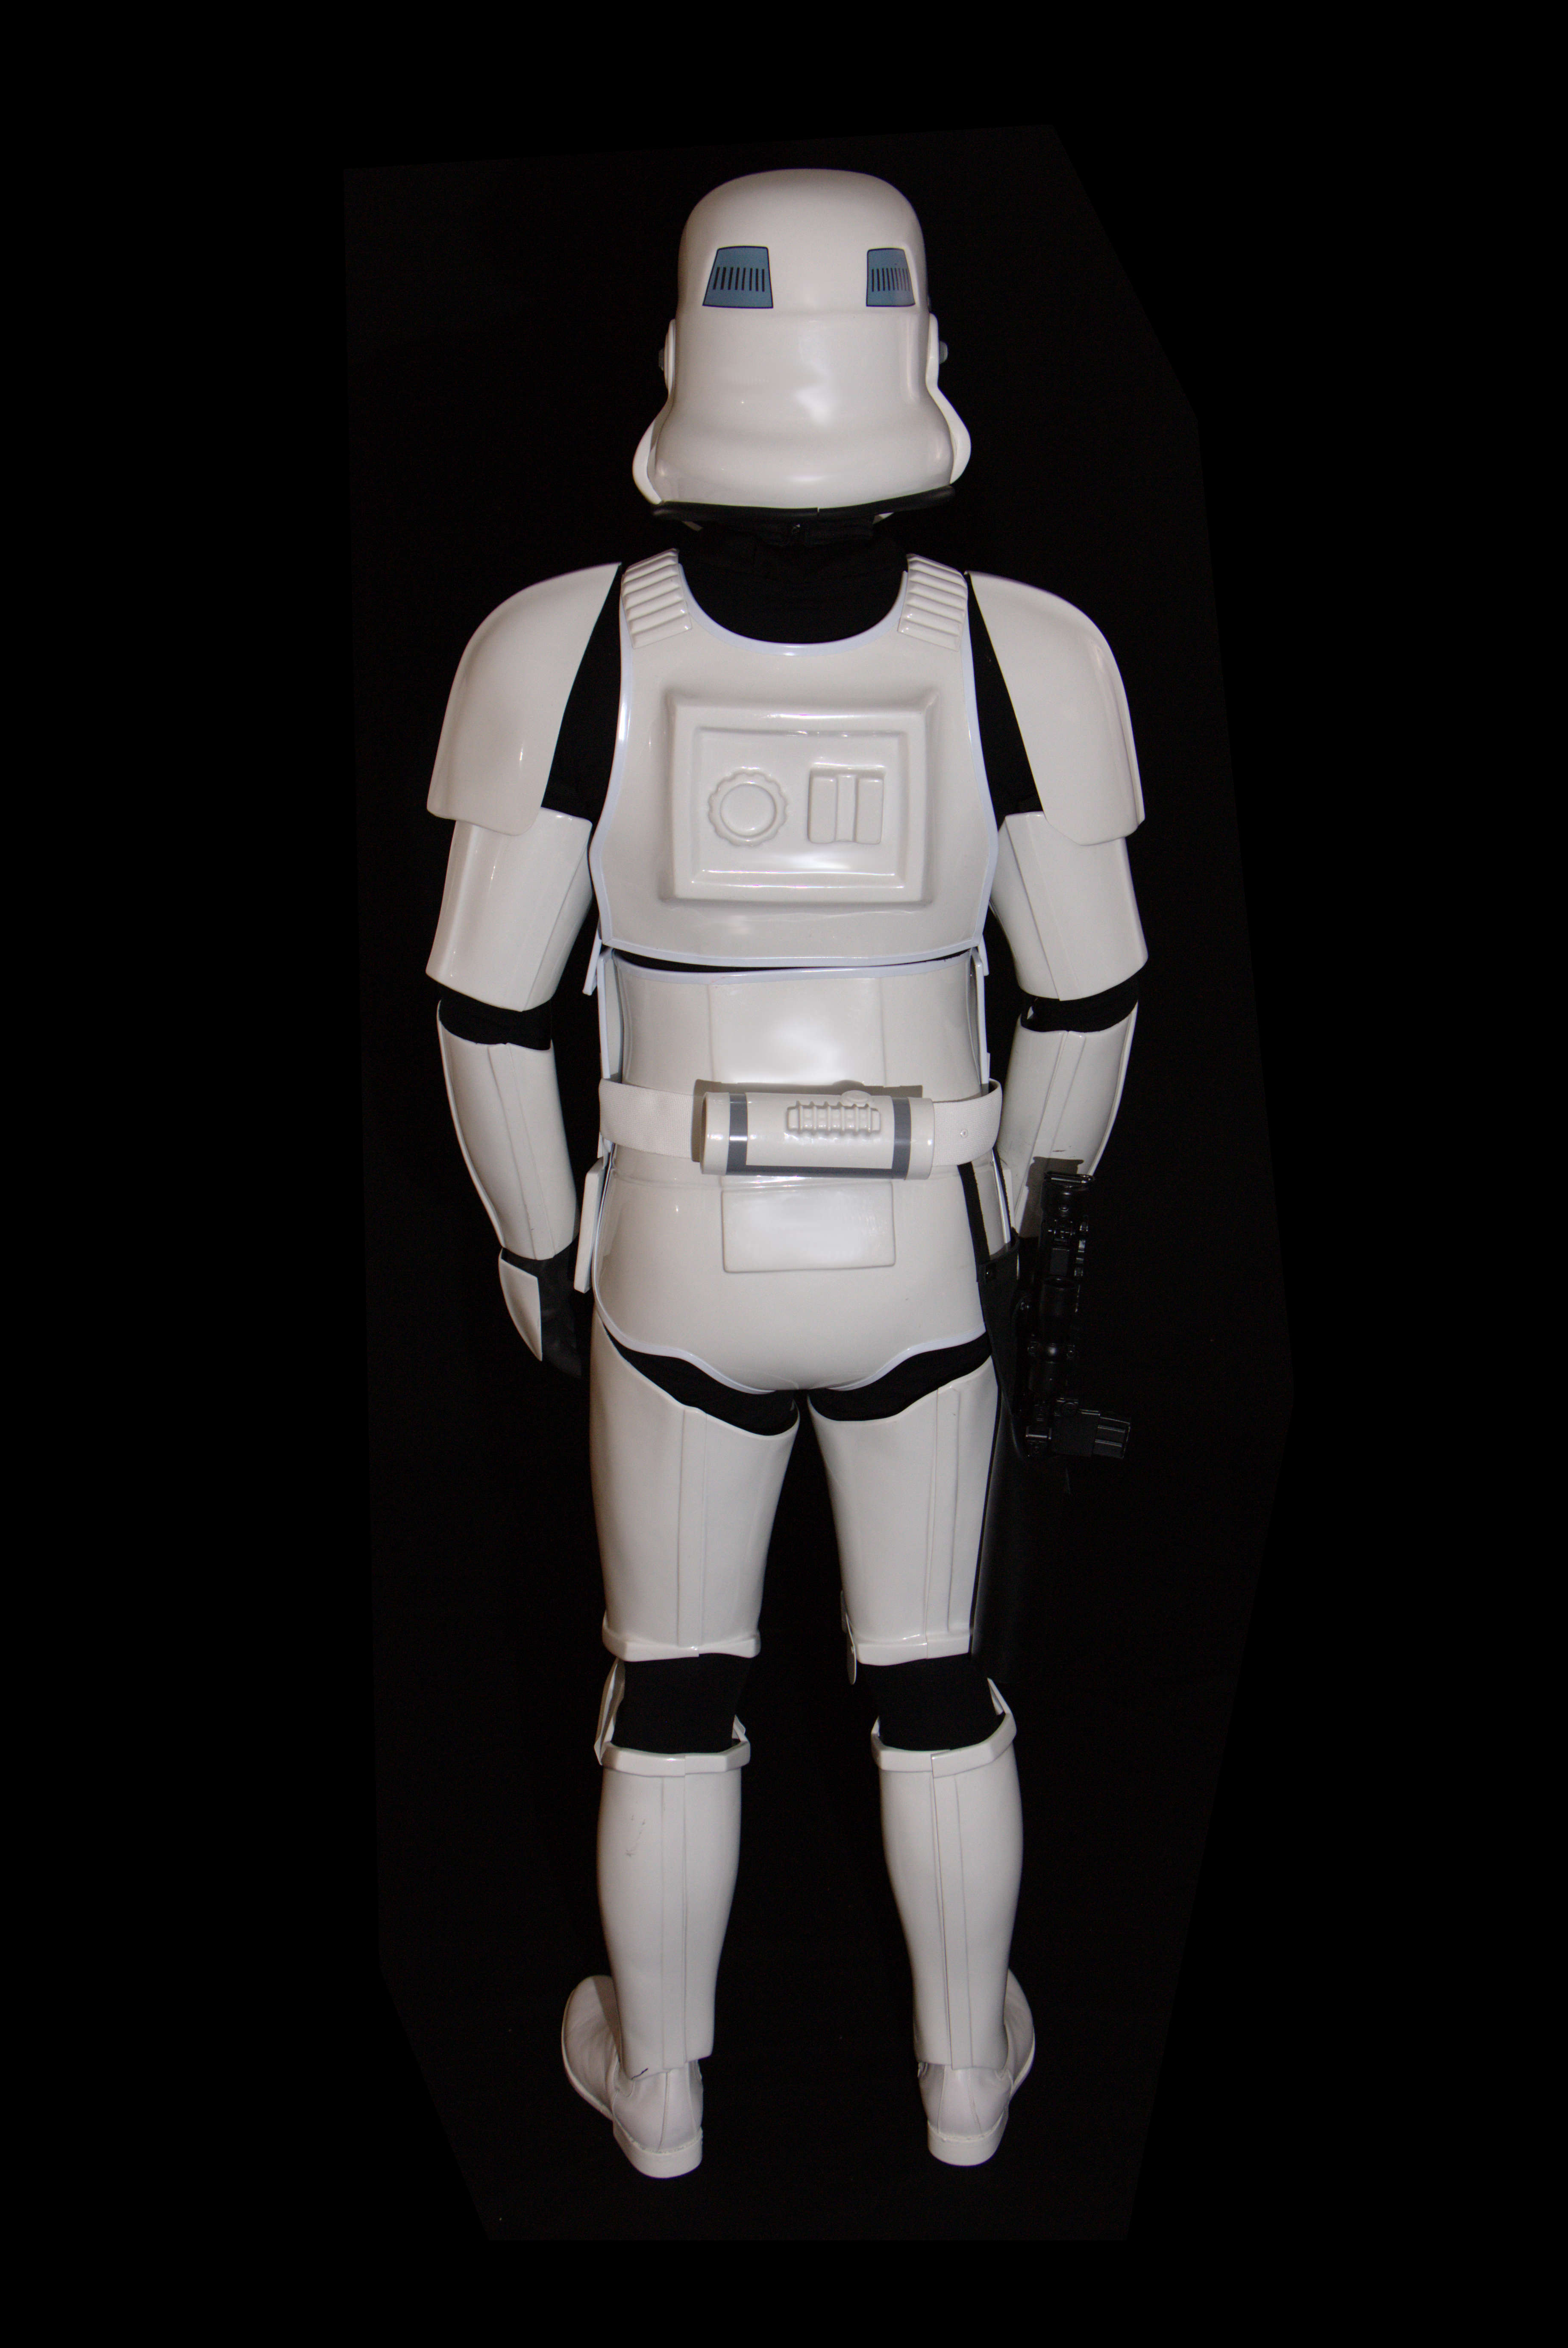
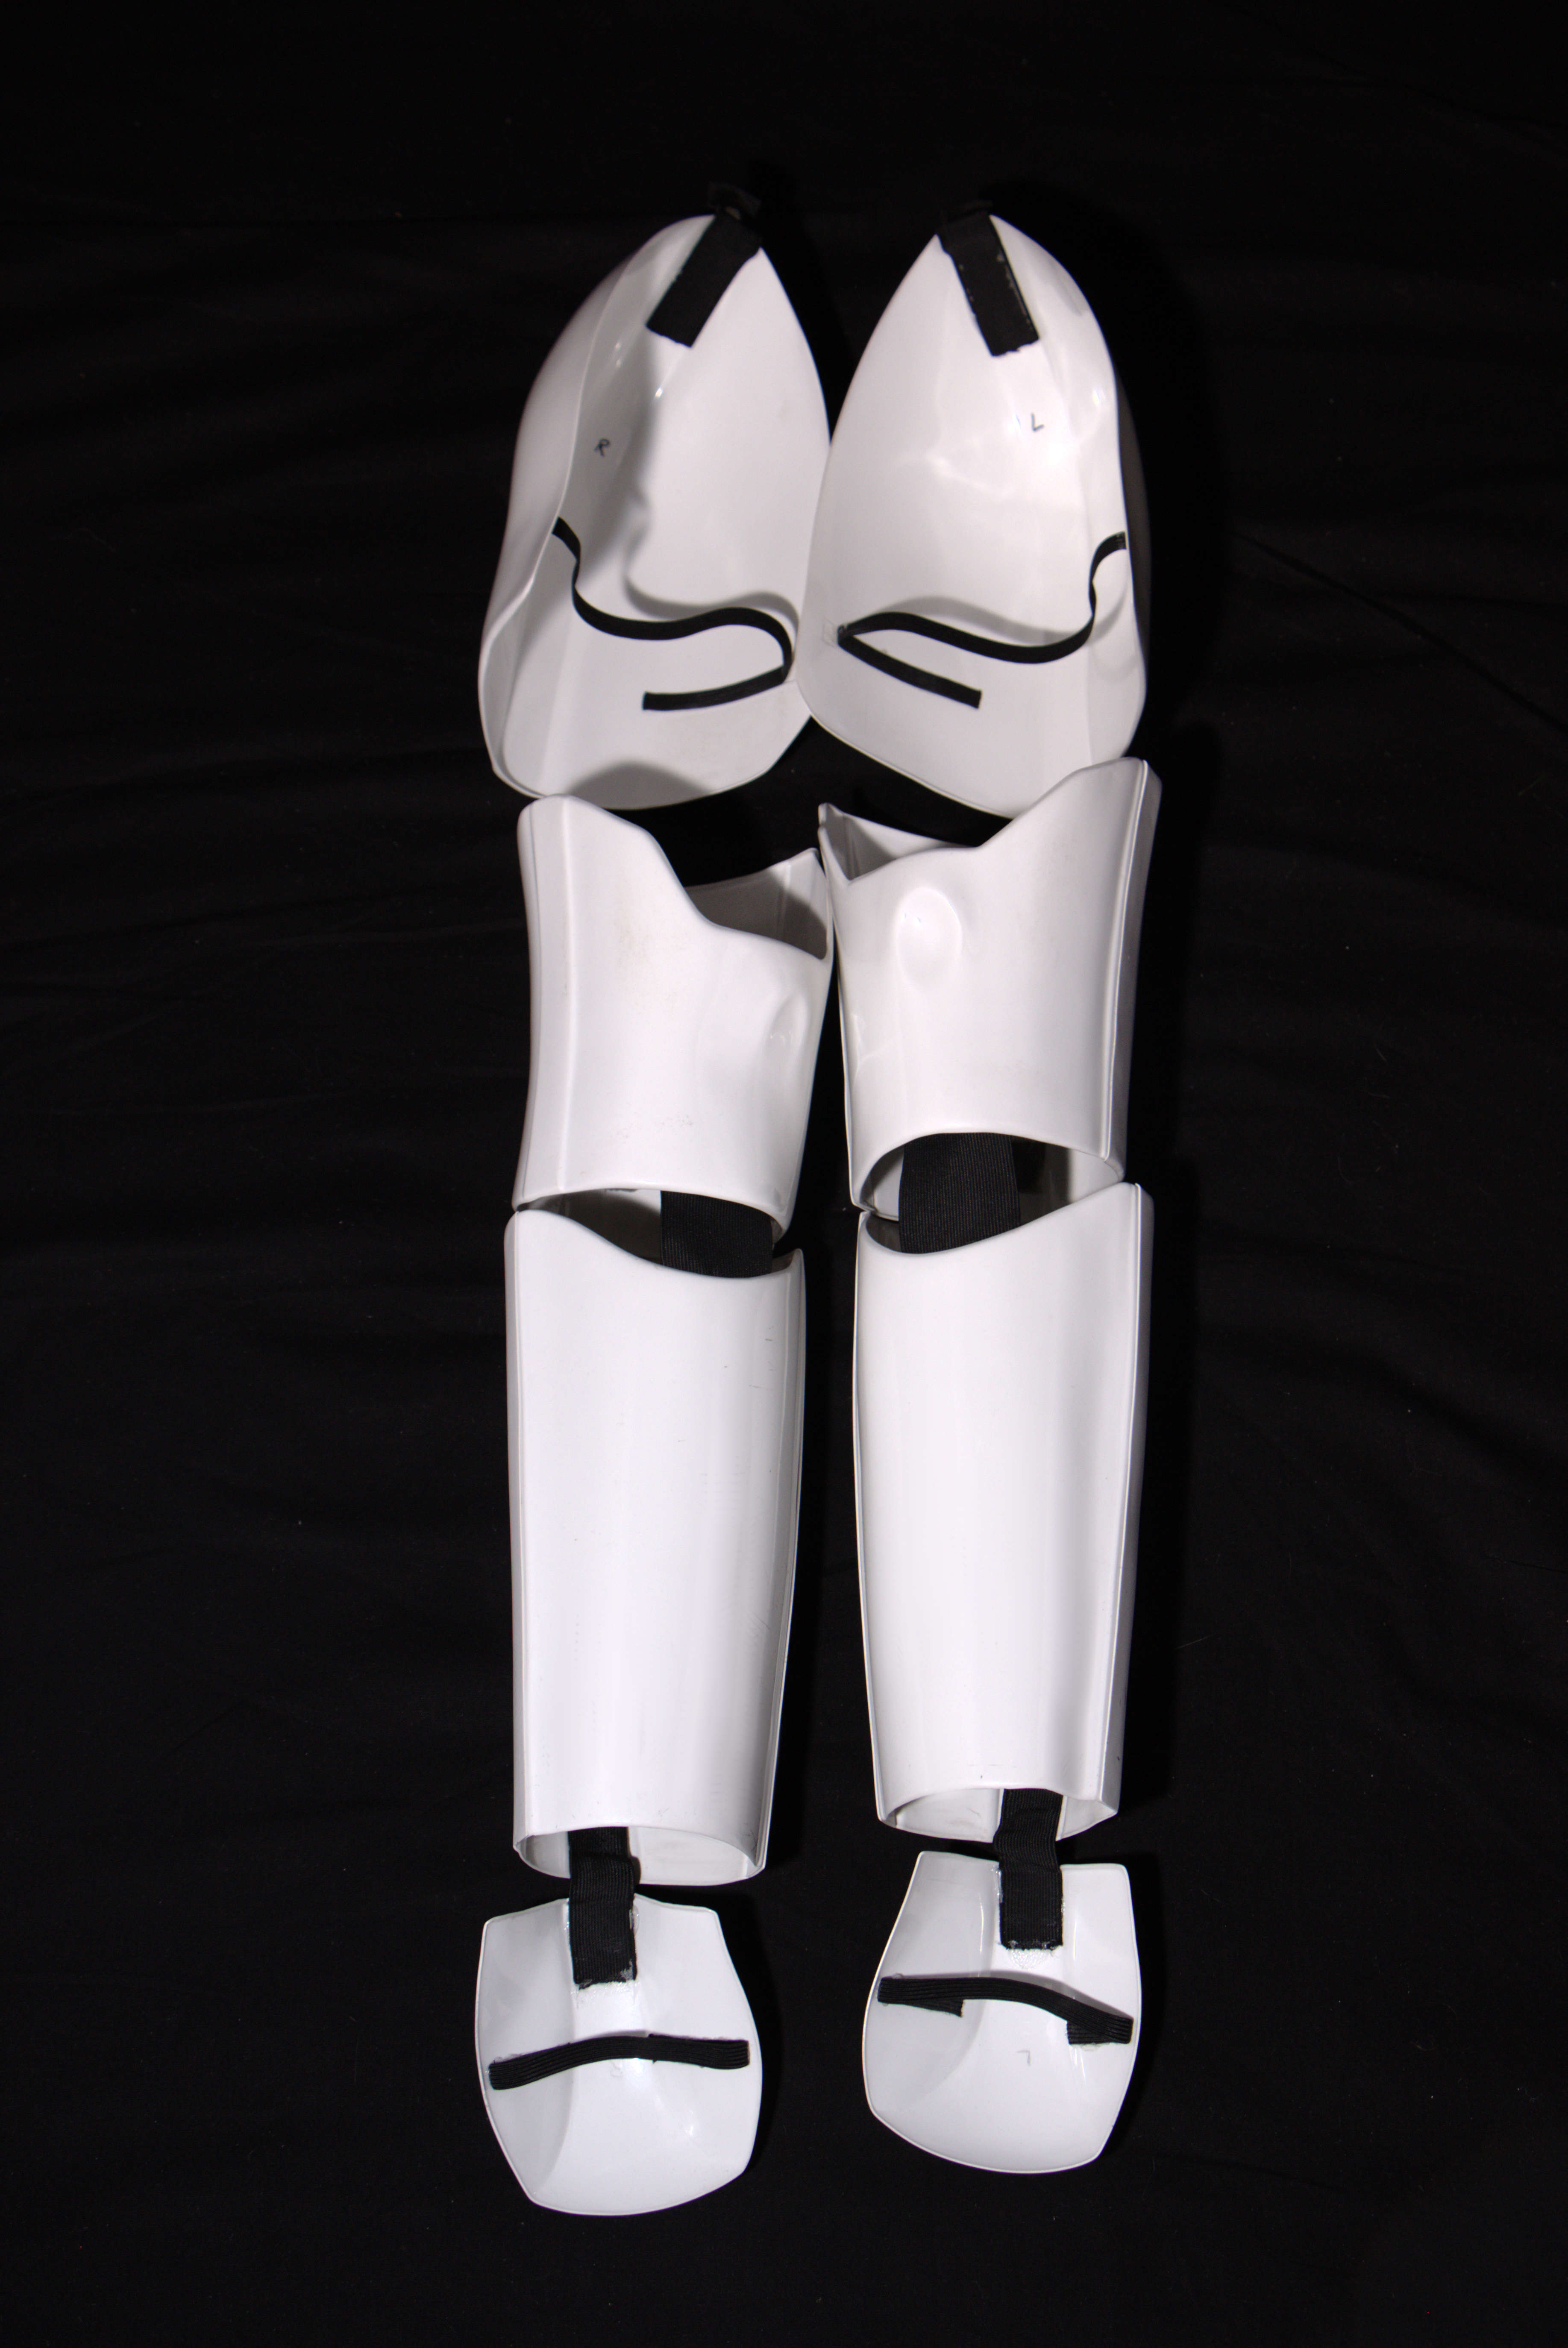
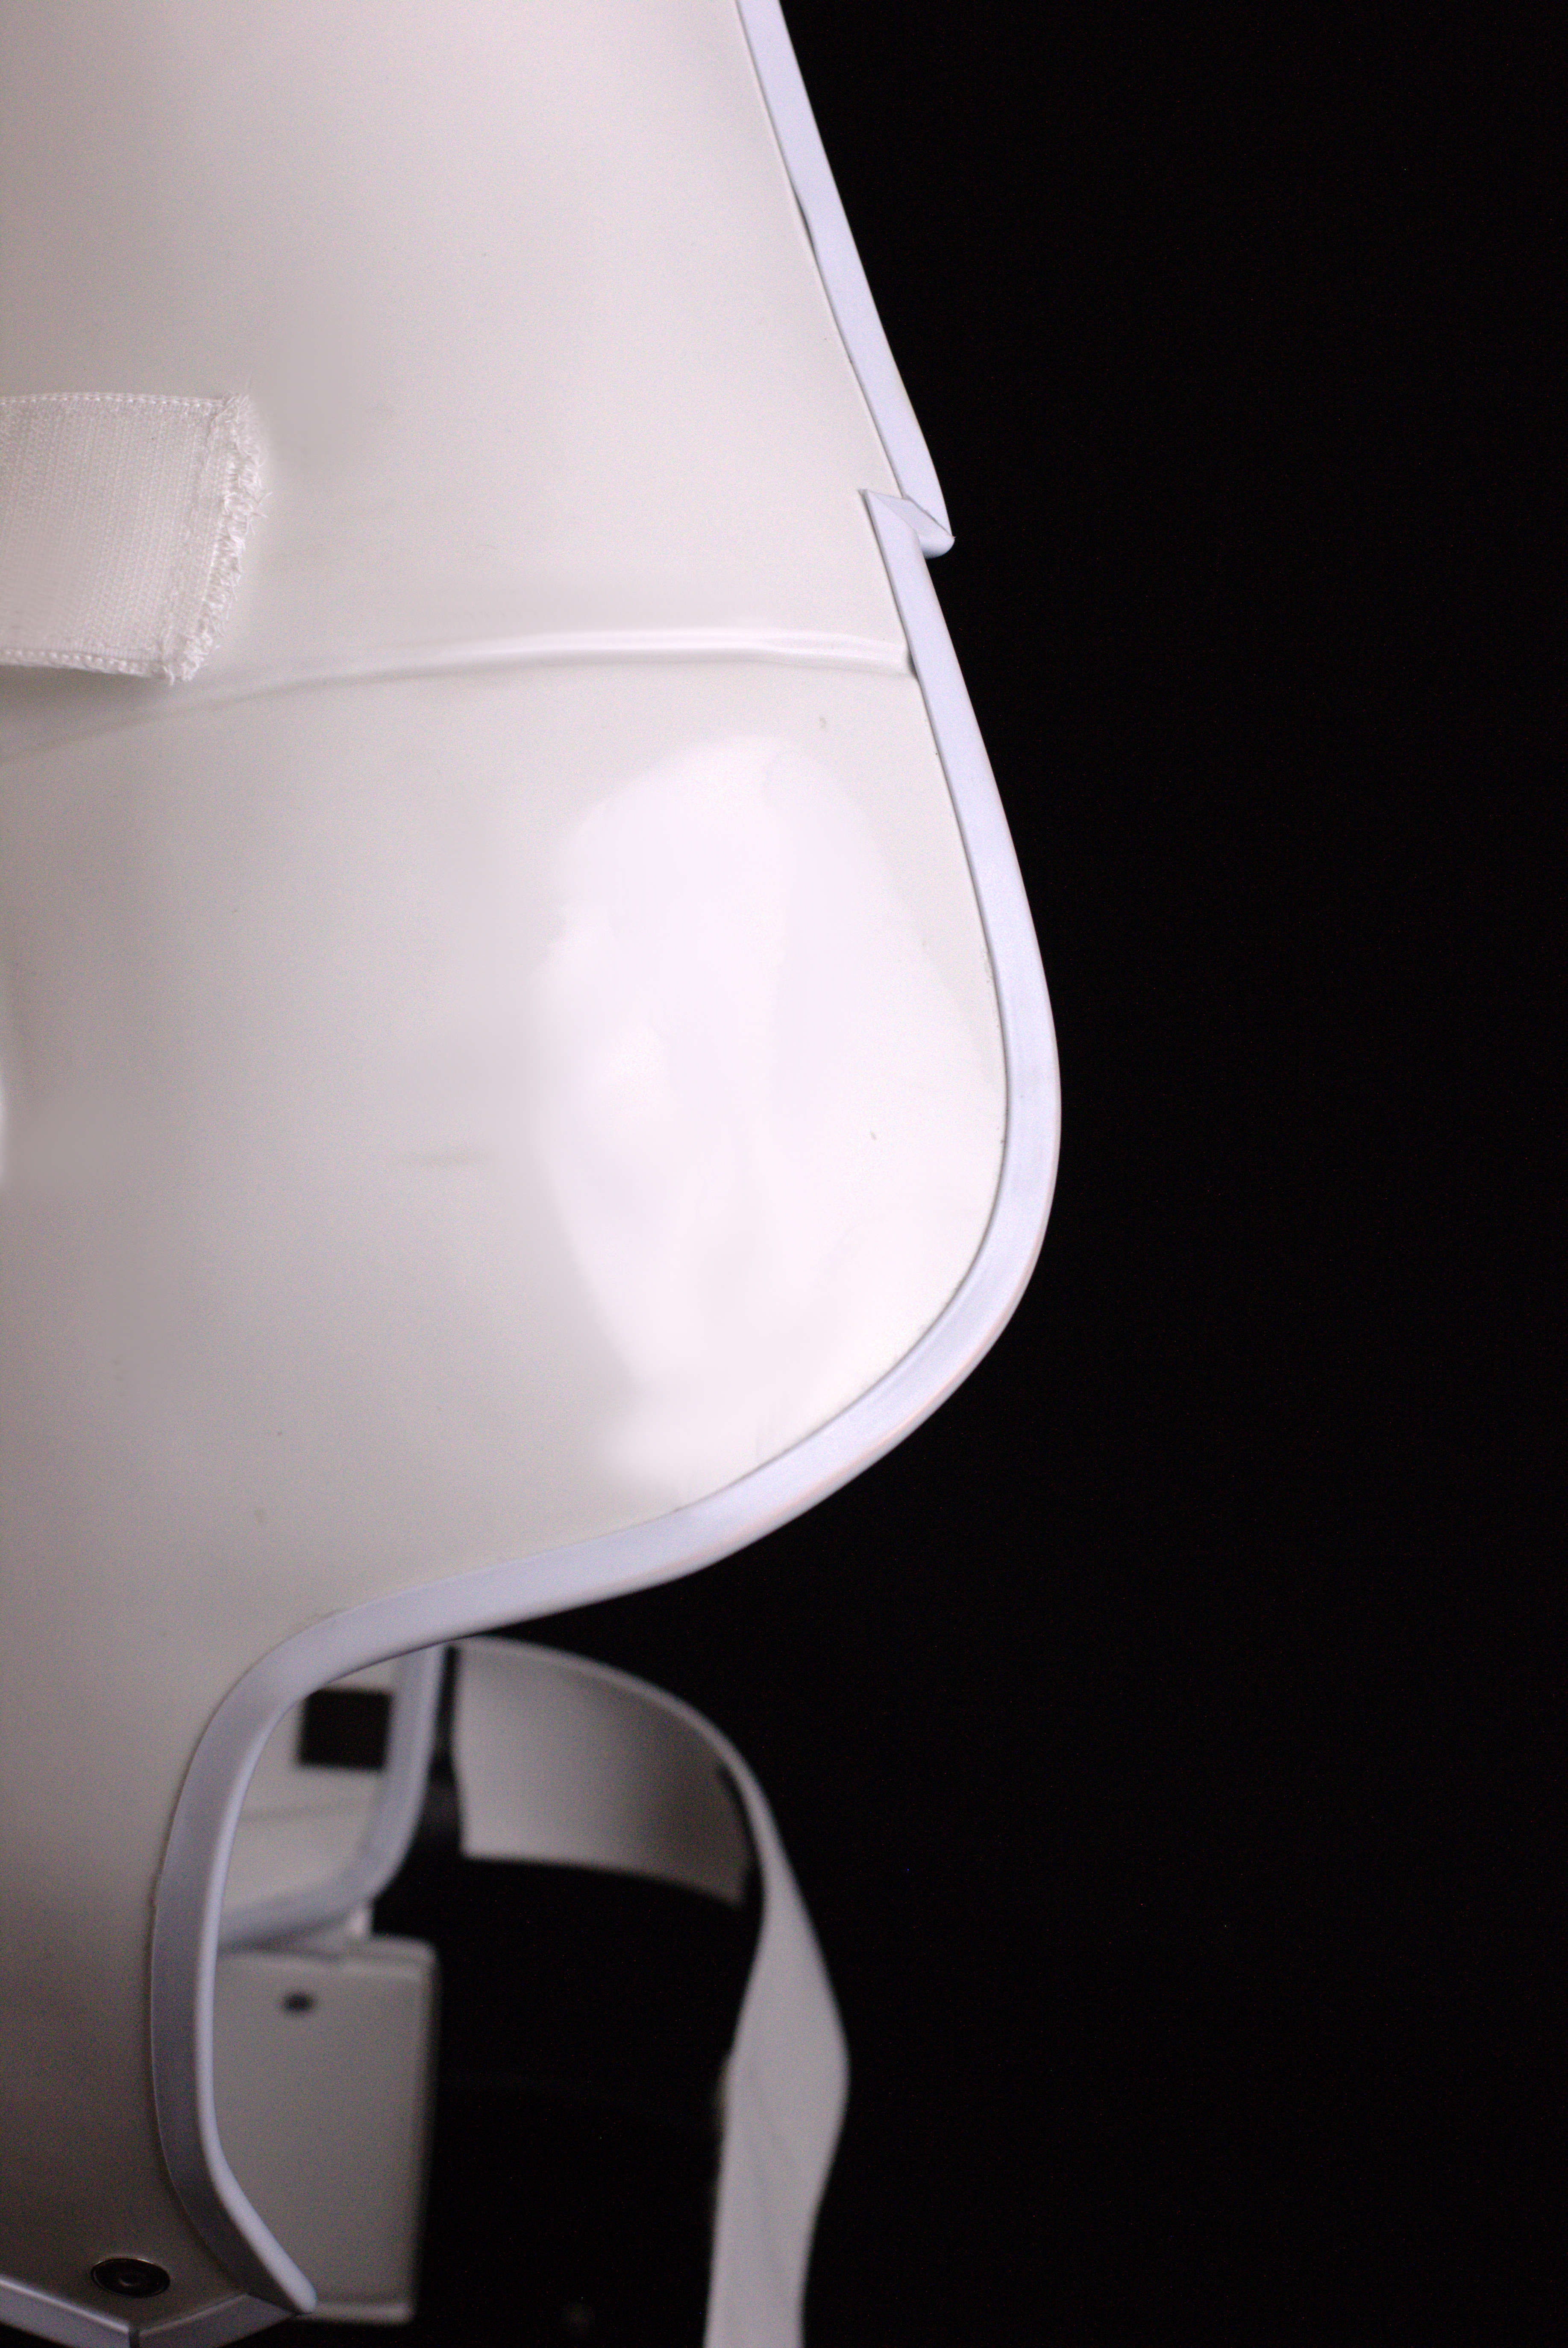
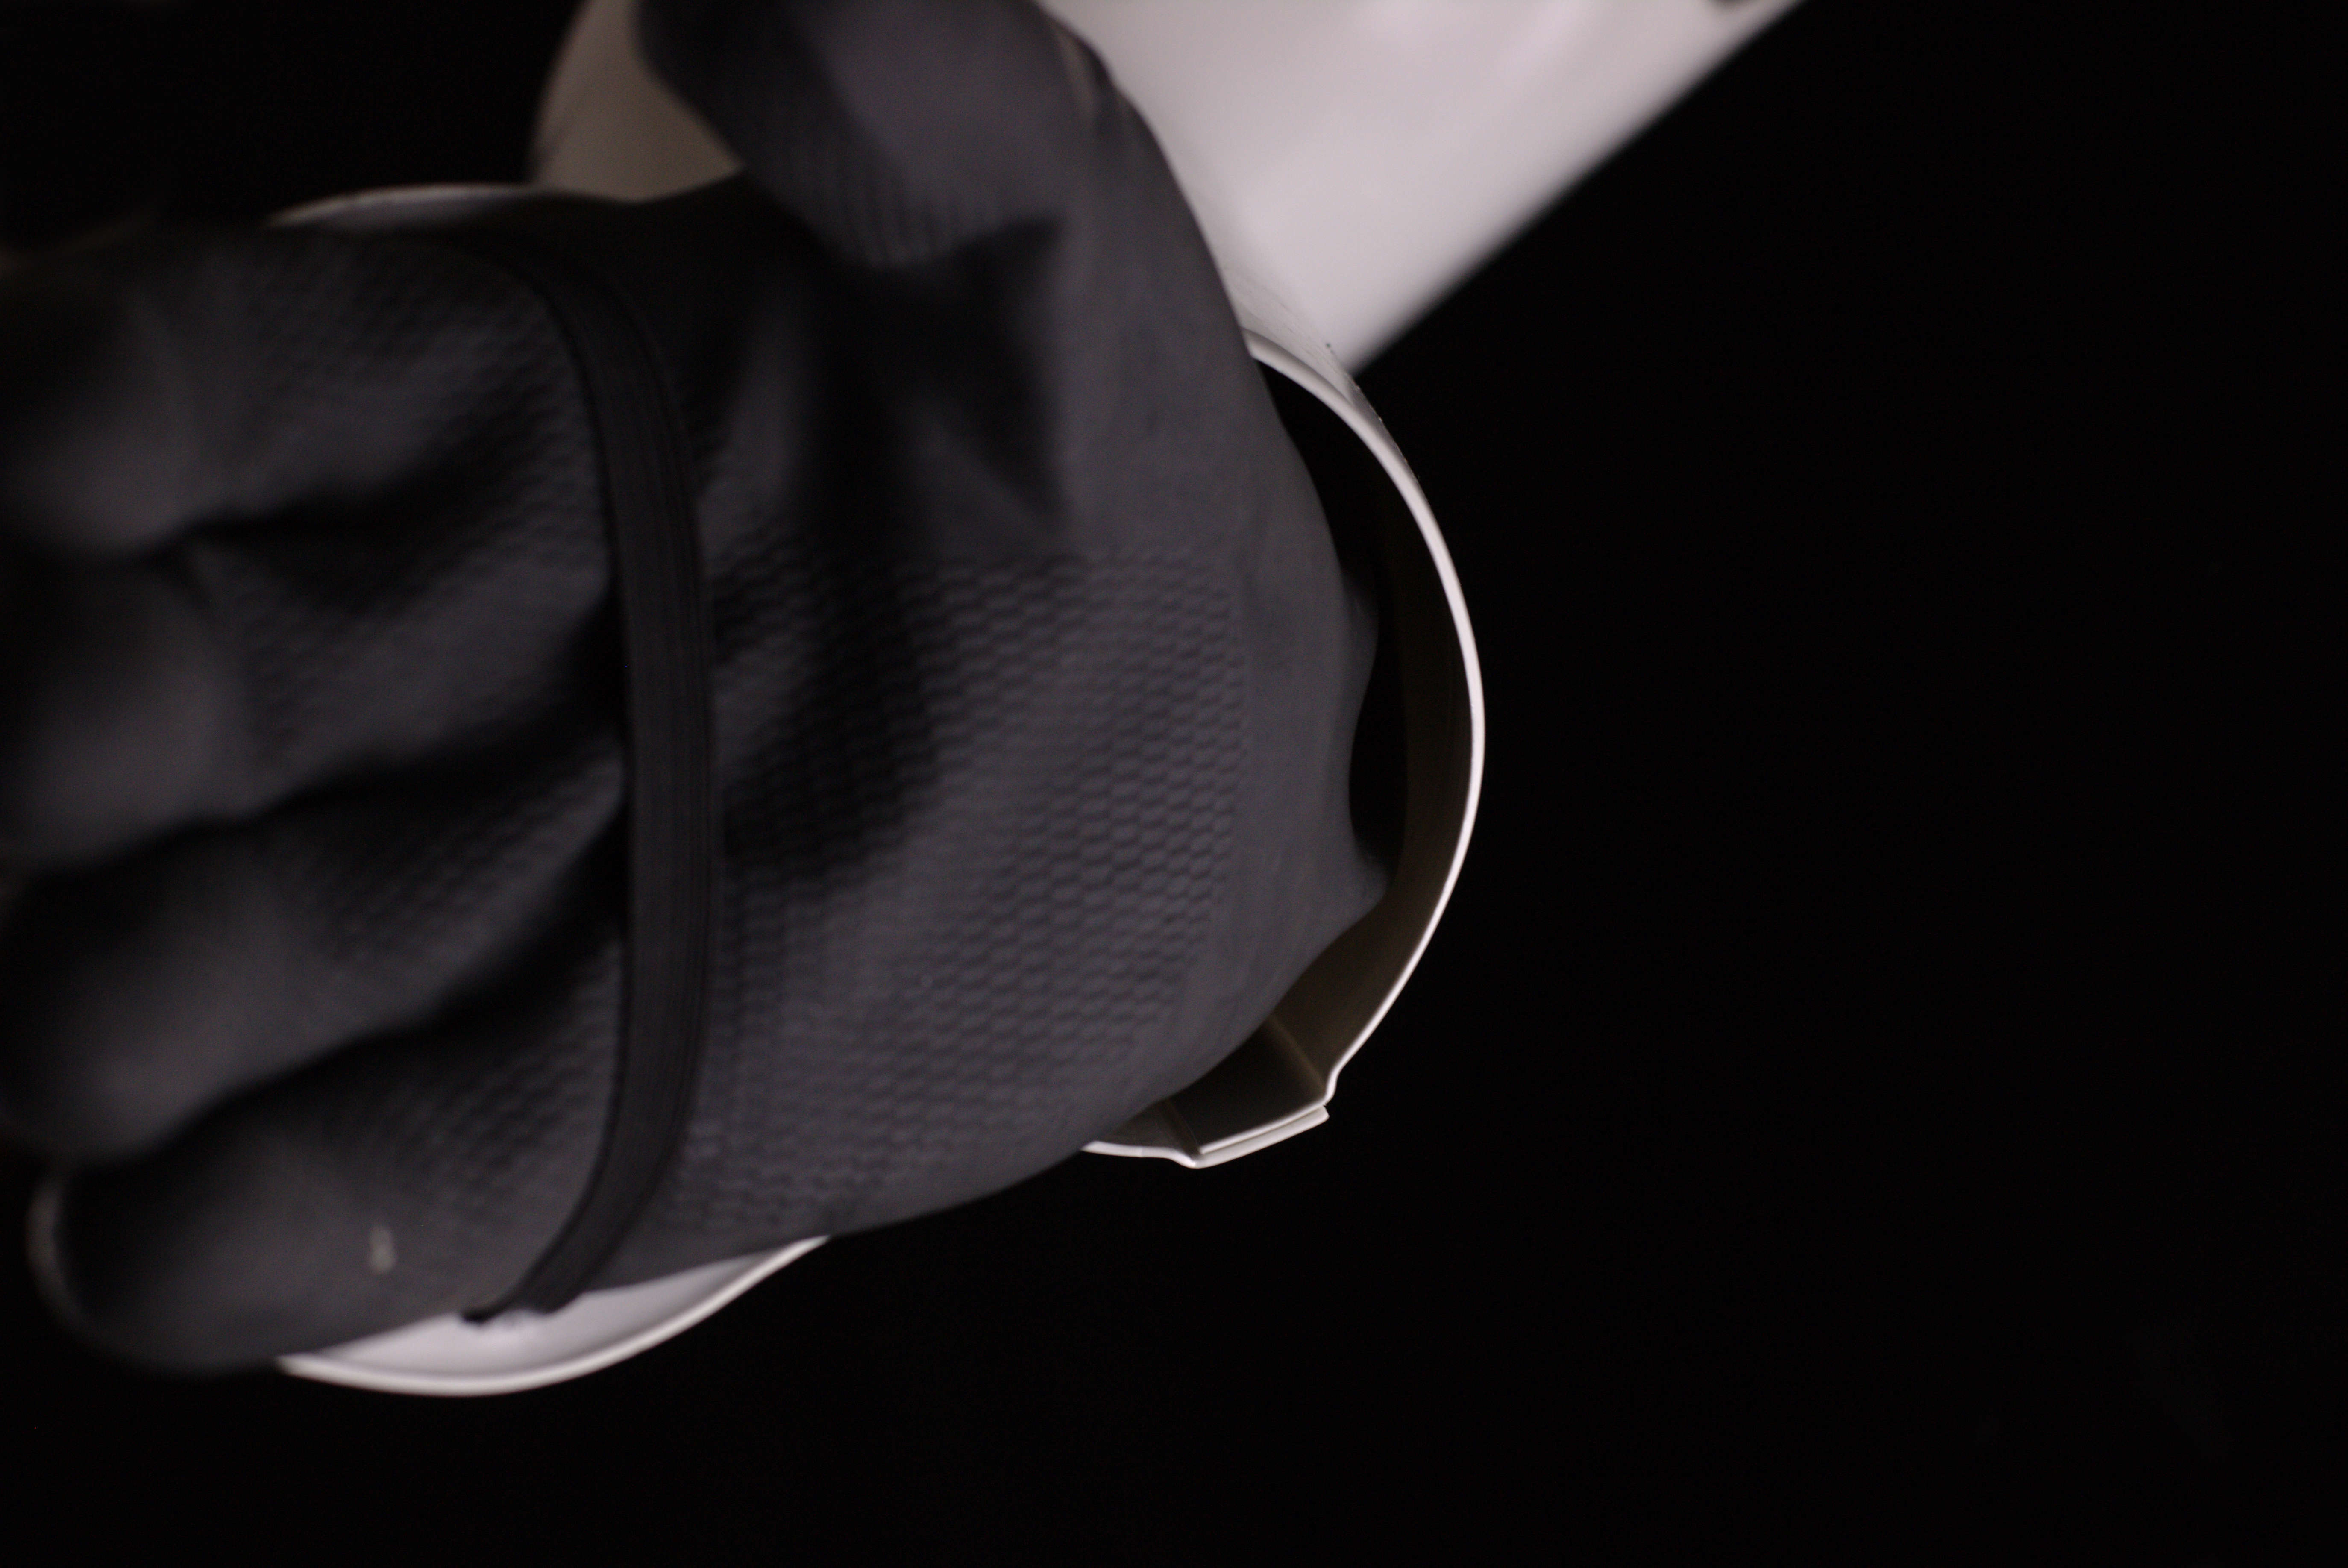
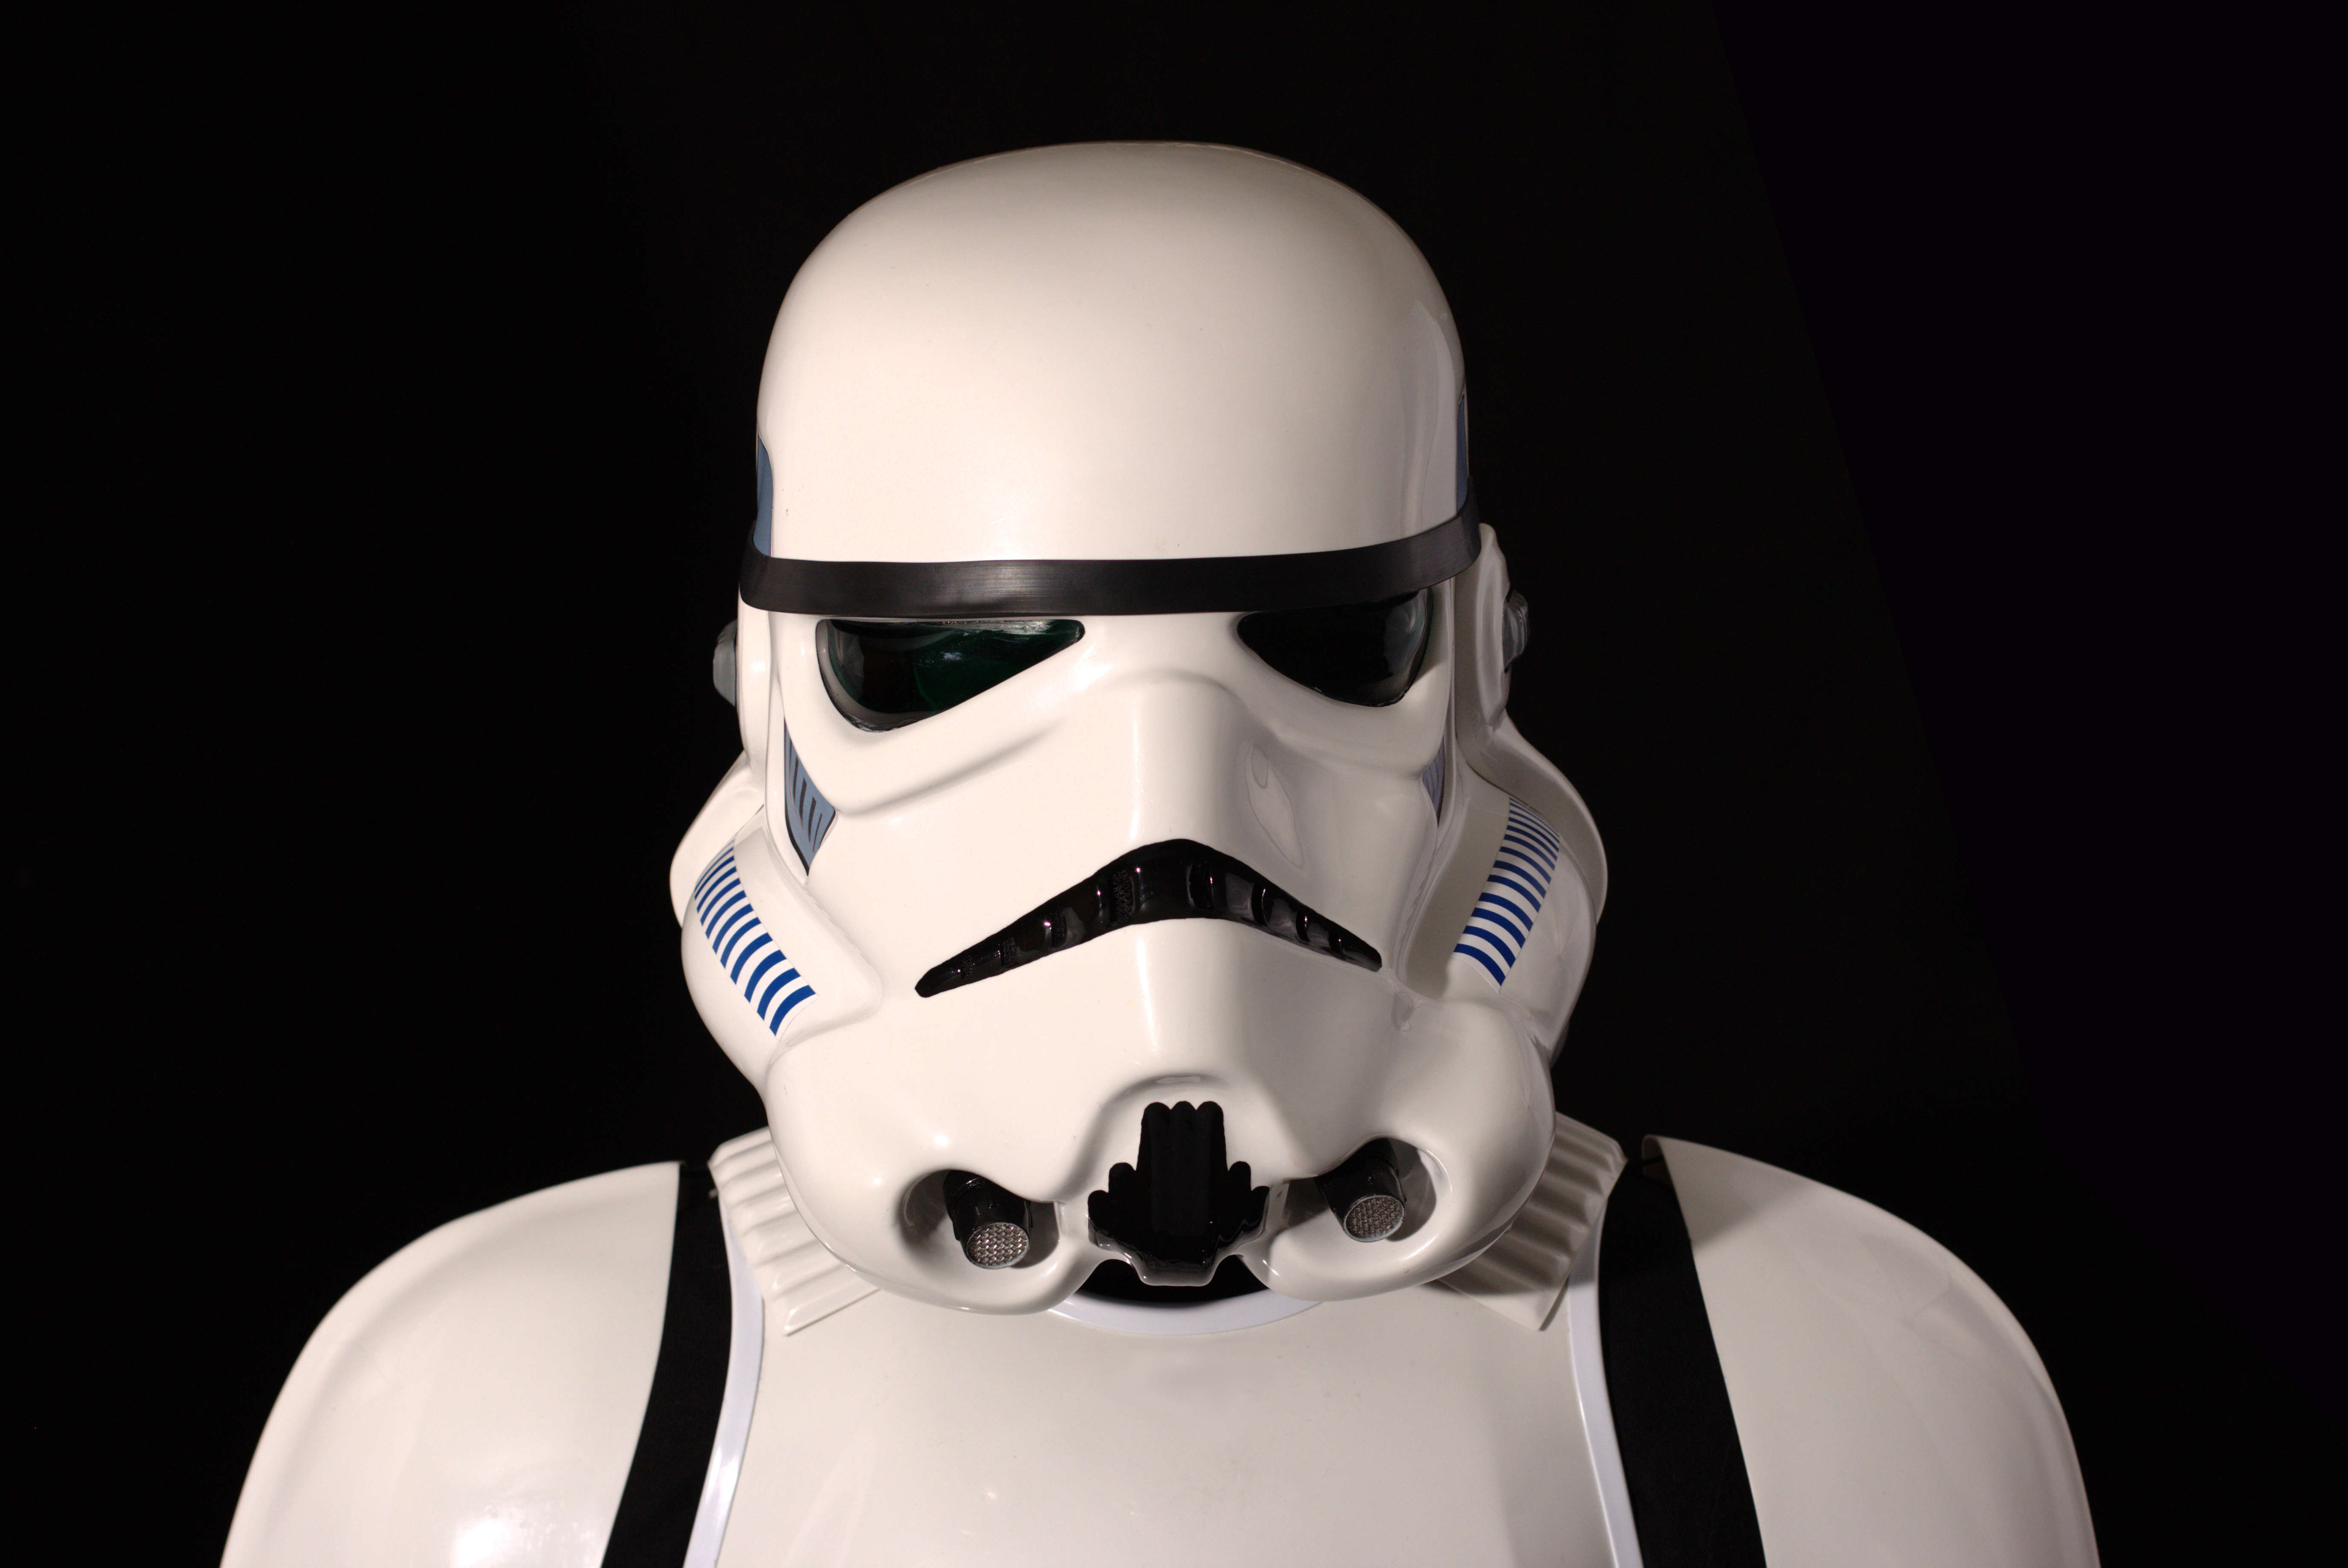
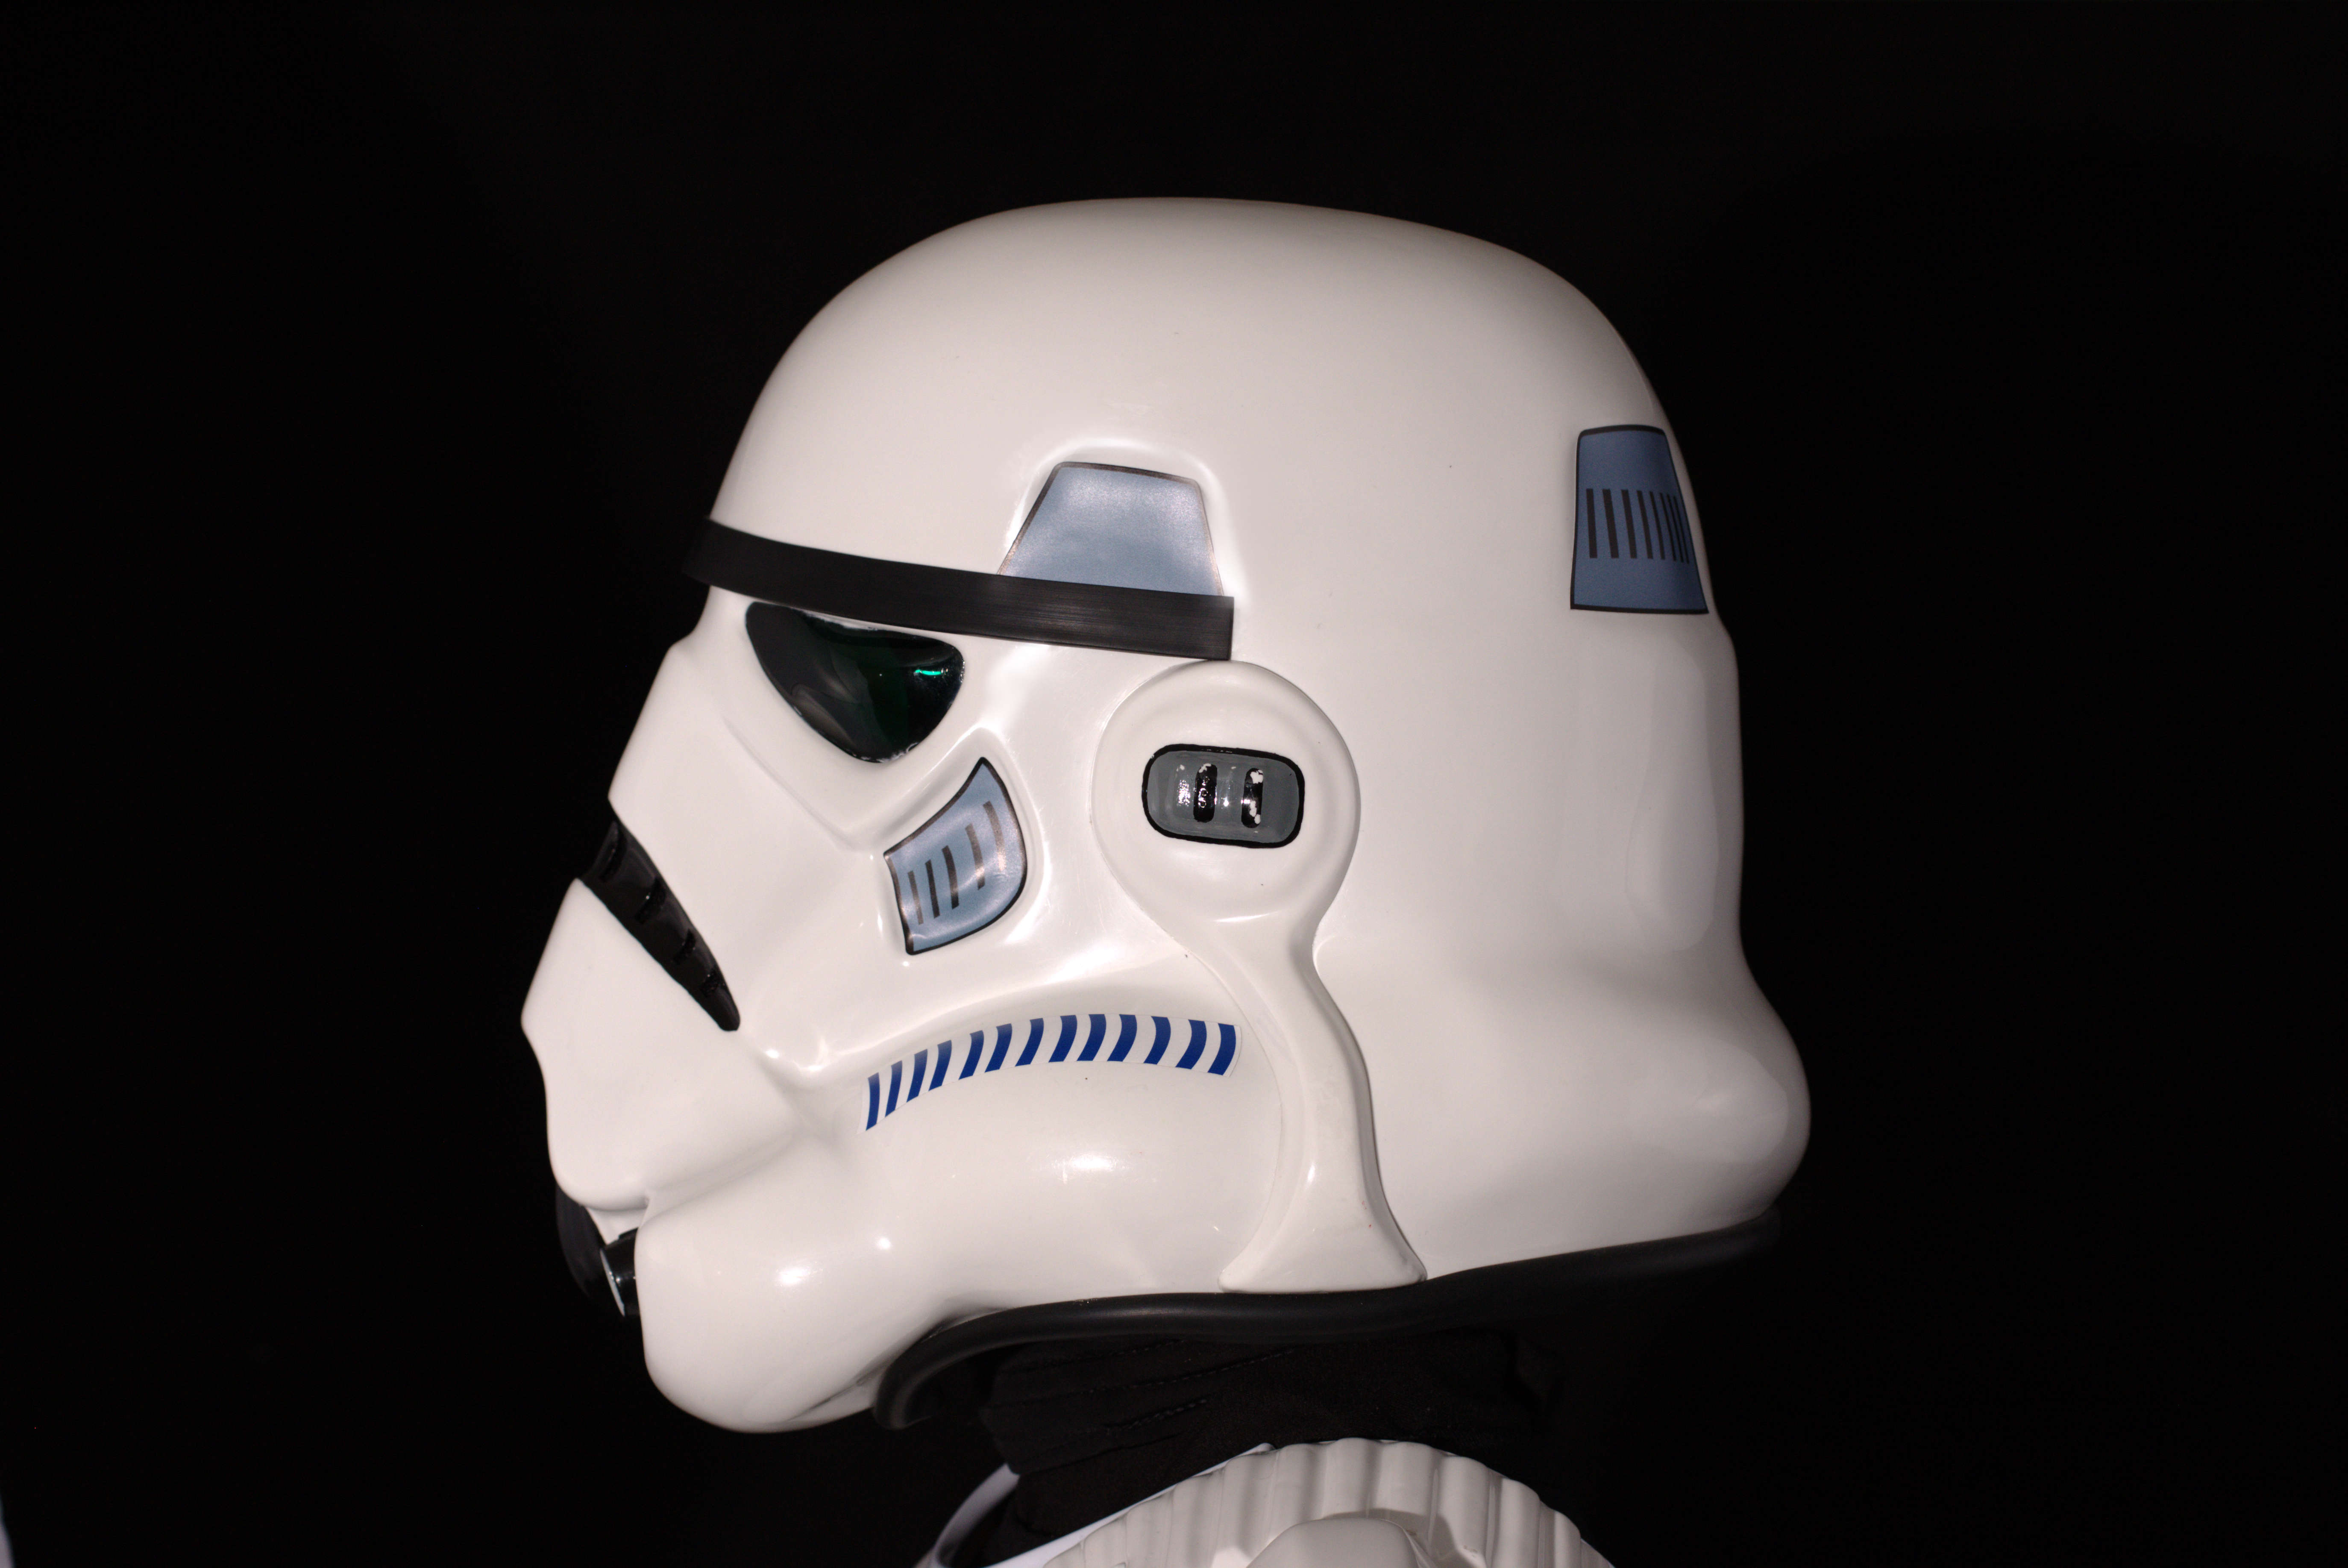
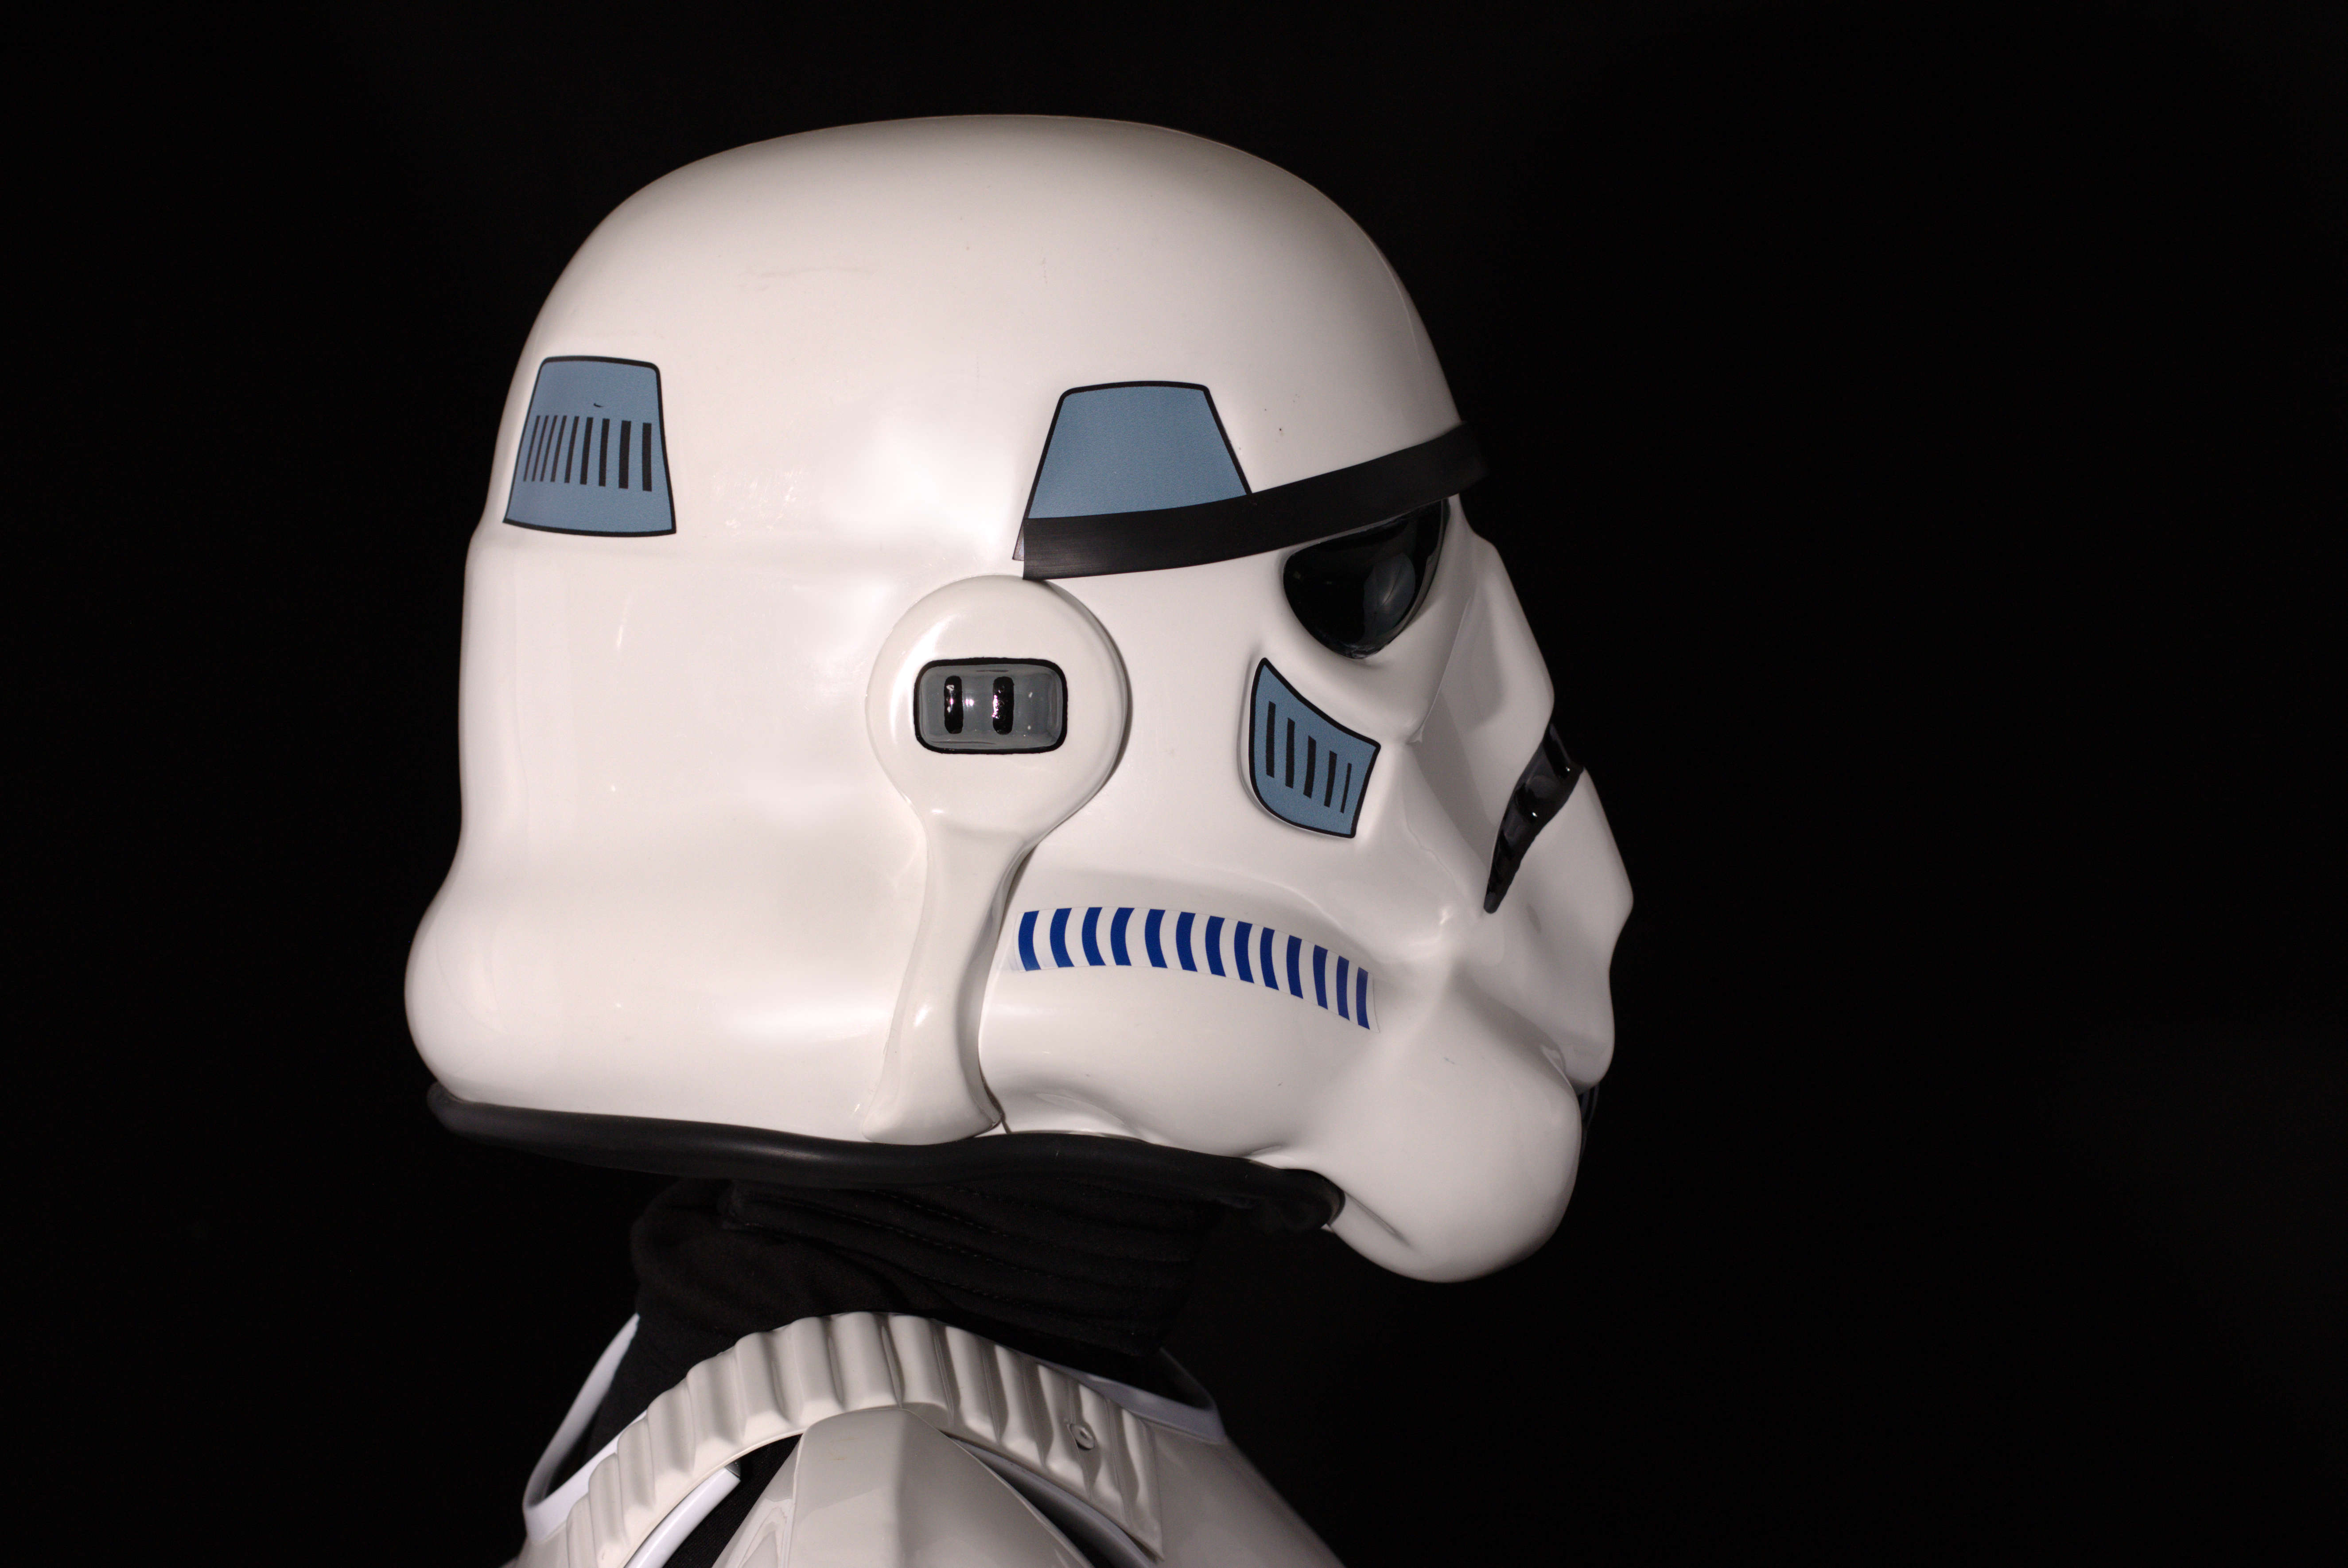
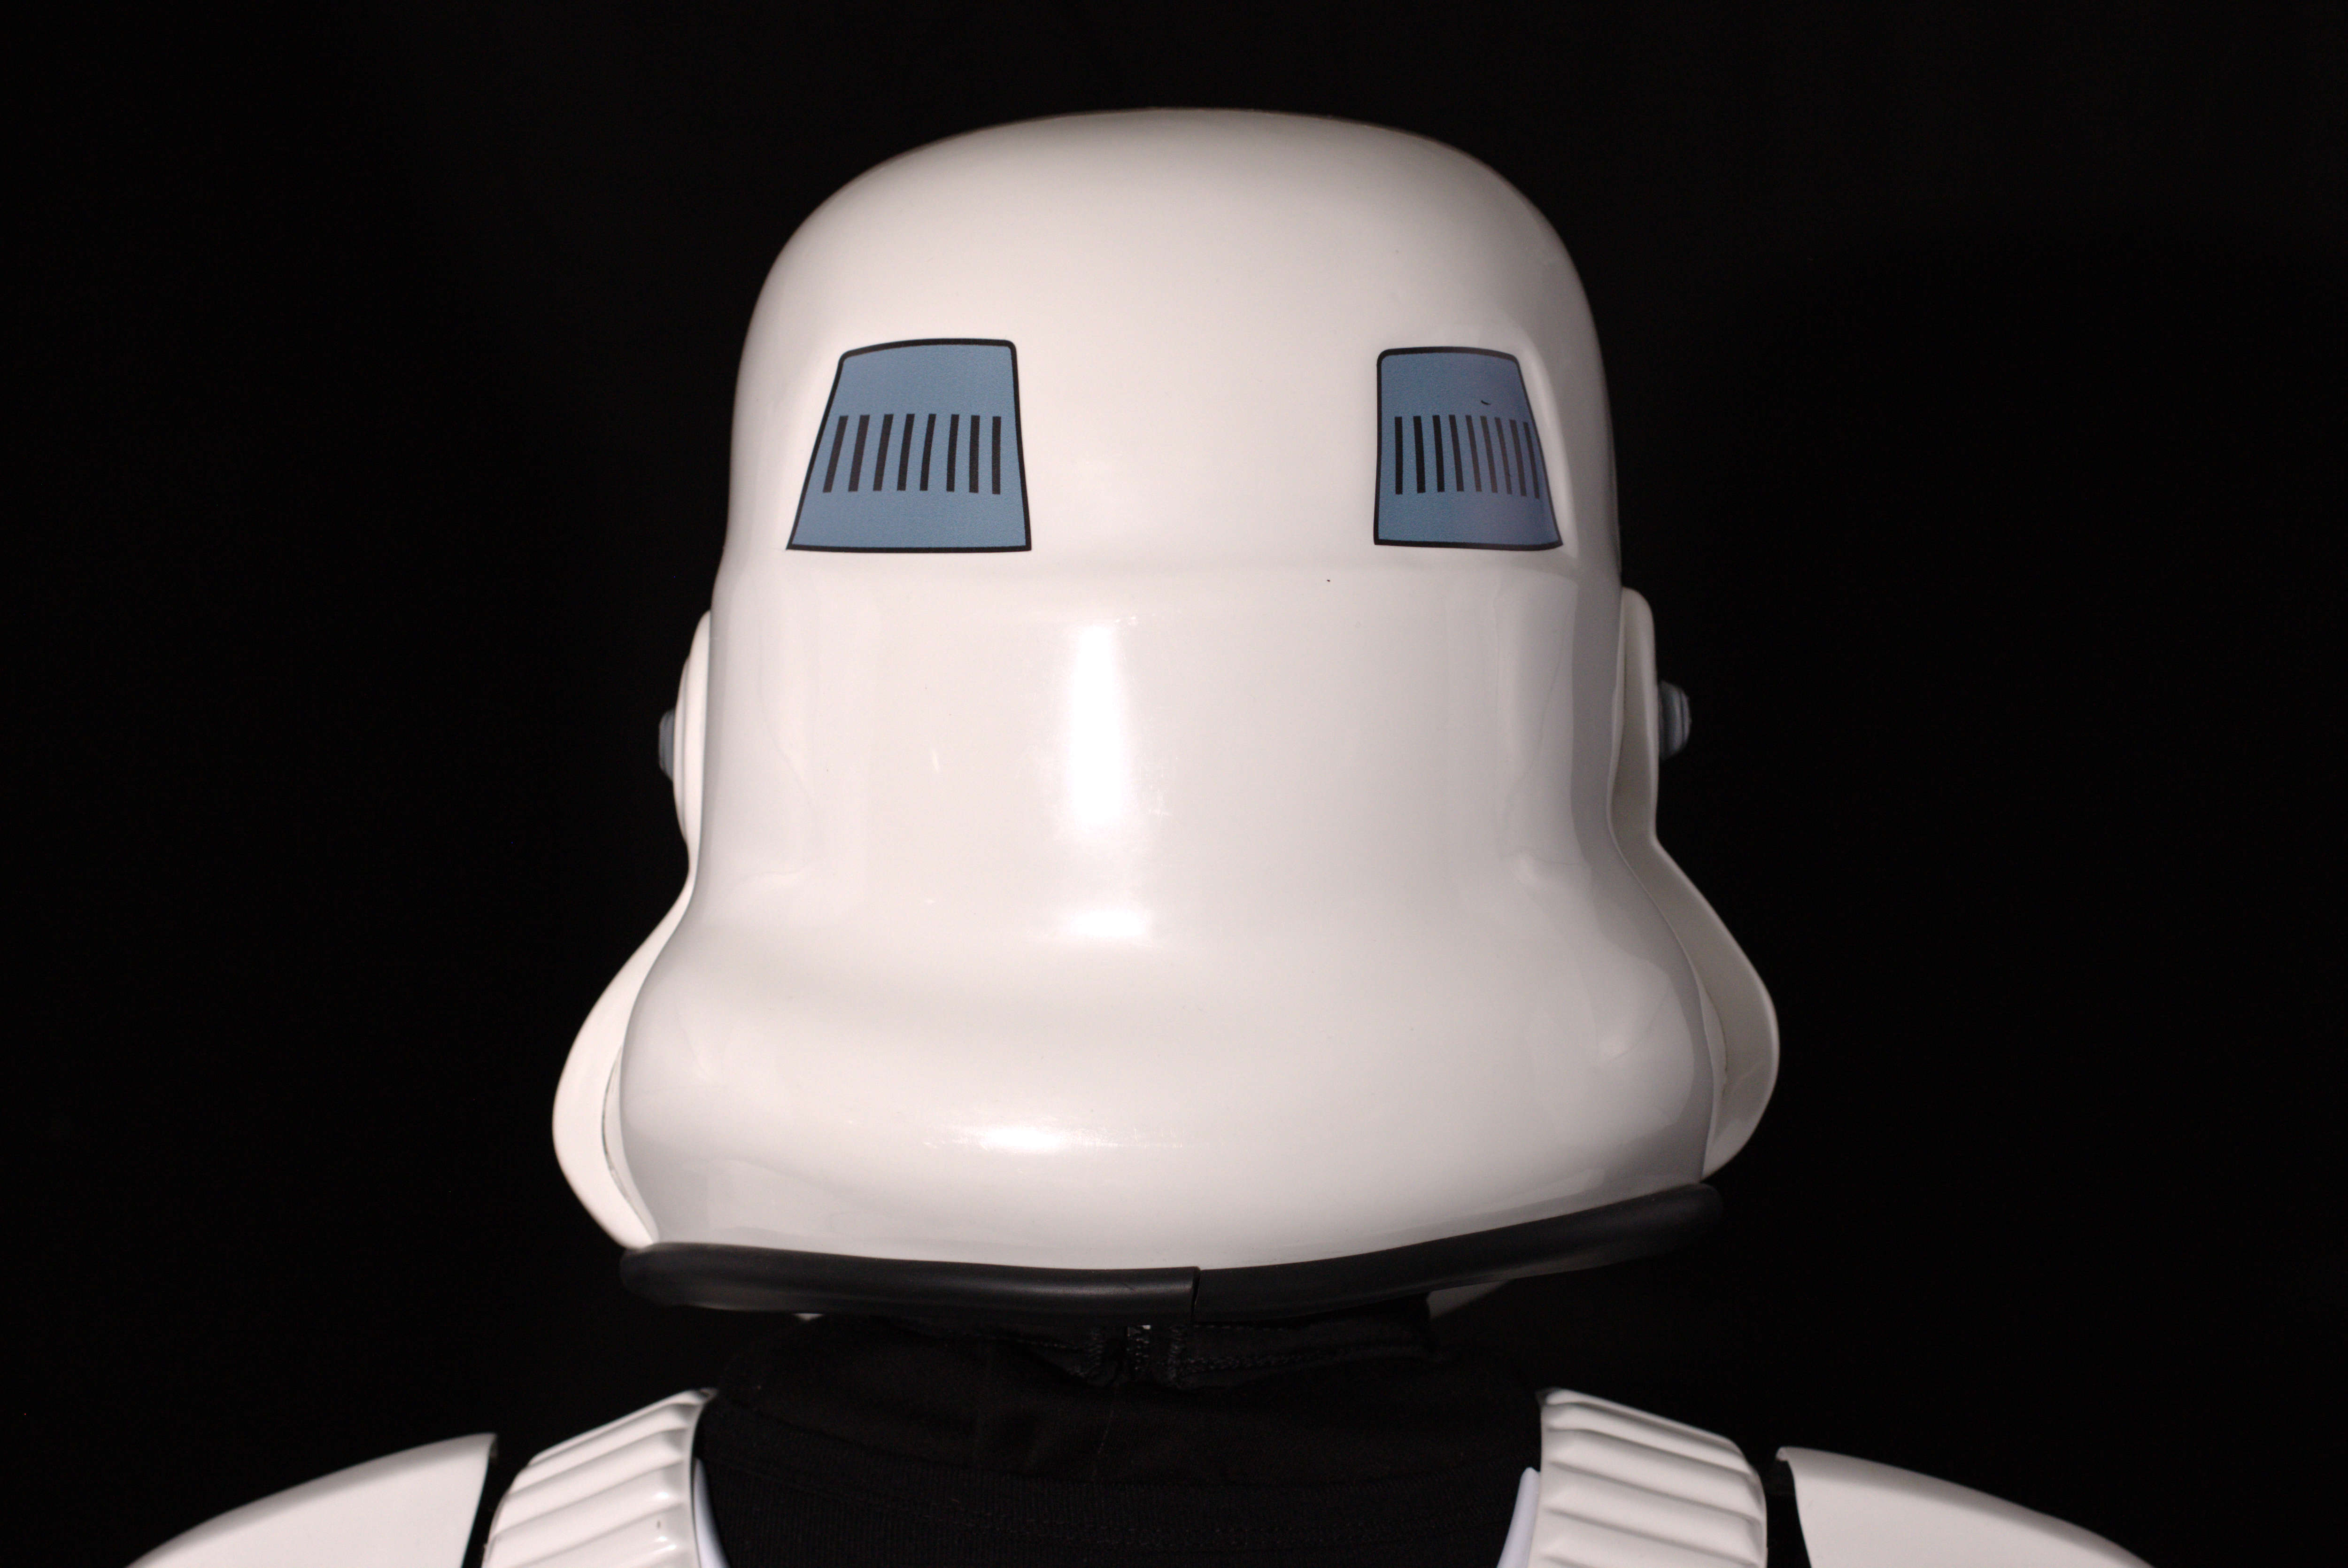
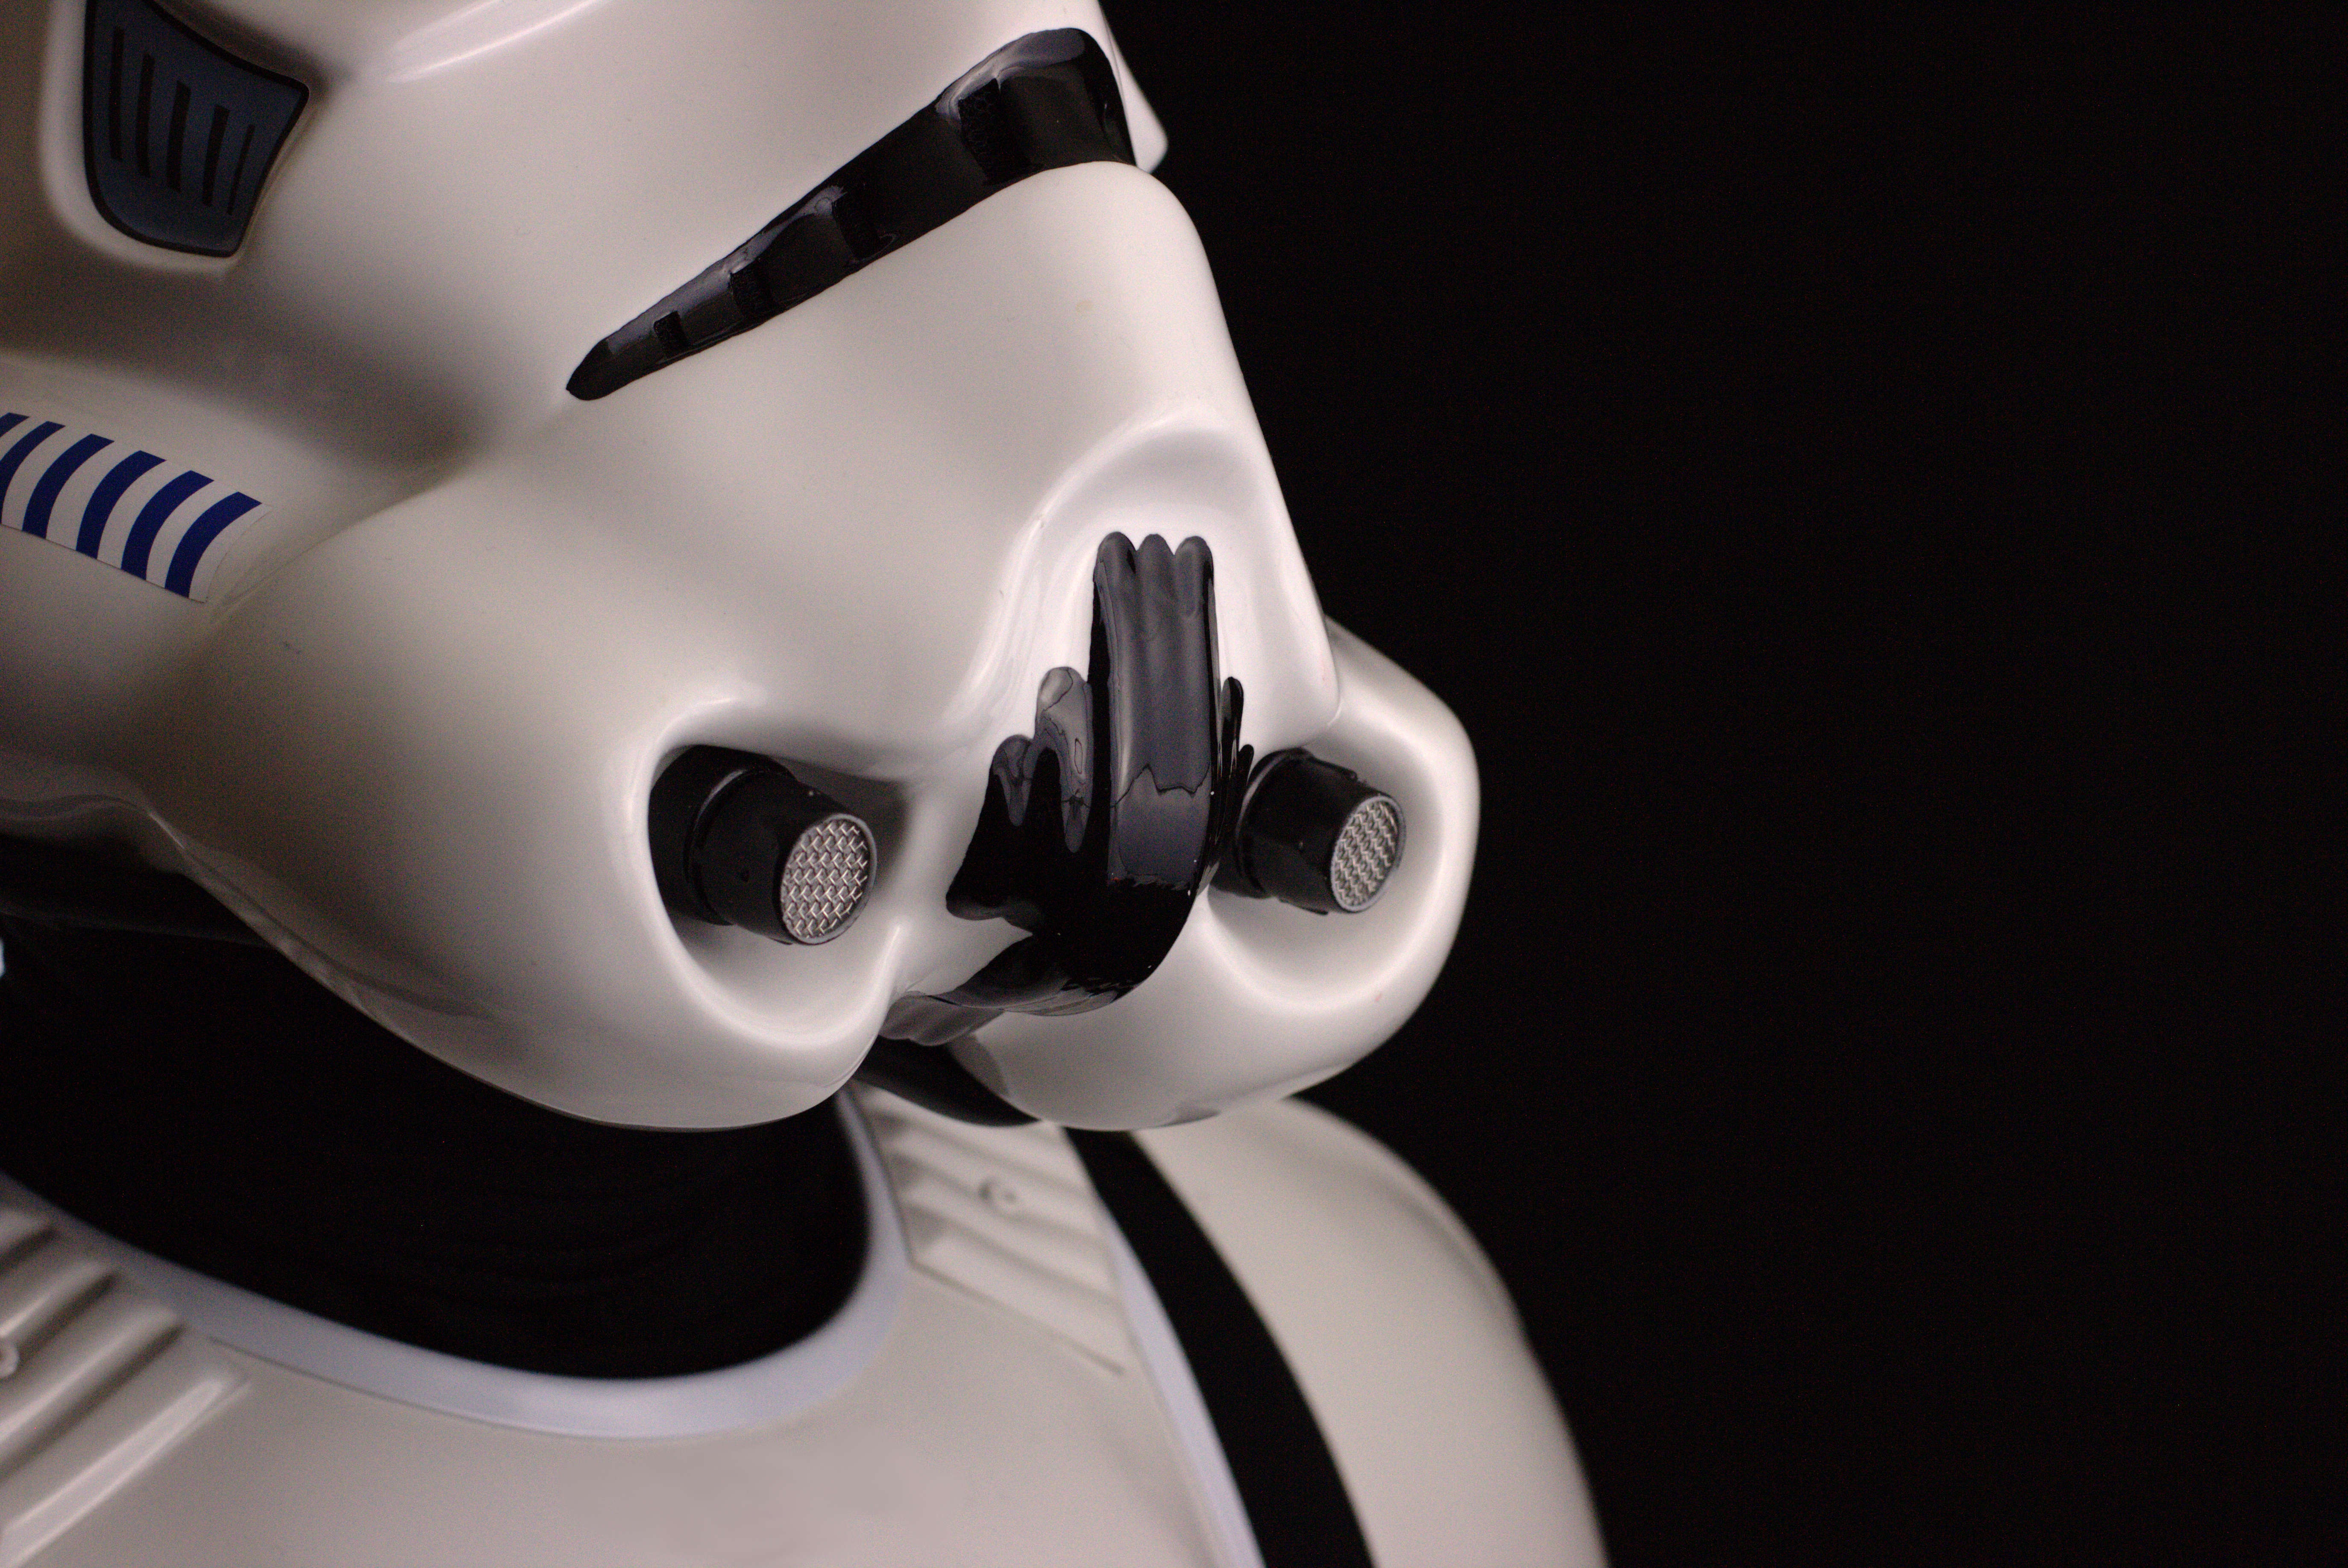
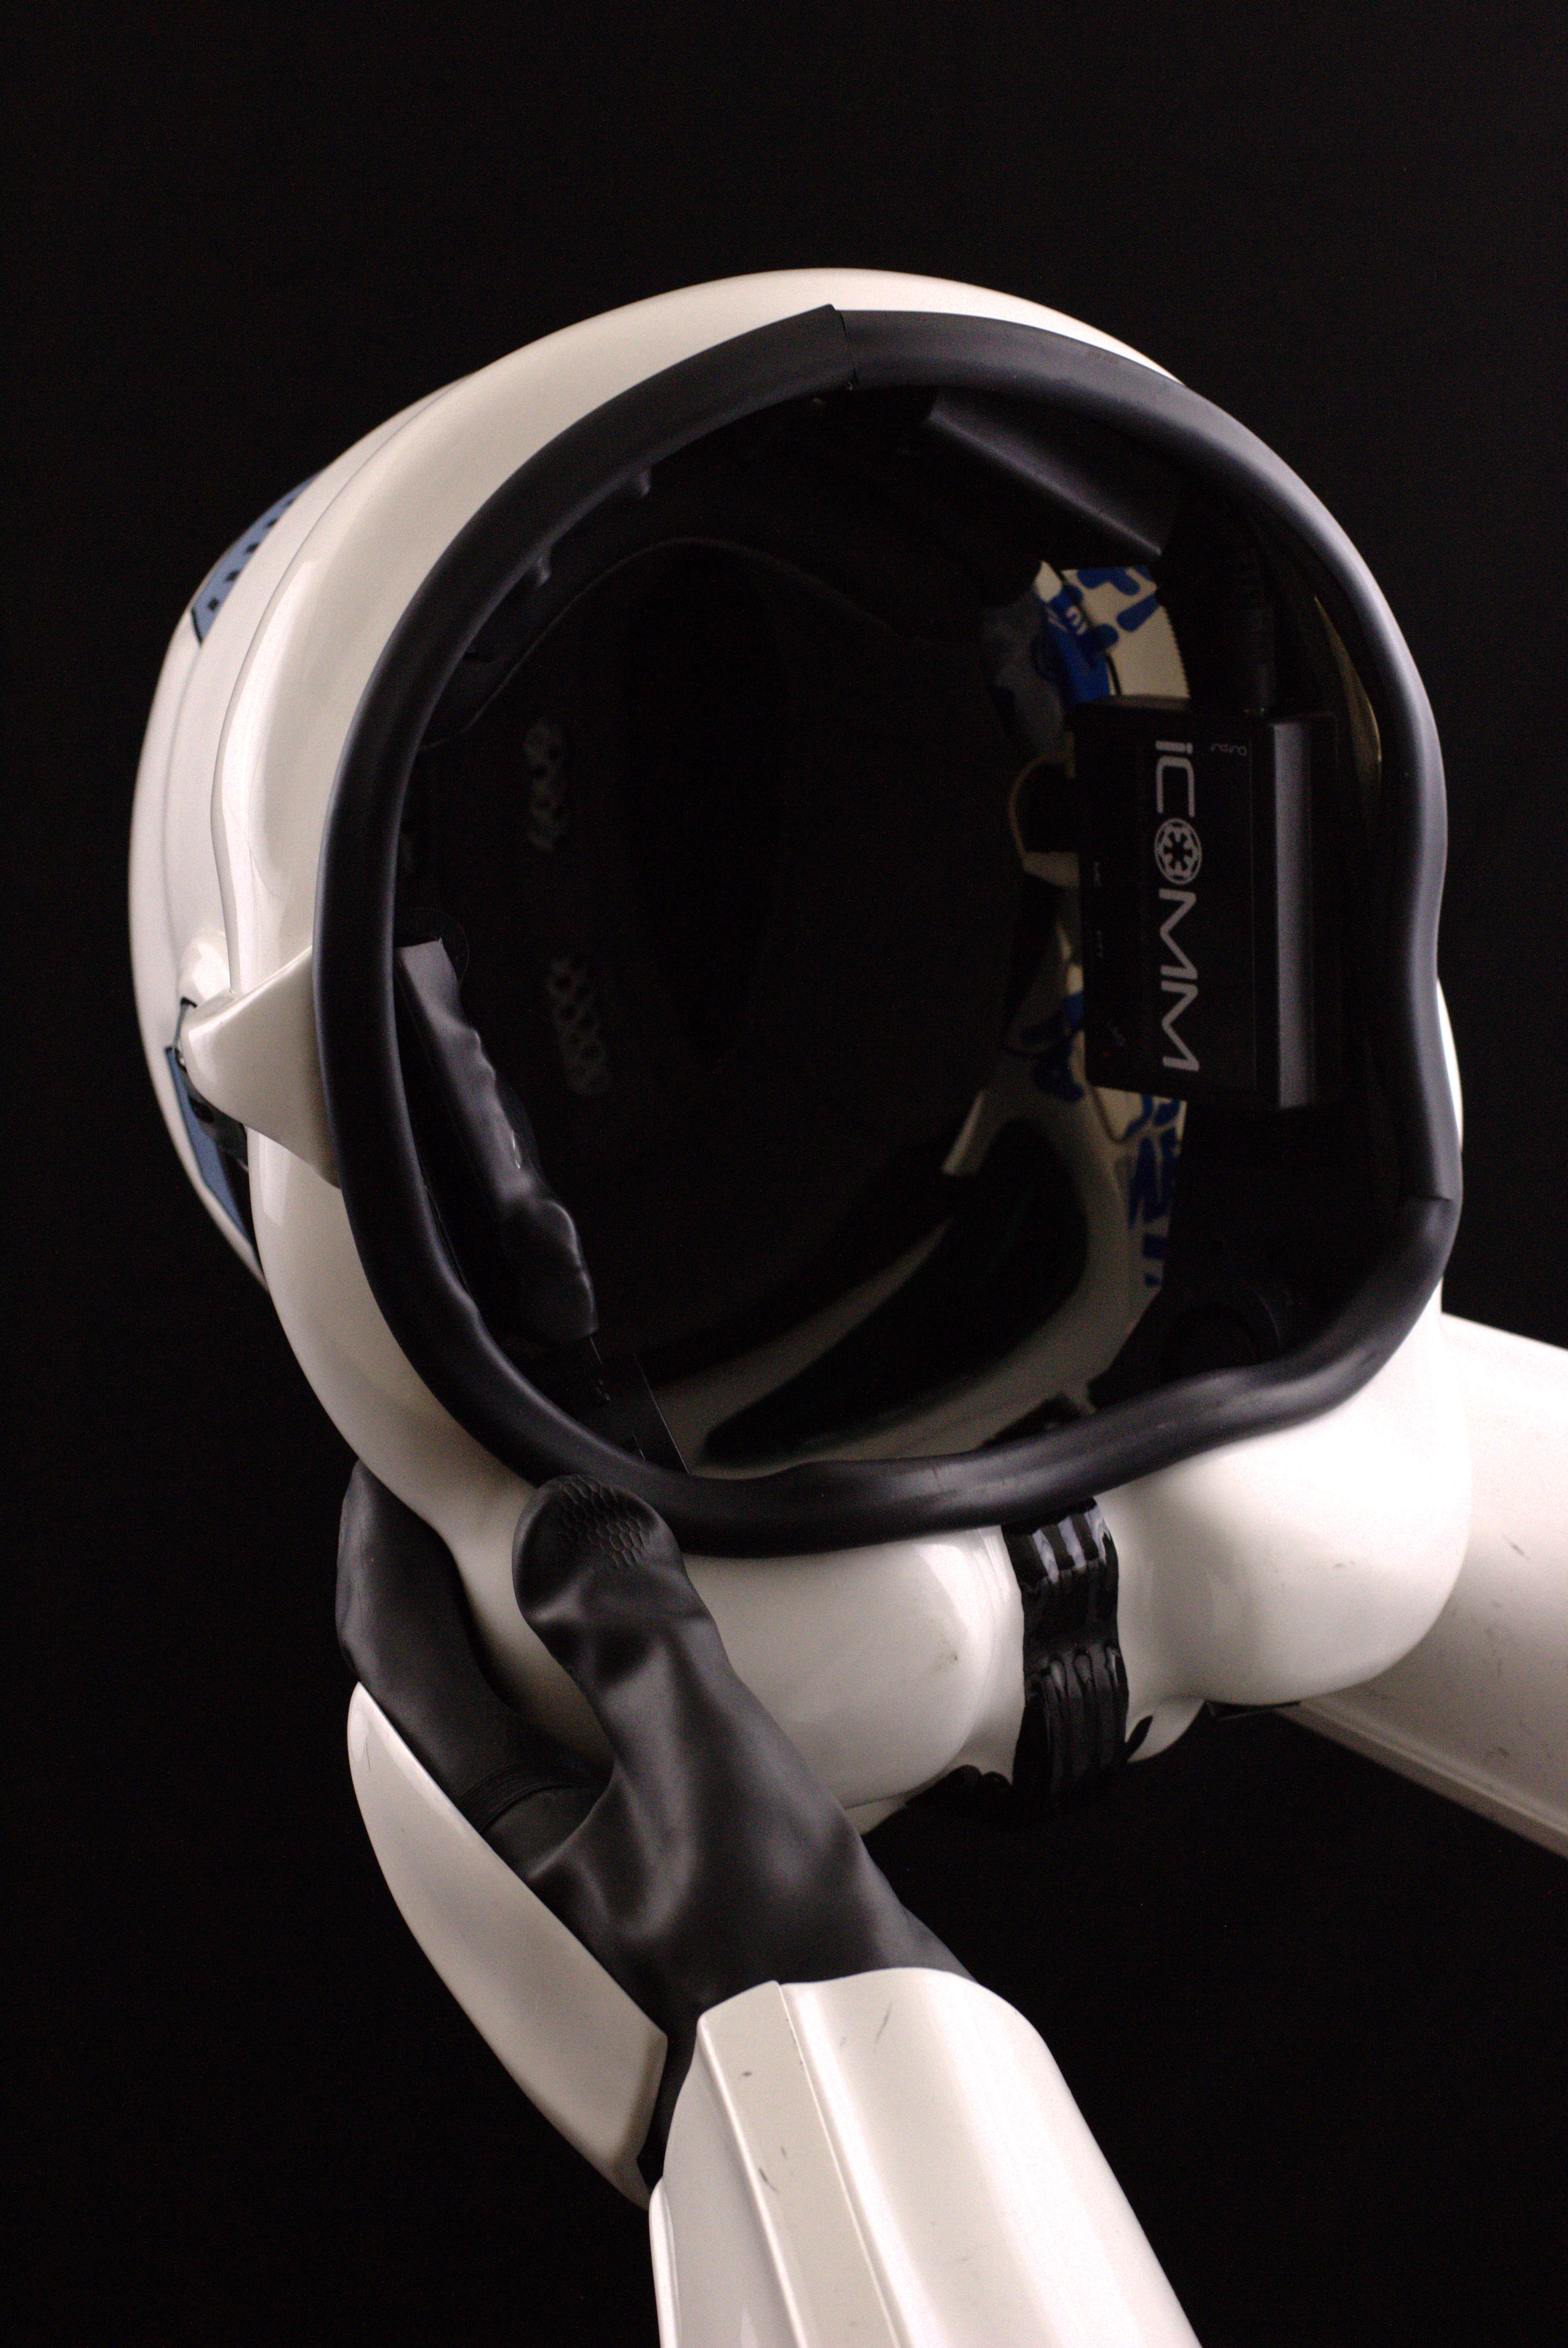
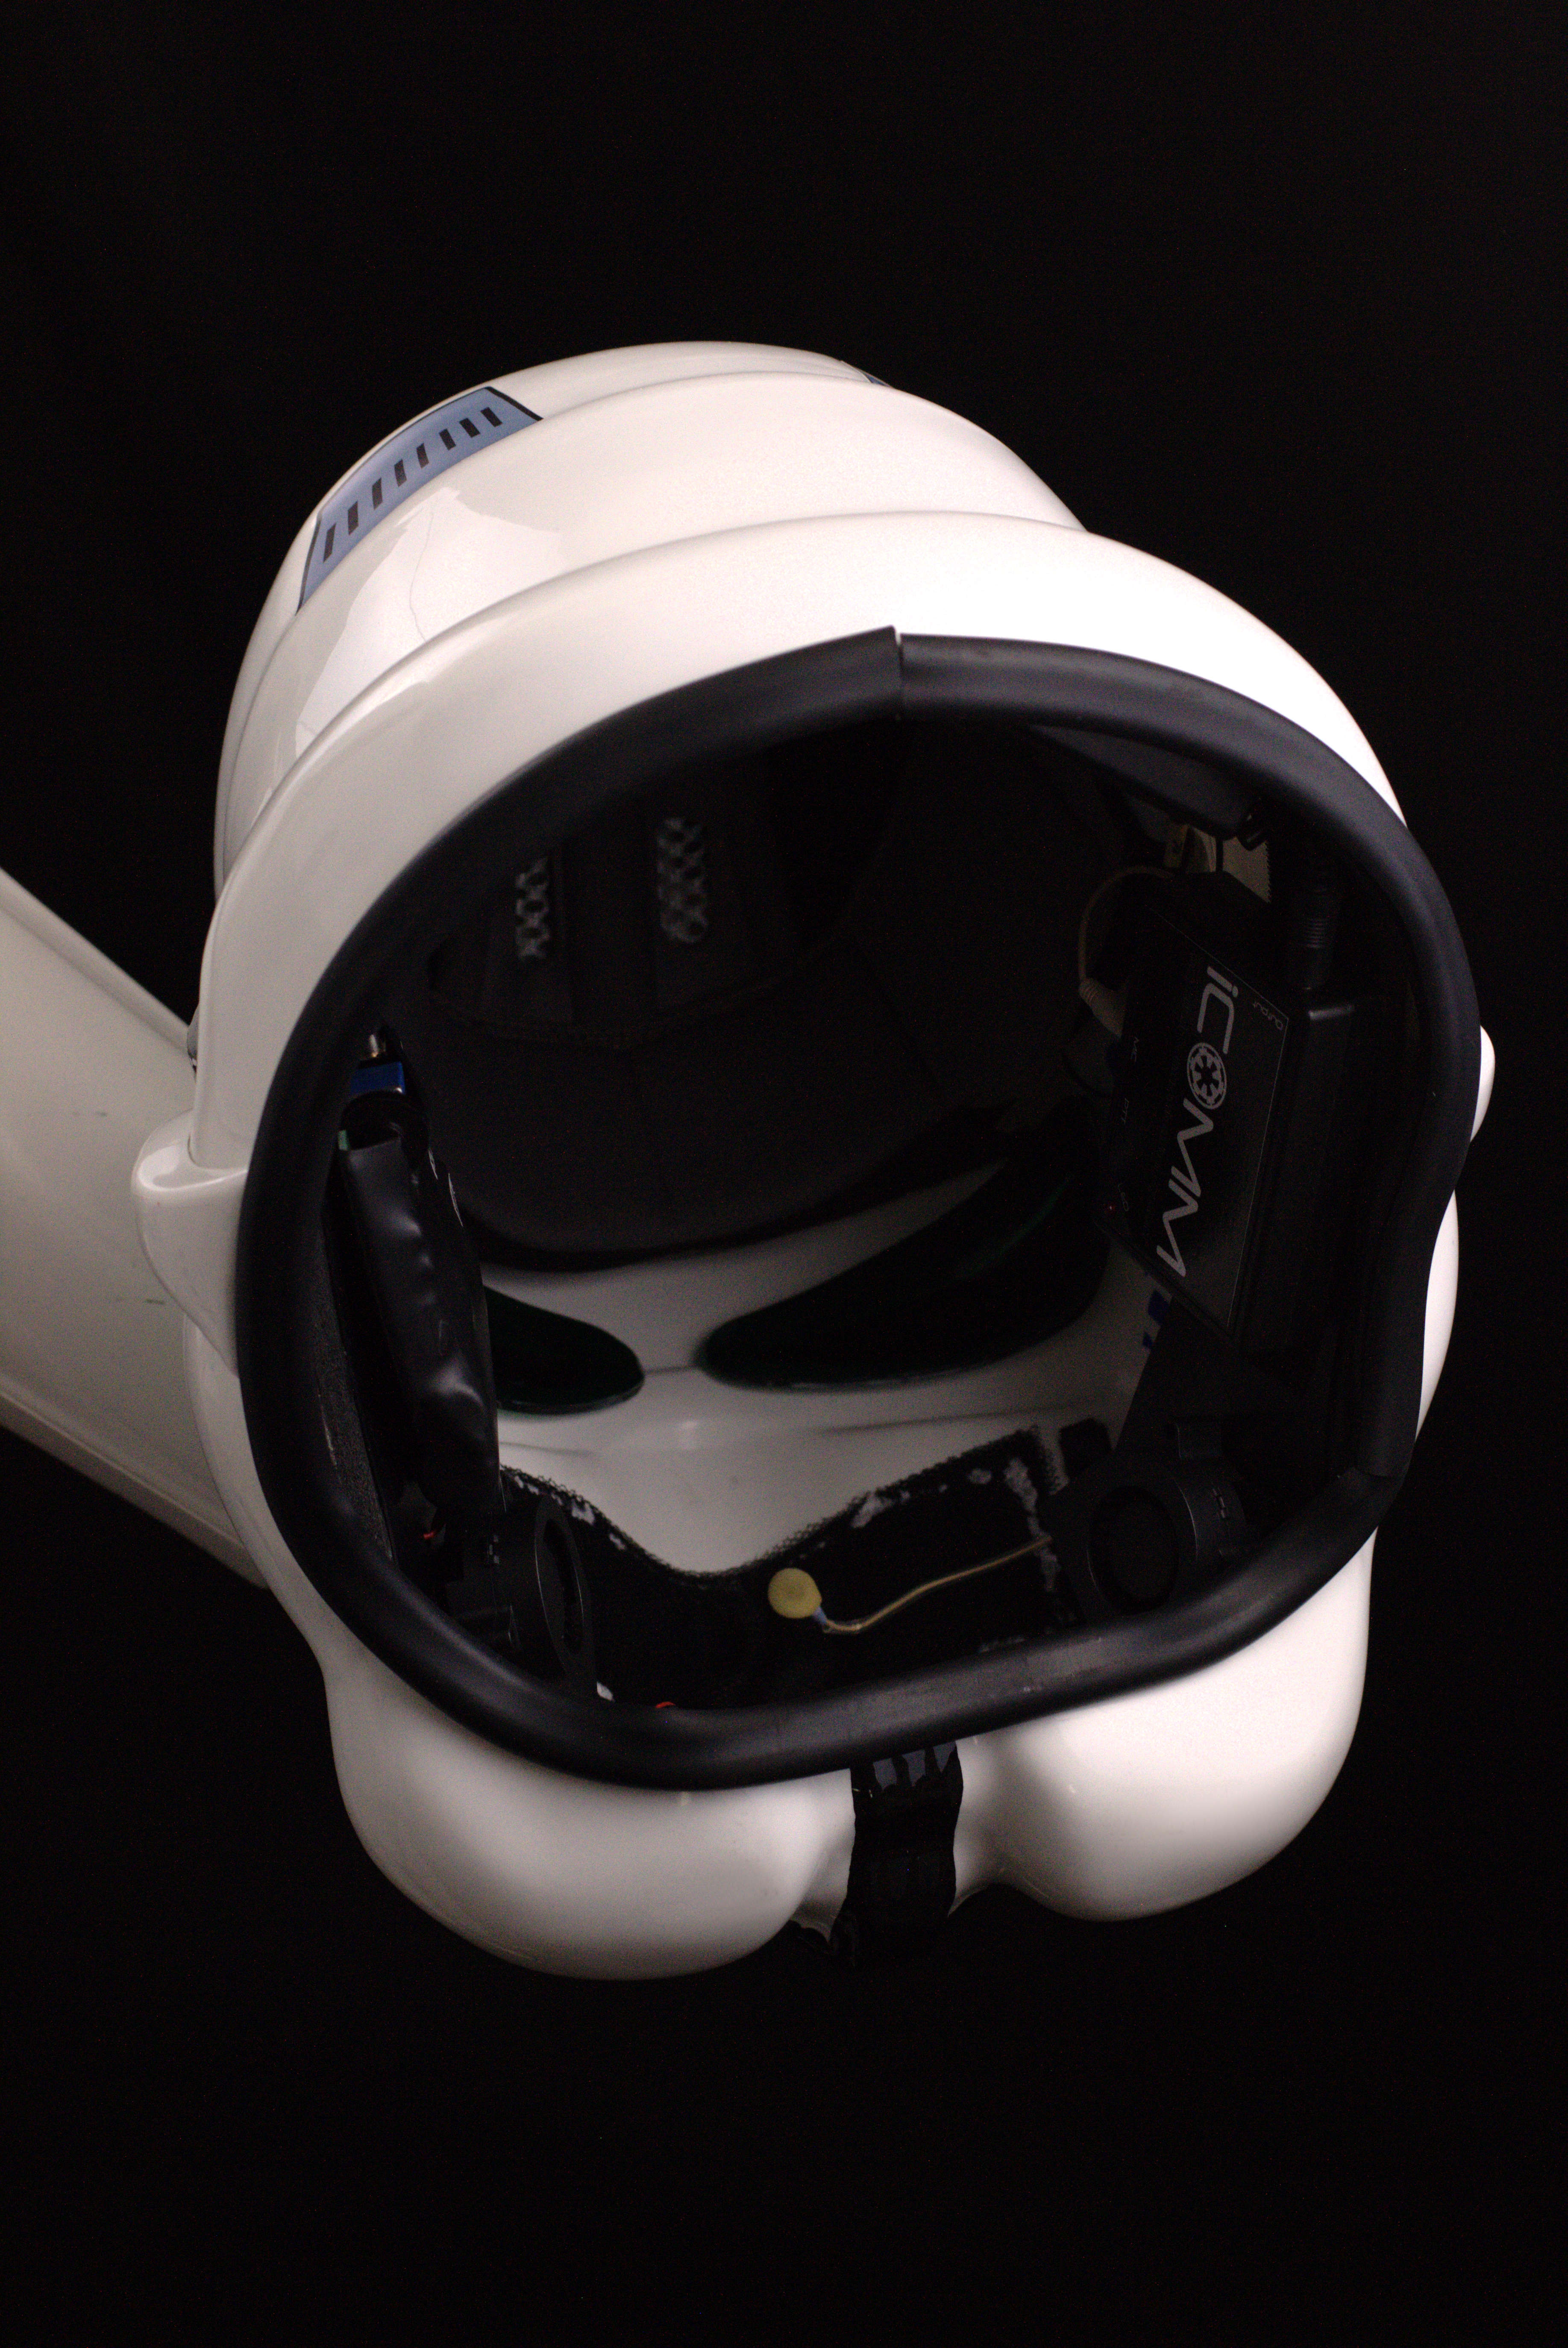
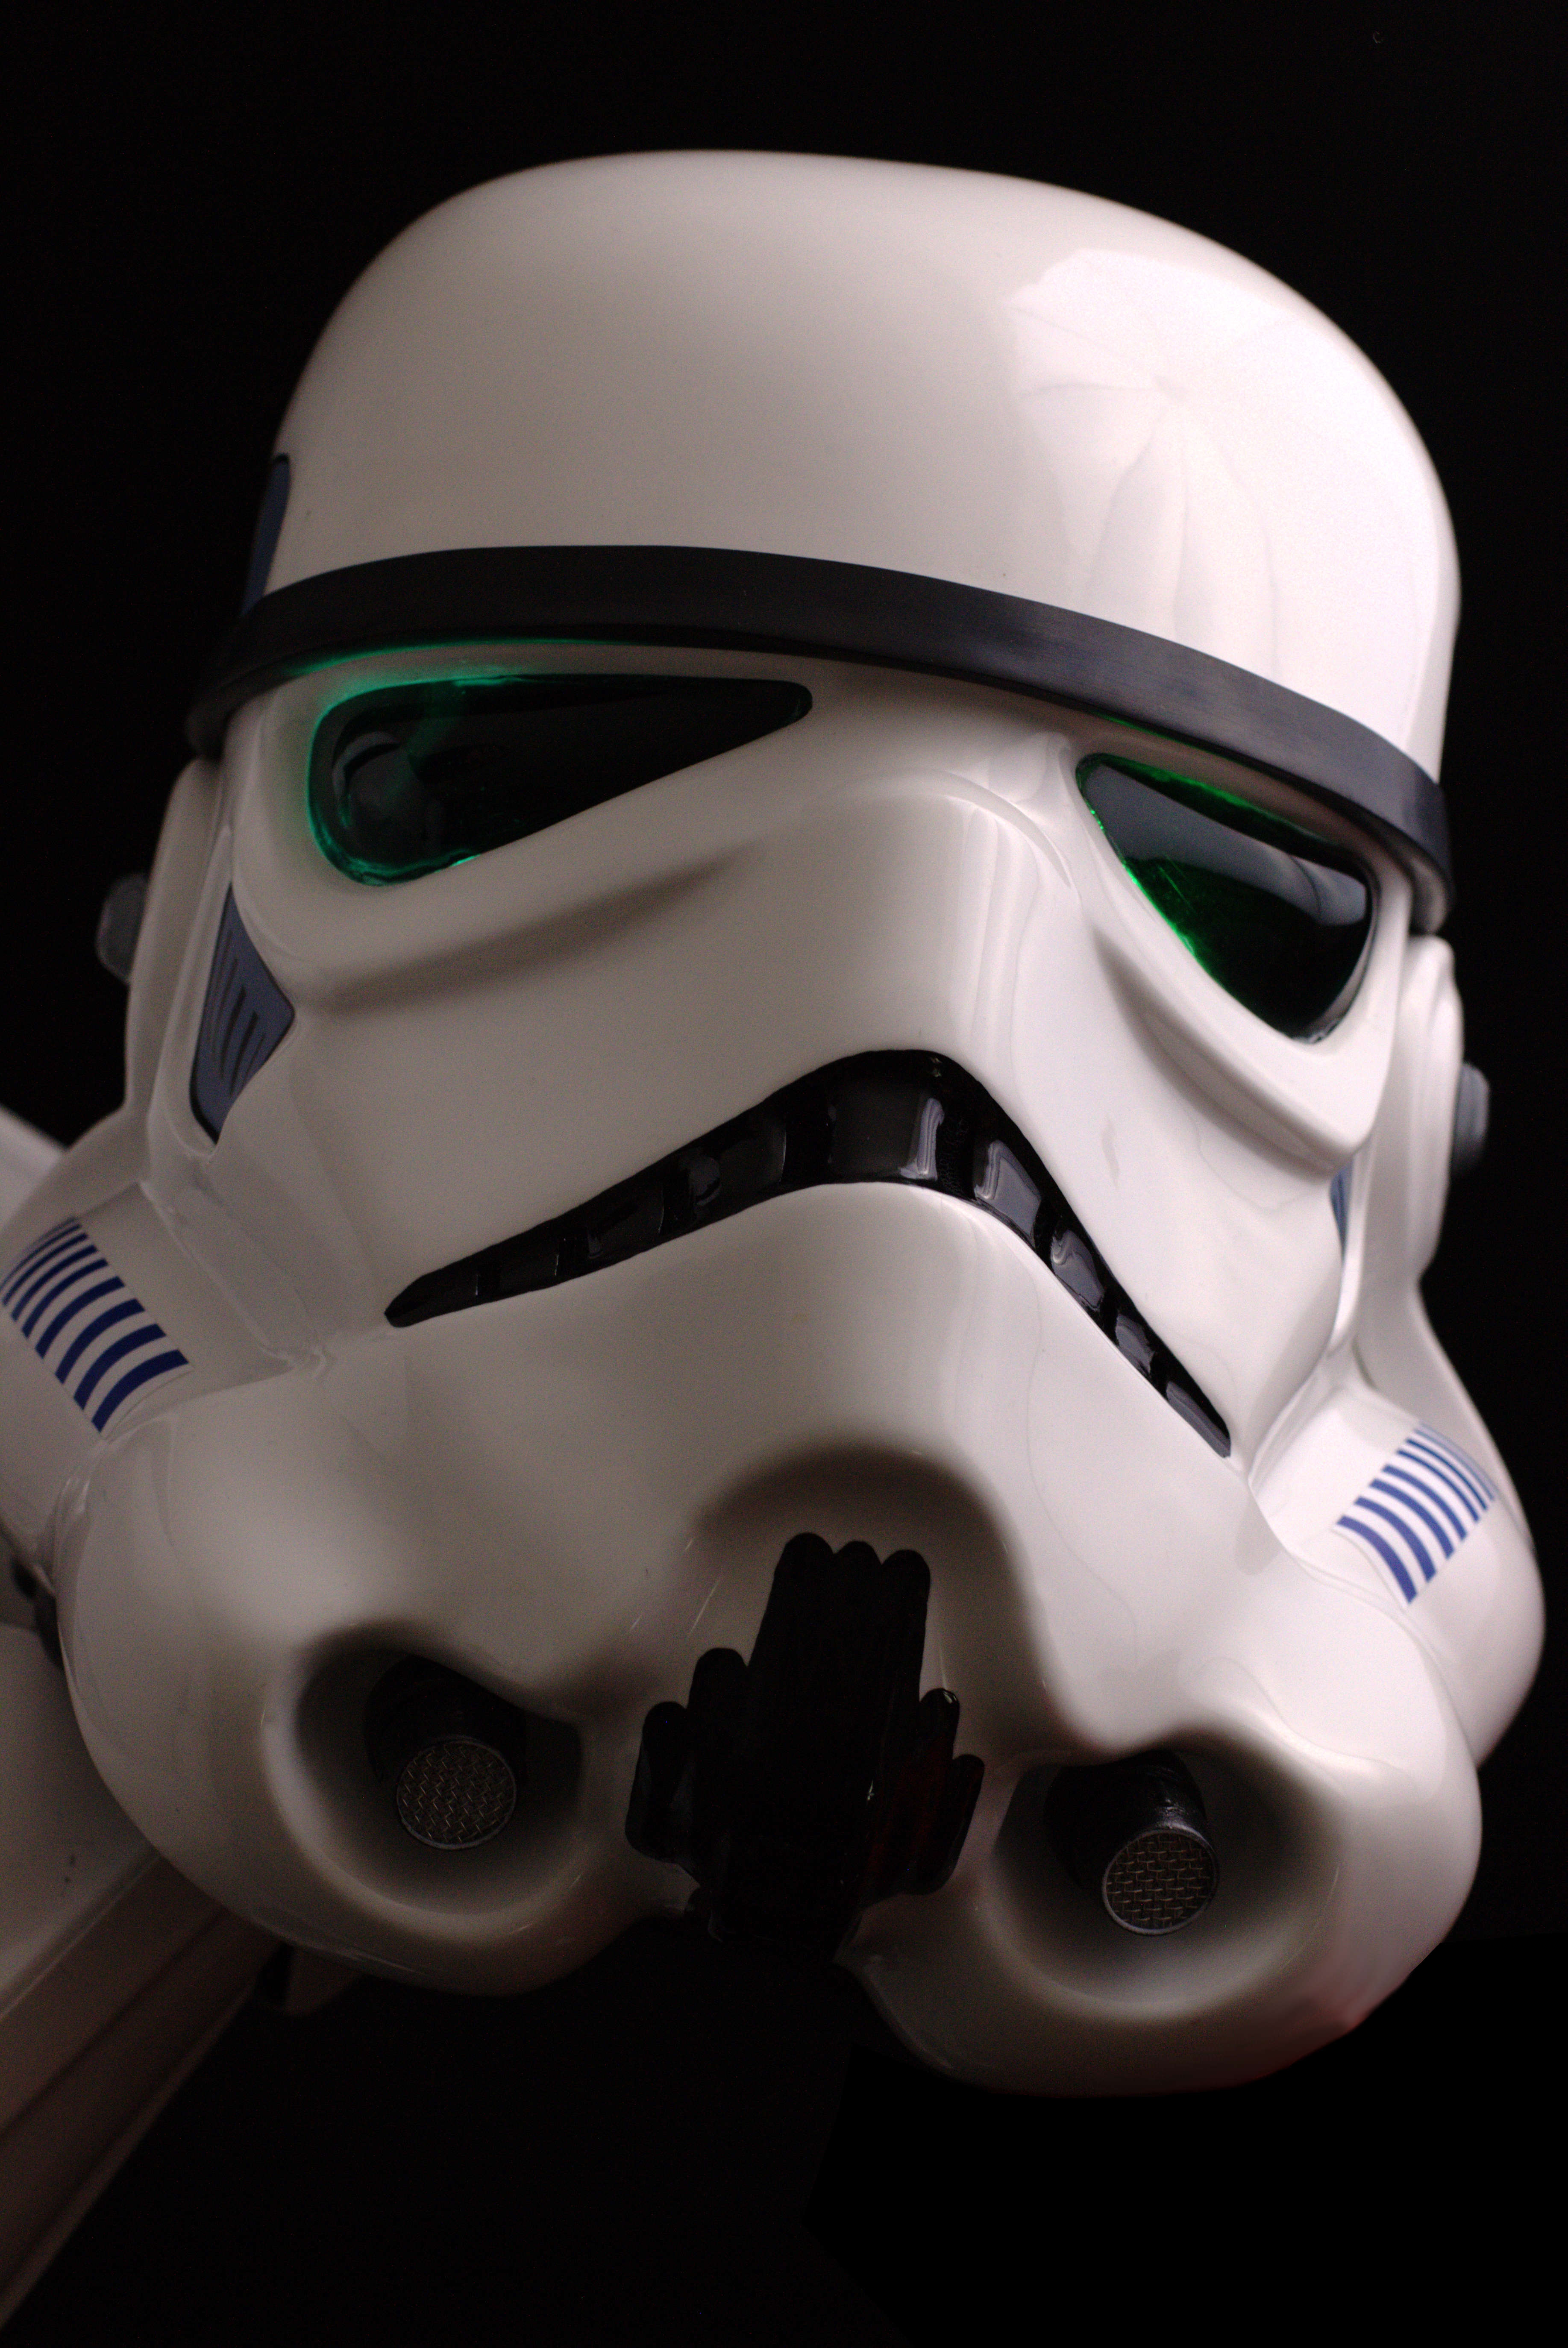
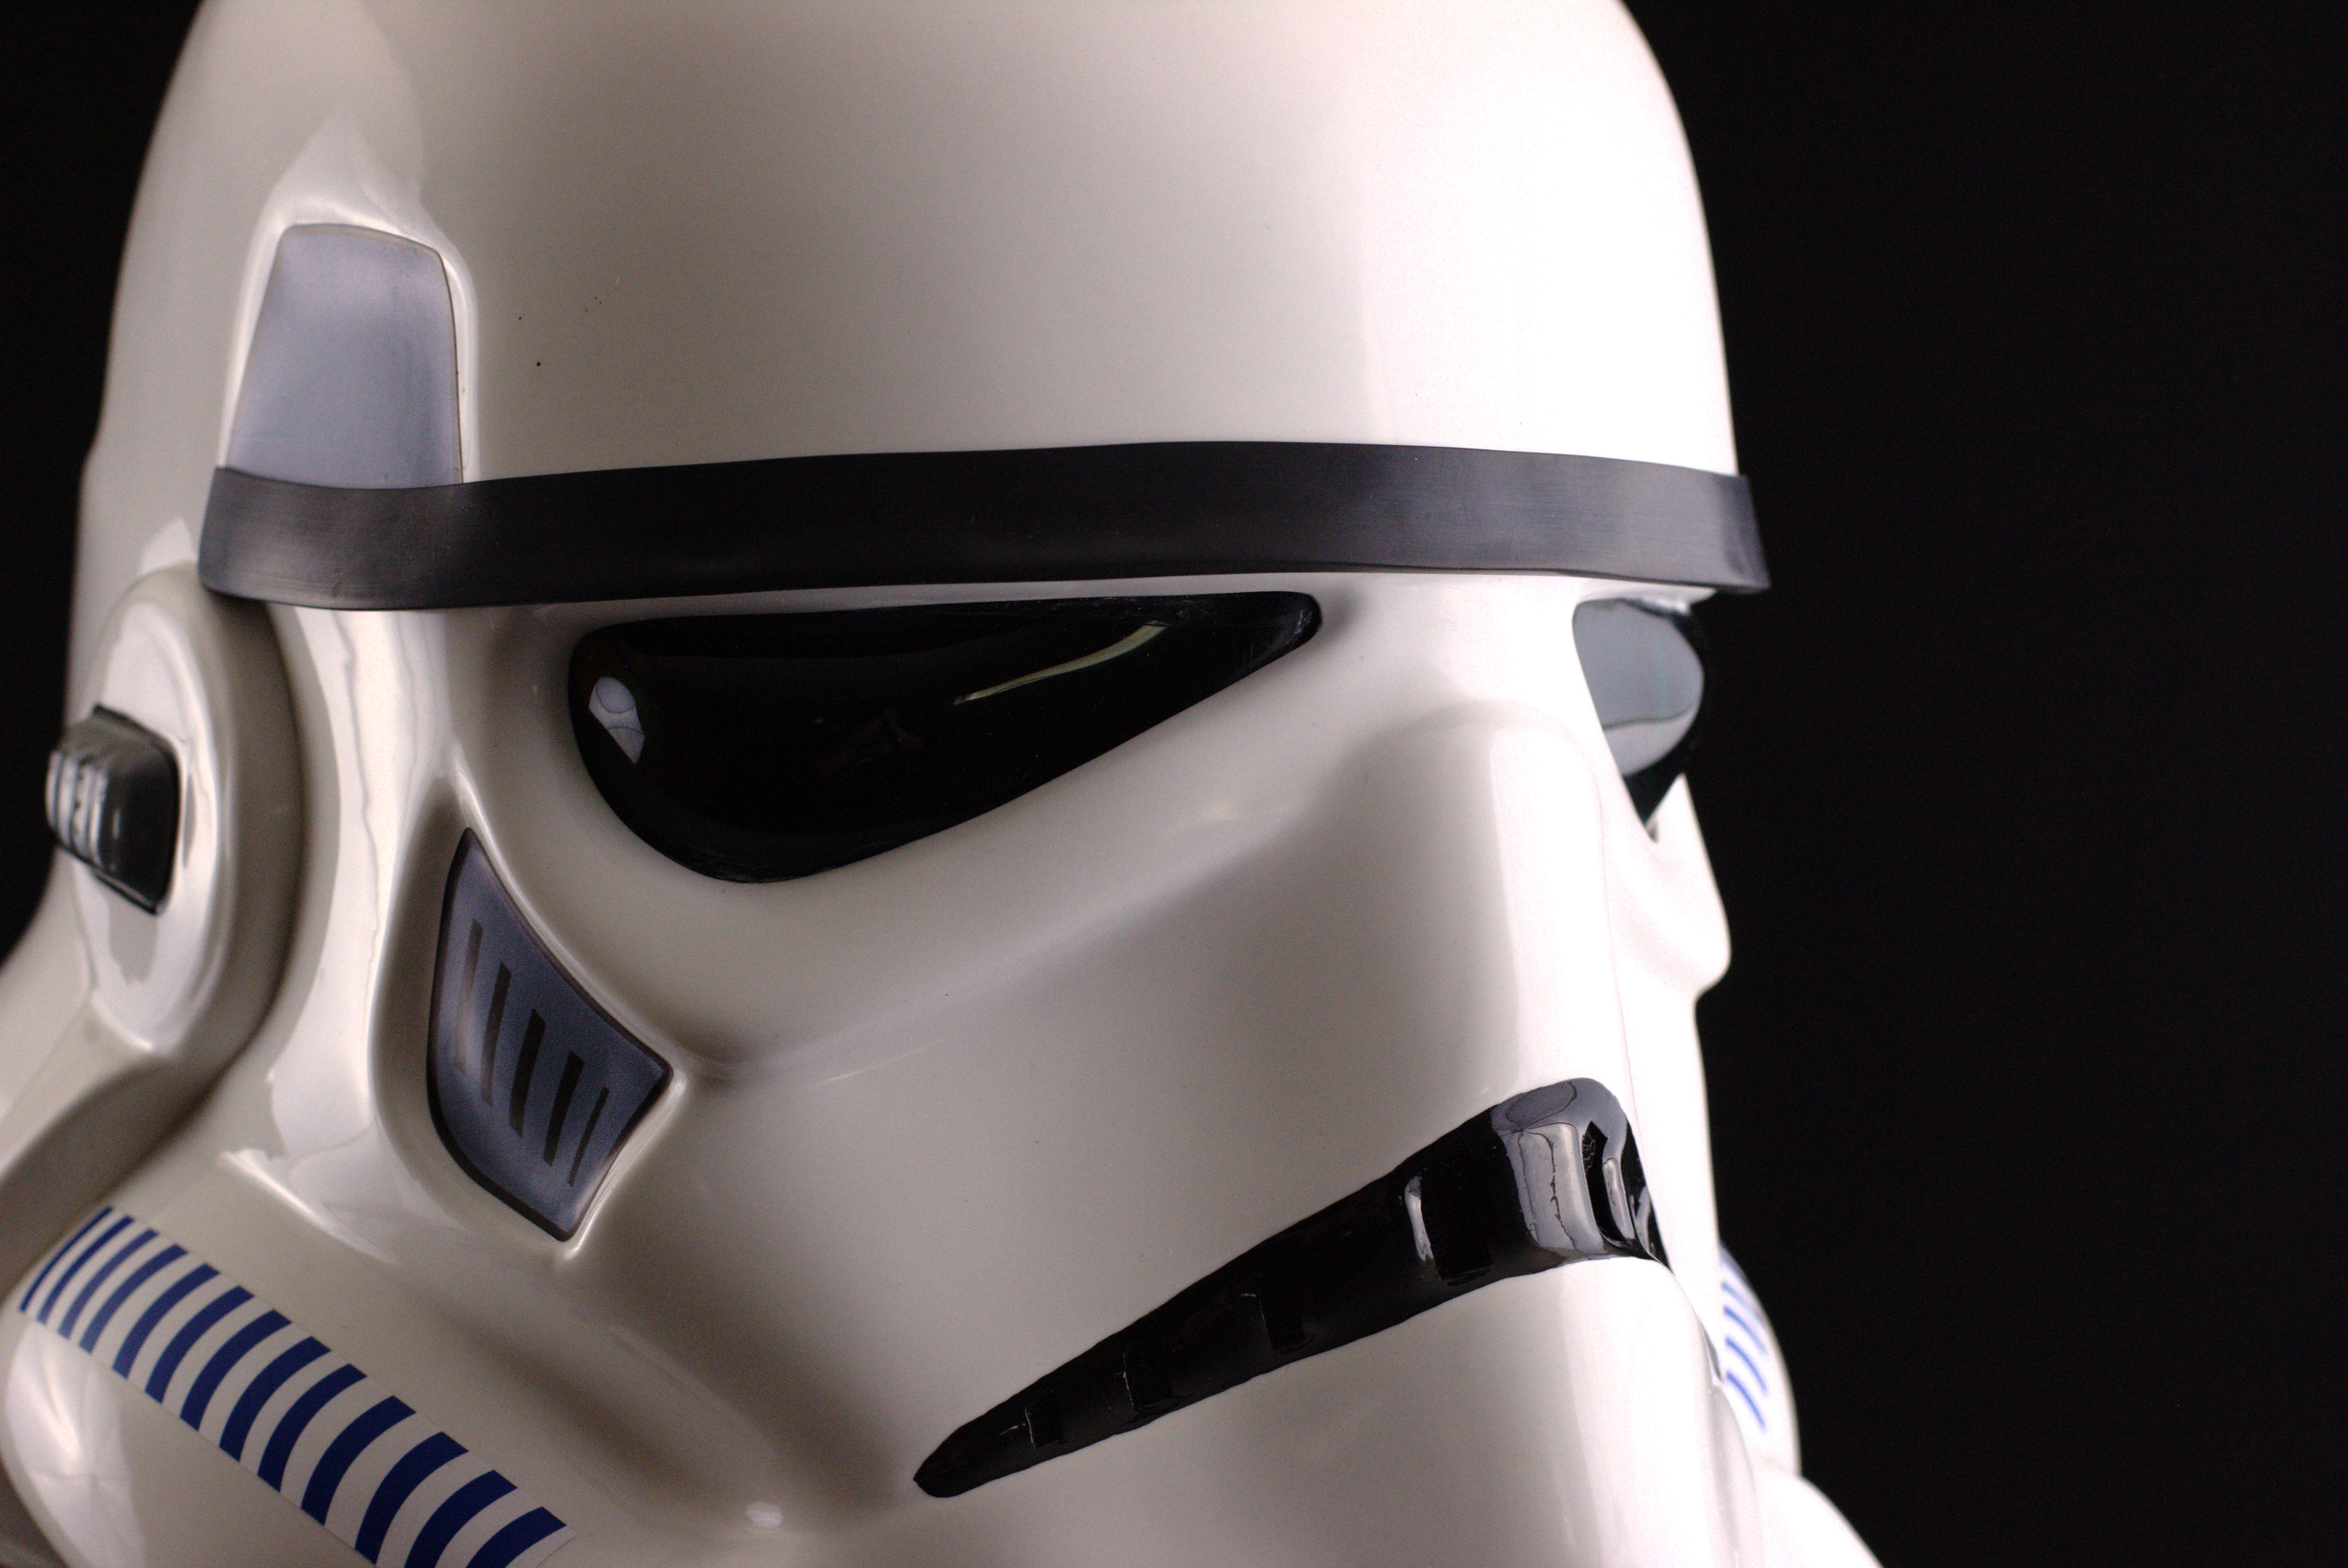
TK15315 requesting ROTJ EIB status [TM] (843)
in Request Expert Infantry Status
Posted
I thank all of you to made it possible for me to get EI status. I'm so glad about that!

Now I'm striving for CEN with all my strenght! Wish me luck and keep your fingers crossed for me