

TK Droid
-
Posts
229 -
Joined
-
Last visited
Content Type
Profiles
Forums
Gallery
Articles
Media Demo
Posts posted by TK Droid
-
-
Hello TK19936 here.
I'll be going to the FISD photo up on the Saturday, and I'll be going to the Rogue One Storming the Beach photo shoot on the Sunday.
-
 1
1
-
-
Hello, I'm ROTJ TK 19936 of the Canadian Garrison. I'm requesting 501st Legion status please.
This is a link to my 501st Legion Profile: https://www.501st.com/members/displaymemberdetails.php?userID=23972
-
Thank you everyone.
-
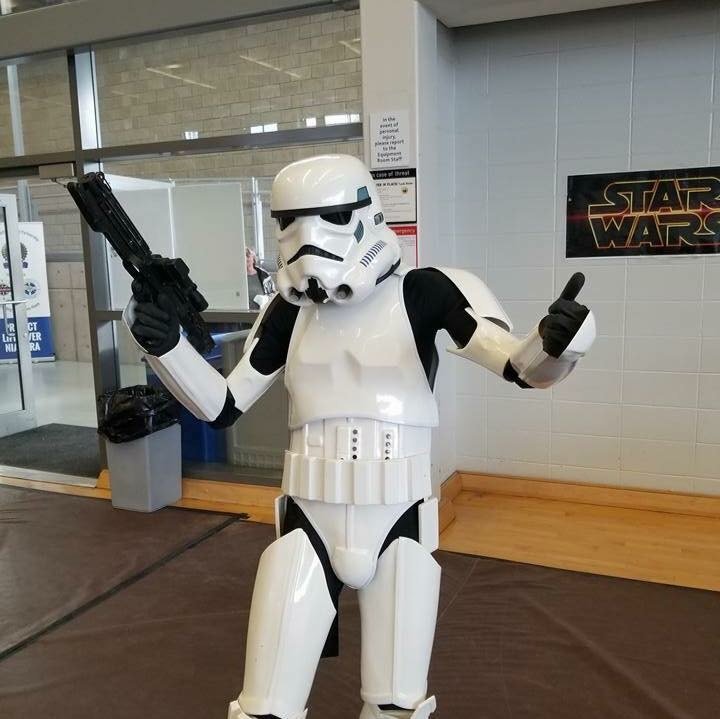
I'm approved. TK 19936 of the Canadian Garrison reporting in.

-
2
-
-
Thank you JSmails. I'm only going for 501st Legion status not the other two statuses. Maybe sometime in the future.
-
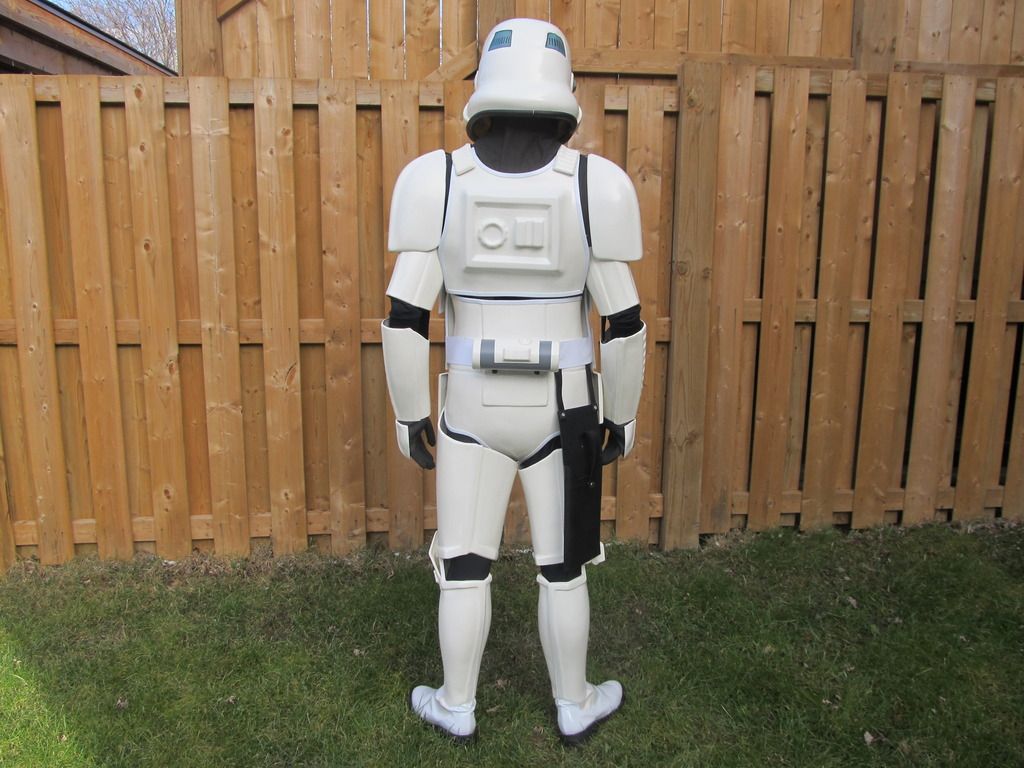
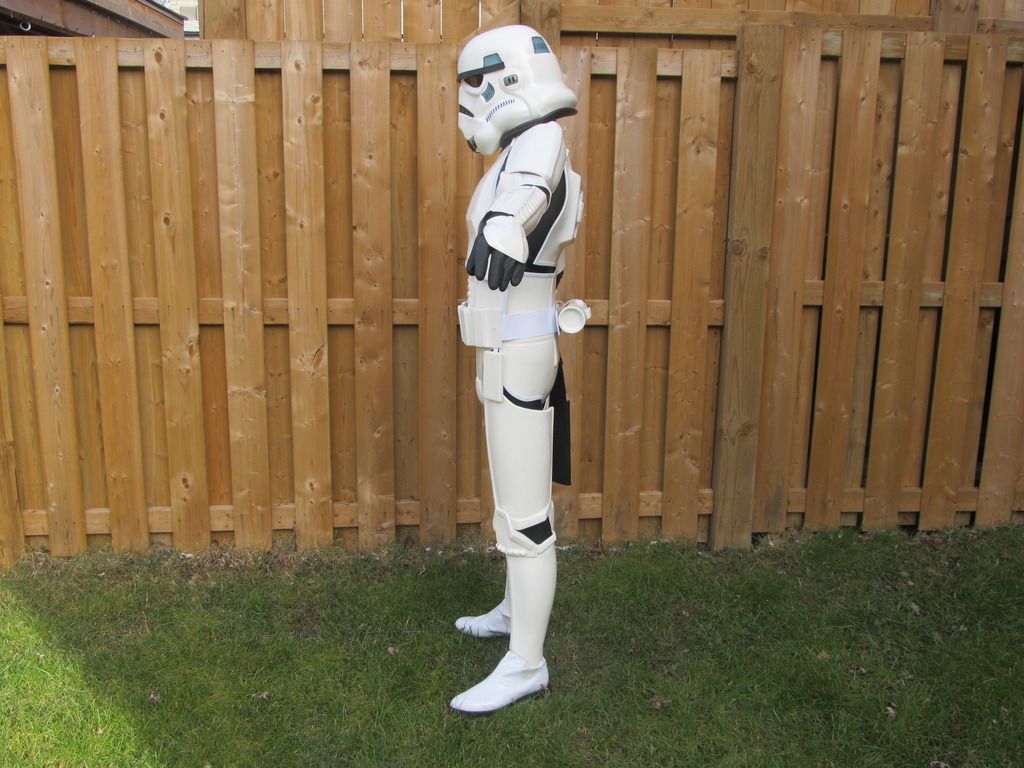
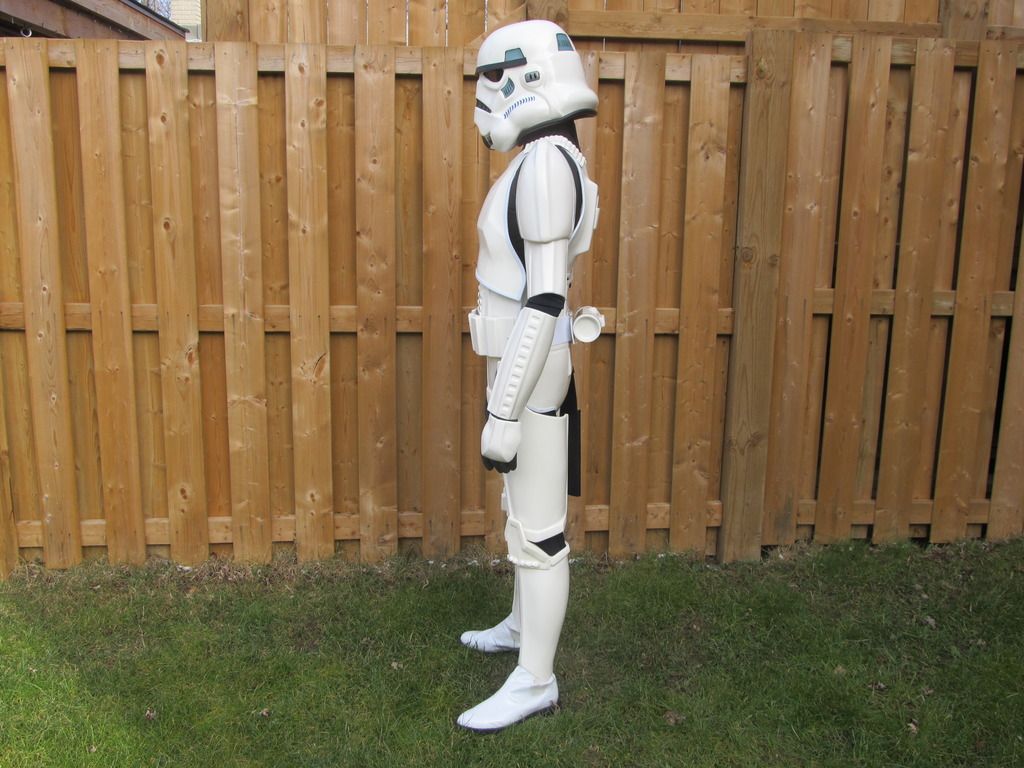
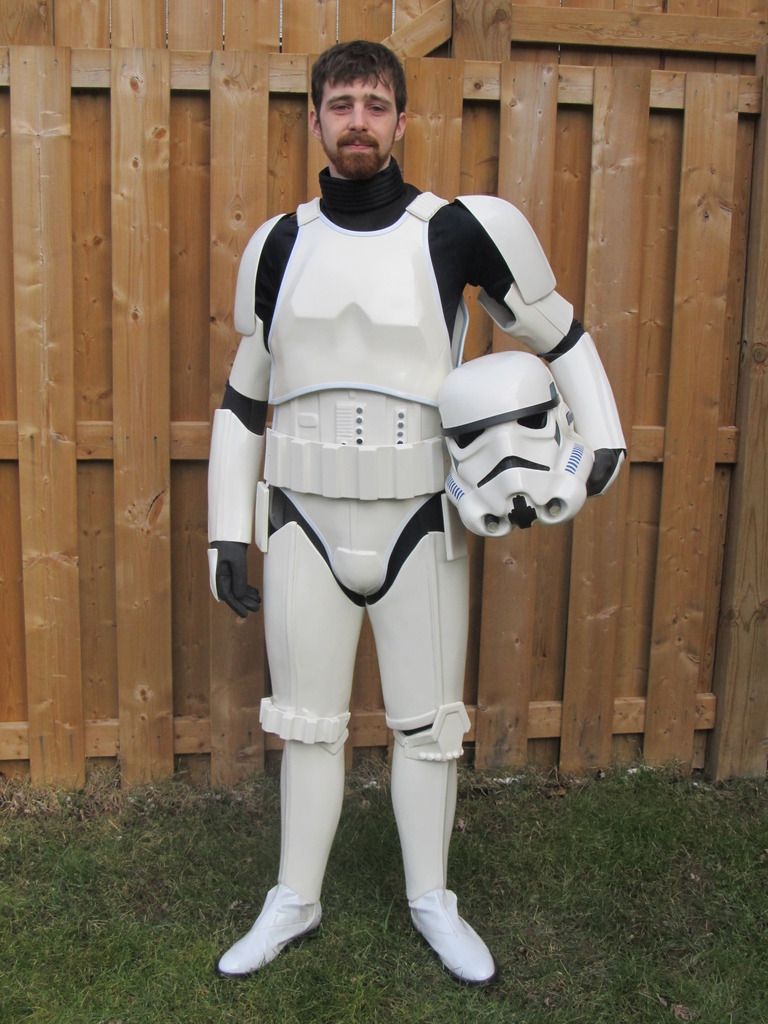
OK, so here are the application photos, finally! There were sent this afternoon to the GML of the Canadian Garrison.
-
1
-
-
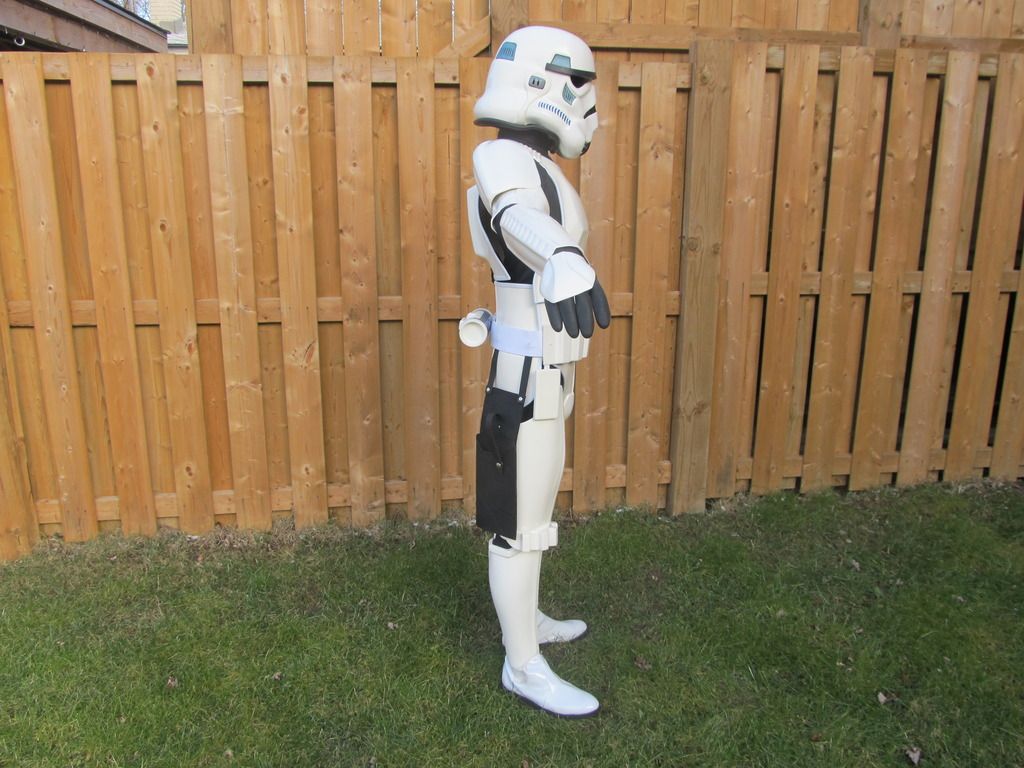
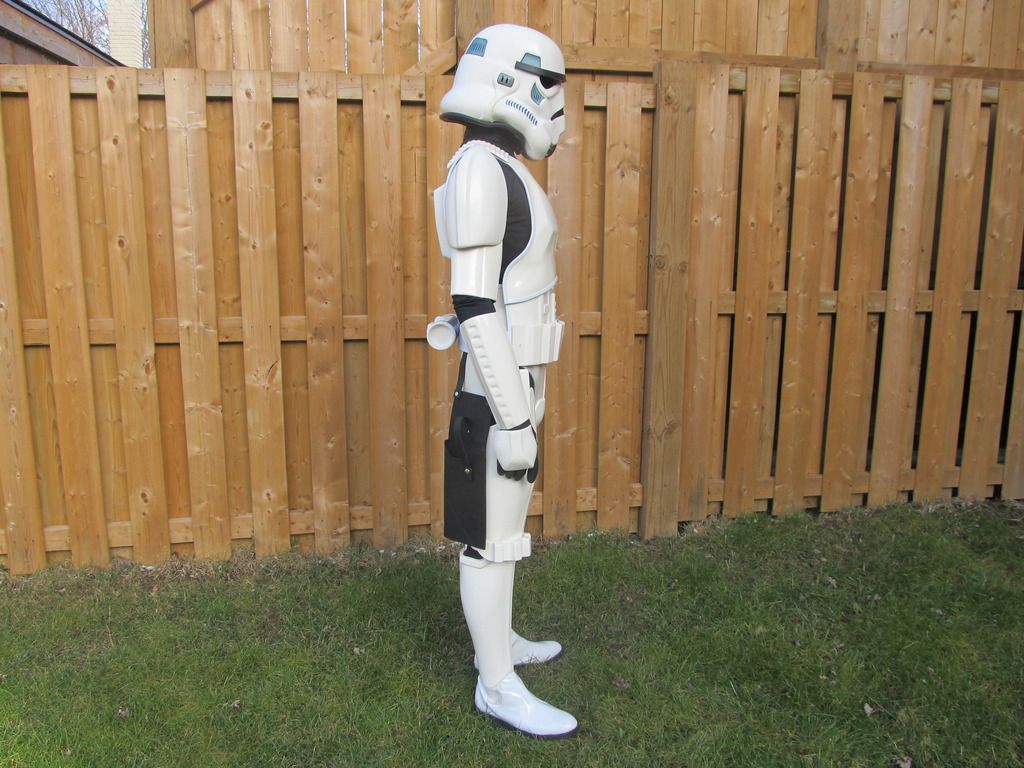
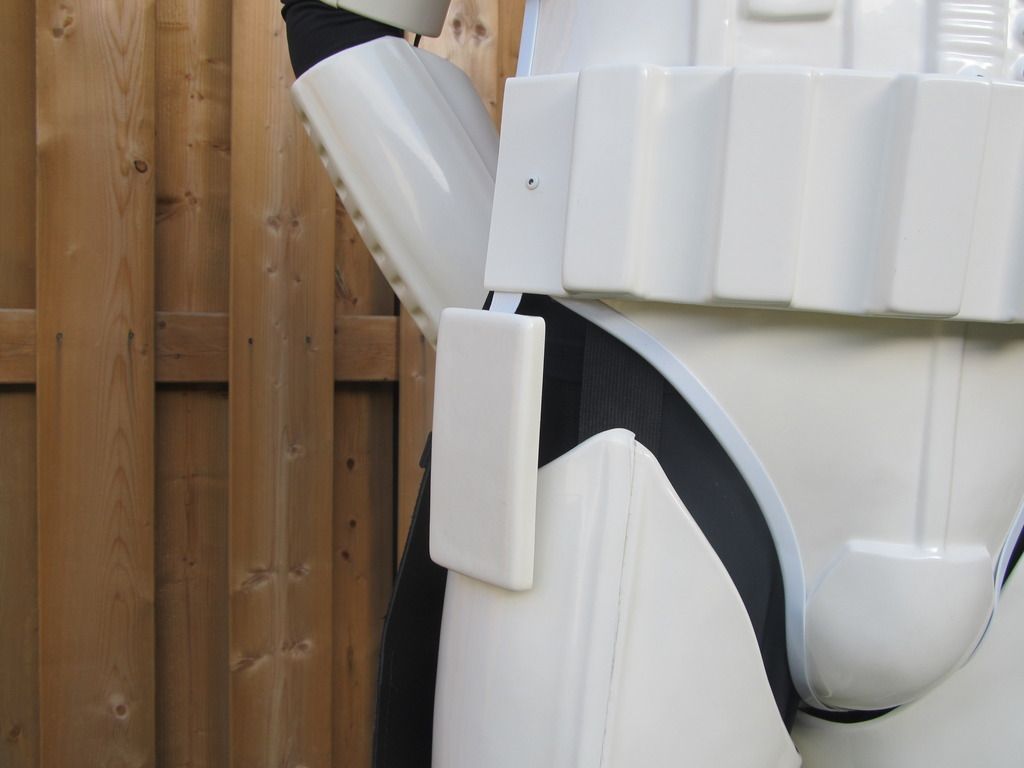
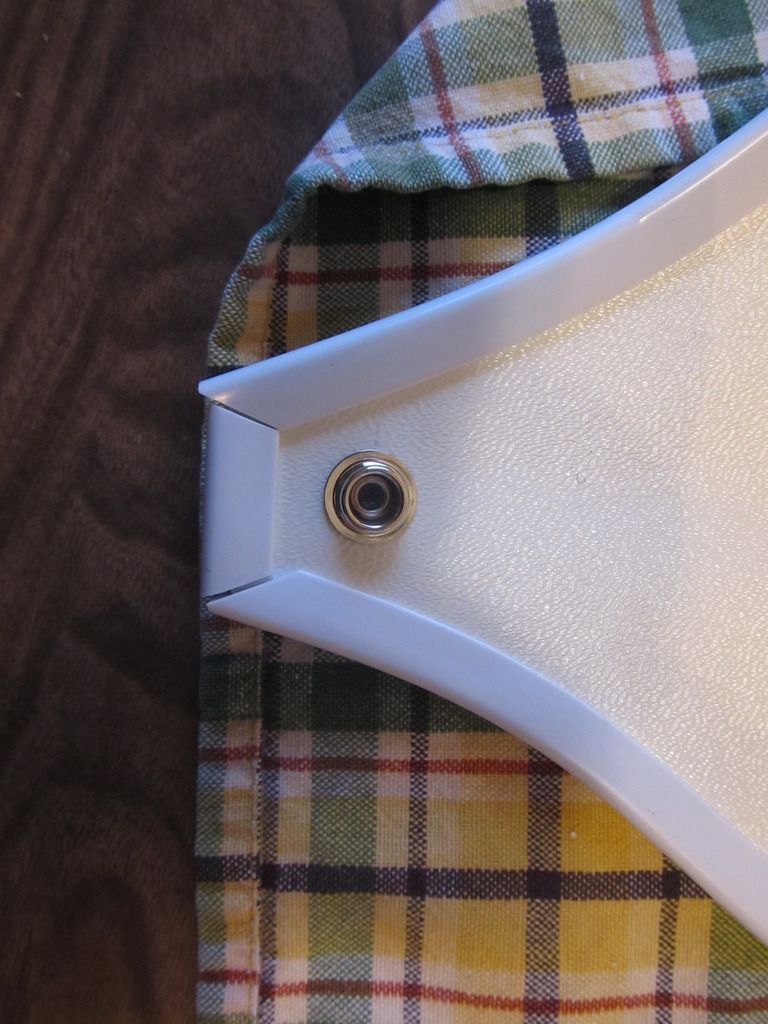
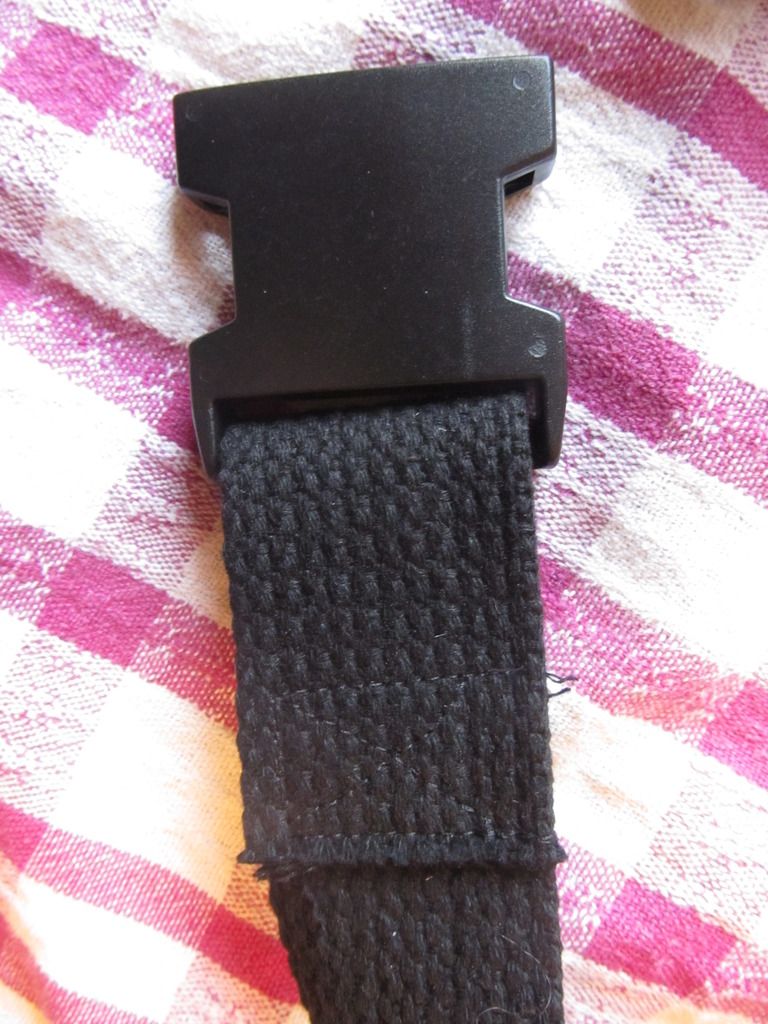
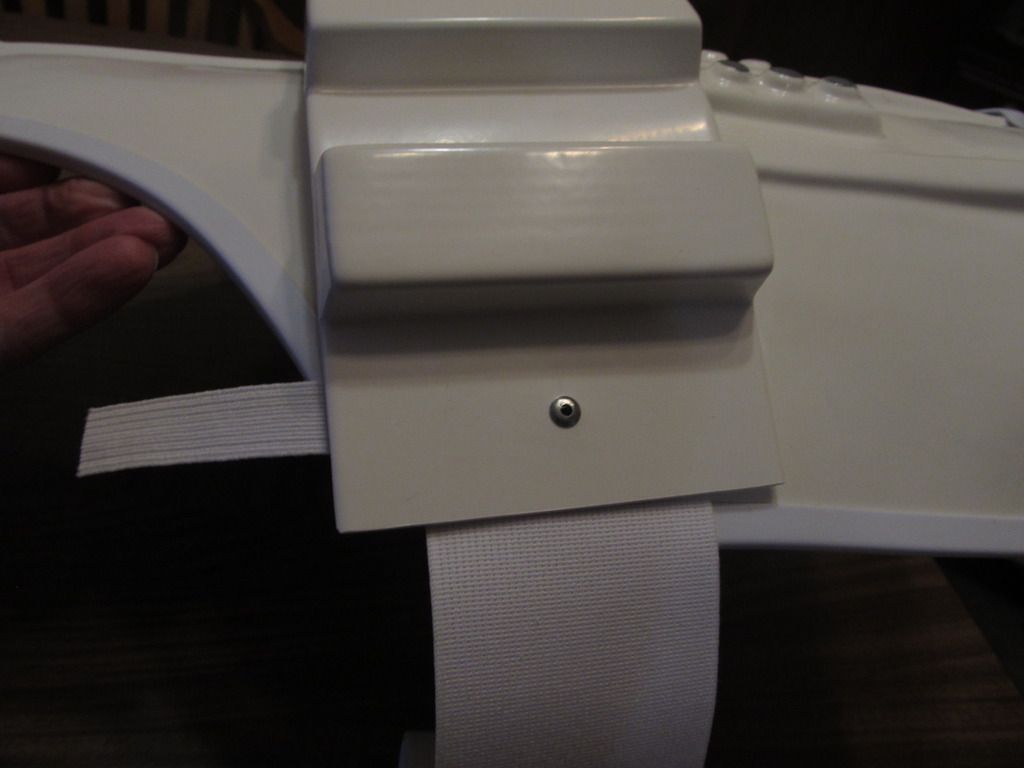
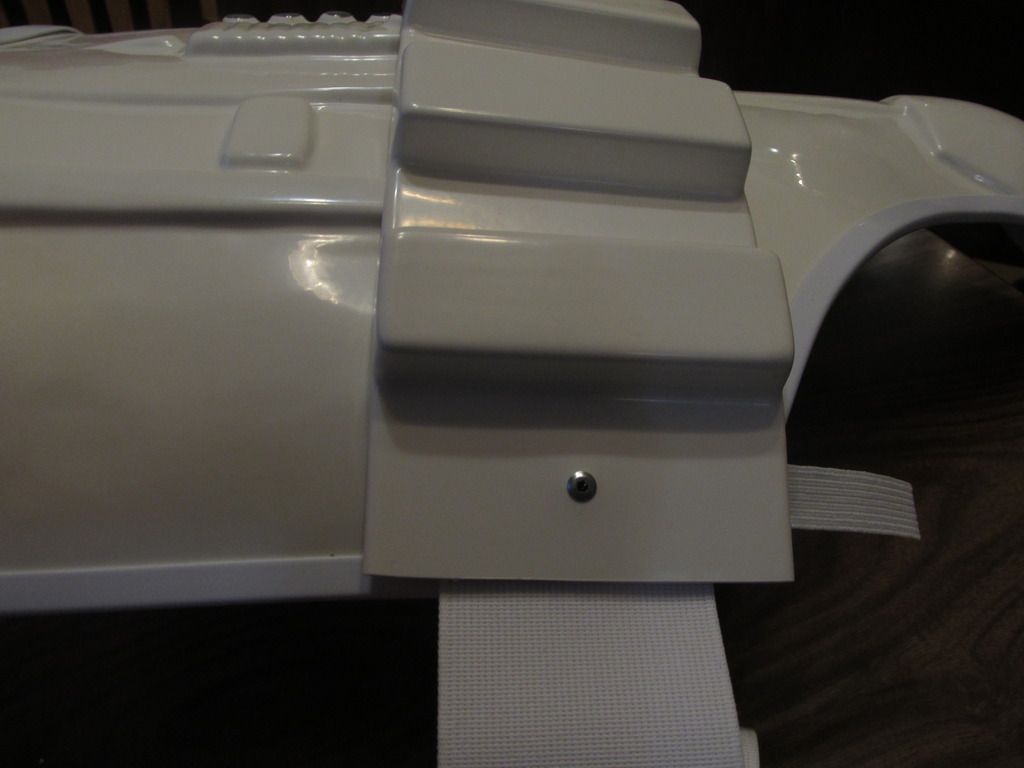
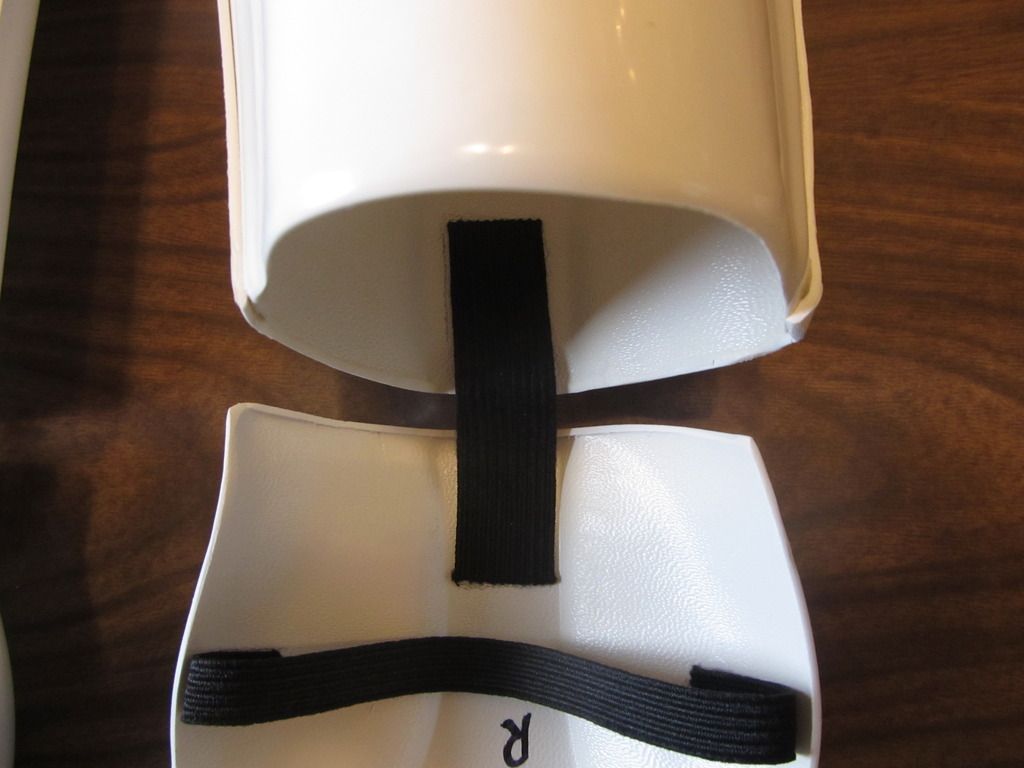
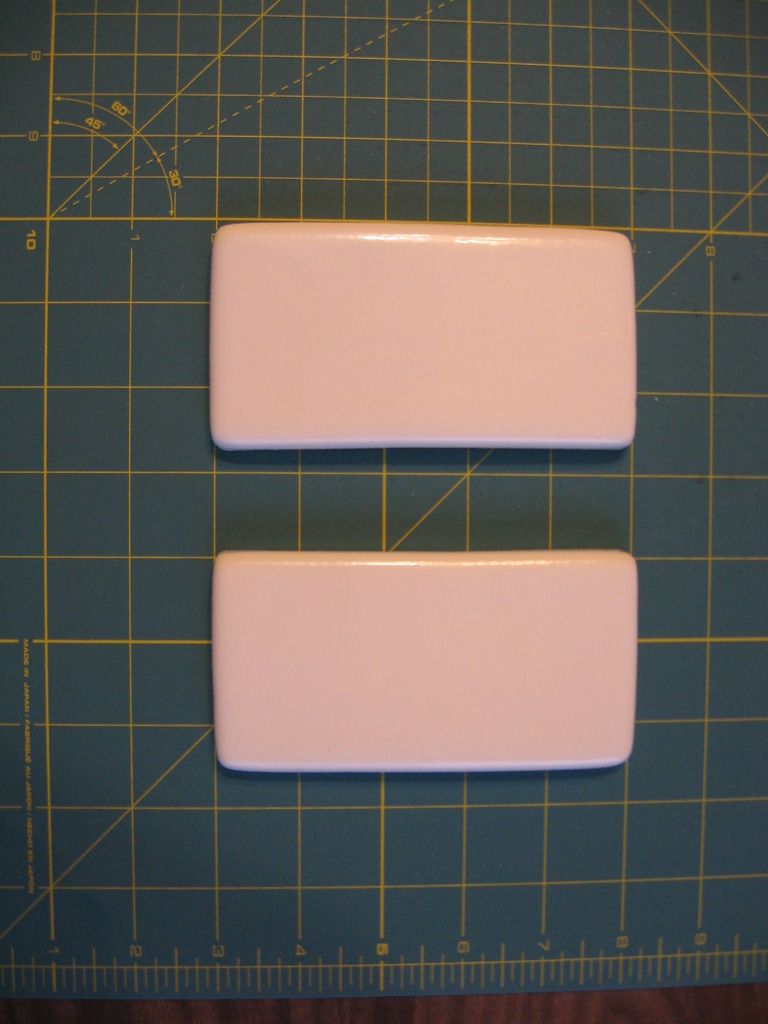
Here is a photo of one of the drop boxes. Its not EIB or Centurion, so it does not a have a back piece on it. There is a gap of 10 mm between the top of the drop box and the bottom of the belt.
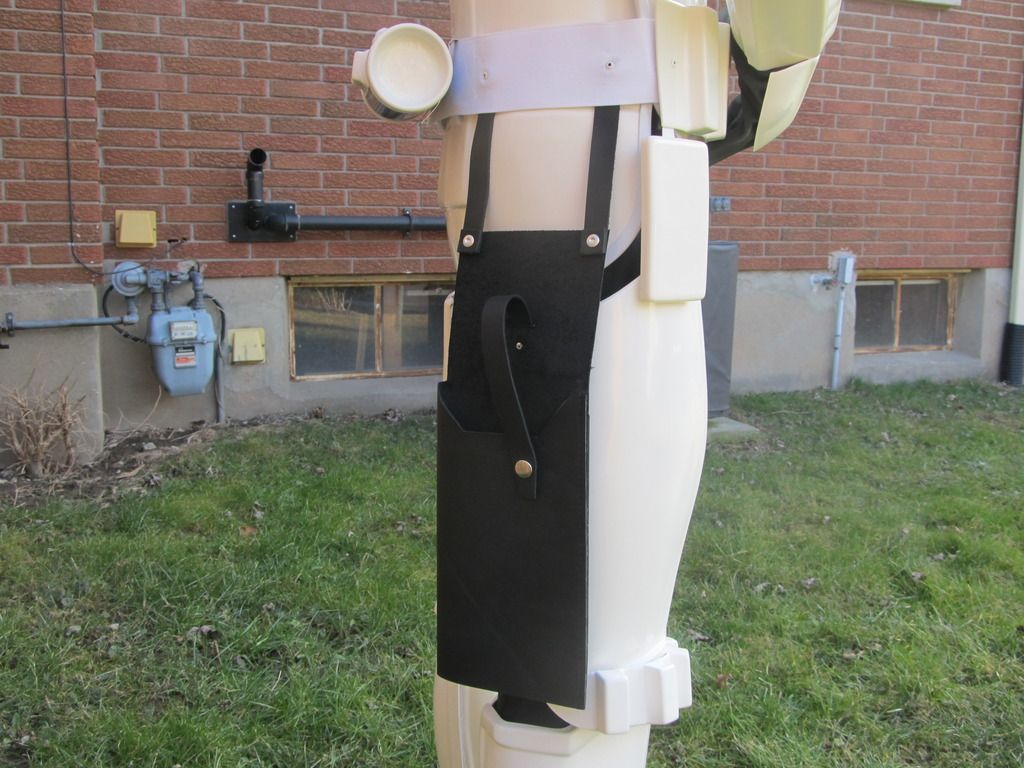
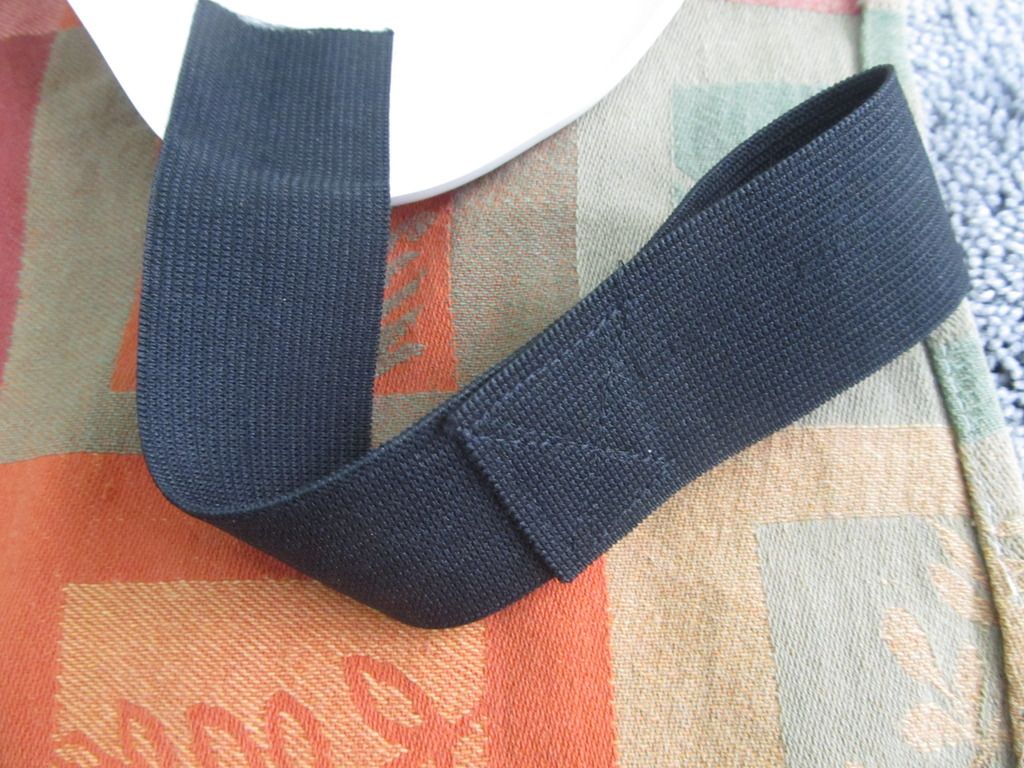
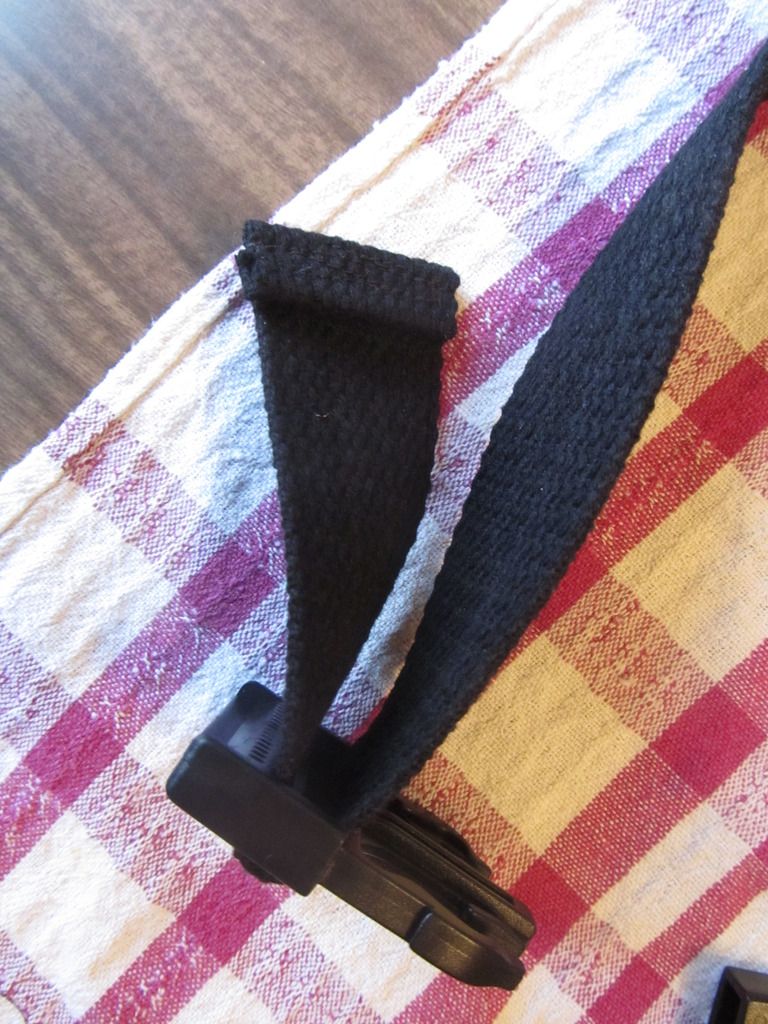
Here is a photo of the holster. It has the longer black straps required for ROTJ. It was bought from TrooperBay. By the way, that grass had a dusting of snow on it this morning. Crazy February weather in the Niagara Region. One day last week it was 18 degrees C (66 degrees F) and we have only used our snow shovel twice this winter!
-
Thanks Felix!
-
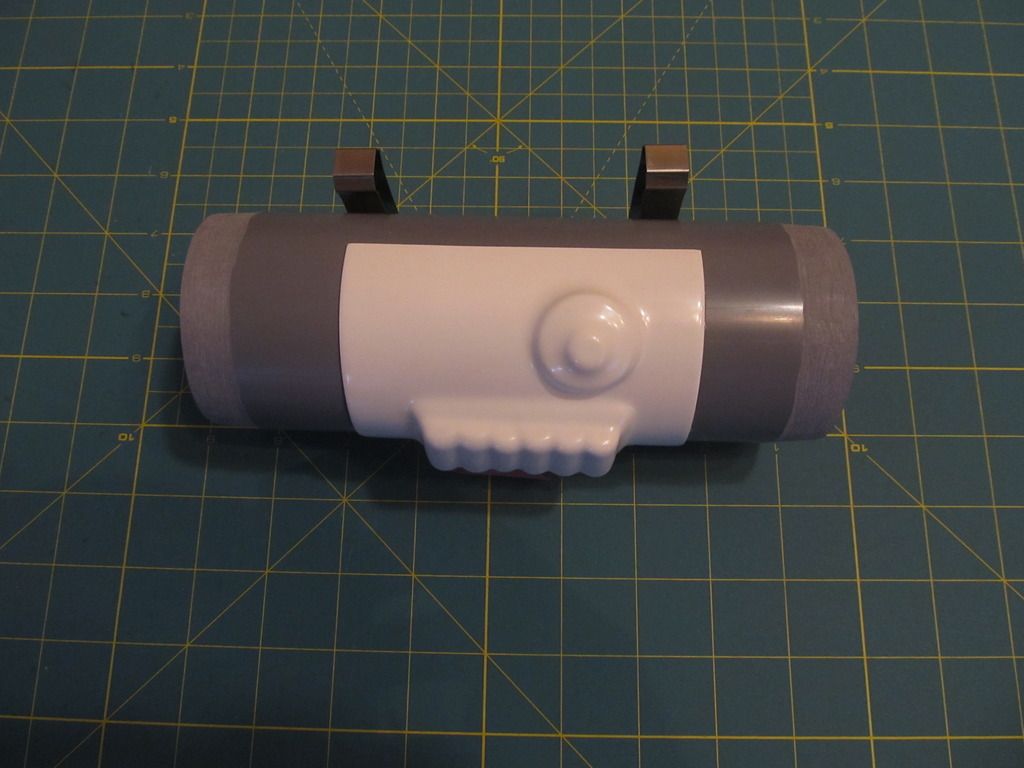
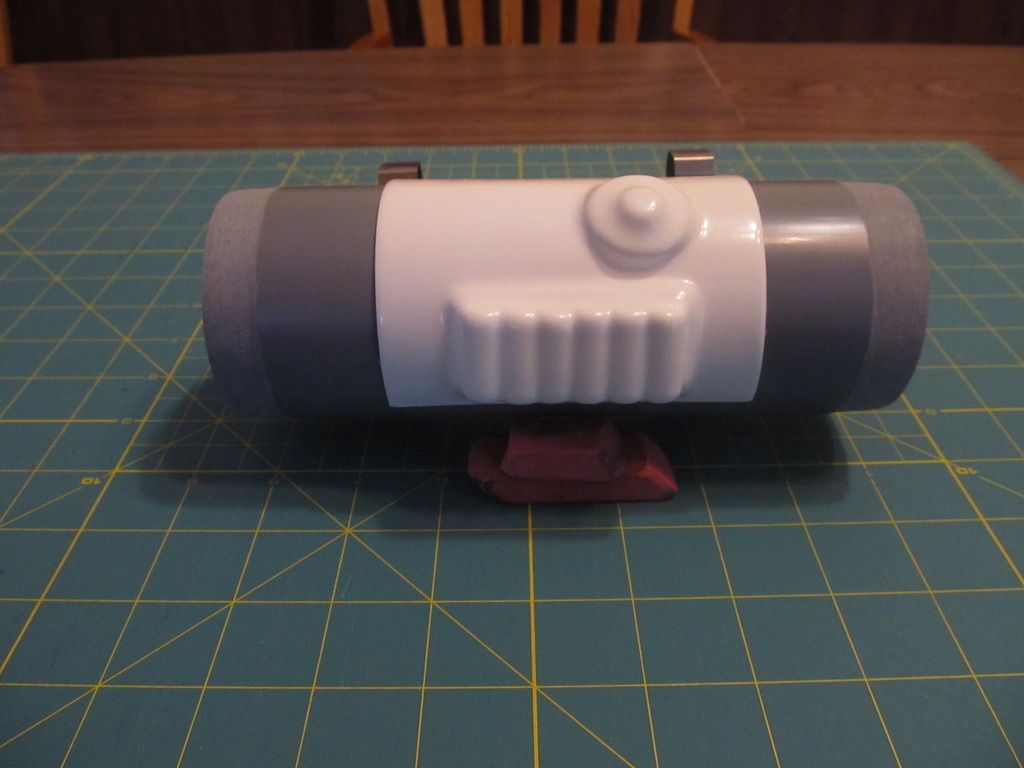
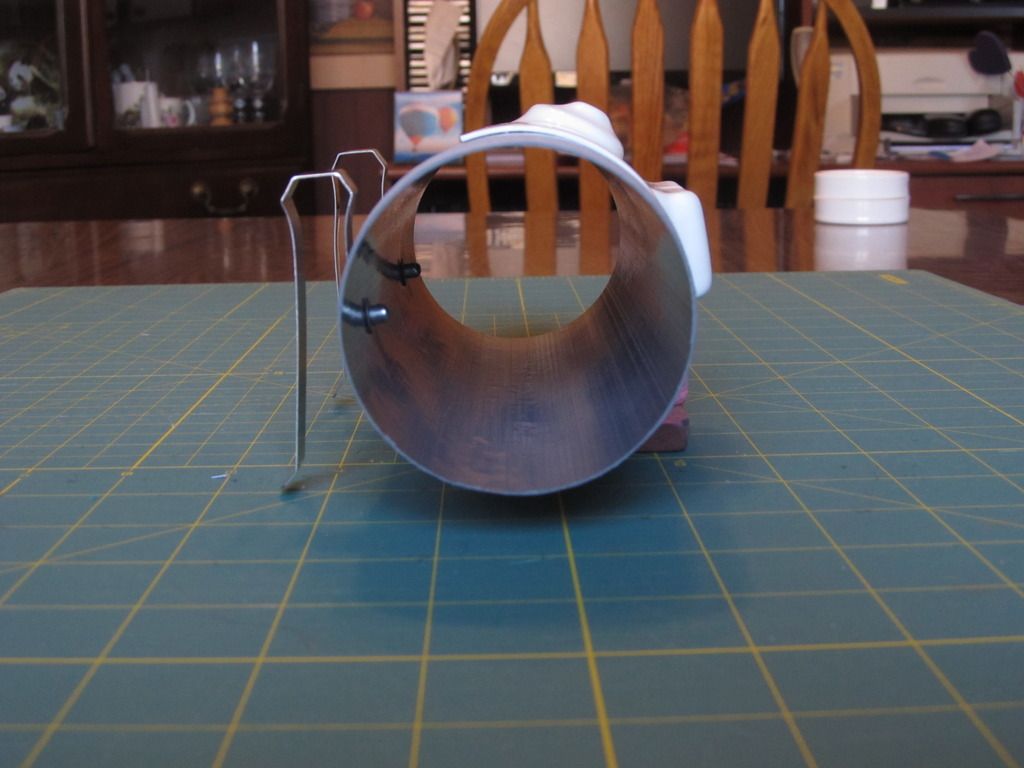
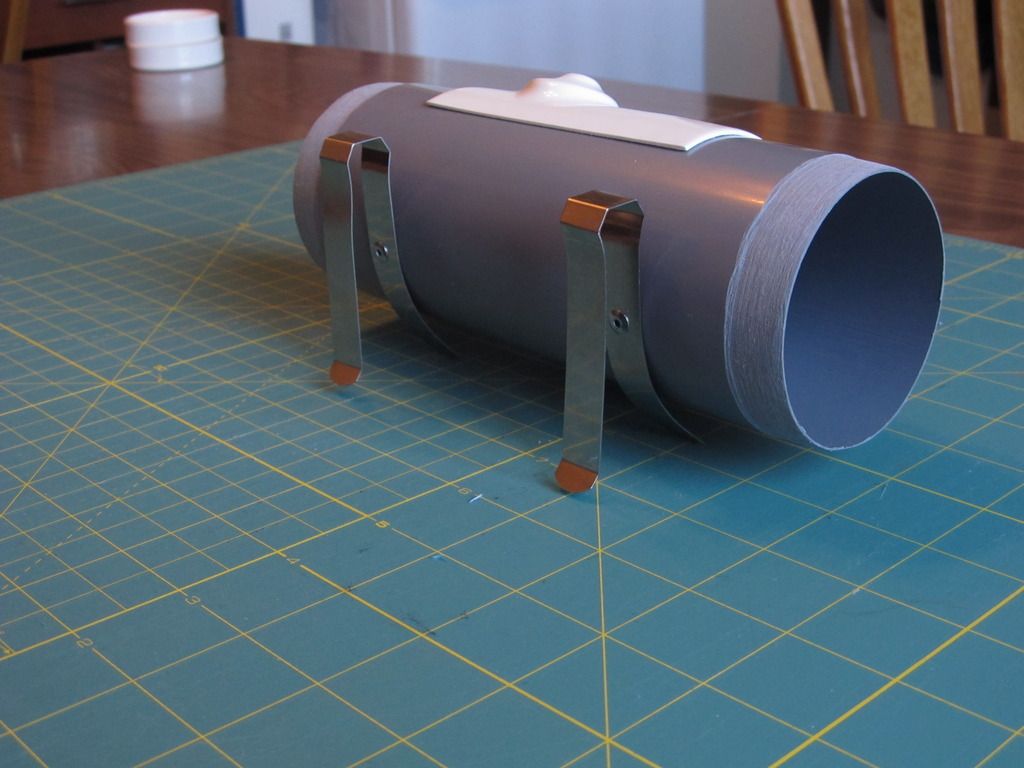
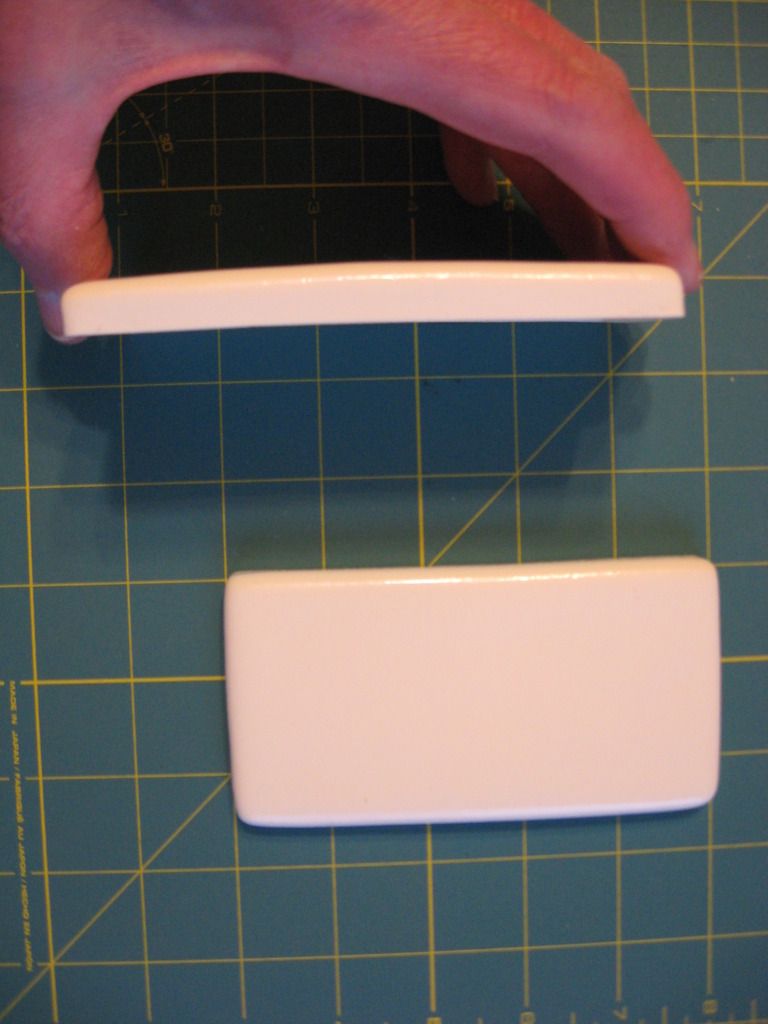
Hi August. Thanks for your comments. The thermal detonator is about 190 mm, or 7 and 1/2 inches long, including the end caps, as mentioned in the CRL. The grey PVC pipe came pre-cut from Cast from Originals in the UK. I filed the ends, as shown in my photos, so that the end caps would fit well. I could not find grey PVC pipe of the same diameter (about 68 mm) in Canada. Ours is a little wider than that. I hope this helps you.
-
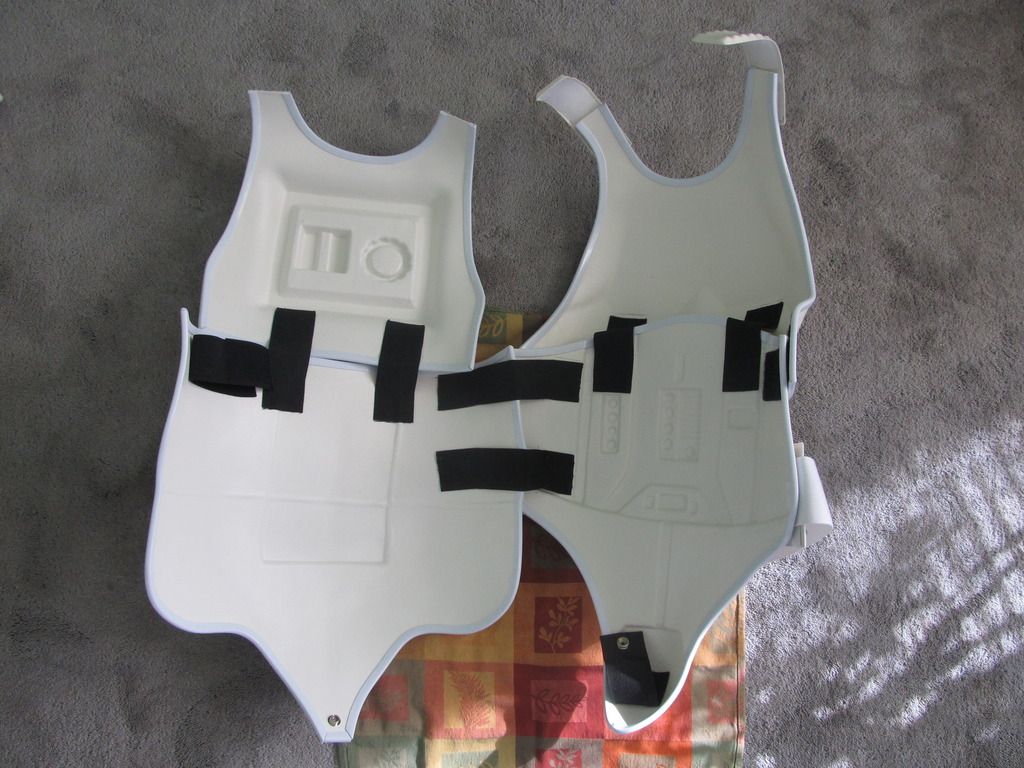
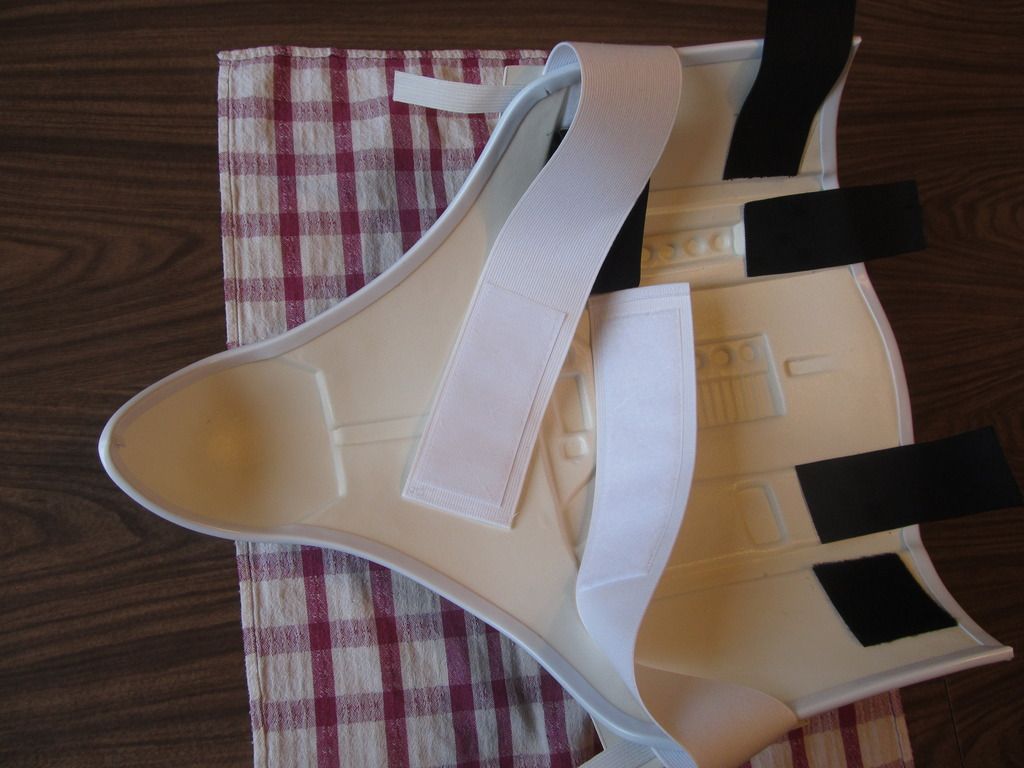
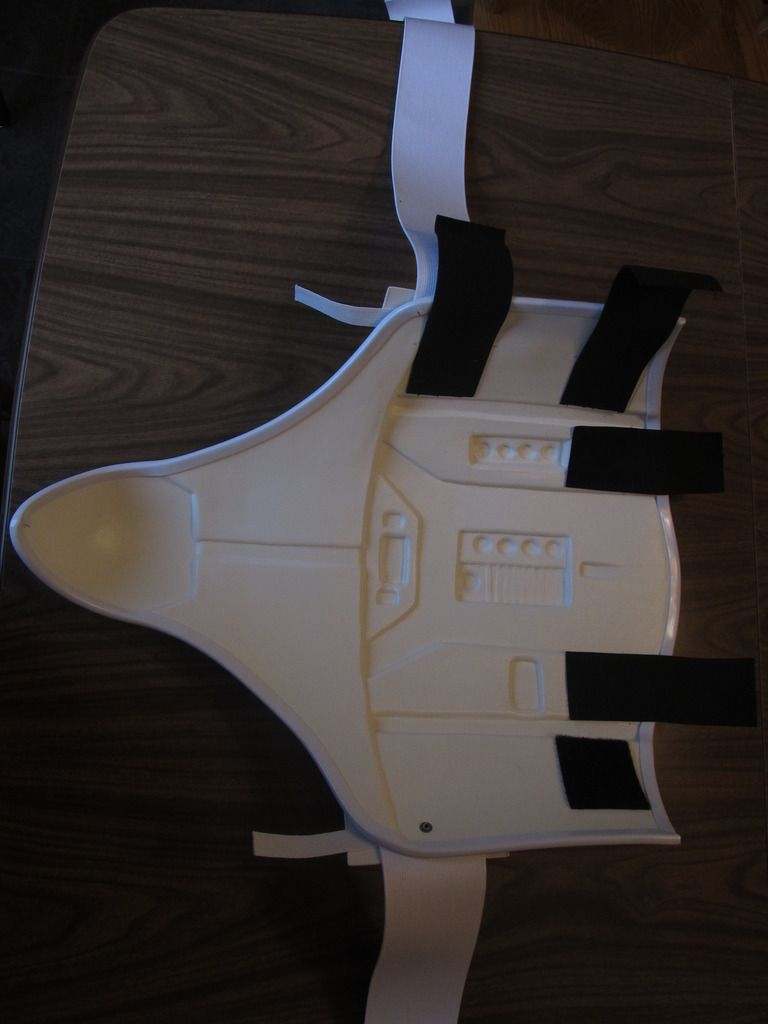
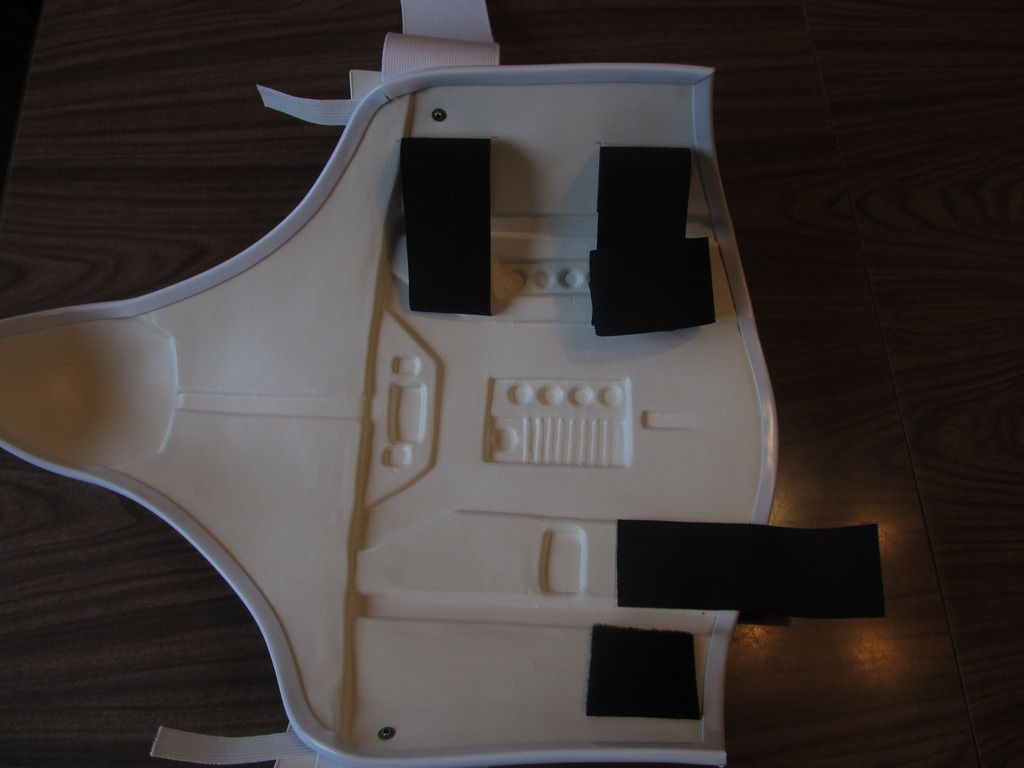
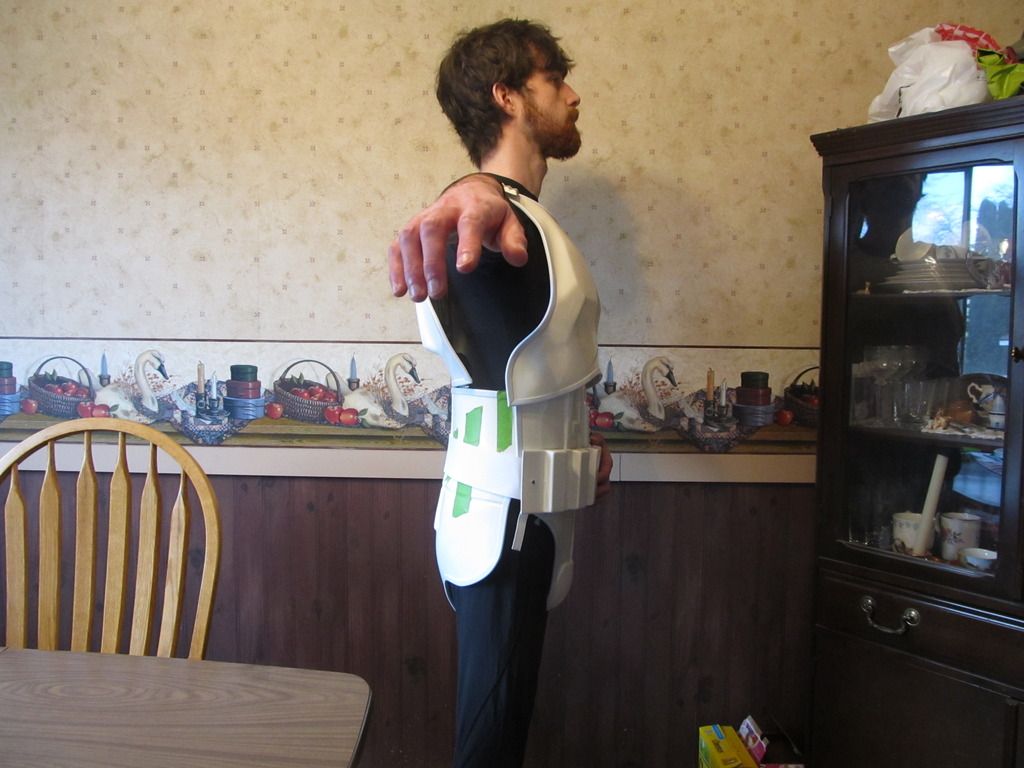
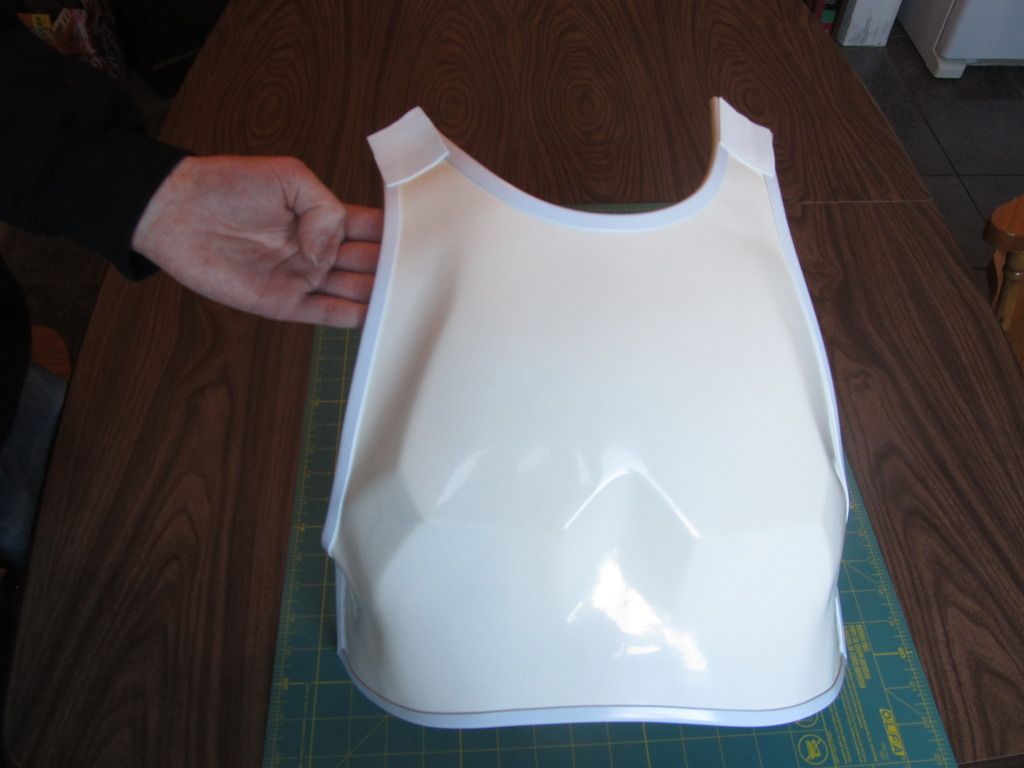
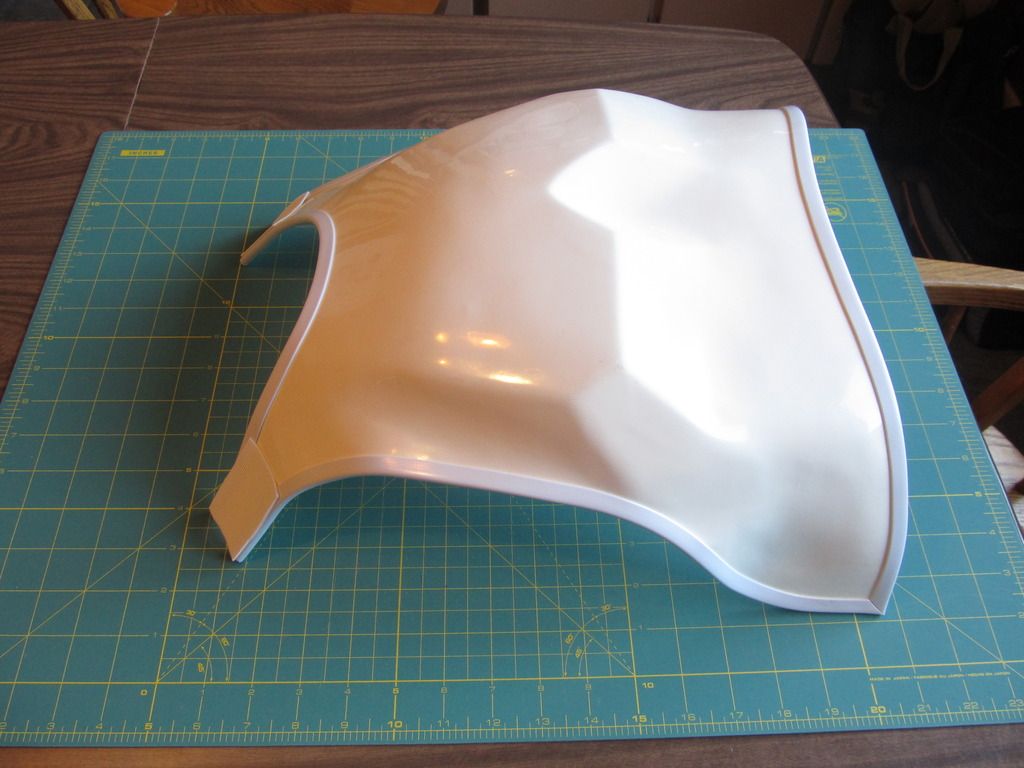
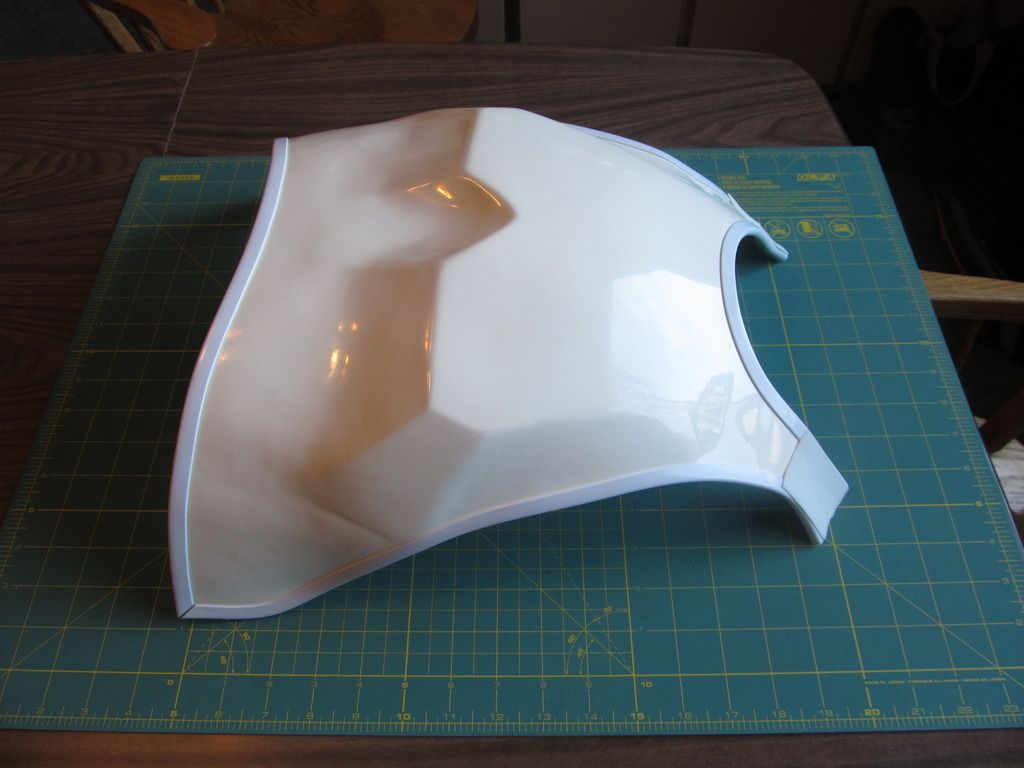
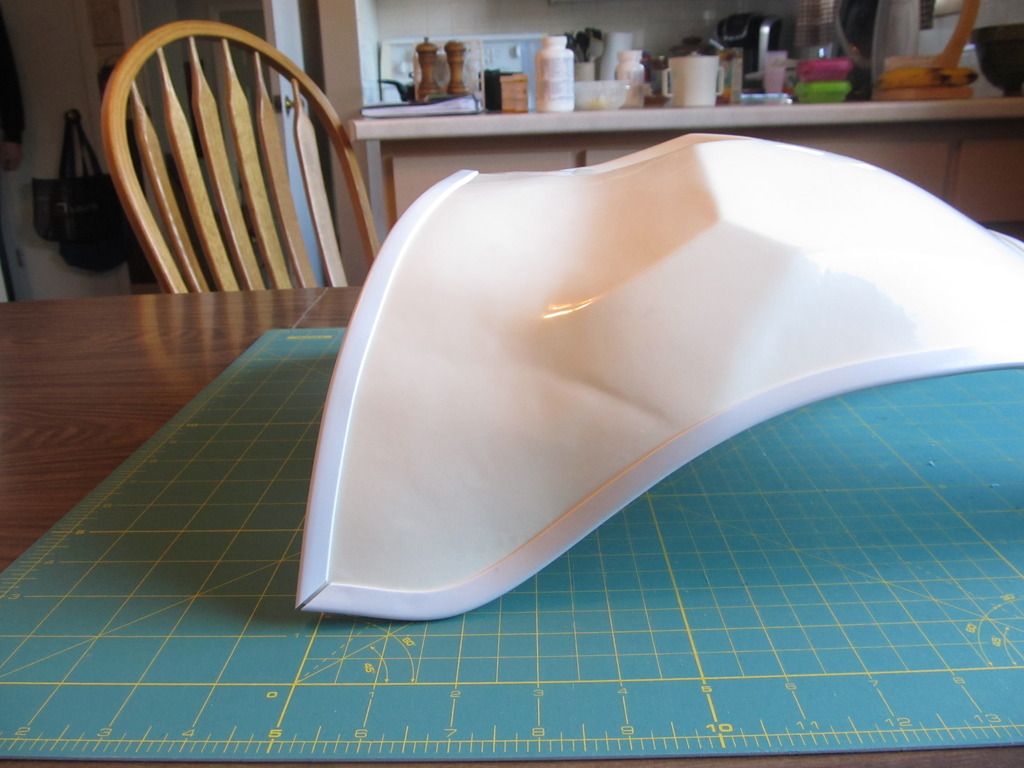
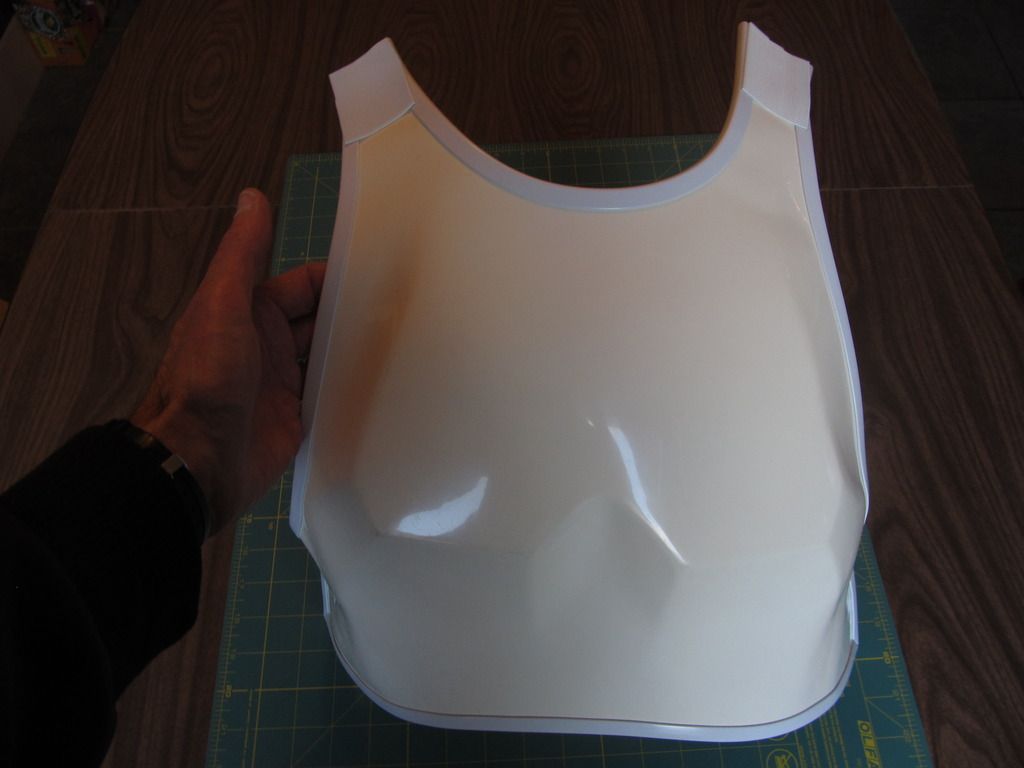
Next is the torso armour, all connected.
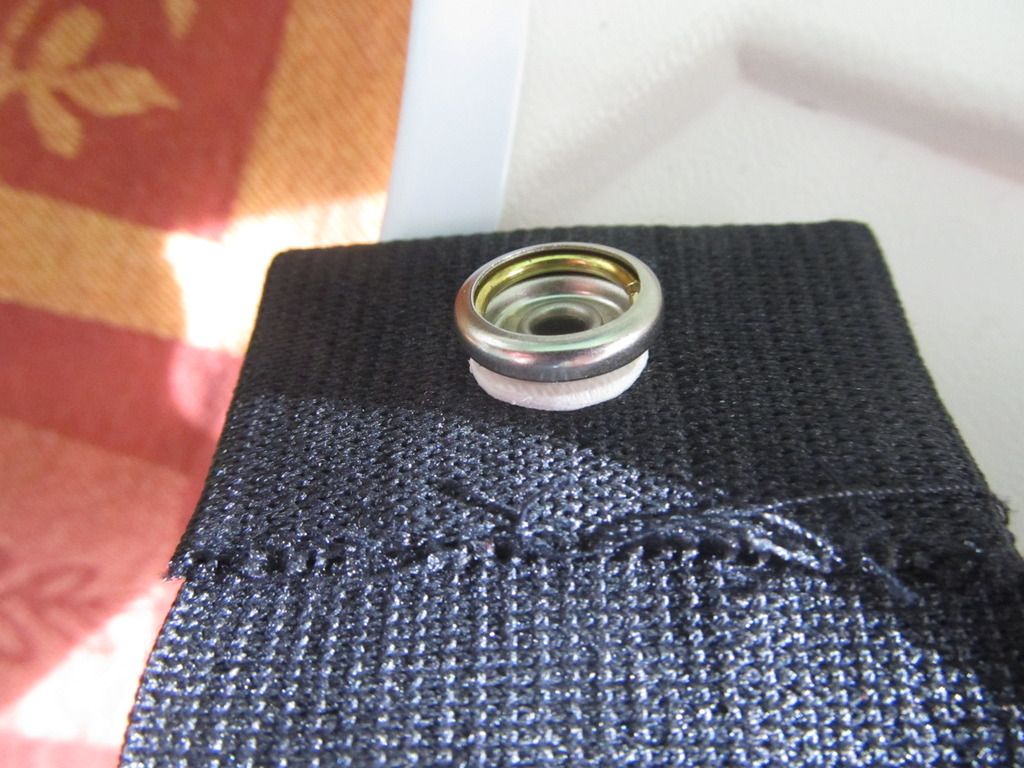
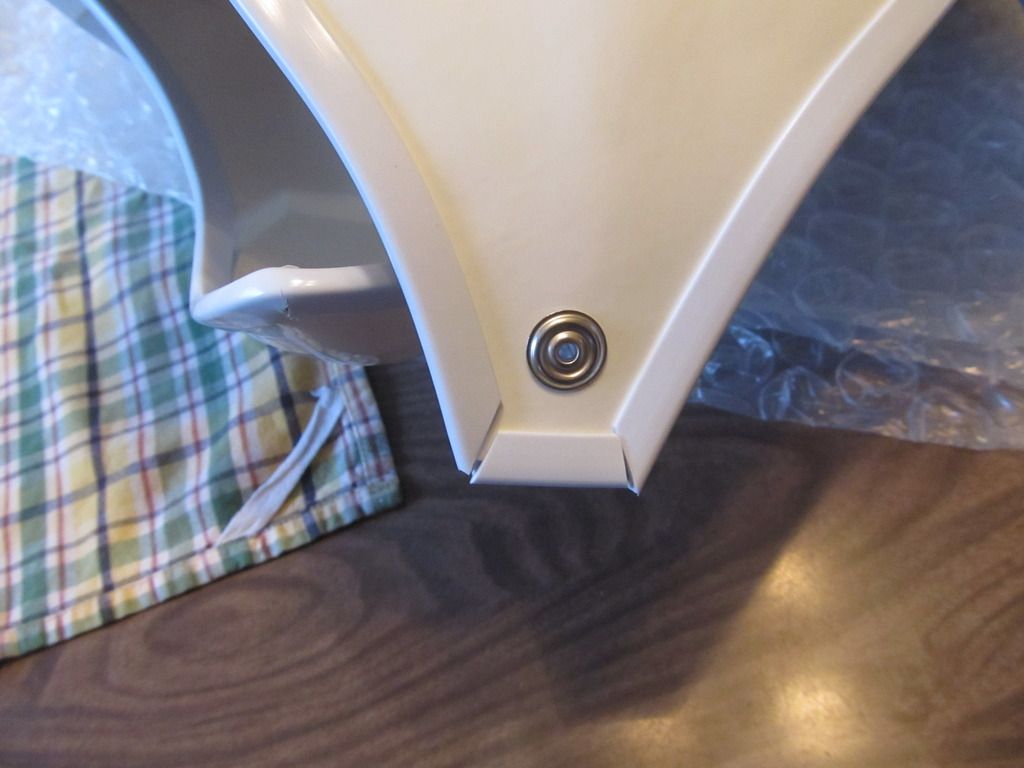
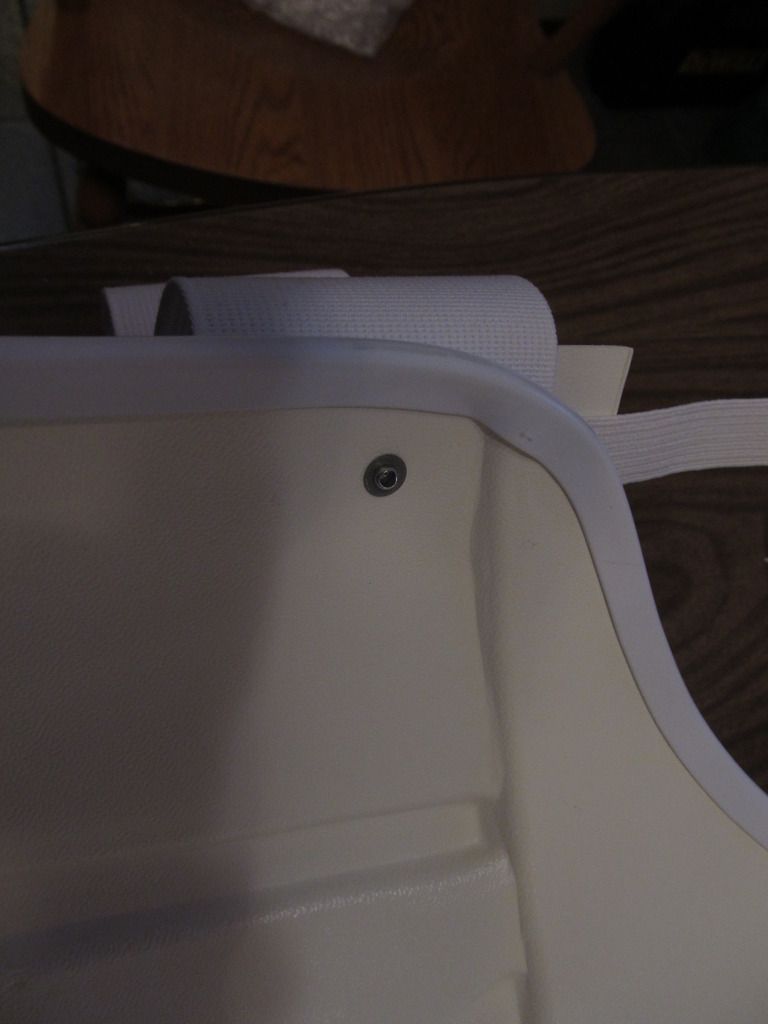
Now some close-ups of the other side of the snap.
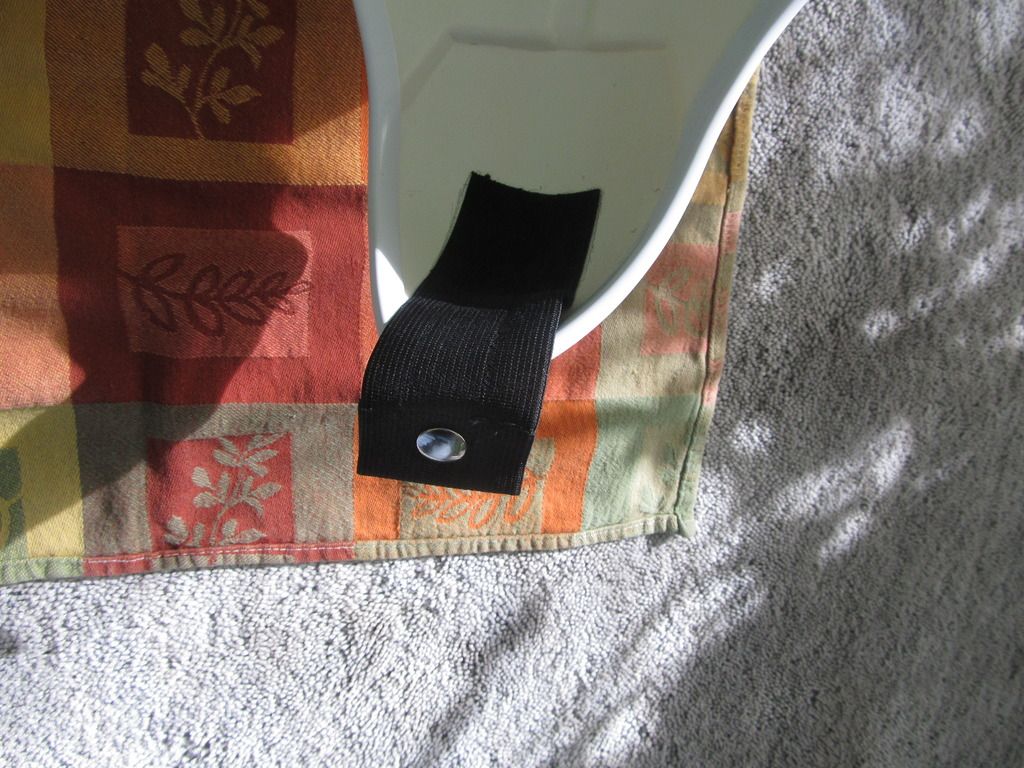
In this photo, you will see a white washer under the snap, to reinforce it. It is a washer made from left-over 2mm ABS. It is drilled, and then countersunk, to fit snug against the snap.
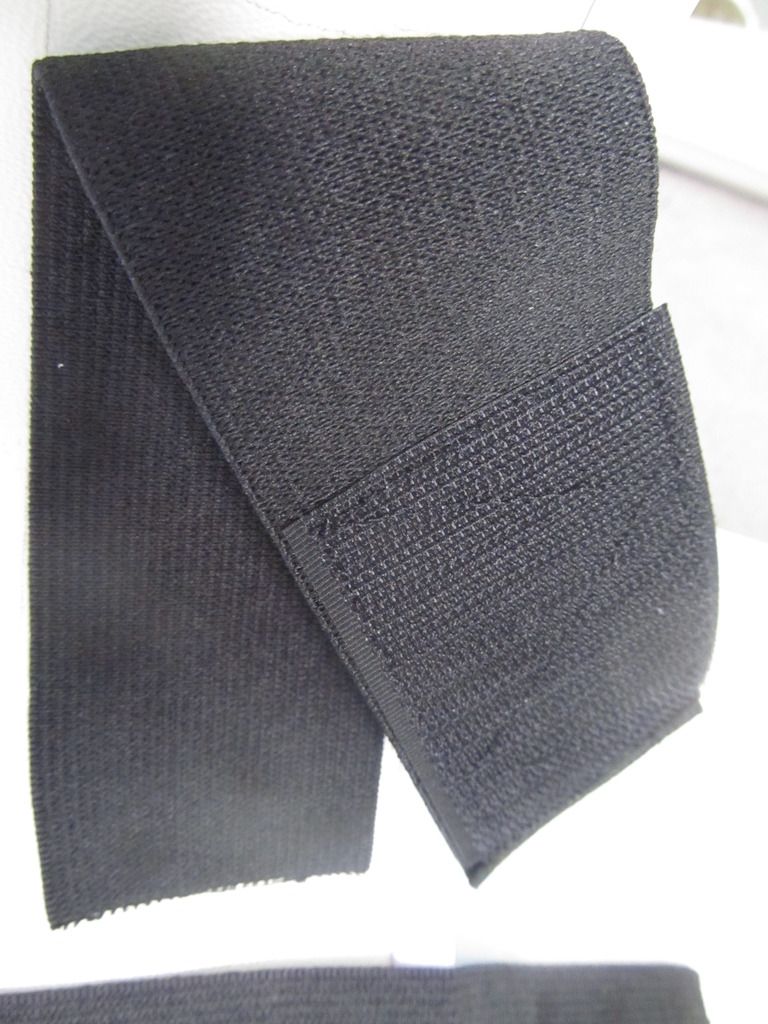
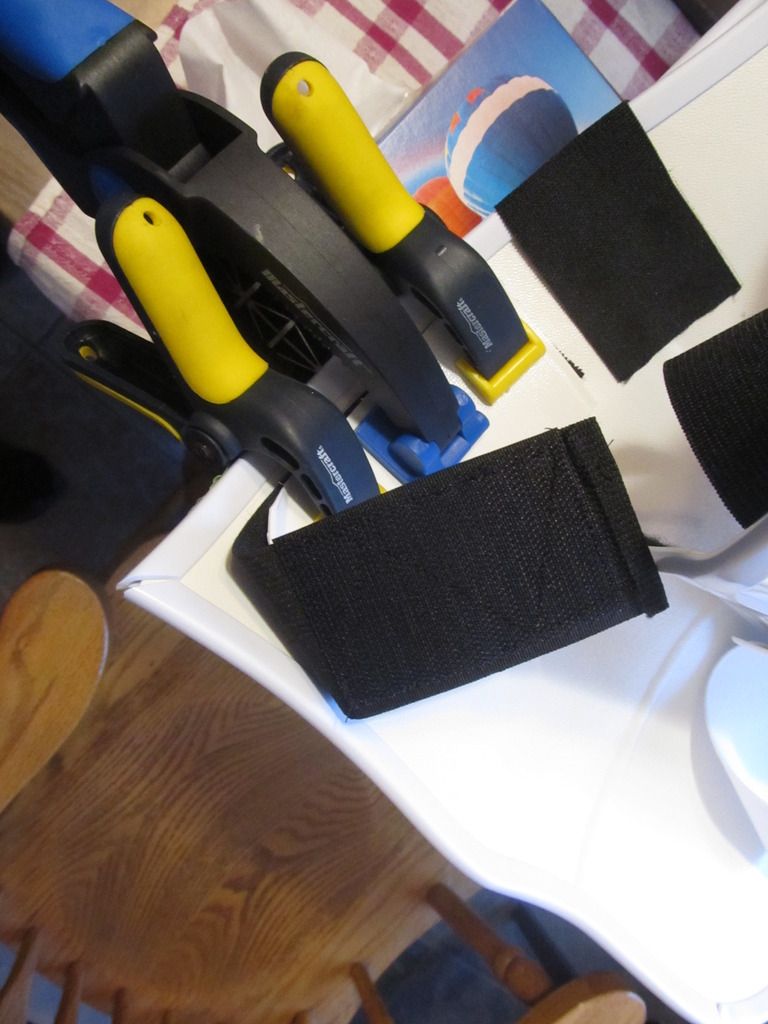
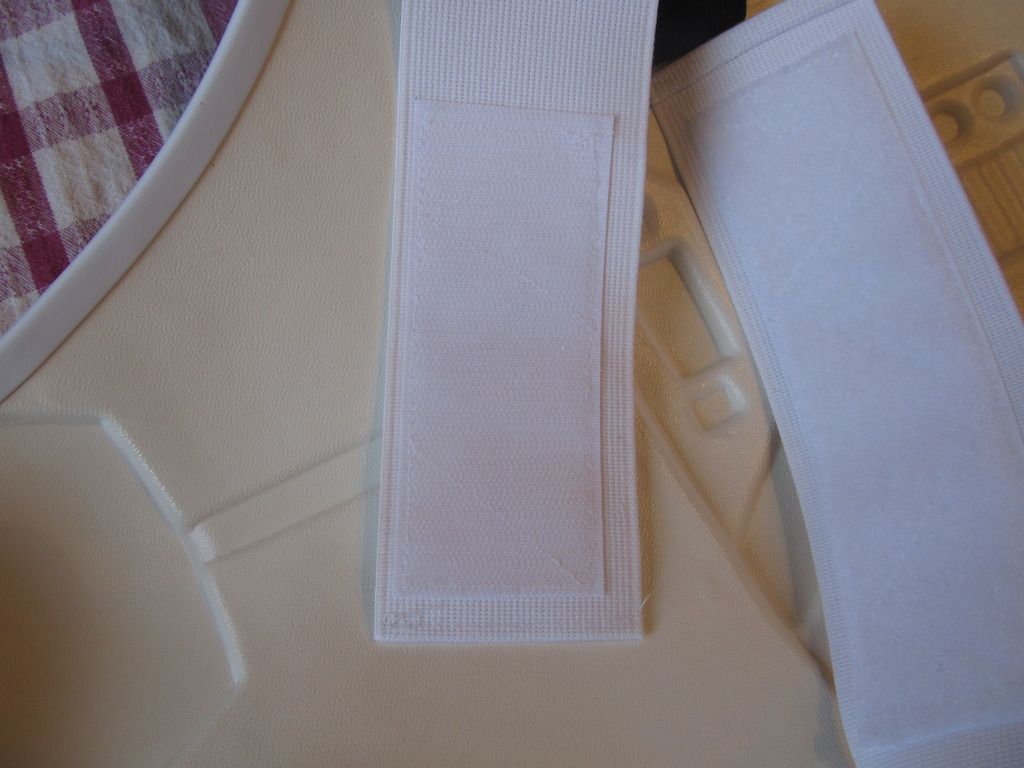
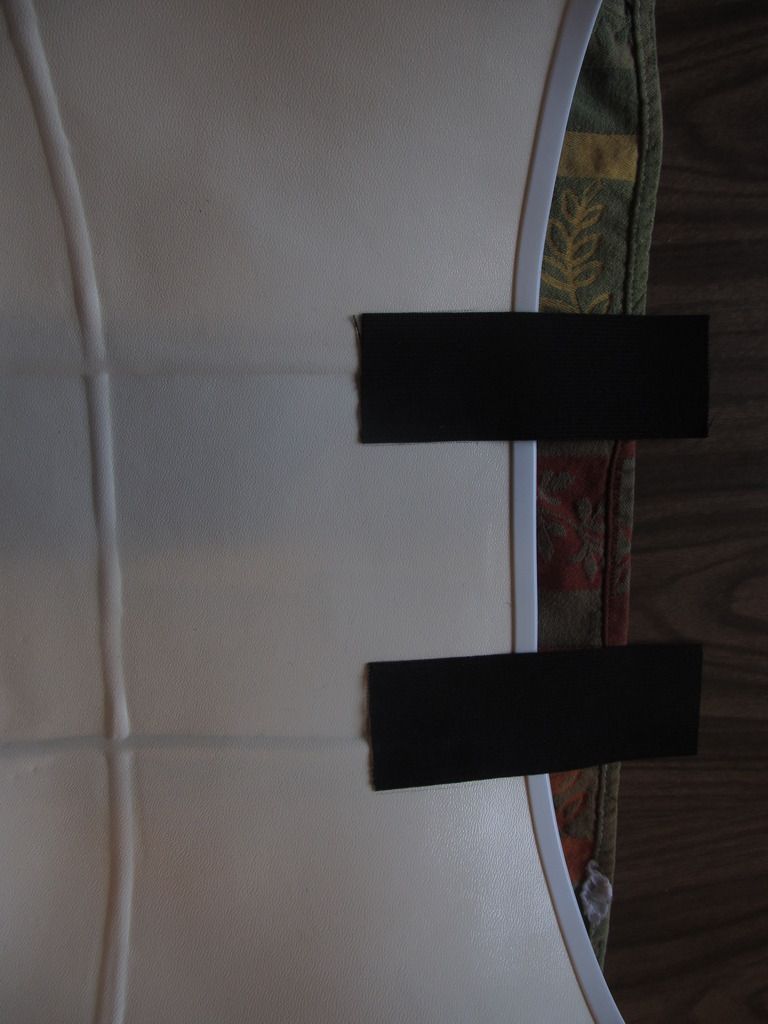
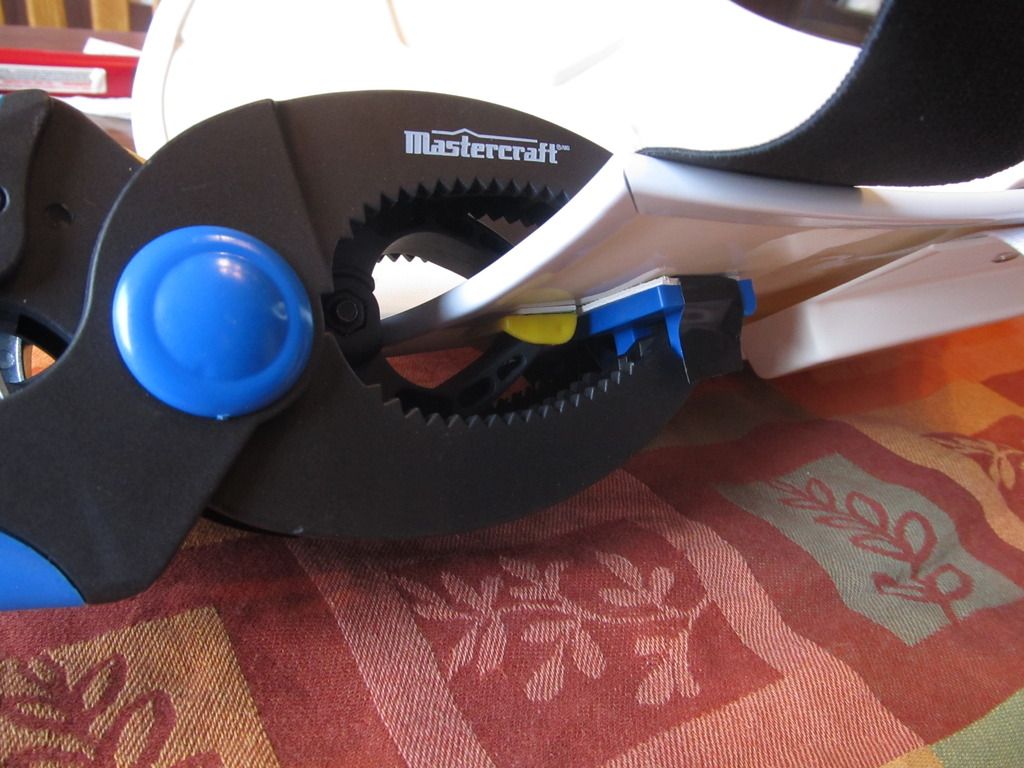
Now a close-up of the elastic and velcro, between the kidney and abdomen, right side.
Getting closer to being done. More photos tomorrow.
-
1
-
-
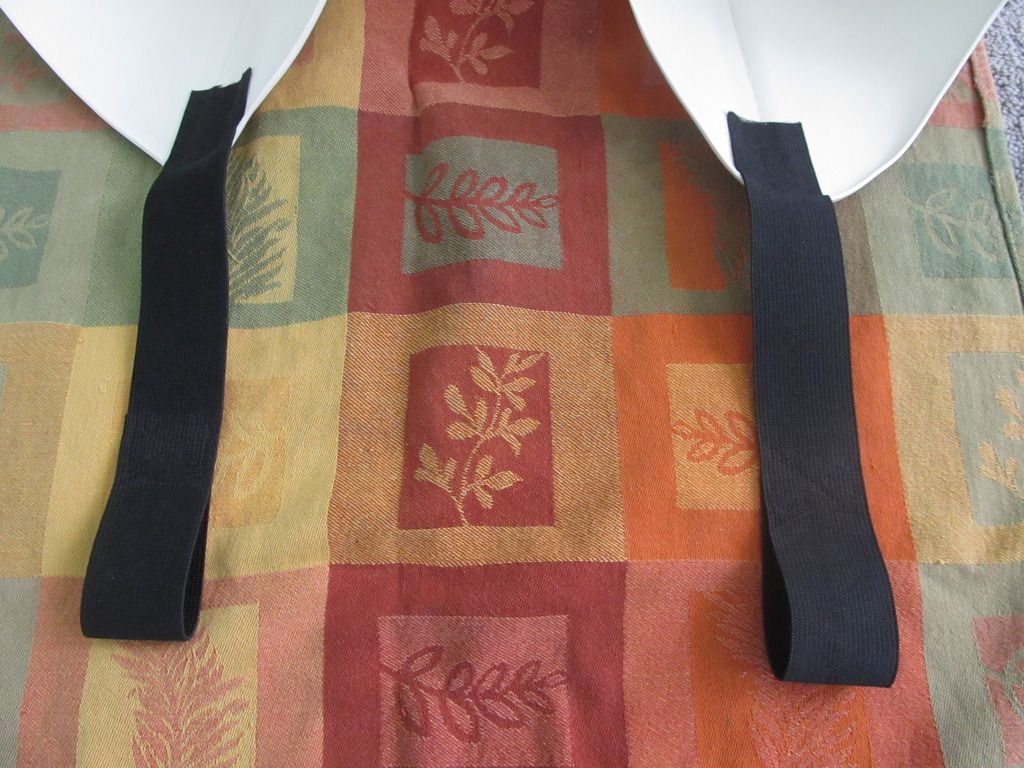
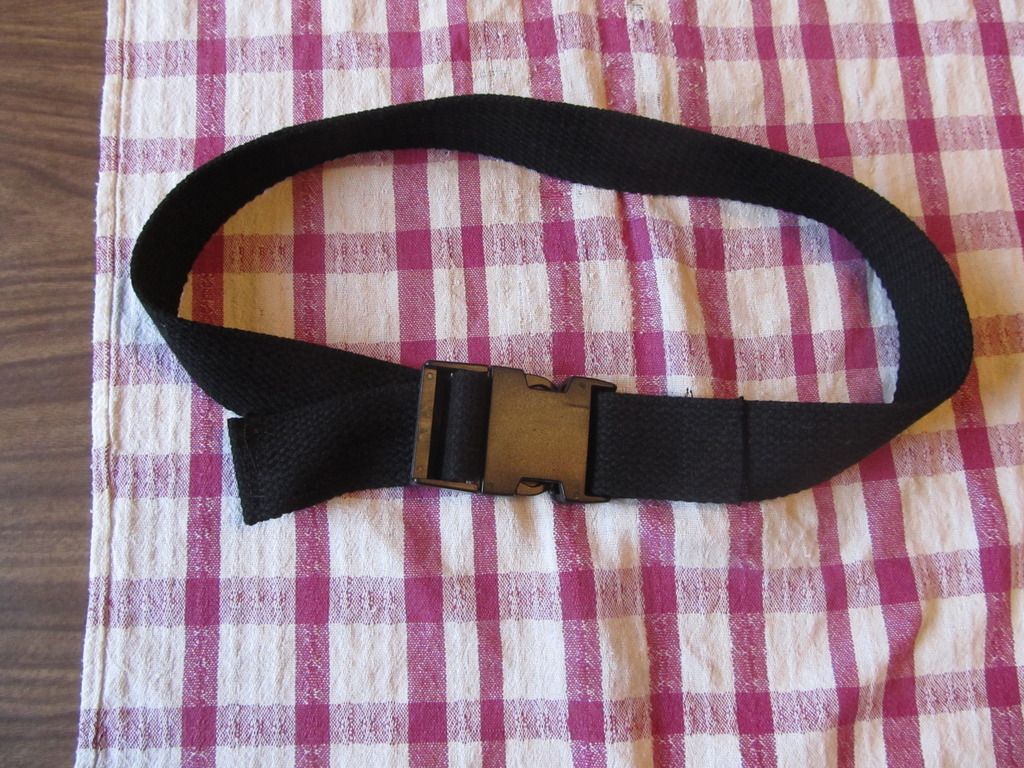
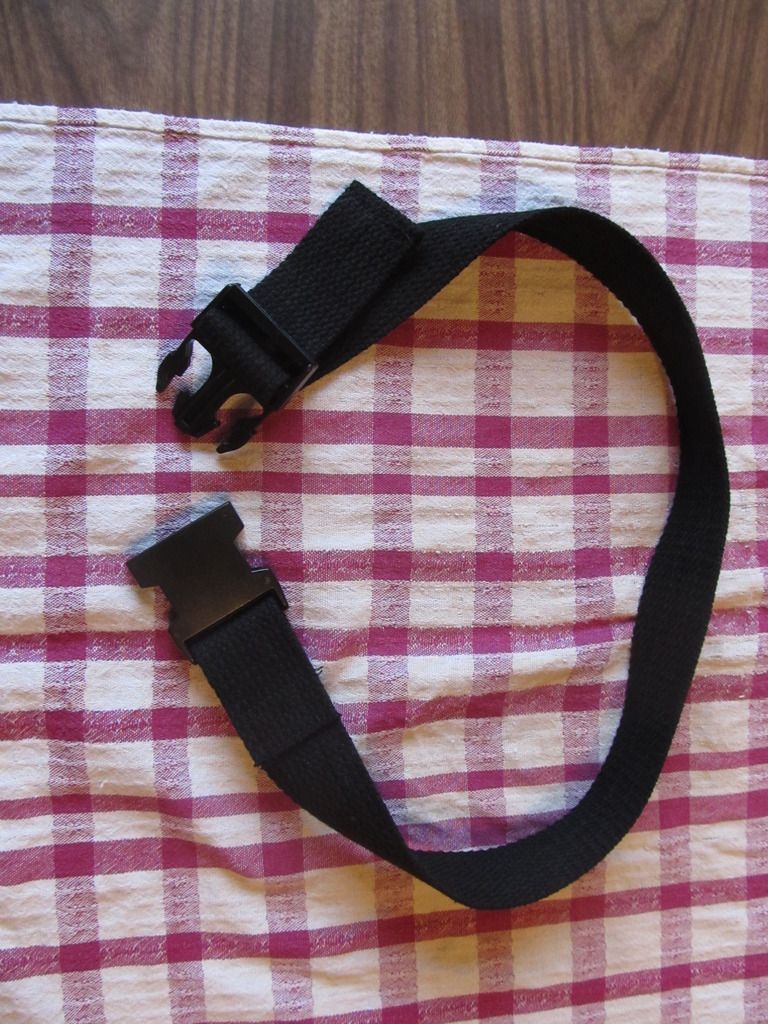
The build continues. The elastic for the thighs have the loops sewn in to fit over the belt buckle. The straps are longer than some others I have seen, probably because the belt sits up high, just above my hip bones.
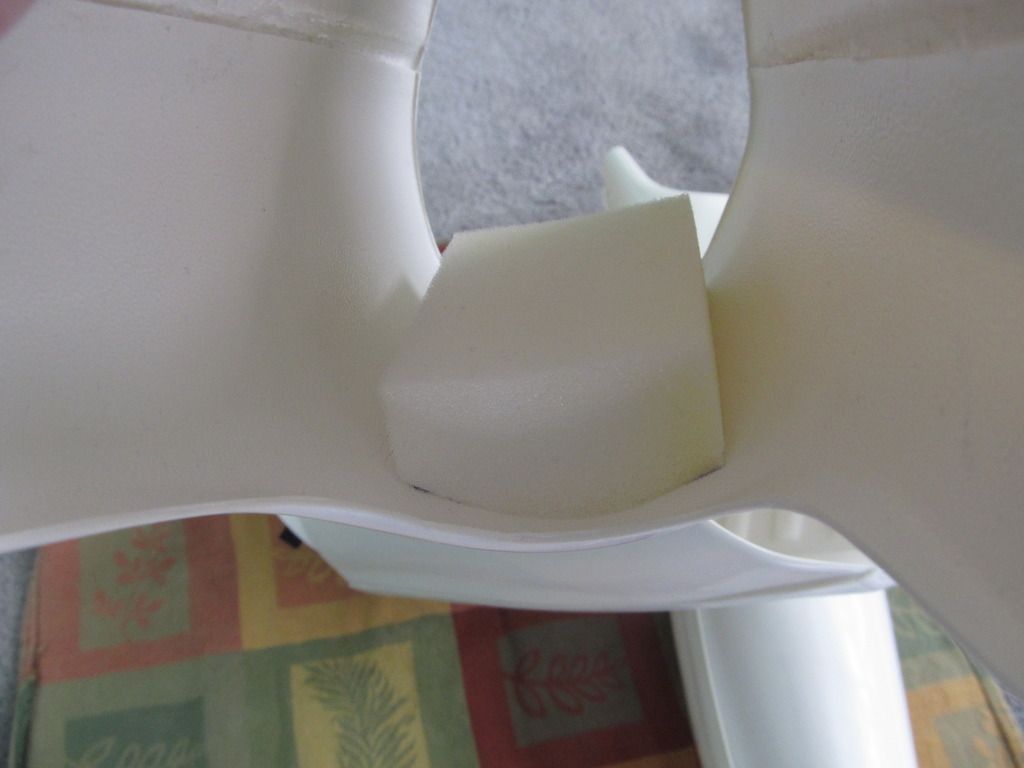
Next is the arms with the biceps attached to the forearms, and some padding inside of both to keep them in place. The padding is from Len's Mill Store in Stoney Creek, Ontario.
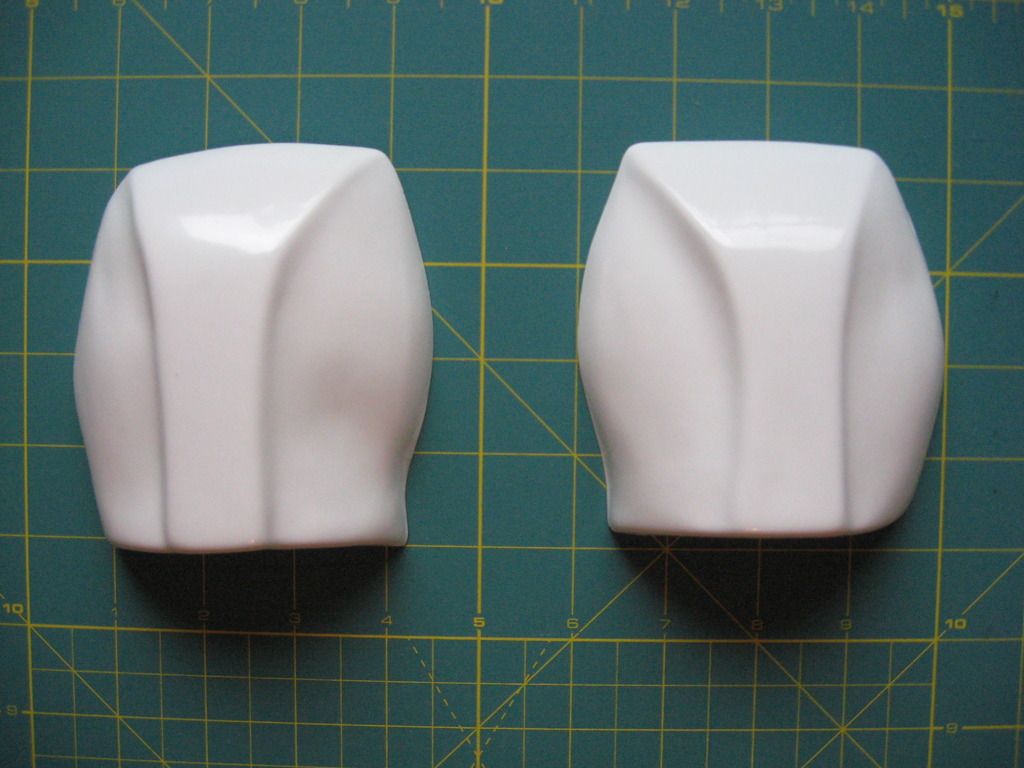
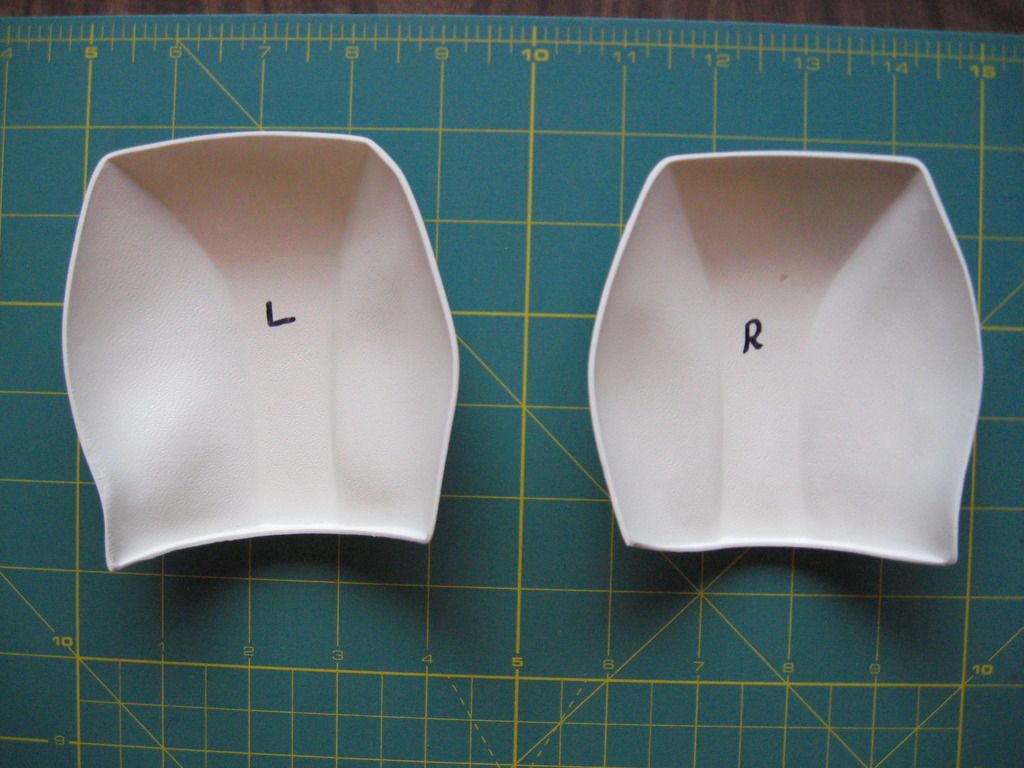
Here are the shoulder bells. 8 mm straps around the biceps. The top straps have velcro sewn on to them, to attach to the underside of the shoulder bridges.
-
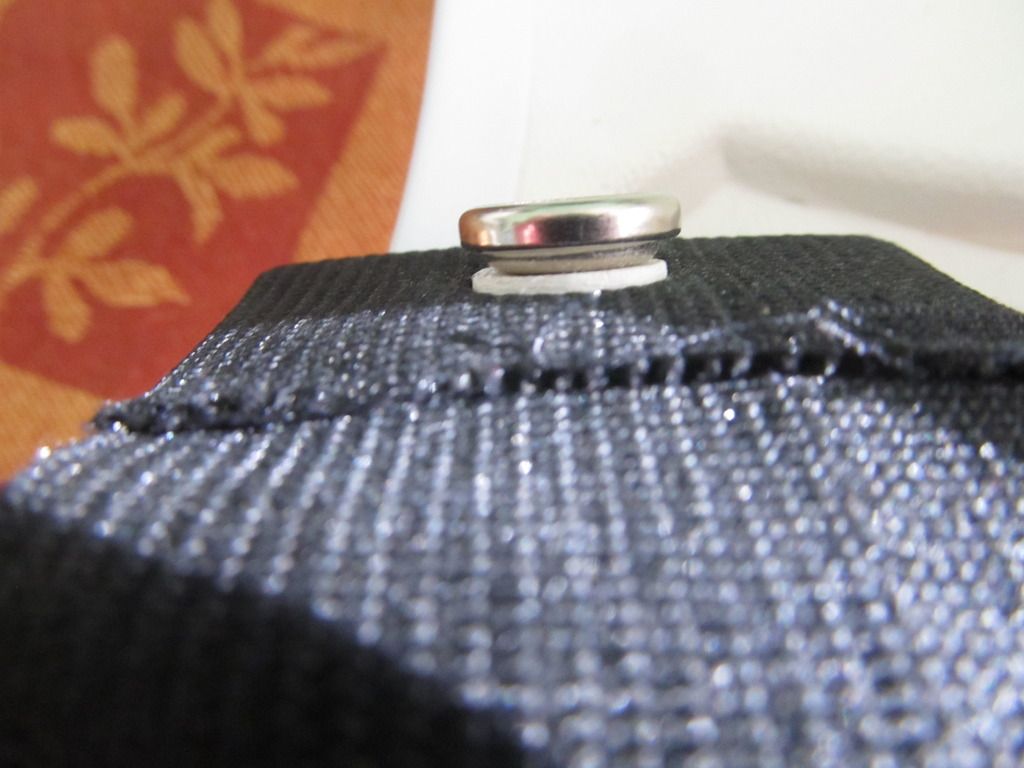
Sorry, one of the photos in the last post was uploaded twice, and here is the other photo of the male snap. The centre of the snap is 18 mm from the bottom of the trim. More of the build has been finished, and more photos are coming soon.
-
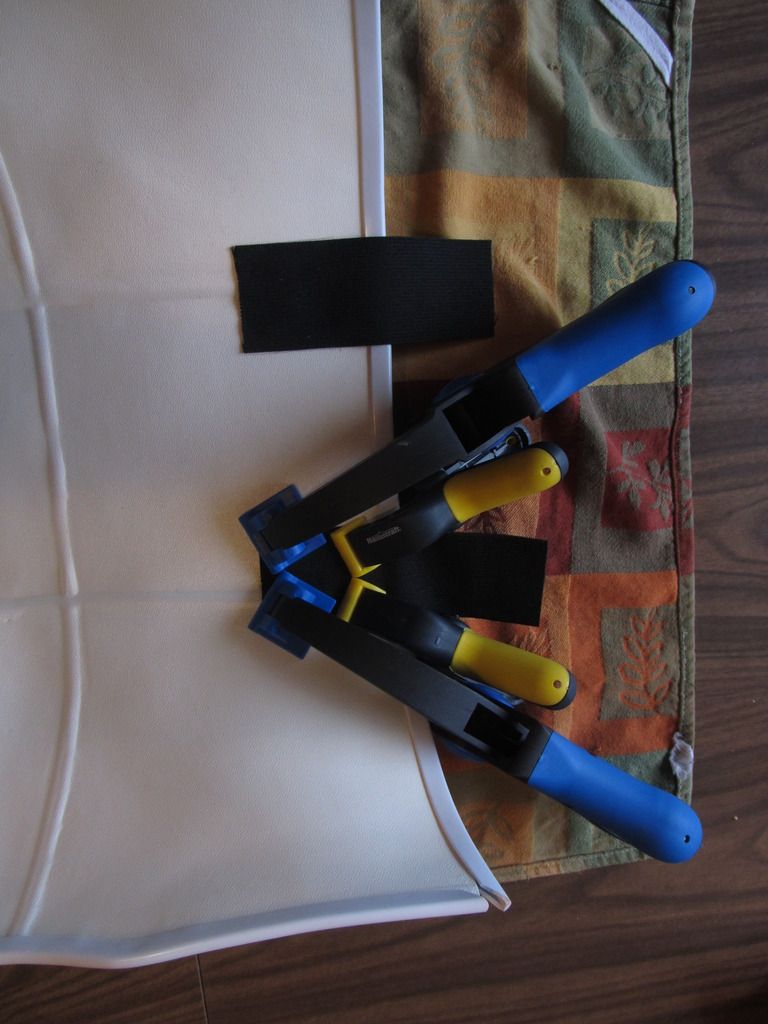
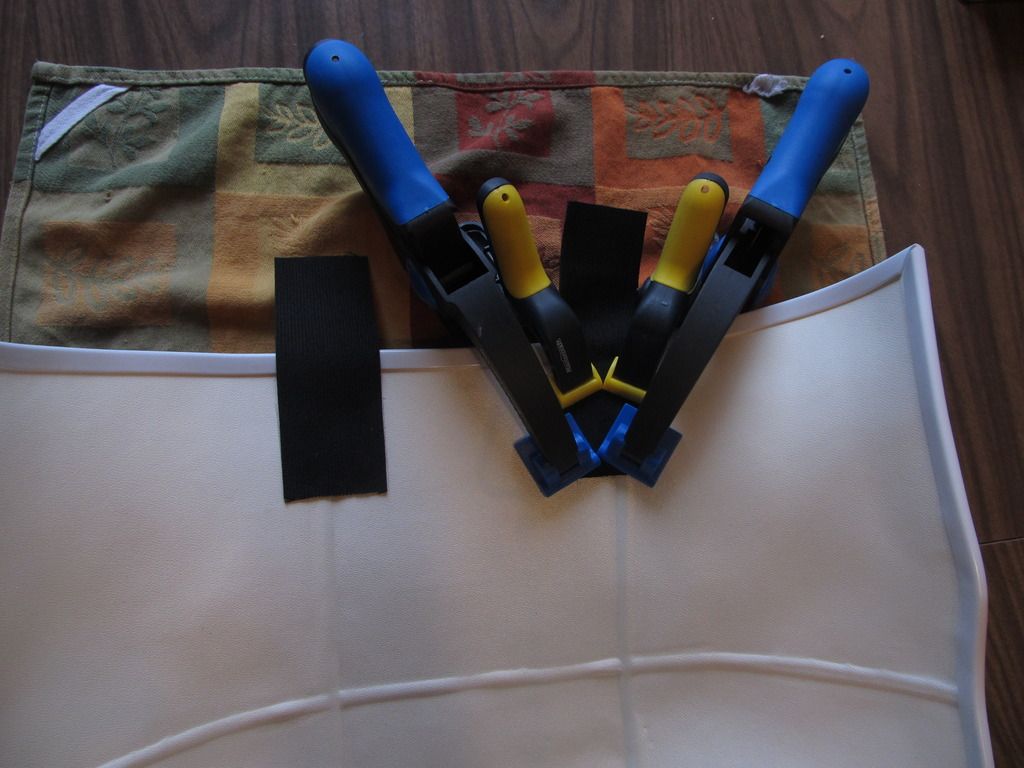
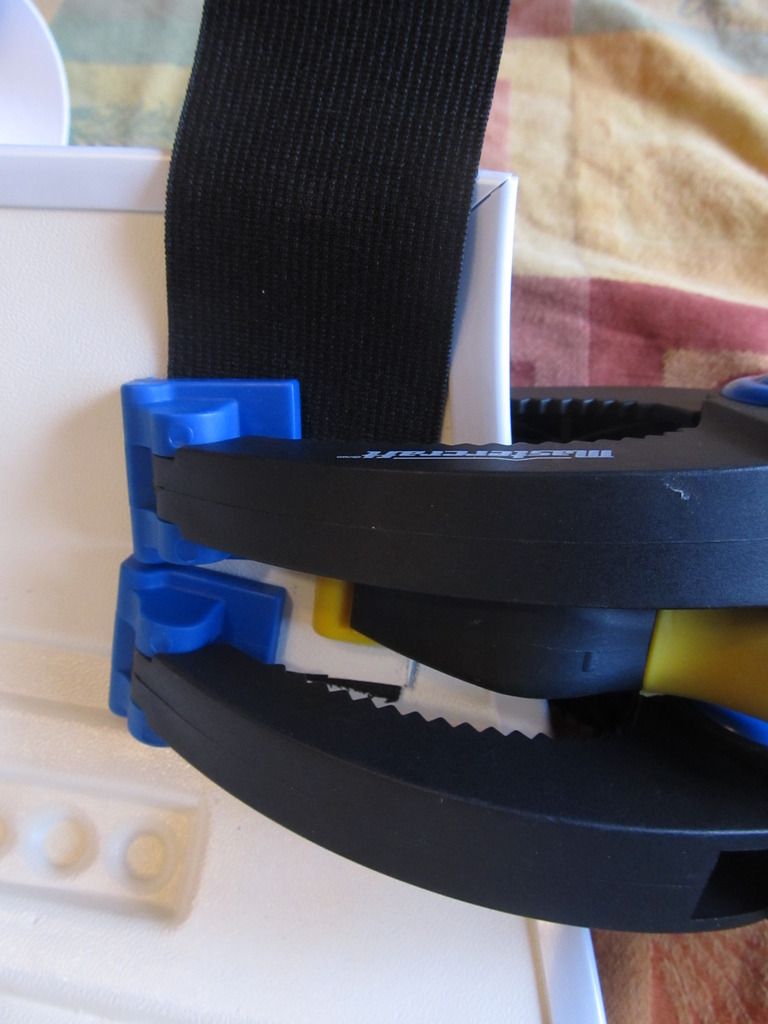
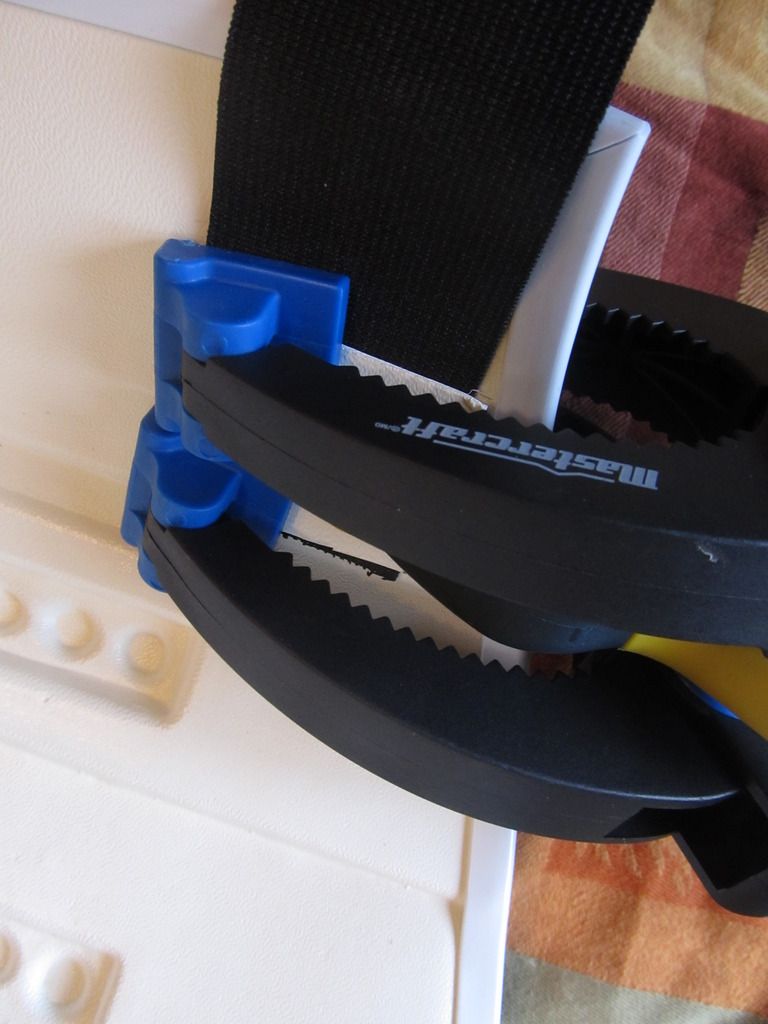
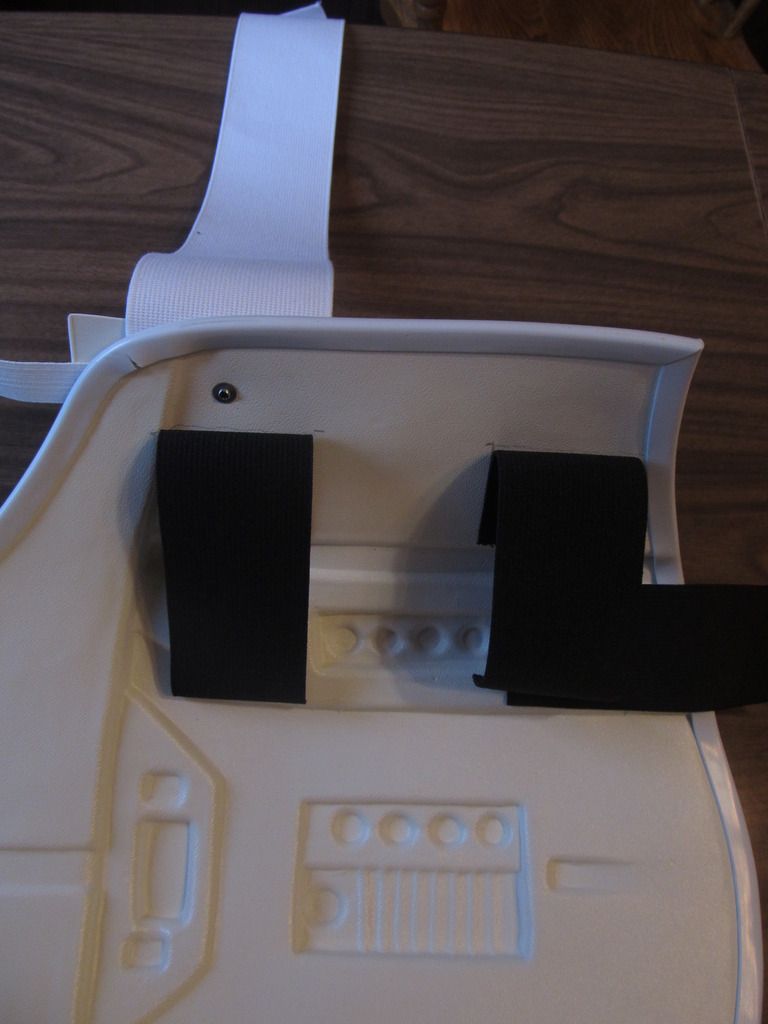
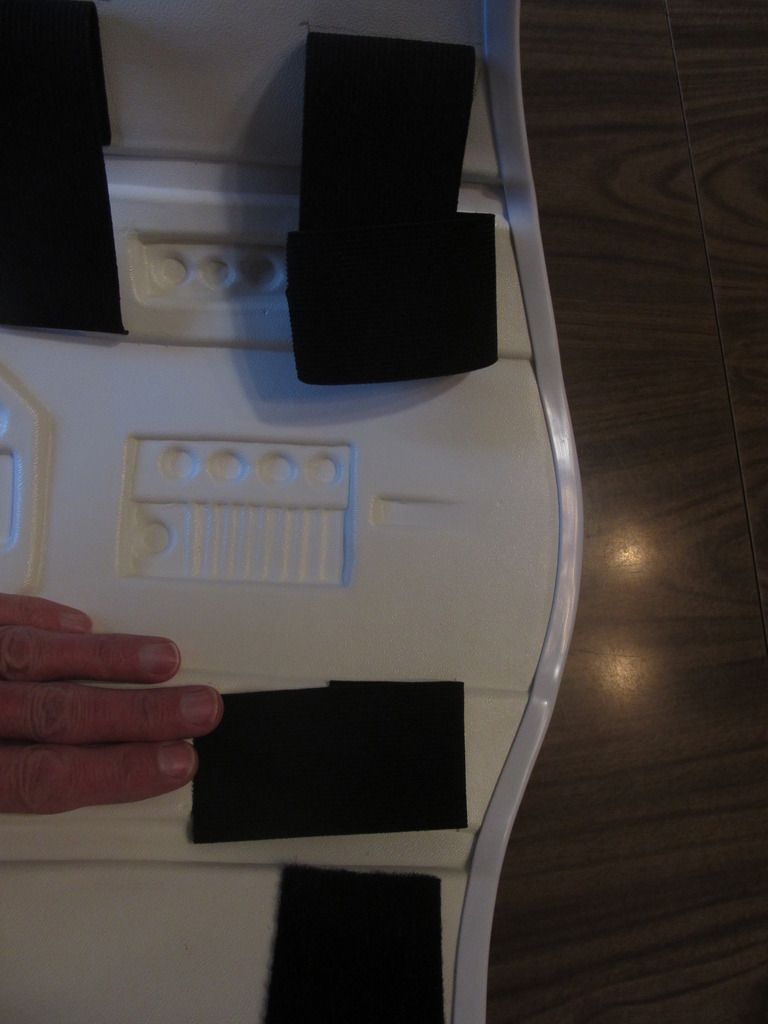
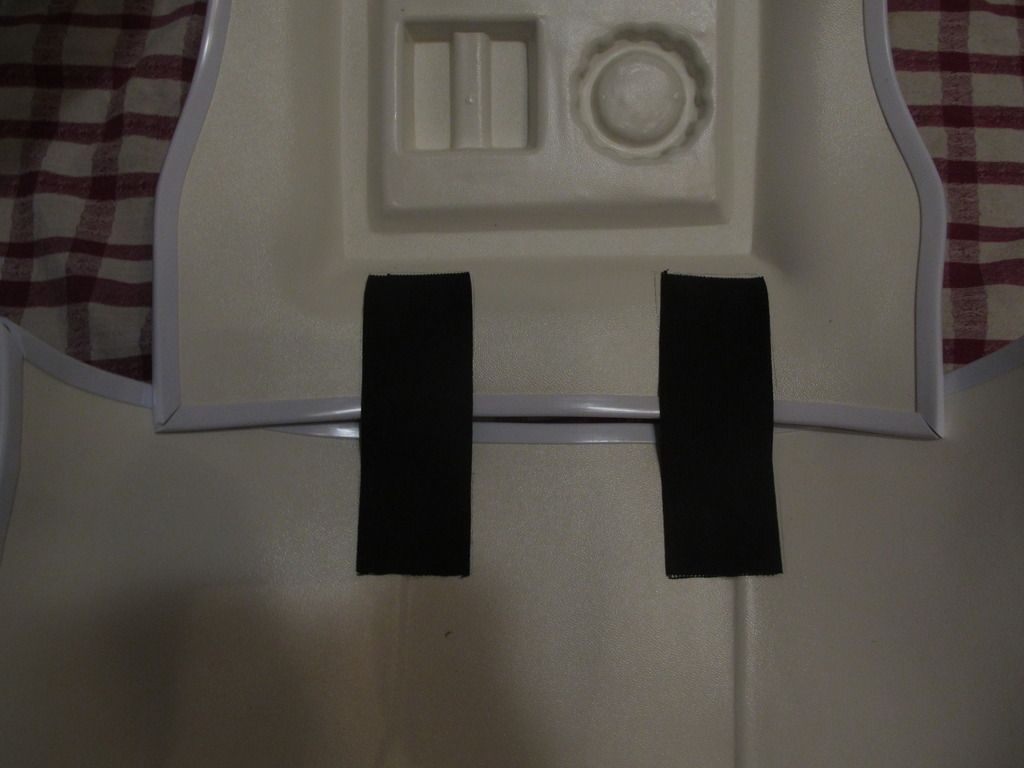
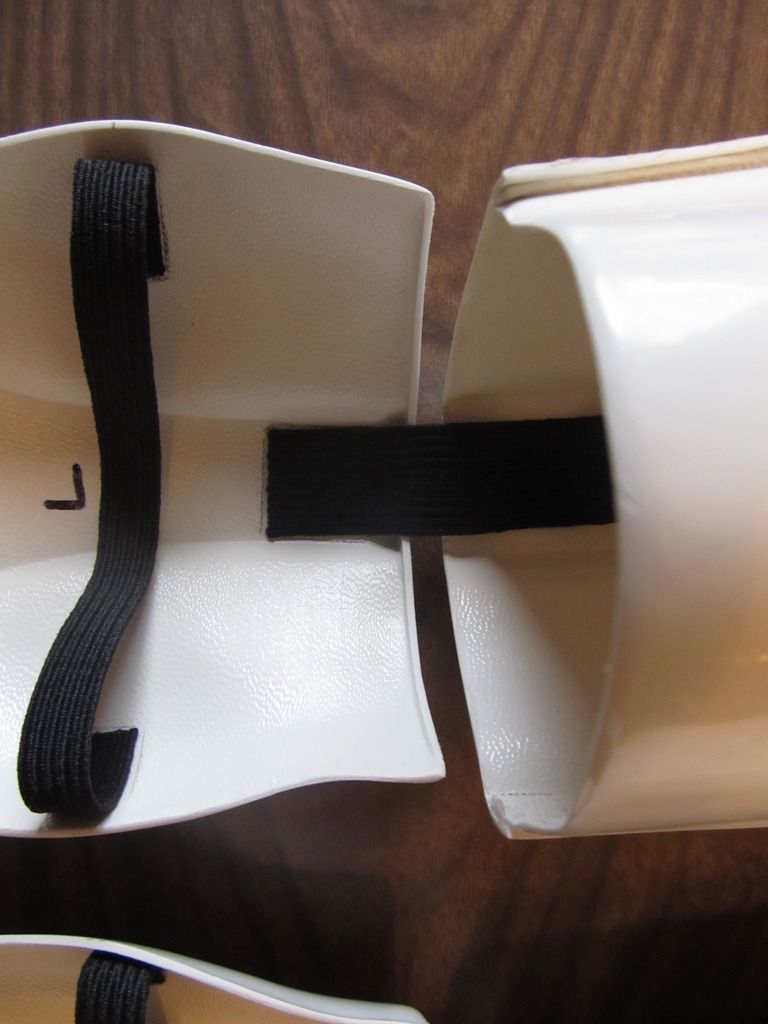
Here is the webbing, glued between the abdomen and the kidney pieces in 2 places.
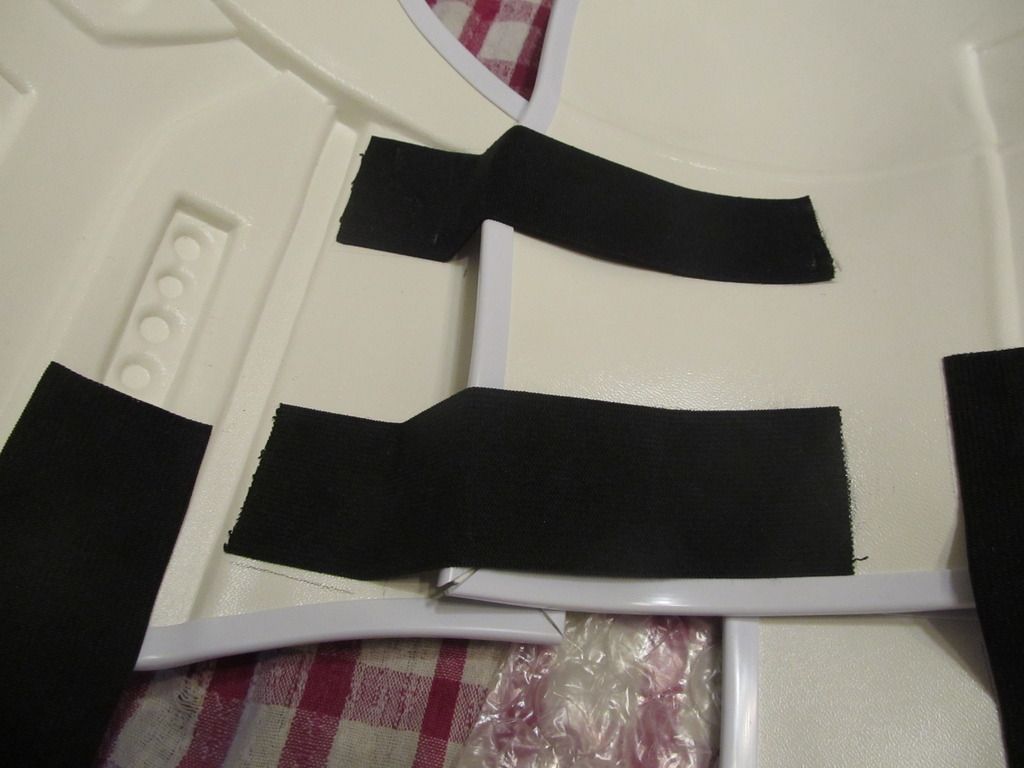
And here is the webbing on the right side of the abdomen and kidney pieces. Black velcro has been sewn on it.
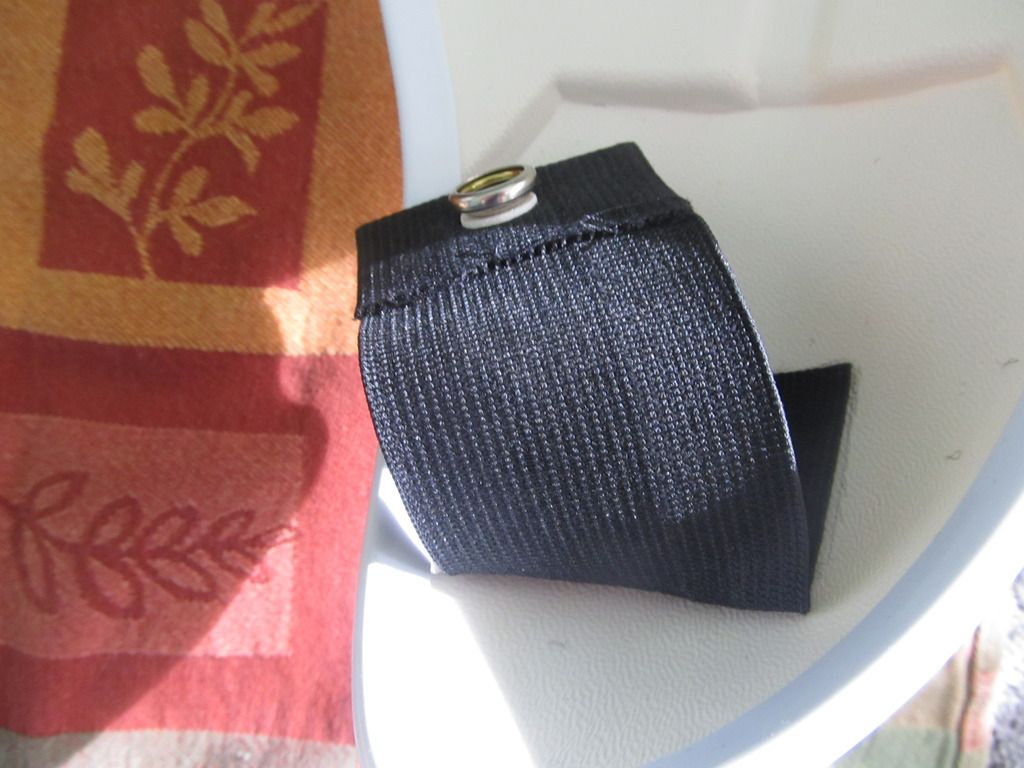
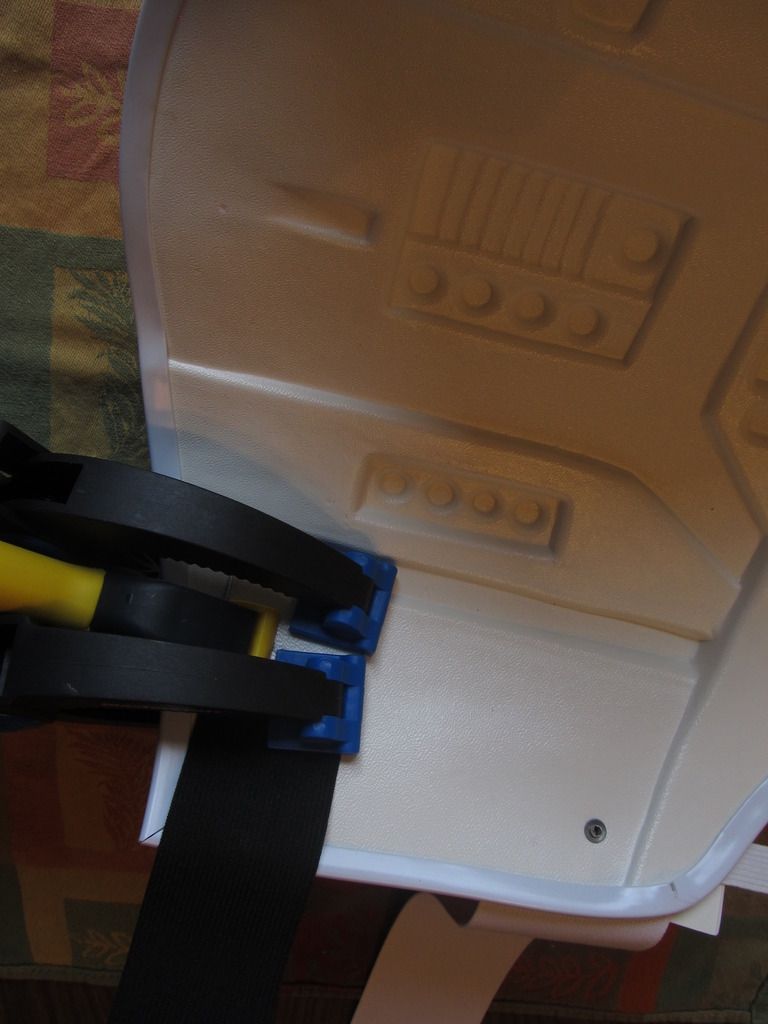
Here are some photos of the male snap on the bottom of the kidney / butt plate. Tandy Line 24 nickel-plated snaps from Tandy Leather in Mississauga, Ontario.
-
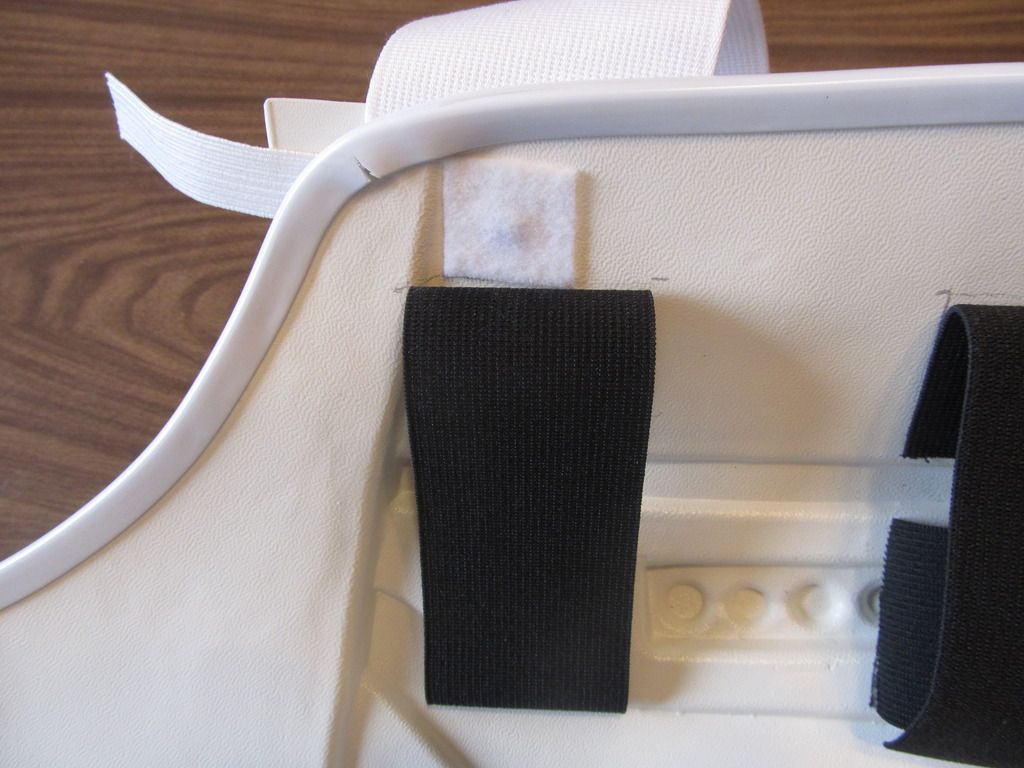
Here are some more photos of the build, completed in the past couple of weeks. The velcro is sewn on the white webbing,

Here are some photos of the belt to hold up the thighs. The 1 1/2 inch (38 mm) webbing is from Len's Mill Store and the buckle is from Fabricland, both in the Hamilton - Niagara area, of Ontario, Canada. Total cost was about $5.00 Canadian.
-
Thank you TK-5859. More to come soon.
-
1
-
-
Sorry for the long delay since before Christmas. Here are some photos of more work completed on the armour.
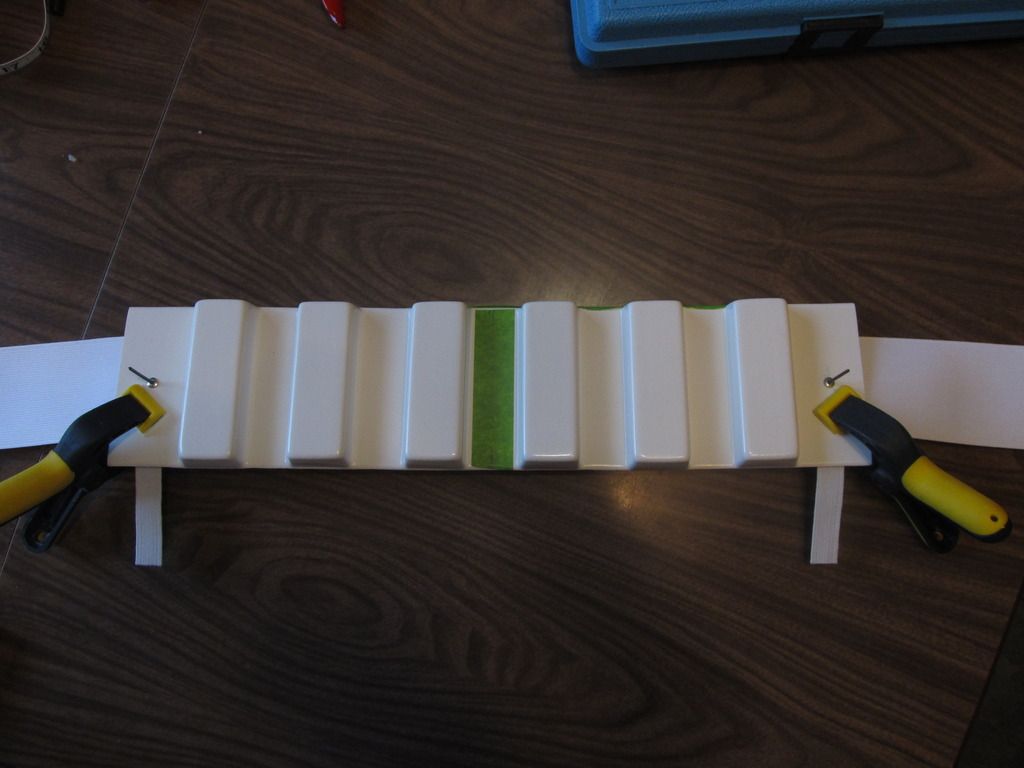
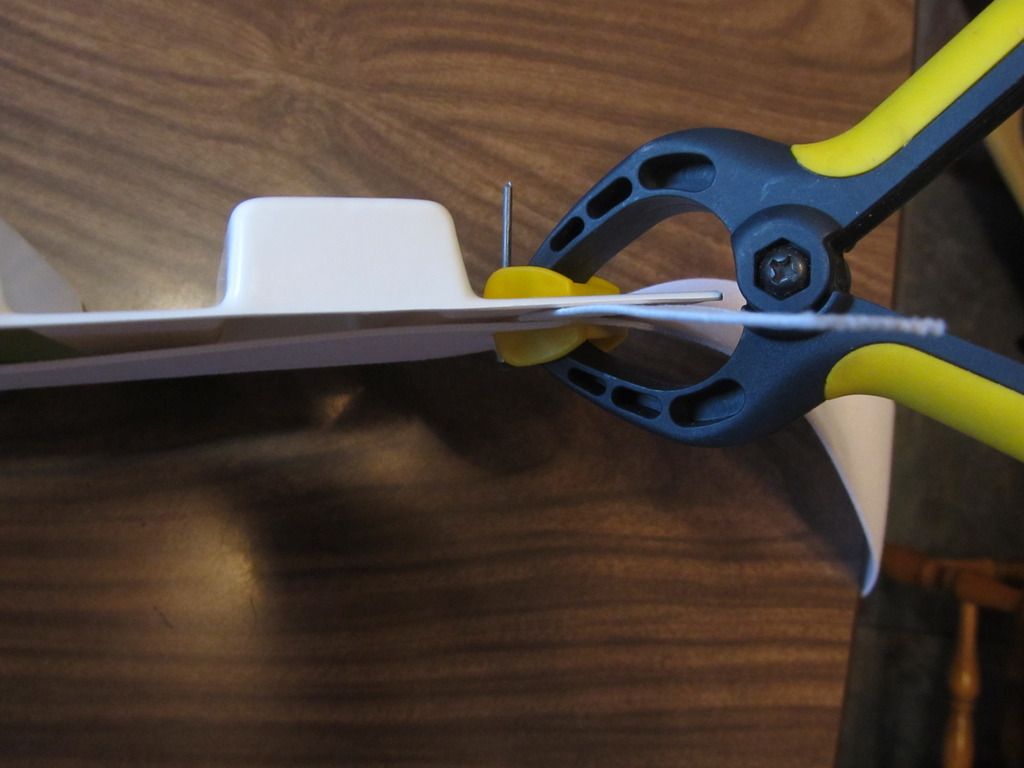
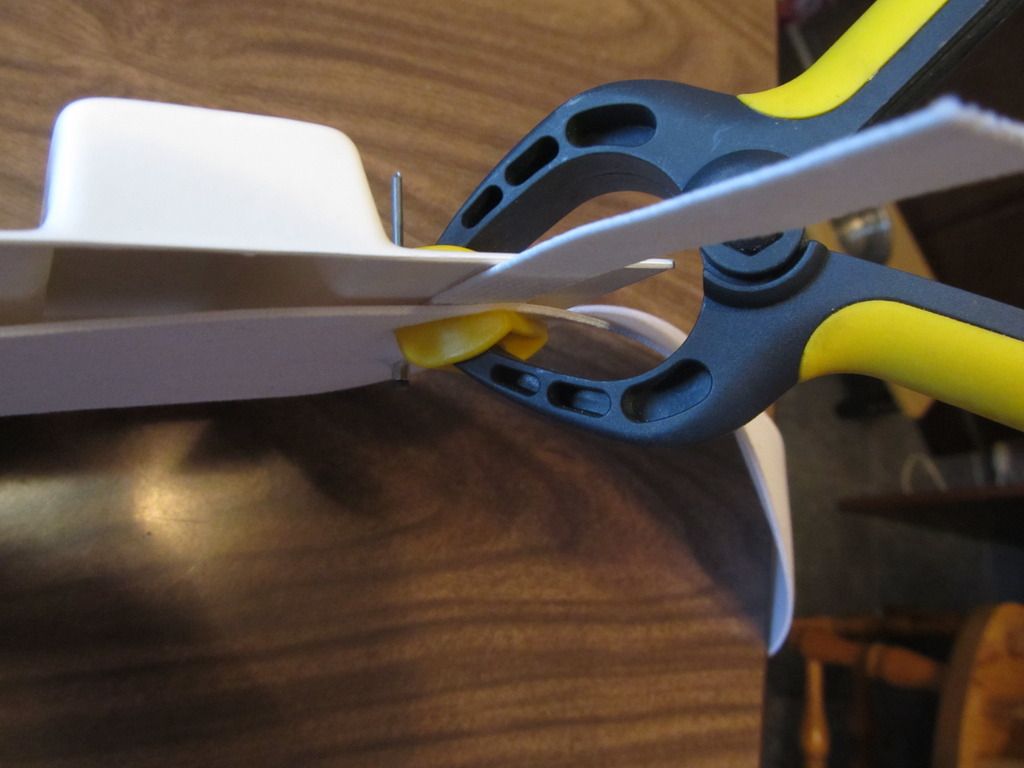
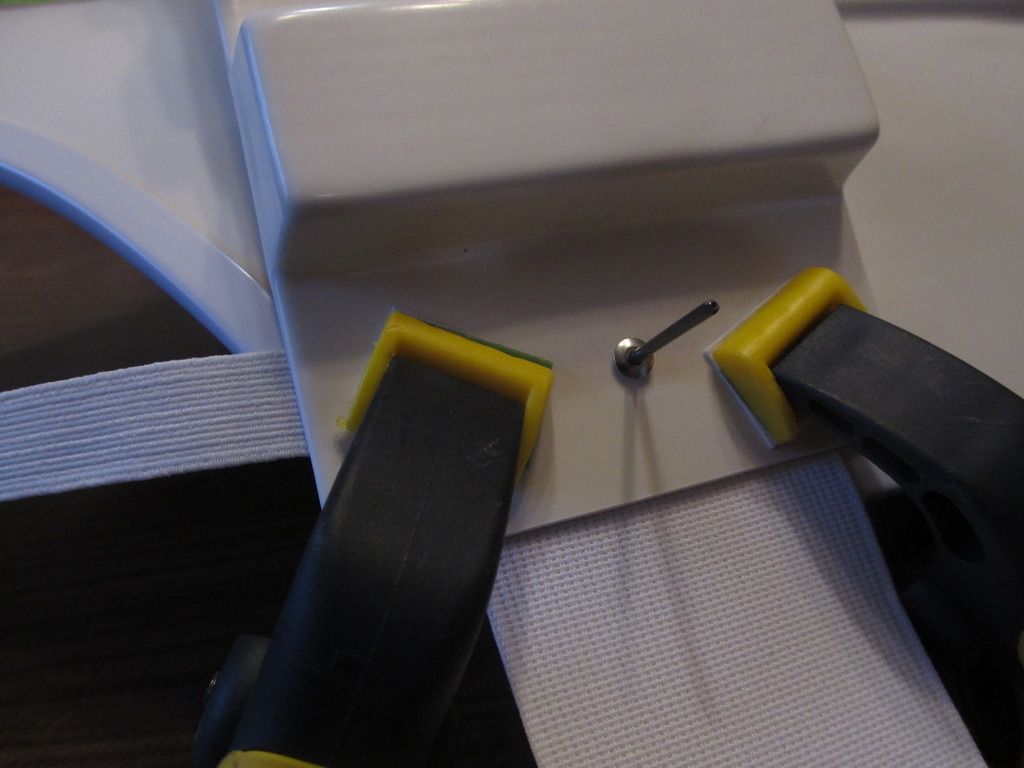
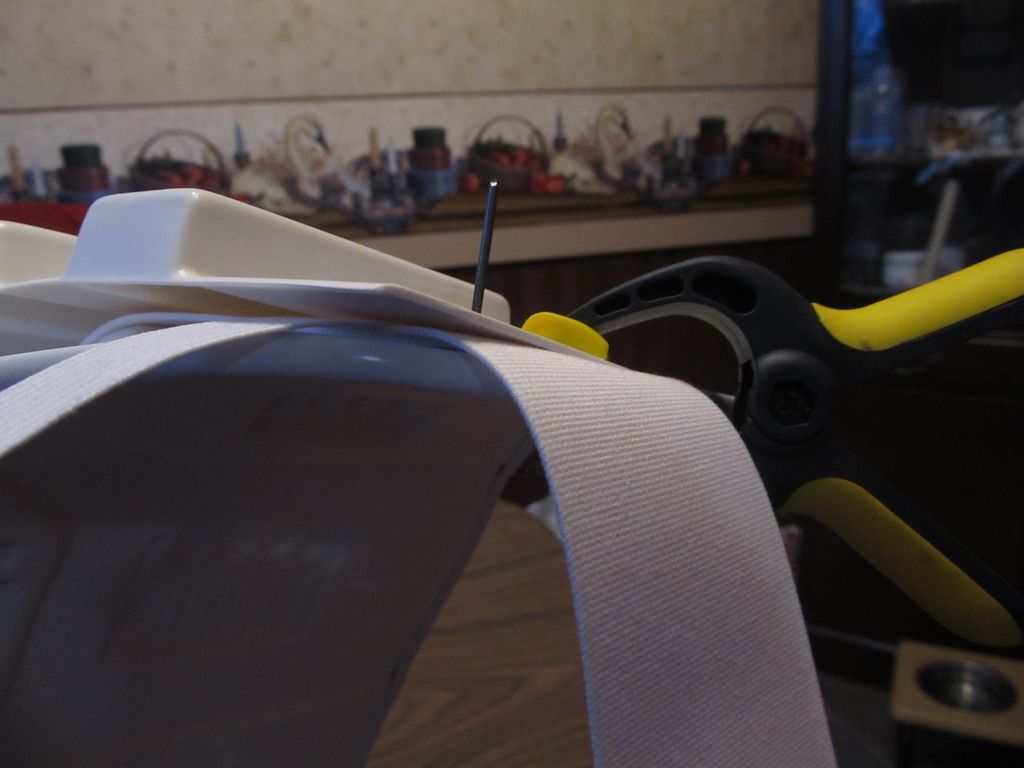
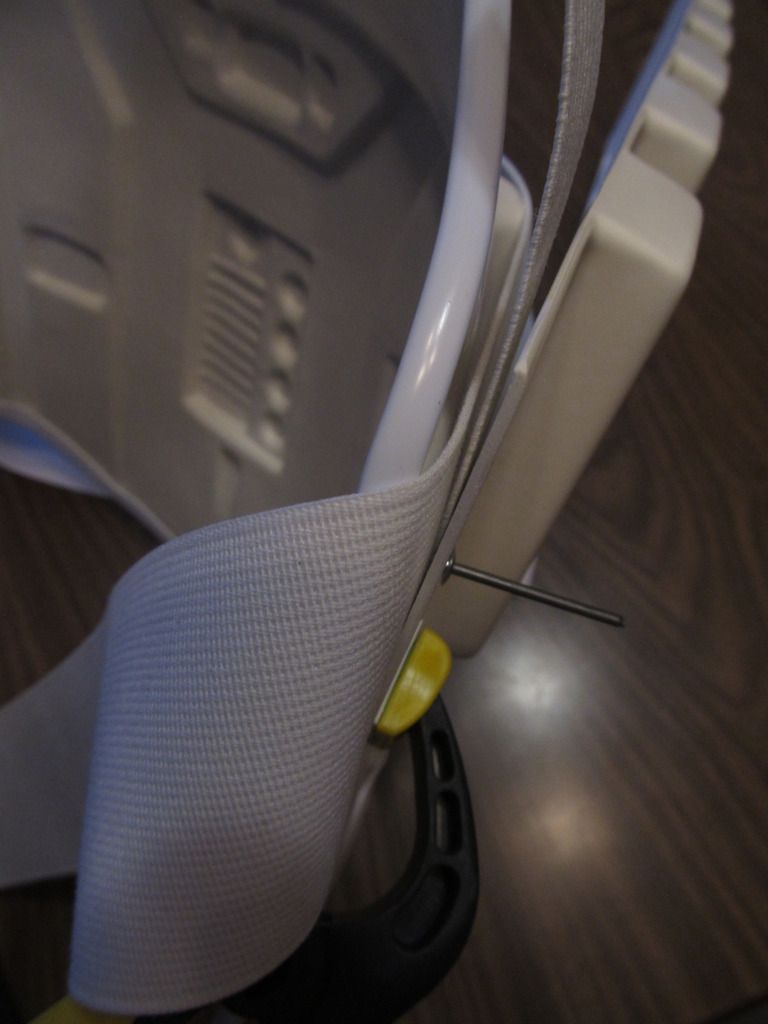

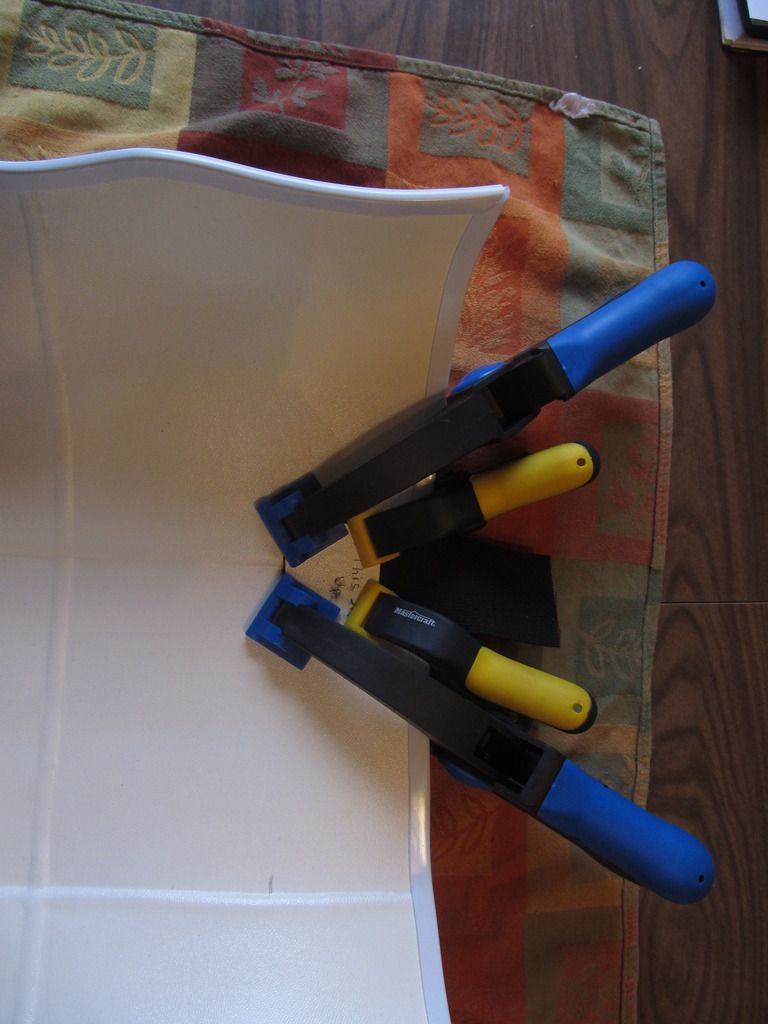
The next few photos show gluing the elastic straps onto the top of the kidney, using Gorilla Super Glue, about one drop per square inch, under the elastic. It sets in about a minute. I will be using Stelmax 1985 White over top of the elastic, where it attaches to the armour, as recommended by Mark at CFO.
Now a few photos of gluing the elastic to the left side of the ab/ cod plate.
Here are some photos of the ab / cod plate after gluing the elastic and placing the loop velcro. I used the "industrial Strength" self adhesive velcro from Home Depot for this one. By the way, thanks to great photos from Mark (sskunky) at CFO and from Markus in Austria. Your photos have helped a lot with this build. I will add the Stelmax white adhesive when the order arrives from Montreal.
Now the straps are glued between the back and the kidney plates.
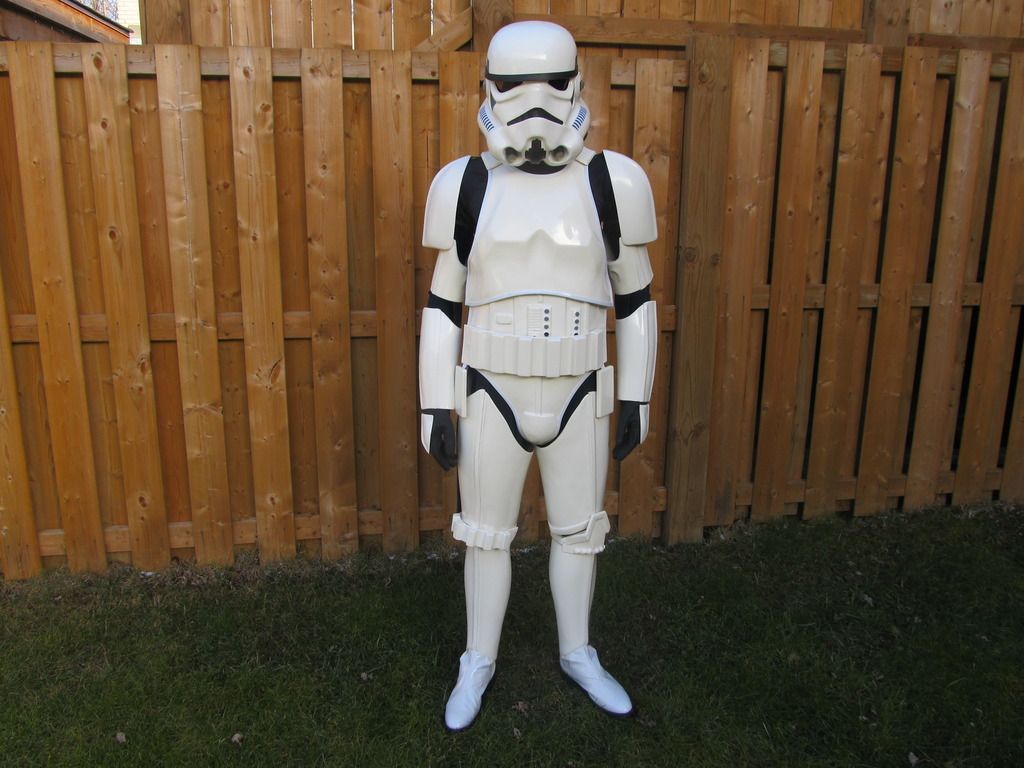
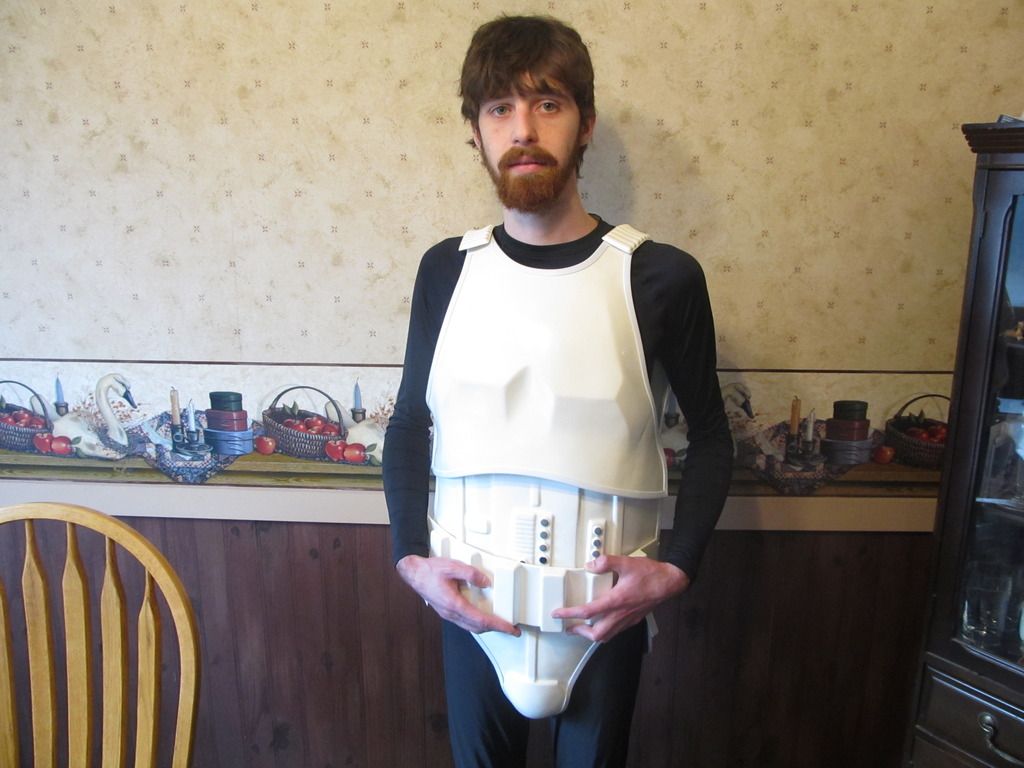
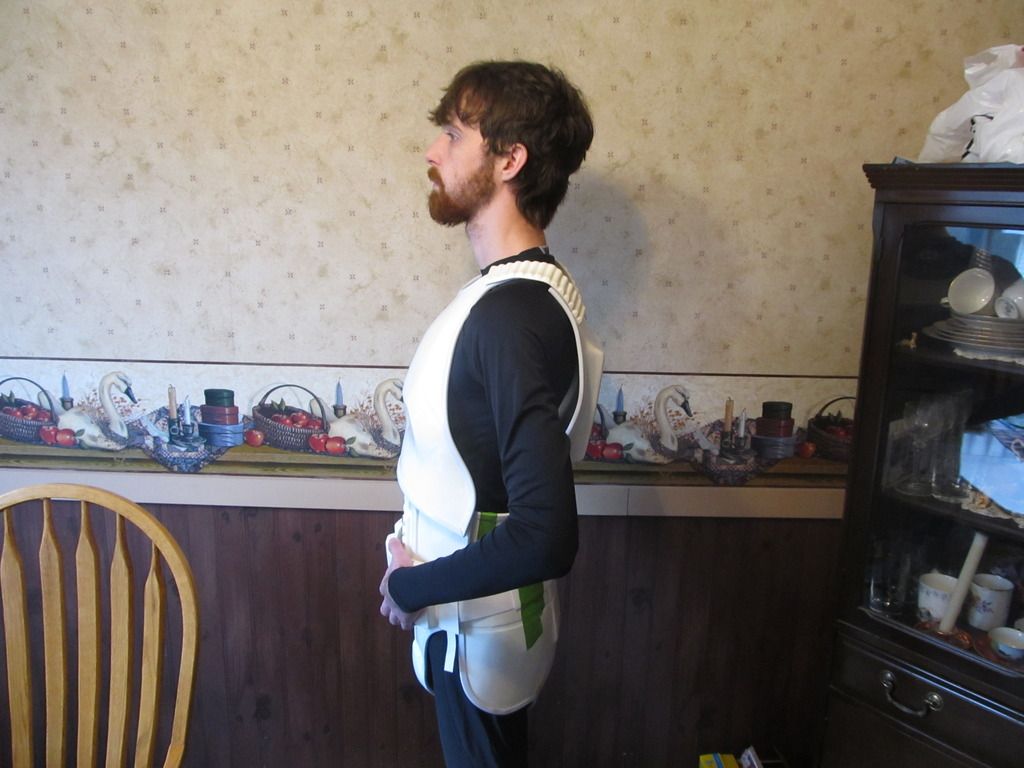
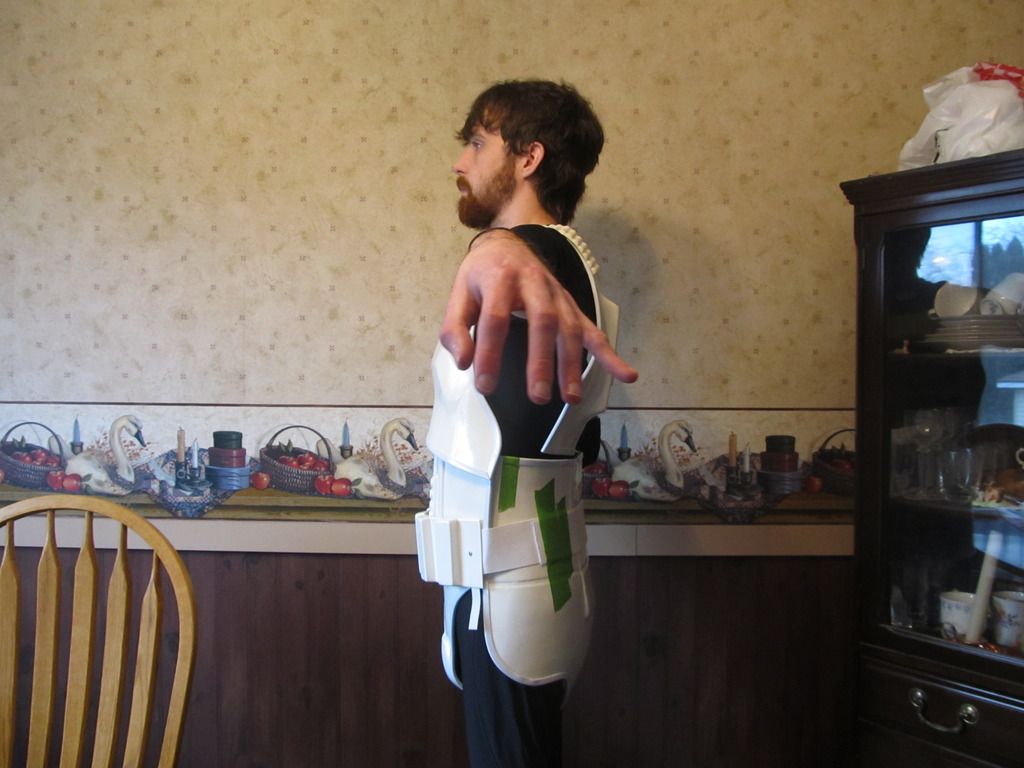
The next photos are of my first trial fit. There is no velcro sewn to the white belt yet, so I used green frog tape to hold things in place. Also there are is no elastic yet between the chest and the ab / cod plates.
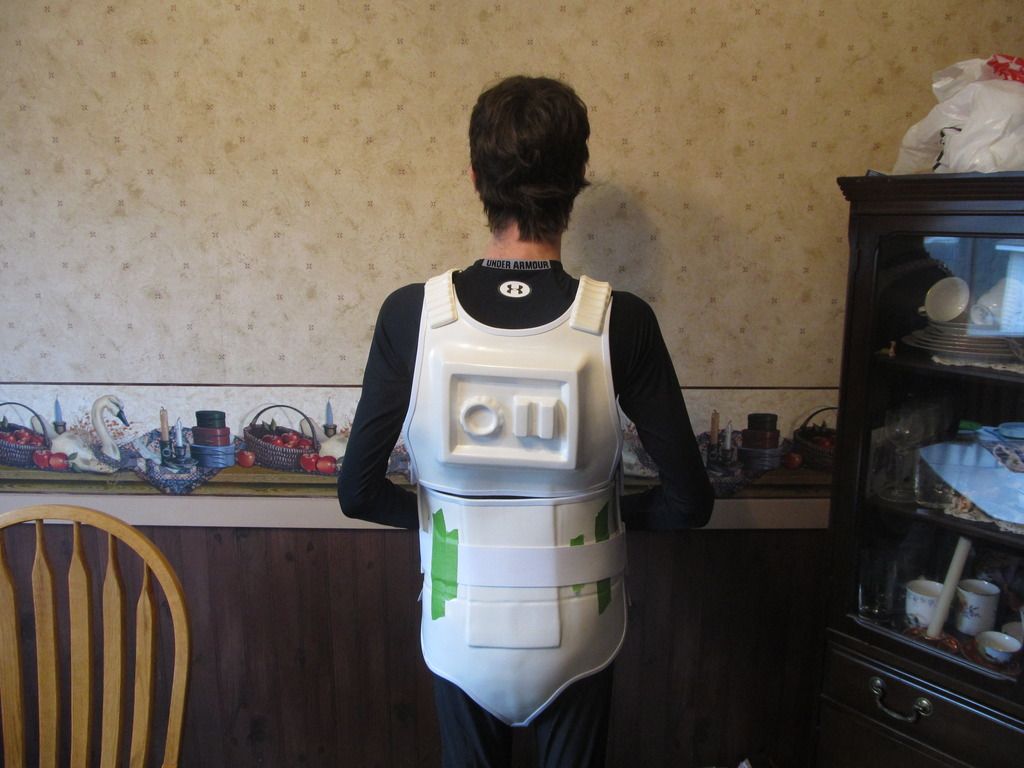

Here is photo of the back plate with "Industrial Strength" self-adhesive hook velcro trimmed for the ABS shoulder straps.
Now some photos of the hand plates and forearms, after being fitted and the elastic straps glued with Gorilla Super Glue. Stelmax will go on later.
Here are my last photos for today. Markus had a good idea of gluing felt squares over top of the rivets on the inside of the ab / cod plate, so I did the same. Thanks Markus.

-
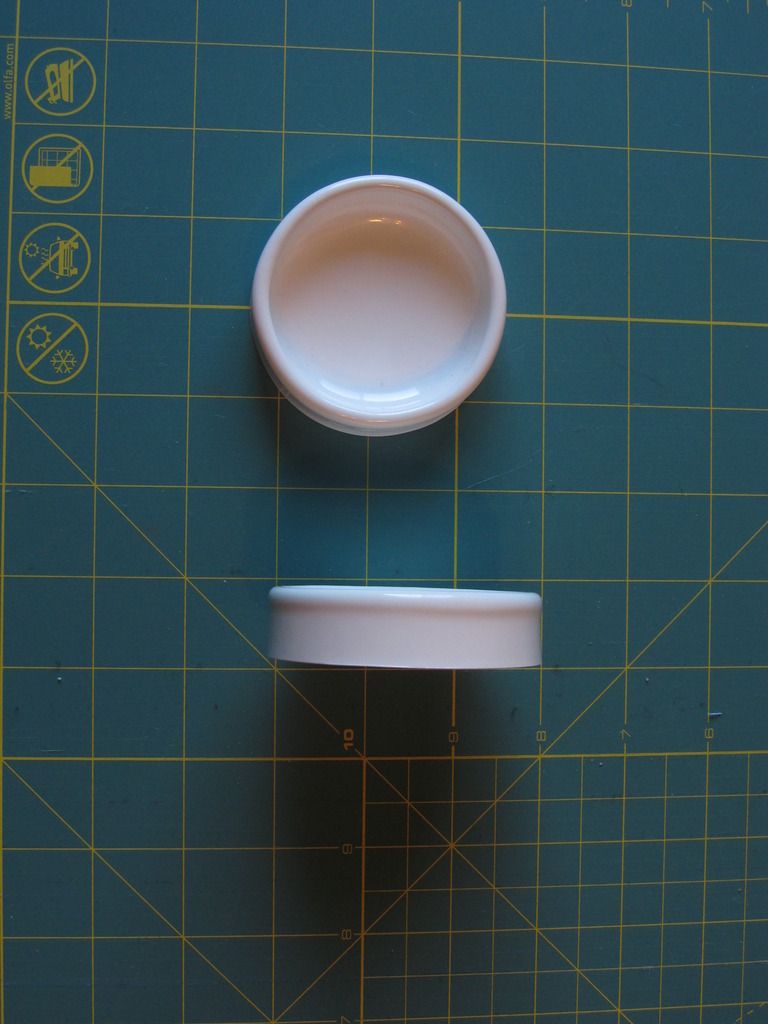
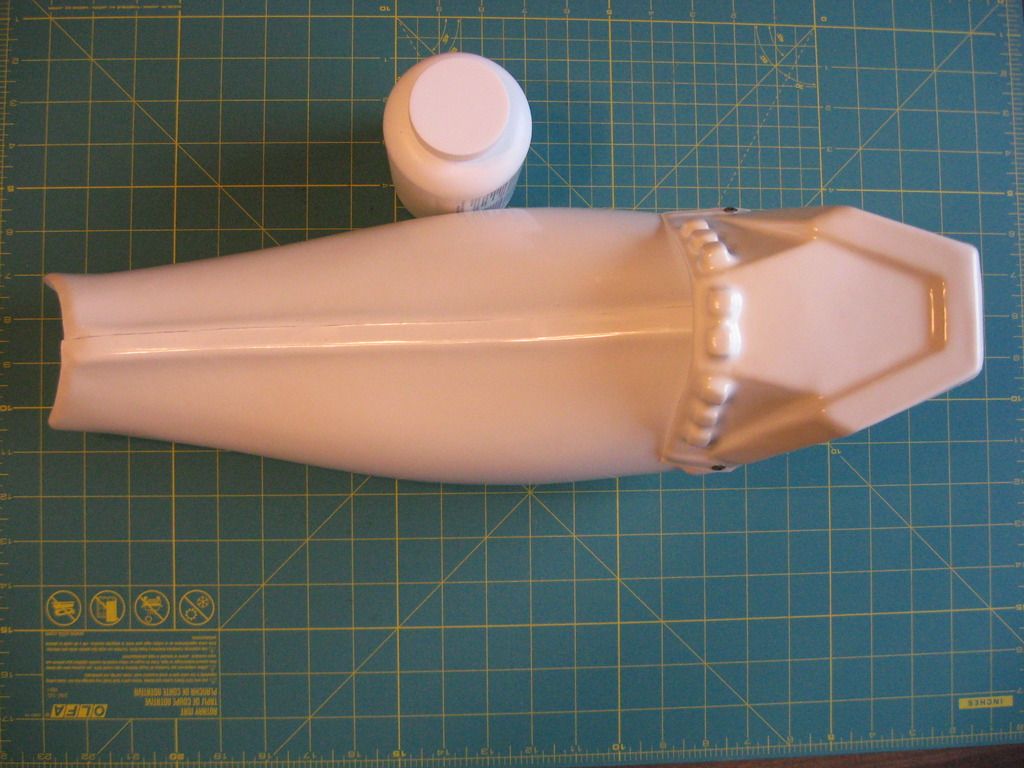
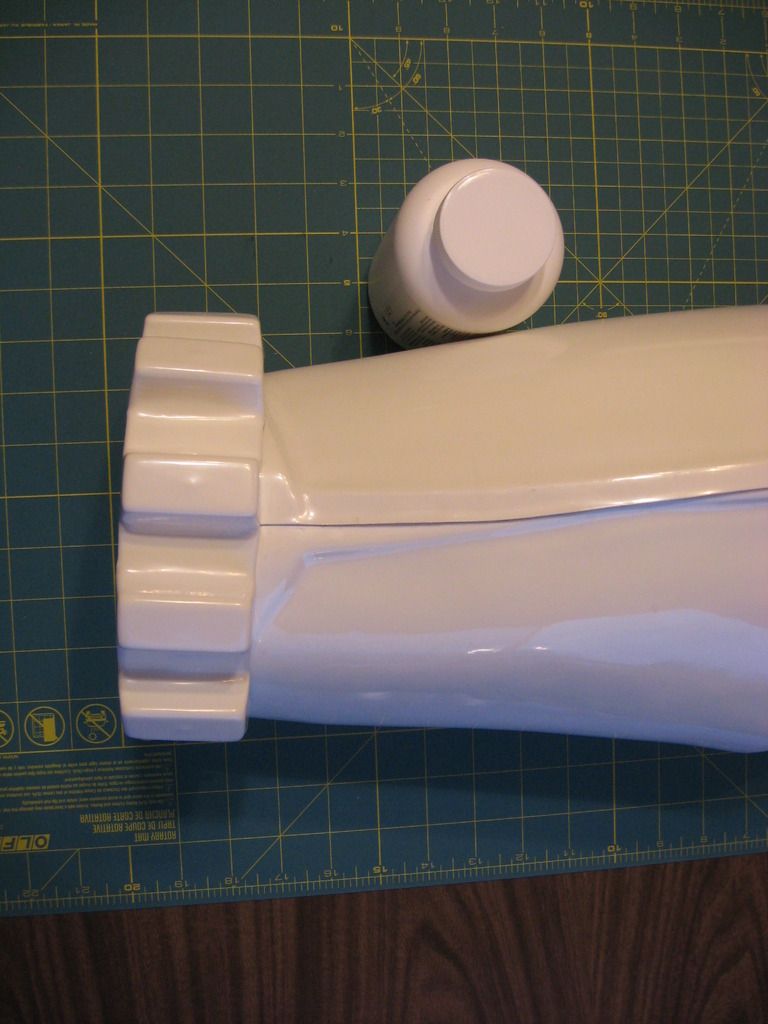
Here are some photos of the thermal detonator and the end caps.
-
1
-
-
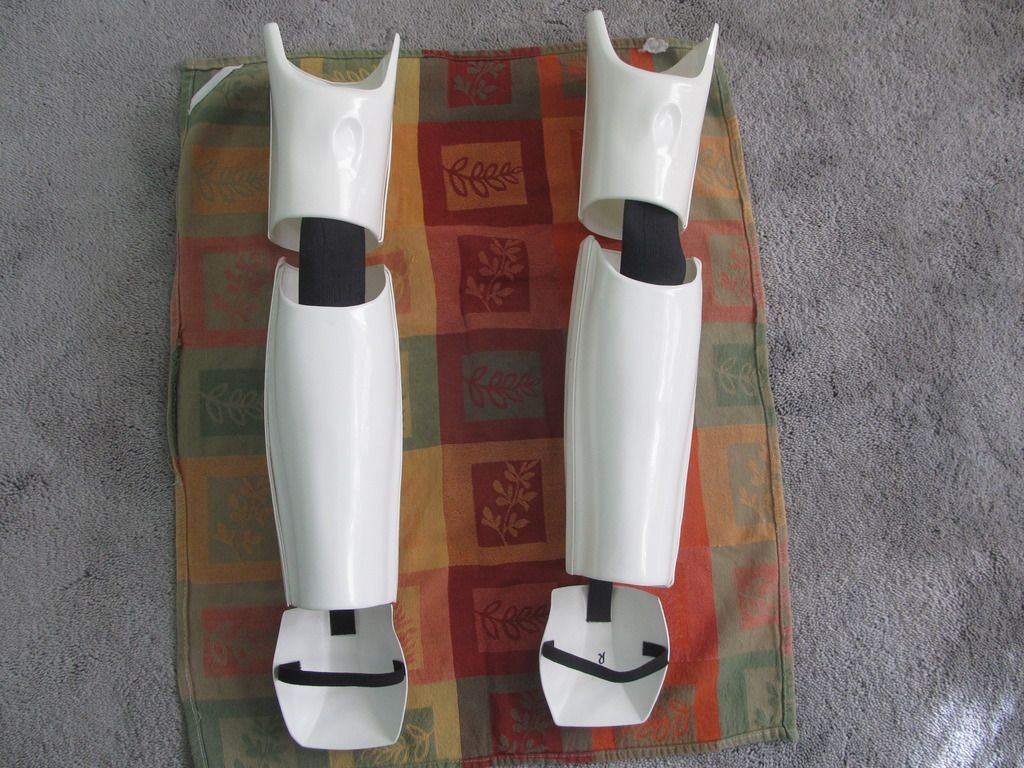
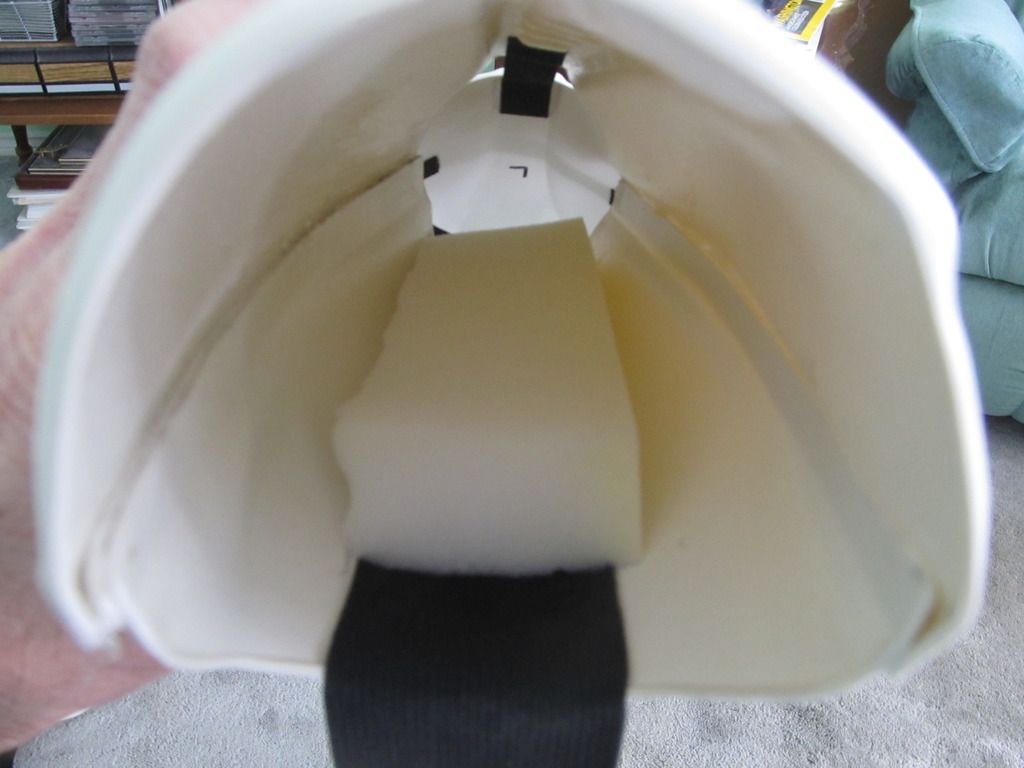
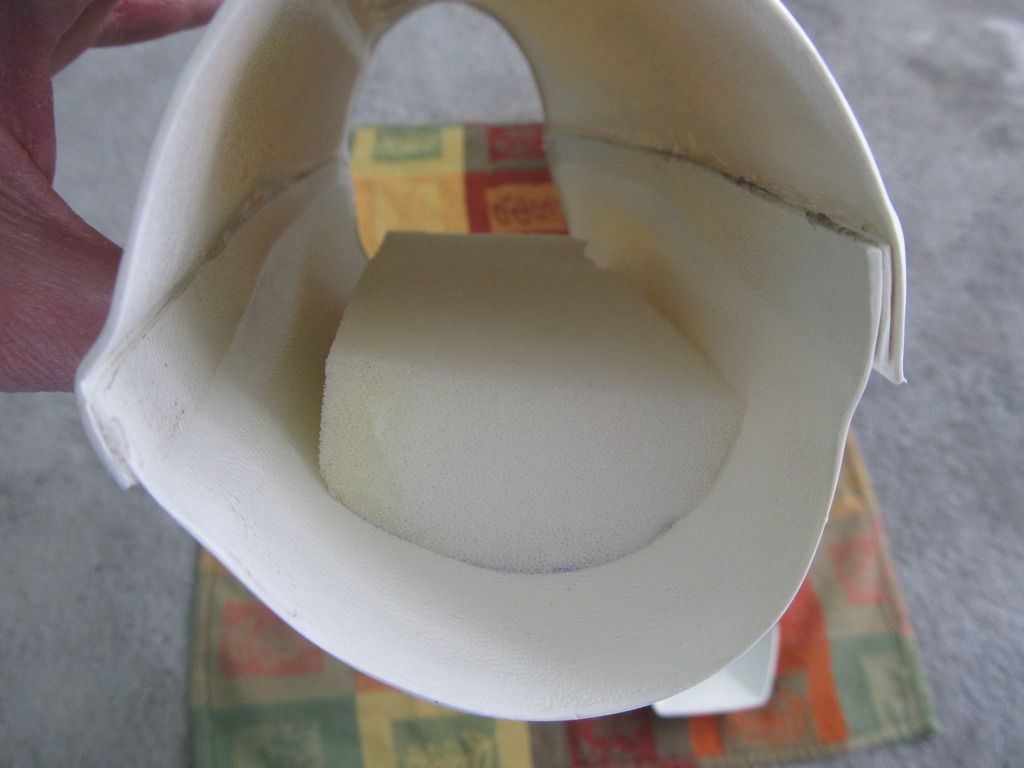
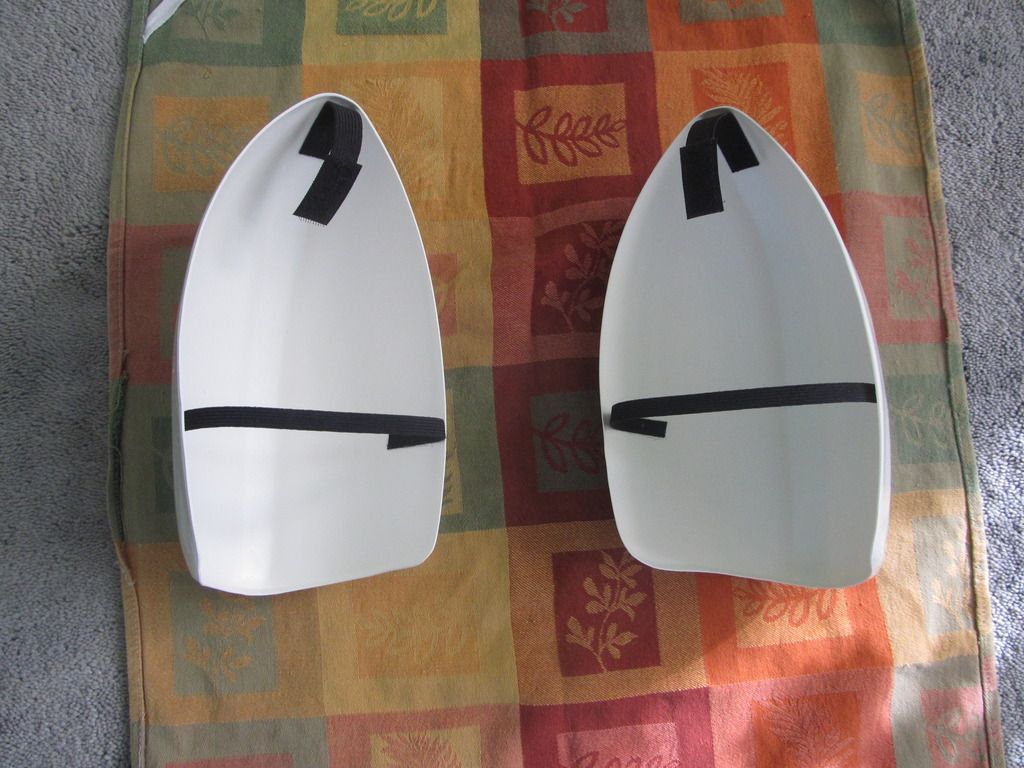
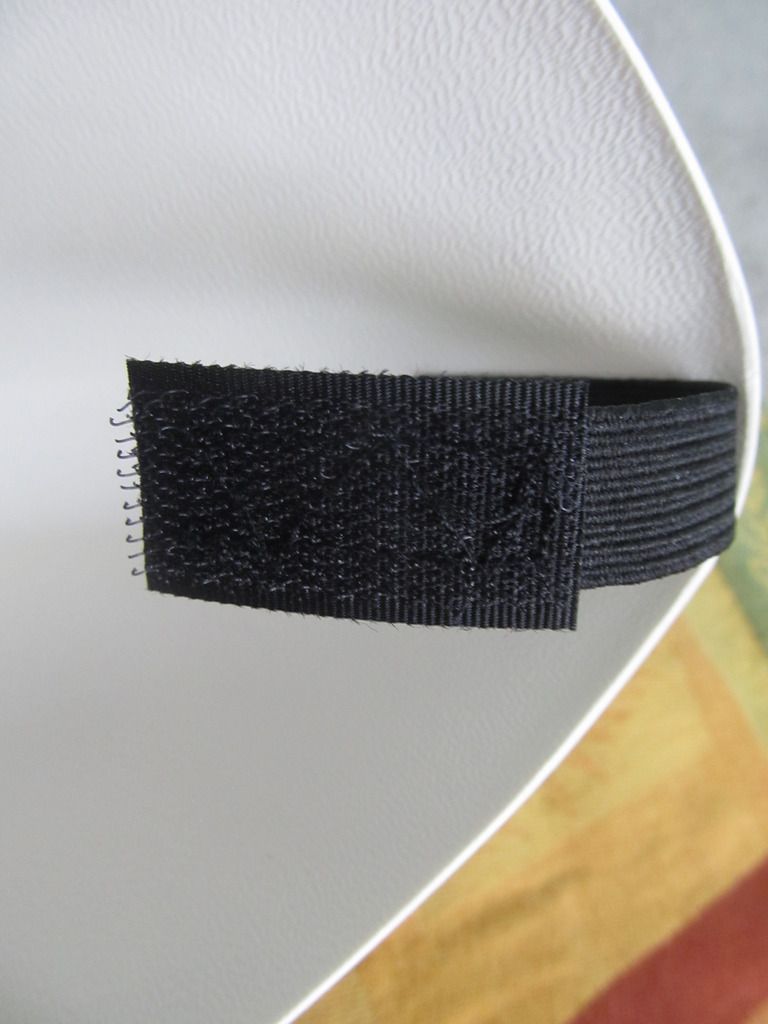
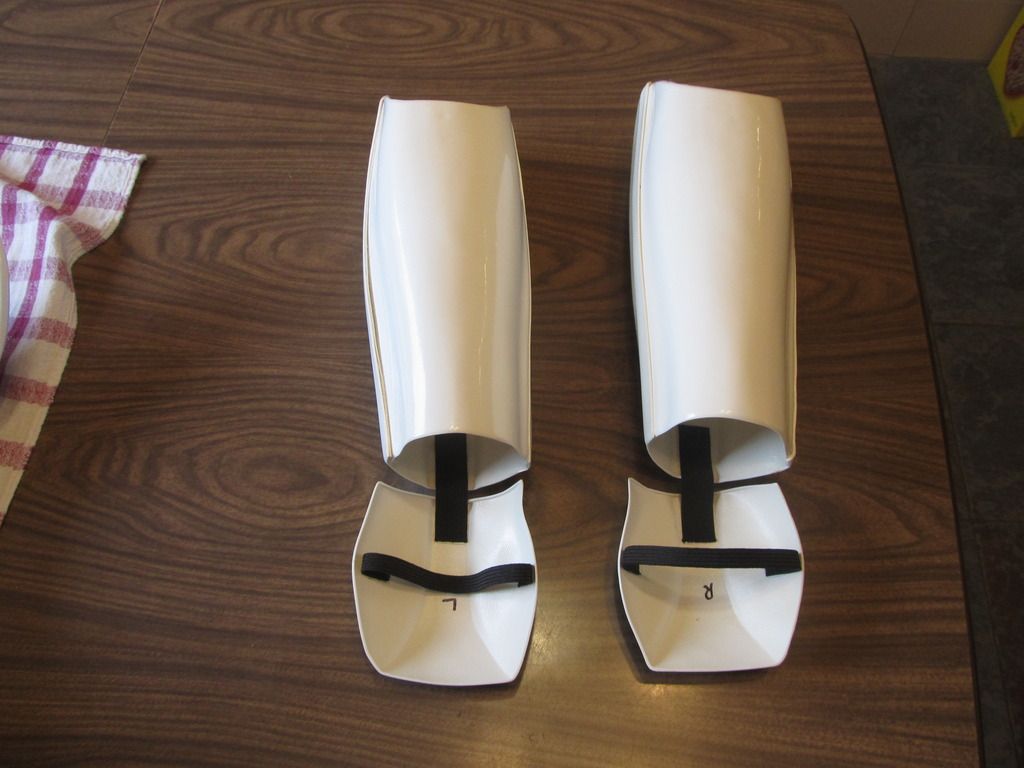
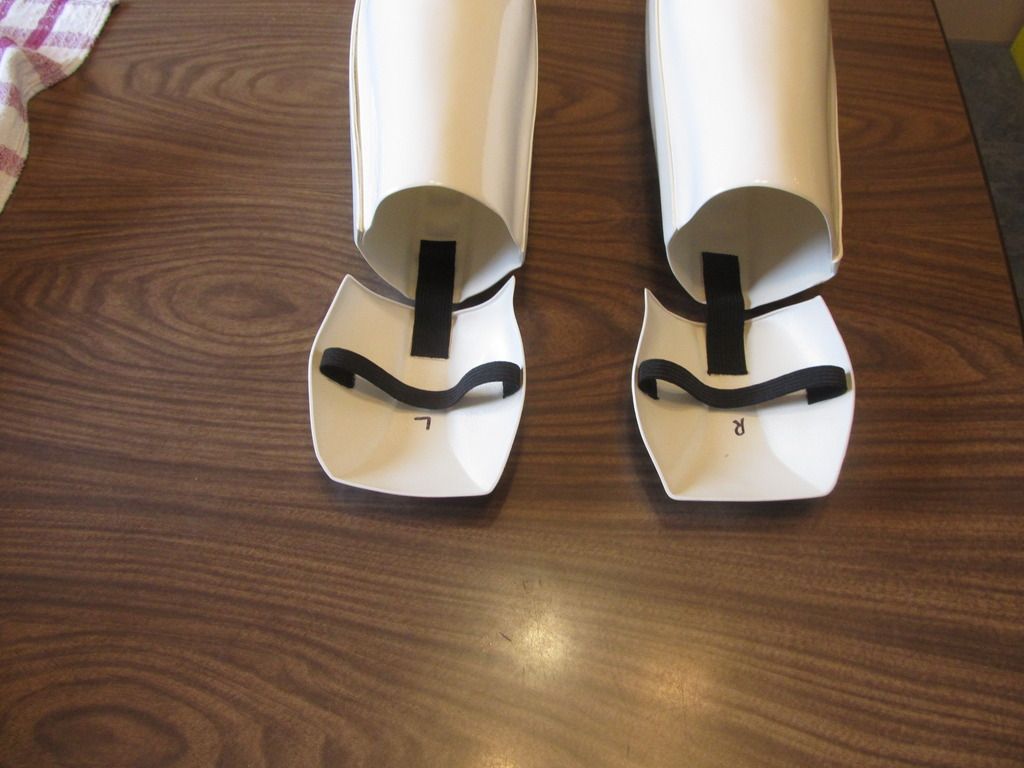
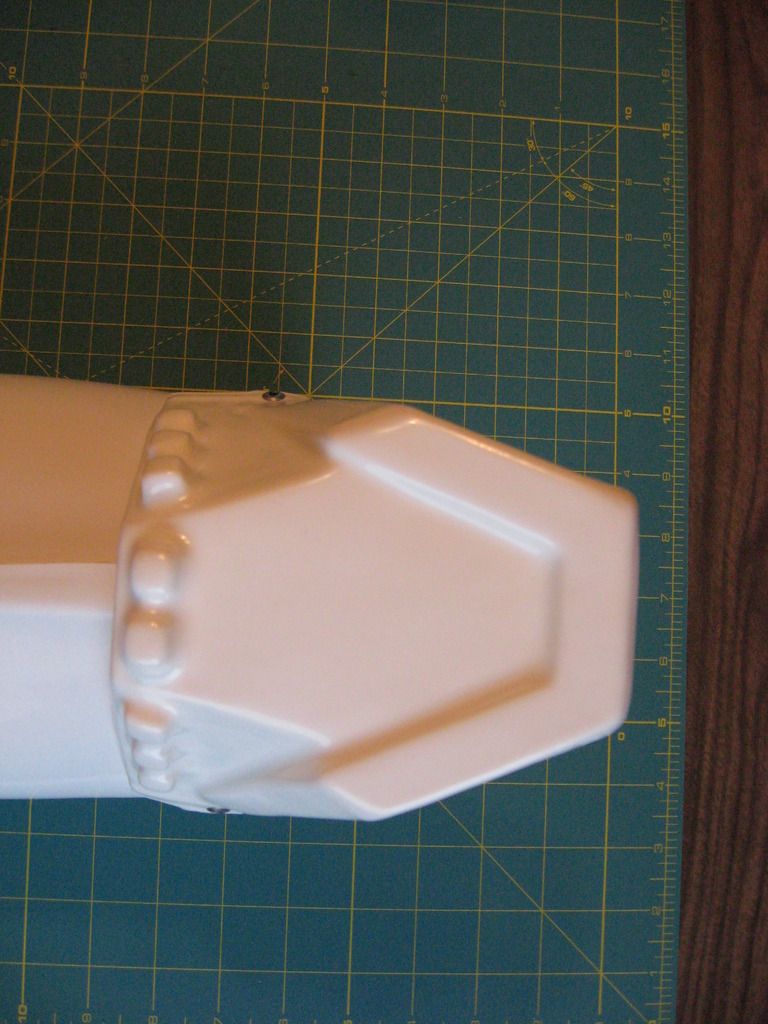
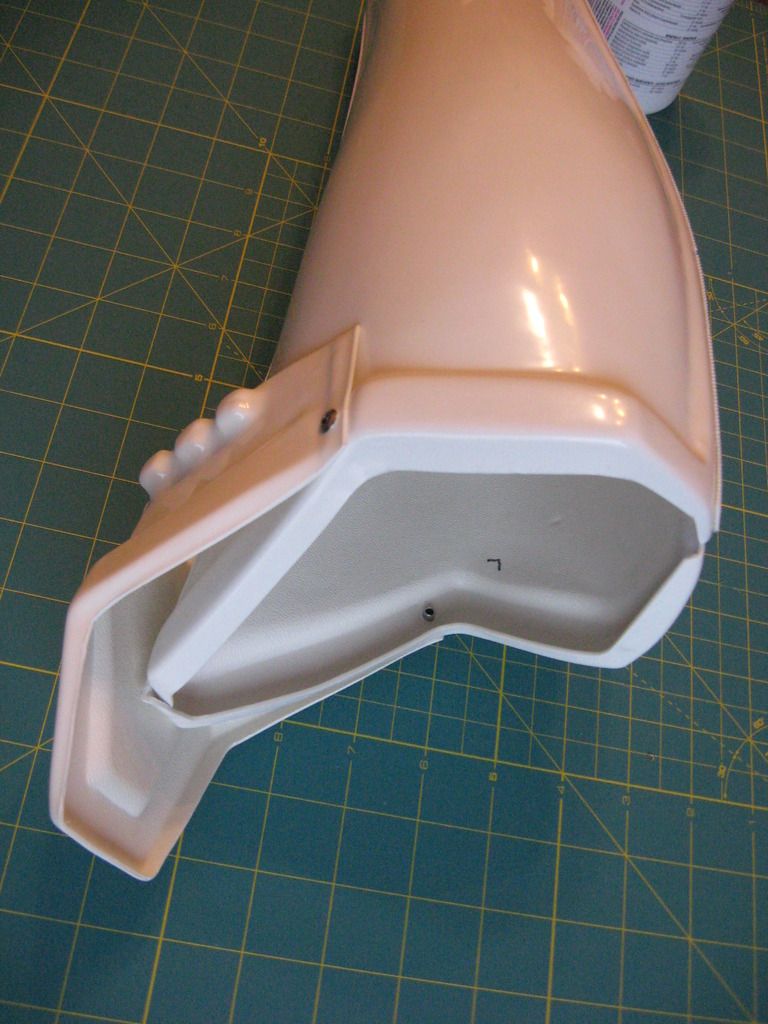
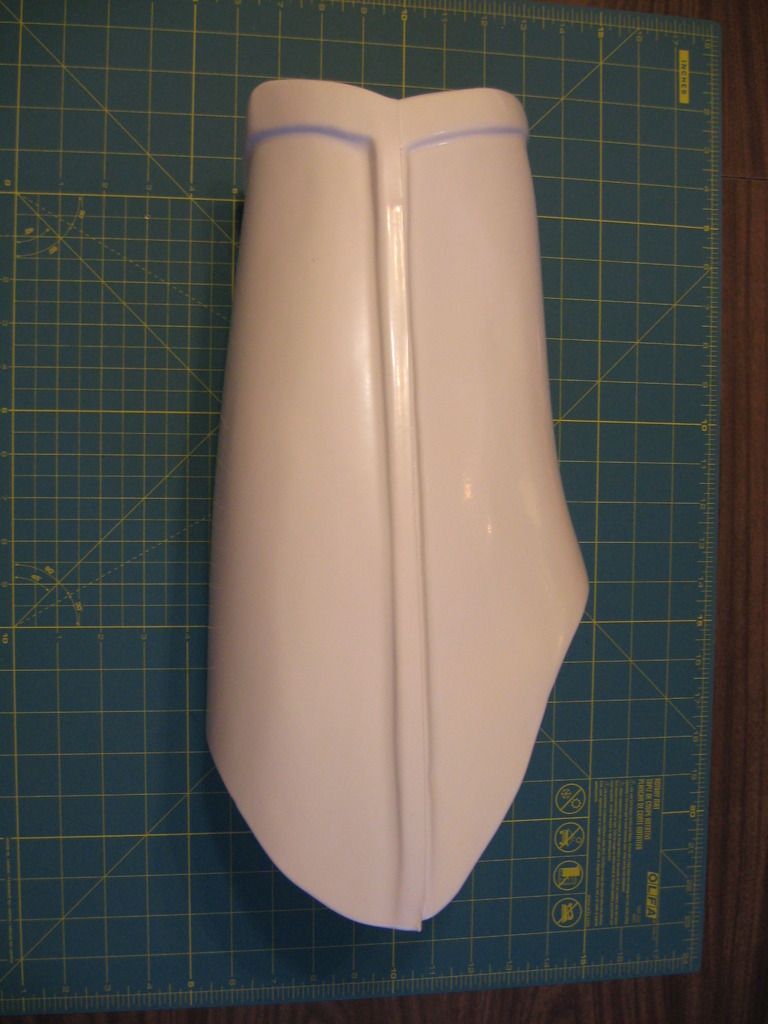
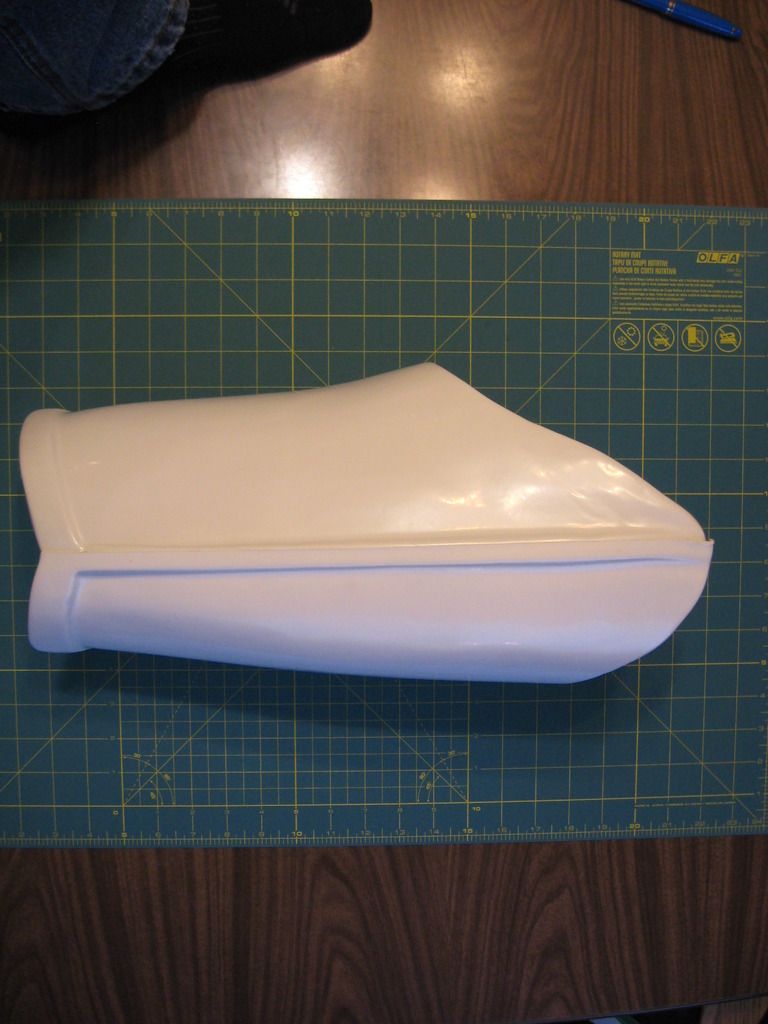
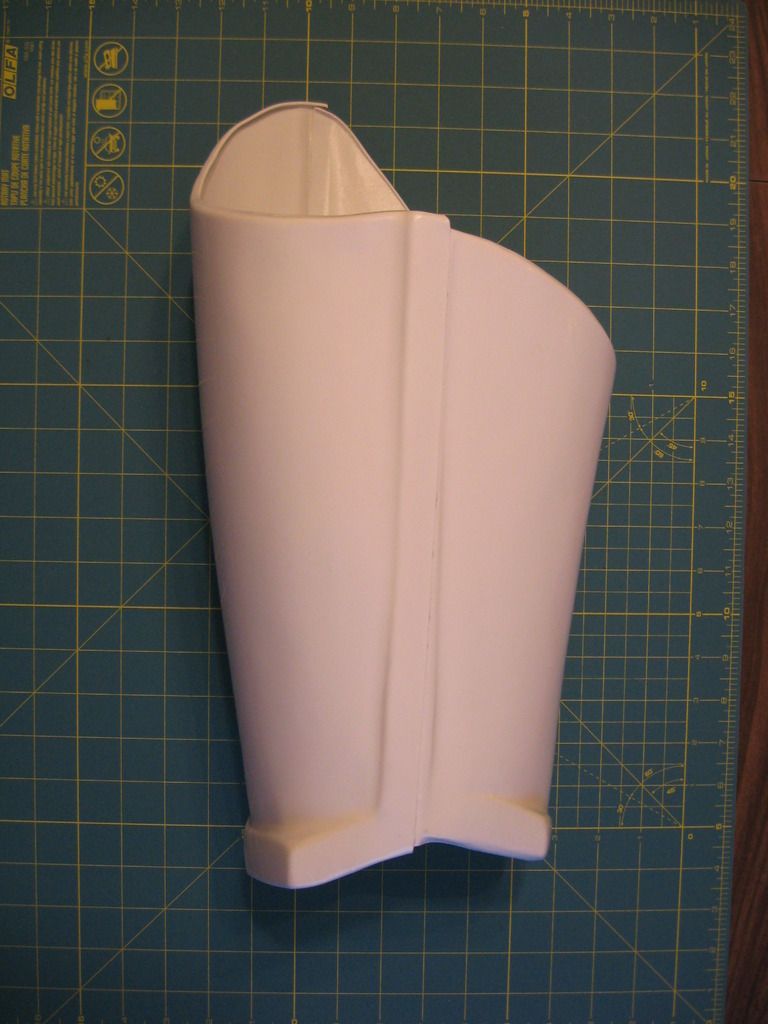
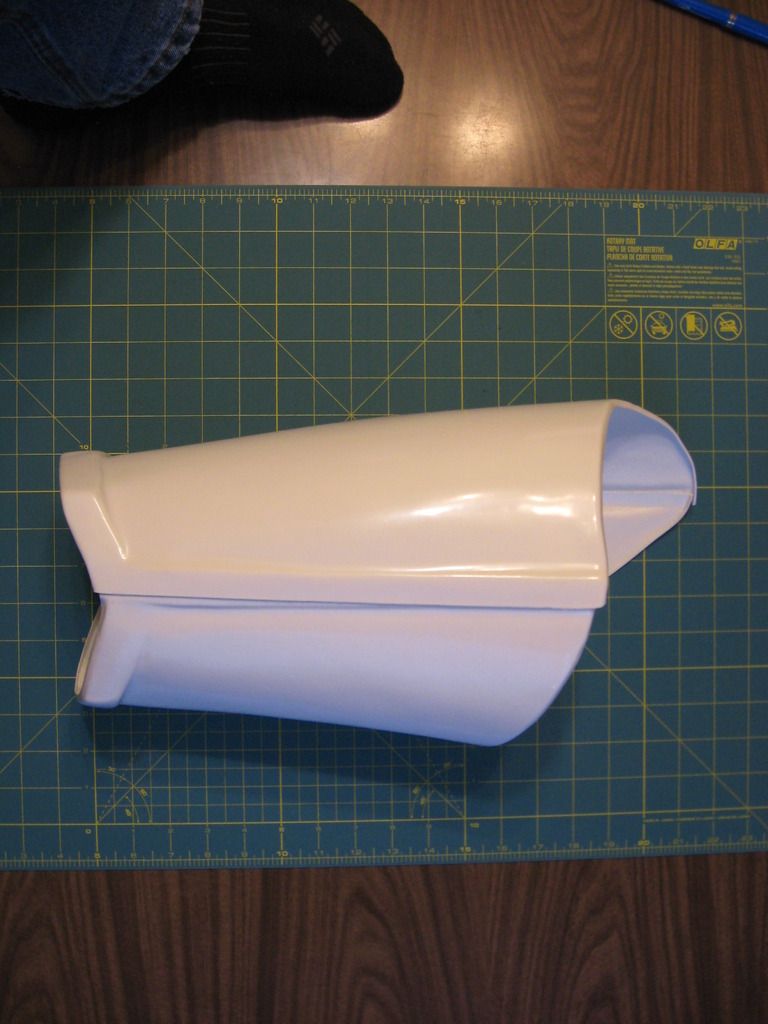
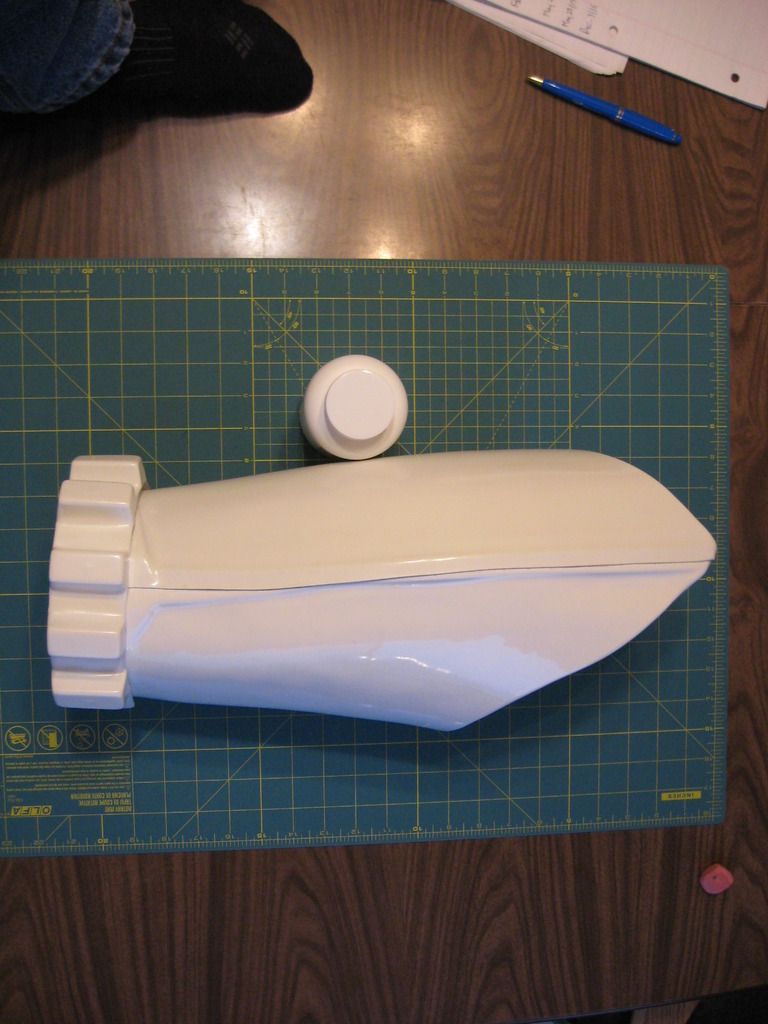
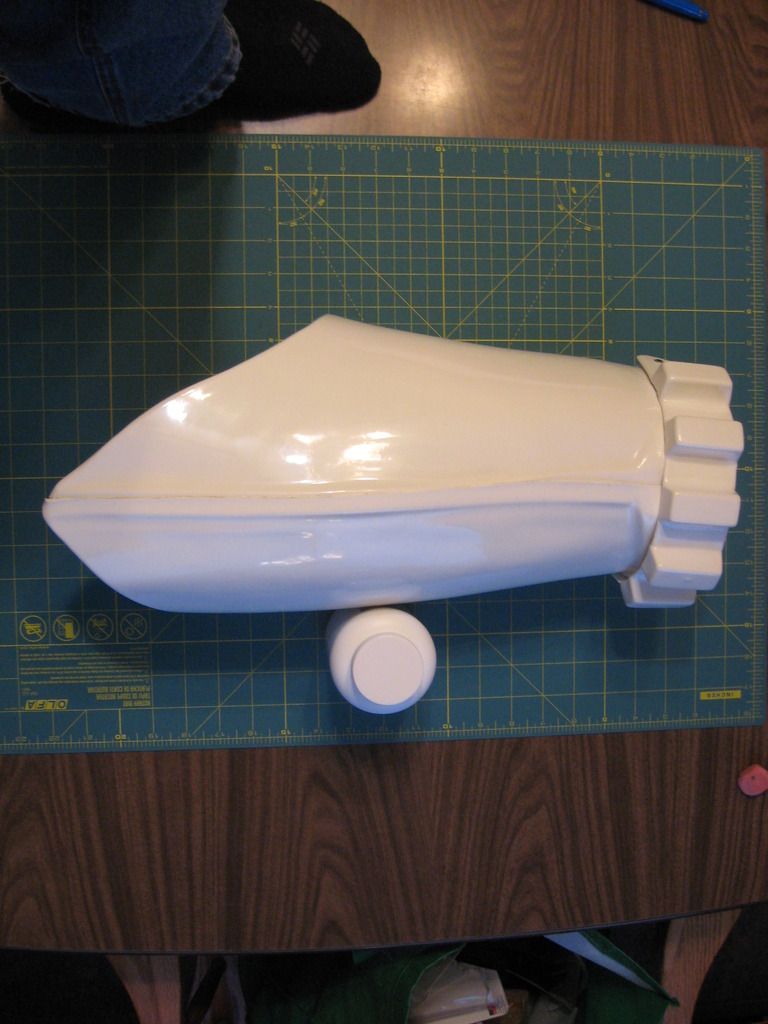
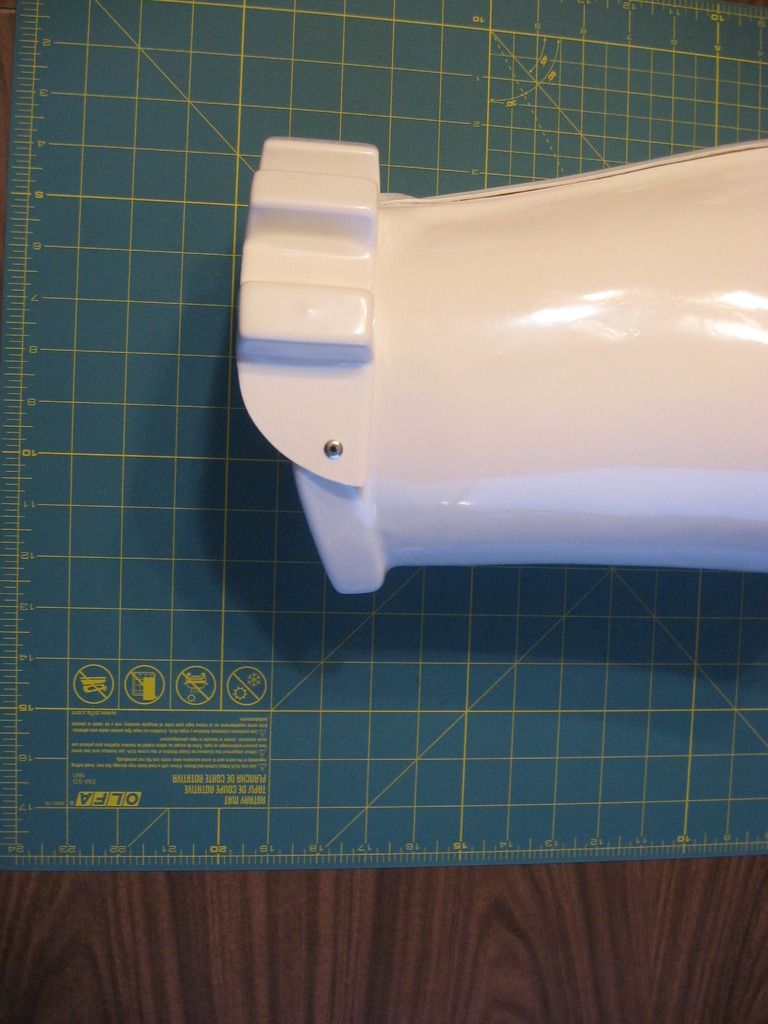
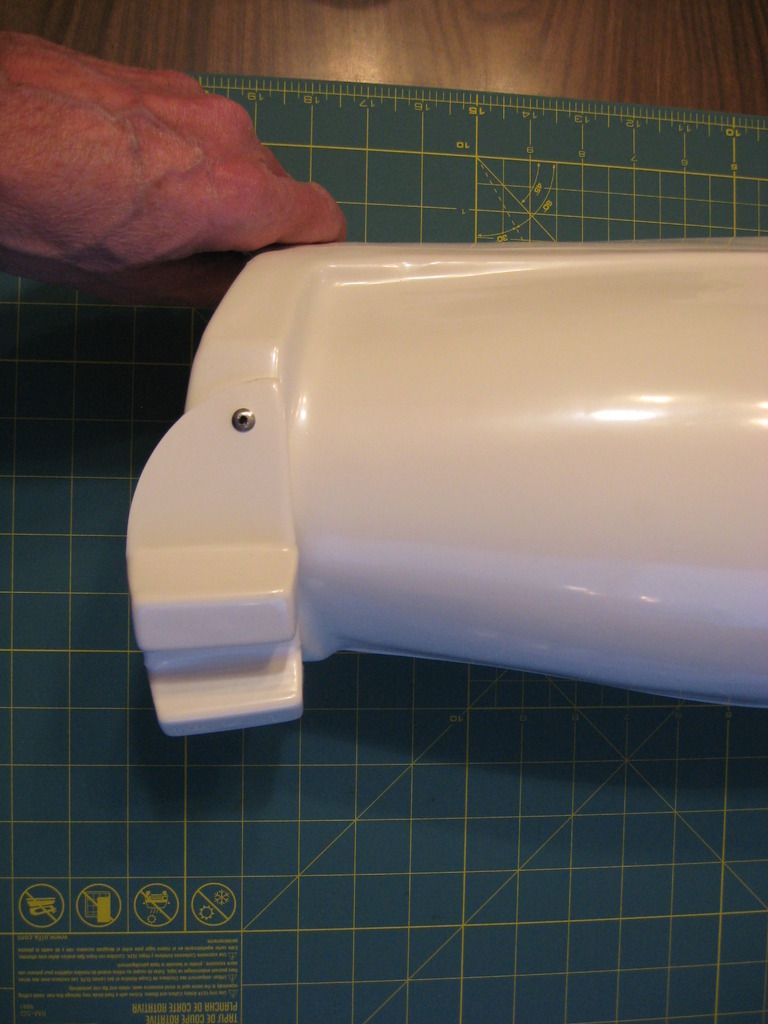
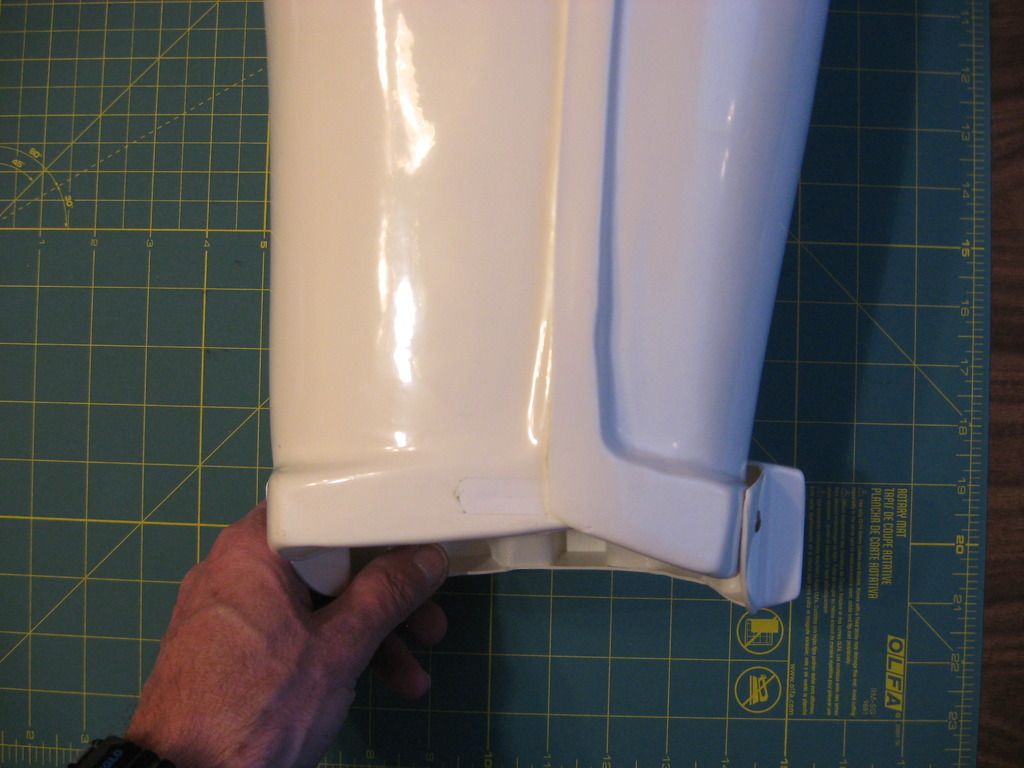
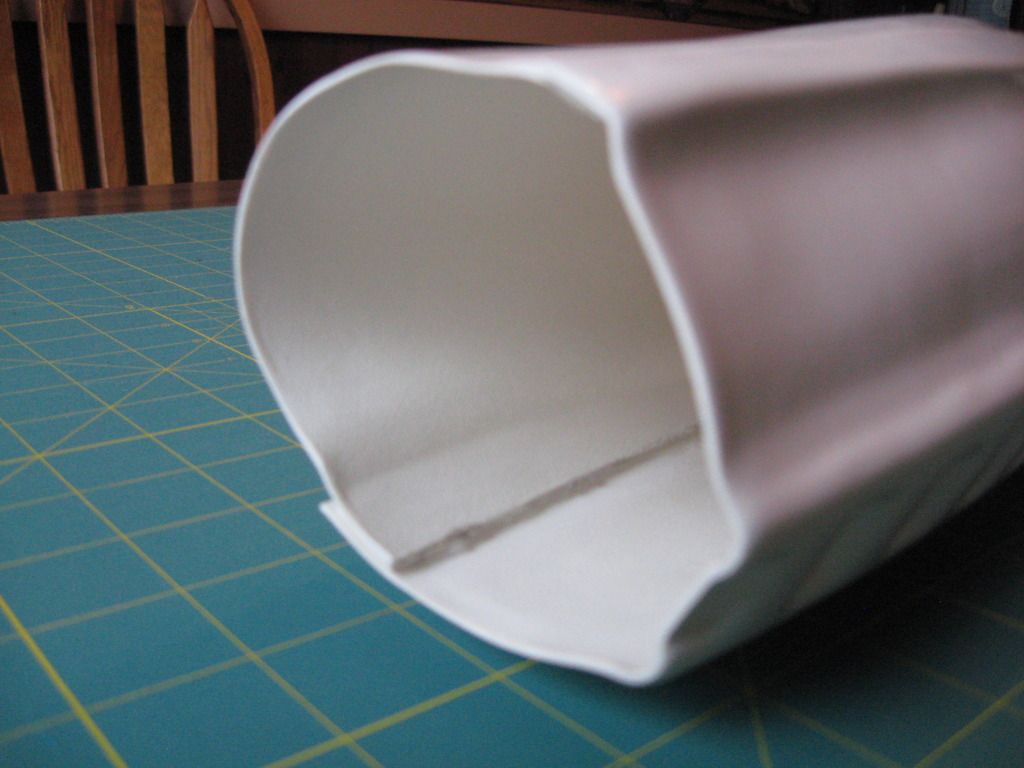
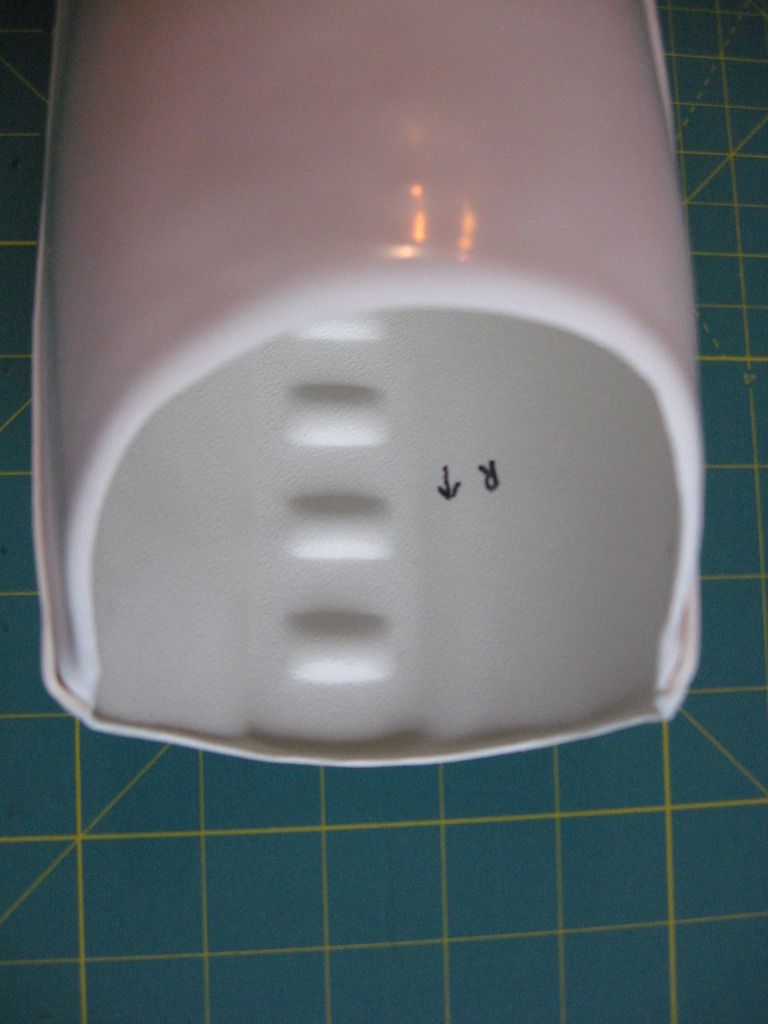
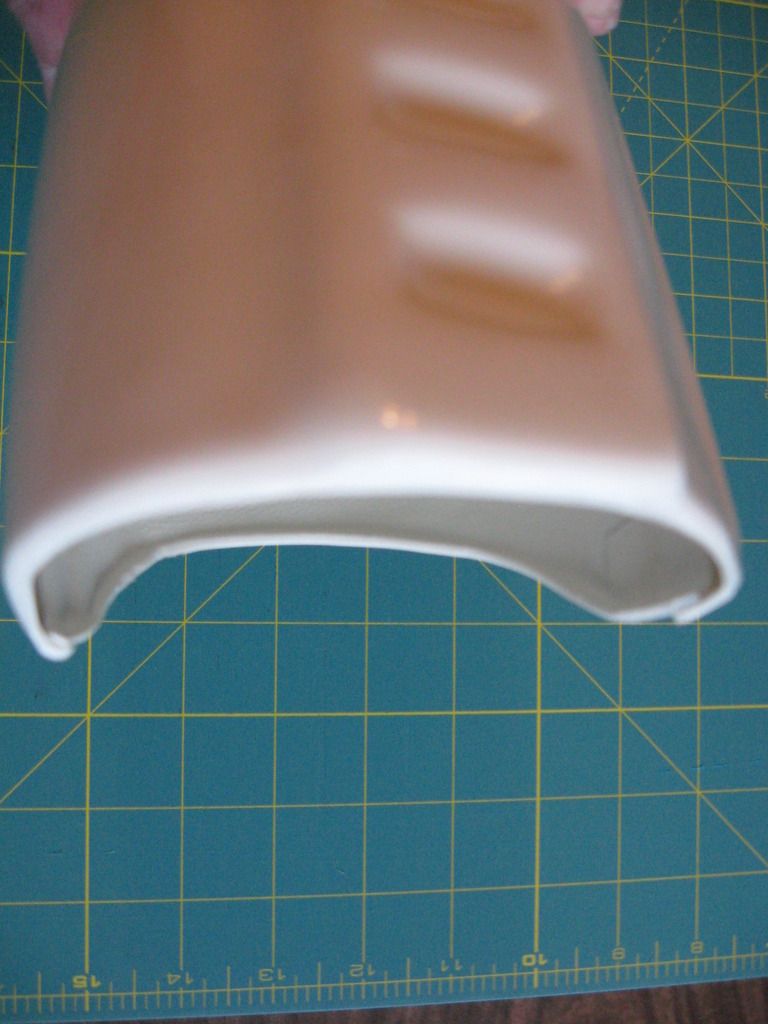
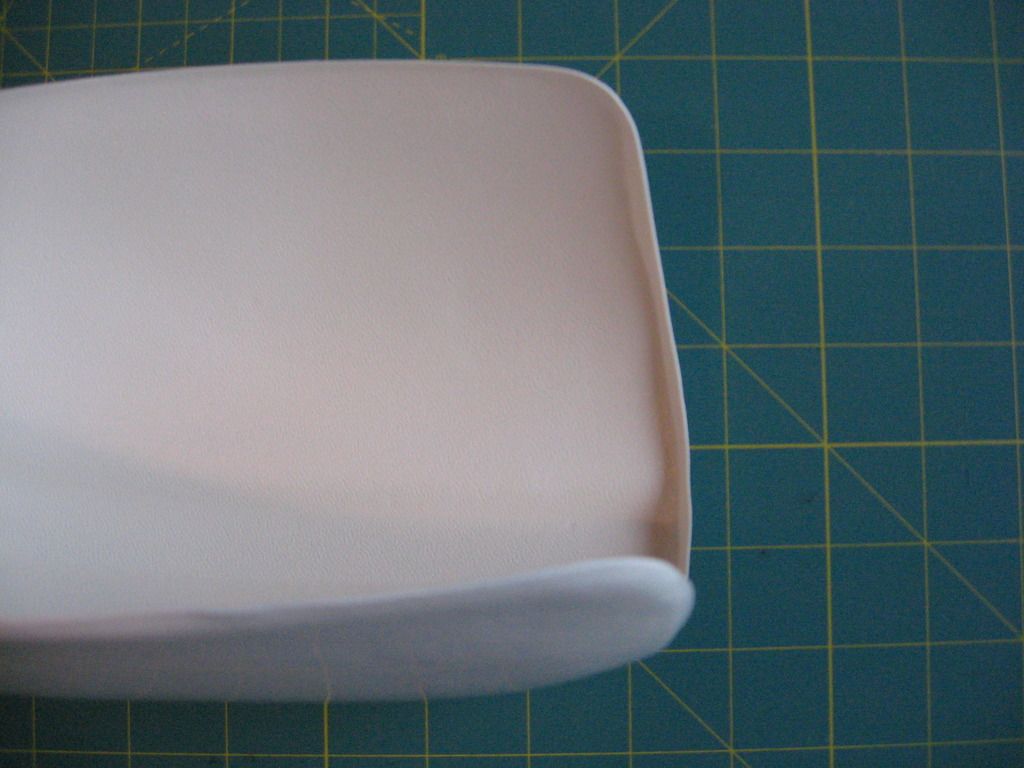
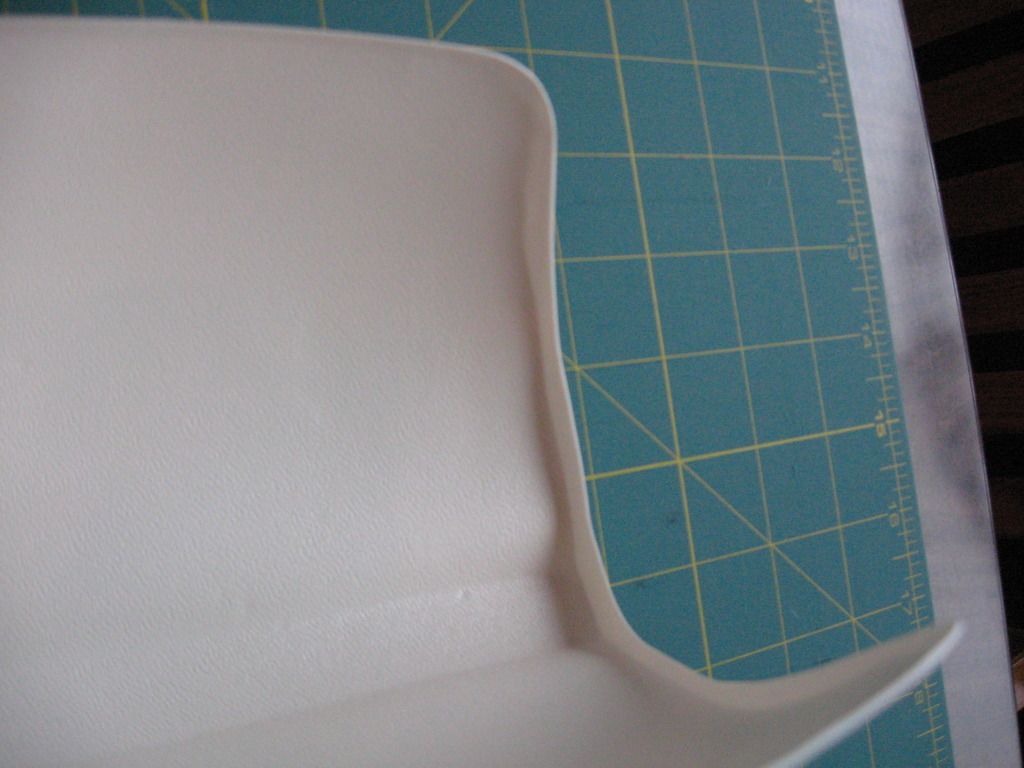
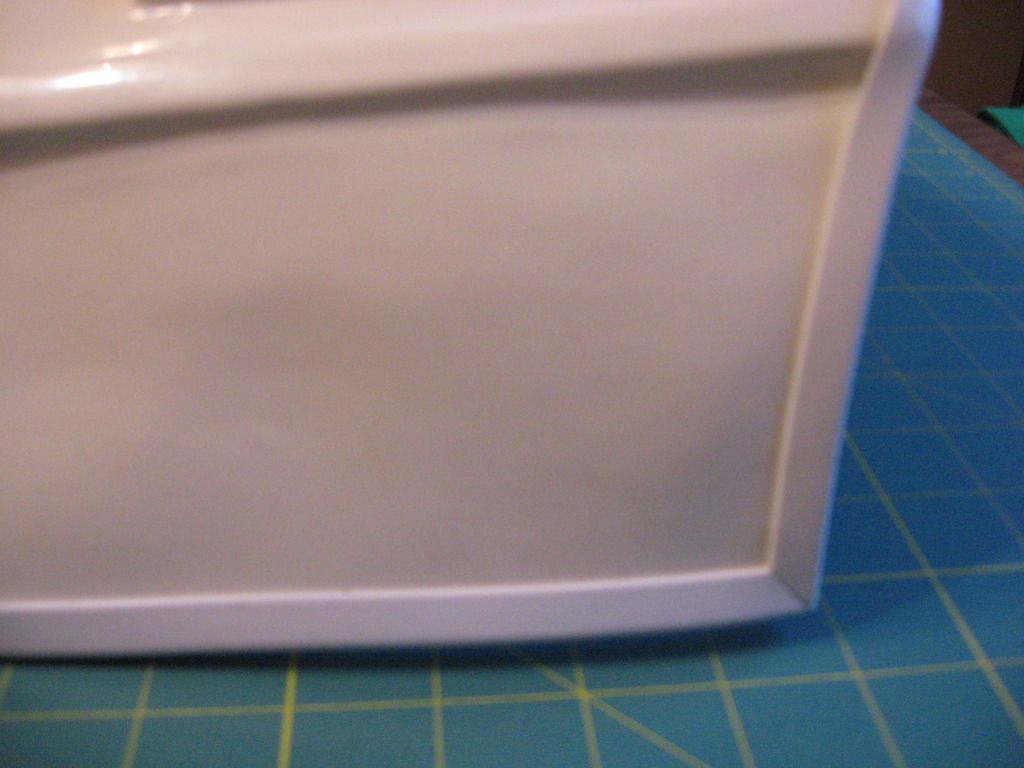
Here are some photos of the armour for the lower legs.
This photo shows the velcro applied to the rear of the armour. Sorry about the focus.

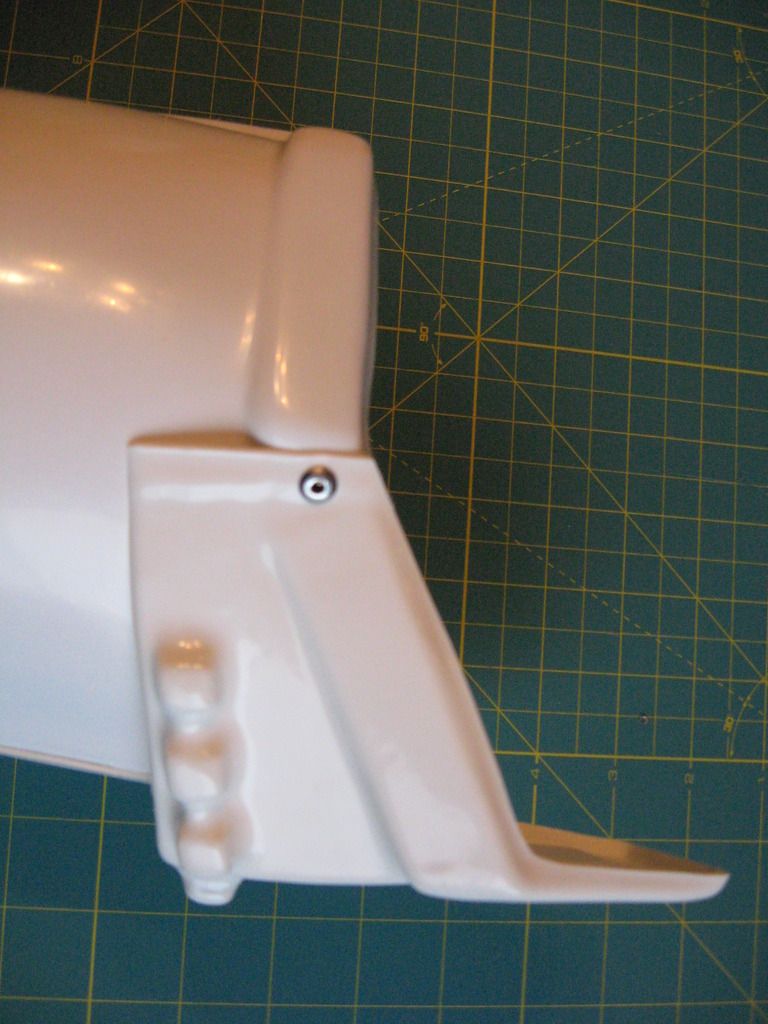
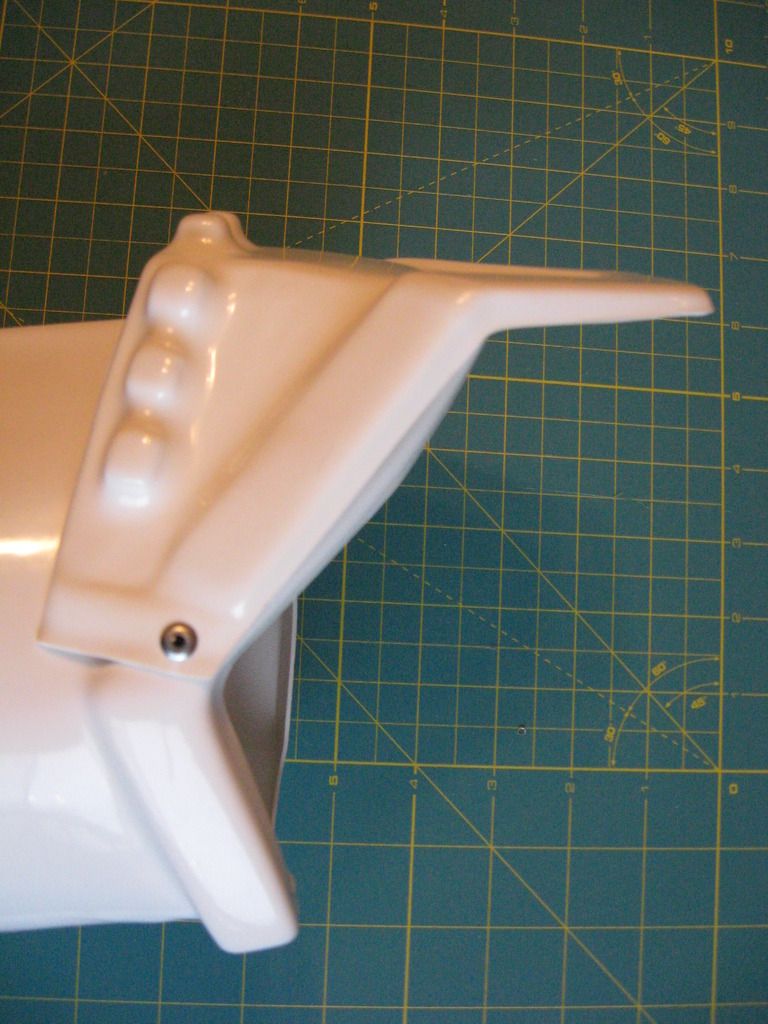
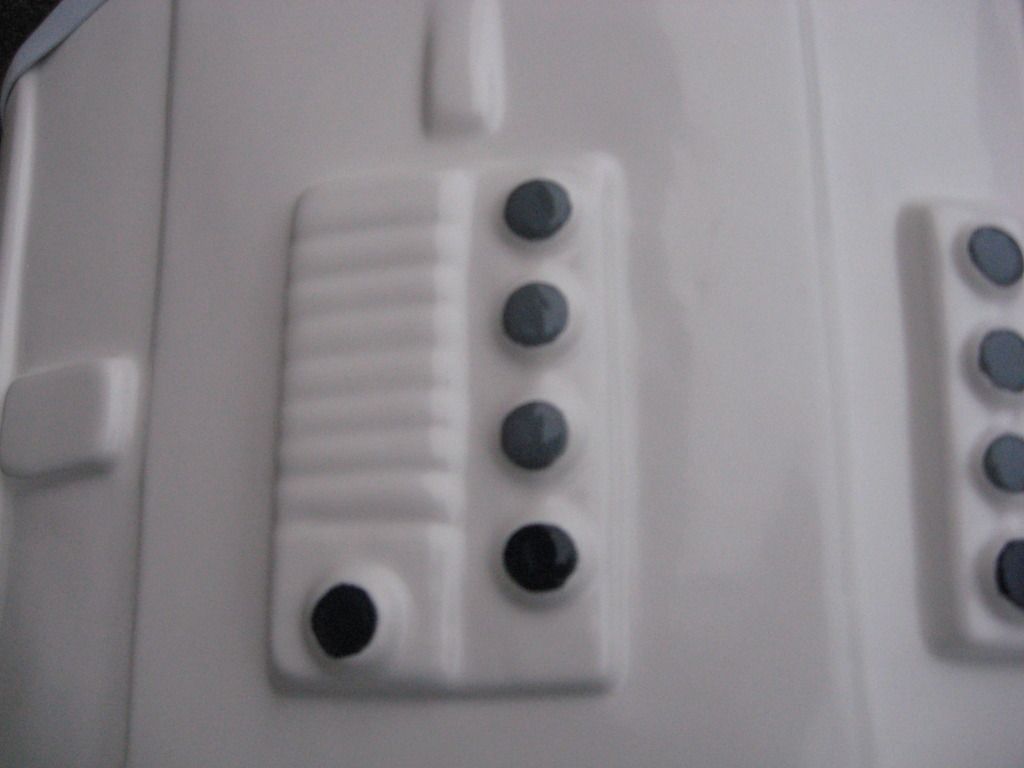
I will paint the rivets white on this piece as well.
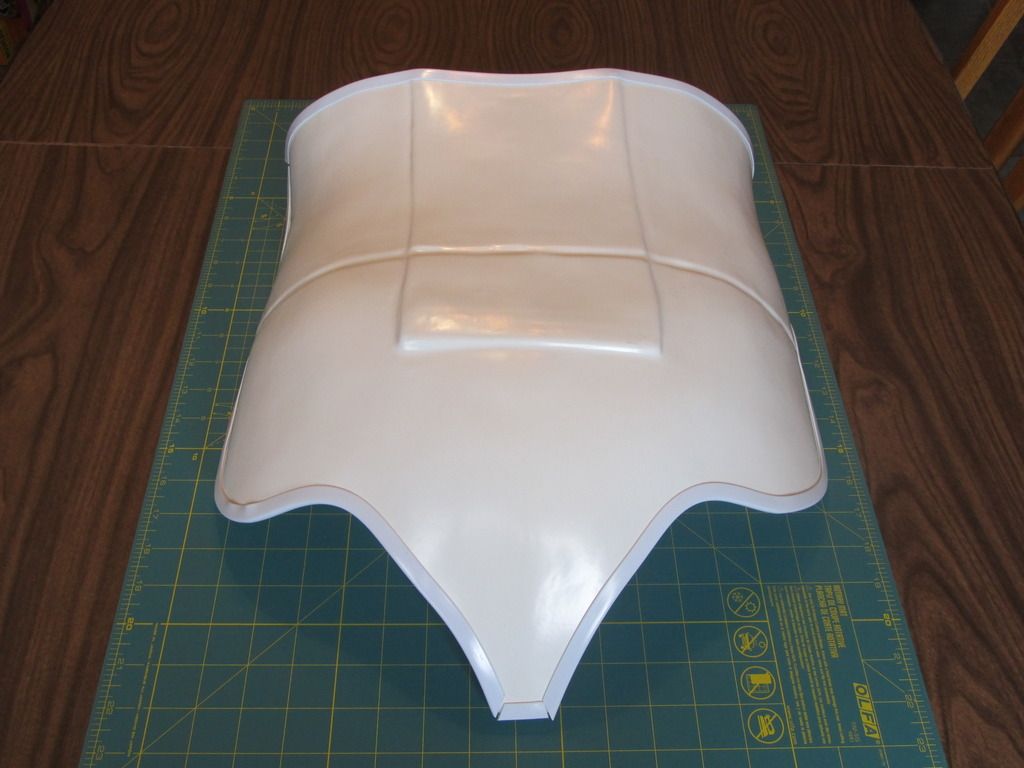
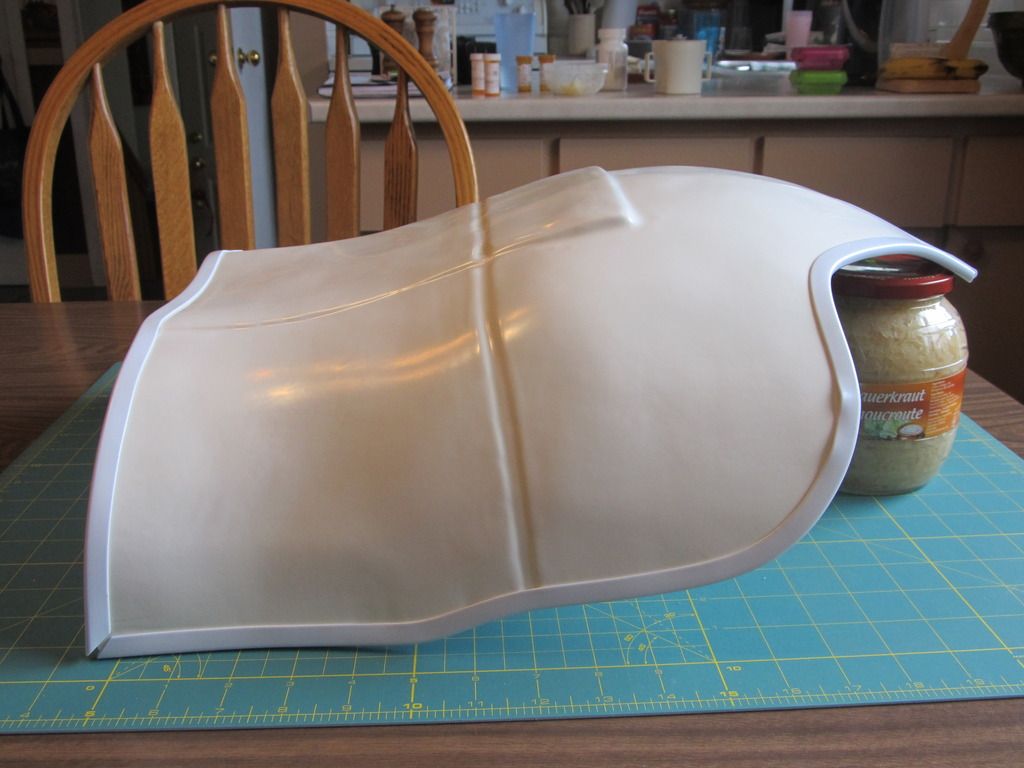
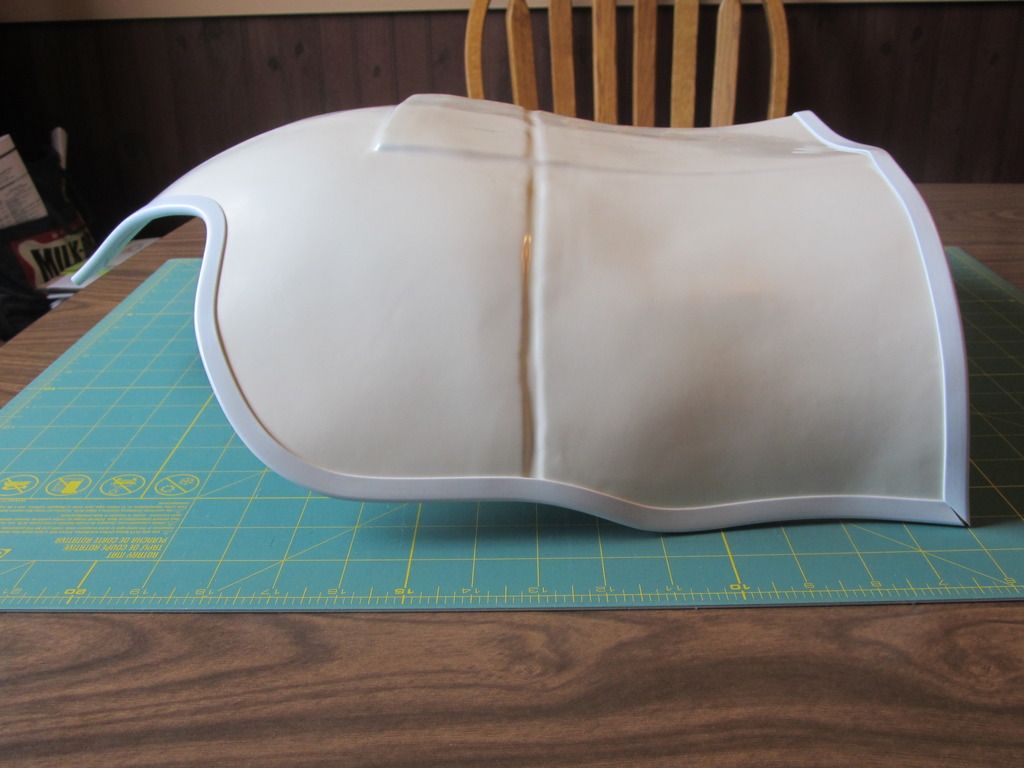
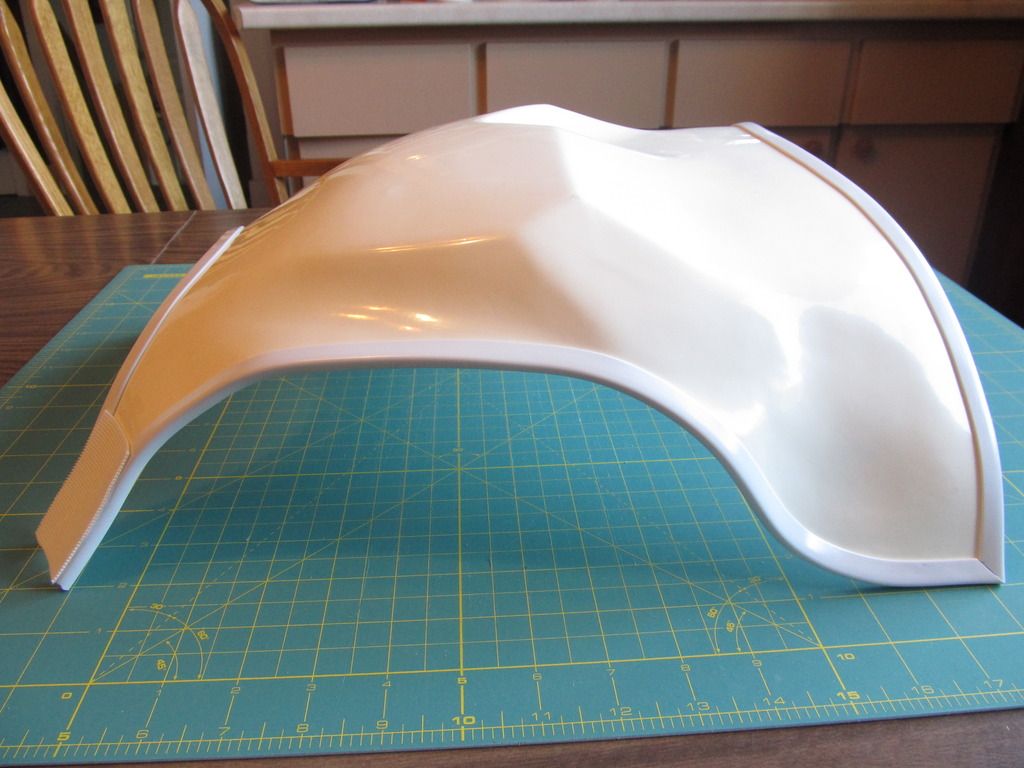
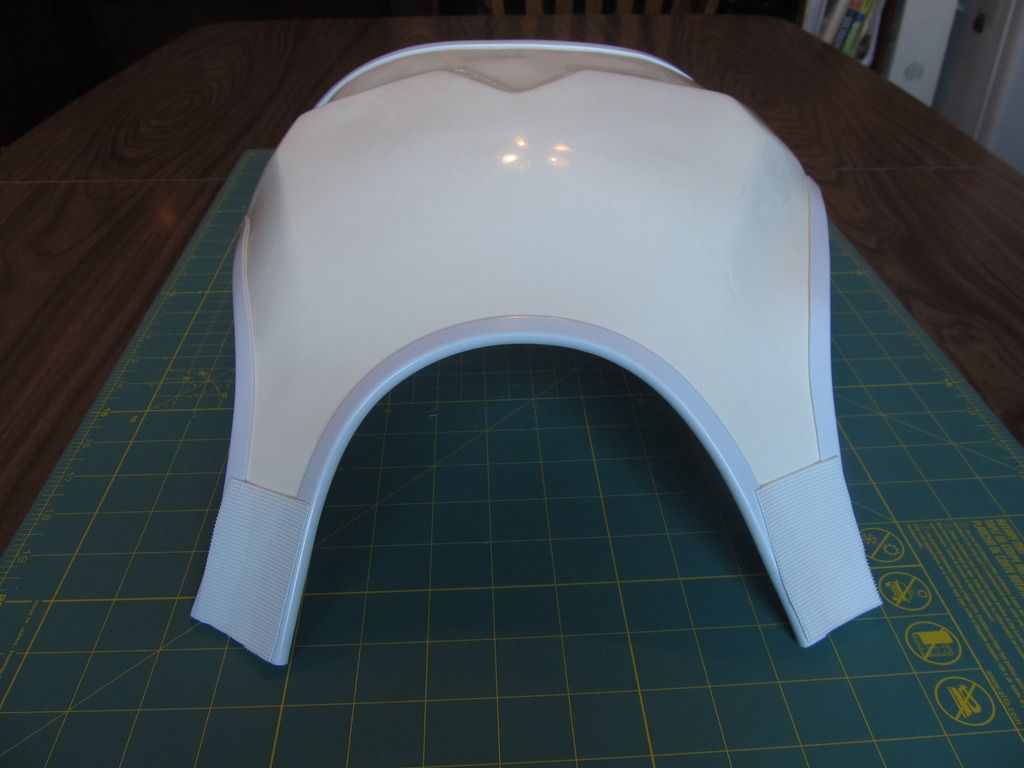
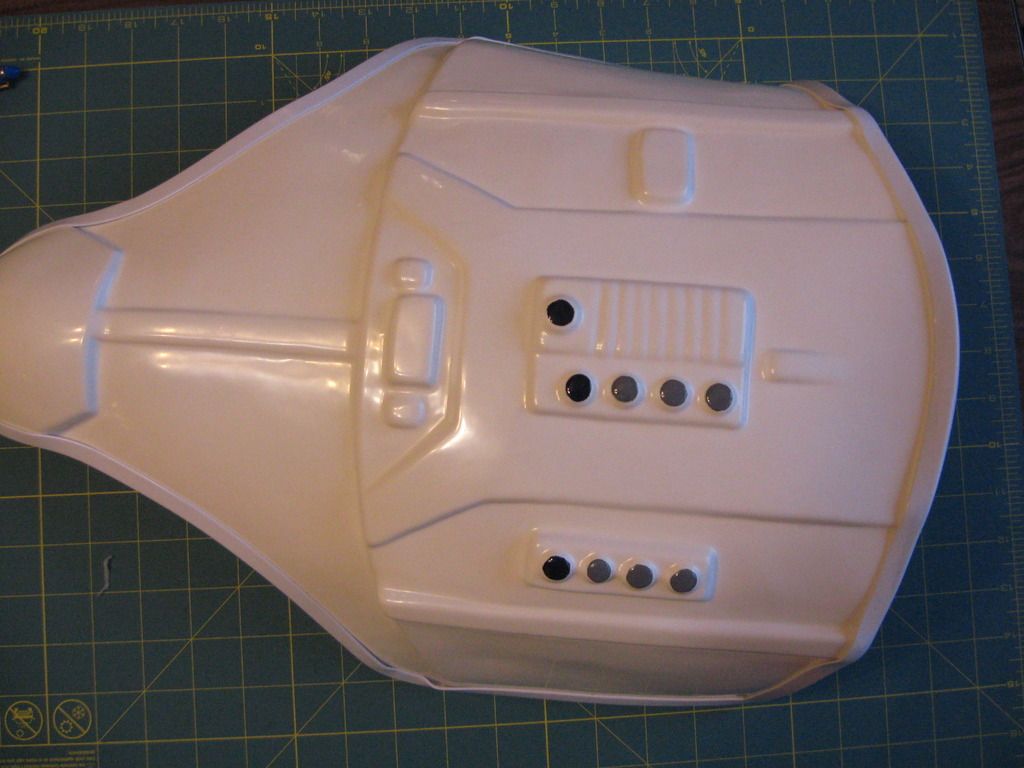
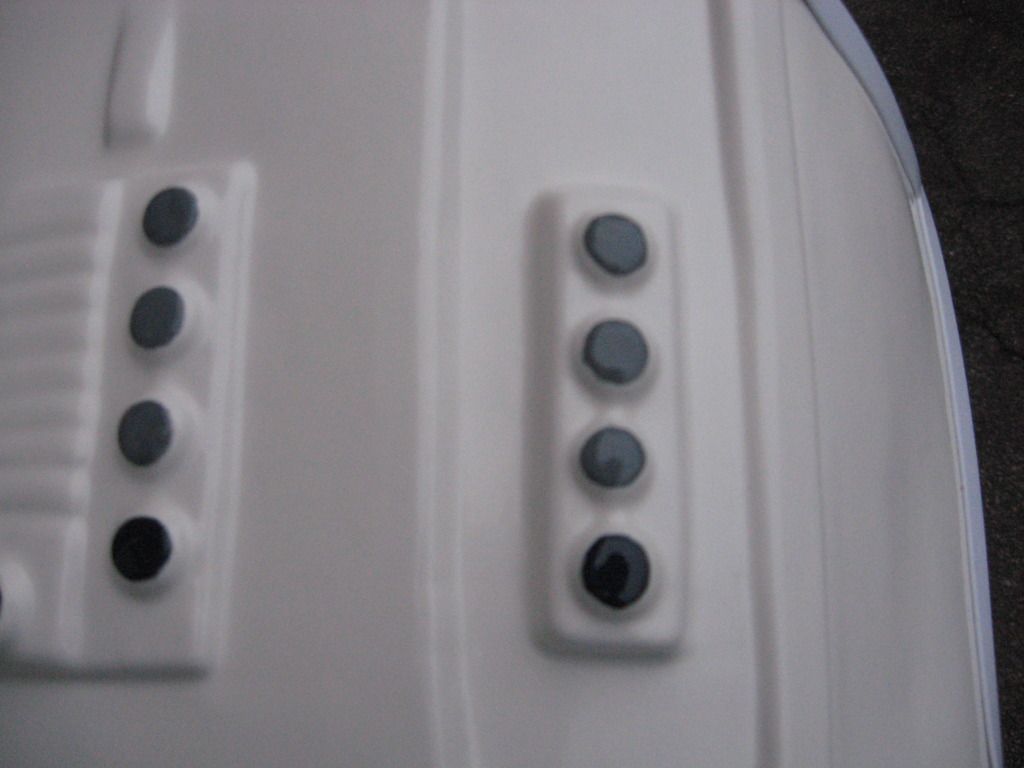
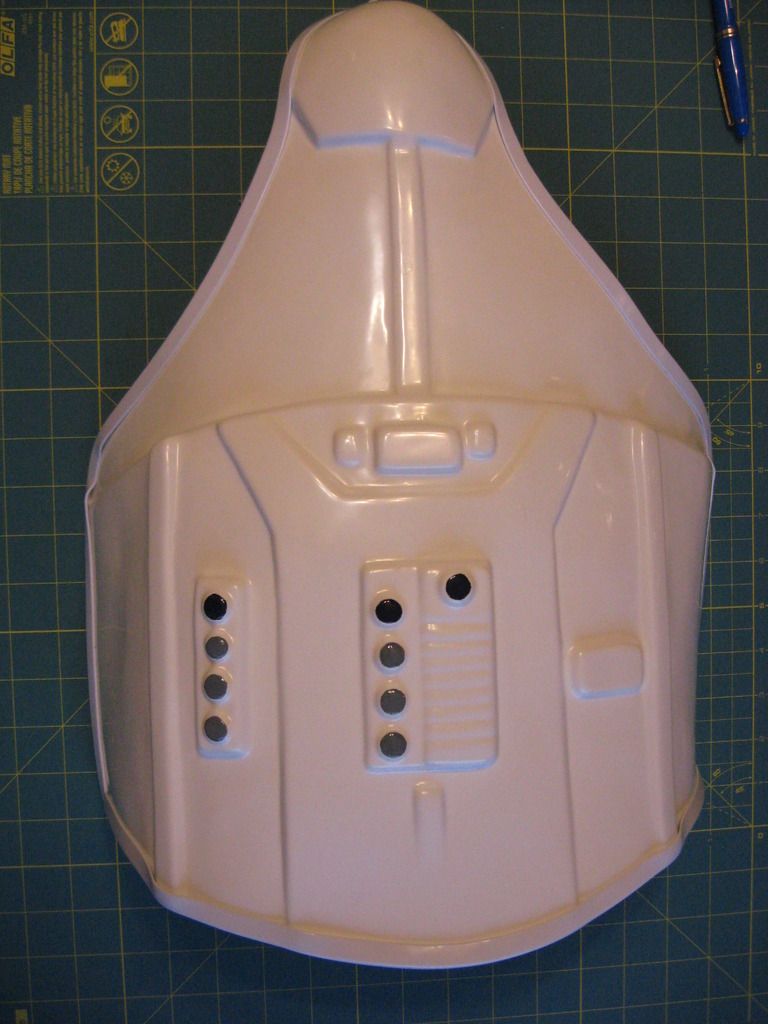
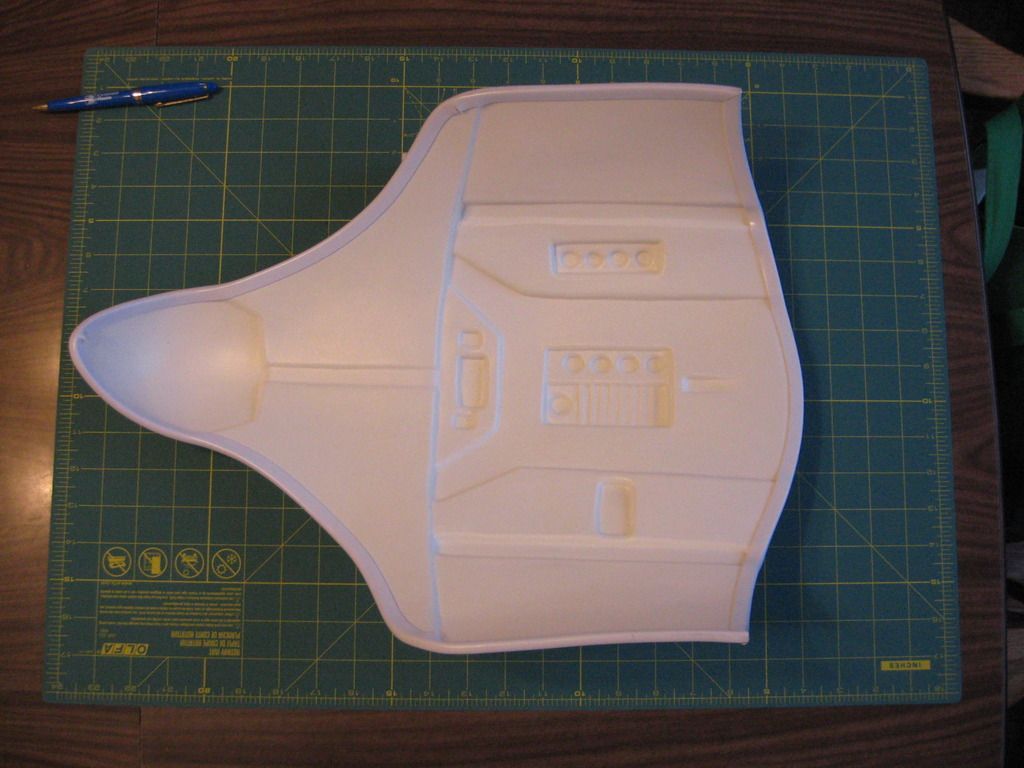
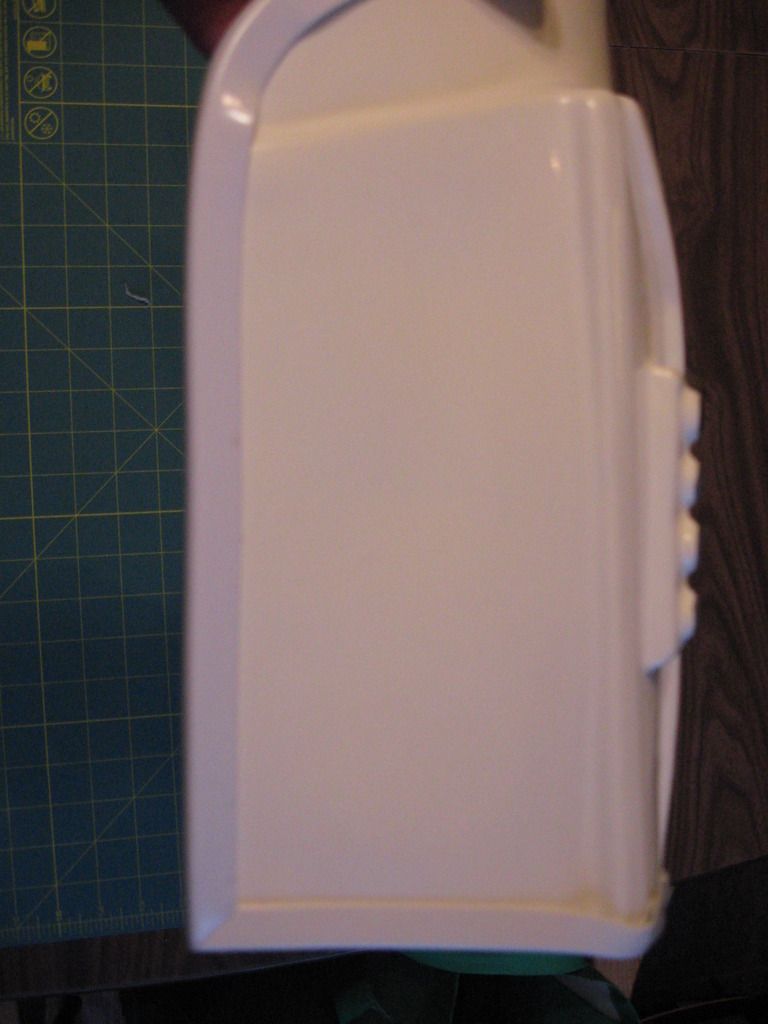
And now some photos of the kidney / butt armour, the chest, the back and the shoulder straps.

-
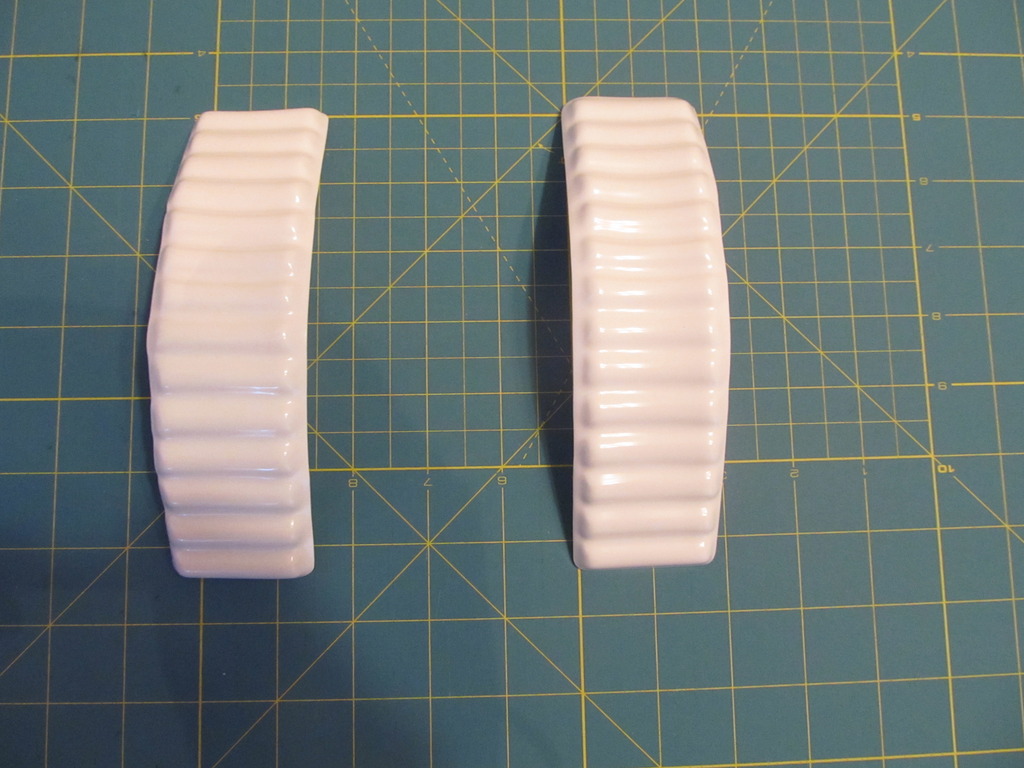
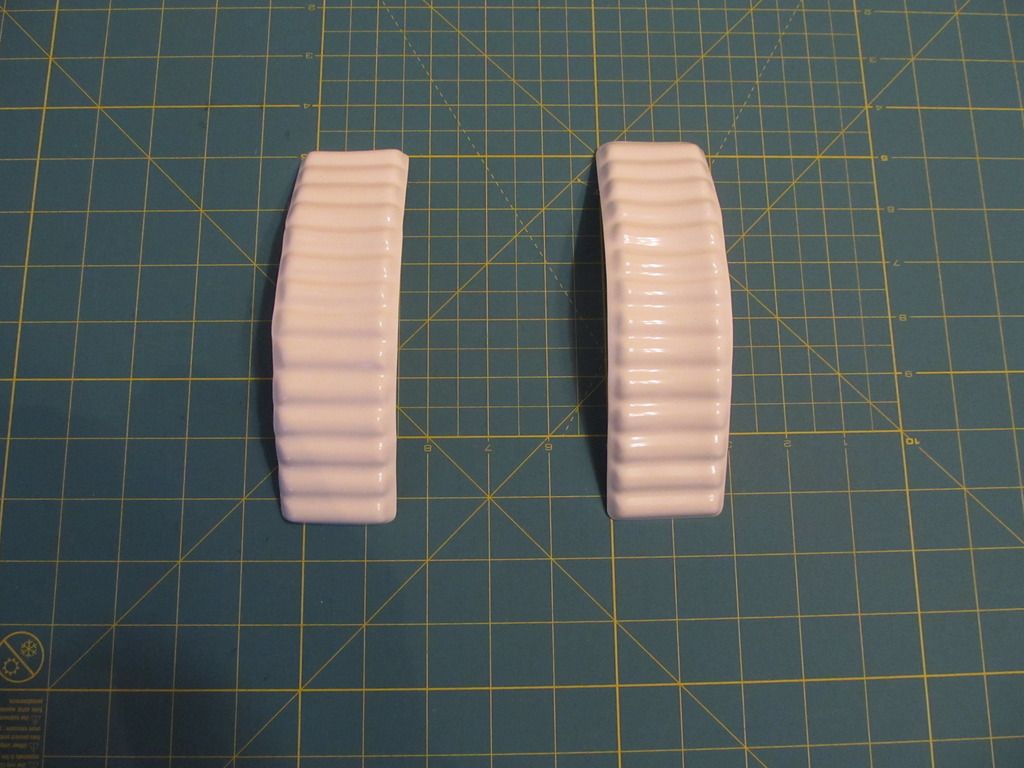
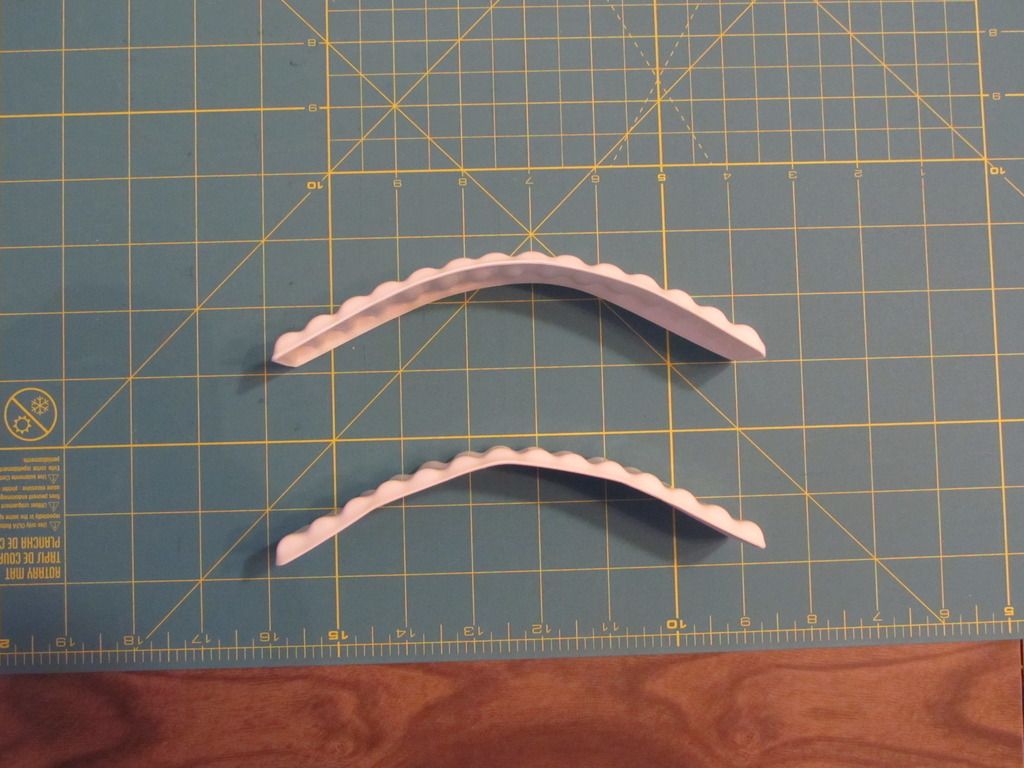
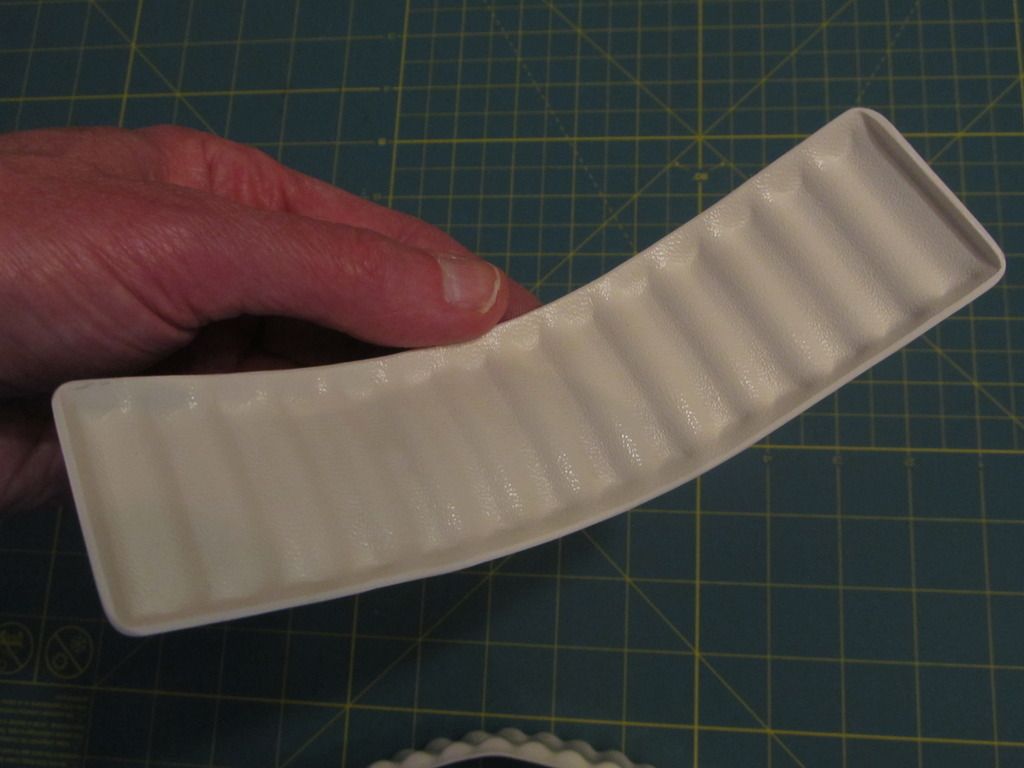
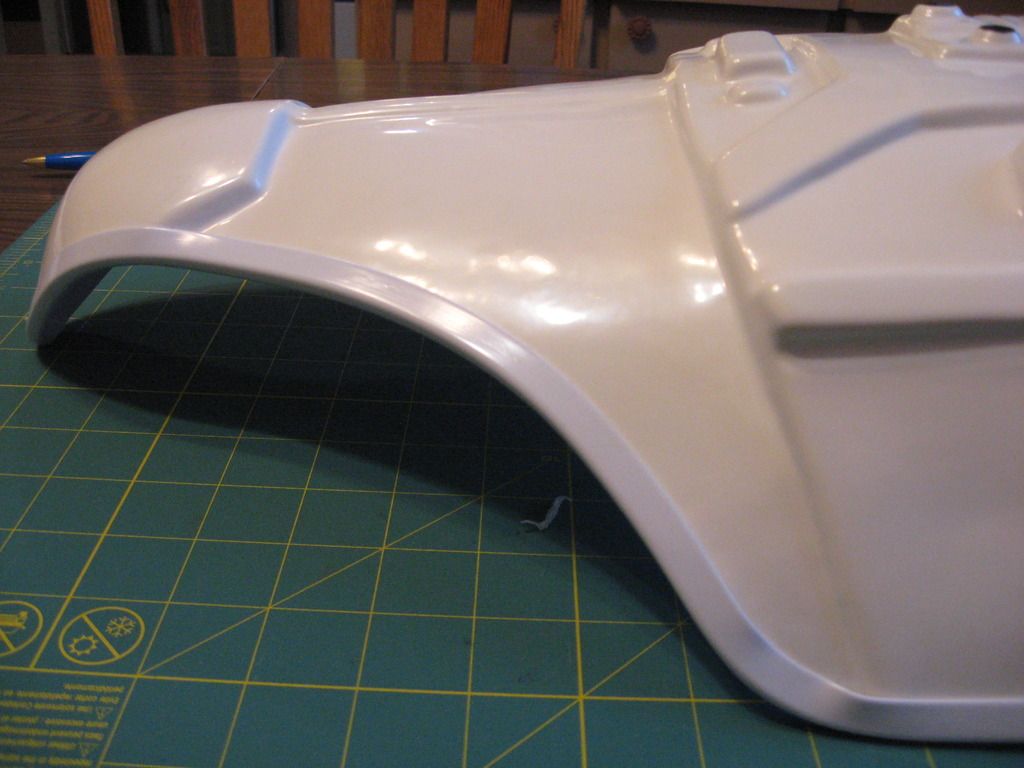
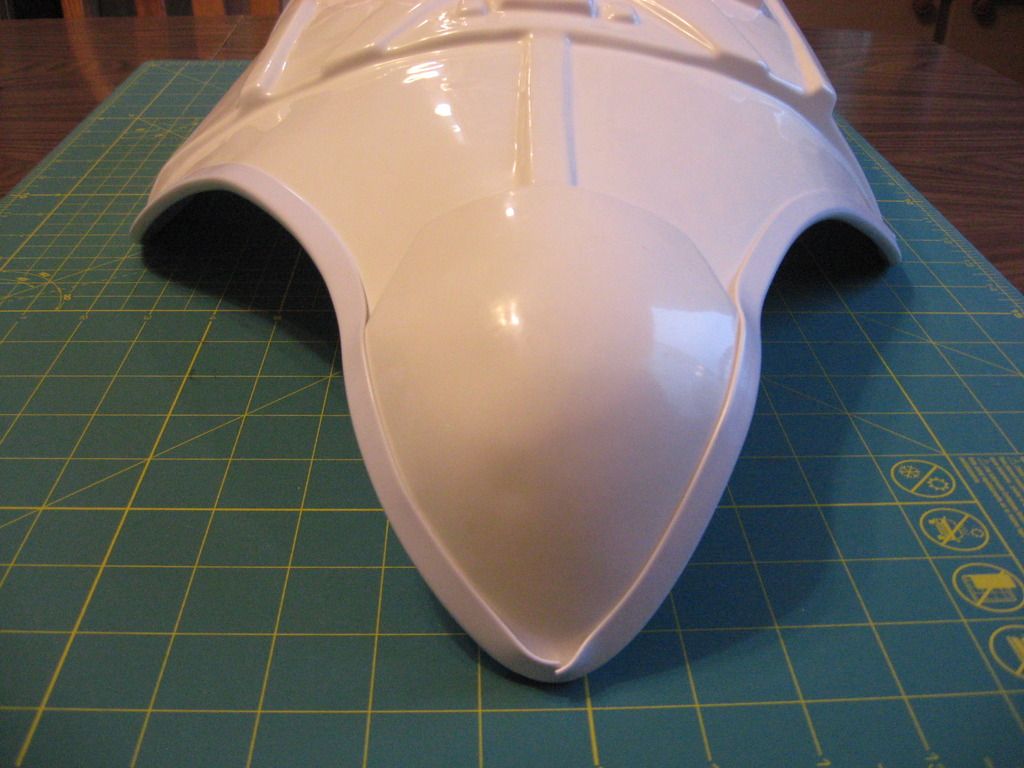
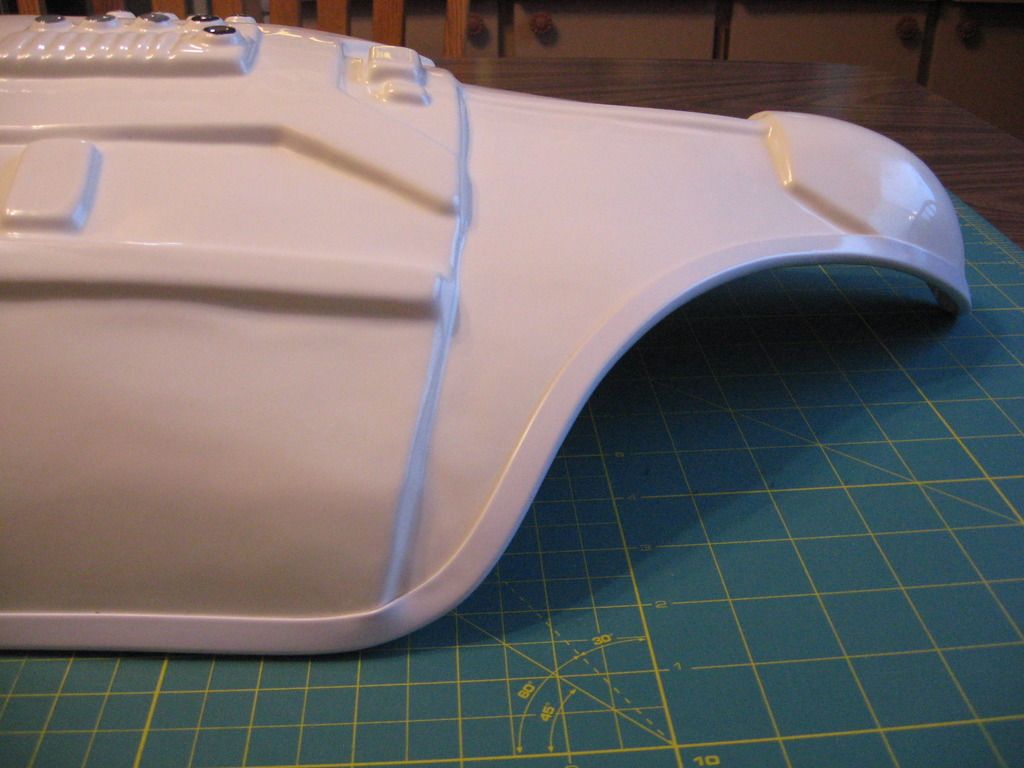
Here are some photos of the left and right thigh armour. I will apply white paint to the rivets securing the ammo strip.
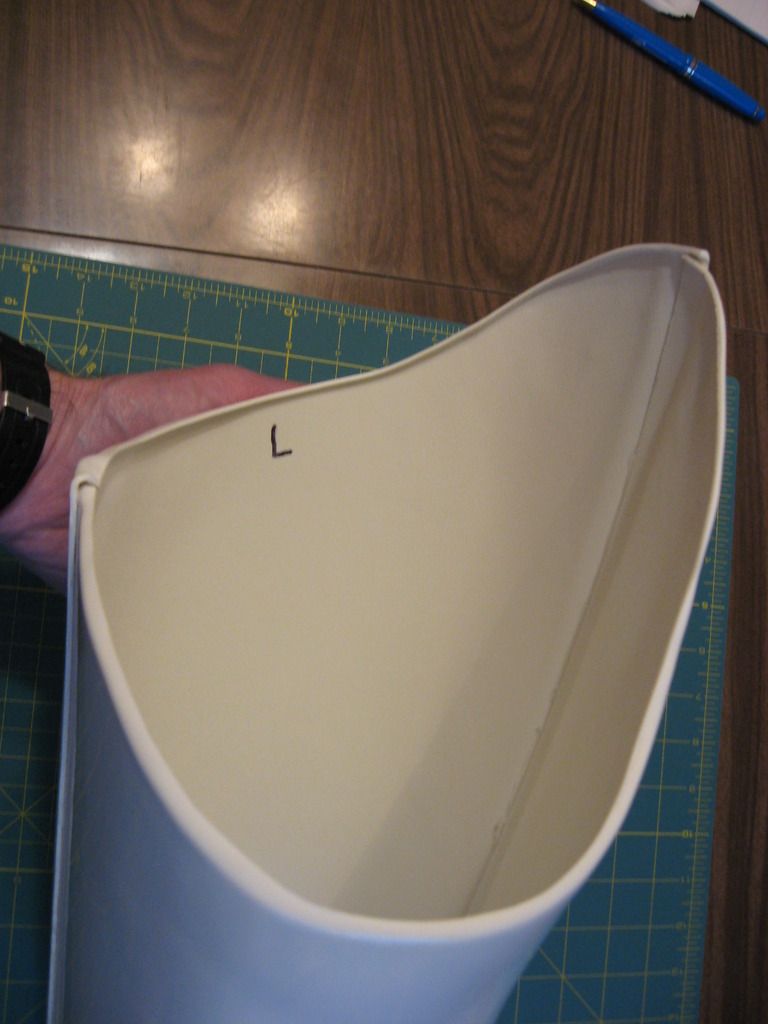

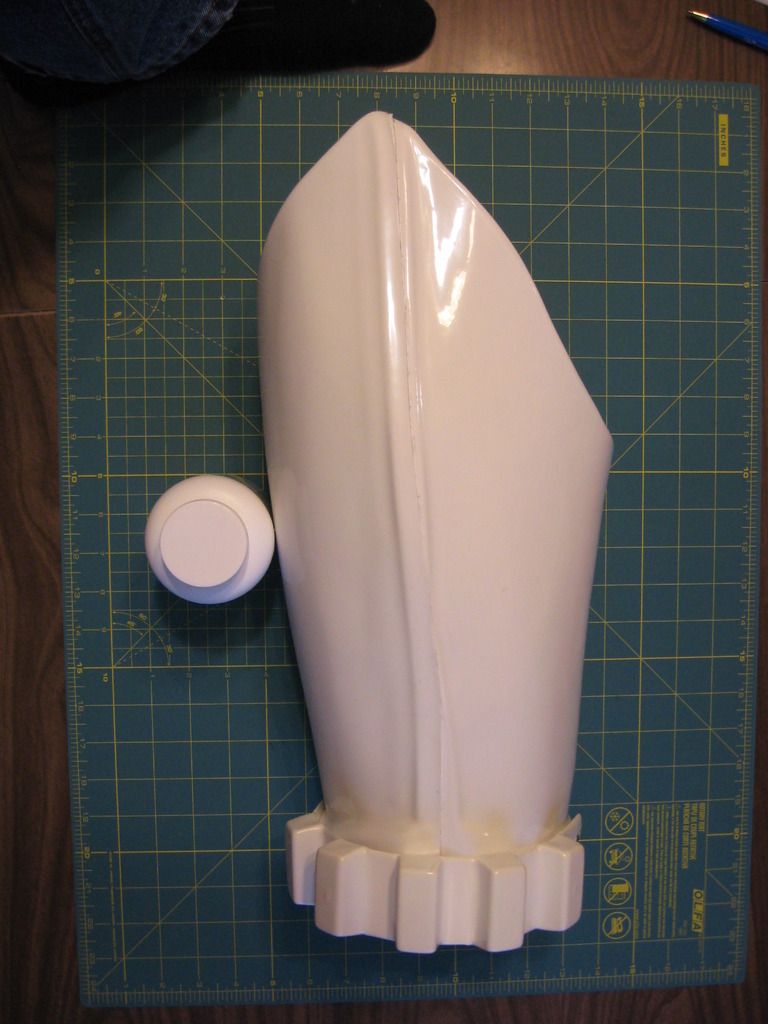
Gluing the front seam on the right thigh was pretty tricky. I had help from a 501st Legion friend.
-
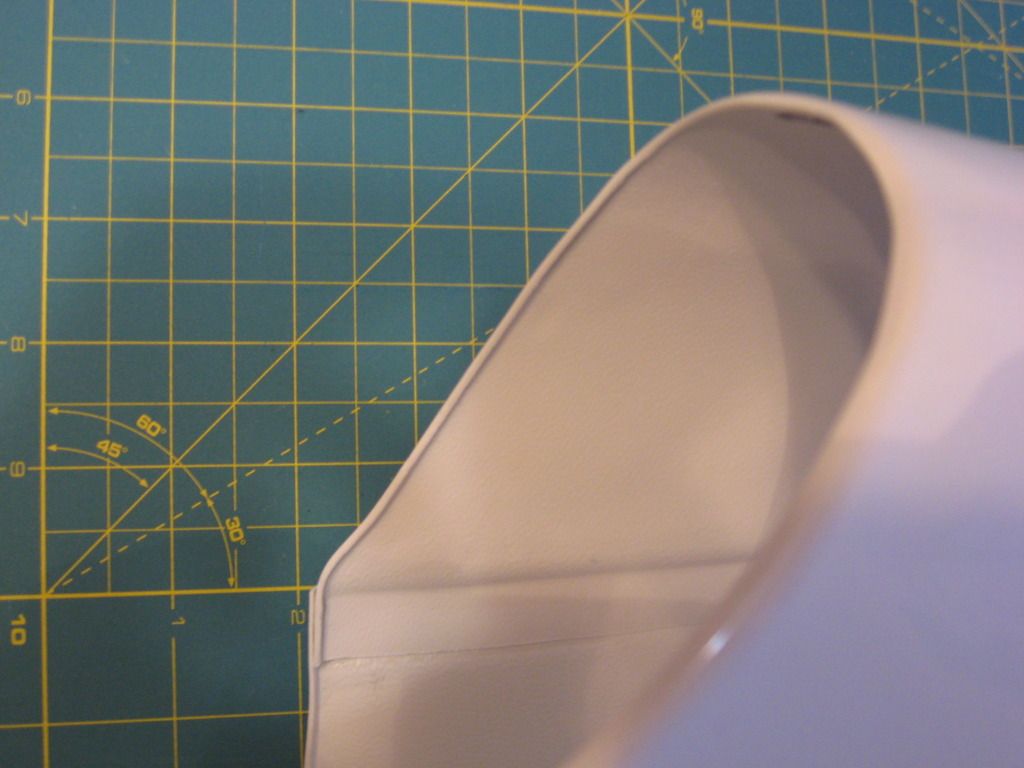
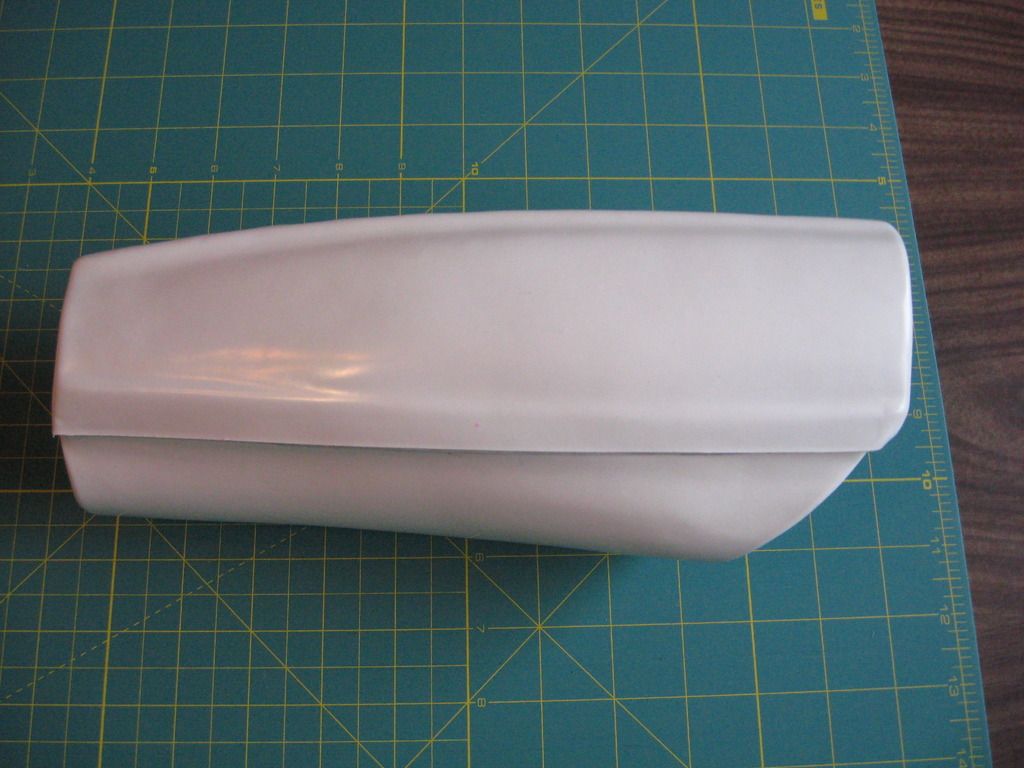
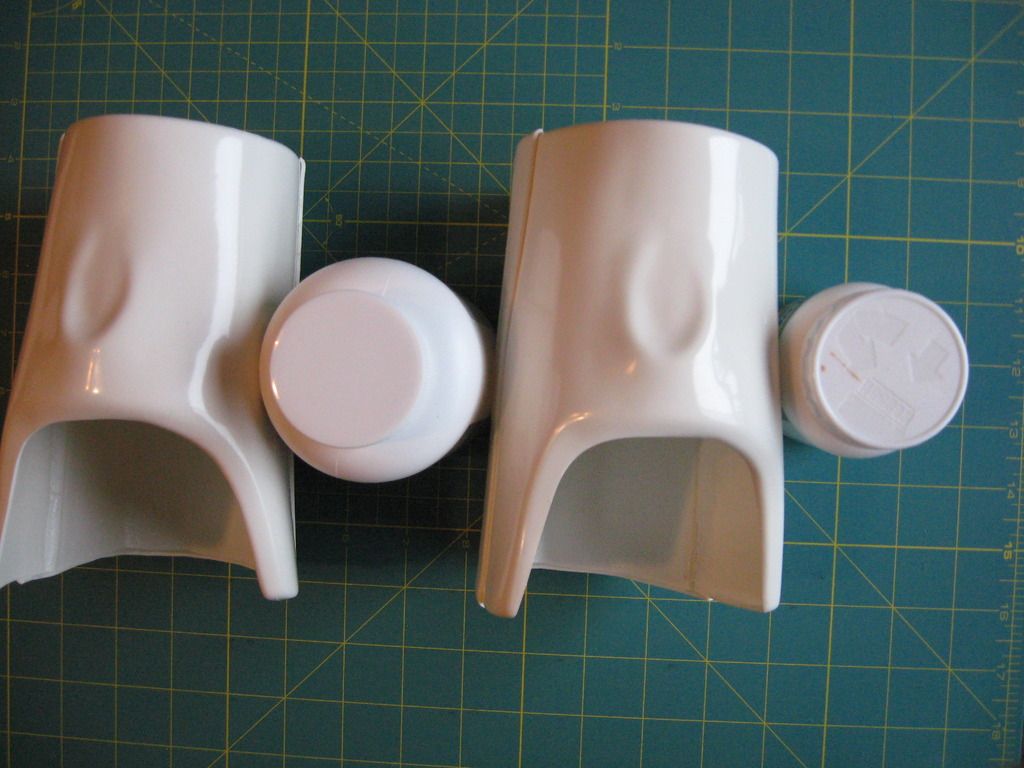
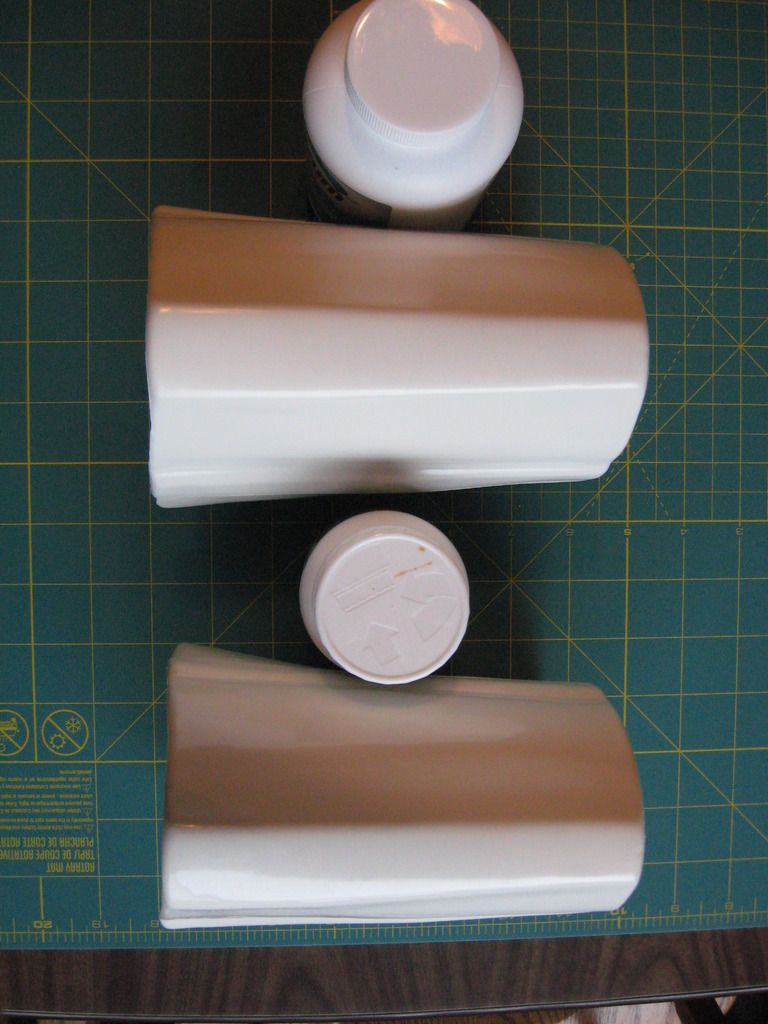
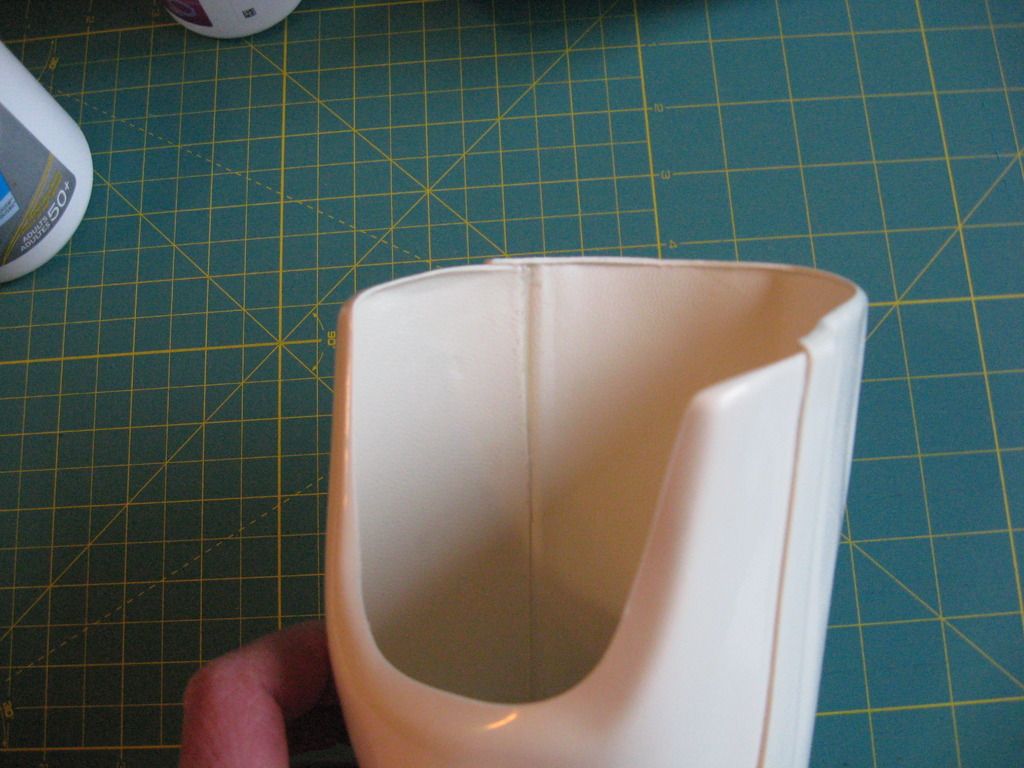
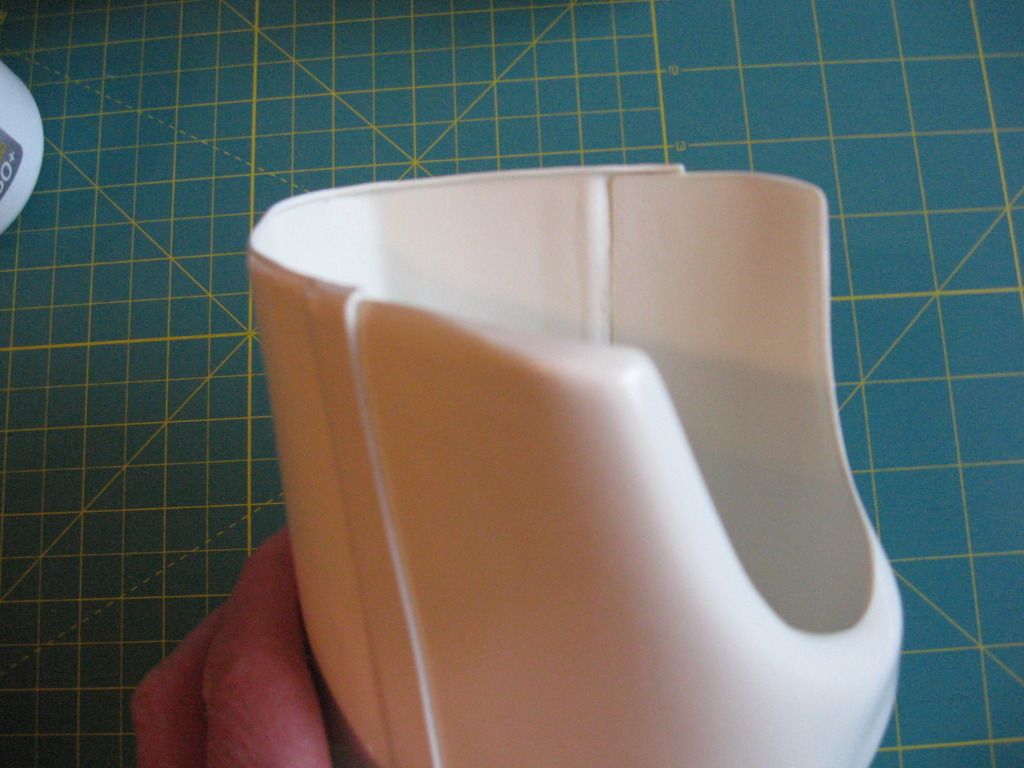
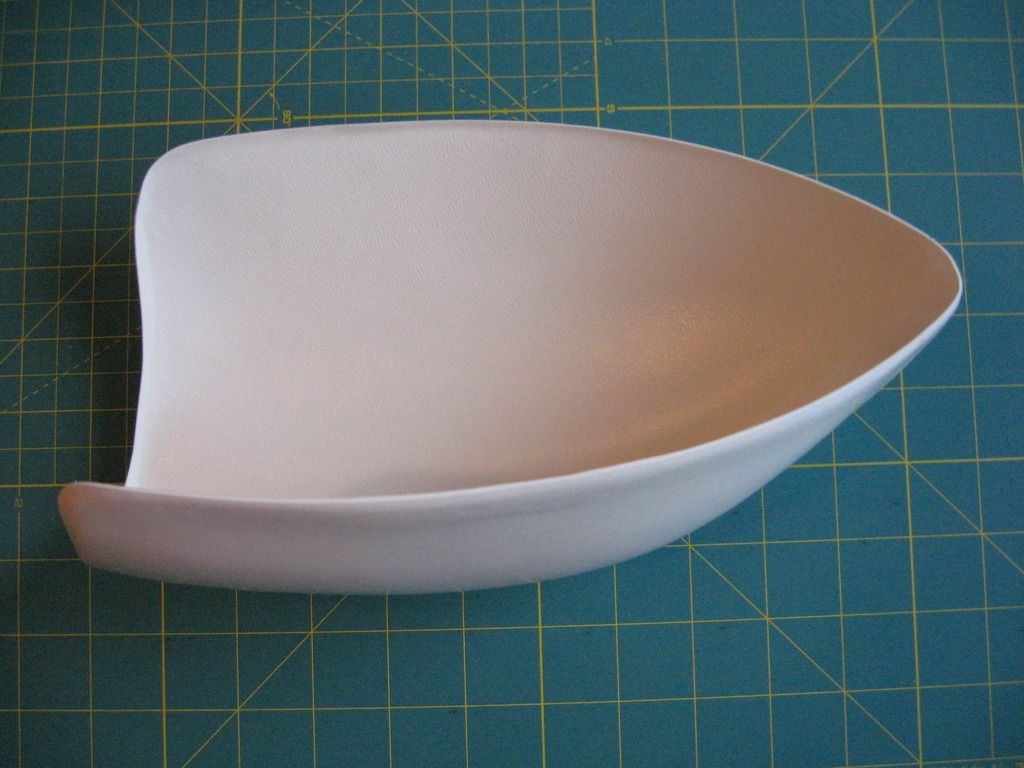
Here are some photos of the hand plates, forearms, biceps, and shoulder bells.

Another use for vitamin pill jars.


-
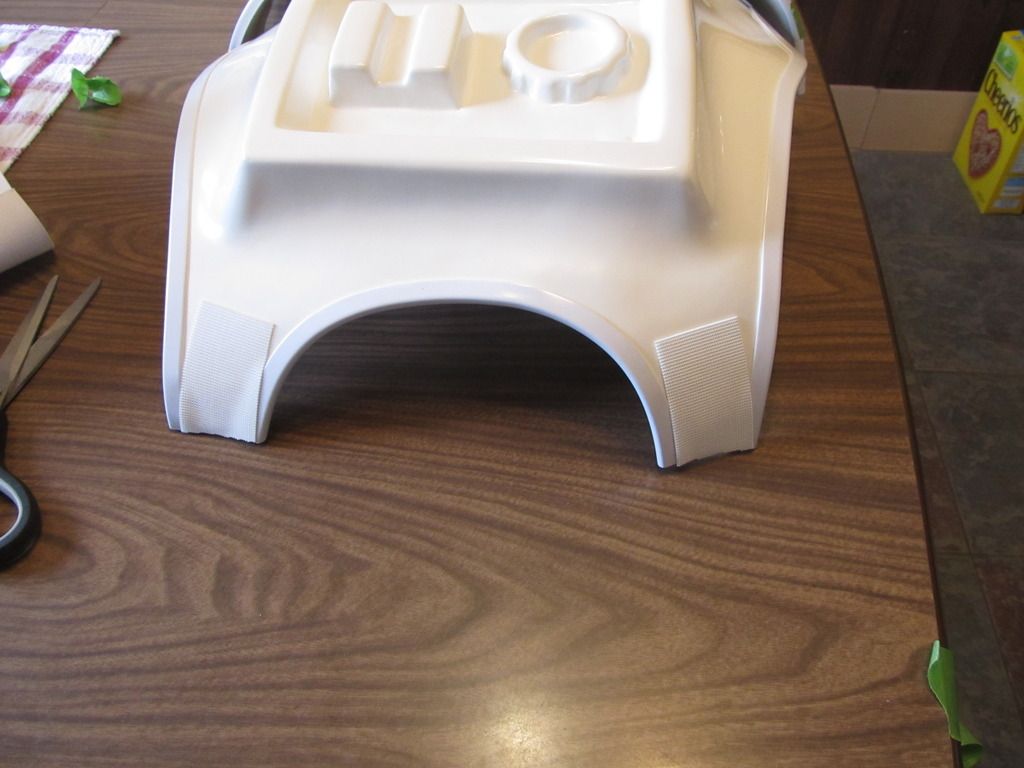
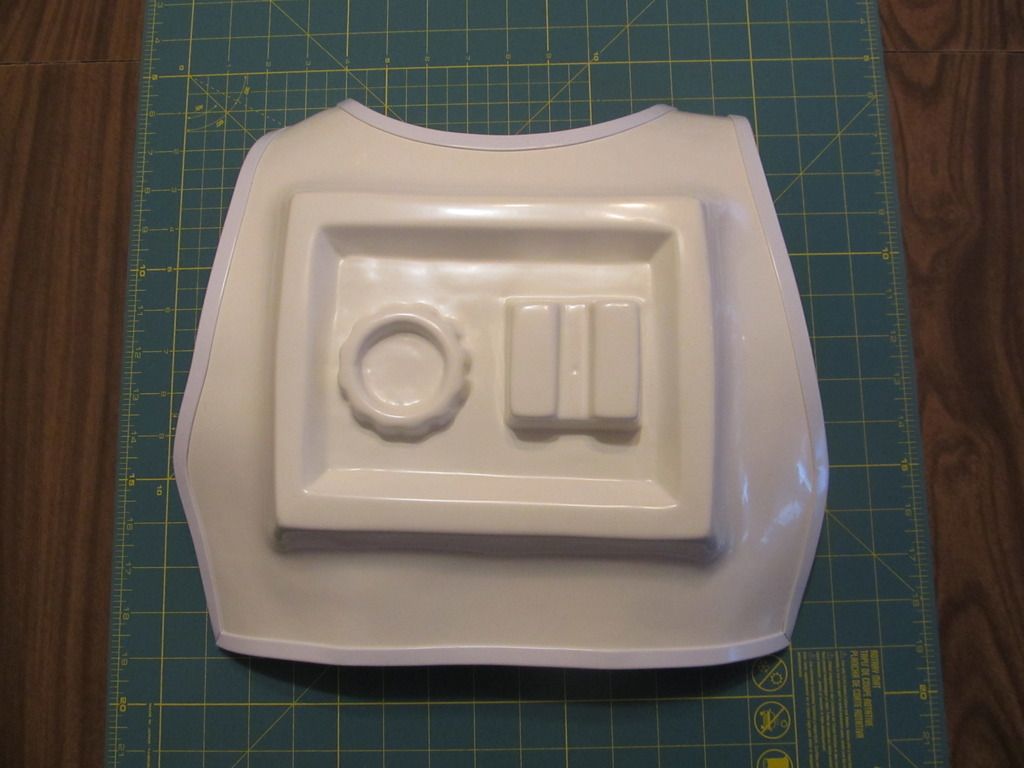
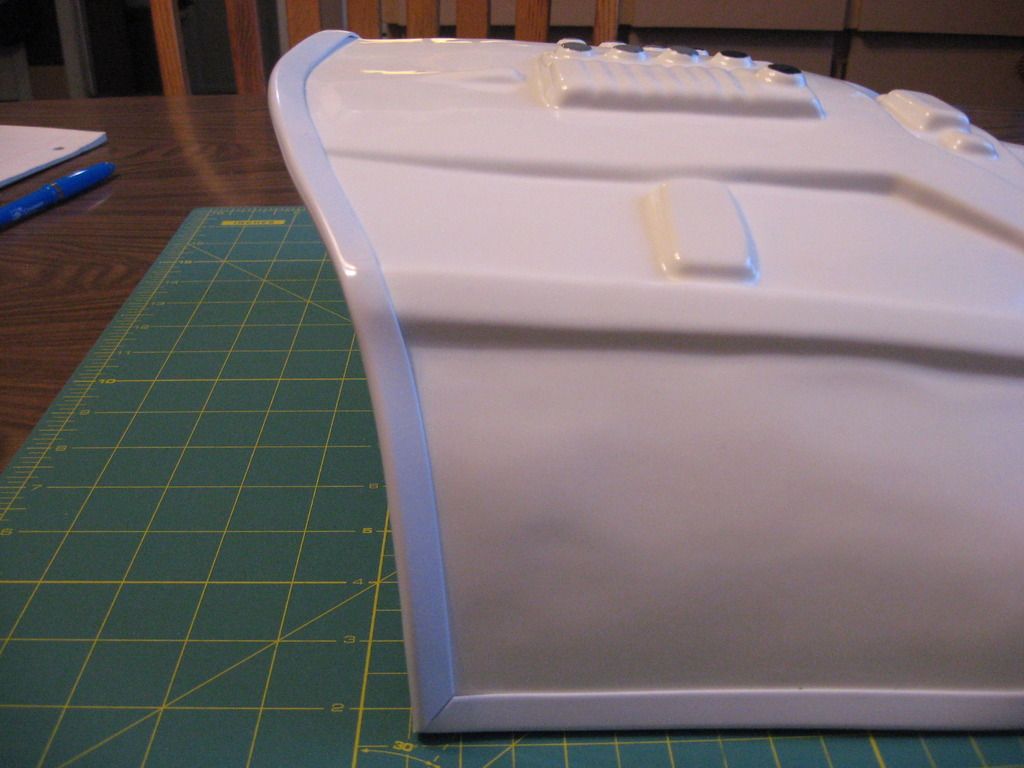
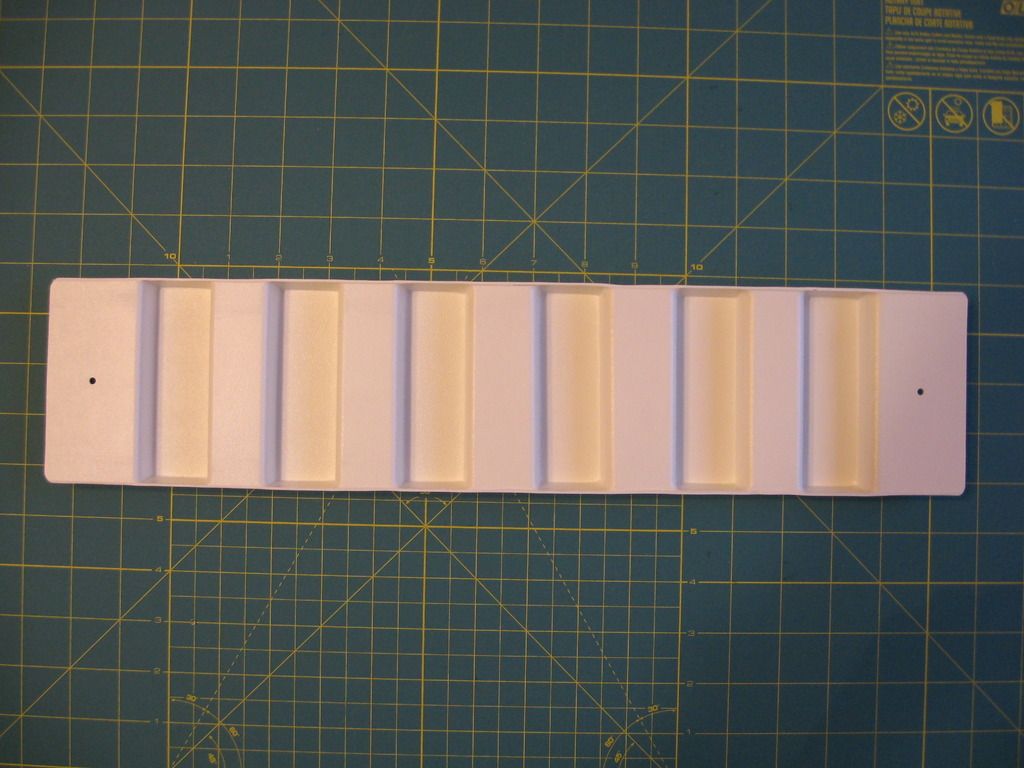
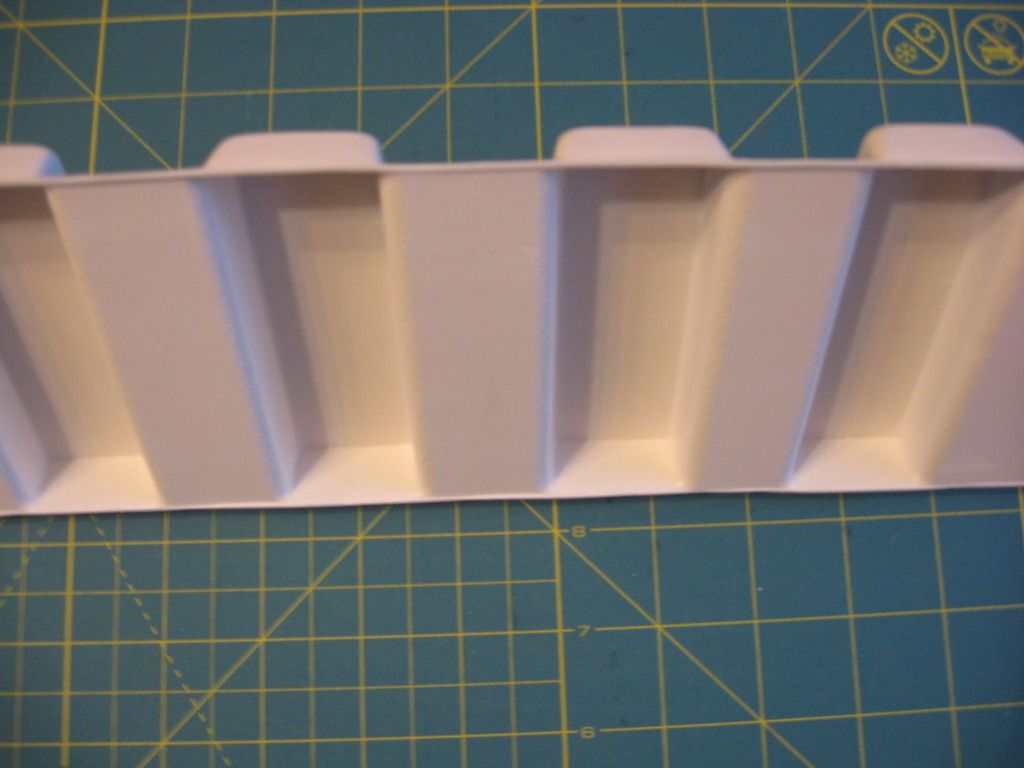
Here are some photos of the ab / cod plate, the ammo belt and the drop boxes. As I am applying for level one, the drop boxes are open on the back.
On the photo below, I still need to apply glue to the trim at the bottom of the cod plate.
-
-
-
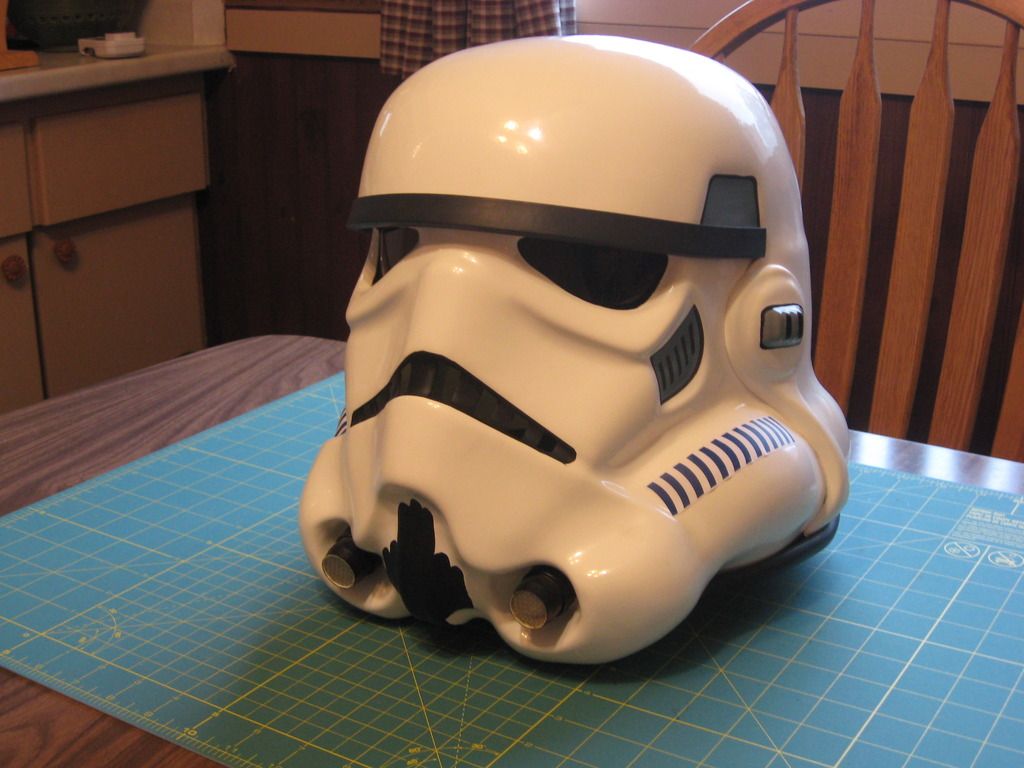
These are the photos of my helmet from Mark:
-
1
-


My Canadian ROTJ Build
in Build Threads Requireing Maintenance
Posted
I'm not going for the other statuses.