gmrhodes13
-
Posts
28,364 -
Joined
-
Last visited
-
Days Won
826
Content Type
Profiles
Forums
Gallery
Articles
Media Demo
Everything posted by gmrhodes13
-
 I like to use a pencil, mark in a few places then lay some masking tape as a guide. Not sure if you have painted or stickers, if it's stickers you can lift with a knife an pull off, if painted you could use some mineral turpentine and buff any residue with some polish
 -
Oh happy days
-
Should do the trick. If you have any issues with the posts not squashing enough and locking (I had a really bad batch once) I came up with a work around
-
Rough guide on strapping and placement, some use double snaps in case one fails. Chest to backplate A couple of threads for you interest Snap upper right corner \ Snaps posterior plate Rivets For Level 3, three domed head bifurcated (split) rivets approximately 5/16" (8mm) in diameter are present on the left side of the abdomen and kidney and are equally spaced along the depth of the armor and are painted white. Note that the measurements are from the center of the rivet. Rivets on both kidney and ab should line up horizontally. Interior pic showing split (bifurcated) rivets For Level 3, a single split rivet is present on the lower tab of the abdomen armor (cod) This can have a brass or chrome finish, but cannot be painted. For Level 2, The thigh ammo belt is attached with one solid head rivet on each side, painted white, and located in the upper corner fastened to the lower thigh ridge. Rivets shall be cap or split style rivets. No pop rivets are allowed. Rivets should be approximately 5/16ths (8mm) in diameter (exterior).
-
TK ANH Stunt by CloseTheBlastDoor
gmrhodes13 replied to CloseTheBlastDoor's topic in ANH Build Threads
I think you will find that gap will be reduced once worn -
First order accessory...what is it?
gmrhodes13 replied to Andrewdaandroid's topic in Gallery & Research
Vest also seen in this cut scene with red pauldron and shoulder pouch Quite a few vests Some miss the riot troopers in that scene Oh and there's the odd black shoulder bell

-
Solid resin E-11, reportedly from the UK about 10 years ago
gmrhodes13 replied to Peter Hamilton's topic in ANH BlasTech E11
Our Blastech section is full of different version E-11's and info https://www.whitearmor.net/forum/forum/116-blastech-e11/, down the rabbit hole you go -
Solid resin E-11, reportedly from the UK about 10 years ago
gmrhodes13 replied to Peter Hamilton's topic in ANH BlasTech E11
Hello and welcome. Setup for ANH Luke or an ESB as both versions have no hengstler or cylinders May have come from RS props and SDS have ESB version resin blasters I'll let the UK lads chime in with it's possible origin
-
-
Great to hear you have worked it out
-
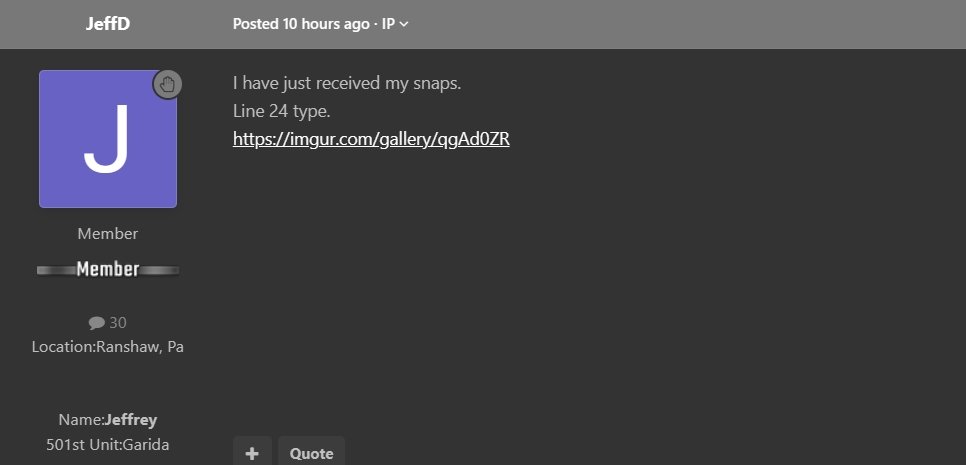
It's definitely weird, I can follow the link then copy and paste BTW push all that rubbish to the side, there's no space to build armor
-
Well have a read through the Imgur tutorial once again, I do remember a few people mentioning some mobile issues a couple of times and I think they finally where resolved, Imgur has a habit of changing things without telling anyone, link here:
-
Congratulations trooper, well deserved and welcome to the FOTK ranks
-
Looks like you added .jpeg as text to your link needs to be the full address. You can also right click on the image in Imgur then copy and paste directly into your post, should have the full link with extension
-
We do get very buys for May 4th so it really depends on what garrison covers your area and how many requests they have, locally we get requests up to a year in advance. You can also find your local garrison here: https://www.501st.com/maps/
-
I've waited longer for an undersuit. Oh and many waited for Anovos for years
-
Your image above does not show, using the link with the file extension normally will show, it's just how some forum software works, as an example I posted your image earlier using the .jpeg and it worked
-
This can happen with ordering from time to time, people get busy in their real lives, he's been a long time supplier so I really didn't think you would have any issues. Very hard to be patient when you are excited and unable to receive answers to questions
-
It's much easier to add reference with the text rather than going off forum looking for a specific image, makes it easy to follow. It's also good for later when referring back to the CRL creation and updating when new reference material comes around.
-
What has been done in the past is to add a reference to support the text, especially for questionable areas or items and especially when we are putting a requirement on pieces/details of a particular piece. I've not had time to delve deep into this CRL at this stage as I have a convention next month and trying to get some items finished.
-
Nice, try using the link with .jpeg or .jpg on the ends
-
V-Tabs for back and butt plate.
gmrhodes13 replied to IronBronson's topic in Hard Armor (General Discussion)
No how to, I posted it in a few threads previously, it's been shared across a lot of builds and EIB threads With a heat gun or oven you bend strips of ABS plastic into the shape of a V, only glue one side and the other remains free to allow movement when you bend. Just helps stop the butt plate from pushing back from the back plate. -
First Time Build (ESB TK)
gmrhodes13 replied to TheEmpireStateStrikesBack's topic in ESB Build Threads
Happy dance time -
I don't use the app, I prefer to open a mobile internet browser and upload, copy/paste from that. Joseph's tutorial should cover mobile uploading. If on computer (or mobile browser) once you've uploaded to Imgur you can just right click select copy and paste the image link directly into your post/thread. Normally there are a few options for links to your images I find the "direct link" works best for me.
-
R1TK build by TK-12953 for DS-32076 850 Armorworks
gmrhodes13 replied to jsilvius's topic in Rogue One Build Threads
Looking forward to seeing the progress