
Leaderboard


Popular Content
Showing content with the highest reputation on 04/25/2024 in all areas
-
I looked into the garder system for the thighs, but decided to just add a loop of elastic, snapped to the inside of the thighs. I use a 1" black leather belt to hold them up and have never had any issues with them.1 point
-
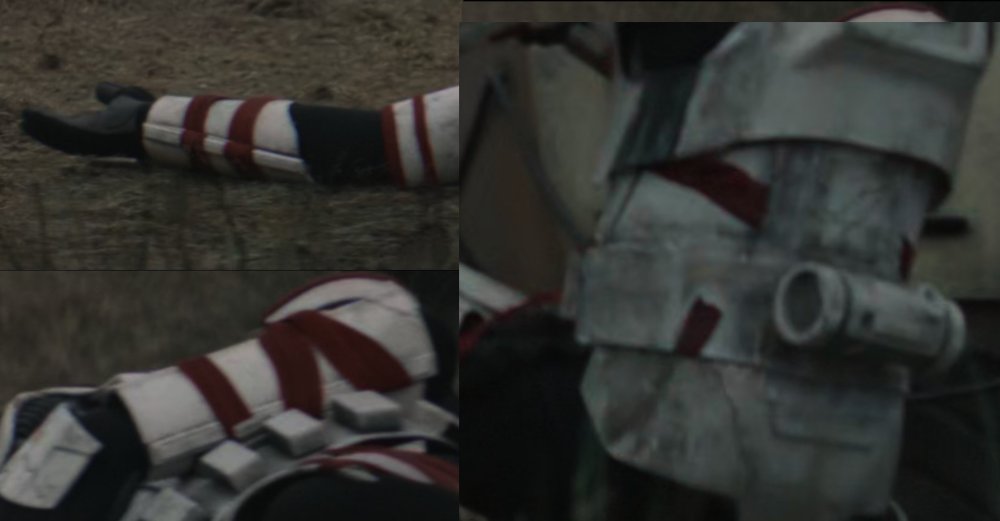
Thanks! Since my first go around was an ANH hero, I’m tempted to try a RO build but I know I would be in for quite a bit more work to get everything fitting and looking correctly. The strapping and garter is very attractive when completed though.1 point
-
Troop 125: 4/23/2024 - Thomas Jefferson Middle School READCON - Vancouver, WA (292nd troop overall)1 point
-
Keep Trooping does monthly runs. You likely could not get one in a couple weeks. If it was about 6 weeks away, it would be no problem. You're looking for model 421 on the keeptrooping website. They're just white chelsea boots though. If you can find a set locally, you can paint with any leather paint.1 point
-
Yes I certainly do, however I have not decided which costume I want to build for approval.1 point
-
And now we have the chest glued together. This took a while because I wanted to let each piece sit for at least 24 hours to fully cure. The Gaps in the armor are from slight misalignment. Some of the edges I had over done with the mouse sander. As previously stated, gaps are covered with Bondo. There seems to be very little that I cannot fix with Bondo and sanding thus far. Bondo to the rescue!Dont forget the edges, they will be visible! I used 400 grit sandpaper by hand. Finished the 1st round of Bondo, and I sprayed a layer of white paint so I can see just how visible these gaps are. After drying, more Bondo will be added to any remaining gaps in the part.1 point
-
Hovi Mic Tips have been attached with E600. The Frown still needs to be painted Gray. and I have a few parts I need to address on the helmet. Some of the helmet has some black speckles on it from when I taped off and sprayed the brow black. There was slight leaking and I plan to fix this by blocking the black off with painters' tape and spraying the helmet with white once more. I also have a few parts that I need to re-sand to make it smoother as in the right lighting, I can still see some layer lines. Prior to this, I need to add some Bondo to fill in the small gaps where I glued together the 3 sections of the helmet from printing. Pictured Below: As per the last picture, the CRL States: "Any gap between the ears and the helmet will only appear to be a seam, not any bigger." I am unsure if the current gap is too large, or if I will need to fill in the gap. and if so, must I fill this gap completely? Separate from the Helmet, I have printed the Butt-Plate, Cod Piece, Front and Back Belt, Thermal Detonator and the "O II" Details for the back plate. I mentioned earlier that I had a few rolls of small amounts of filament left over from larger prints, and I used those rolls for these pieces. A real Filament killer is how much support these parts need. To save filament I recommend either cutting your print to fit to your build plate in several pieces or orient your prints in a few directions to see what costs the least amount of filament. With that being said, it would also help you with cleaning your prints off afterwards if you make sure that any of the detailed parts do not have a lot of support around it. You can see my mistake in the 3rd picture below. First, I will say that I moved across the United States, and a few of my printed parts were damaged in the move. It's nothing that some superglue, Bondo, and paint can't fix though! I also ran into a slight issue with my printer once I unboxed it. I was in a new climate, and I do not have a heat shield to help retain the printer's temperature, so it loses a lot of heat in radiation. Secondly, as I was excited to start up my printer and get going on my TK, I did not ensure that the printer bed was leveled still! I have a few small scratches on my printed, but nothing that requires a new bed. Previously, I had been printing with just the bed and nothing on it to help with adhesion other than heat. Over time, my bed became dirty, and it needed cleaning. MAKE SURE YOUR PRINTBED IS CLEAN! I have sense put blue painters' tape on my printed to help with adhesion. I started up the 1st piece of the chest, and as it reached 90% completion, the PLA unstuck from the bed, and I had a big spaghetti mess of plastic when I checked after I ate my dinner. I restarted the print after leveling the bed. and again, around 90% it failed. But this time, I had a layer shift. You can see the layer shift at the very top of the chest piece. What happened was the adhesion to the build plate was not strong enough, and when the extruder moved back and forth, it pushed the print slightly to its side. From here, I used Elmers stick glue in combination with the blue painter's tape. I put a small bit under the tape, and an even layer on top of the tape to give the 1st layer something to really grab onto and stay. After this, the prints were coming out fine. In the last 2 weeks, I have printed the Main Chest, and Back plates. With support on still With Supports removed1 point
-
Nice work, one thing that has been noticing is any pieces of armor that would open for dressing has the wraps wrapped each of the opening sides, not wrapped when dressed.
 1 point
 -
Well after hundreds of questions, I finally made a video to help explain how I built this first order armor. It’s an hour and twenty five minites long. Some of the information is for new potential builder. So everyone can fast forward to whatever pertains to them. So this is the build for The Last Jedi and The Rise of Skywalker variation. However it will touch a bit on The Force Awakens variation as well. This is the new Denuo Novo First Order Stormtrooper armor and helmets. there are a lot of exceptional builders here and build threads. This is not to override any of them, but rather a video aid to them.1 point


