
Leaderboard


Popular Content
Showing content with the highest reputation on 07/23/2025 in Posts
-
Kicking off the CRL topic again for Captain Cardinal: I recently completed a Cardinal build in time for Fan Expo Denver (knees hadn't been attached yet): (don't worry, it was Dr Pershing's idea to get "arrested" and he was very enthusiastic about it) So I'm kicking off the CRL conversation again! Summary of my approach: First Order TK (TFA) - based on timeline of Phasma novel but with red armor (and black detailing) and with a Phasma (TFA)-style cape (except silver stripe) ============= Draft CRL language: Helmet Finished in a high gloss deep red that matches the colors of the entire costume. Lenses are smoky brown or gray in color. They may be bubble in shape or flat and must be sufficiently dark enough to obscure the costumer's eyes. A single silver aerator/mic tip is on the lower left side of the wearer's chin. The frown is solid black and covered in a black hexagonal mesh pattern that extends to the tears. Each tear (area beneath the corners of eye lenses) is solid black. Seven recessed tube stripes are present on each side of the helmet. Two clip greeblies are present over the traps on the side. Two clip greeblies are present on the top of the helmet, parallel to the trap greeblies. The clip greeblies must be the correct TFA version. Along the base of the helmet, a black stripe runs from the side of the helmet and across the back to the other side. There is a slight groove that circles the helmet above the brow. There is a slight groove that circles the helmet along the bottom and over the chin. A brow of solid black material spans from the traps over the lenses. A small trapezoidal shape is directly below the traps, toward the base of the helmet. Neckseal Black with horizontal ribs, fitted to the wearer, and extending from the base of the neck to conceal the entire neck. No hair or skin should be visible around the neck area. Chest Plate Finished in a high gloss deep red that matches the colors of the entire costume. The chest plate overlaps the abdominal plate. The center-top of the chest plate is recessed and black on the side and upward facing edges. A smaller clasp greeblie shall be present on each side of the chest, just inside a small indented area the size of the greeblie. There is a slight groove running vertical on each lateral side of the chest that angles toward the center. Six recessed black ovals are on the wearer's right side, left of the greeblie. Back/Yoke Finished in a high gloss deep red that matches the colors of the entire costume. The back plate contains a “O II” design, and the O is black in color. There are no visible seams on the back/yoke. The yoke portion extends over the wearer's shoulders and curves under the armpits. Thermal Detonator Finished in a high gloss deep red that matches the colors of the entire costume. The thermal detonator mounting plate sits under the back plate and rests above the belt. The control panel is black. The righthand recessed end cap is black. The lefthand end cap extends from the detonator assembly and is black all around the cylinder as well as the end surface. A red stripe is present around the end of the cylinder that extends slightly onto the circular surface. A visible seam is allowed between the cylinder and backing plate. Shoulder Gaskets Gaskets shall be rubber or a shiny black material with ridges. The shoulder gaskets must cover all exposed areas under the shoulder bell, between the bicep and chest, and between bicep and back. Shoulder Bells Finished in a high gloss deep red that matches the colors of the entire costume. The shoulders are considered effectively symmetrical. They may be worn interchangeably on the left and right shoulders. Shoulders have small round extension at the top under the bell itself that butts up against the yoke. Biceps Finished in a high gloss deep red that matches the colors of the entire costume. Biceps have one seam that faces forward, and a seam on the inside of the arm. The rest of the bicep must be seamless. A clip greeblie is present low and across the seam. Two black ovals are present on the outside-facing side of the bicep. Elbow Gaskets Gaskets shall be rubber or a shiny black material with ridges. The elbow gaskets must cover all exposed areas between the bicep and forearm. Forearms Finished in a high gloss deep red that matches the colors of the entire costume. Forearms shall have a ridged rail, similar to a picatinny, embedded on the inside of the forearm, roughly covered 1/3rd by a box shape. Forearms shall have a box on the bottom the wrist end. Each box shall have a single black square in the lower inside corner. Each forearm shall have two 'clasp greeblies' on the outside facing surface, near the wrist. Detail box includes black rectangle on small edge perpendicular and closest to wrist. Gloves/Handplates Gloves are black with red palm, thumb, and forefinger. Gloves extend underneath the forearm. Red area is made from leather or leather-like material. Handplates are rigid square boxes and the hand plates are mounted securely over the back of the glove. Handplates are finished in a high gloss deep red that matches the colors of the entire costume. The recessed oval detail is aligned with the index finger of each hand. A black decal or paint may be used to emulate the recessed oval detail. Abdomen Section Finished in a high gloss deep red that matches the colors of the entire costume. The abdomen section must wrap around the wearer's body without a visible seam. The abdomen has 7 boxes attached that match the order and placement shown against the armor. The large box has a small black recessed square on the lower left to the wearer. The second box to the right of the wearer has a small black recessed rectangle near the top. Codpiece Finished in a high gloss deep red that matches the colors of the entire costume. The codpiece sits below the abdomen and under the belt. Posterior armor Finished in a high gloss deep red that matches the colors of the entire costume. The posterior armor sits below the abdomen and under the belt. The top portion of the part shown is hidden by the belt and used to connect the plate to the abdomen armor. Belt The belt is ribbed and made from a rubber or a rubber like material. The width of the belt is approximately 2" (50mm). Five red rectangular boxes and one pouch sit on the belt. Finished in a high gloss deep red that matches the colors of the entire costume. There are 2 horizontal boxes on the front, on each side of the center. They are painted red on the outside half and black on the inside half. There are 2 vertical boxes on the right of the wearer. There is a large vertical black pouch with a red cover behind the left side of the wearer. A small black cloth pouch is worn on the left side and hides the buckle or remaining belt material. Undersuit An undergarment must be worn such that the space between the thighs and the belt shows a black material. The black material may be shiny or matte. The reference photo shows the type used on screen but is not required for basic approval. Thighs Finished in a high gloss deep red that matches the colors of the entire costume. There are seams on the inside and outside of the thighs. A clip greeblie is present high and across the outside seams of each thigh. The right outside thigh to the wearer includes a base for a holster (holster must be present). Knee Gaskets Gaskets shall be rubber or a shiny black material with ridges. The knee gaskets must cover all exposed areas between the thigh and shin. Knee Plates Finished in a high gloss deep red that matches the colors of the entire costume. The knee plates mirror each other and are placed evenly between the thigh and the shin. Convex edge of knee plate faces upward. Shins Finished in a high gloss deep red that matches the colors of the entire costume. There are seams on the inside and outside of the shins, with the opening on the inside. A clip greeblie is present high and across the outside seams of each shin. The wearer's left outside shin includes two vertical thin boxes that are seamless. There is a rounded rectangle at the bottom outer front of each shin, which is visible above the spat. The recessed area is black. Spats Finished in a high gloss deep red that matches the colors of the entire costume. The spats wrap around the lower ankle, just below the black ankle rectangles. The spats are enclosed on the outside of the ankle with a greeblie that overlaps the open side. There is a visible seam on the inside of the ankle. Boots The boots are above-ankle height, and made of red leather or leather-like material. There is a seam down both sides of the front that swoops out to the side of the foot. There is a vertical zipper on the inside that spans the height of the boot. There is a black flat sole with no heel. No buckles or laces. Cape The cape is a black canvas material that crosses the chest diagonally from the right shoulder to the left elbow area. The cape drops down the left side of the body to within a few inches of the floor or can slightly drag along the floor behind the left foot. There is a silver stripe approximately 1.25" - 1.5" in width that follows the front seam of the cape from the right shoulder to the bottom of the left side of the cape. The cape should fit across the shoulders and may have some slight bunching on the left shoulder. There is no visible clasp, hooks or snaps at the right shoulder connection Light wear-and-tear and weathering is permitted. ================ Draft CRL images (will be retaking with better lighting, kit-up fixes, and some updates): ================ Written references: Phasma by Delilah S. Dawson p.9 “His bright-red armor is a strange twist on the regular stormtroopers’, but the sanguine violence of the color lends it an air of bloody menace their tidy white just doesn’t possess.” p.9 “An armorweave cape falls from one shoulder” p.14 “with a gloved hand” p.15 “His red helmet” p.16 “His blaster is clipped on his hip, red and gleaming.” p.16 “His red-gloved fingers” p.19 “gloved hands” p.20 “She spits blood on his boots from her bitten tongue and stares at the splotch on the flawless plastoid. The blood and the boot are not the same red, much as Brendol Hux might’ve liked them to be.” p.33 “The black chasms of the helmet lenses” p.35 “sweaty blue-black hair” p.35 “His skin is golden tan with freckles and darker patches that speak to years of sunburn. Smile lines crinkle at the corners of his eyes and lips, but he’s not smiling now.” p.36 “gloved hand” p.110 “His fingers briefly tug on his own armorweave cape, identical to Phasma’s” p.354 “He holds up his arm, displaying the flawless red.” [“[Hux] designed it himself because he said red was a color of power.”] p.364 ‘Cardinal storms through the hallways, his captain’s cloak flying behind him.” p.377 “on the glove”... “on the shin guard”... bodysuit - fresh and sharp”... “he polishes the shining red” p.379 “blaster at the ready and captain’s cape flowing behind him” p.381 “he polishes his red armor to a high shine” p.382 “in his gloved hands”... “cradled in the shining red” p.389 “his armorweave cape equally long and impressive” p.394 “a solid wall of shining, flawless red, his cape swinging behind him” p.428 “piece by piece, and shines it until there are no scuffs, no rough places”... “freshly pressed captain’s cape and arranges it flawlessly over his shoulder”... “boxes of ammo on his belt”... each of his weapons, ensuring his blaster is primed” p.429 “polished to a shine”... “polarized lenses”... “violently red uniform” p.430 “reflective darkness of the helmet lenses” p.432 “his red blaster” p.433 “Cardinal rams his blaster home in its holster” Visual references:2 points
-
Yes, definitely working on retaking all photos! Was having issues with the knees and belt boxes during kit-up, and didn't have great lighting/background for these. I just wanted to throw these in the thread as a draft preview, in case there is other feedback that I should address before retaking photos. :) @Sly11 gave me a heads up about the pause on CRLs during the platform transition. Will be patient, and happy to work on fixes/finalization as best we can in the meantime.2 points
-
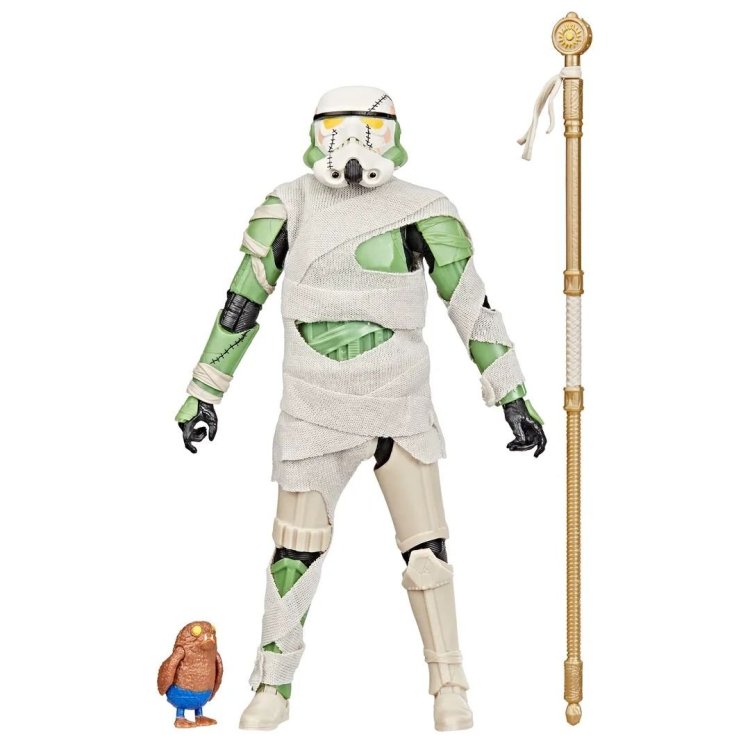
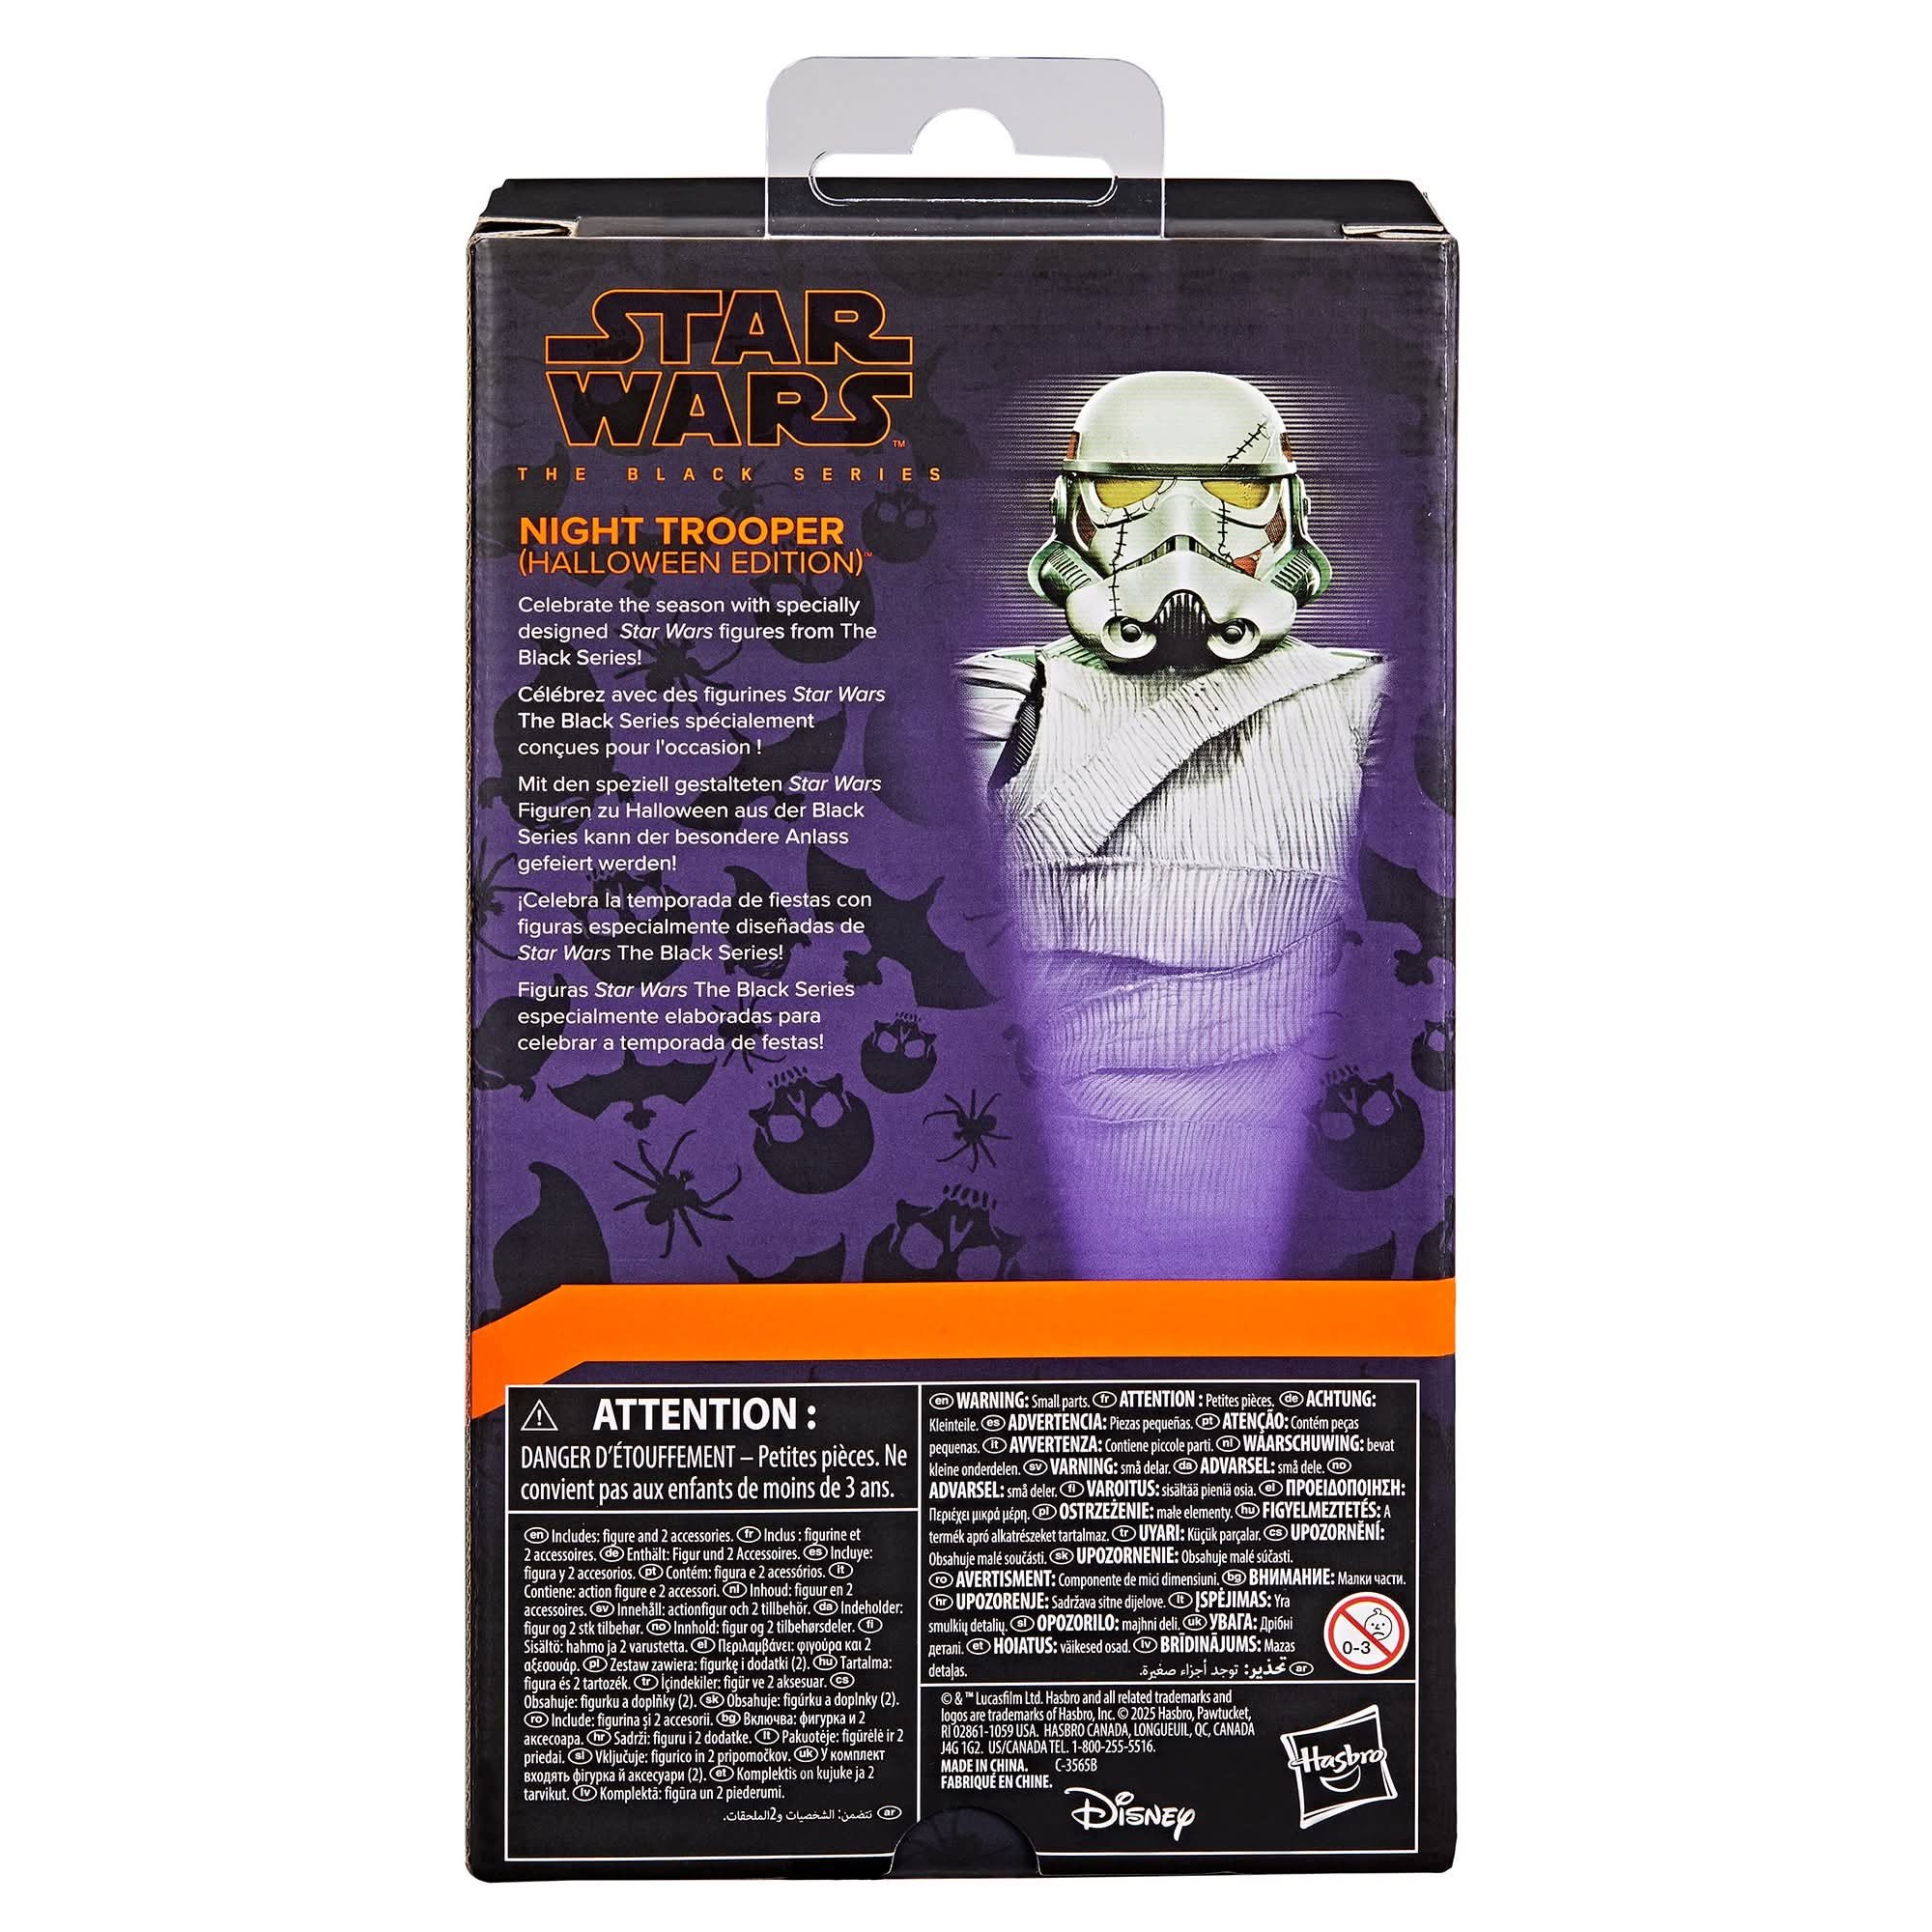
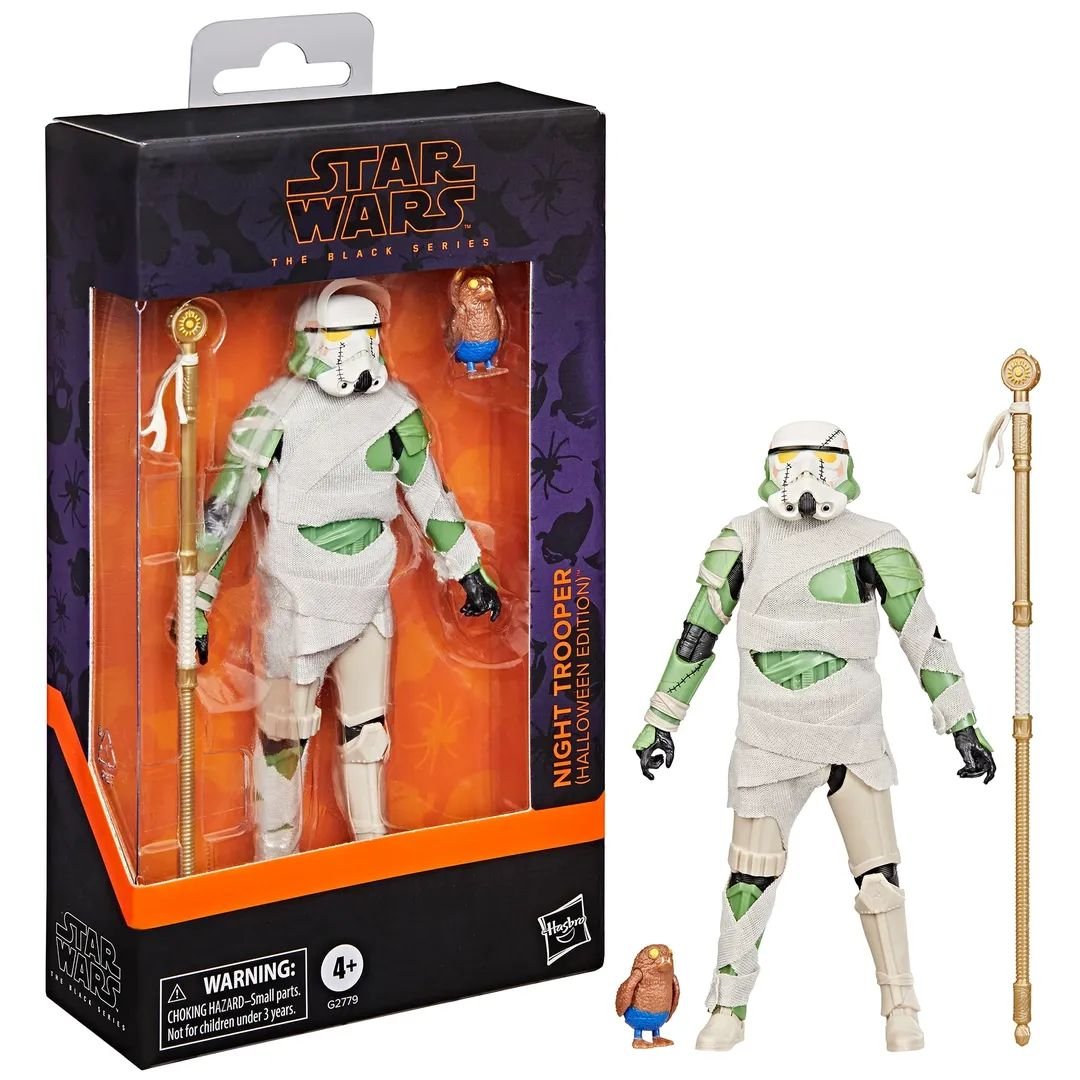
Walmart exclusive Hallween Night Trooper - Black Series


 1 point
 -
I certify that @TheRascalKing served as my armorer and spent well over 30 minutes providing hands-on help, trimming, building, and/or fitting of my armor that was awarded Expert Infantry status.1 point
-
Congratulations !! Welcome to EIB ranks !1 point
-
Hi Zachary, and thank you for your EIB application! CRL and EIB Application Requirements: All required photos have been submitted, and on behalf of the entire D.O. staff we are pleased to welcome you to the rank of Expert Infantry. Congratulations! Other-Armor Fit/Assembly; In this area we review observations made by your fellow troopers and the DO team. Some observations may lead to suggestions to improve the overall look of your armor, and please keep in mind that we consider both text (CRL) and pictures (screen caps/reference images) when reviewing submissions. Helmet Ideally the line joining the screws on the ears will be in line with the back of the rear angle of the trap above them. CRL L3: Ideally, placement of ears (and screws) should closely follow the rear angle of the trap above them This issue will not affect approval as there is variation in the shape of helmet and ear pieces between armour types. It is merely mentioned as something to increase screen accuracy. References Your helmet is also sitting a bit high. For a more screen accurate look, we would suggest lowering it a bit. This can be done by removing some of the padding at the top of the helmet. In many cases, it may also improve your vision. References Shoulder Straps The elastic on your left shoulder strap is pulling out slightly. This may be corrected with some velcro between the ABS shoulder strap and the elastic one. Back Armor Please pay close attention when dressing to ensure that the back and kidney armor pieces are not overlapping. If this is a regular occurrence, some adjustments to the strapping may need to be made. References Lower Leg Armour For a more accurate screen appearance, you may wish to cut the sniper knee plate on an angle and not a curve References *************************************************** Centurion Requirements: In this section we prepare you for our highest tier of approval. Because Centurion photos must show more detail than EIB, items pertaining to Level 3 might be seen there and not here and additional photos may be required. We try to point out all that we can from what we are able to clearly see, but the final accuracy is the responsibility of the trooper. Shoulder Straps Your shoulder straps should be aligned in the middle of the tab of the back armor and should be symmetrical. This may be a dressing issue , or some adjustments may need to be made to the positioning of the straps to align them better. References Forearms You have done a great job removing the return edge on the wrist side of the forearms but there is still a small amount that could be removed. CRL L3: No return edge on the inside of the front of the forearm is allowed. References We would also like to see the sizing on the forearms reduced slightly to fit a bit tighter on your forearm, as yours are just a little bit too large. Please pay attention to ensure that they taper narrower at the wrist. References Abdomen The button plates on your abdomen have been cut with rounded corners. These should be square corners. CRL L3: Plate does not overlap the edges of this area and shall show a definite straight cut edge around all sides. References Your Han snap should be sitting a bit closer to the corner portion of the Abdominal plate. This will take a bit of effort to move but can be done by filling the original hole with ABS paste and repositioning the snap as shown below. CRL L3: A single male snap on the top right corner of the ab plate is present. For centurion level approval, you will need to add the rivets to the left side of the abdomen and kidney pieces. CRL L3: Three rivets, approximately 5/16"(8mm) diameter, are present on the left side of the abdomen armor. /Three rivets, approximately 5/16"(8mm) diameter, are present on the left side of the kidney plate. References Belt Your right drop box is positioned perfectly, but the left is a bit forward. The belt boxes should align with the end of the ammo belt. A small amount of E6000 to hold the elastic suspending the belt in place can help with ensuring proper positioning. CRL L3: Drop boxes are vertically aligned with the end of the ammo belt with minimal gap between belt and box. References The cut angles at the ends of the ABS belt should line up with the edges of the canvas belt. Some minor trimming will be needed for Centurion approval. CRL L3: The corners of the plastic ammo belt shall be trimmed at a 45 degree angle that that meets the outer edge of the cloth belt. References We will need the velcro shortened a bit on your belt as it should not be visible once the belt is closed. CRL L3: Canvas belt can not contain patches of any sort. References Thermal Detonator Your thermal detonator is sitting a bit too low on the belt. This can be corrected by lowering the return that goes over the belt on the thermal detonator clips. References Thigh Armour The mobility cuts on your thigh pieces extend a bit to far and go beyond the top of the raised ridge. Unfortunately, this will likely need to be corrected by replacing the thigh pieces or reconstructing the raised ridge. CRL L3: Any mobility cuts on the back do not extend beyond the top of the raised ridge. References1 point
-
Since posting last year, I pivoted and replaced ~90% of the armor with printed parts! I'll be updating this WIP thread with all of the details (spoiler alert: SO MUCH sanding), but in the meantime, I started a separate thread for discussing the Captain Cardinal CRL:1 point
-
I'm happy to share after lots of great suggestions, I ended up opting for a Denuo Novo. The helmet is currently out of stock but I'm on the notification to hopefully snag one on the next batch. While I wait for quite a while for the BBB to arrive, I'm curious what I can be working on in the meantime? I'm doing to be my best to start following some of the guides to acquire some of the basic tools and materials. Any other suggestions? very excited!1 point
-
Congratulations Hanson!!!1 point
-
Woah why is the paint scheme so different than the one used in the visual dictionary lol.1 point
-
I did see that one yesterday, I'm looking for something a little cheaper, imperial credits are at an all time low. Theres a few on eBay, just been waiting on confirmation about size, which now appears we have1 point
-
Congratulations trooper and welcome to the Centurion ranks, was well worth the extra effort1 point
-
Congrats 544!1 point


.thumb.jpeg.40a403e8b8de1ab9a8d933dd957a23b0.jpeg)