
All Activity
- Yesterday
-
 Oh happy days
 -
 It's BBB day!!! Just ordered my boots and the chiffon. Once I get it coated in plastic dip I'm going to start drawing where I want the cracks and different sections.
 -
Thank you so much! I appreciate your help!
-
https://i.imgur.com/wTB23Ow.jpeg
-
Should do the trick. If you have any issues with the posts not squashing enough and locking (I had a really bad batch once) I came up with a work around
-
I just got my punch set for my snaps. Punch set https://imgur.com/gallery/GuYC9qm
-
Welcome to FISD Laura!
-

New trooper from Spain
themaninthesuitcase replied to lauratrooper's topic in New Member Introductions
Welcome to FISD. -
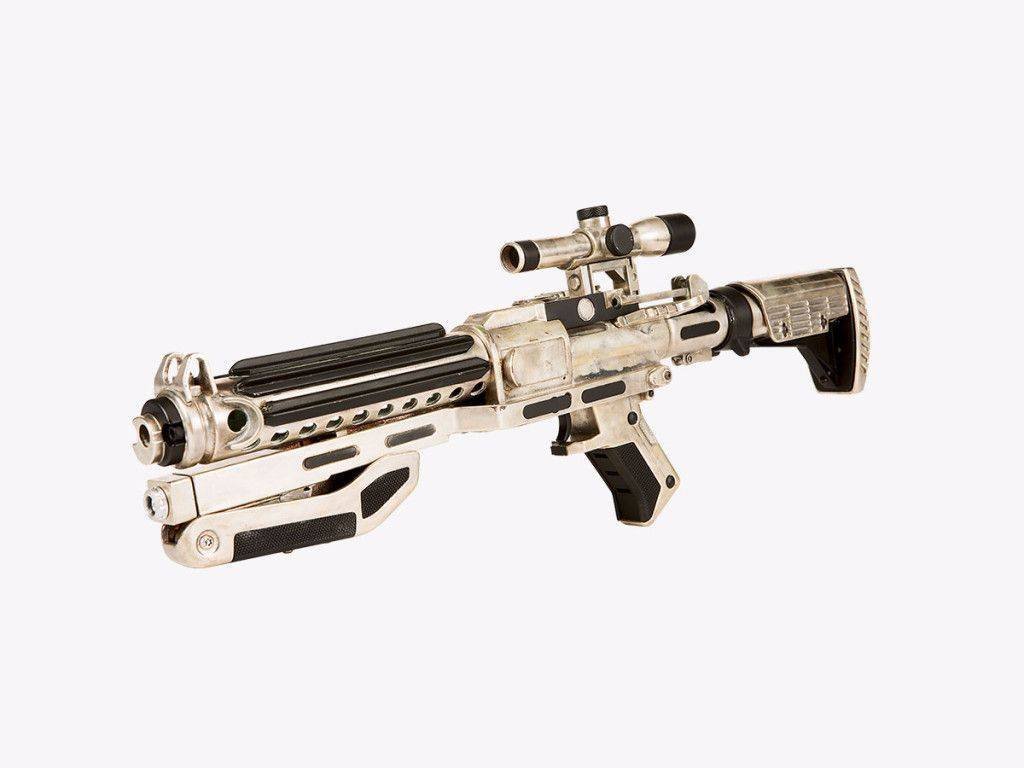
I don't recognise it, but it looks like it's based on a cast of a real sterling so maybe you can use the serial number to help you. I don't think it's a Doopy Doo, but it could be I suppose. If so then the Sterling serial is S 21227, the scope serial is 110332.
-
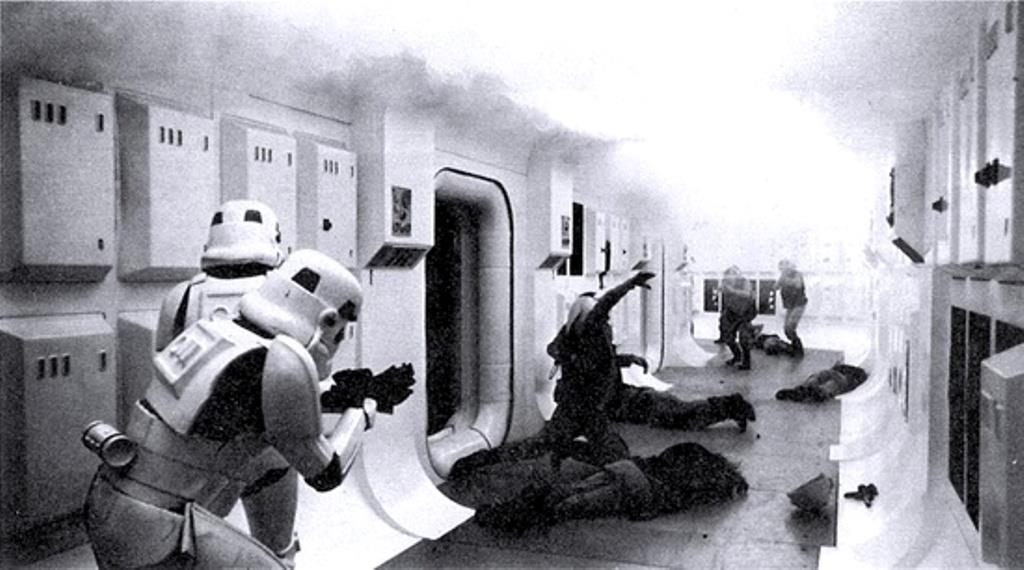
Rough guide on strapping and placement, some use double snaps in case one fails. Chest to backplate A couple of threads for you interest Snap upper right corner \ Snaps posterior plate Rivets For Level 3, three domed head bifurcated (split) rivets approximately 5/16" (8mm) in diameter are present on the left side of the abdomen and kidney and are equally spaced along the depth of the armor and are painted white. Note that the measurements are from the center of the rivet. Rivets on both kidney and ab should line up horizontally. Interior pic showing split (bifurcated) rivets For Level 3, a single split rivet is present on the lower tab of the abdomen armor (cod) This can have a brass or chrome finish, but cannot be painted. For Level 2, The thigh ammo belt is attached with one solid head rivet on each side, painted white, and located in the upper corner fastened to the lower thigh ridge. Rivets shall be cap or split style rivets. No pop rivets are allowed. Rivets should be approximately 5/16ths (8mm) in diameter (exterior).
-
TK ANH Stunt by CloseTheBlastDoor
gmrhodes13 replied to CloseTheBlastDoor's topic in ANH Build Threads
I think you will find that gap will be reduced once worn -
First order accessory...what is it?
gmrhodes13 replied to Andrewdaandroid's topic in Gallery & Research
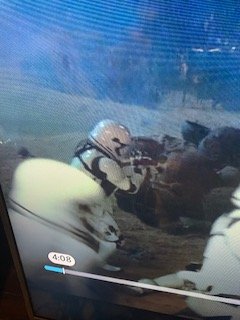
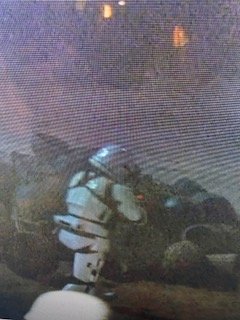
Vest also seen in this cut scene with red pauldron and shoulder pouch Quite a few vests Some miss the riot troopers in that scene Oh and there's the odd black shoulder bell

-
First order accessory...what is it?
themaninthesuitcase replied to Andrewdaandroid's topic in Gallery & Research
It's an optional accessory on the TFA CRL : https://databank.501st.com/databank/Costuming:TK_-_First_Order and the TLJ CRL : https://databank.501st.com/databank/Costuming:TK_TLJ -
Updated the under suit text to account for it being textured, roughly based on the R1 text.
-
Hard to argue with that image. You can clearly see the gap. I don't agree on a third panel though. On the shot from the rear left above, you can see the fabric is folded at the top, and then opens up towards the bottom. Actually it's easier to see if you crank the exposure even further, though this is the limit of any detail. In some images that line is a really solid line and well defined, like the one you have posted. In others like above, it's much softer. I wonder if this just come down to how much use the costume had at any one scene and a clean pressed line slowly falling out with use.
-

First order accessory...what is it?
Andrewdaandroid replied to Andrewdaandroid's topic in Gallery & Research
nevermind its the heavy gunner vest, i found it -

First order accessory...what is it?
dblcross replied to Andrewdaandroid's topic in Gallery & Research
Perhaps this guy? looks like it's just an ammo pack -
Completed the new detonator: Install on the spine plate just using a couple of wood screws: Been working on some refinements to my suit-up process. * Put spat on the shin before putting shin on. This puts less stress on the spat than trying to spread it open and putting it on with shin already on leg. * Attach leg gasket to thigh before putting thigh on. This will be much easier than putting the gasket on first, then trying to get the thigh on properly without shifting the position of the gasket. Here is my suit-up process. All steps are done by myself unless otherwise is mentioned: 1. Put under-suit on. 2. Put on neck seal and balaclava. 3. Put shoulder/arm gasket on. 4. Put thigh garter belt on. 5. Put lower torso on. 6. Attach gaskets to thighs, put on thighs, attaching thigh support straps to garter belt. 7. Put spats on shins, put shins on, tucking gaskets inside. 8. Slide up shins, put on boots, slide shin down over boot, position spat. 9. Attach cod piece to butt plate/spine plate. Hang spine plate on back of lower torso. 10. Attach cod to front of torso. 11. Put fabric pouches on belt, put belt on. 12. Attach shoulder bells to upper torso, put on upper torso. 13. Put on biceps. Have helper buckle bicep under shoulder bell. 14. Put on forearm. Have helper attach gasket to inside of forearms. 15. Put on gloves. 16. Put on helmet.
-
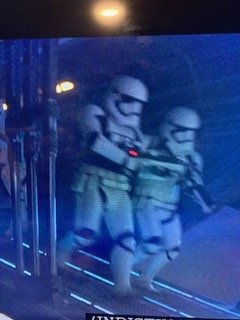
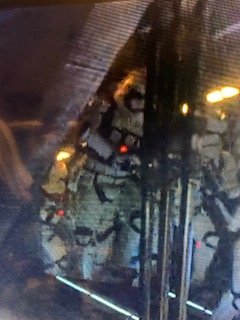
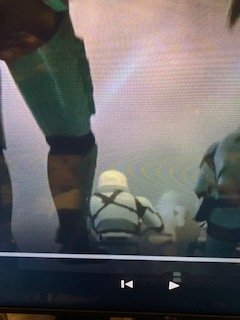
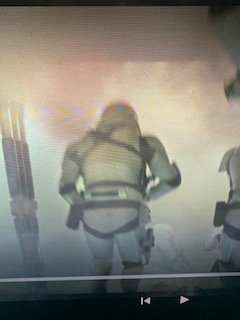
I was watching The force awakens as I was working on my armor and i noticed a few of these guys in the first scene. They are wearing something strapped to the front of their armor with a harness in the back. it looks like it covers over the whole front with the either a different and separate armor over the original or extra pouches like a molle vest of sorts. I tried looking it up trying to find another reference for it but i cant find it.. I am just curious about it, but does anyone know what it is and have a better picture of it?
-

TK ANH Stunt by CloseTheBlastDoor
shashachu replied to CloseTheBlastDoor's topic in ANH Build Threads
Here's a photo of my shoulder straps as well https://photos.app.goo.gl/oNr1ozuqGPA2nwbw6 -
TK ANH Stunt by CloseTheBlastDoor
shashachu replied to CloseTheBlastDoor's topic in ANH Build Threads
Really great progress on this build! I looked back at my build photos and I have about the same amount of overlap on the front, but I did not cut off the big tabs on the back. Yours look a bit short if I'm being honest but it depends a lot on how far apart the chest and back are, which depends on how they fit on you. I'd personally leave the shoulder bridges for now and instead work on getting the strapping between chest and back dialed in before deciding exactly where you'd like the shoulder bridges to sit. They're just decorative so they can be left until much later in your build. https://photos.app.goo.gl/oGxcS2ANssQ5kWcA6 -
Congratulations !!!
-
 To me its not a full rear skirt. Picture below! It shows clear that both panels are seperate, and that the left panel is abouve the right Second pics shows for me that it really could be an extra panel above the two big rear panels. There is a clear line where the arrows are
 -
Cadet 3040 here, What parts of the armor should you use rivets and what parts do you use the snaps? What are the parts that you should be glued only? Just trying to get an overall idea of what goes where. Thanks.
-
Congratulations!!!


-
Albums
-
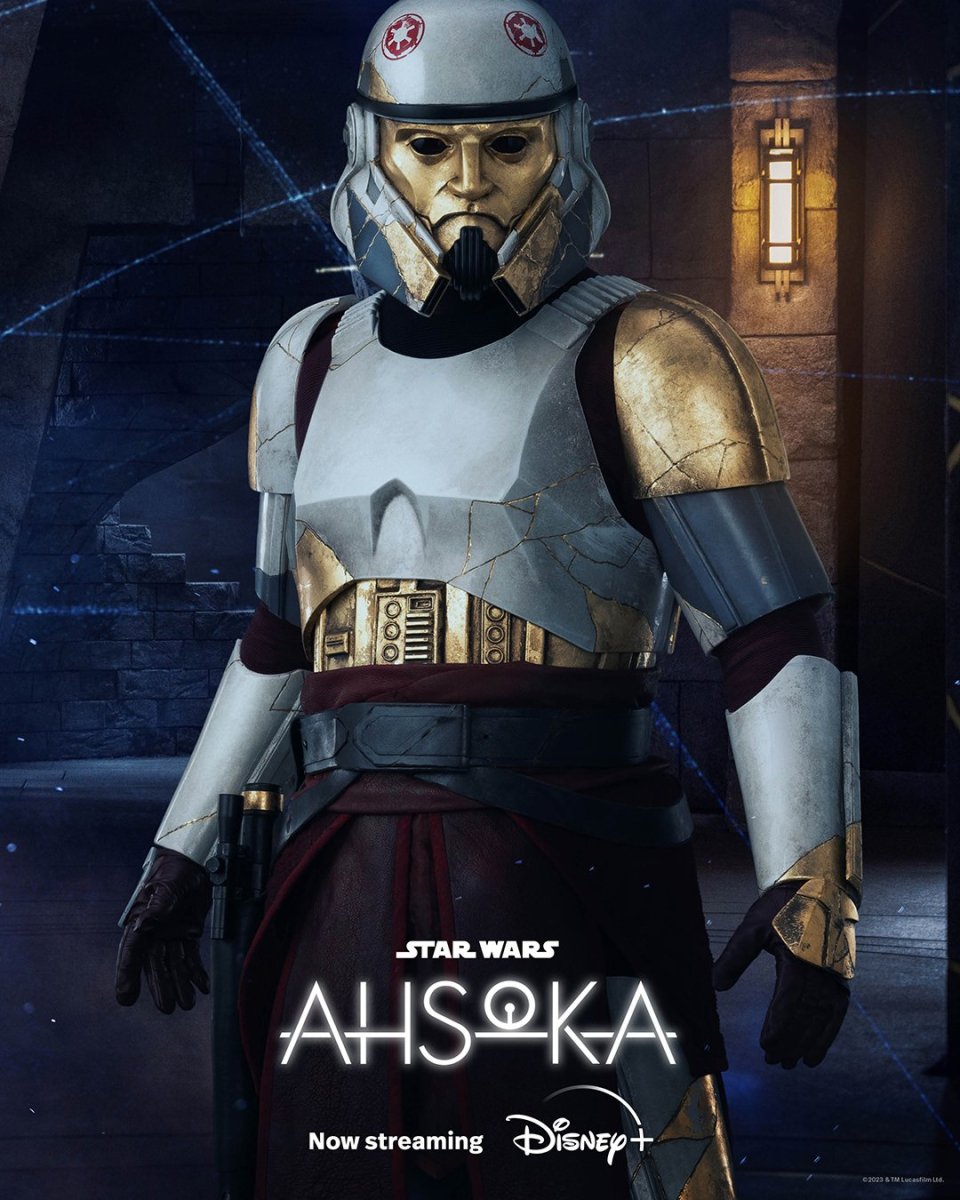
Captain Enoch (Ahsoka)
- By themaninthesuitcase,
- 0
- 0
- 2
-
Promo pictures & others
- By Locitus,
- 0
- 35
-
.jpg.da3b75dcced28b94590e16b06907ce49.jpg.d3465bdfa251d57f1217de22fbf5842f.jpg)
Publicity Blaster - Nambu Type 99 LMG
- By gmrhodes13,
- 0
- 0
- 4
-

TFA F-11D Blasters
- By gmrhodes13,
- 0
- 0
- 13
-
Captain Phasma TFA References
- By gmrhodes13,
- 0
- 0
- 59
-